Friends, Happy Sunday everyone.
The day has started with cold weather, although the weather department of our country says that the cold flow may last for a few more days. After hearing that, some fear has been created among the people of the city. To be honest, this time is a bit difficult for us, because the longer the cold flow lasts, the colder it will be.
When I came to the office in the morning, it was quite cold, I did not see the sun at all. Maybe I can tell what the situation is now when I go outside. But there is a possibility of going out after noon, then of course I can tell how much the environment has improved, whether the presence of sun?
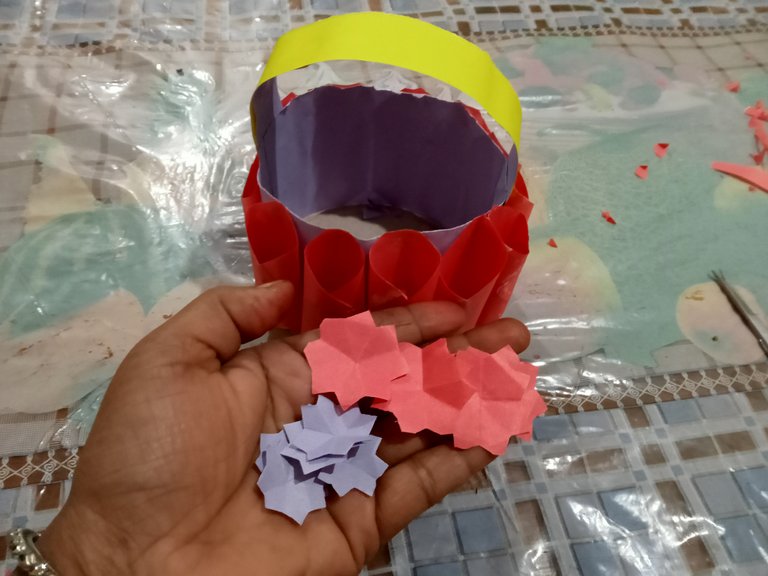
I will try to share wonderful creativity with today's chilly environment. Today I tried to make a beautiful and different kind of basket with colored paper. I tried to make the basket a bit more attractive by using colored paper. Hope you like today's attempt.
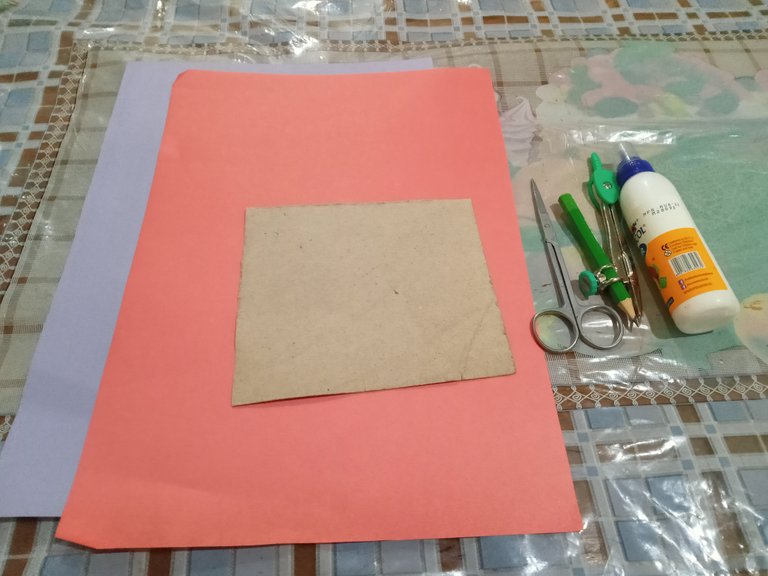
To make the colorful basket I used-
- Colored paper
- Stiff paper
- Compass
- Caesar
- glue
- Pencil
Preparation Phase - Since I tried to make the charm a little different, it took a little longer to make.
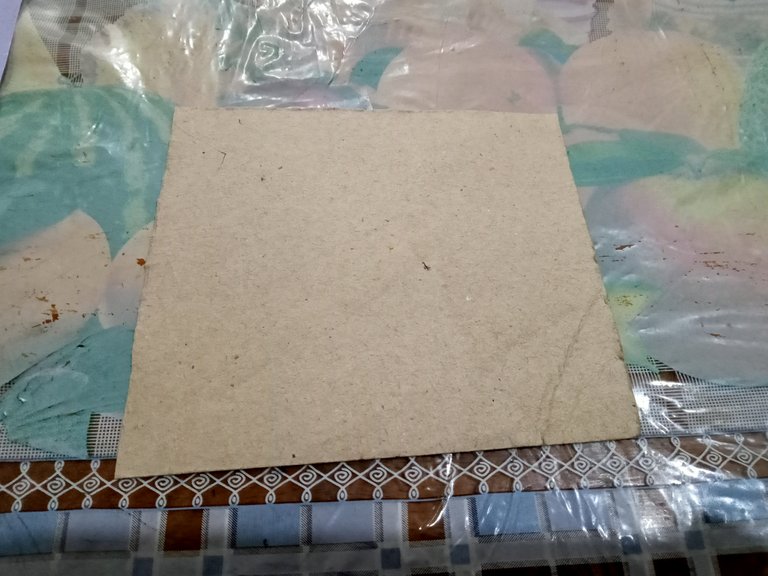
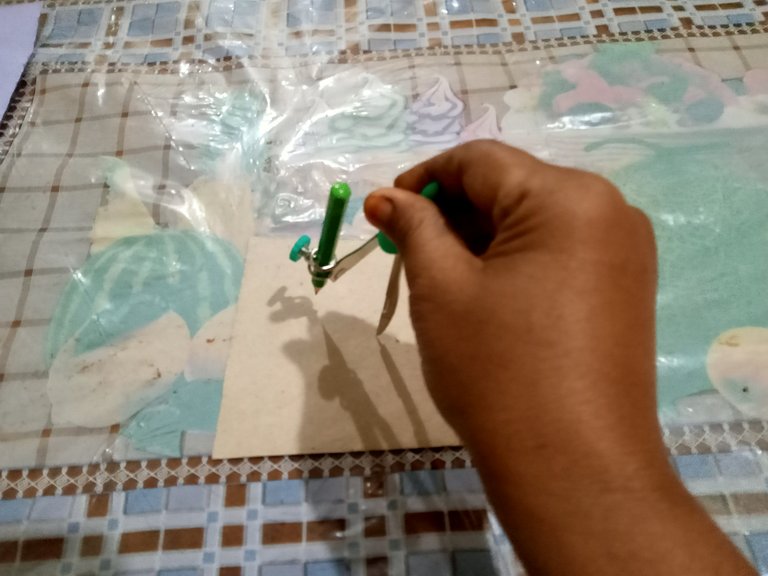
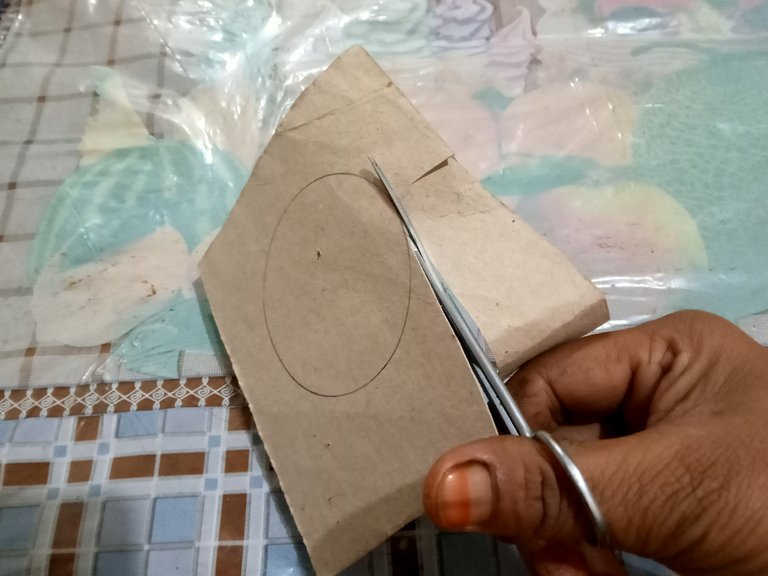
Step-1
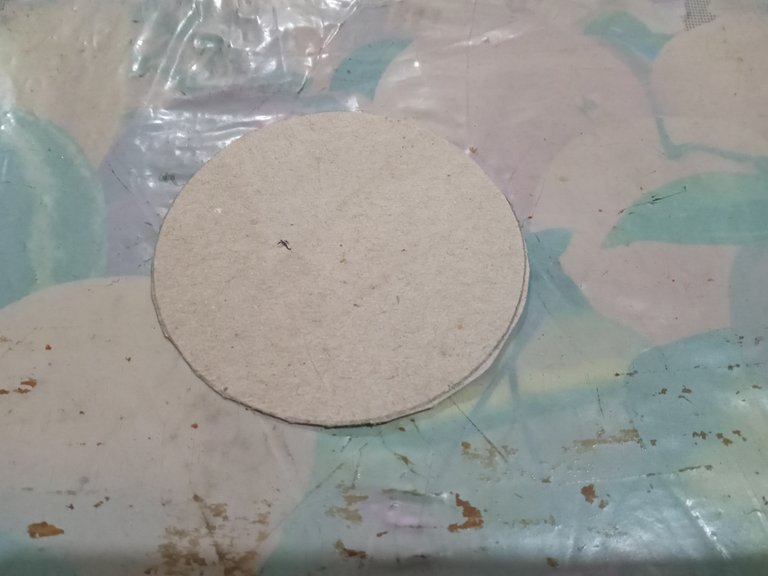
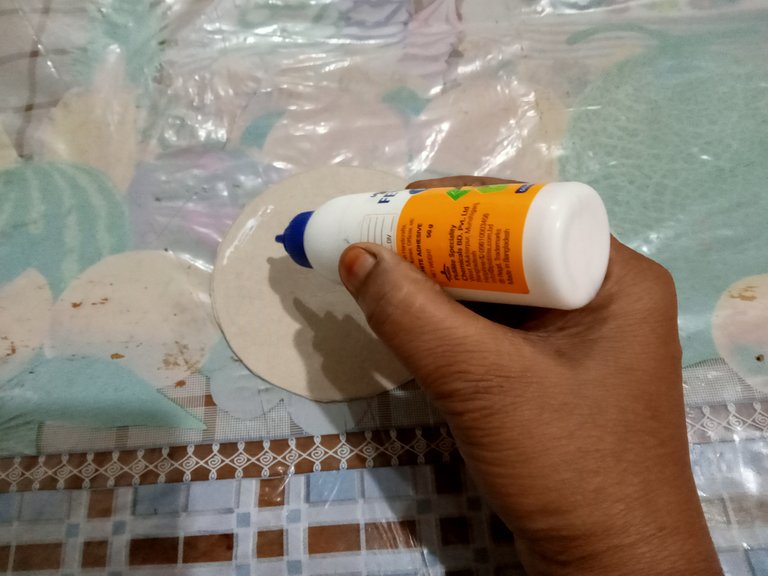
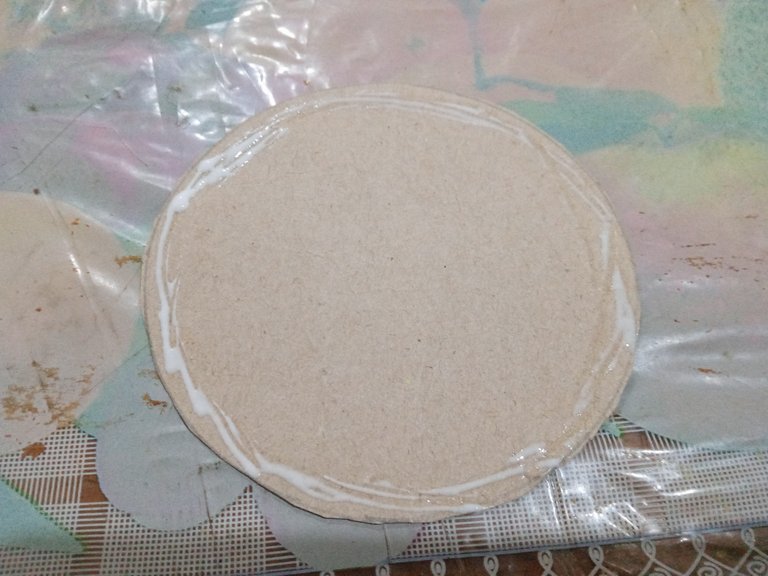
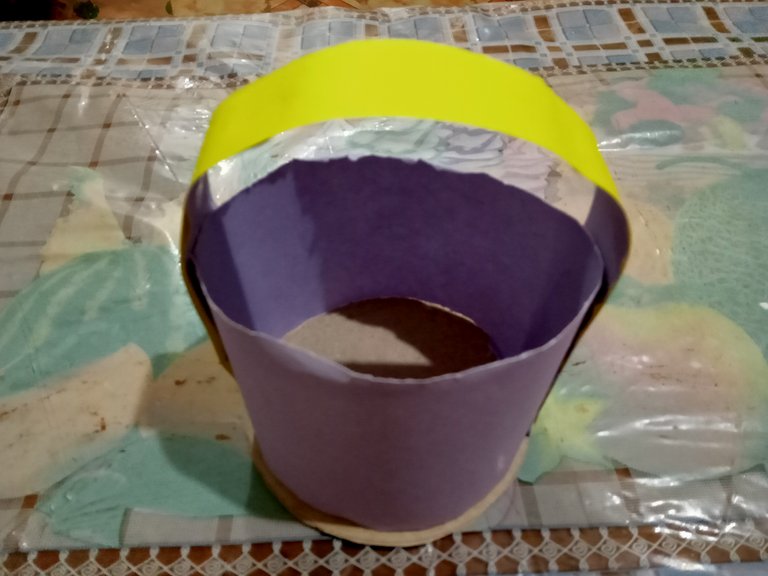
First, I took the cardboard and cut the circles accordingly with the help of scissors with the help of a compass. I used a compass to make it nice and round.
Step-2
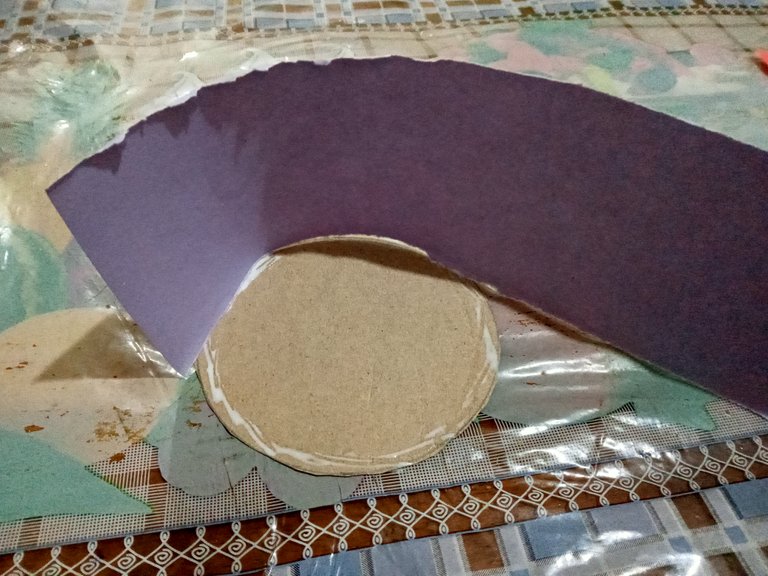
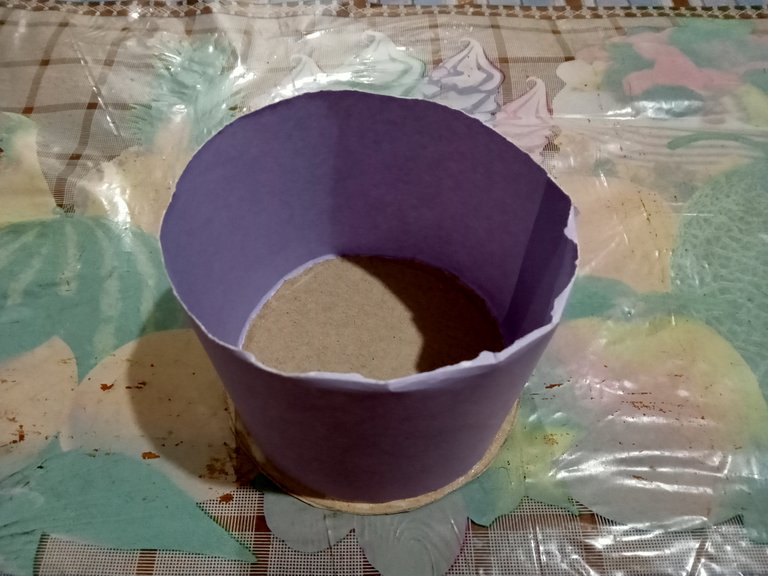
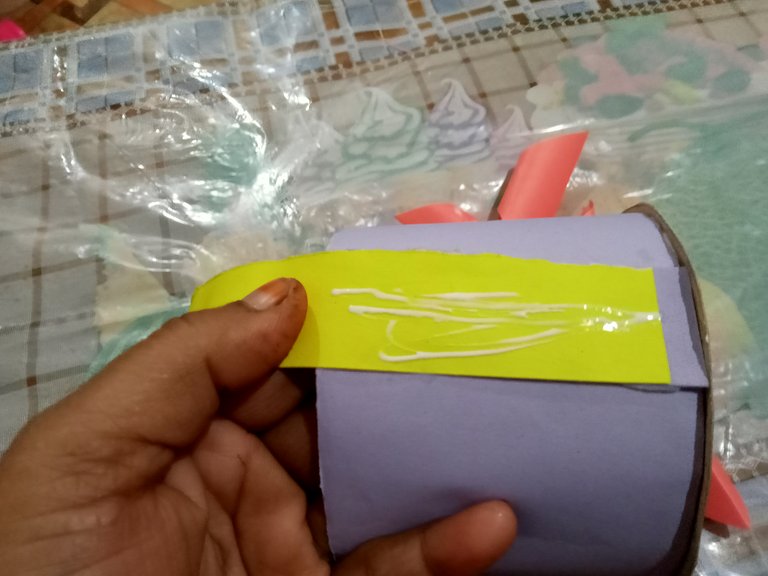
I then took the colored paper and cut it straight, put glue around the round cardboard and then placed the colored paper. You will understand by watching the scenes.
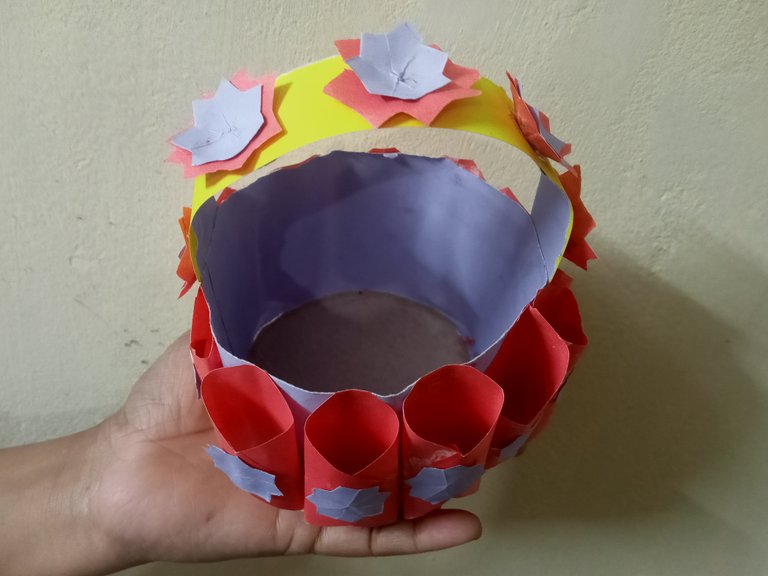
Step-3
Then I thinly cut two more pieces of paper in two different colors and glued them on to make the handles for the basket. I have given it double paper to make it a bit stronger.
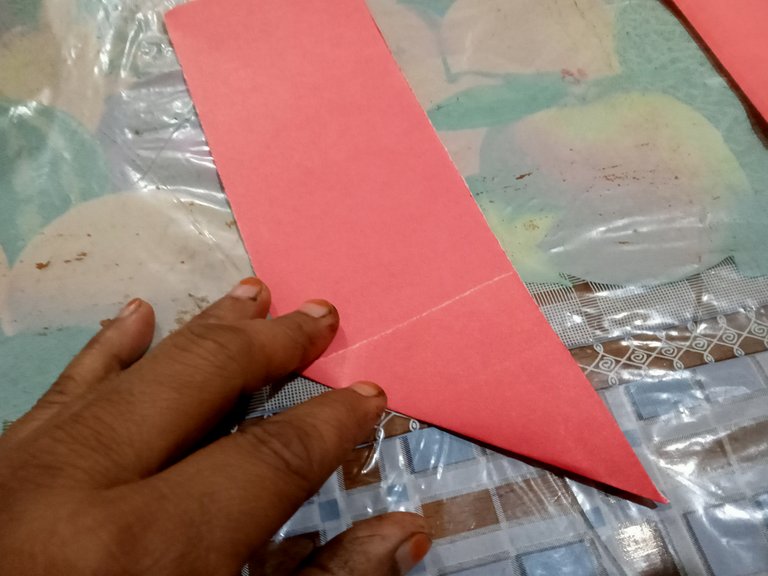
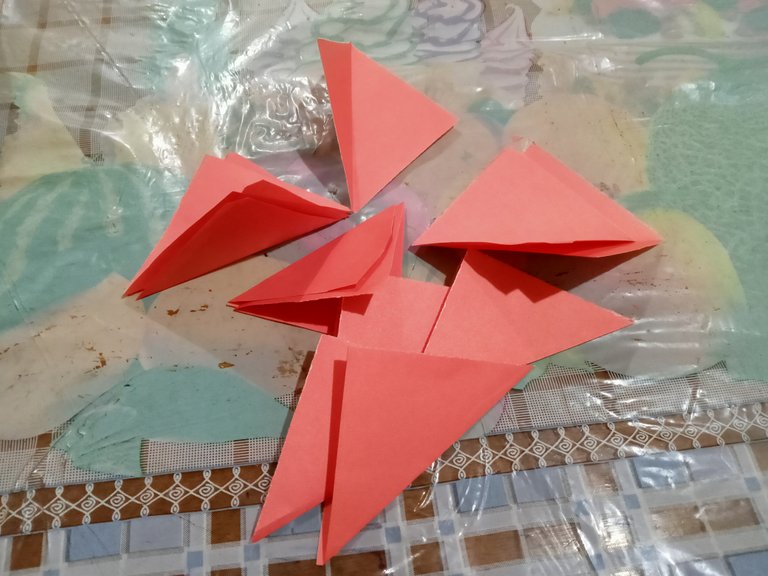
Step-4
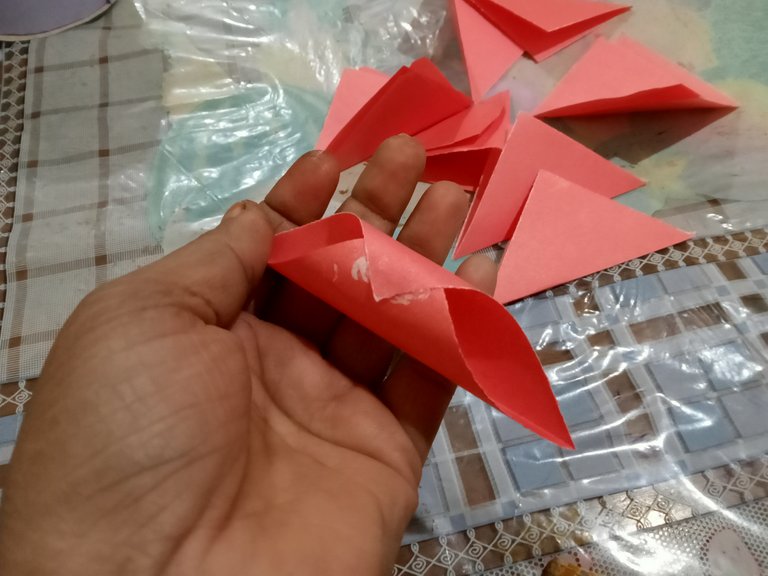
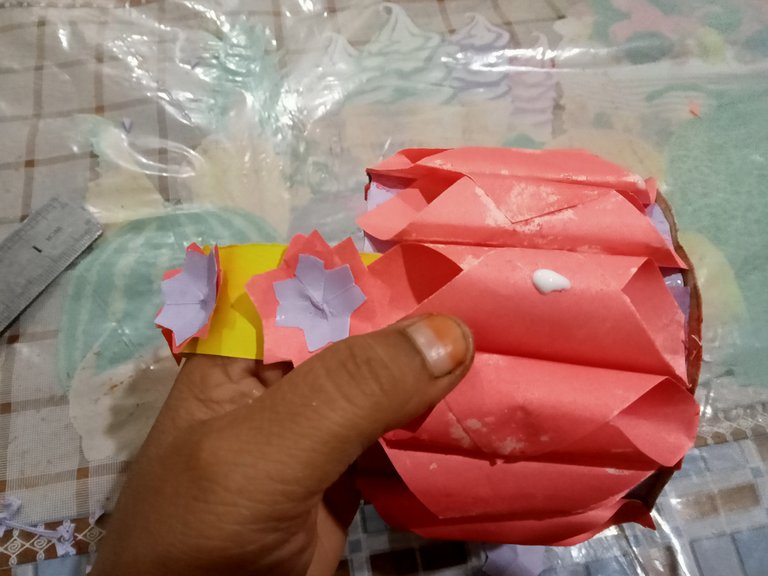
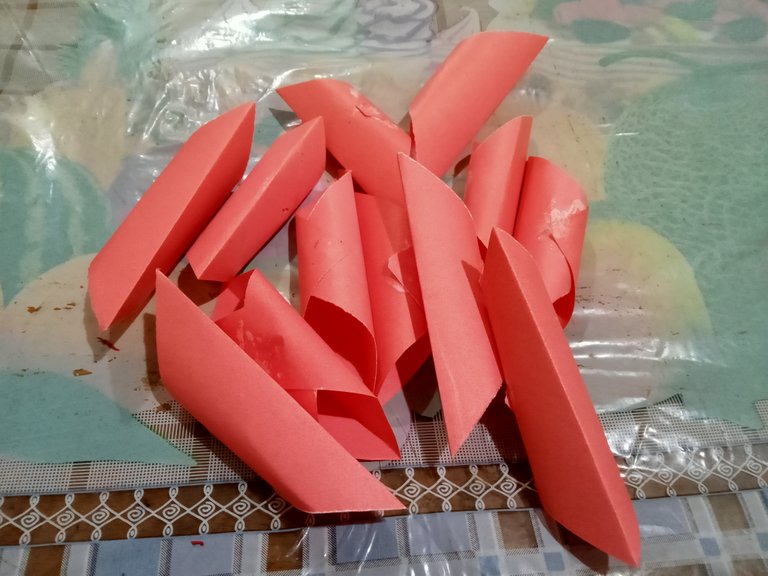
Then I took another color paper and made small pieces and fried them and tried to make a slightly different round with glue. I made several in the same way with all the papers.

Step-5
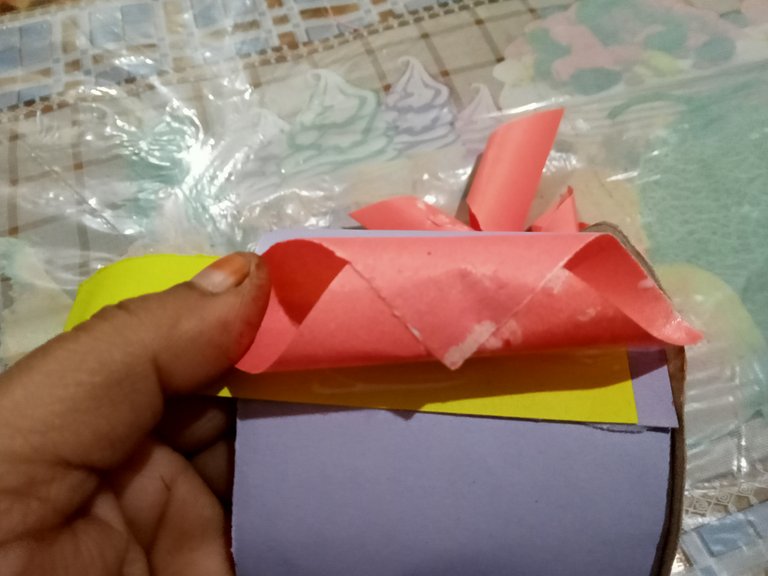
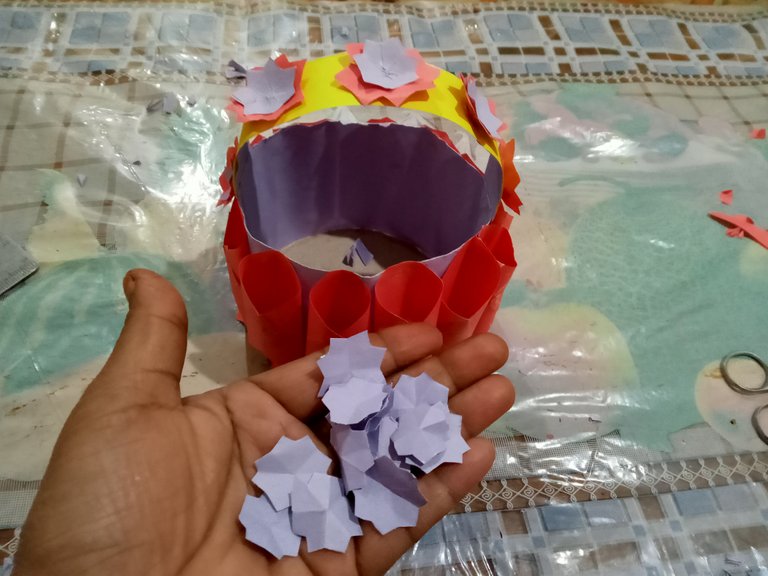
Then I glued them evenly around the basket one by one. After putting them on the basket looks pretty good, check out the pictures.
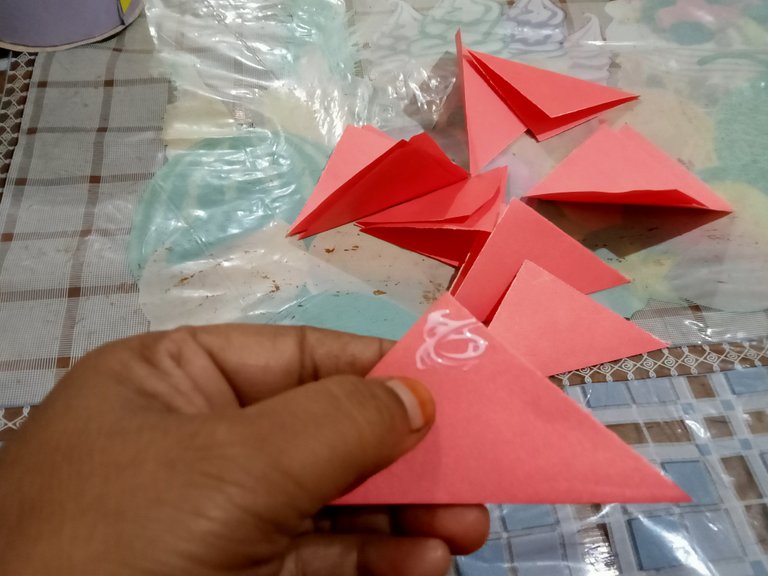
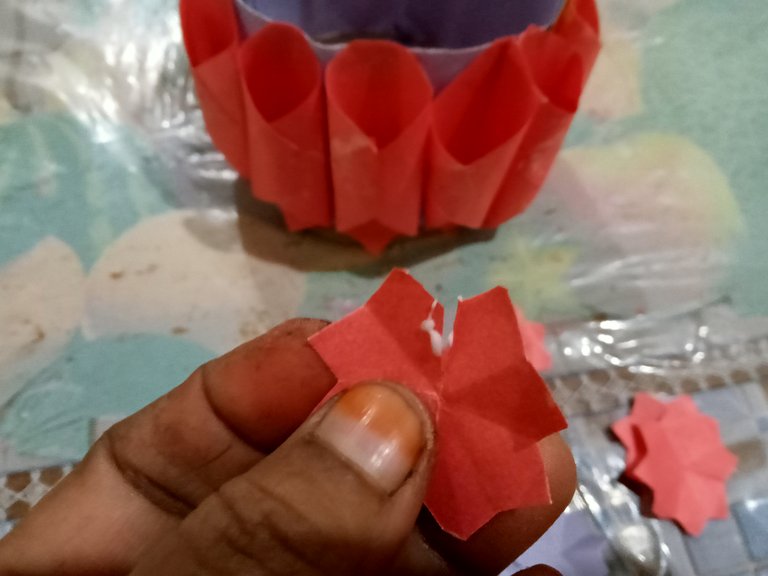
Step-6
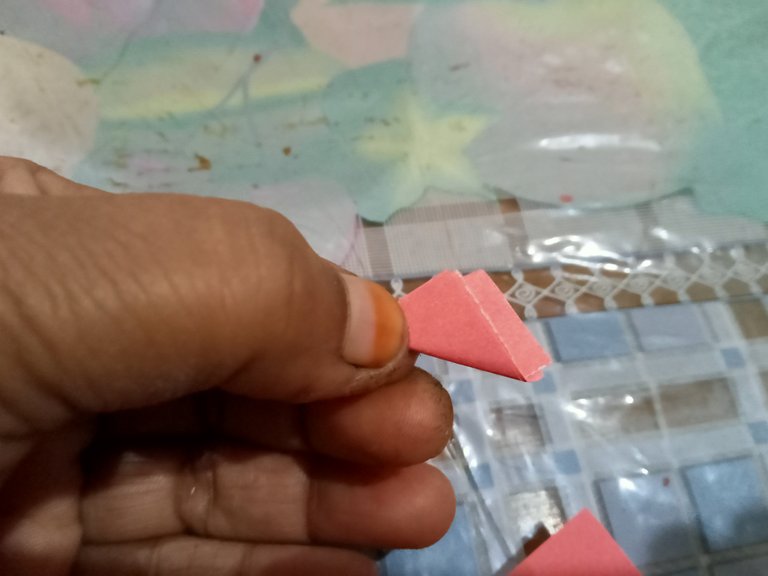
Then I cut some more paper into smaller pieces and folded them into multiple folds and cut them with scissors to make flower petals, glued one side and shaped them into a round shape.
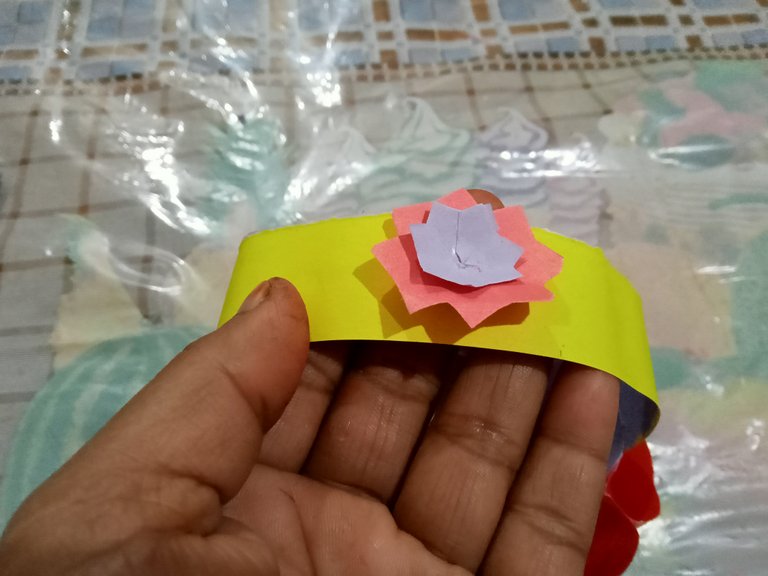
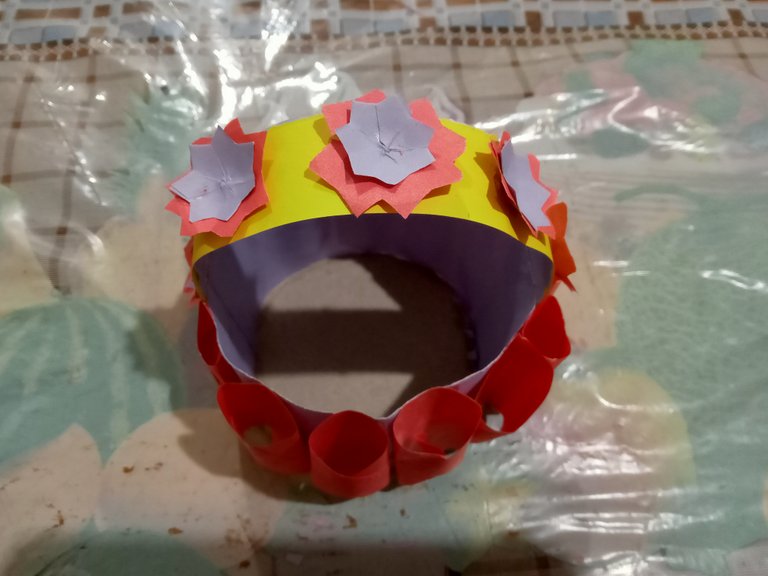
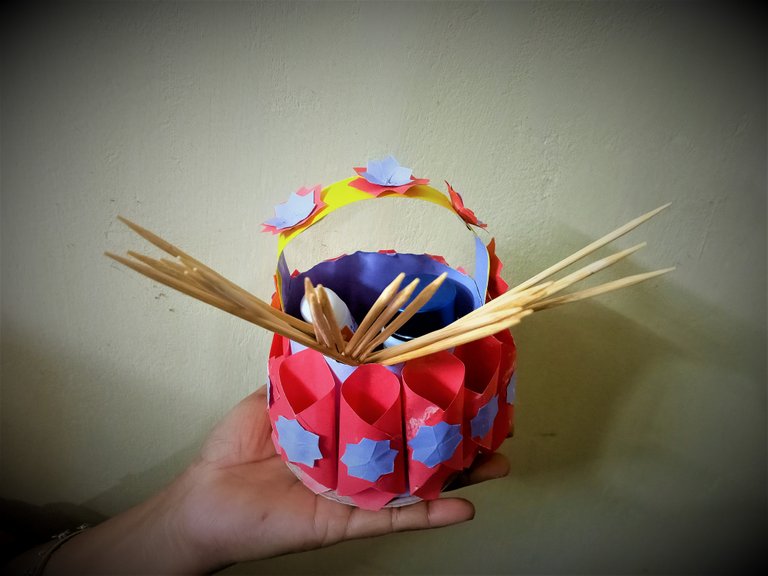
Step-7
Finally, I tried to give the final finishing touch by stacking the basket's handle and the petals around it on top of each other. Check out the scenes.
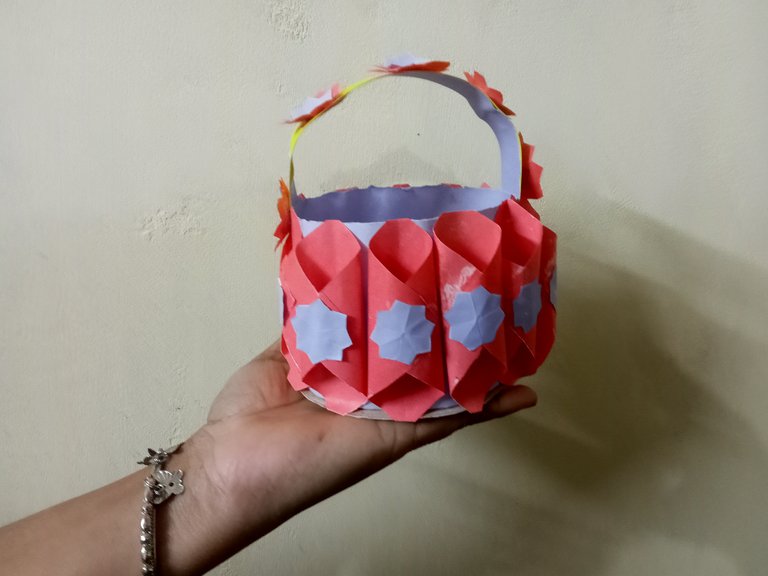
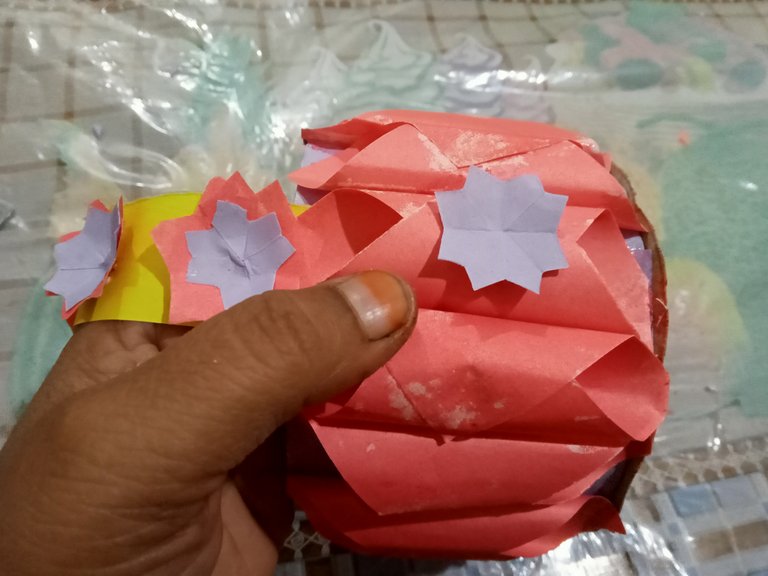
Last Step
After completing all the steps, I felt that the basket was not only finished but something quite beautiful and attractive. If you really try, you too can express your creativity by making something different like this. I hope you will also be impressed by the end scene.
All are my original photographs.
Thanks all.
@semarekha
| Declaration |
|---|
| I have only one ID on HIVE and there is no ID on other Blockchain |

I am a determined girl, I want to take myself to great heights. I know the challenge is tough, but I still want to go ahead and test my abilities. I don't want to lose before I lose, but I want to win through struggle. I love to write, I love to express my imagination.