Hello, wonderful people of Hive! It's always been a pleasure sharing with you some stuff I made. This is my first time posting in the @diyhub community, to join the contest to make any crafts of flowers for this month. I am happy to know and make friends with you all here!
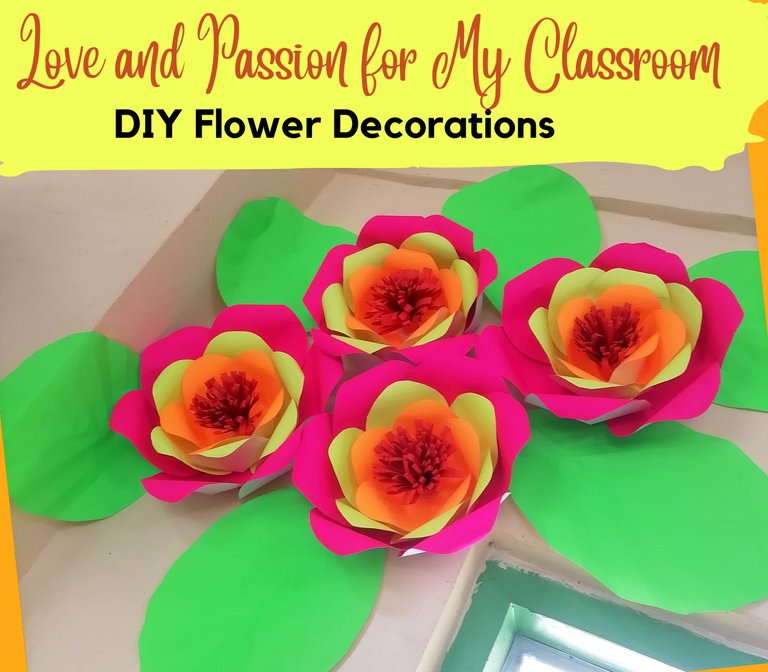
It has always been my heart's desire to create crafts. Watching and following DIY videos makes my soul alive and kicking. My parents and friends would admire me and I am so lucky that I can do something better on my own. Maybe it is a matter of the burning desire in you to make one out of something that you love to do.
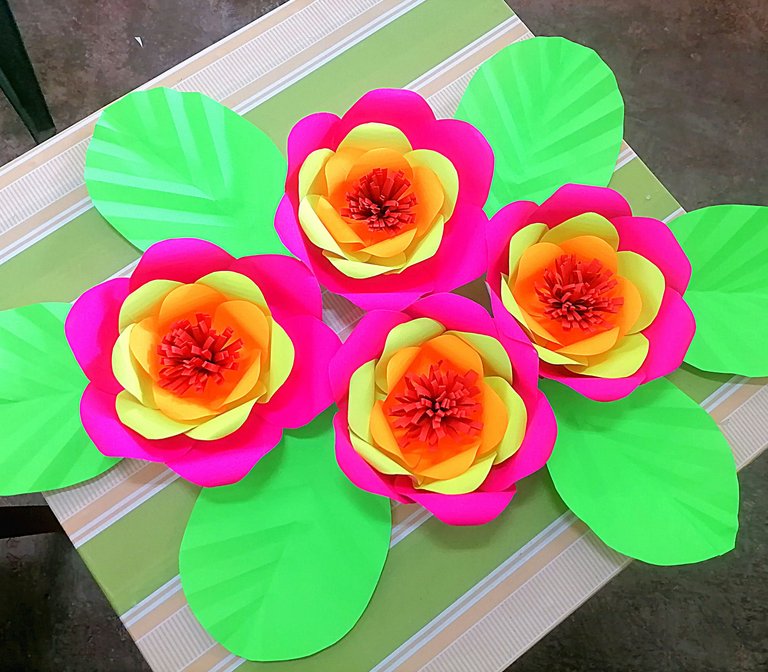
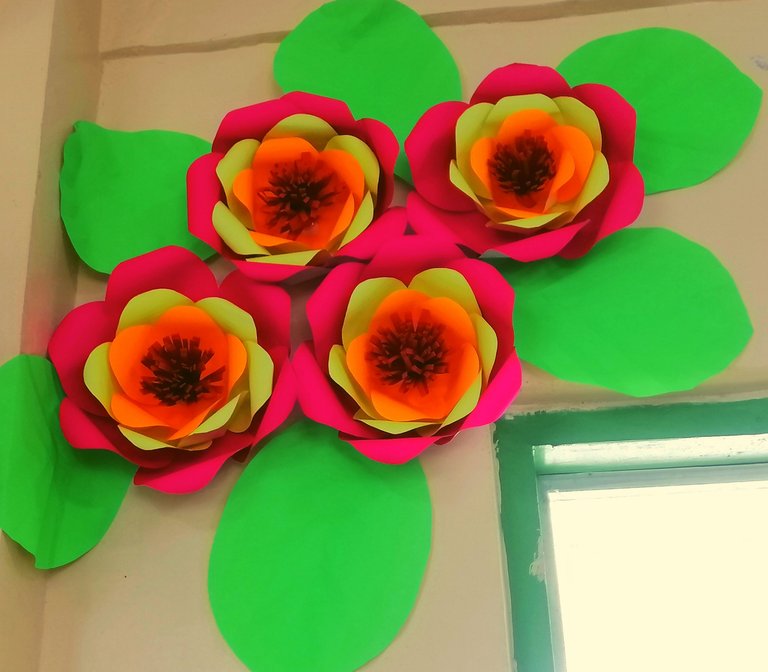
I believe that making our classroom neat and clean, is part of our duty as educators. To give more attraction to our classroom we can add flower decorations on the side. So today, I will be sharing with you my DIY Flower Decorations for my classroom.
🌺DIY FLOWER DECORATIONS🌺
Before making my flower decorations, I always consider low-cost materials. You can simply beautify and make your flower appealing even if you are using economical materials.
Materials Needed:
🌼Neon Paper (any color you wish to make for the petals)
🌼Green Neon Paper (for the leaves)
🌼Scissor
🌼Pencil
🌼Double-sided tape
🌼Glue stick
🌼Glue gun
🌼Used-folder
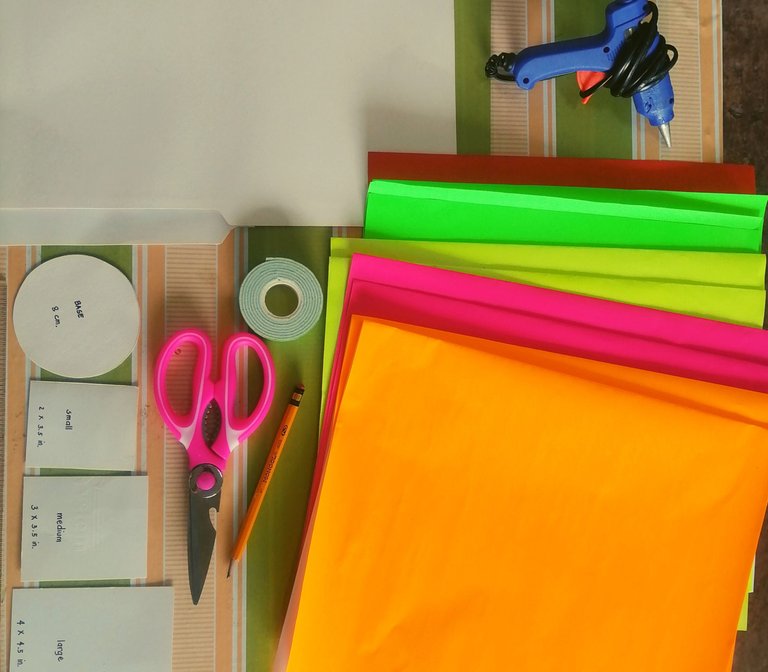
Come on, let's start!
Process:
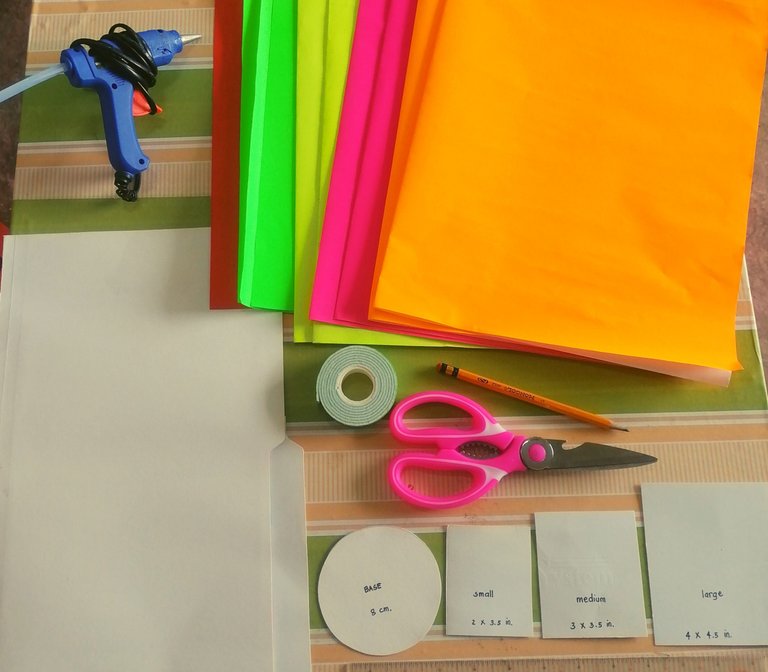
🎯Step 1🎯🌸PREPARATION OF YOUR MATERIALS🌸 - Prepare all the needed materials in the area where you want to make your decorations. It will help you save time.
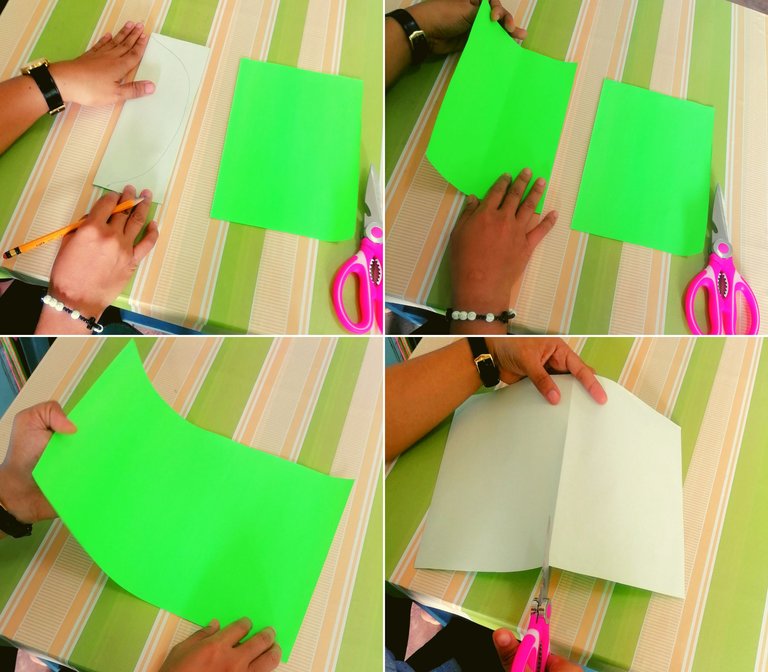
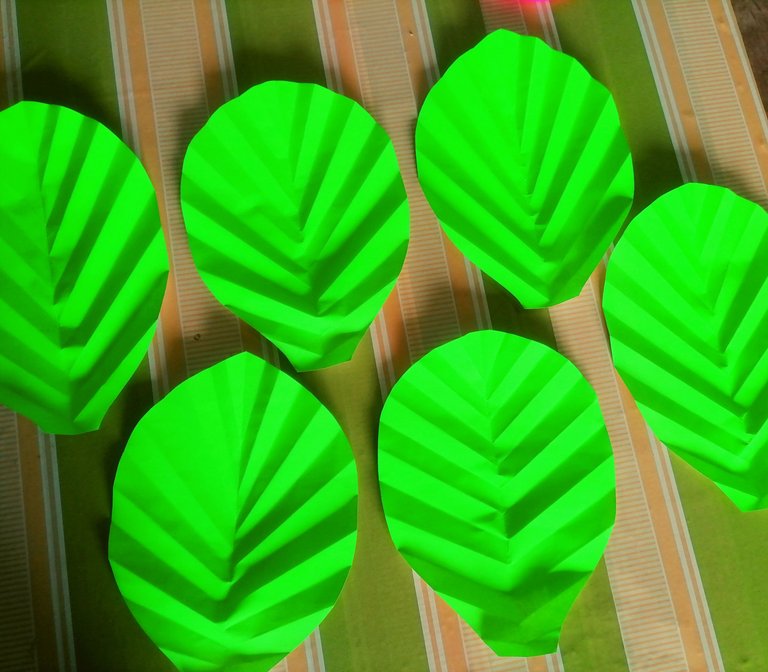
🎯Step 2🎯🌸LEAF MAKING🌸 - Cut the green neon paper into half. Once cut, fold the neon paper in half, then draw a leaf-shaped at the back. Then use the scissor to cut the shape drawn.
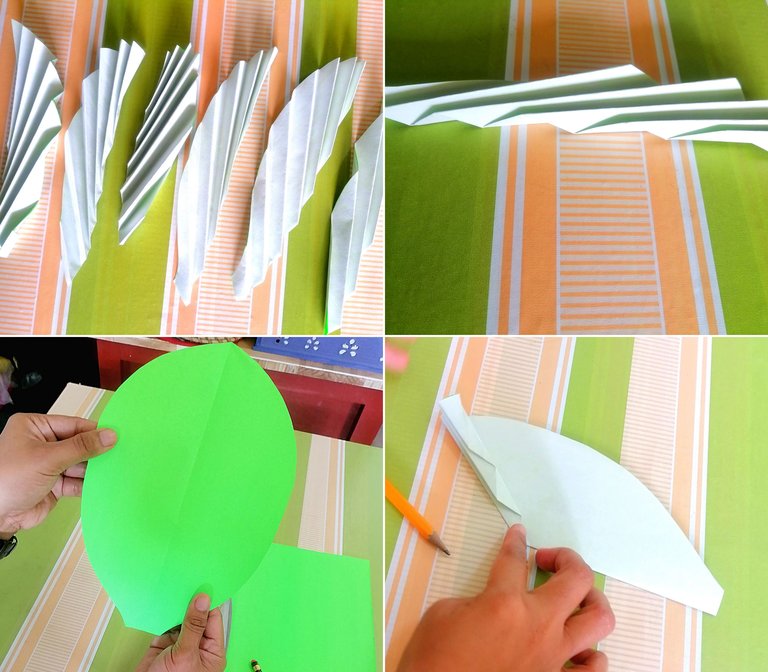
🎯2.1🎯From the cut leaf-shaped neon paper, fold it side to side as shown below to make a grove. Repeat the process to make six. Set aside.
🎯STEP 3🎯🌸MAKING THE CENTERPIECE🌸 - Get any colored neon paper of your choice. Fold it into four and slightly cut the paper as shown below.
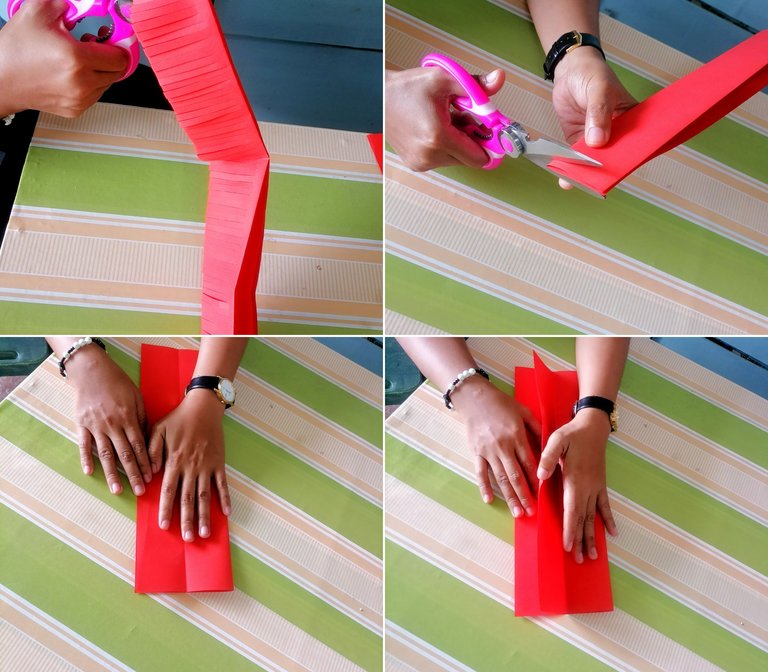
🎯3.1🎯After cutting into small pieces, cut the folded neon paper in two. Next, use a glue stick, and glue the end portion of the neon paper.
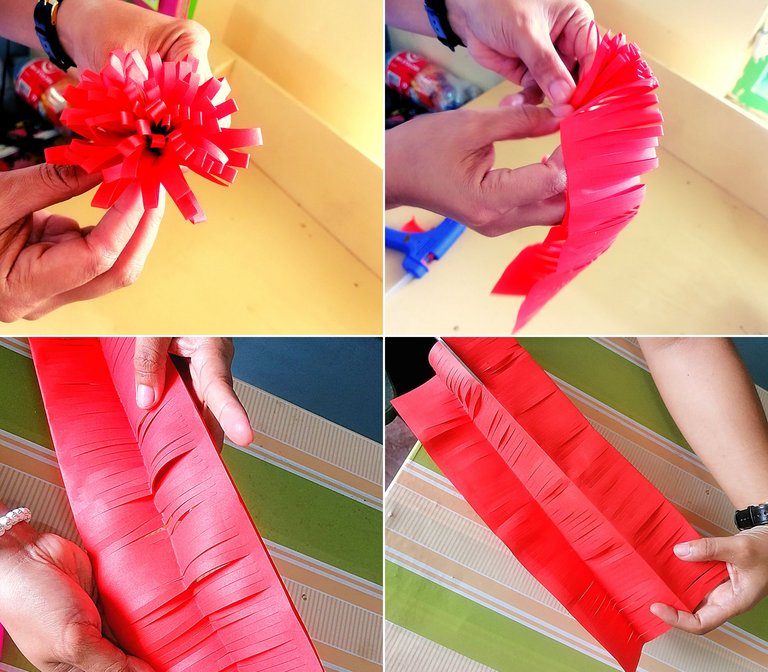
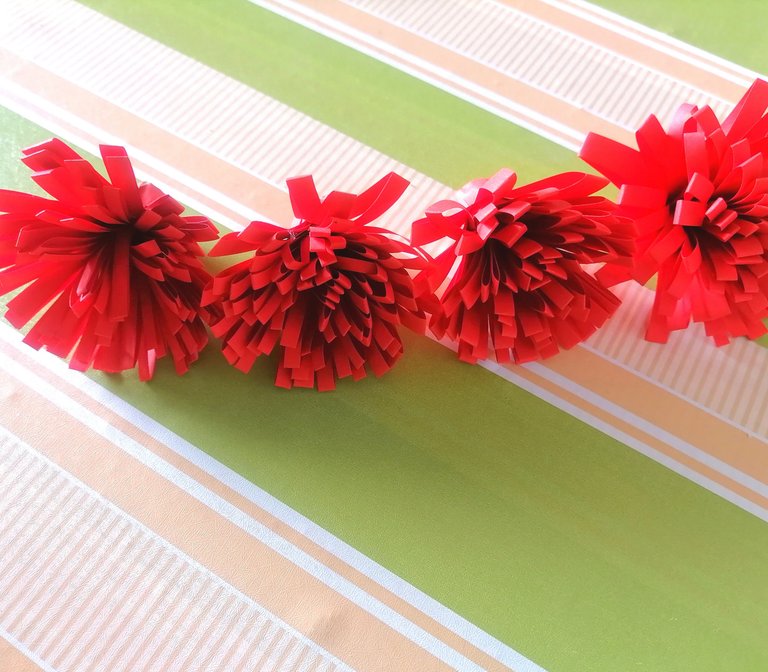
🎯3.2🎯Roll, the glued neon paper as shown below. Repeat the process to make four. Set aside.
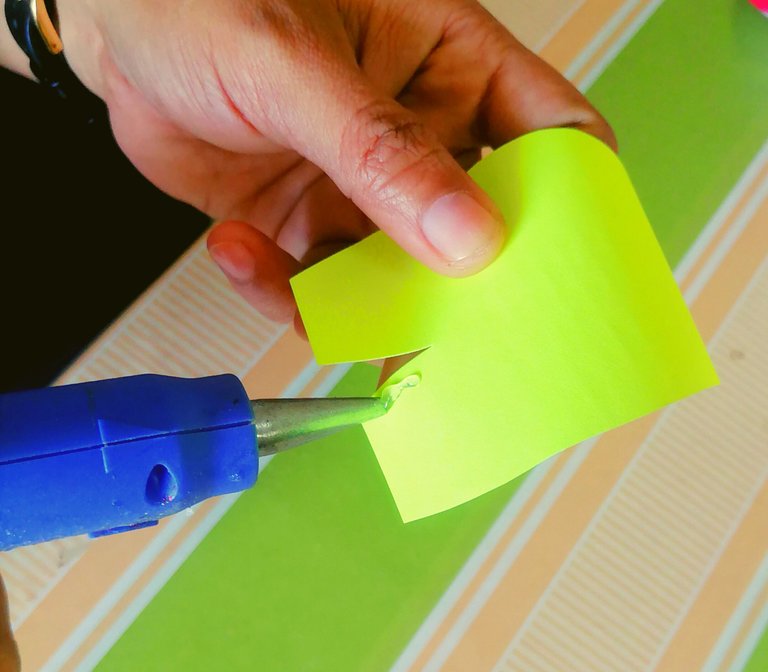
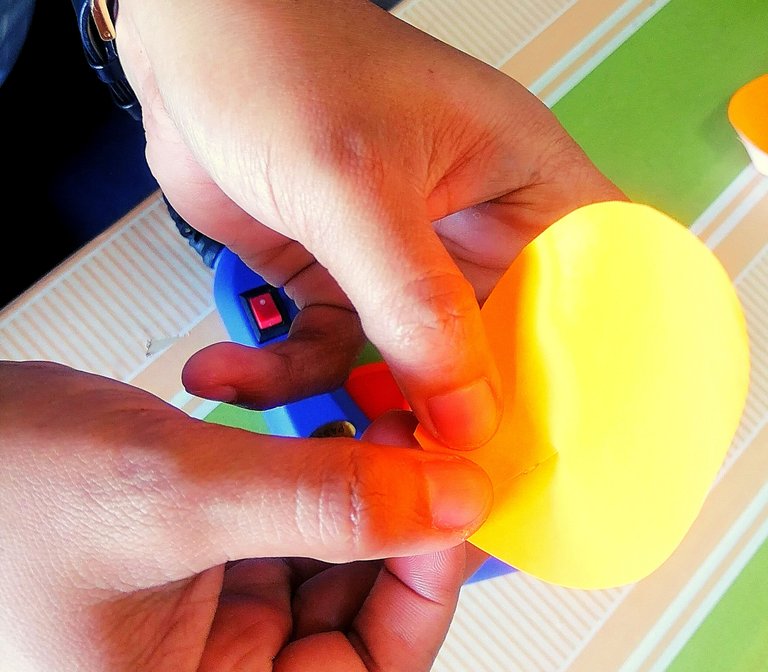
NOTE: Please be careful in using the glue gun because it's HOT.
🎯STEP 4🎯🌸MAKING OF PETALS🌸 - Cut your colored neon paper into small, medium, and large sizes. For the small size, it will be 2.5 x 3 inches. For the medium size, it will be 3 x 3.5 inches. For the large size, it will be 4 x 4.5 inches.
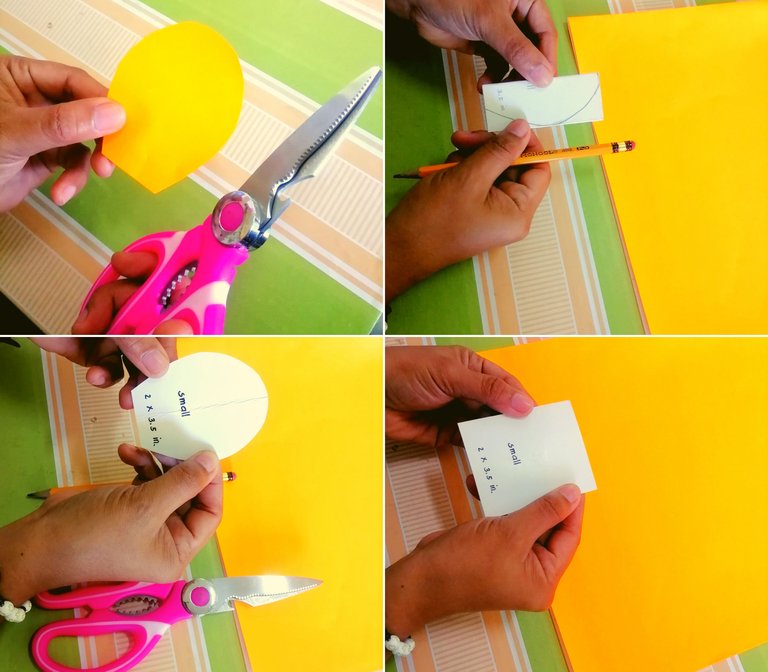
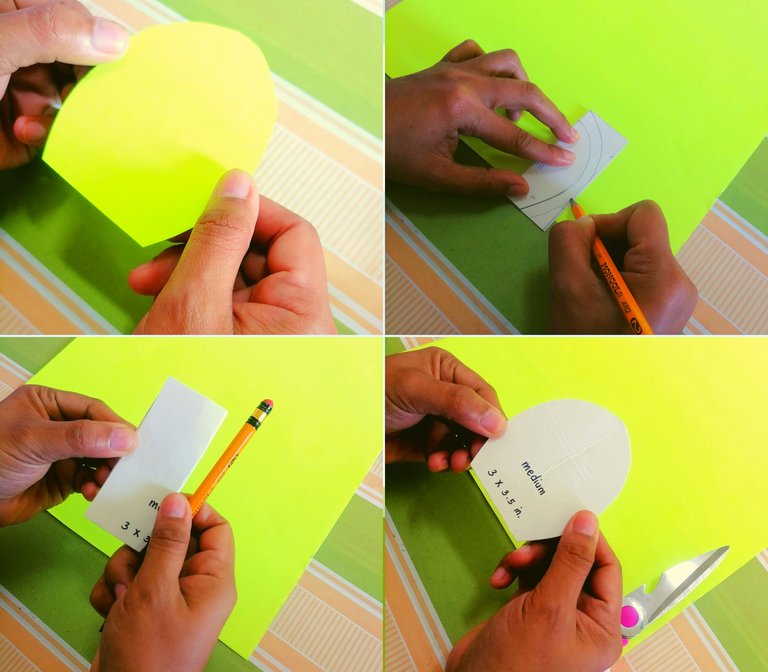
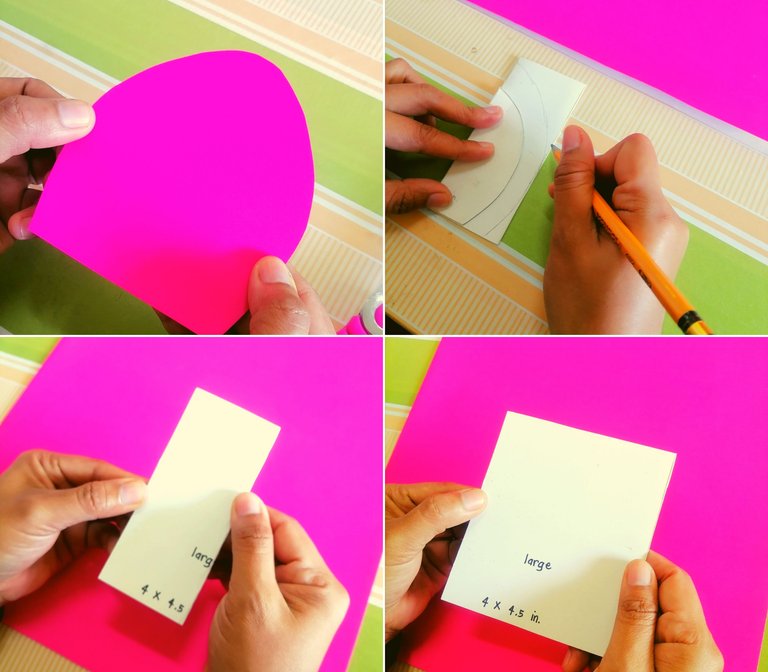
 🎯4.1🎯
🎯4.1🎯Fold the pattern and form a semi-round shape at the back for the petals, then, cut the drawn shape. Make 24 pcs. for the large and medium sizes, while 20 pcs. only for the small size. Set aside.
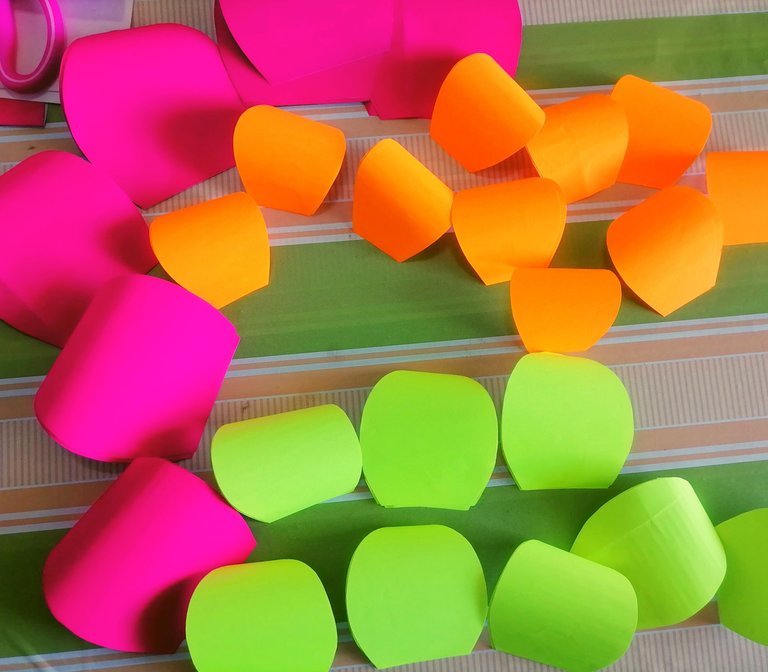
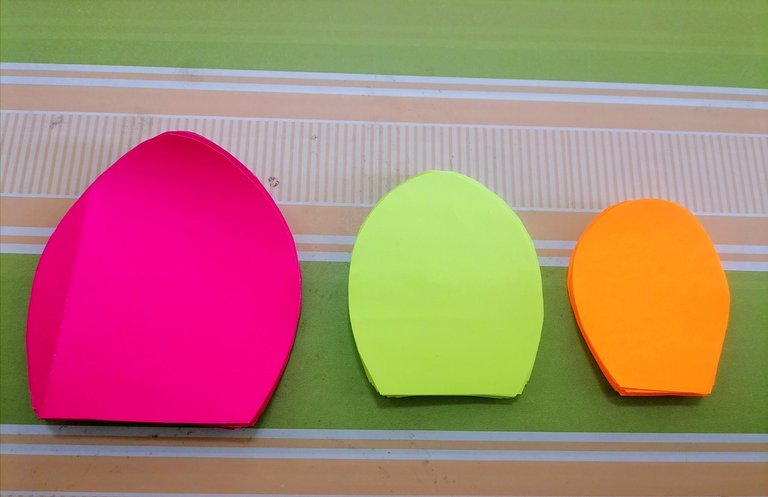
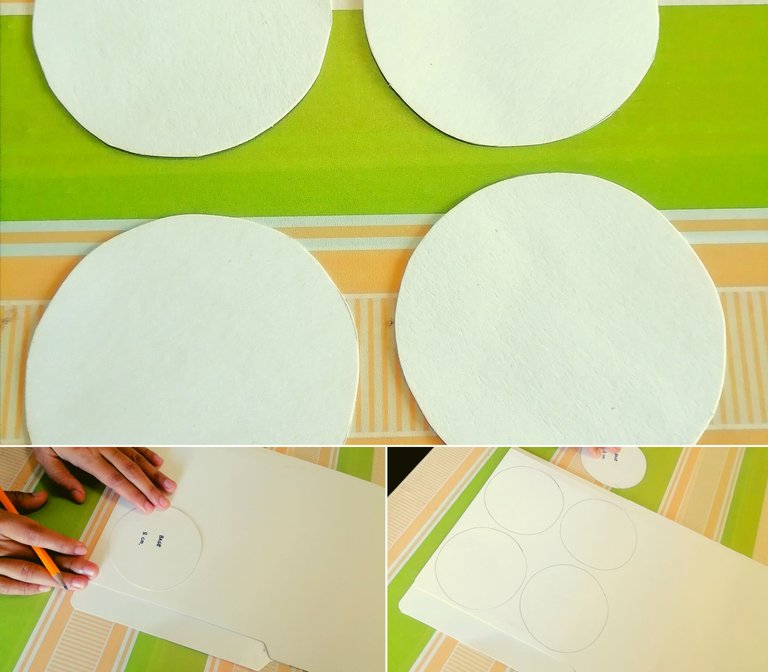
🎯STEP 5🎯🌸BASE OF THE FLOWER🌸 - From the used folder, prepare 4 round shapes - 8 cm. in size for the bottom part. This will be the base of your flower.
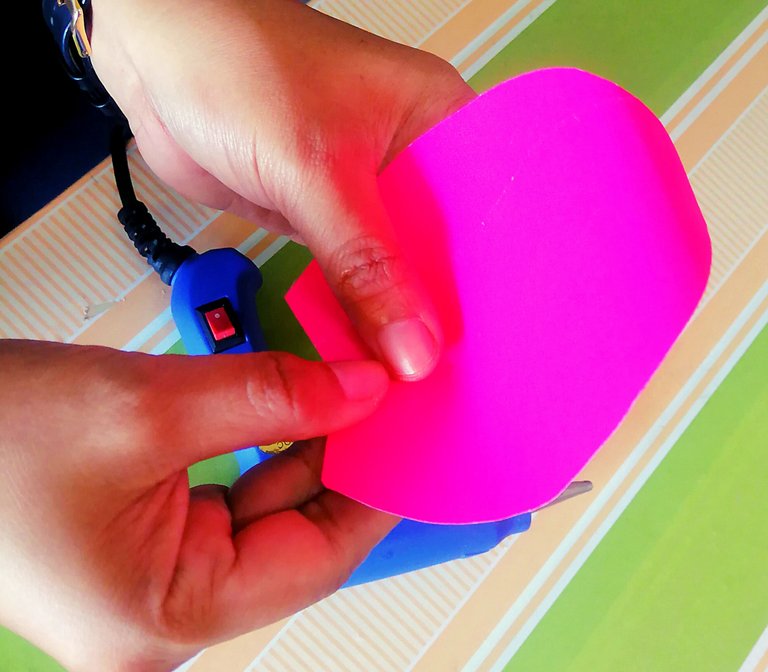
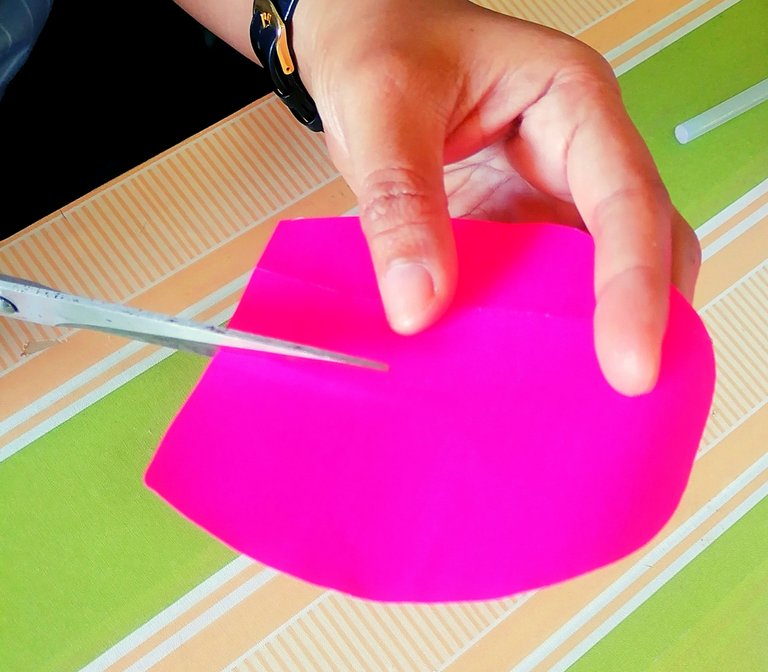
🎯STEP 6🎯🌸FLOWER FORMATIONS🌸 - Slit a little portion at the bottom of the cut sizes petals. Rolled it up to the middle with the use of a pencil, to make it bend. Glued the end portion of the petals as shown in the pictures below. Repeat the process for each petal.
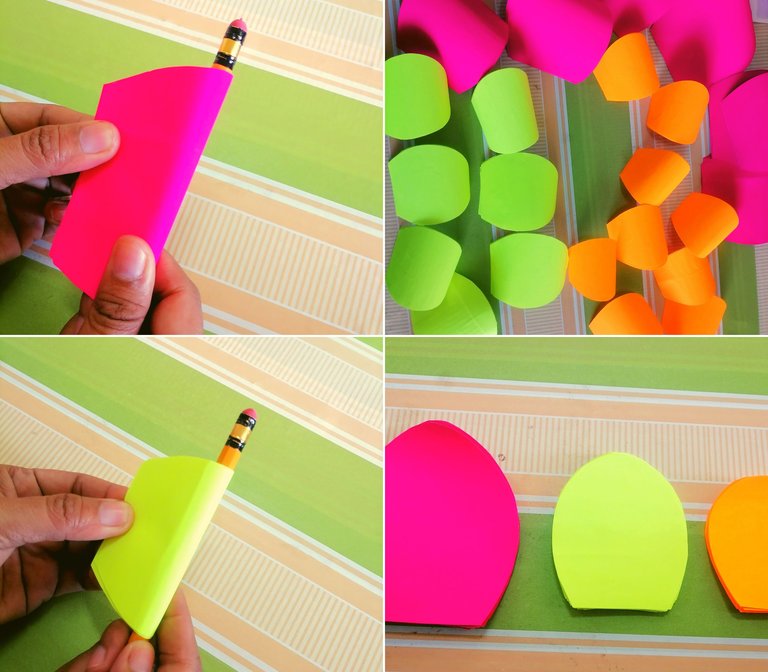
🎯6.1🎯With the use of a glue stick, place the petals into your base. First, place the 6 pcs of large-size petals at the outer portion of your flower. Next, put the 6 pcs. of medium-size petals next to the large one. After, place 5 pcs. of small-size petals in the middle. Lastly, place the centerpiece at the bottom. Repeat the process to make four.
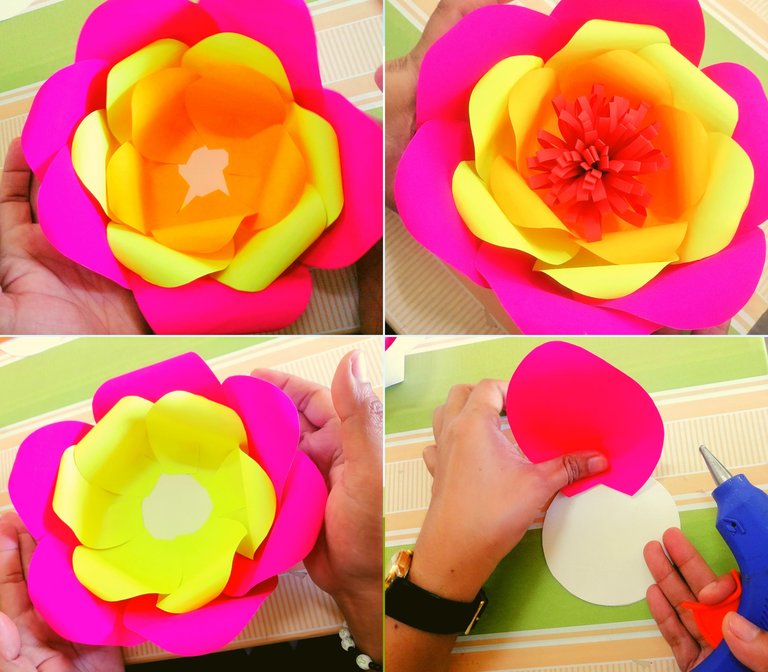
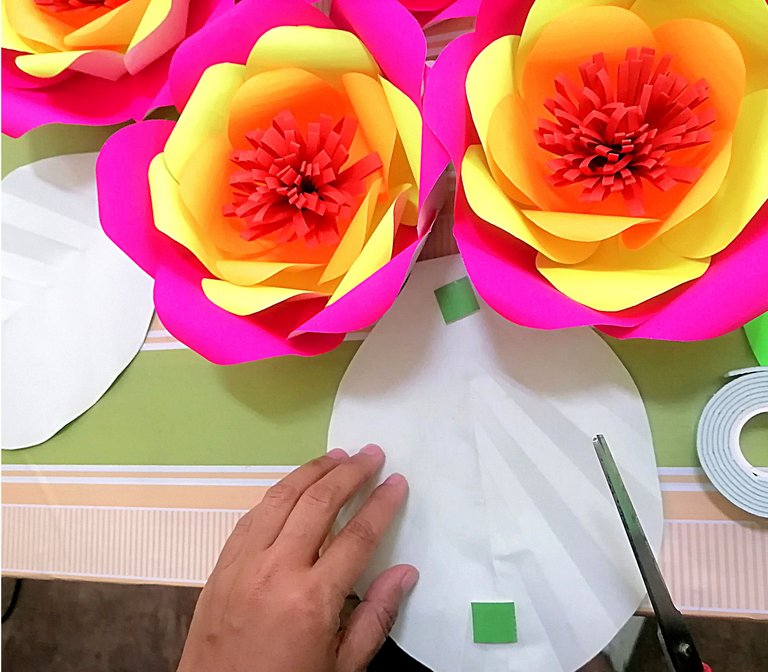
🎯STEP 7🎯🌸PUTTING UP OUR FLOWER DECORATIONS🌸 - With the use of double-sided tape at the back portion of your base, place your flower in the place you want to see it. Afterward, place the leaves at the back portion of your flower. See to it that the leaves will also be seen. Don't forget to balance the flowers before you finally stick to the wall.
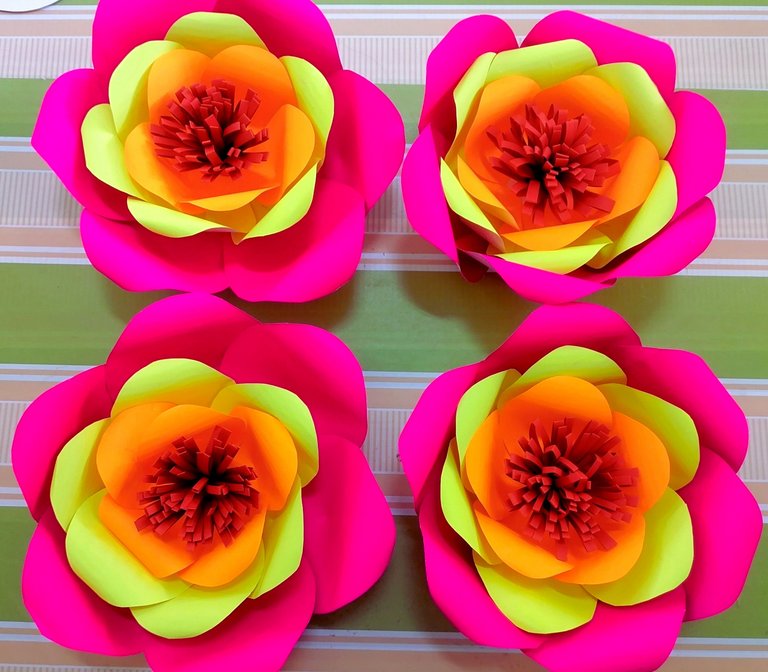
Finally, we are done with our flower decorations! As you can see it is so simple to create. Using the steps I prepare, and with the guide of the pictures, I know you can also make one. Beautiful flower decorations can make your classroom more appealing to your students and your visitors that may come in anytime.
Flower decorations are very familiar to everyone. There are a lot of websites and articles that you can read and follow in making one.
Thank you for reading and supporting my blog. I hope you like it. If I can make it, then I know you can also do it creatively 😊


