
Saludos a todas las queridas personas interesadas en mi post. Es mi primera vez publicando en esta comunidad, un placer.
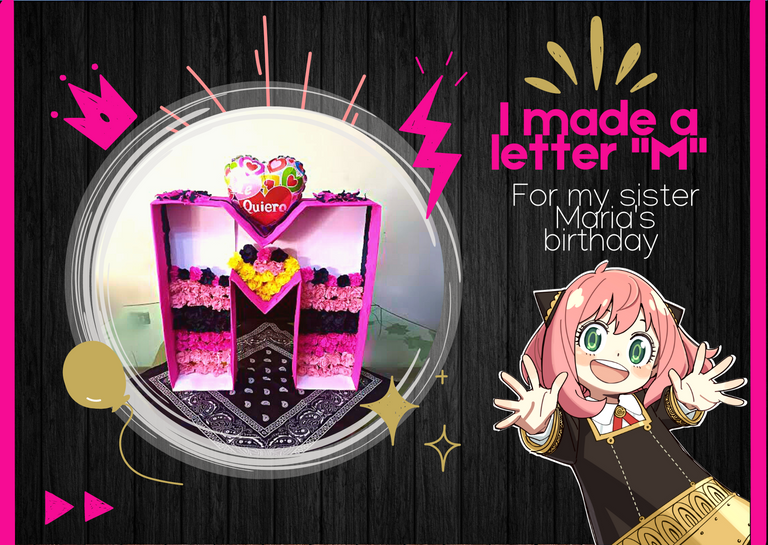
En esta ocasión les quiero compartir con mucha emoción como realicé una letra “M” decorativa de 50x50cm para el cumpleaños número 13 de mi hermana María 🎈🎉💖
Como es popular y bastante estético realizar o comprar las letras de nuestros seres queridos en sus cumpleaños, quise hacerlo para mi hermana, así que me puse manos a la obra y utilicé lo que tenía para lograrlo.
La temática de su cumpleaños fue de Anya, personaje del anime Spy x Family, así que traté de utilizar sus colores característicos como inspiración. Aunque el fucsia quedó un poco intenso, los demás colores pegaban más con la temática y a mi hermana le gustó mucho el acabado, además que todo se veía muy bien junto a toda la decoración, pronto lo verán.
Greetings to all the dear people interested in my post. It is my first time posting in this community, a pleasure.
This time I want to share with great excitement how I made a decorative letter "M" of 50x50cm for the 13th birthday of my sister Maria 🎈🎉💖
As it is popular and quite aesthetic to make or buy the letters of our loved ones on their birthdays, I wanted to do it for my sister, so I got down to work and used what I had to do it.
The theme for her birthday was Anya, a character from the anime Spy x Family, so I tried to use her characteristic colors as inspiration. Although the fuchsia was a bit intense, the other colors were more in line with the theme and my sister really liked the finish, plus everything looked great together with all the decoration, you will see it soon.
Materiales:
- Papel crepé
- Cinta adhesiva
- Cartón
- Tijera
- Hojas de papel
- Silicón frío
- Ganchos de ropa
- Marcador
- Bisturí o exacto
Materials:
- Crepe paper
- Adhesive tape
- Cardboard
- Scissors
- Sheets of paper
- Cold silicone glue
- Clothes hangers
- Marker
- Cutter

💜 1 🍰
El primer paso que realicé fue tomar varios cartones que no servían y pegarlos con silicona fría y cinta adhesiva para que se sostuviera todo bien. Luego, recorté los bordes para que mi letra fuera puntiaguda, tracé con negro la silueta de la “M” y recorté.
The first step I did was to take several cardboards that were no good and glue them together with cold silicone and tape to hold everything together nicely. Then, I cut the edges so that my letter would be pointed, traced the silhouette of the "M" with black and cut it out.
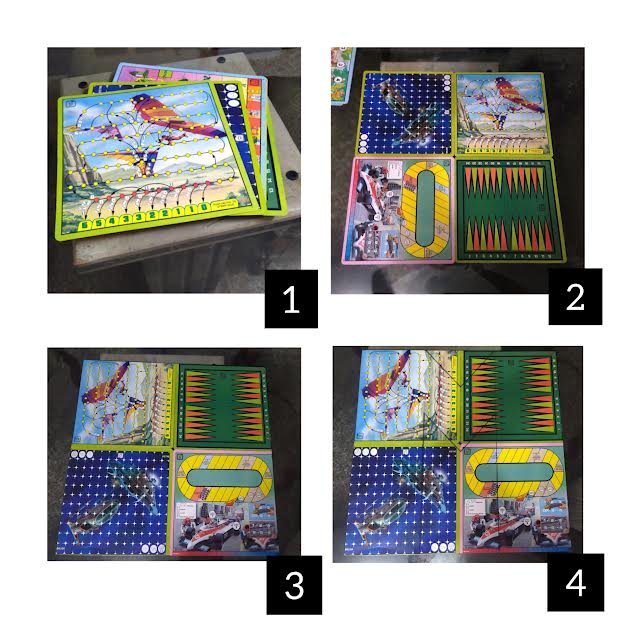
Para más soporte pegué trozos de cartón en cada unión de los cartones (si tú tienes un cartón grande completo puedes omitir esto último).
For extra support I glued pieces of cardboard to each cardboard joint (if you have a large full cardboard you can omit the latter).
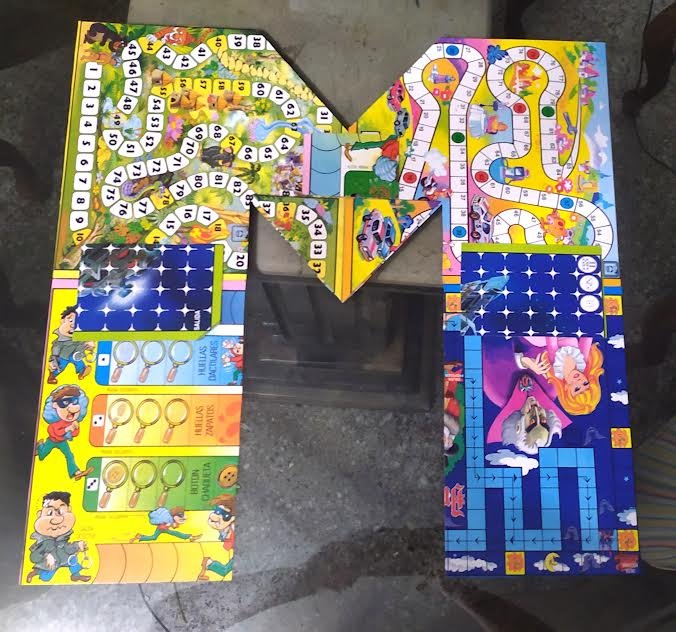
💜 2 🍰
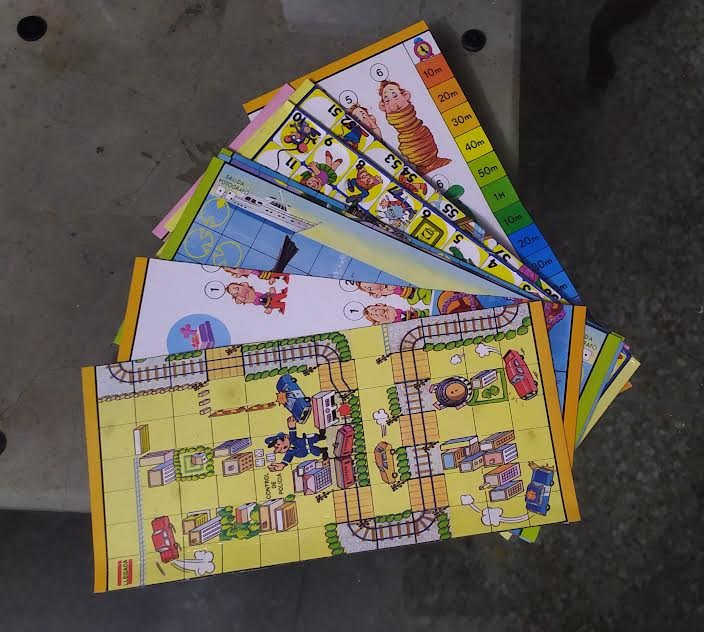
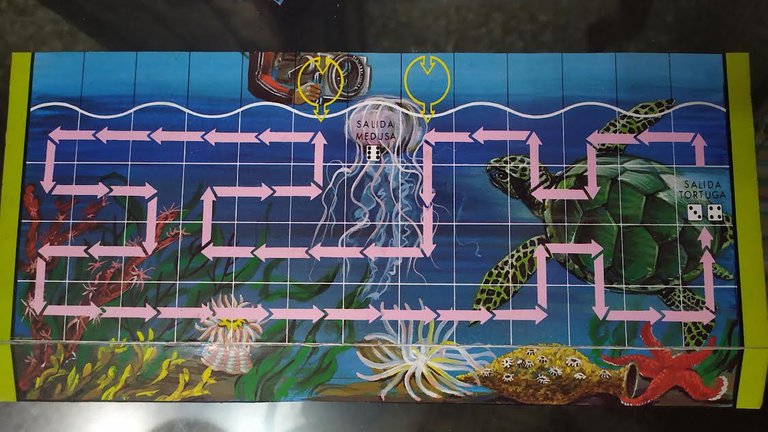
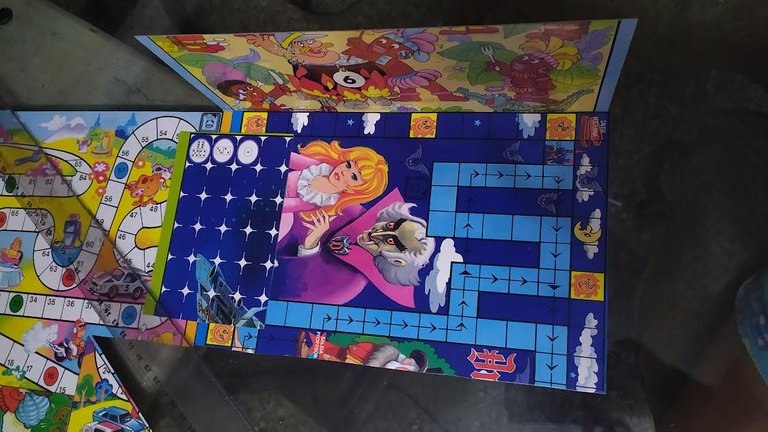
Utilicé varios cartones que me sobraron, los dividí y corté un poco con un bisturí (sin recortar completamente) para poder doblar una parte que posteriormente iba a pegar en la letra “M”, dándole forma.
I used some leftover cardboard, divided it and cut it a little with a scalpel (without cutting it out completely) to be able to fold a part that I would later glue on the letter "M", giving it shape.
💜 3 🍰
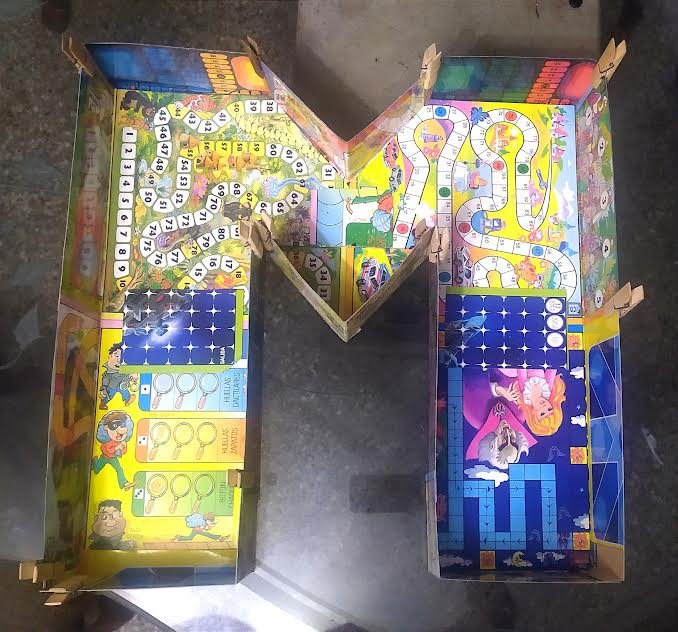
Pegué todo con silicón frío y sostuve todas las partes con ganchos mientras se pegaban (si tienes silicón caliente todo es más rápido).
I glued everything with cold silicone glue and held all the parts with hooks while gluing (if you have hot silicone glue everything is faster).
💜 4 🍰
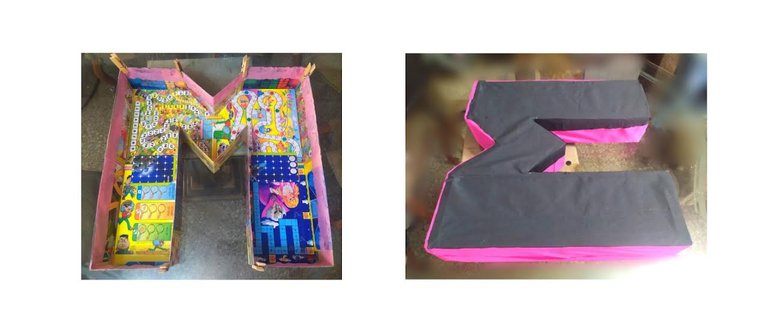
Procedí a forrar la letra con papel crepé fucsia y negro a petición de la cumpleañera, cuidando los detalles lo mejor que pude (considerando que es un papel delicado).
I proceeded to line the letter with fuchsia and black crepe paper at the request of the birthday girl, taking care of the details as best as I could (considering it is a delicate paper).
💜 5 🍰
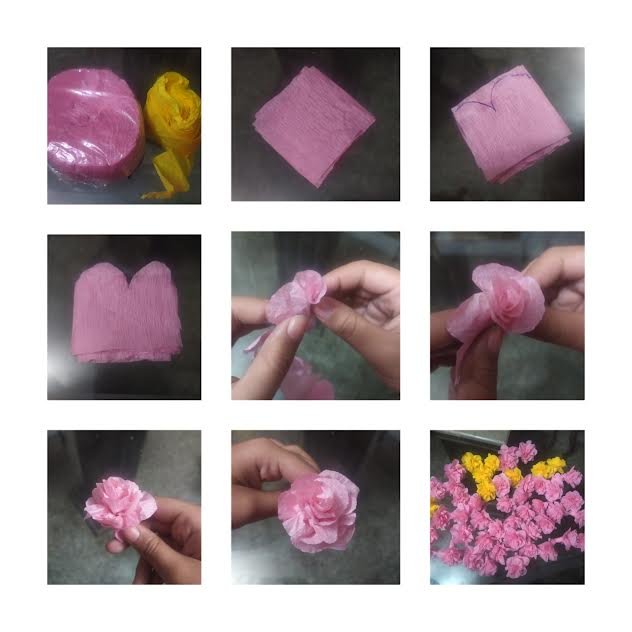
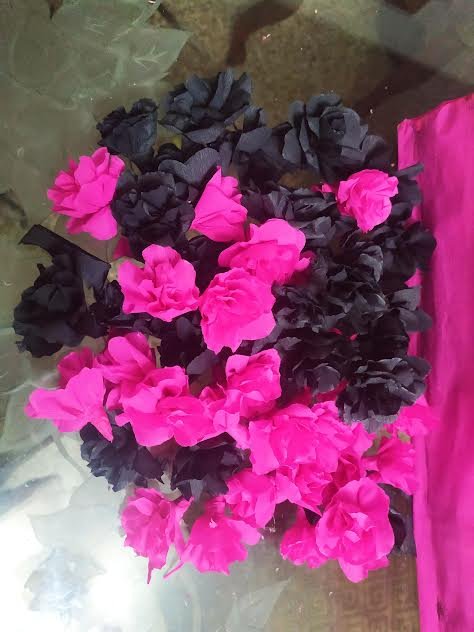
Realicé flores para el relleno, aunque tú puedes hacer lo que más te guste y de la forma que prefieras. Las hice sencillas, tomando un trozo de papel crepé, cortando una curvita… enrollando, tratando de darle forma de flor, y así seguí, hasta realizar 42 rosadas, 10 amarillas, 30 negras y 30 fucsias (hubiera hecho más de no ser por el cansancio y que se me agotó el papel).
I made flowers for the filling, although you can do whatever you like and in whatever way you prefer. I made them simple, taking a piece of crepe paper, cutting a little curve... rolling it, trying to give it the shape of a flower, and so on, until I made 42 pink, 10 yellow, 30 black and 30 fuchsia (I would have made more if I hadn't been tired and run out of paper).
💜 6 🍰
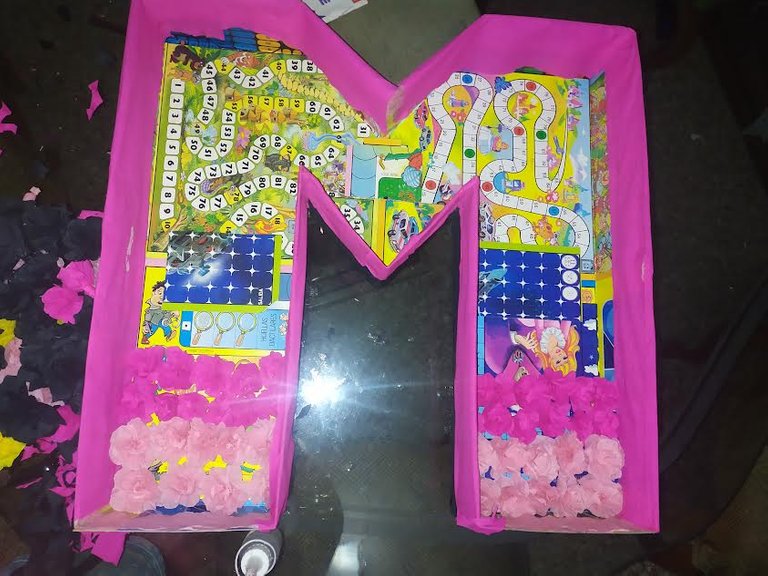
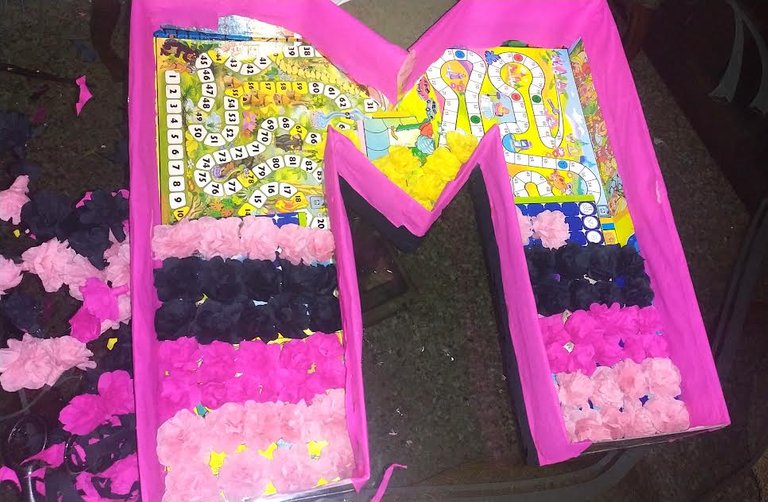
Rellené todo con flores hasta agotarlas. El fondo no me disgustó, así que lo dejé pero en la parte de arriba forré todo de blanco a petición de la cumpleañera.
filled everything with flowers until I ran out. I didn't dislike the bottom, so I left it, but at the top I lined it all in white at the request of the birthday girl.
💜 7 🍰
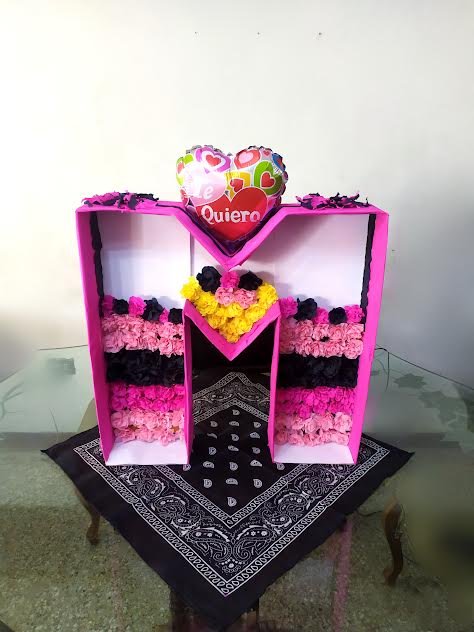
Finalmente, agregué un globo que dice “te quiero” en el centro y varias tiras de papel que me sobraron.
Finally, I added a balloon that says "I love you" in the center and several strips of paper that I had left over.

Espero que les haya gustado, a mí me pareció un lindo detalle y por supuesto que a la cumpleañera le encantó.
Aquí les muestro como quedó todo, le agregué más globos a la “M”:
I hope you liked it, I thought it was a nice detail and of course the birthday girl loved it.
Here I show you how everything turned out, I added more balloons to the "M":
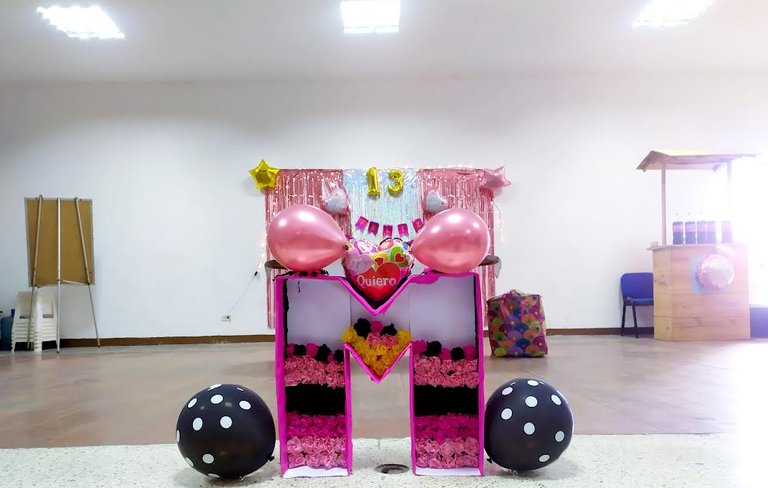
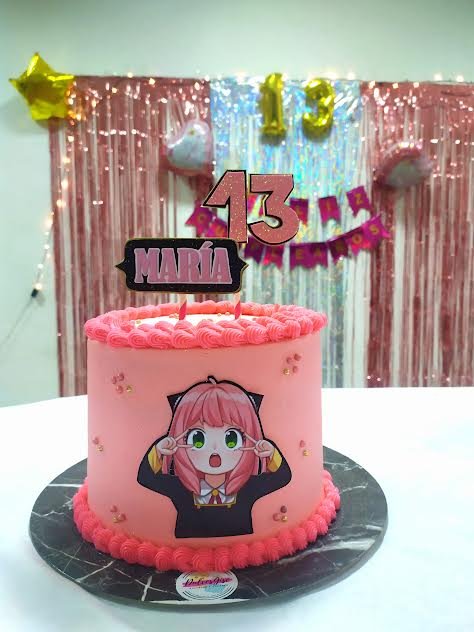
Sencillo pero bonito, yo realicé la decoración también. Y la torta quedó espectacular (pero esa sí la mandaron a hacer), miren eso:
Simple but pretty, I did the decoration too. And the cake was spectacular (but that one was made), look at that:
Gracias por ver todo hasta aquí, les mando un abrazo fuerte y espero que estén disfrutando las fiestas decembrinas, les deseo éxito y prosperidad. Besitos 😘💕
Thanks for seeing everything up to here, I send you a big hug and I hope you are enjoying the december holidays, I wish you success and prosperity. Kisses 😘💕
- Las imágenes que utilicé en esta publicación son propias y editadas con Canva, al igual que los separadores.
The images I used in this publication are my own and edited with Canva, as well as the separators.
- Texto traducido con DeepL (versión gratis)
Text translated with DeepL (versión gratis) (free version)
💖🎂💖
