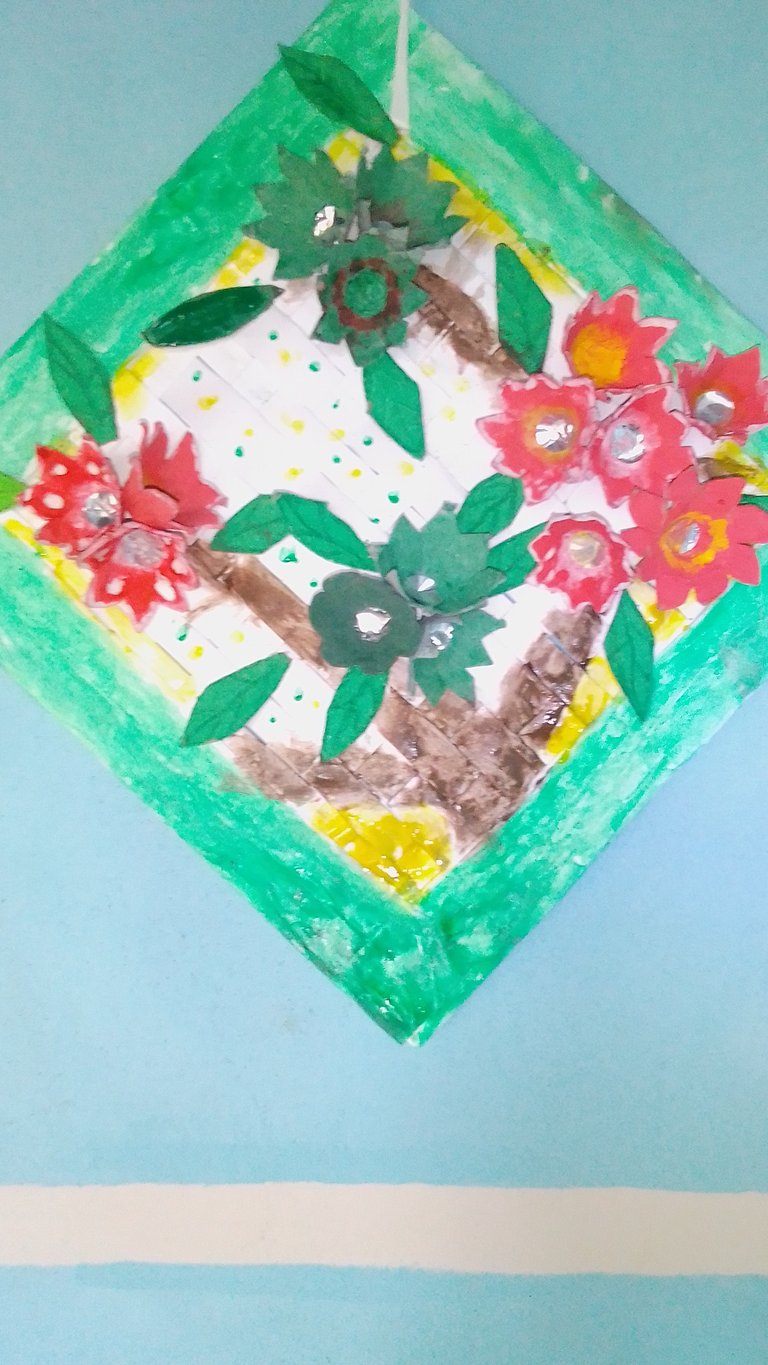
Hola amigos de este hermosa comunidad de Diyhub, un hermoso dia para compartir este lindo porta florero hecho de materiales reciclado, el cual espero que les guste.
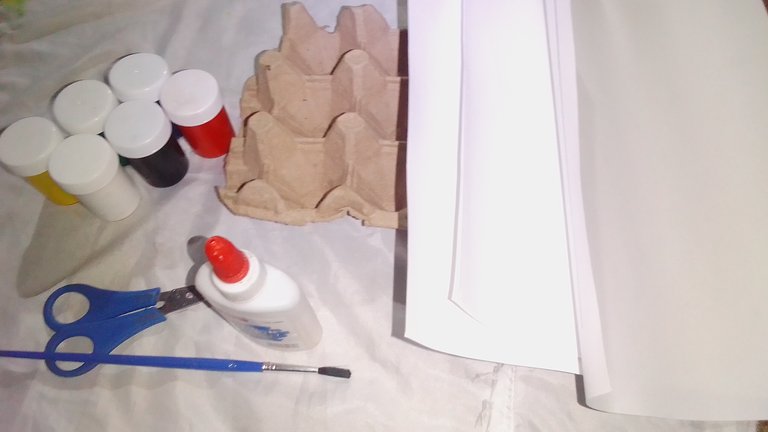
materiales necesarios
_ témpera roja.
_ témpera amarilla.
_ témpera verde
_ témpera blanca.
_ tijera
_ pega
_ hoja de máquina.
_ témpera marrón
_ confeti.
procedimiento:
Paso 1
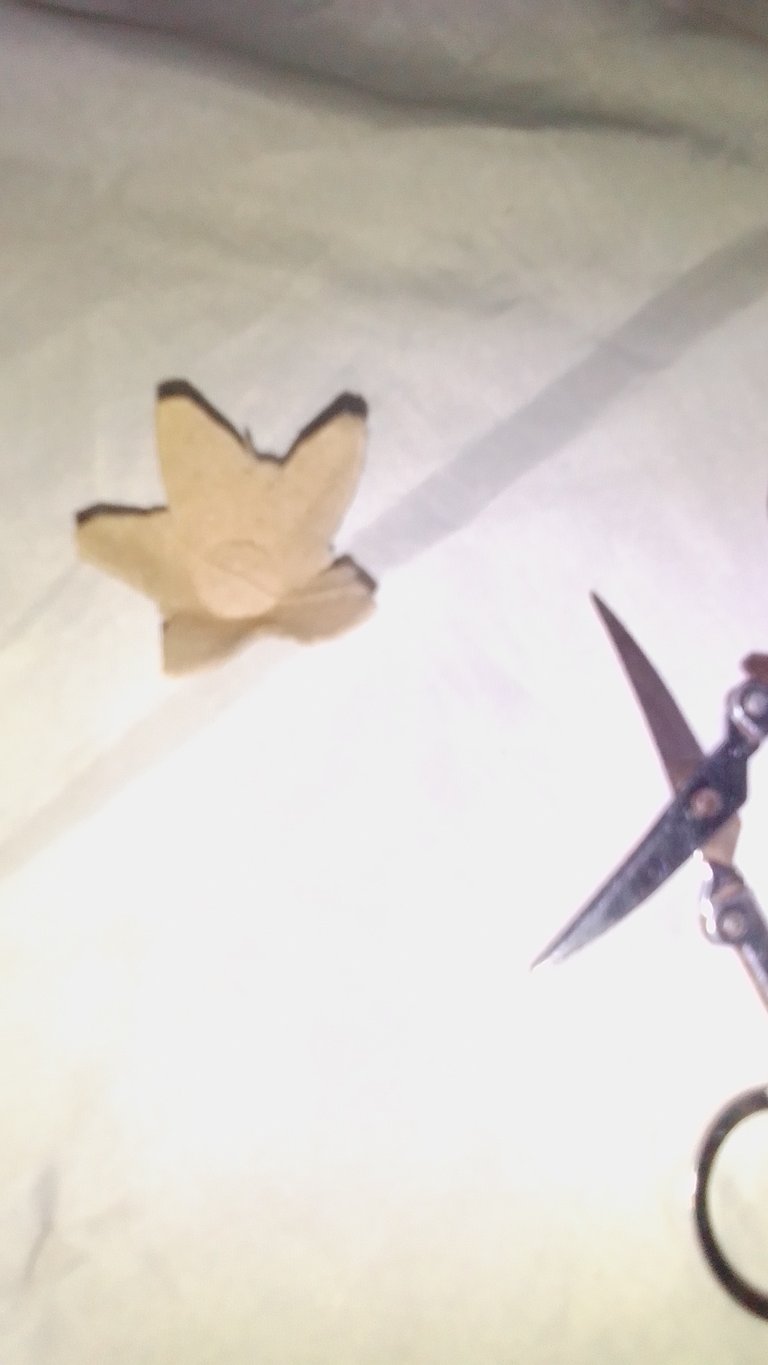
lo que primero lo que vamos a hacer es agarrar el cartón de huevo y picar la parte donde se pone el huevo y vamos a sacar una forma de una flor
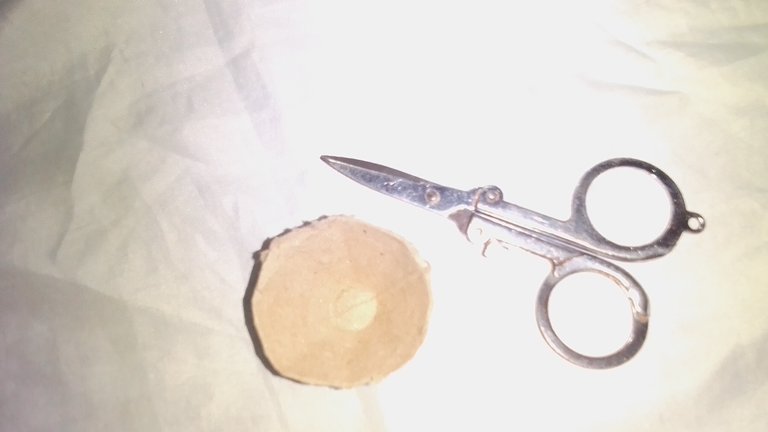
Después de agarrar y cortar el cartón de huevo vamos a hacer la forma de la flor.
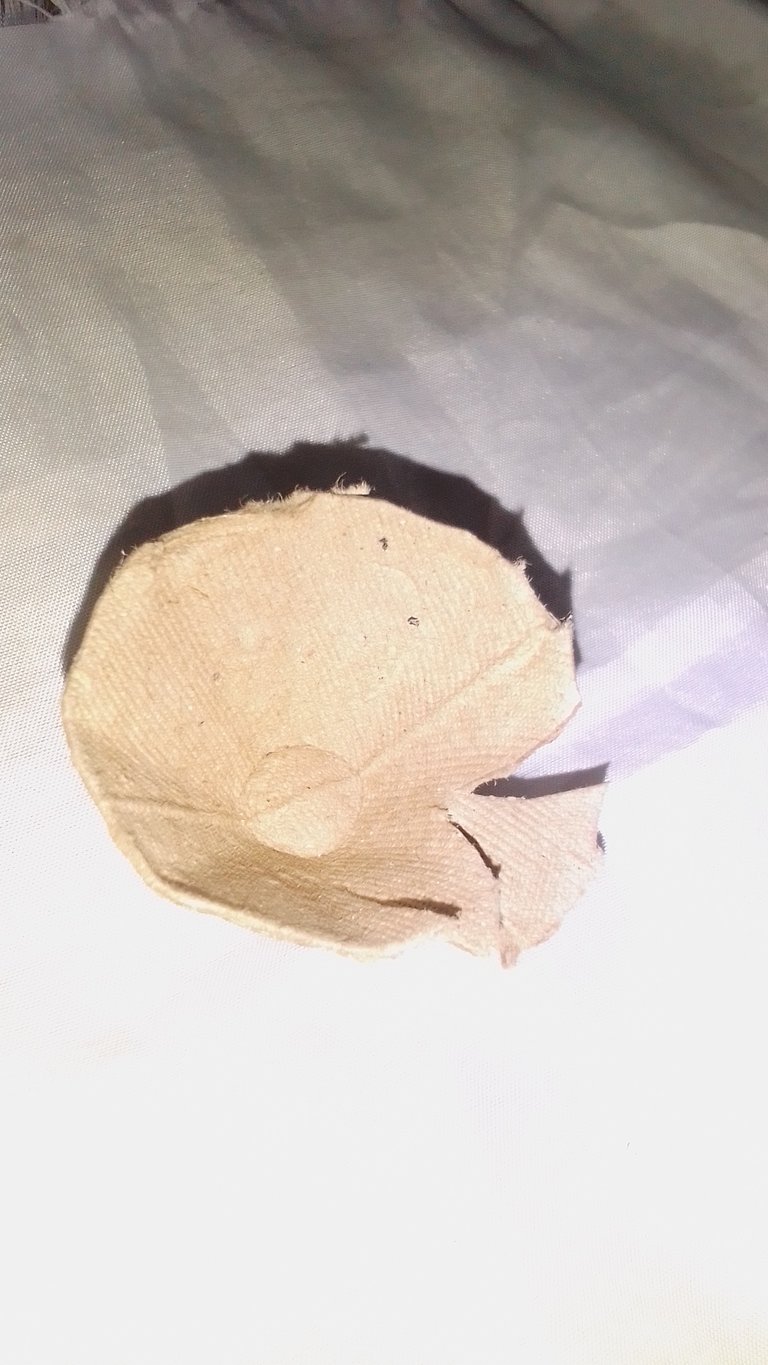
Paso 2
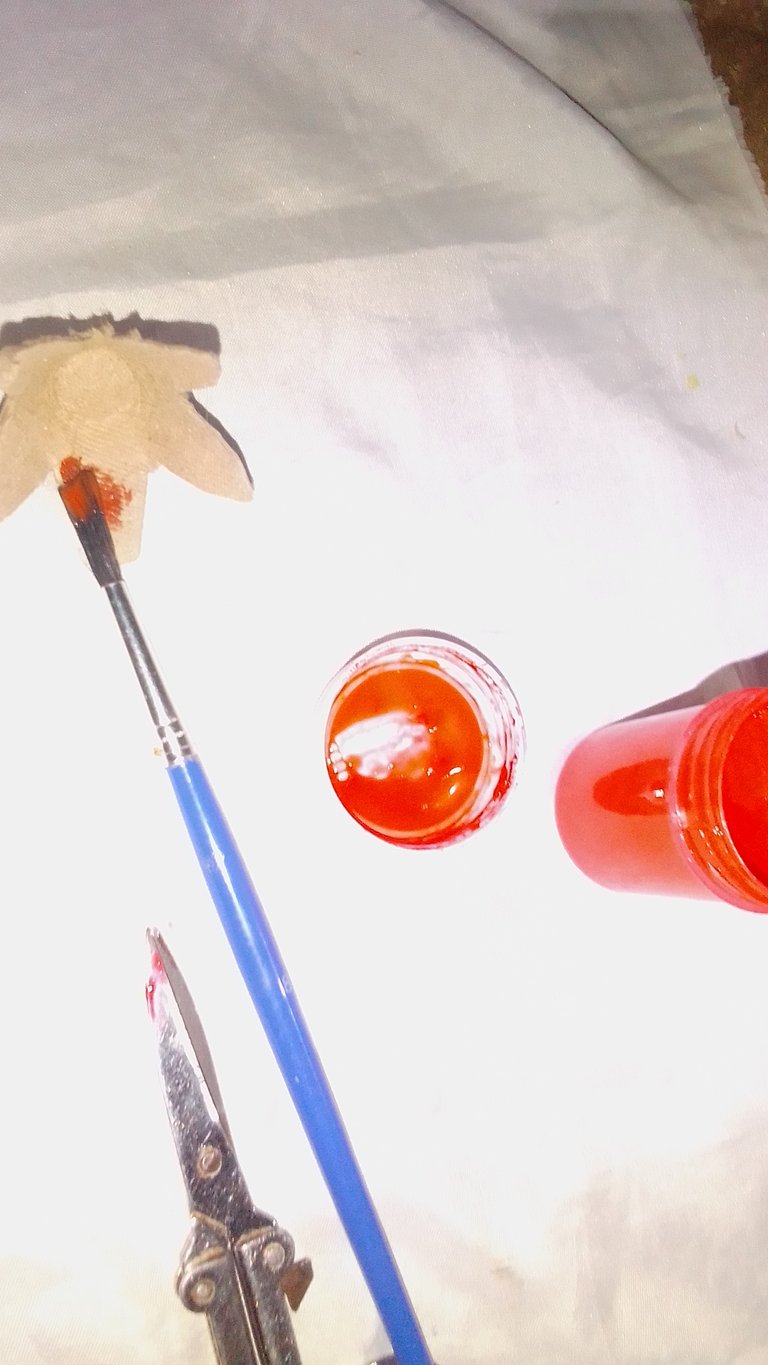
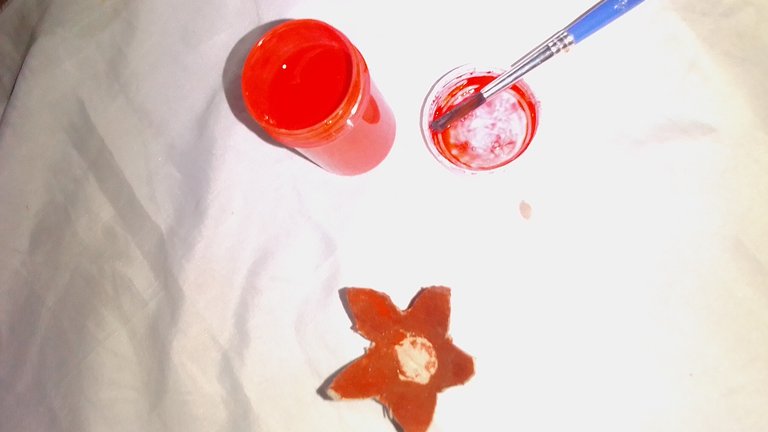
Después de cortar la forma de la flor vamos a pintar la flor de rojo y la dejamos secar.
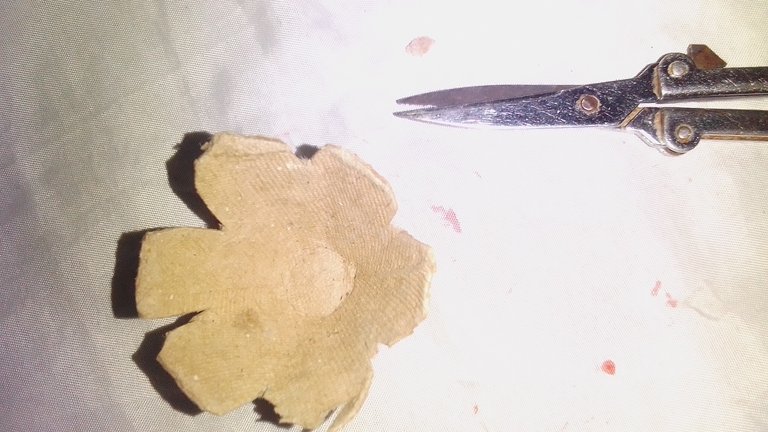
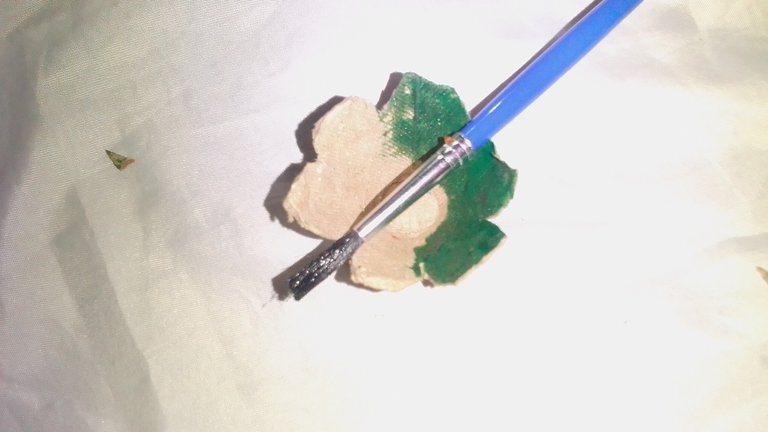
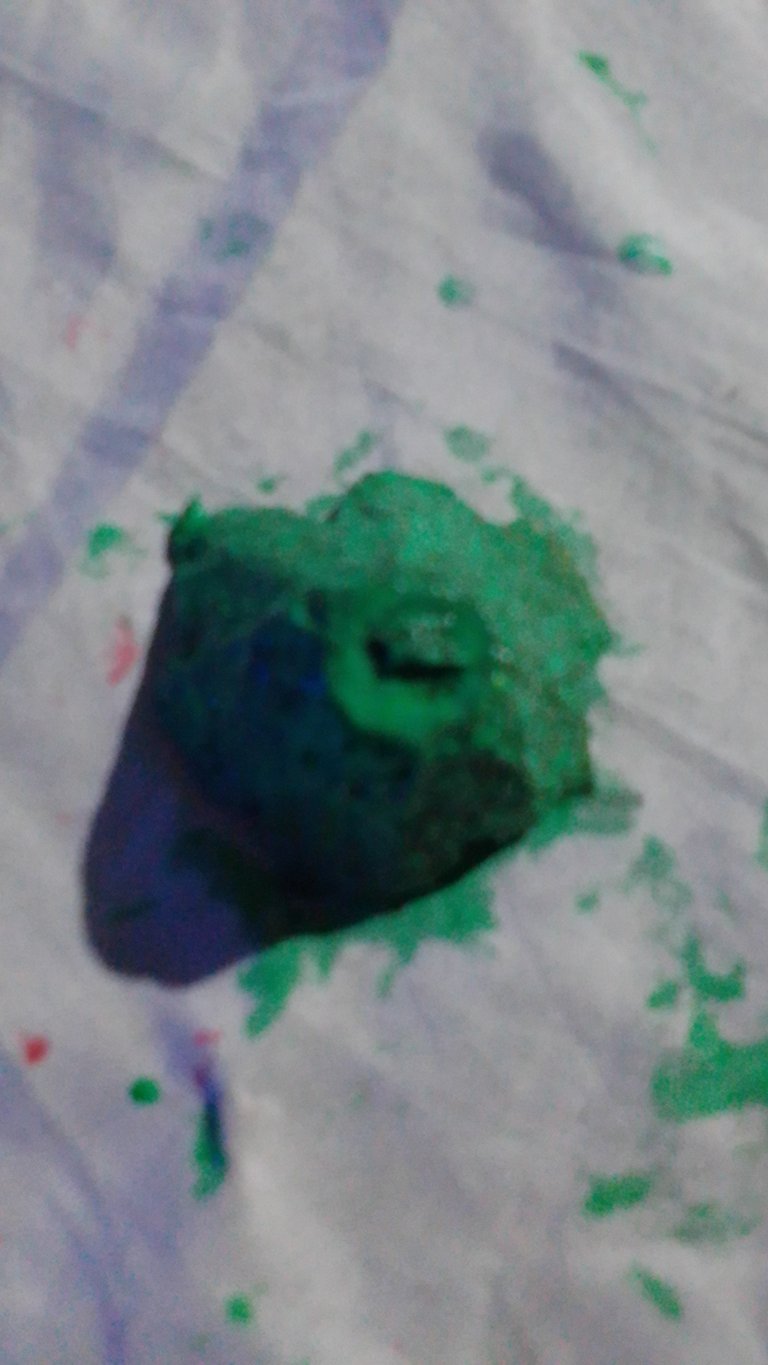
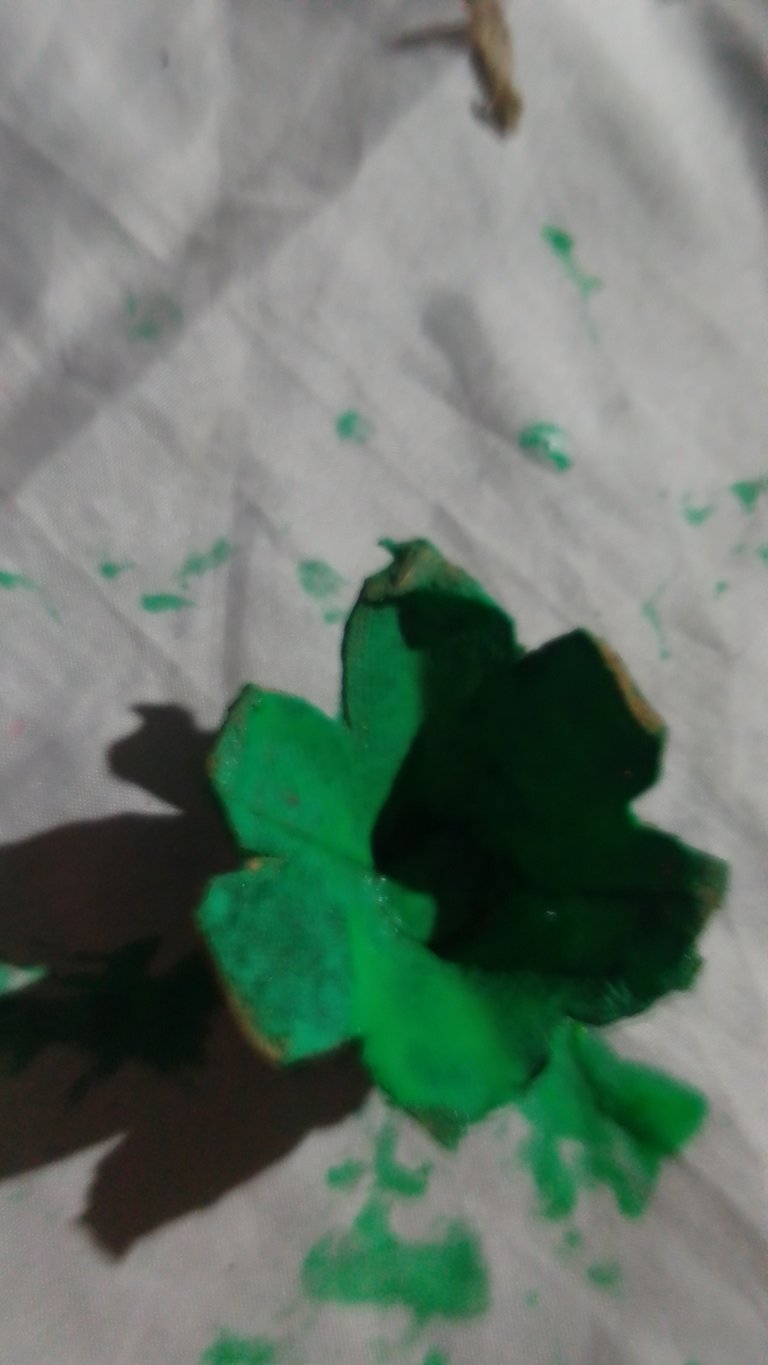
Nuevamente vamos a picar el cartón de huevo dónde se ponen huevo y vamoshacer los petalos de la flor y lo pintamos de verde.
Paso 3
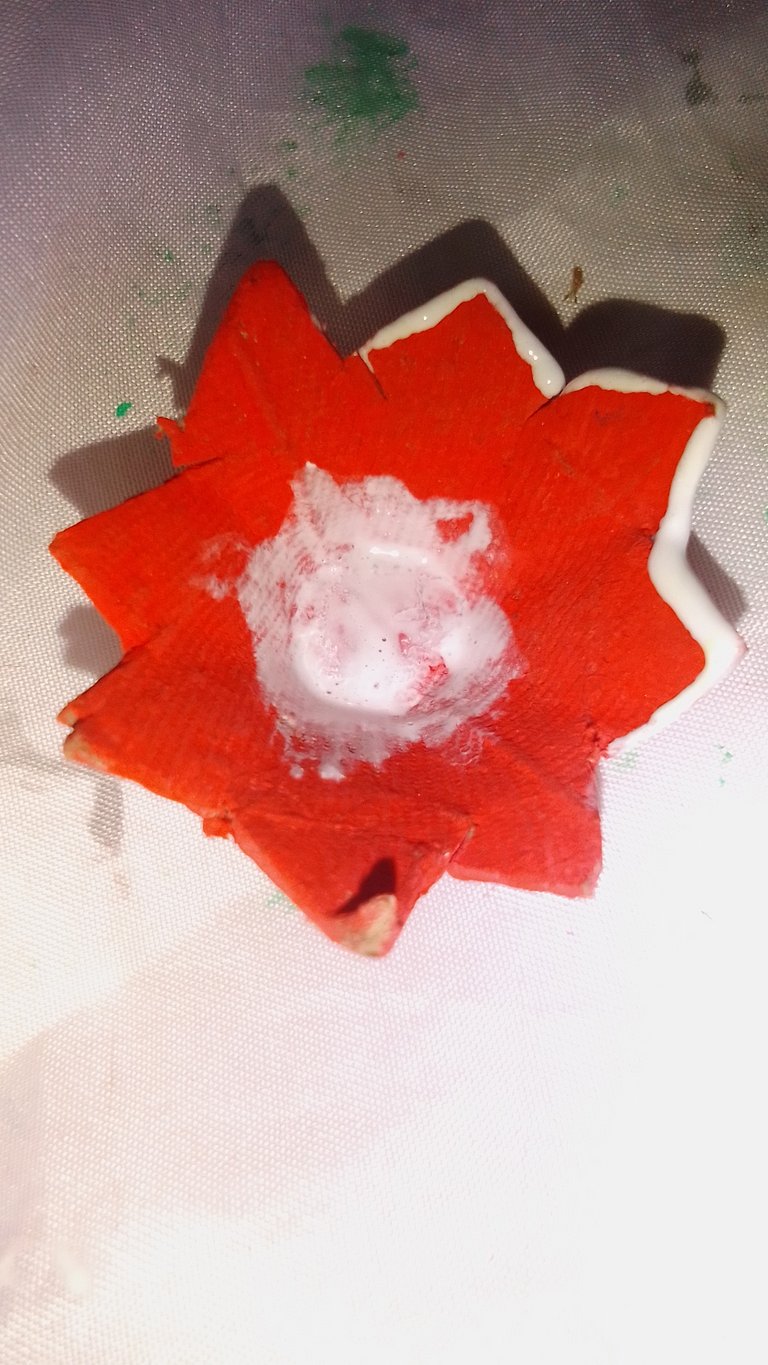
Cuando se haya secado la flor roja vamos a pintar las puntas de blanco y por dentro de la flor vamos a también vamos a pintar lo de blanco y le metemos un confeti de color gris.
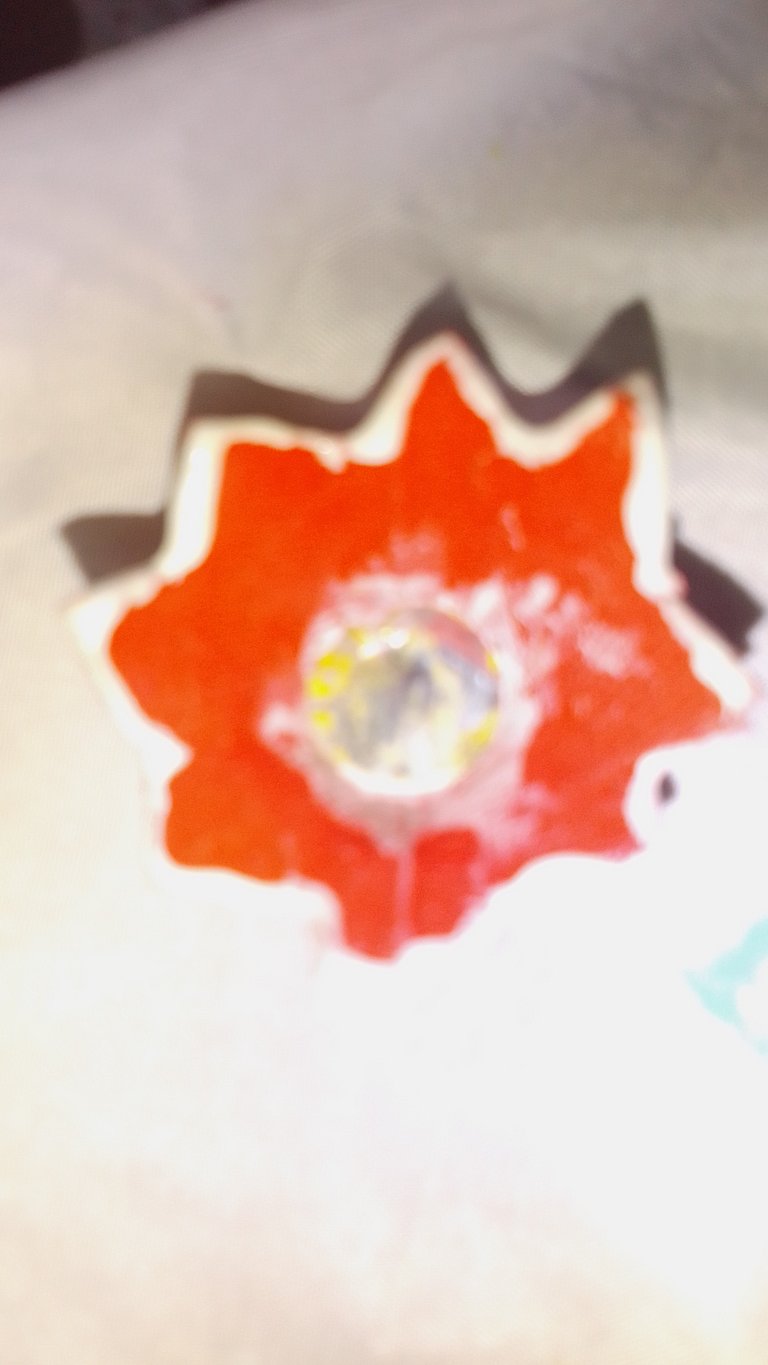
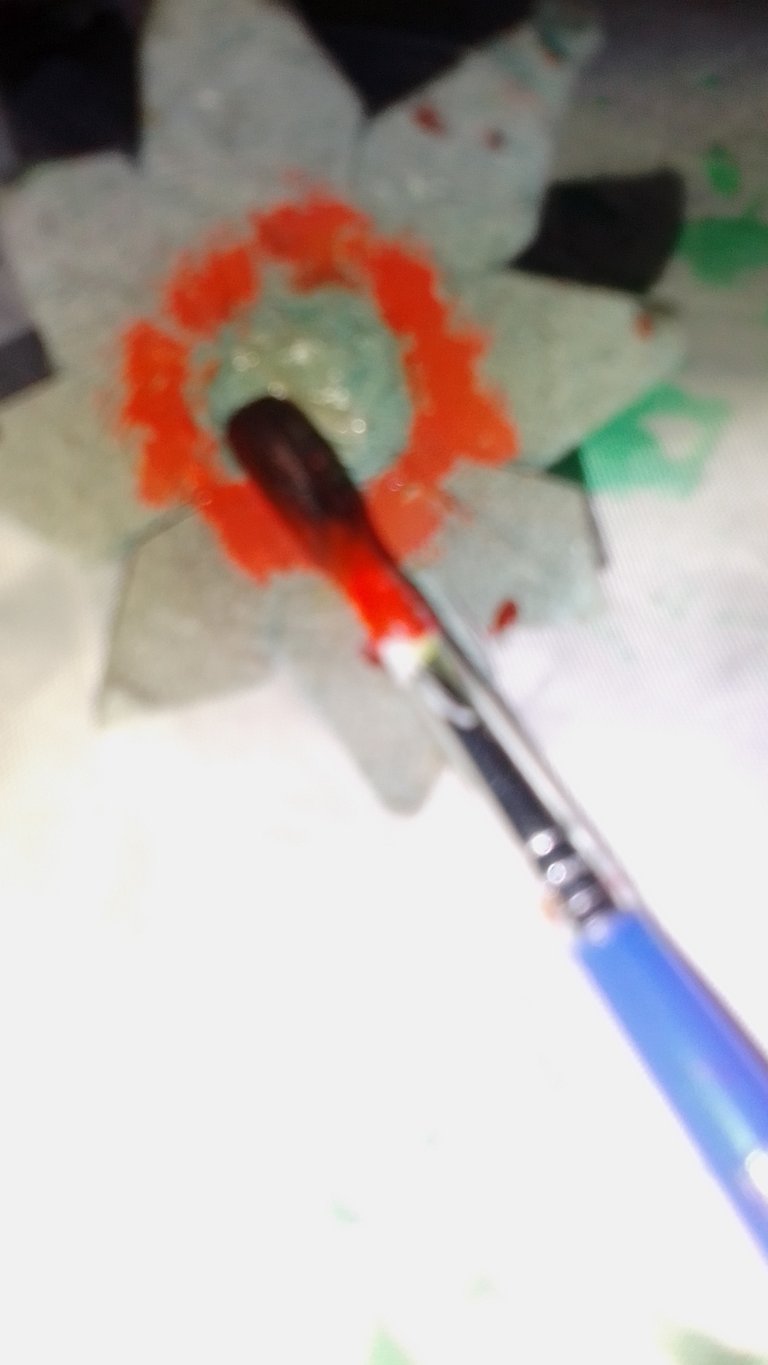
Cuando se haya secado la flor verde vamos a pintarlo de por dentro de rojo.
Paso 4
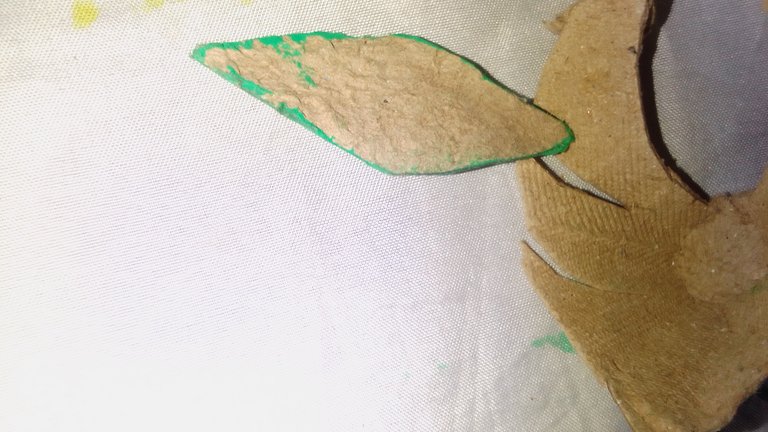
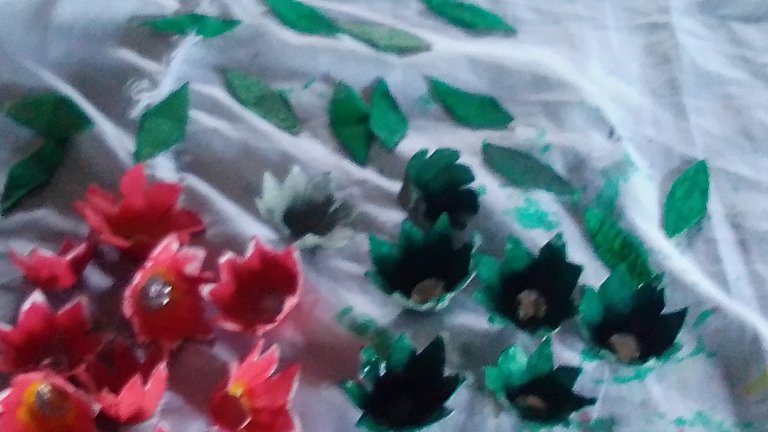
Vamos agarrar con el mismo cartón de huevo vamos a sacar una forma de una hoja y vamos a agarrar tempera verde y lo pintamos de verde.
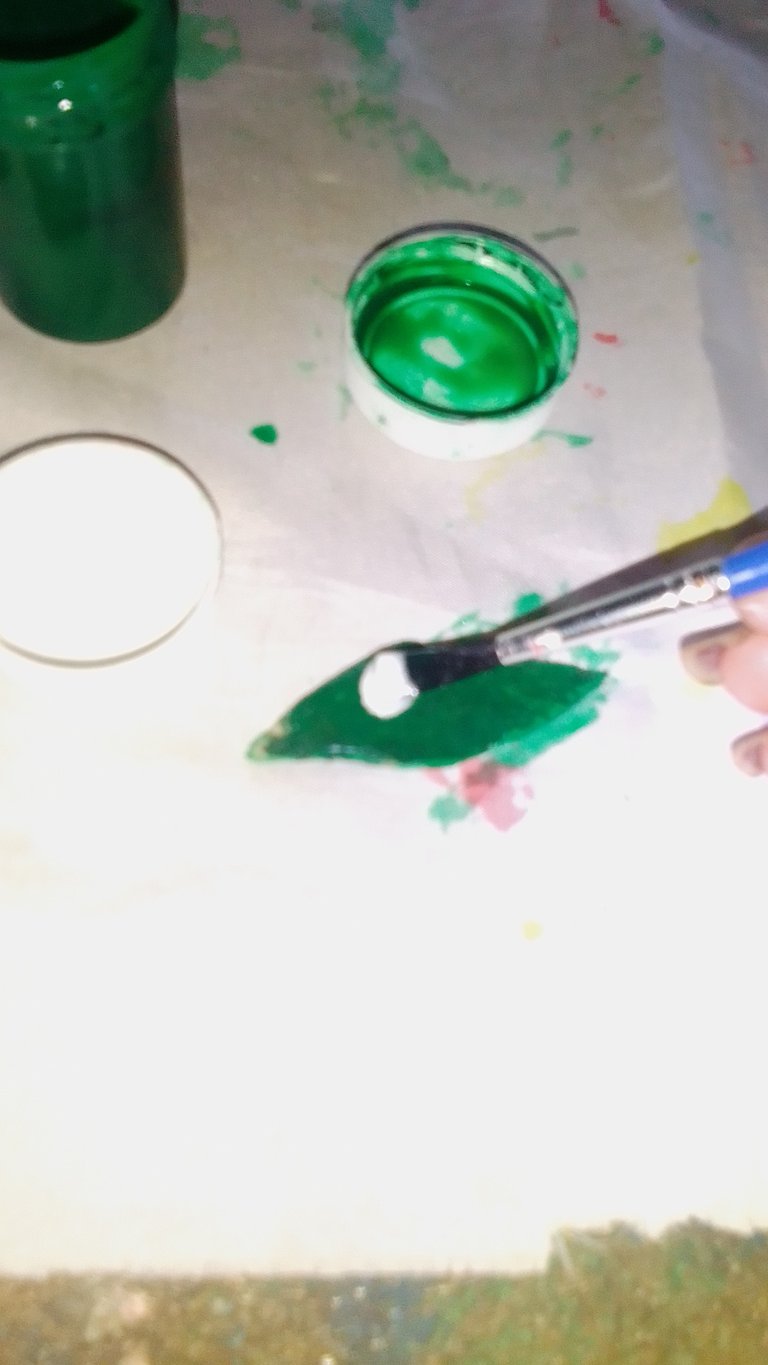
Cuando estén listas y secas todas las flores y las hojas vamos a agarrar y vamos a picar tiras para hacer la forma del porta florero.
Paso 5
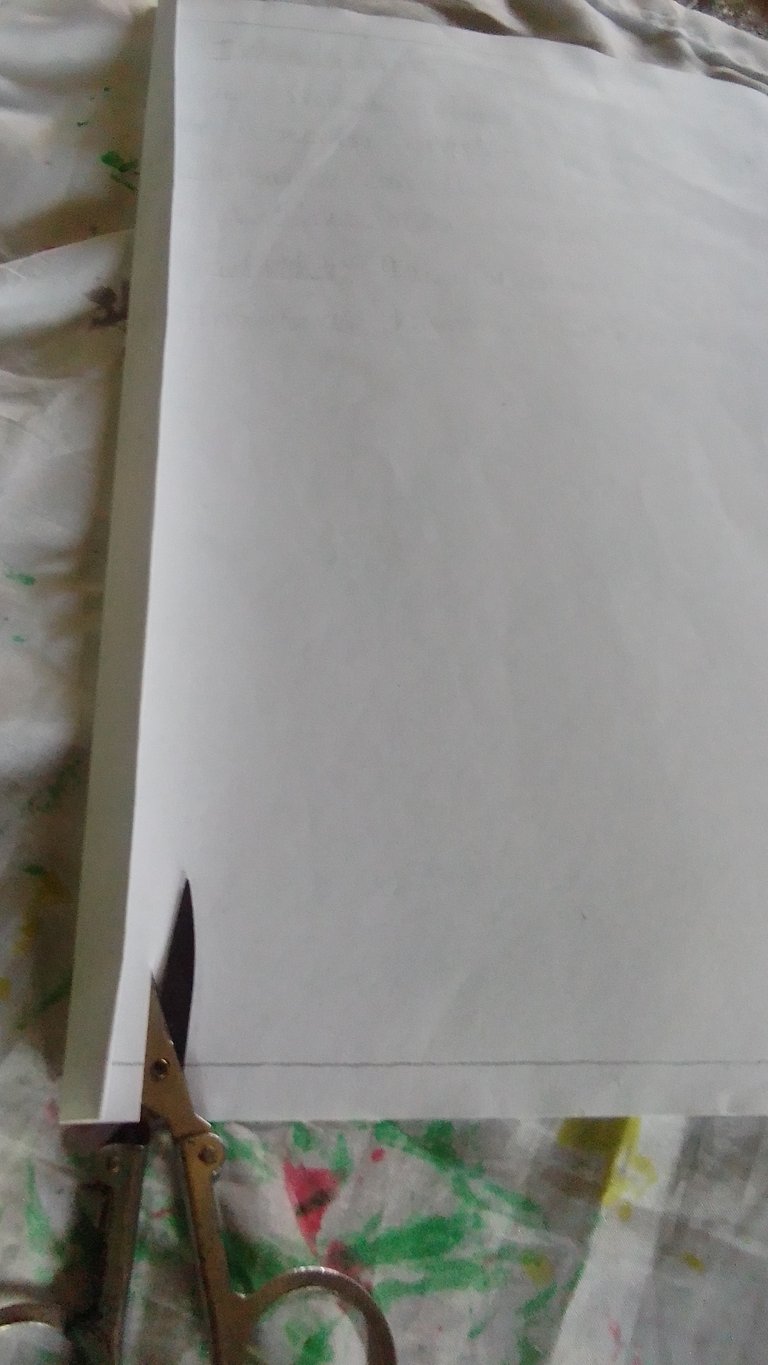
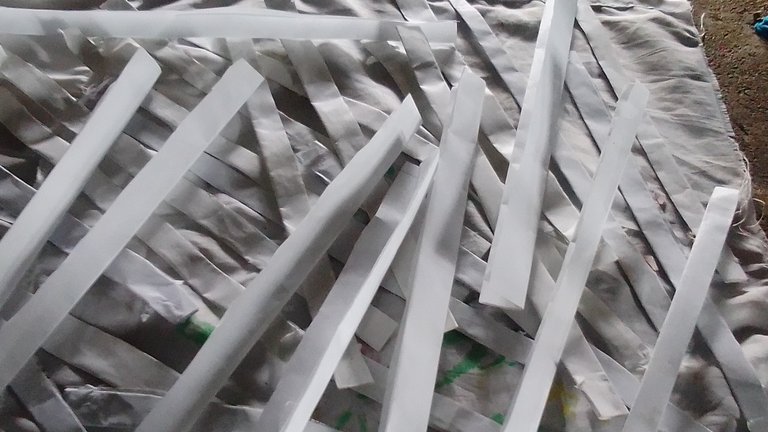
Vamos a agarrar y doblar una hoja de máquina y vamos a cortar con mucho cuidado y despacio para que quede las partes iguales.
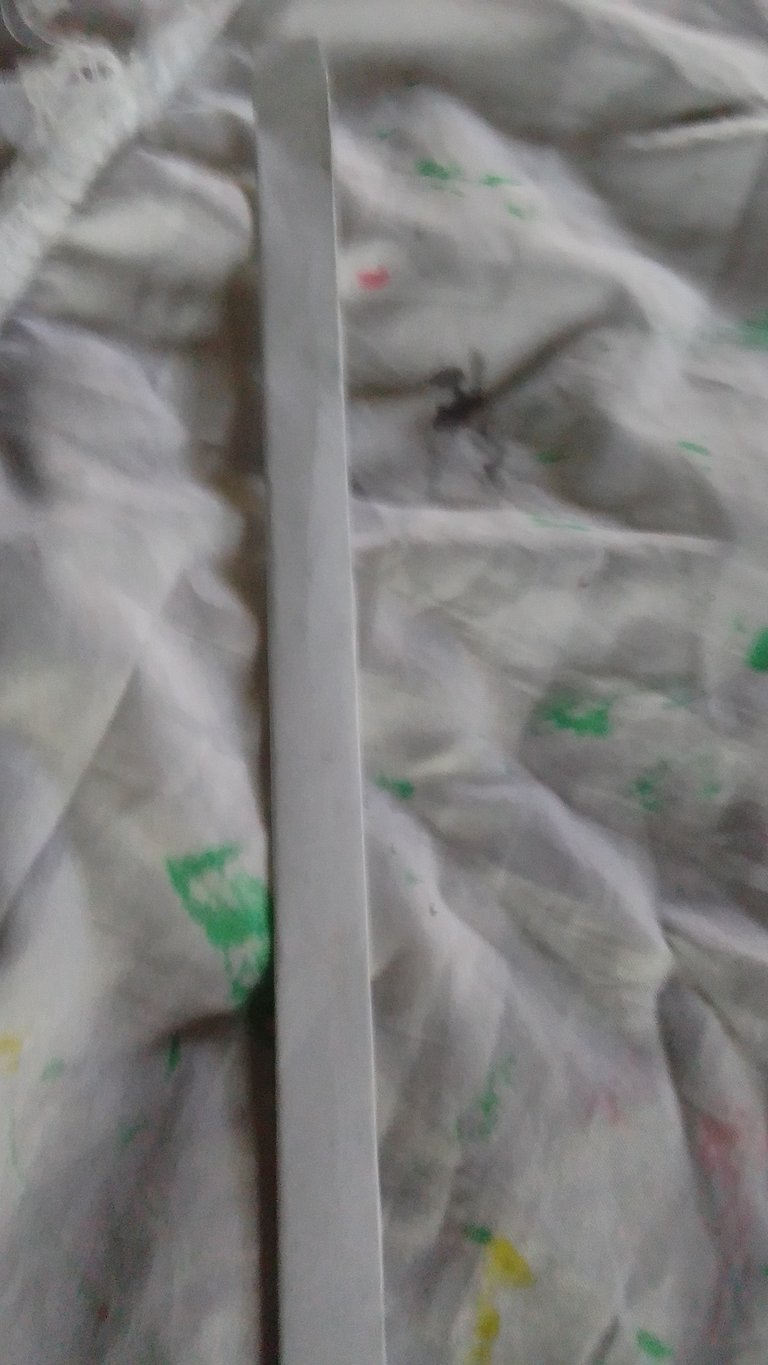
Ya cuando ténganos las tiras listas vamos a proceder a hacer el marco para poder hacer el porta florero.
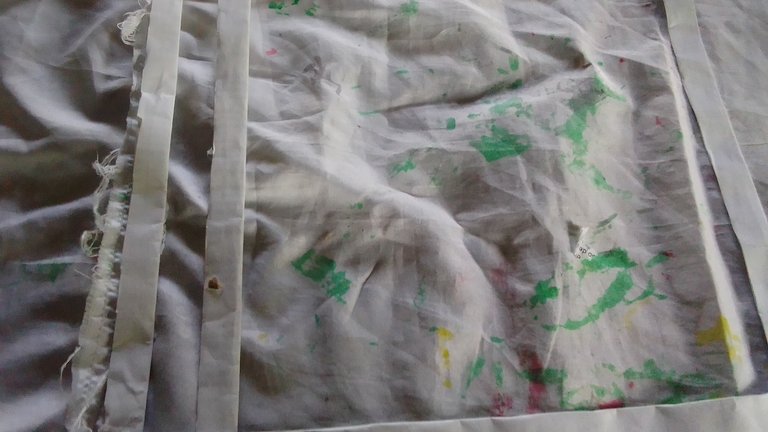
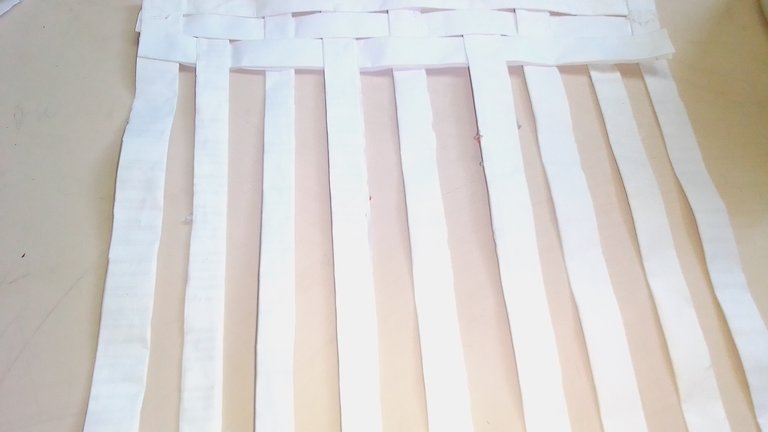
Vamos a agarrar cuatro tiras y vamos a hacer una forma de un marco agarrar y ponerle una tira y después te ponemos las cinco que faltan.
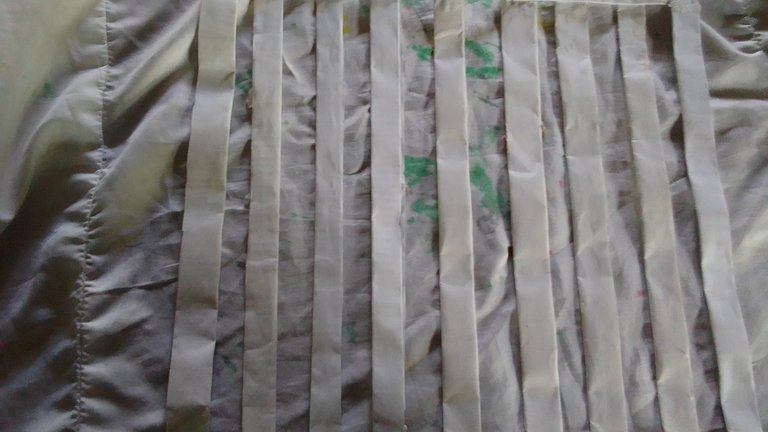
Paso 6
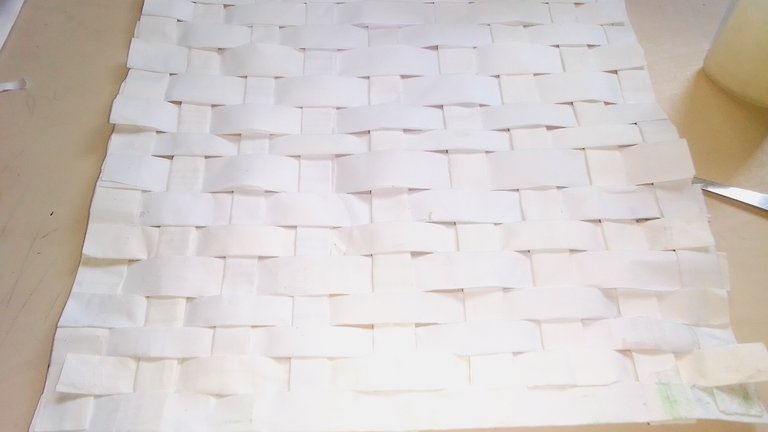
Vamos a agarrar una tira y la vamos ponerlo en el marco y lo pegamos y vamos a ponerlo en forma de curva es decir un abajo de la tira y uno hacia arriba de la tira y seguimos la secuencia hasta que llegue hasta el final y la pegamos.
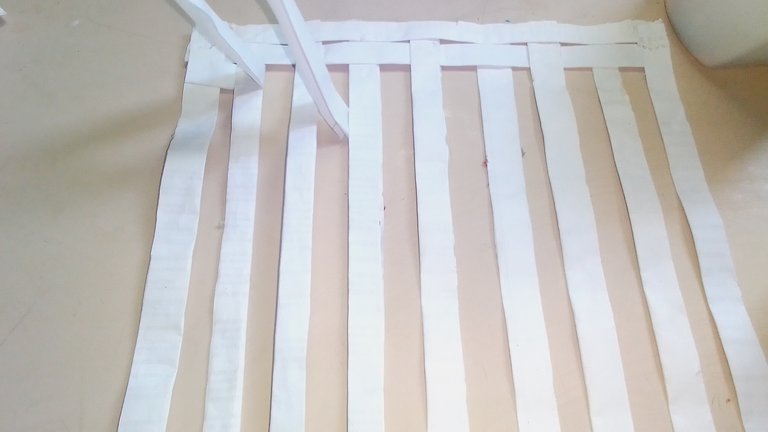
Paso 7
Después cuando se haya realizado el todo el porta florero completo vamos a agarrar y picar un pedazo de hoja y se lo pegamos a los lados del porta florero.
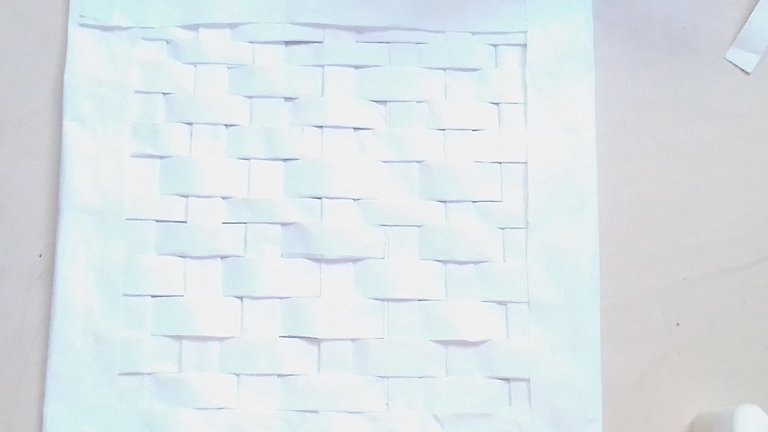
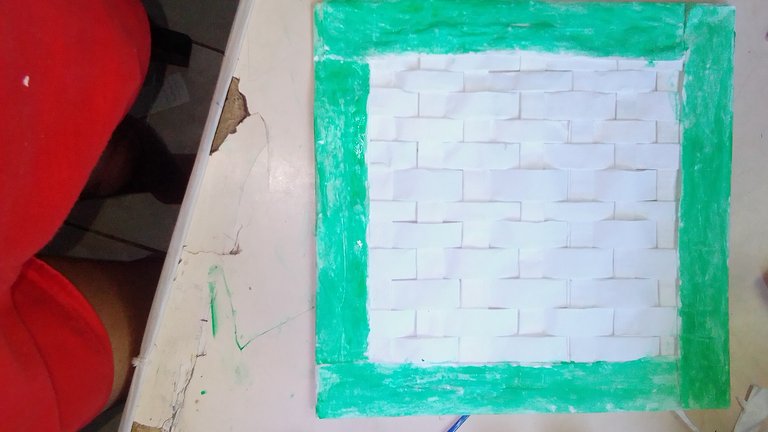
Ya cuando se haya pegado la pedazos de hoja en el porta florero vamos a empezar a pintarlo de color verde a los lados del porta florero
Paso 8
Ya cuando se haya pintado vamos a pegar las flores rojas y vamos apintar una rama de color marrón y vamos apegar las hojas.
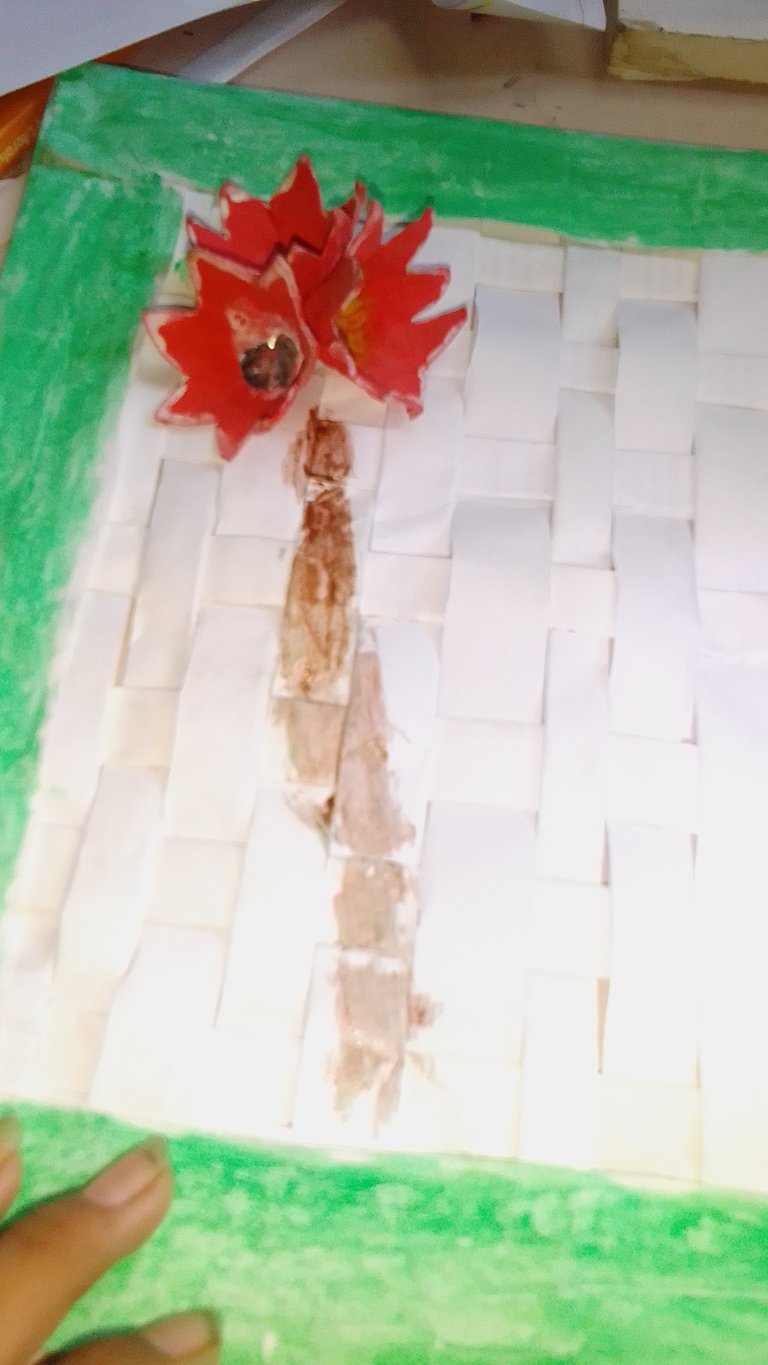
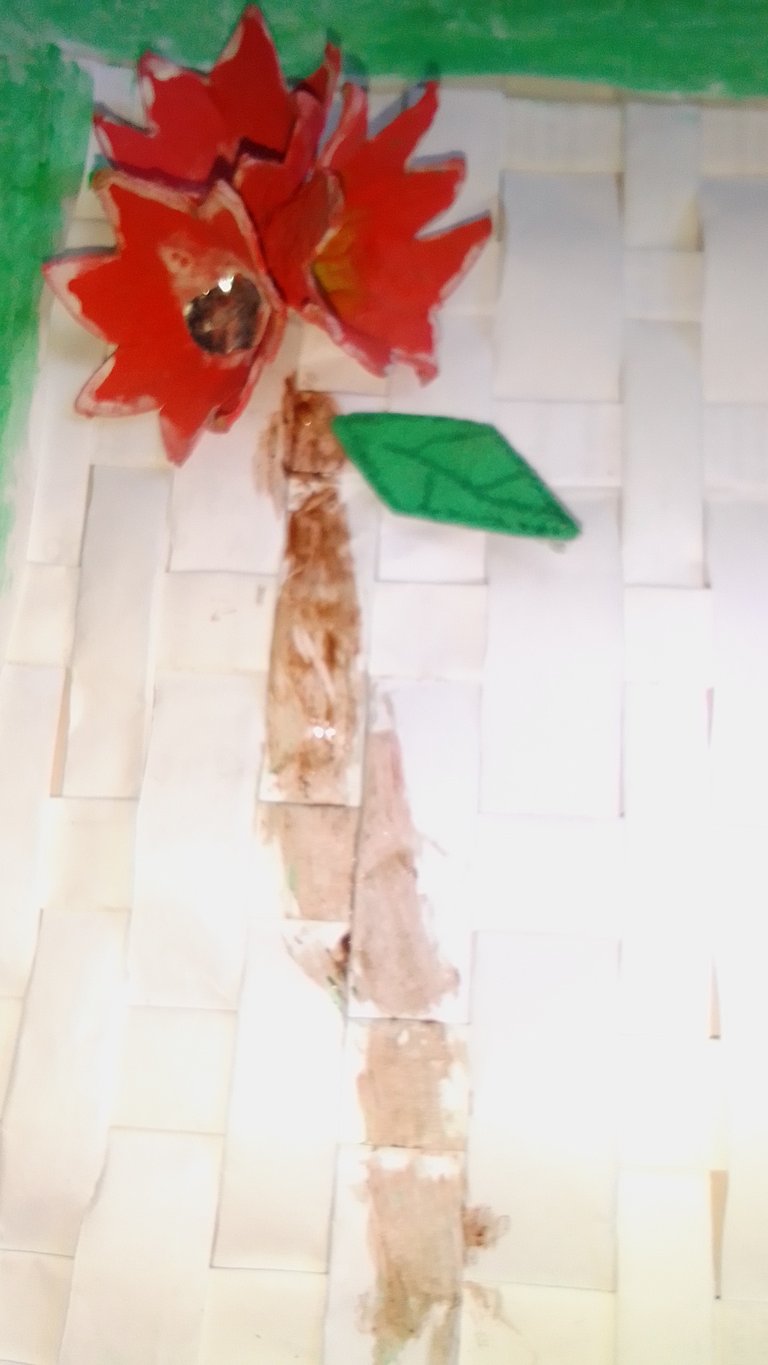
Vamos a pegar las flores verdes a pegar las hojas que corresponden a la flores verdes y hacemos otras ramas.
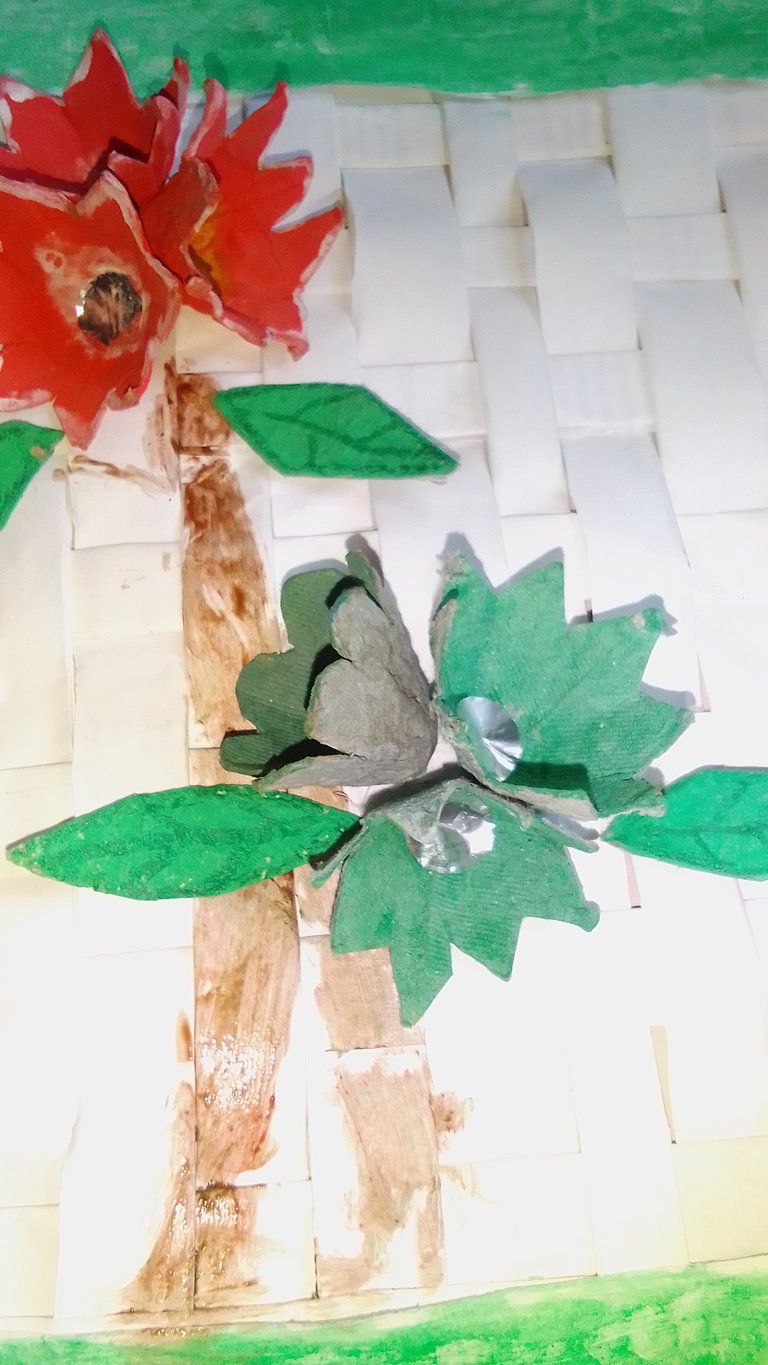
Ya cuando estén pegadas todas las flores vamos a empezar a realizar las otras ramas del Porta florero.
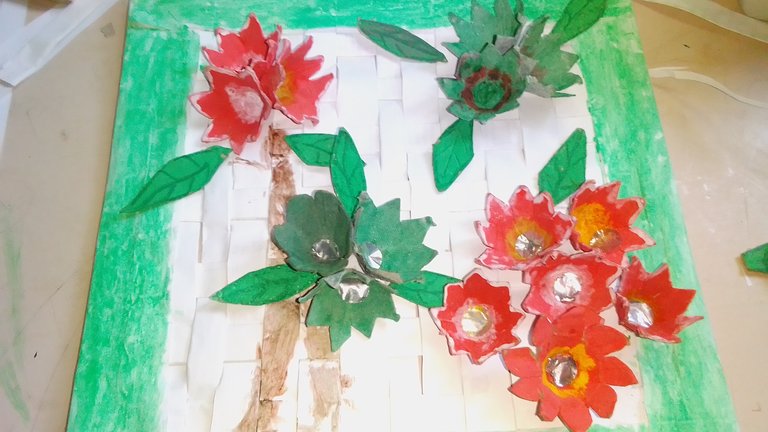
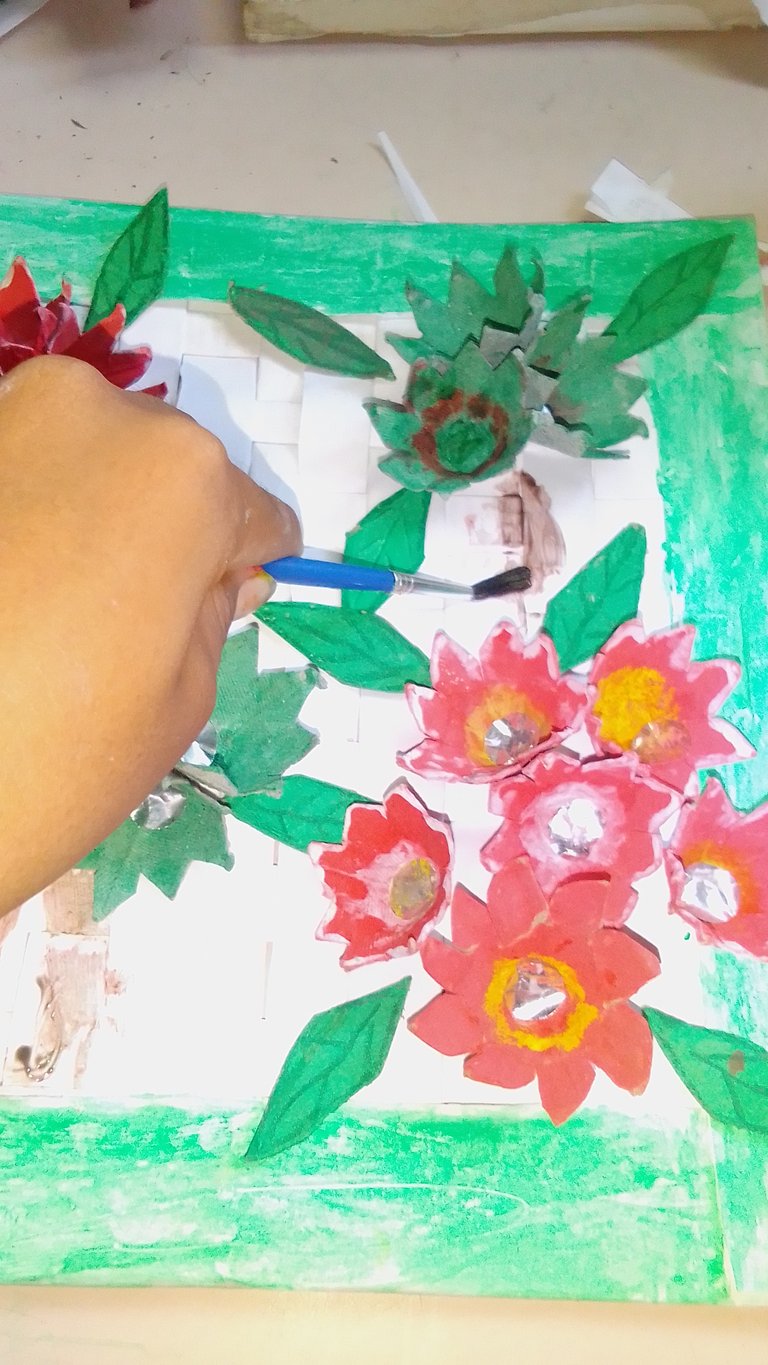
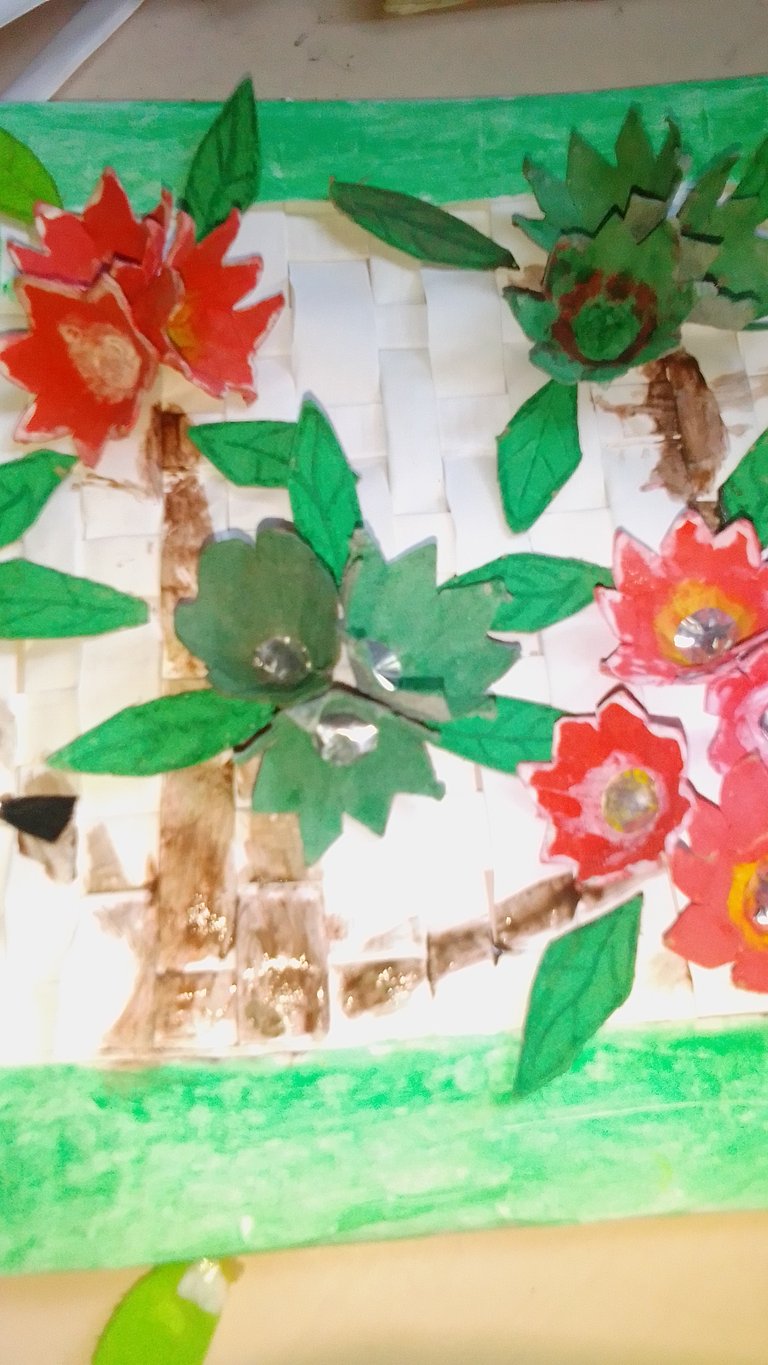
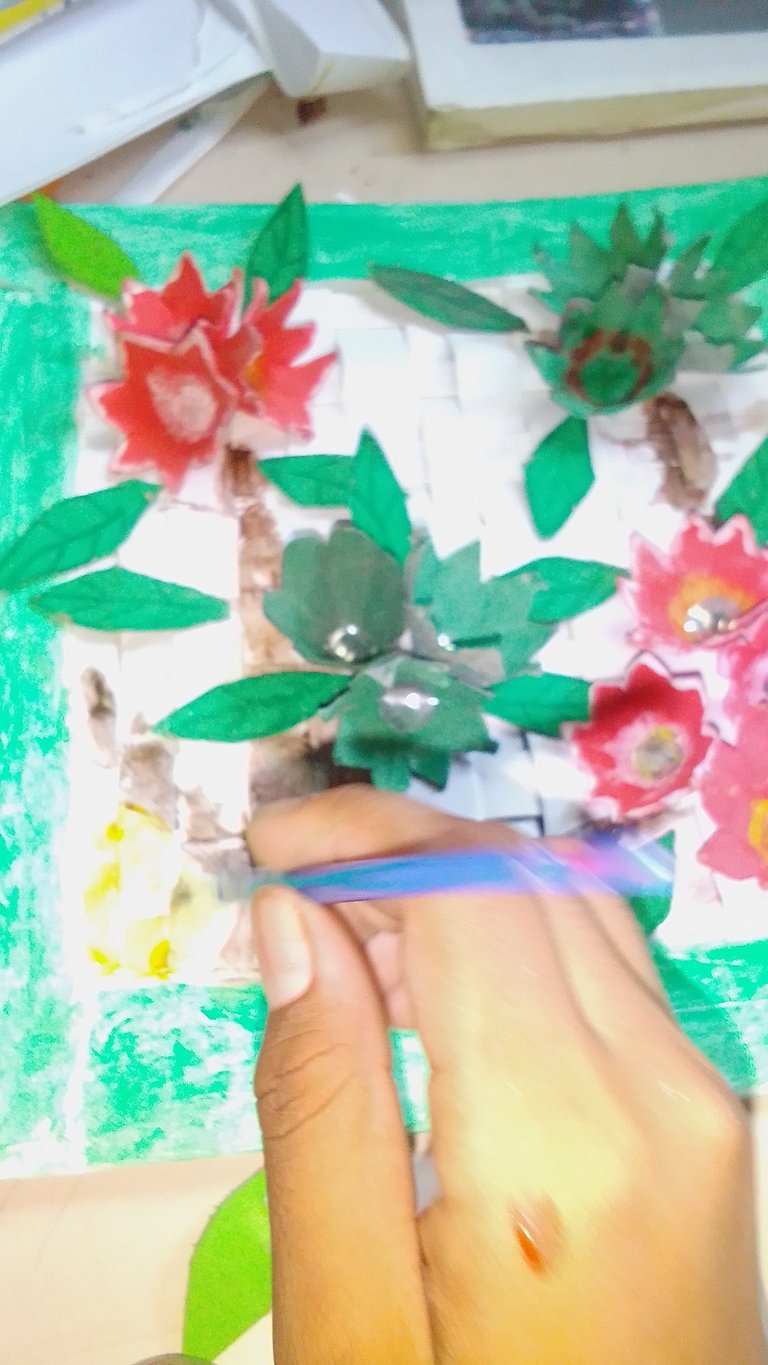
Ya cuando se haya realizado realizado las ramas vamos a pintar por los lados de amarillo todas las partes que estén por los lados descubiertas.
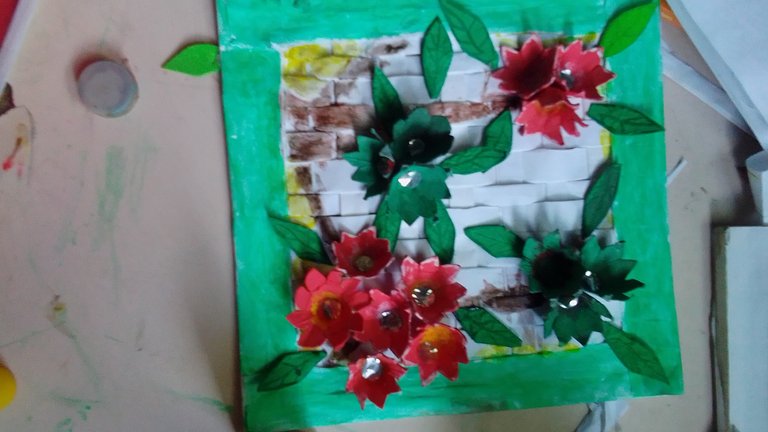
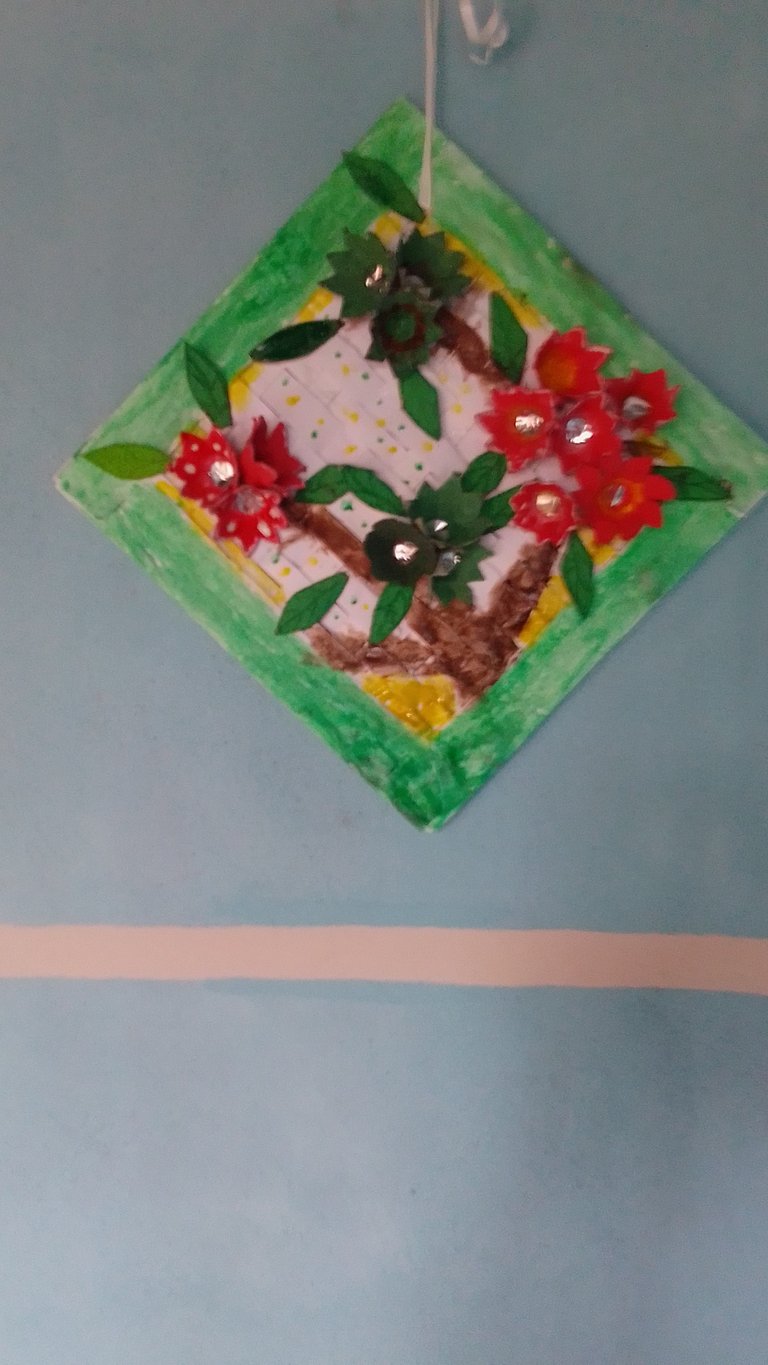
Resultado final :
espero amigos que le haya gustado este Porta florero sillo de sencillo de realizar con puro reciclaje espero qué les guste muchos éxitos para todos ustedes.
_ las fotos son de mi propiedad y fueron tomadas por mi teléfono max 2 plus
_ traductor : deepl.
<div

Hello friends of this beautiful Diyhub community, a beautiful day to share this nice vase holder made from recycled materials, which I hope you like it.
materials needed
red tempera.
yellow tempera.
green tempera
_ white tempera
_ scissors
_ glue
_ machine blade.
_ brown tempera
_ confetti.

procedure:
Step 1
the first thing we are going to do is to take the egg carton and chop the part where the egg is placed and we are going to make a shape of a flower.

After taking and cutting the egg carton we are going to make the shape of the flower.


Step 2
After cutting out the flower shape we will paint the flower red and let it dry.


Again we are going to chop the egg carton where the eggs are placed and we are going to make the petals of the flower and paint it green.


Step 3
When the red flower has dried we will paint the tips white and inside the flower we will also paint it white and add a gray confetti.


When the green flower has dried we are going to paint it red on the inside.

Step 4
We are going to take the same egg carton and we are going to make a leaf shape and we are going to take green tempera and paint it green.


When all the flowers and leaves are ready and dry, we are going to take and cut strips to make the shape of the vase holder.

Step 5
We are going to take and fold a machine blade and we are going to cut very carefully and slowly so that we get equal parts.


Once we have the strips ready we will proceed to make the frame to make the vase holder.

We're going to take four strips and we're going to make a frame shape, take one strip and then we'll put the remaining five strips.


Step 6
We are going to take a strip and we are going to put it on the frame and glue it and we are going to put it in the form of a curve that is to say one down the strip and one up the strip and we follow the sequence until it reaches the end and we glue it.


Step 7
After the whole vase holder is completed, we will take and chop a piece of leaf and glue it to the sides of the vase holder.

Once the leaf pieces have been glued on the vase holder we will start painting the green color on the sides of the vase holder.

Step 8
Once it has been painted we will glue the red flowers and we will paint a brown branch and we will glue the leaves.


We are going to glue the green flowers to glue the leaves that correspond to the green flowers and make other branches.

Once all the flowers are glued, we will start making the other branches of the vase holder.


Once the branches have been made, we are going to paint yellow on the sides all the parts that are uncovered on the sides.


Final result :
I hope friends that you liked this simple to make with pure recycling flower vase holder sillo I hope you like it many successes for all of you.

_ the photos are my property and were taken by my max 2 plus phone.
translator : deepl.
<div


