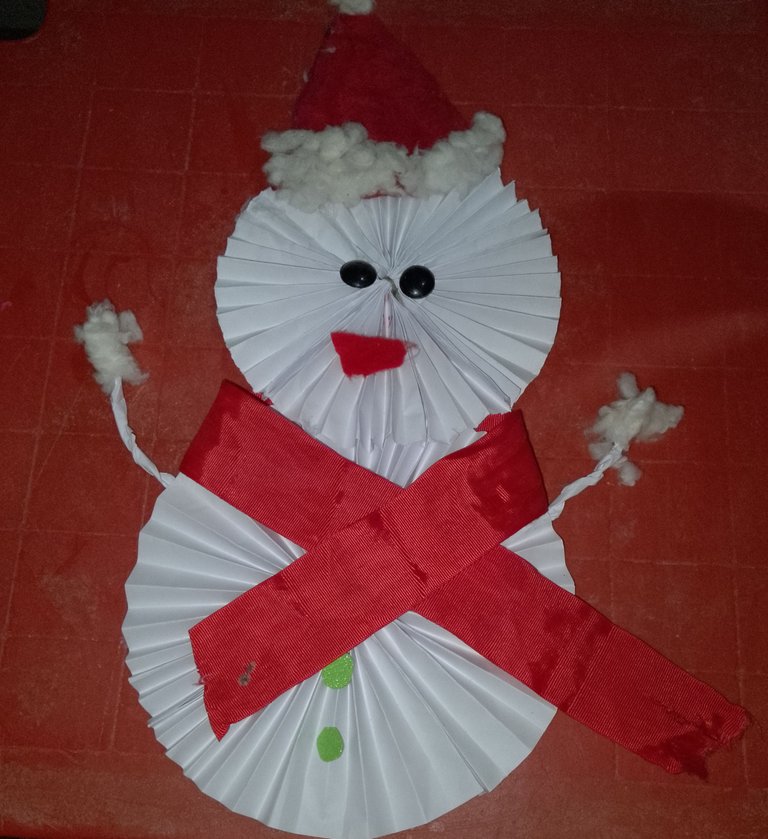
Hola amigos de está hermosa comunidad diyhub espero que estén bien porque hoy yo quiero compartir con todos ustedes como realizar este hermoso muñeco de Navidad hecho de materiales reciclados el cual espero que les guste a continuación los materiales necesarios para realizar este hermoso muñeco de navidad.
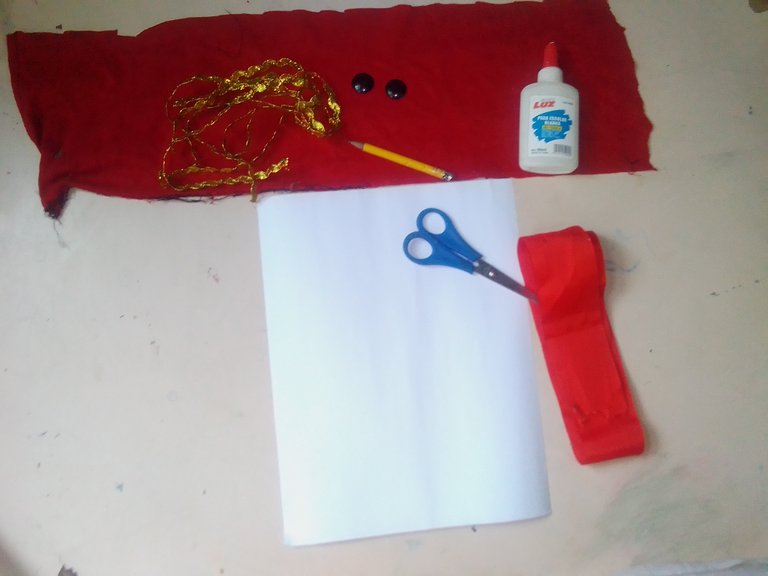
Materiales necesarios.
_ fieltro rojo
_ tijera
_ pega
_ hoja de maquina
_ algodón pollito
_ tiras
_ hilo
_ ojos de plástico
_ cinta roja .
procedimiento
paso 1
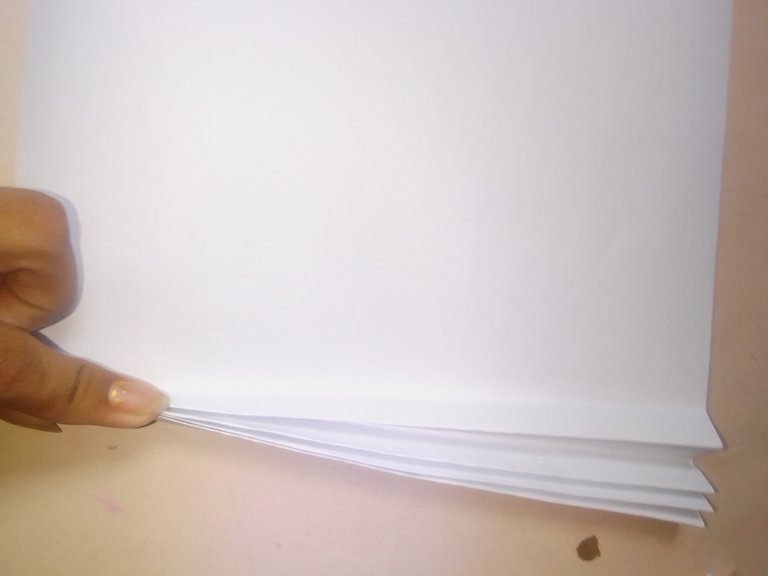
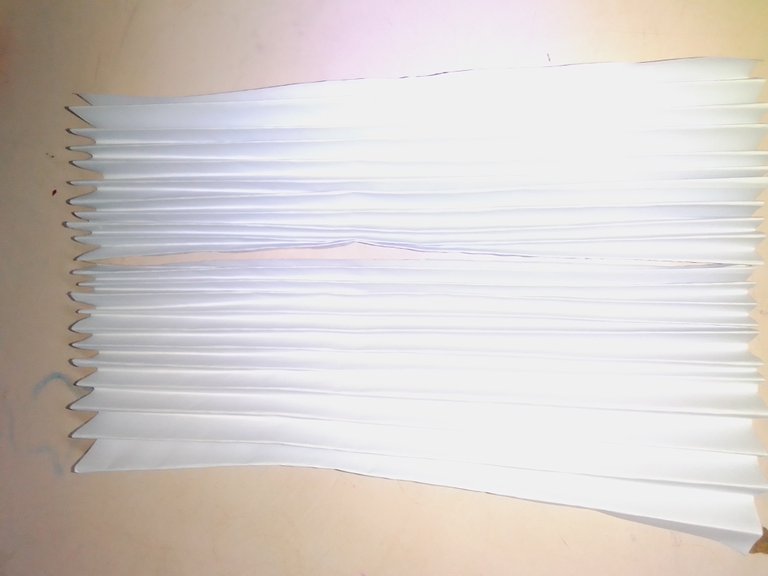
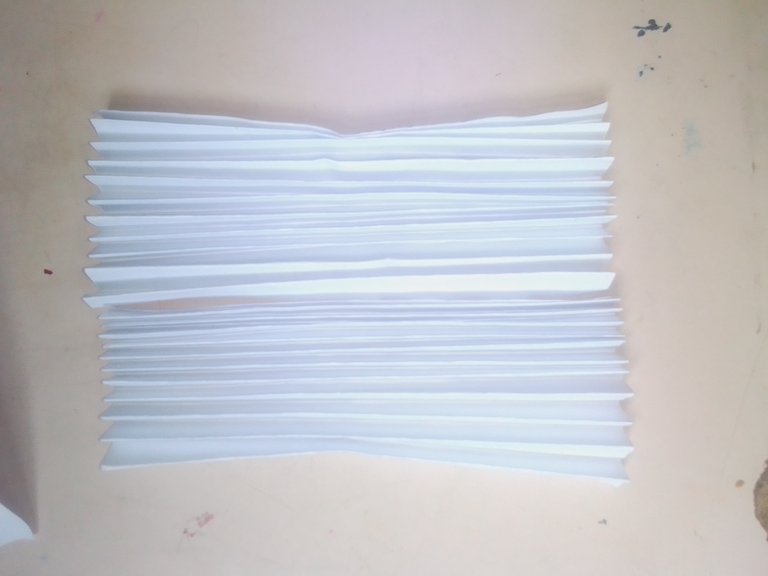
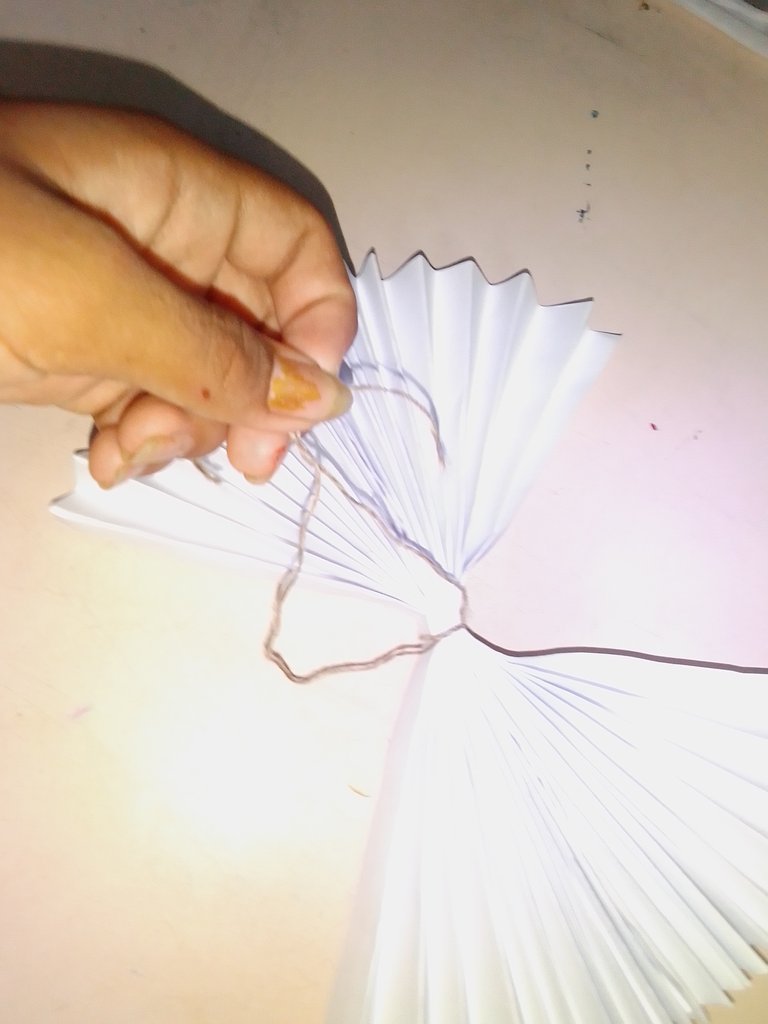
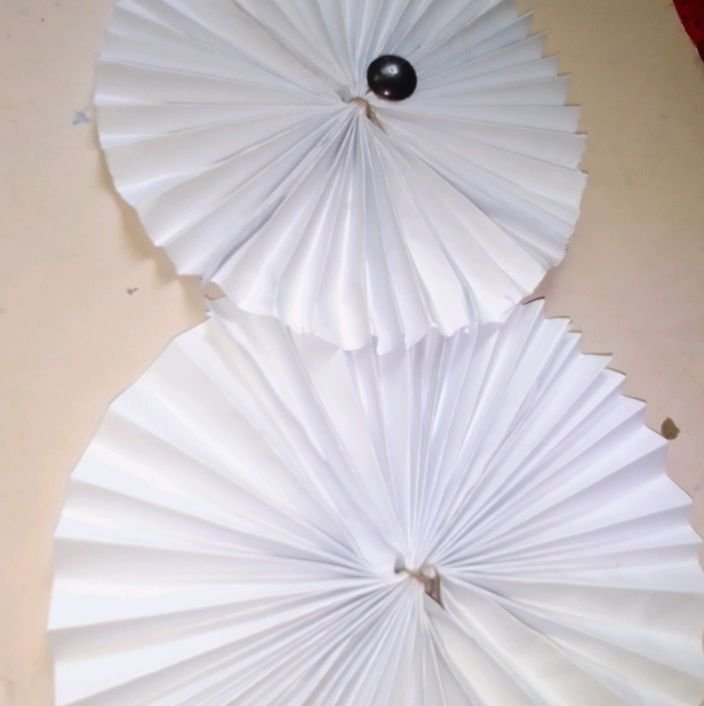
primero lo que vamos a realizar es el cuerpo del muñeco de navidad vamos a tomar las hojas de maquina y vamos a proceder a doblar la hoja poco a poco a un lado y nos dirigimos al otro lado como tal estuvieranos haciendo un abanico ya después de hacer el primero vamos hacer el otro igualmente del mismo tamaño.
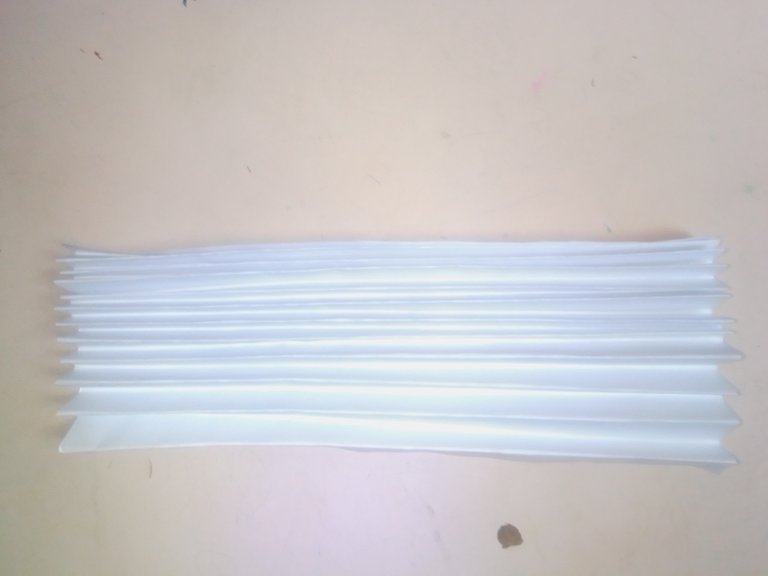
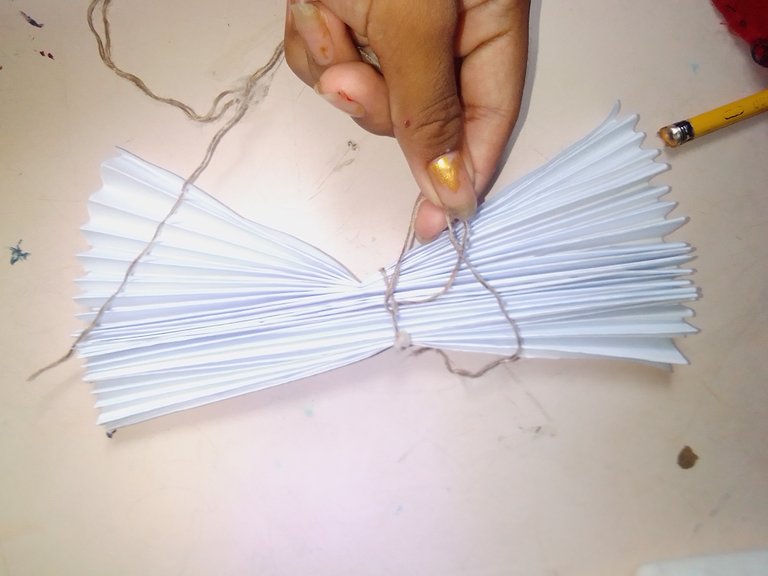
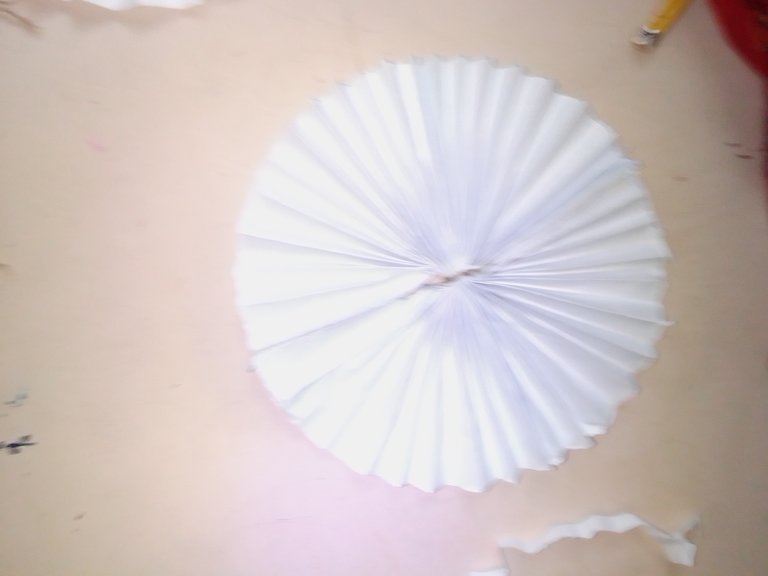
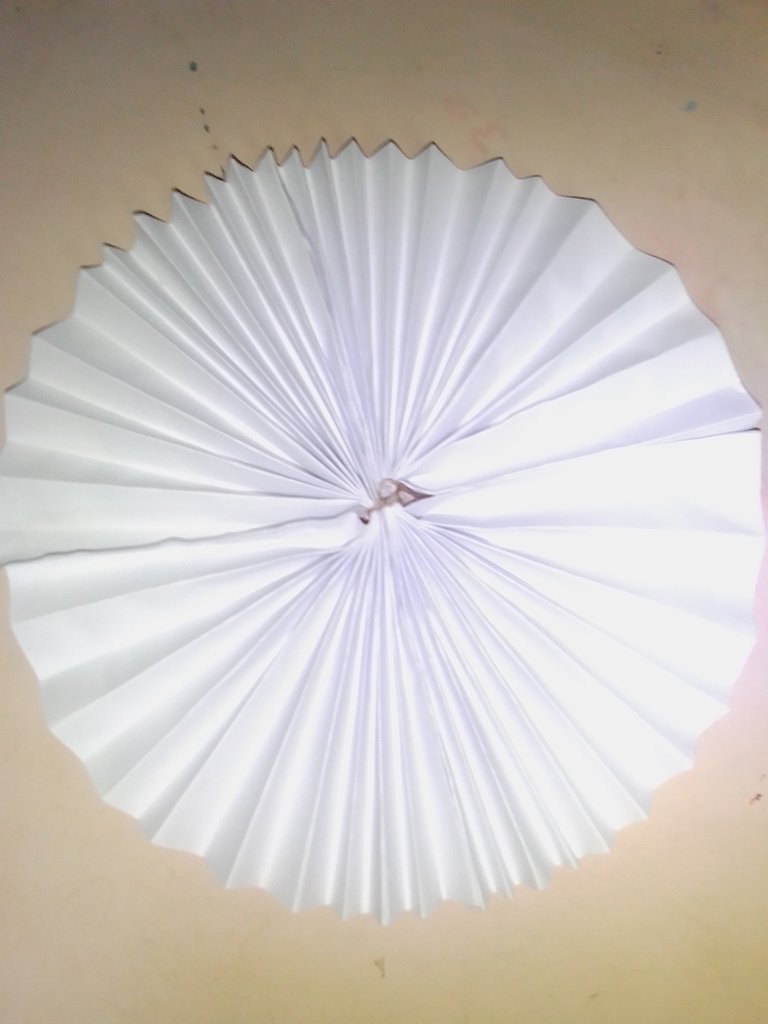
Ya después de hacer el segundo del mismo tamaño vamos a proceder a pegar los dos de punta a punta con mucho cuidado para que no se descuadre ya después de que lo haiganos pegado vamos a tomar un hilo y vamos amarrar en el centro de la hoja el hilo bien amarrado pero con mucho cuidado para que no se arruge la hoja .
Paso 2
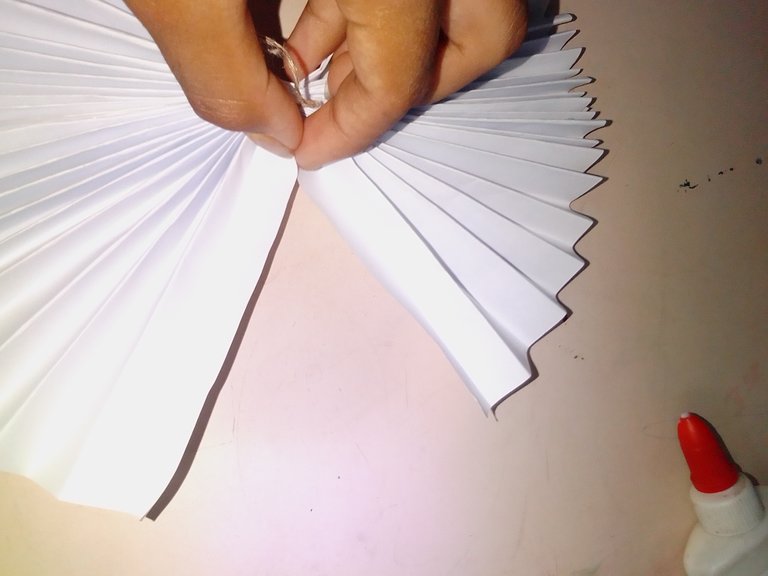
Ya cuando ayanos amarrado la hoja vamos agarrar la hoja que amarramos y vamos a tomar las dos partes de la hoja que estan abirtas y vamos a pegar una parte y ya después de que se seque la primera parte vamos a pegar la otra parte y esperamos que se seque.
Paso 3
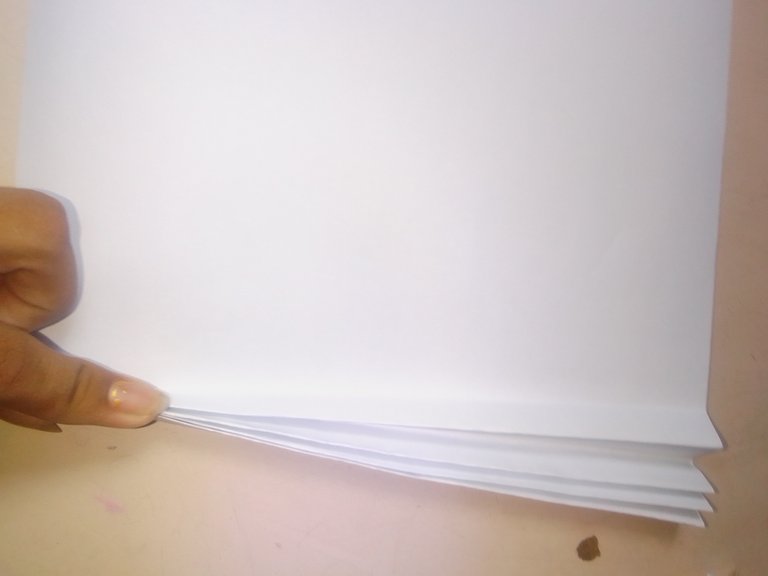
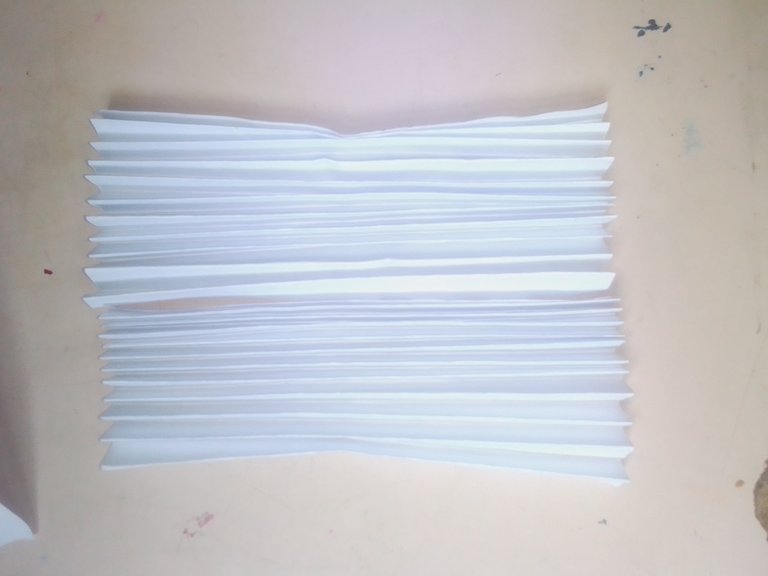
Ya después de hacer la parte del cuerpo la de abajo vamos a hacer la cabeza del muñeco de nieve vamos a agarrar una hoja y la picamos por la mitad y doblamos la hoja como si estuviéramos haciendo un abanico igualmente la otra parte de la hoja ya después de que hayamos doblado las dos mitades vamos a pegarlas y después de pegarla vamos a agarrar un hilo y lo amarramos en el centro de la hoja ya después de hacer eso vamos a agarrar las dos partes de la cabeza y después las dos partes las pegamos una por una para que no se descuadre..
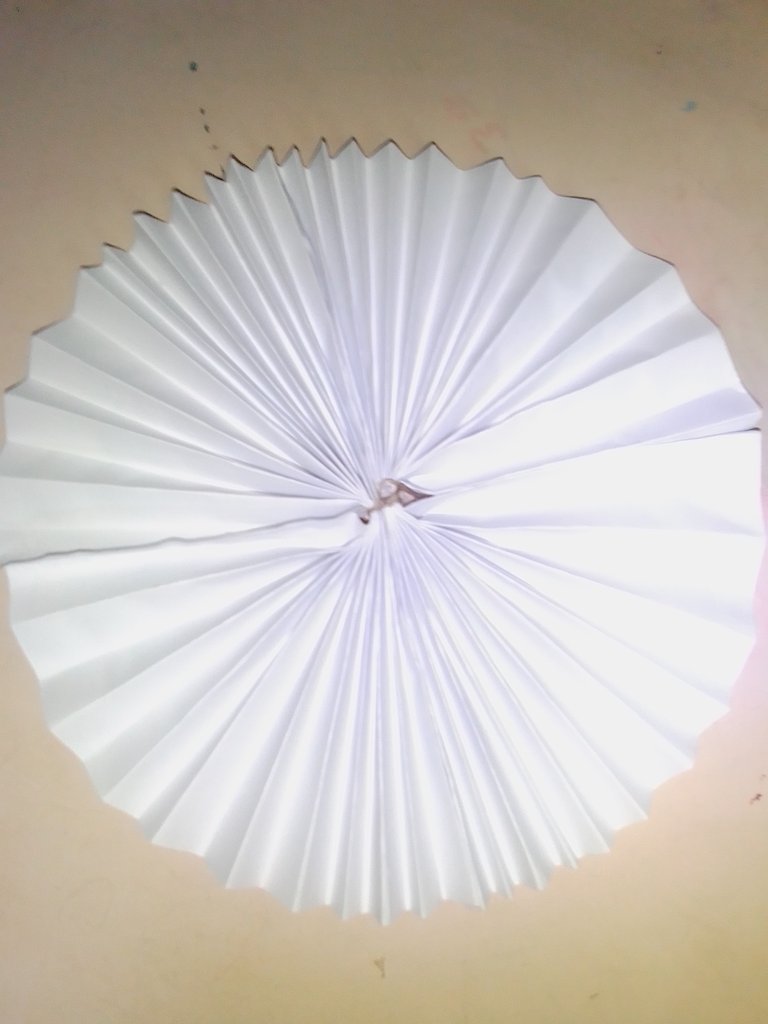
Ya después de hacer la cabeza y el cuerpo vamos a pegar la cabeza y el cuerpo con mucho cuidado para que no se rompa.
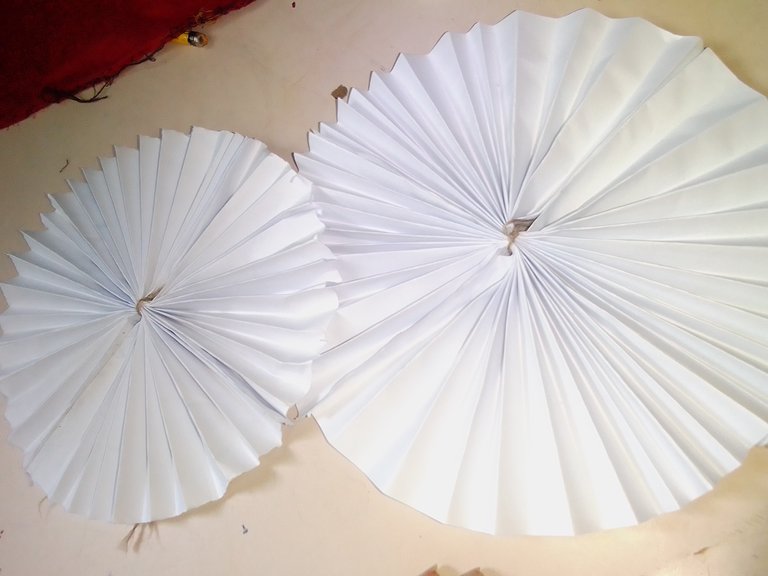
Paso 4
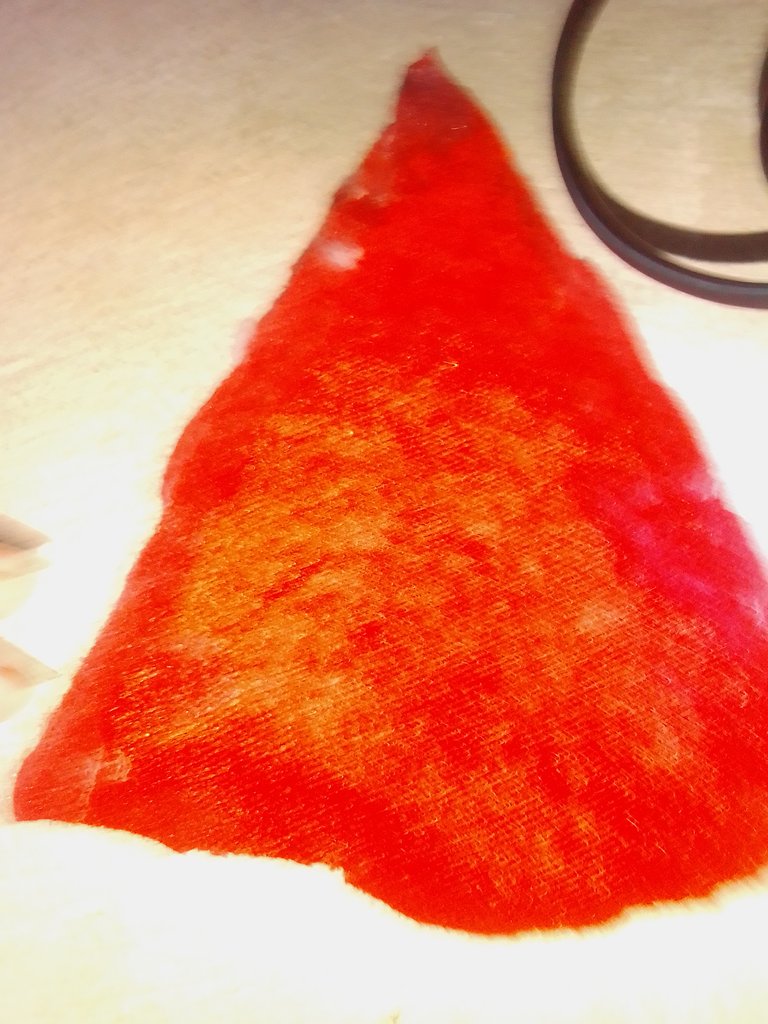
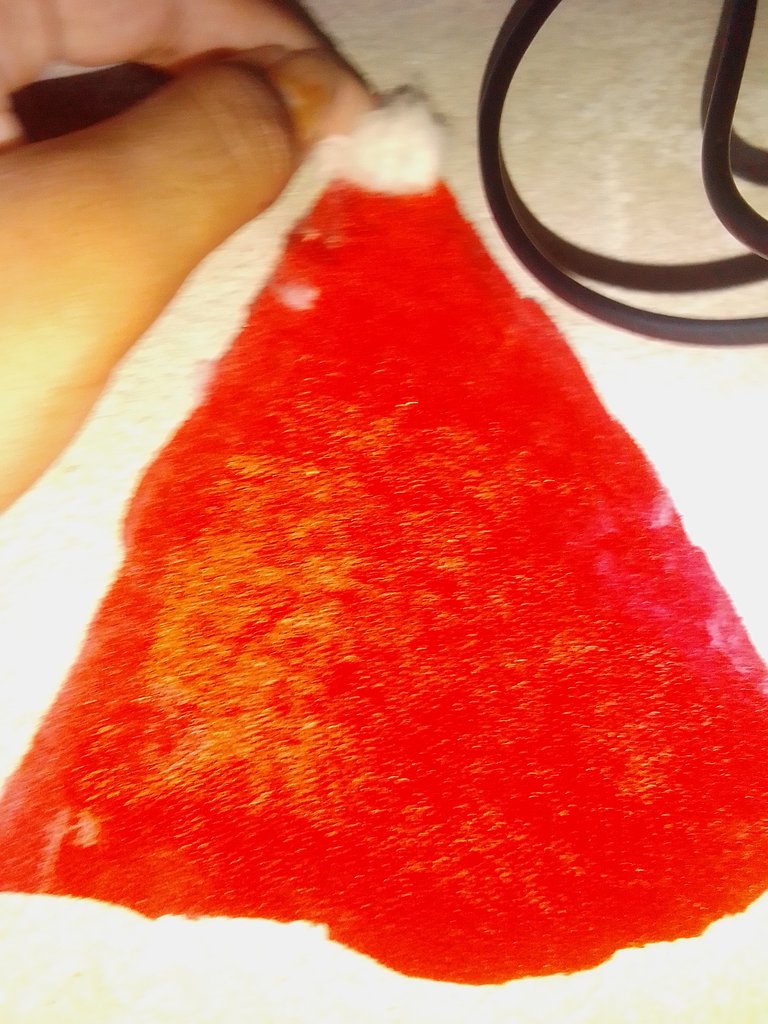
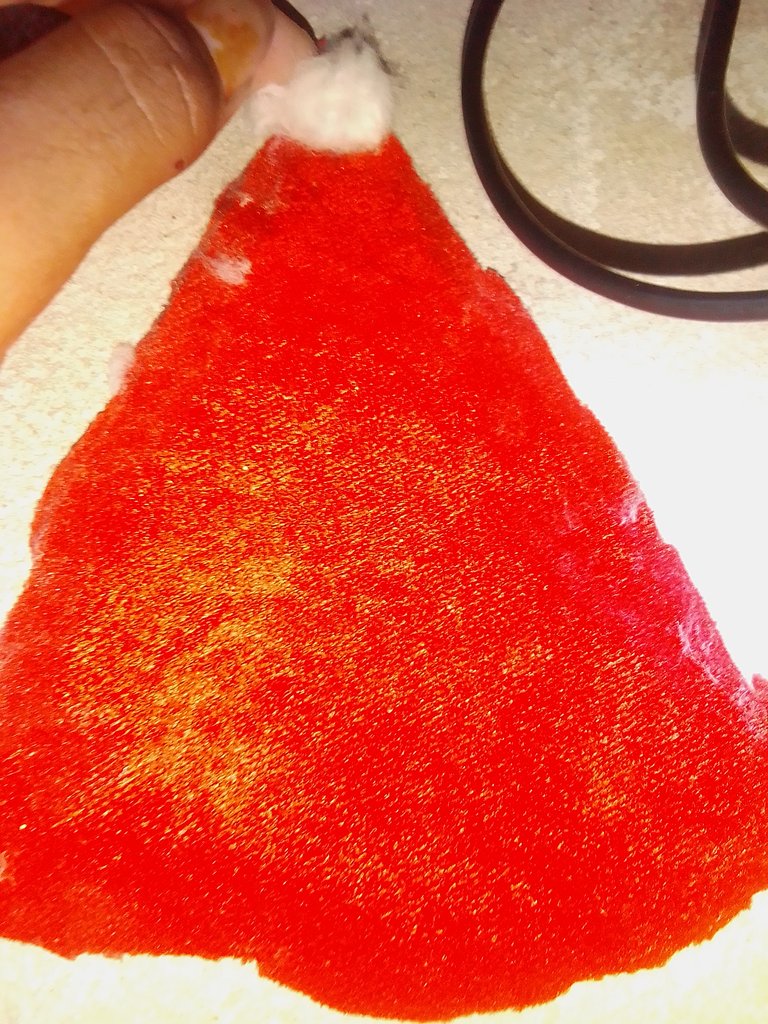
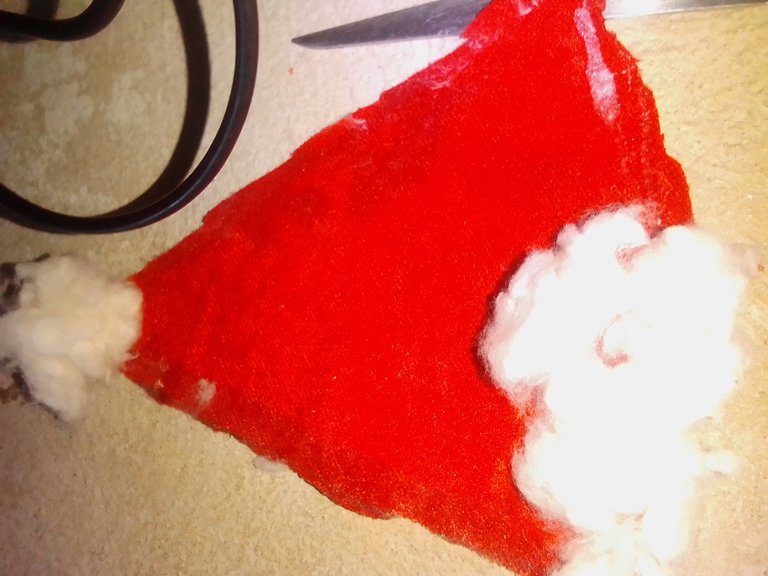
Ya después de pegar la cabeza y el cuerpo vamos agarrar el fierro rojo y vamos hacer una forma de un gorro y lo picamos poco a poco para que no se descuadre.
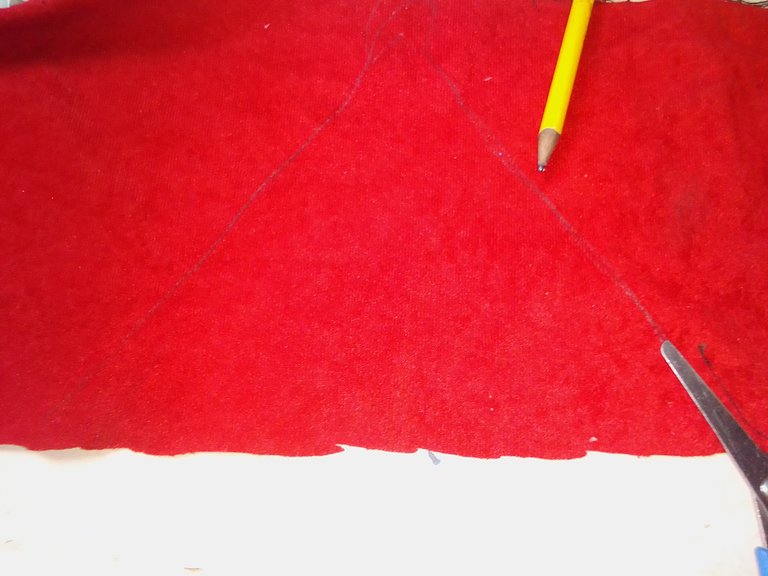
Ya después de picar el gorro vamos a agarrar el algodón y vamos a pegar por hacia abajo y hacia arriba en la punta del gorro del muñeco ya después vamos a pegarlo en la cabeza del muñeco de nieve.
Paso 5
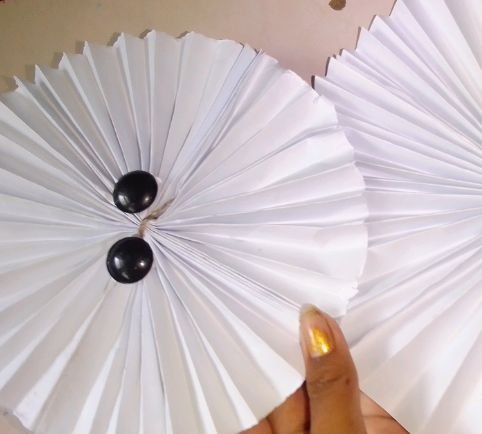
Ya después de pegar el gorro en la cabeza muñeco vamos a pegar los ojos del muñeco y la boca vamos a agarrar el fieltro rojo y vamos a sacar una boca para pegársela al muñeco de nieve.
Paso 6
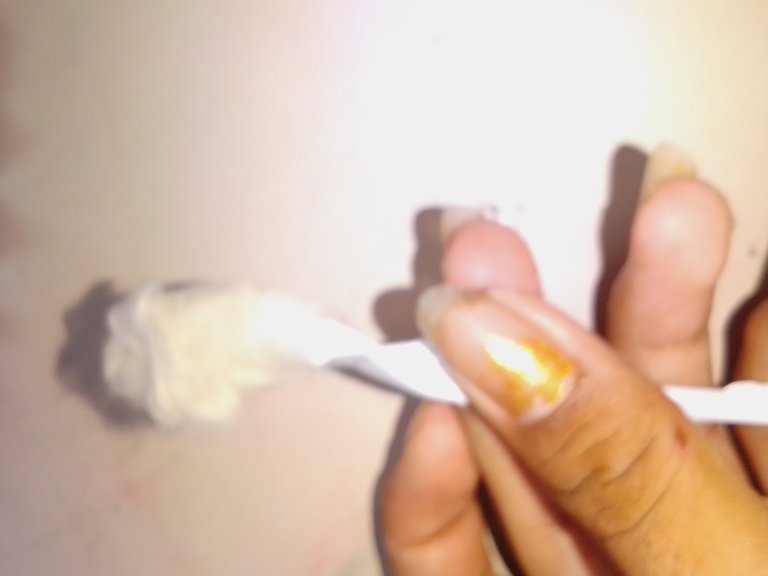
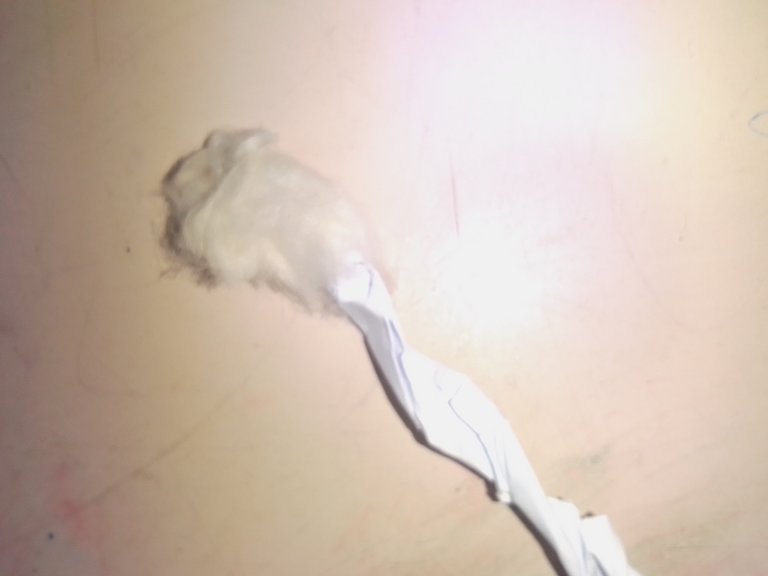
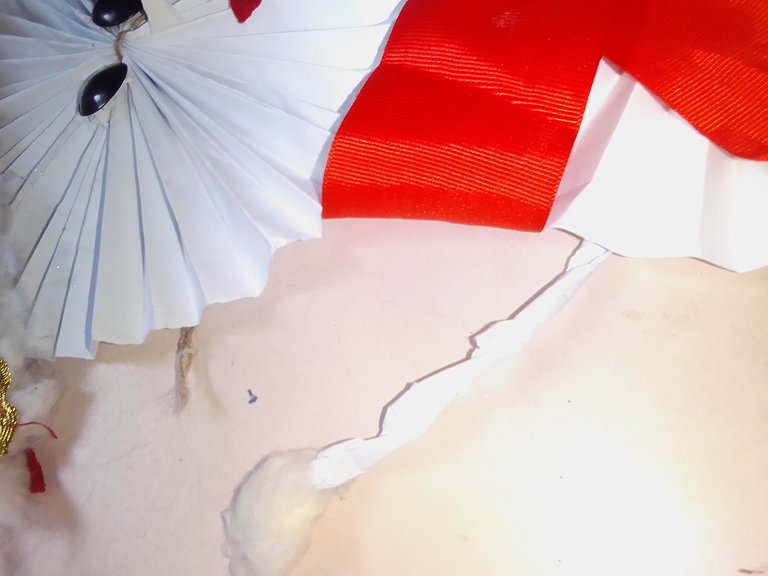
Ya después de pegar los ojos vamos a realizar los brazos a la hoja y vamos a ir doblándola y en la punta le pegamos algodón .
Paso 7
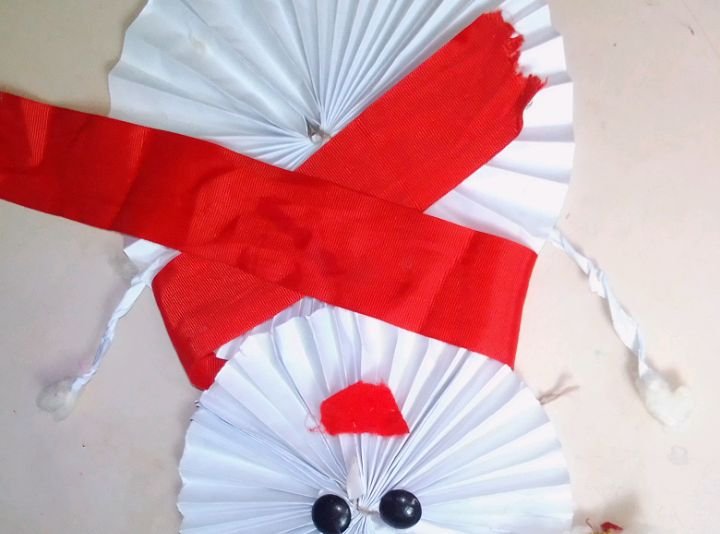
Por lo último vamos a agarrar la cinta y vamos a pegar la cinta roja en el muñeco de nieve.
Resultado final
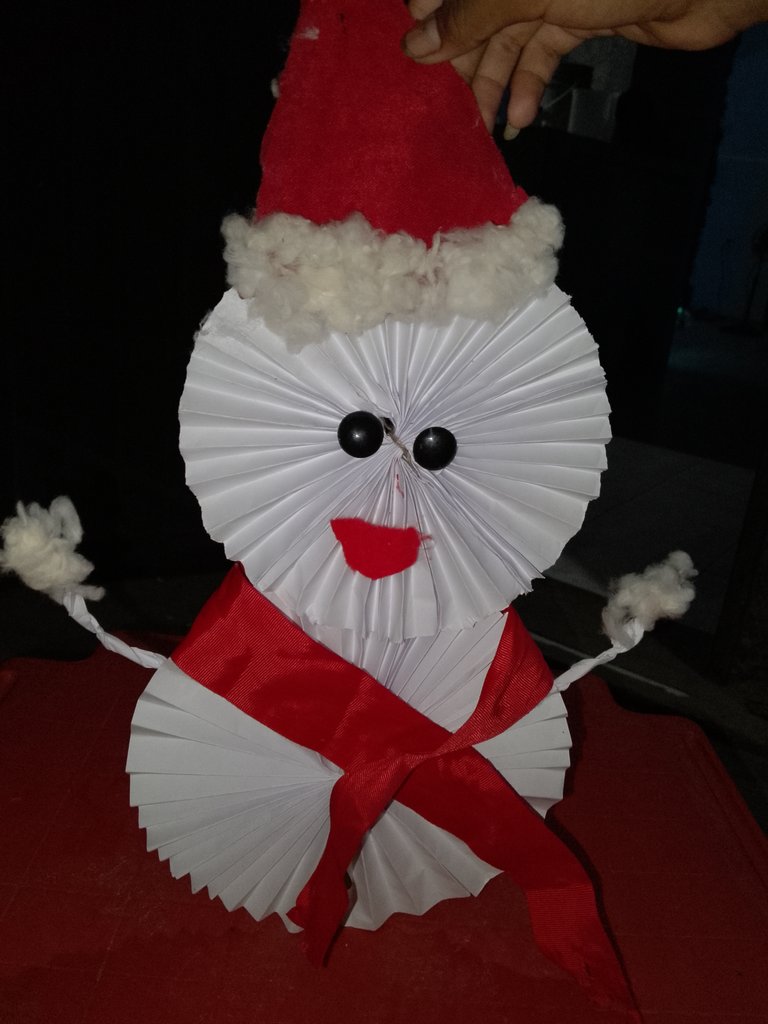
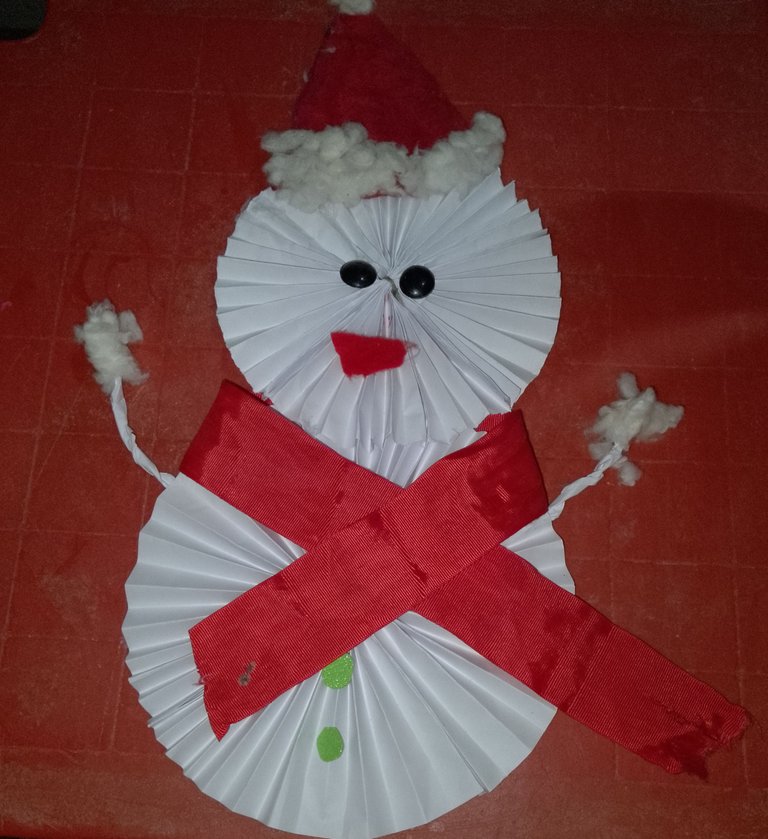
Espero amigos que le haya gustado este lindo muñeco de nieve hecho de materiales reciclado pará realizar en sus casas asta la próxima amigos muchos éxitos para todos ustedes .
_ las fotos son de mi propiedad y fueron tomadas en mi teléfono yezz más máx plus 2.
_ traductor utilizado: deepl .

Hello friends of this beautiful diyhub community I hope you are well because today I want to share with all of you how to make this beautiful Christmas doll made from recycled materials which I hope you like below the materials needed to make this beautiful Christmas doll.
Materials needed.
_ red felt
_ scissors
_ glue
_ machine blade
_ cotton chick
_ strips
_ thread
_ plastic eyes
_ red ribbon .

procedure
step 1
first what we are going to make is the body of the christmas doll we are going to take the machine sheets and we are going to proceed to fold the sheet little by little to one side and we go to the other side as if we were making a fan and after making the first one we are going to make the other one equally of the same size.


Already after making the second one of the same size we are going to proceed to glue the two from end to end with great care so that it does not fall apart and after we have glued it we are going to take a thread and we are going to tie in the center of the leaf the thread well tied but with great care so that it does not wrinkle the leaf.


Step 2
Once we have tied the leaf we are going to take the leaf that we tied and we are going to take the two parts of the leaf that are open and we are going to glue one part and after the first part dries we are going to glue the other part and we wait for it to dry.


Step 3
After making the body part and the bottom part, we are going to make the head of the snowman. We are going to take a leaf and cut it in half and fold the leaf as if we were making a fan and also the other part of the leaf and after we have folded the two halves we are going to glue them and after gluing it we are going to take a thread and tie it in the center of the leaf and after doing that we are going to take the two parts of the head and then we glue the two parts one by one so that it doesn't get out of place.


After making the head and the body we glue the head and the body very carefully so that it doesn't break.

Step 4
After gluing the head and the body we are going to take the red iron and we are going to make the shape of a cap and we will cut it little by little so that it doesn't fall apart.

After chopping the hat we are going to take the cotton and we are going to glue it downwards and upwards on the tip of the snowman's hat and then we are going to glue it on the snowman's head.


Step 5
After gluing the hat on the snowman's head, we are going to glue the eyes and the mouth on the snowman. We are going to take the red felt and make a mouth to glue it on the snowman.


Step 6
After gluing the eyes we are going to make the arms to the sheet and we are going to fold it and at the end we glue absorbent cotton.


Step 7
Finally, we are going to take the ribbon and glue the red ribbon on the snowman.

Final result
I hope friends that you liked this cute snowman made from recycled materials to make in your home, see you next time friends, best wishes to all of you.


_ the photos are my property and were taken on my phone yezz plus max plus 2.
_ translator used: deep.l


