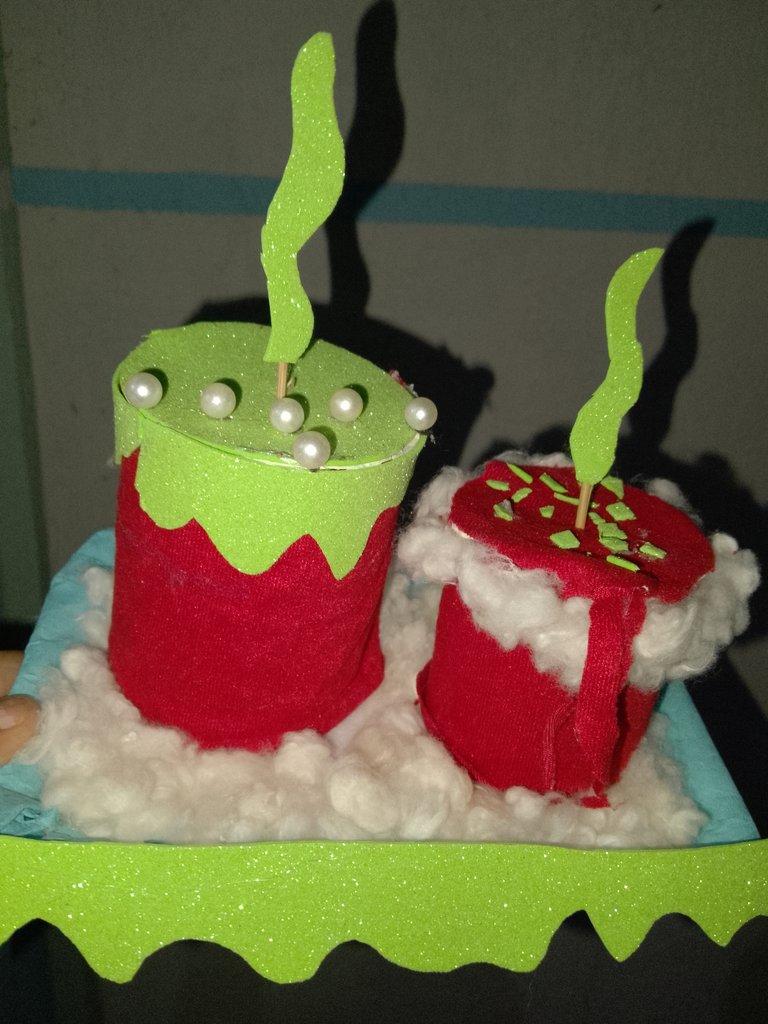
Hola amigos de esta hermosa comunidad de diyhub espero que esten muy bien en este día hermoso porque hoy yo quiero compartir con todos ustedes esta hermosa vela navideña para de corar en sus casas el cual espero que les gusten amigos a continuación los materiales necesarios para realizar esta vela navideña fueron lo siguiente:
Materiales necesarios.
_ foami verde.
_ tijera.
_ cilicon.
_ pega.
_ algodón pollito.
_ palito de altura.
_ fieltro rojo.
_ papel crepe azul.
_ plato de plástico.
_ perlas blancas grandes.
_ lata de jamonada.
_ tubo de servilletas.
_ tapa de cartón fino.
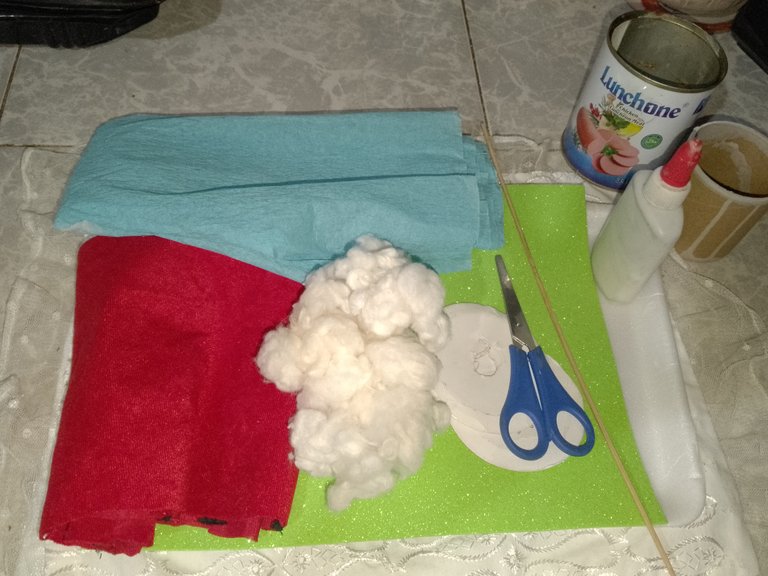
procedimiento.
Paso 1
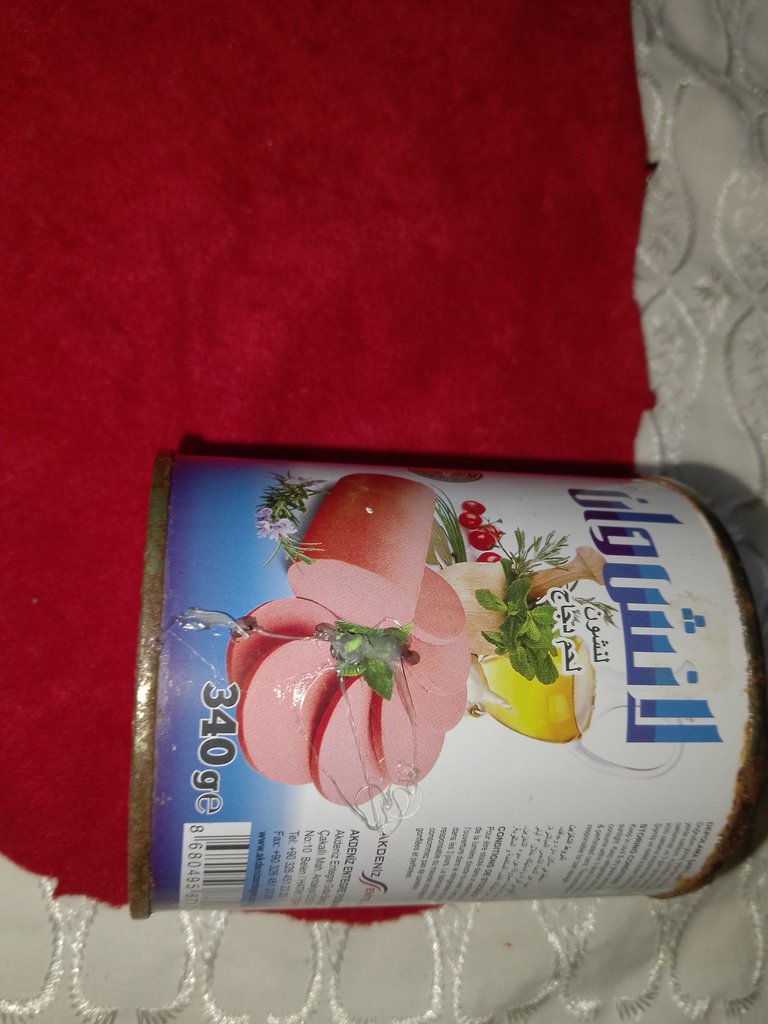
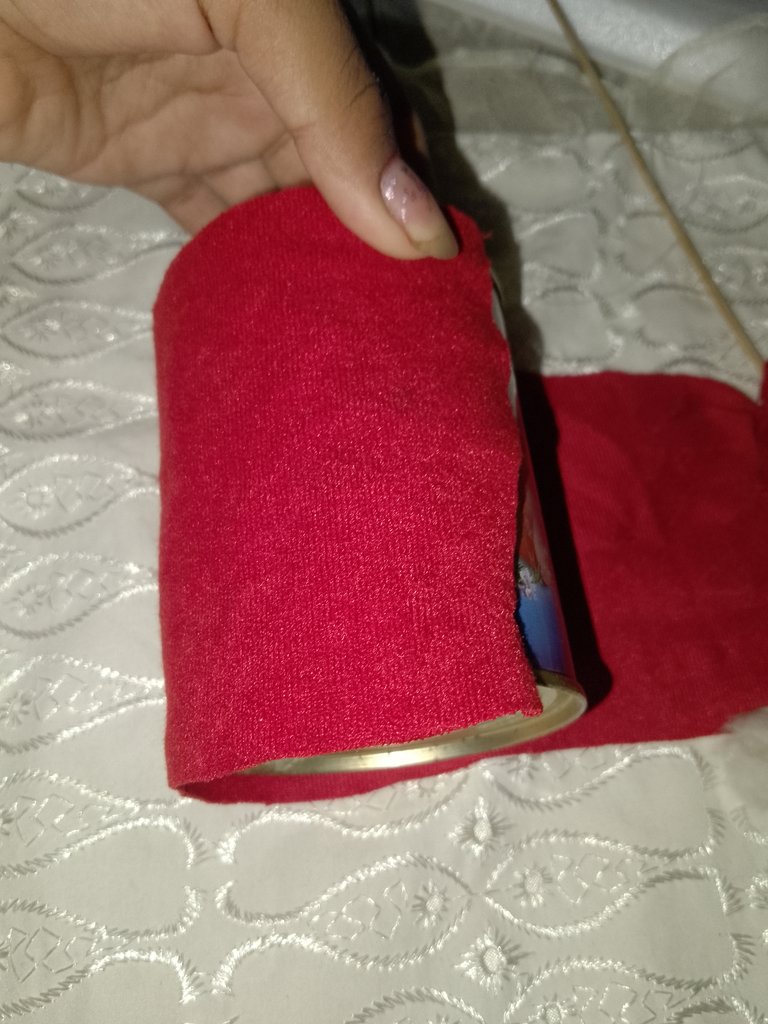
Lo primero que vamos hacer es tomar la lata de jamonada y vamos a garrar el fieltro rojo y vamos a medir el fieltro rojo con la lata de jamonada y cortamos el fieltro rojo a la medida de la lata de jamonada y pegamos el fieltro con mucho cuidado para que no se descuadre y que de a la misma medida.
Paso 2
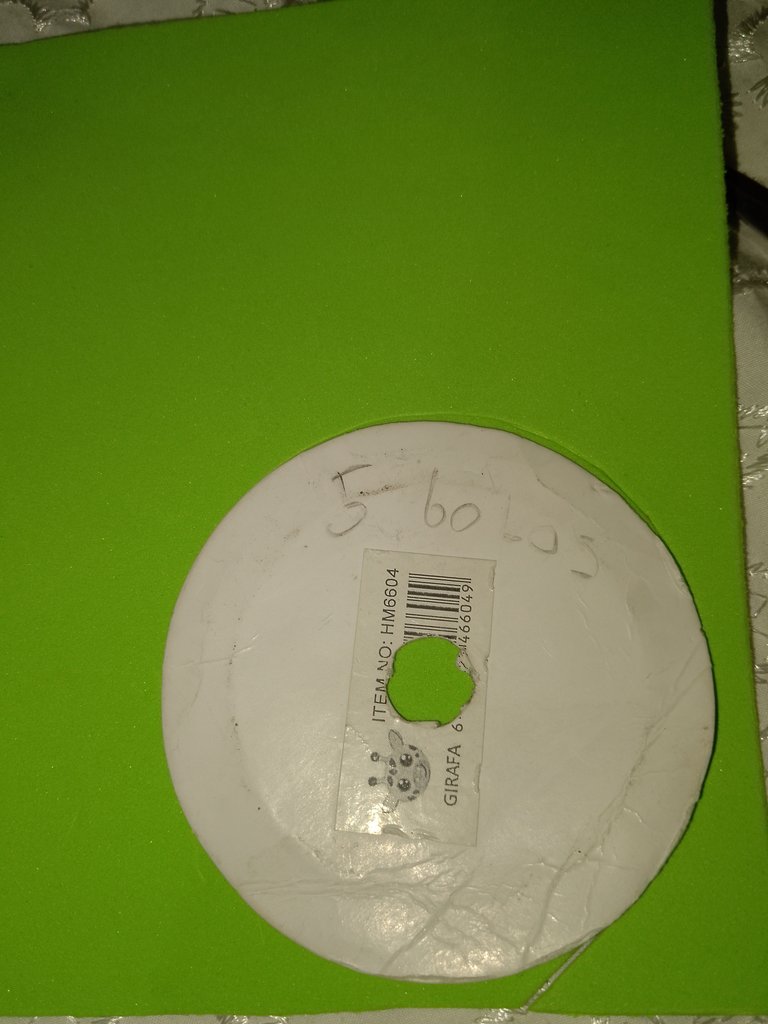
Ya después de que hayanos pegado el fieltro rojo vamos a garrar una tapa de cartón fino a la misma medida de la lata de jamonada vamos a garrar el foamy verde y vamos a pircar arriba de la tapa de cartón un circulo a la misma medida del carton fino.
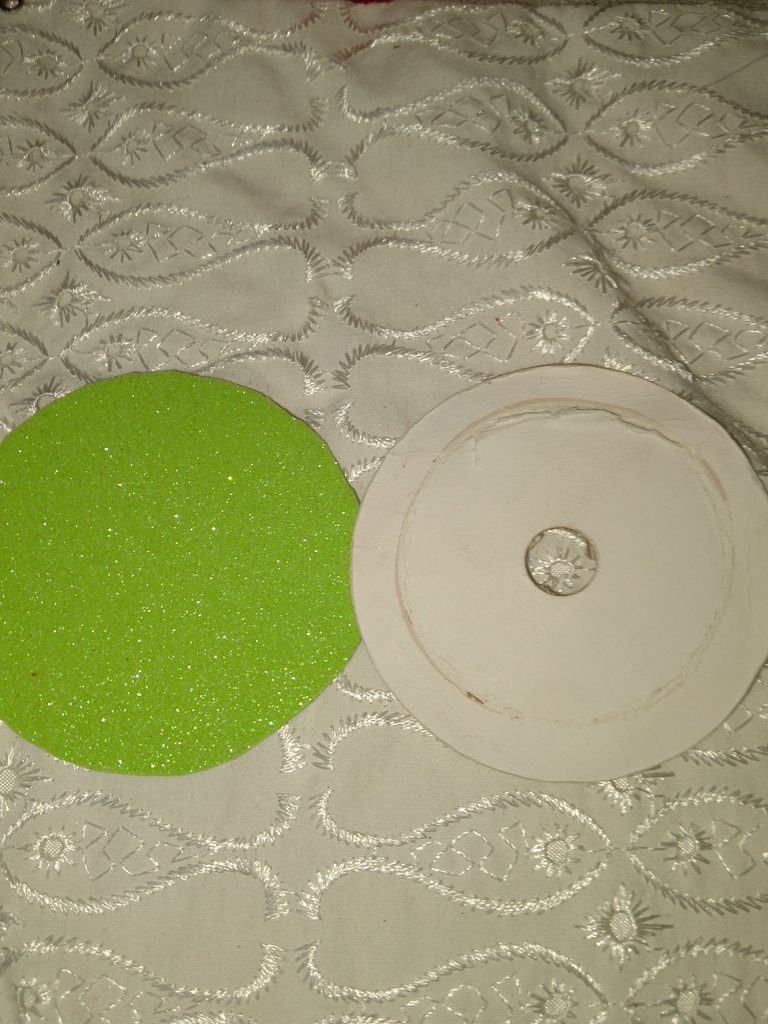
Ya después de que hayanos picado el foamy a la misma medida del carton vamos a proceder a pegar el carton con el foamy para que tenga mas fuerza la tapa de la vela .
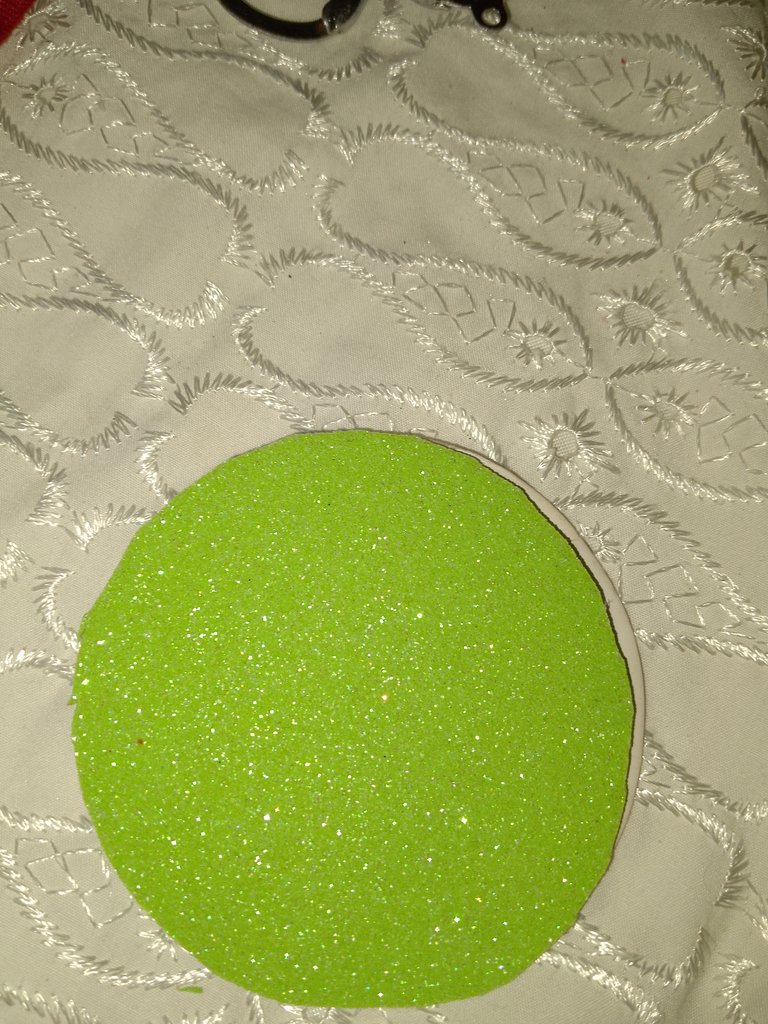
Paso 3
Ya después de que hayanos pegado el foamy con la tapa vamos a garrar el silicón y vamos a pegar arriba de la vela la tapa de foamy que hicimos.
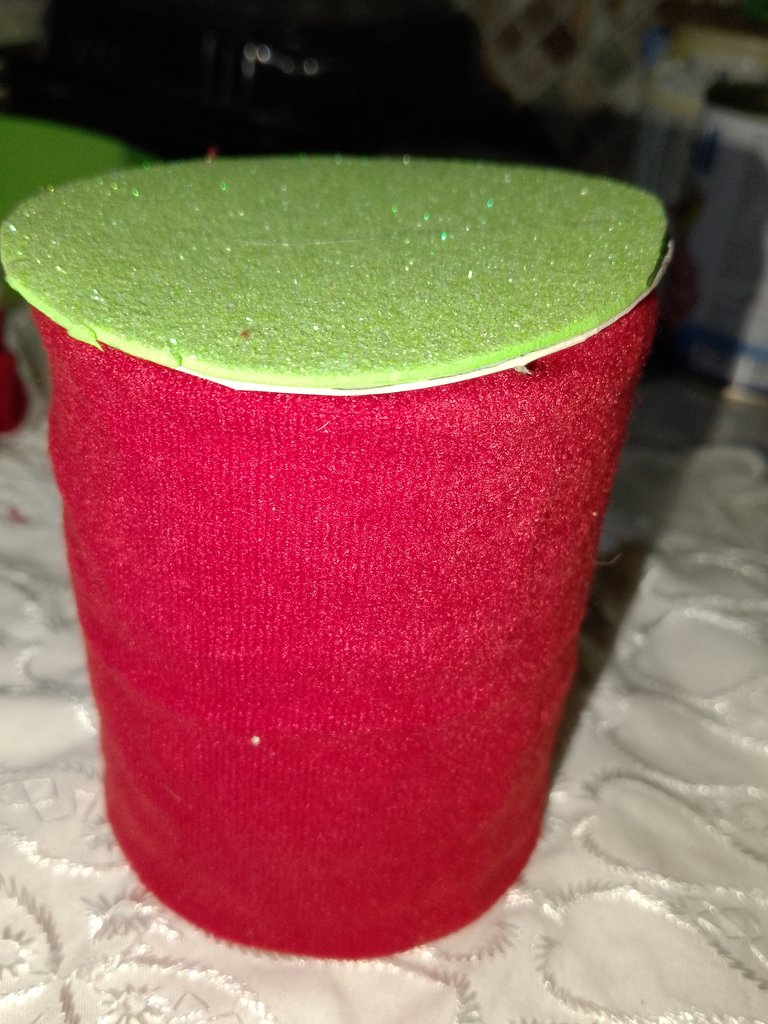
Ya después de pegar la tapa de foamy vamos agarrar el foamy y vamos a picar y vamos a sacar una vela y vamos a garrar el silicón y el palito de altura agarramos la vela que hicimos y la pegamos con silicón en el palito de altura y la ponemos en el centro de la vela navideña.
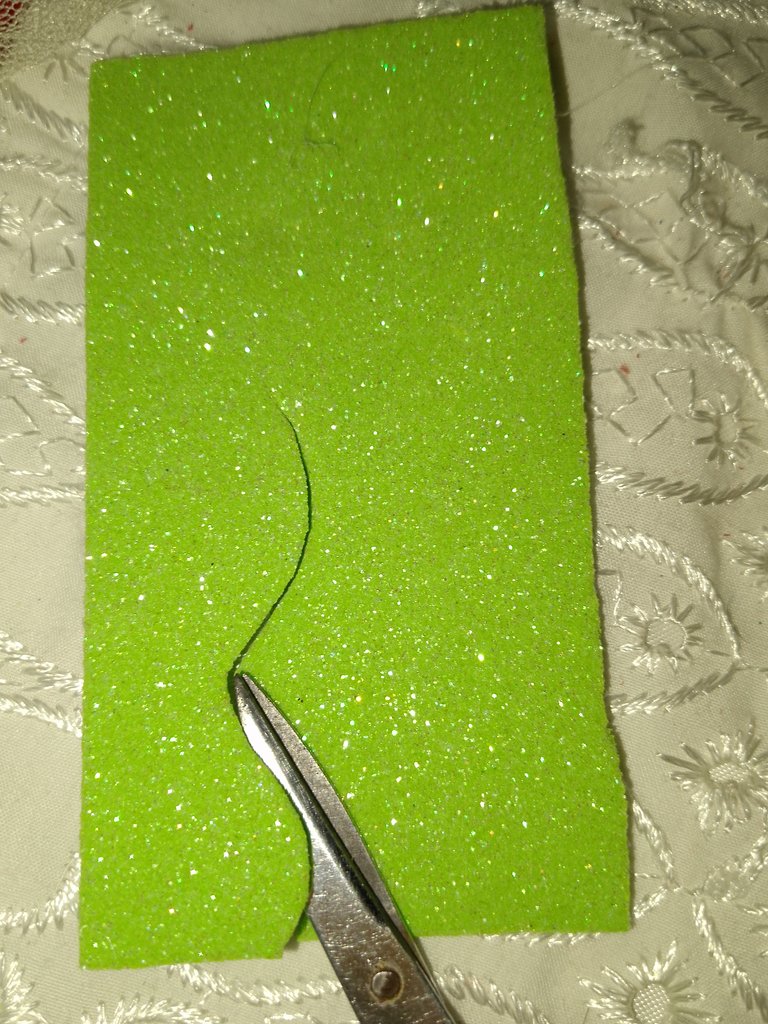
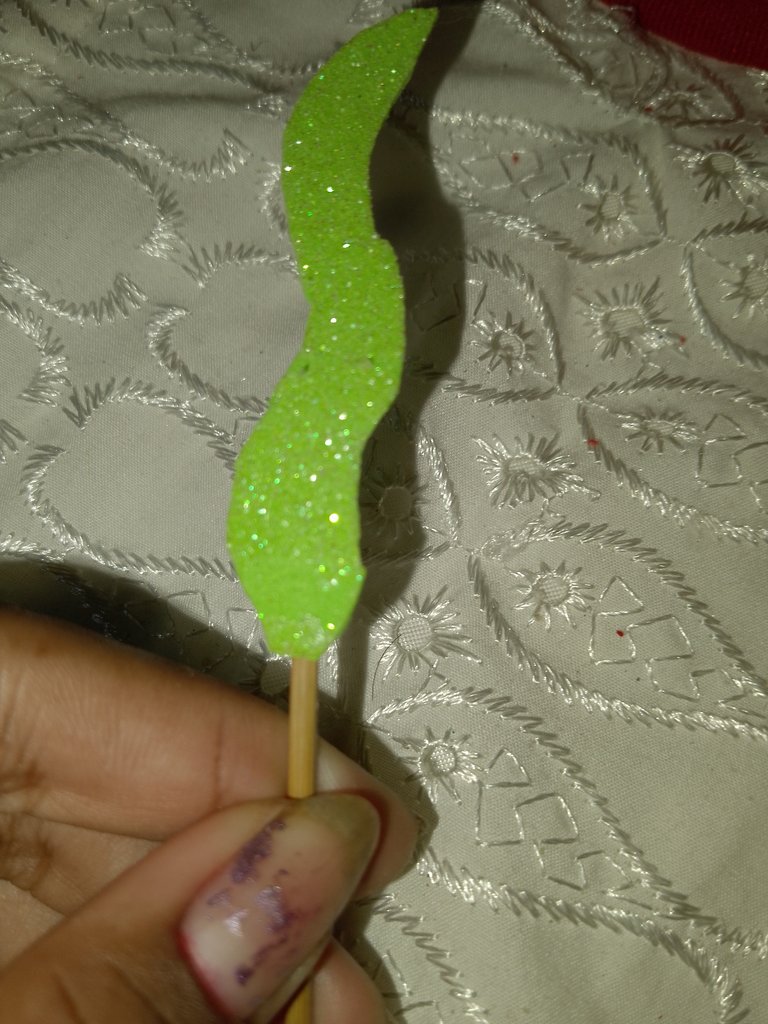
Paso 4
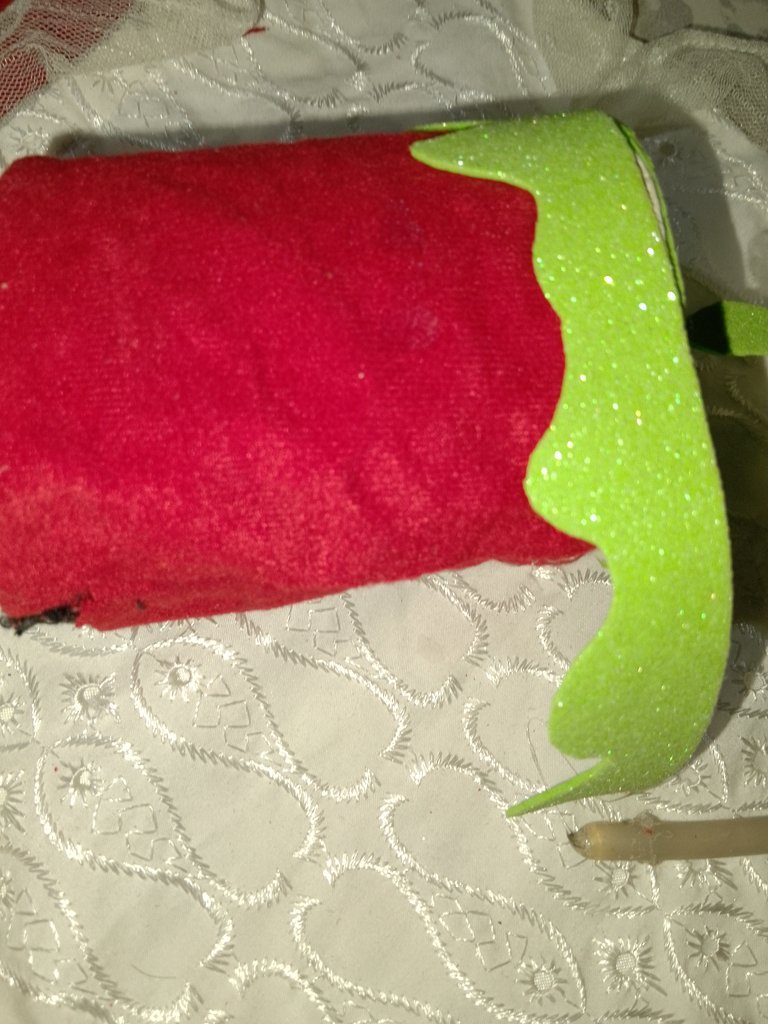
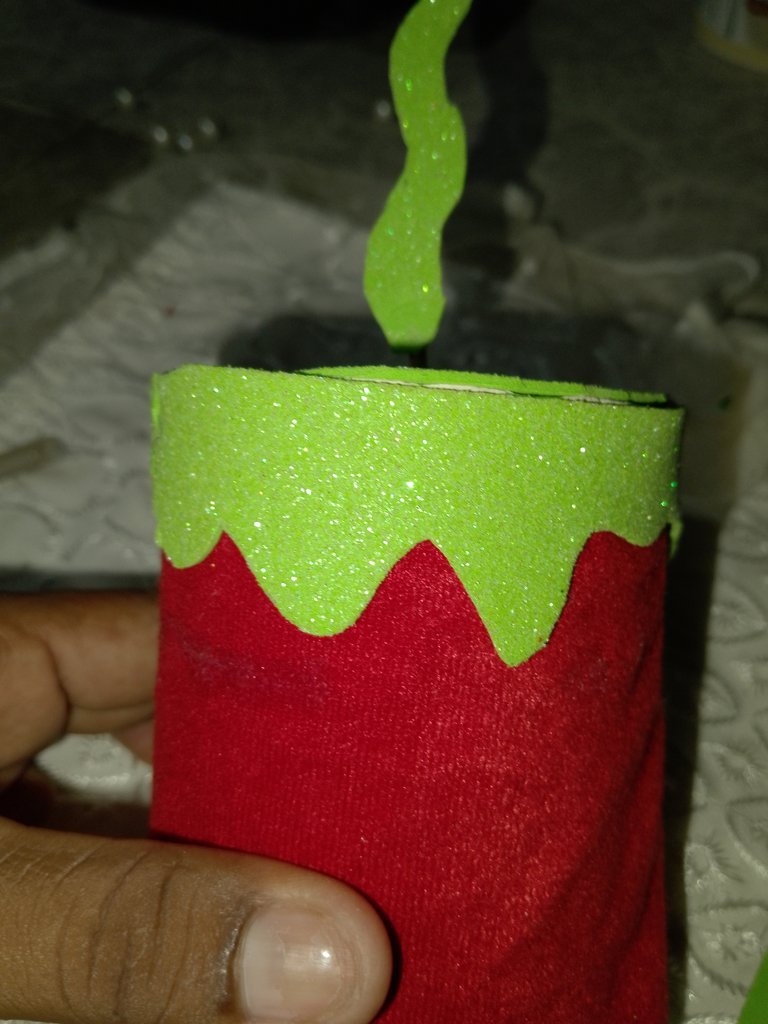
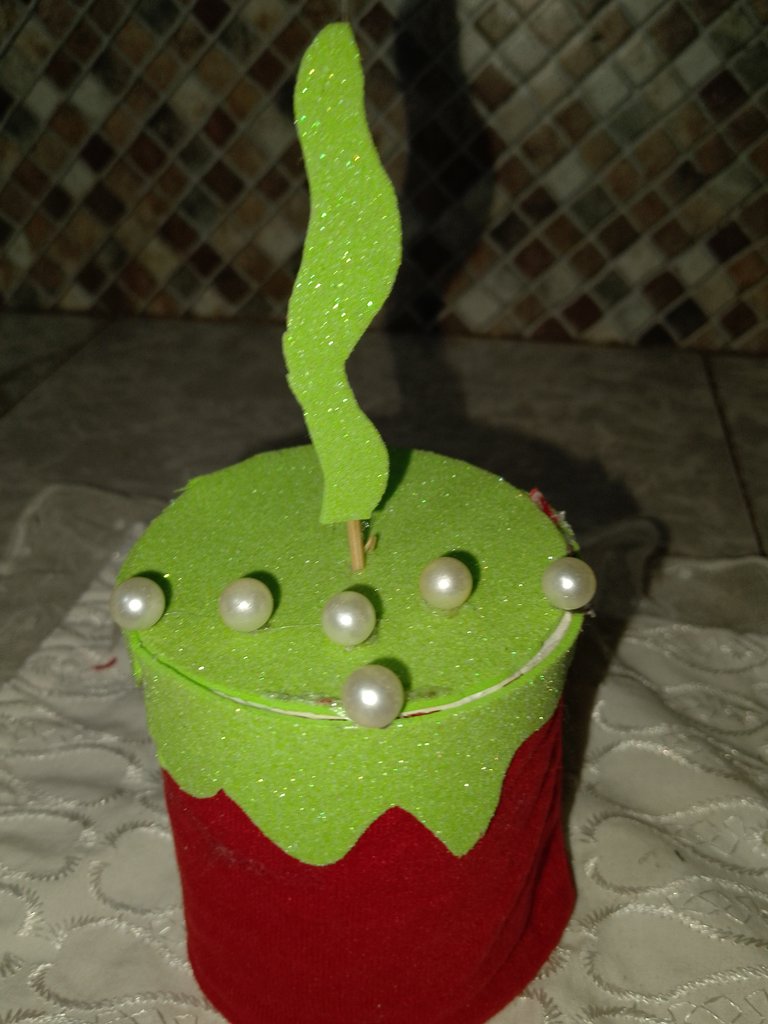
Ya después de que hayanos hecho todo ese procedimiento vamos agarrar nueva mente el foamy verde y vamos picar en forma de v el foamy para realizar las goteras de la vela.
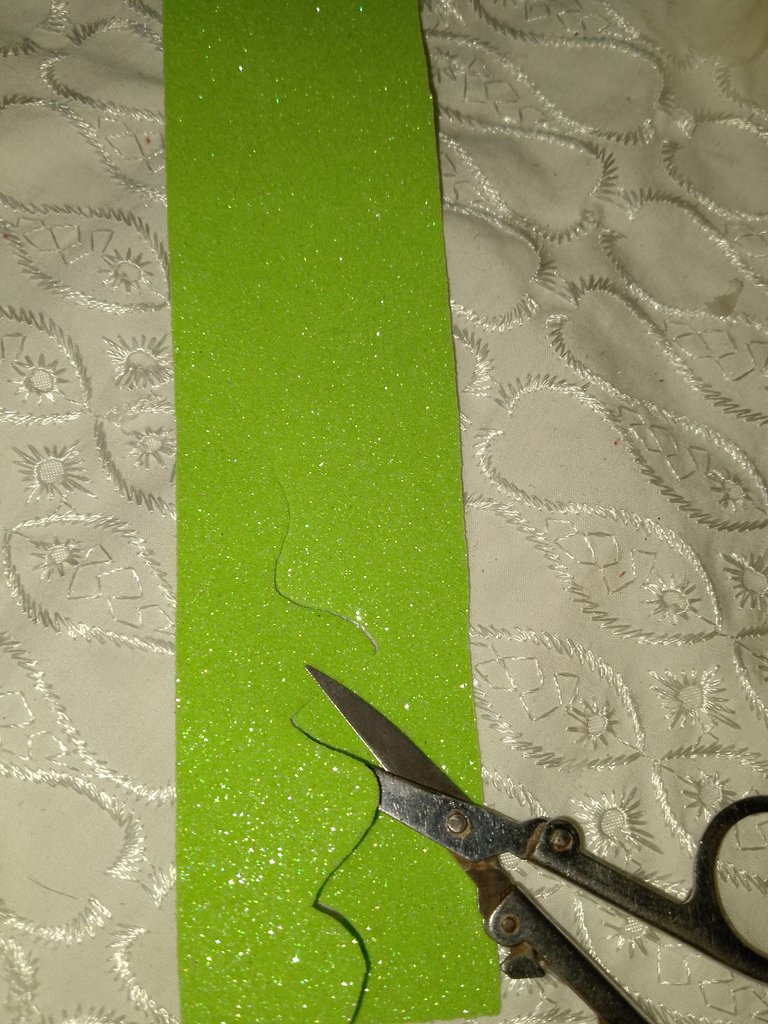
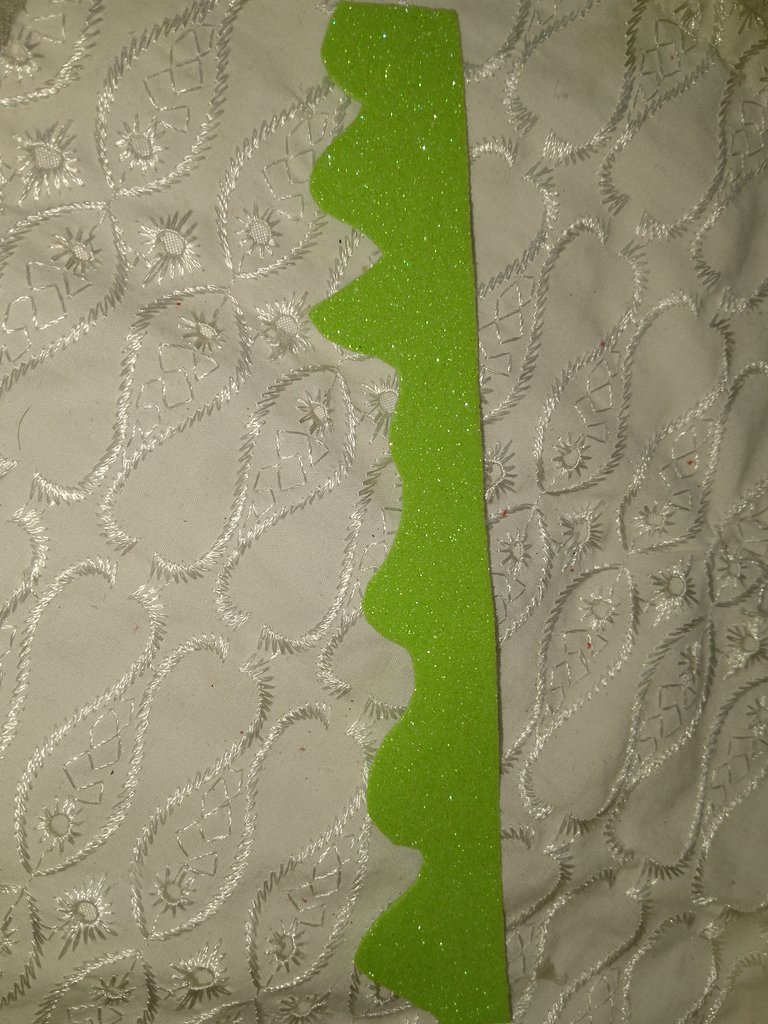
Ya cuando tengamos lista la goteras de la vela vamos a pegarlas con silicón caliente con mucho cuidado ya para que no queden espacios abiertos en la vela.
Paso 5
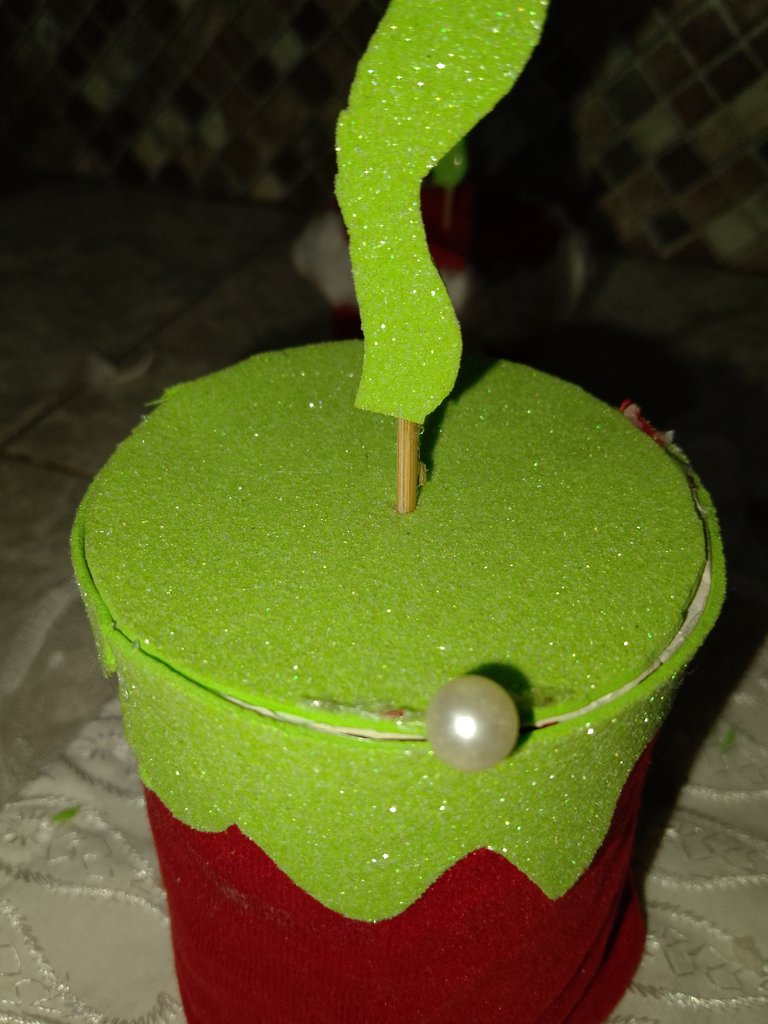
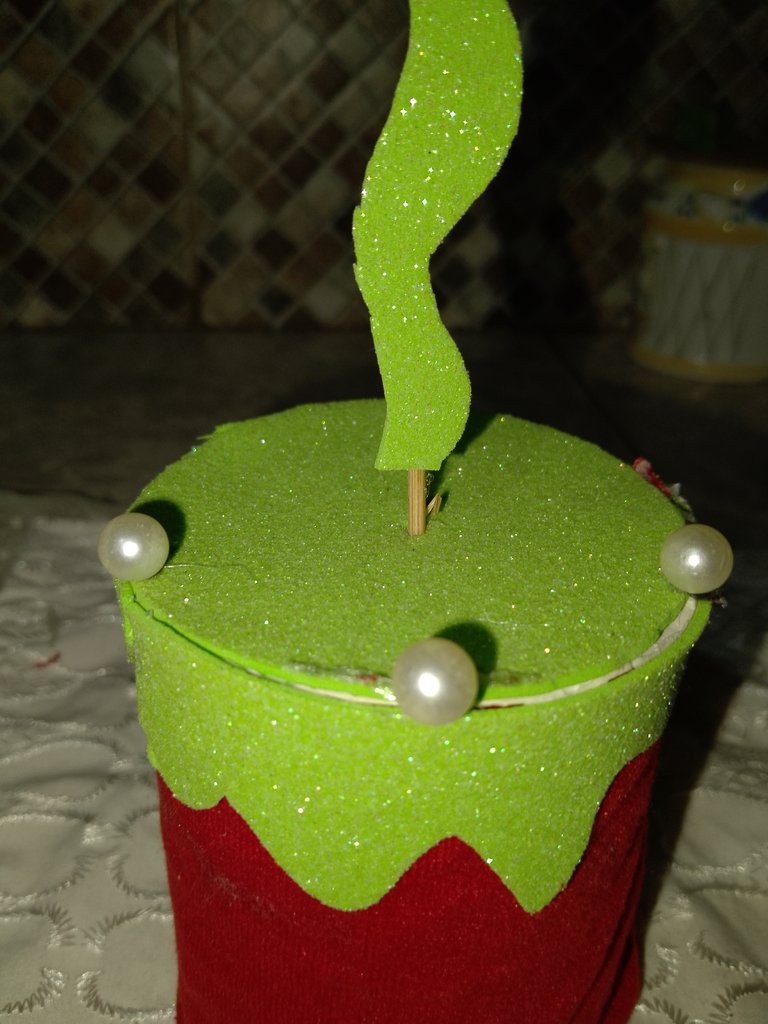
Ya cuando hayanos pegado las goteras vamos a pegarle con silicón caliente arriba de la tapa las perlas blancas grandes para que parezcan gotas de la vela.
Paso 6
ya después de que hayanos terminado con la primera vela vamos hacer la vela pequeña vamos a tomar el fieltro rojo vamos a medir con el tubo de servilleta y cortamos a la misma medida del tuvo de la servilleta.
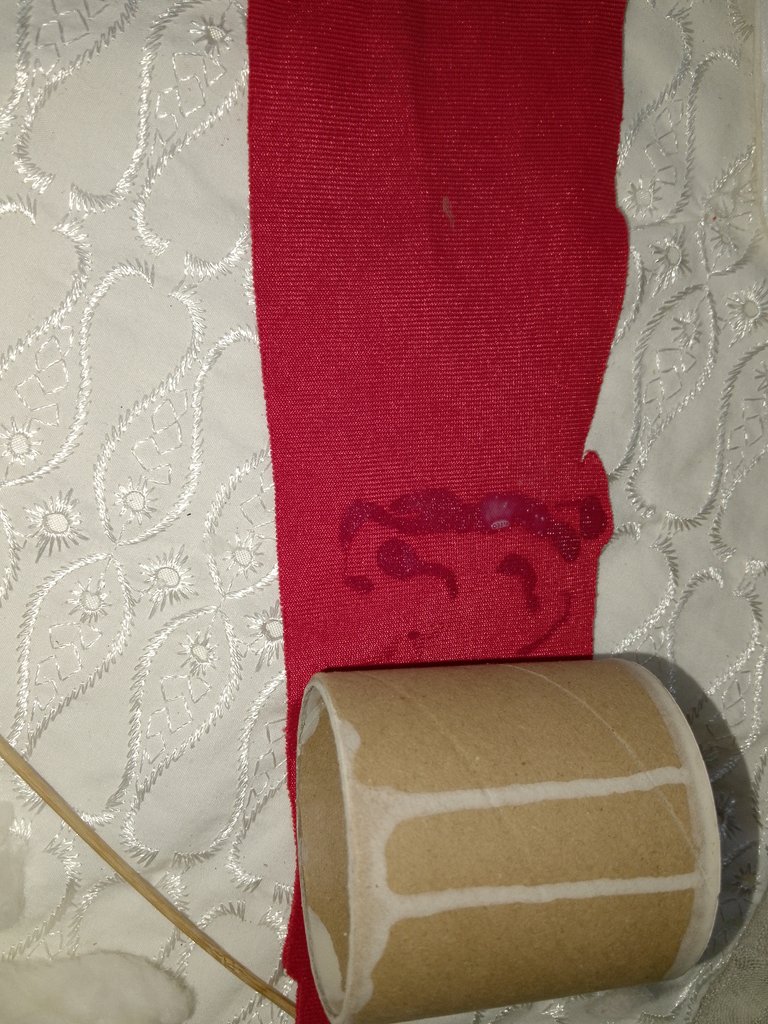
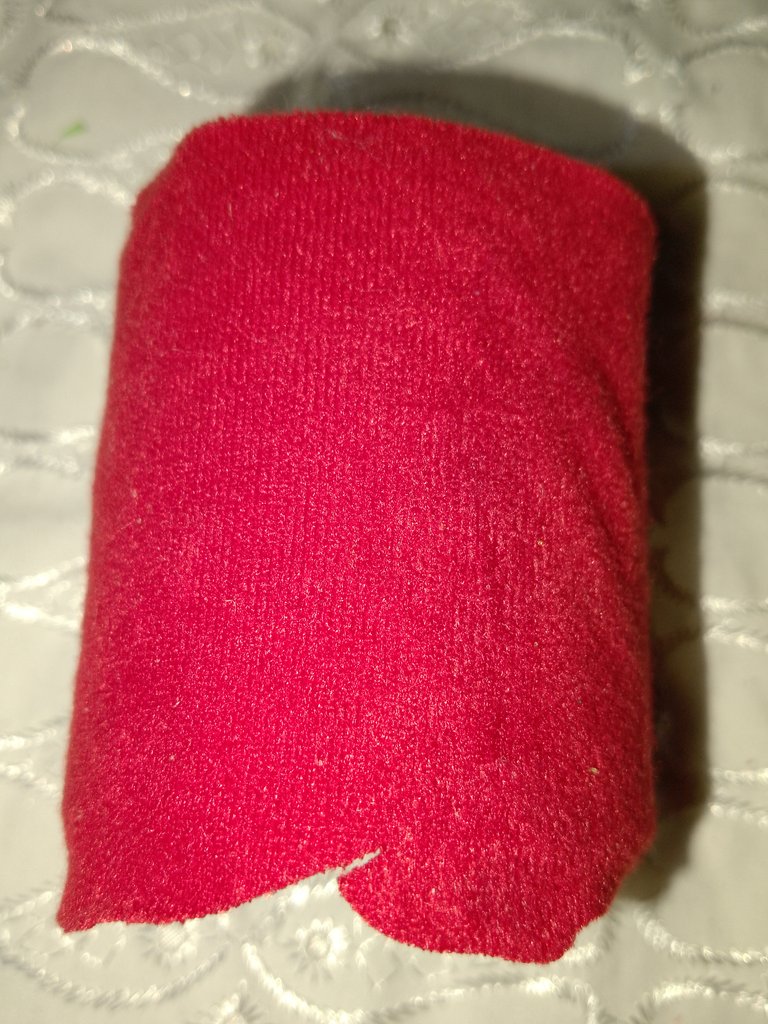
ya después de que hayanos cortado el fieltro rojo a la misma medida del tuvo de servilleta vamos a tomar el silicon y pegamos el fieltro rojo con el silicon caliente.
Paso 7
Ya despues de hacer todo ese procedimiento vamos a ser la tapa vamos a tomar el fieltro rojo y vamos a tomar una tapa de carton a la misma medida del tuvo de servilleta ya después de medir vamos a tomar el silicon caliente y pegamos la tapa con el fieltro rojo.
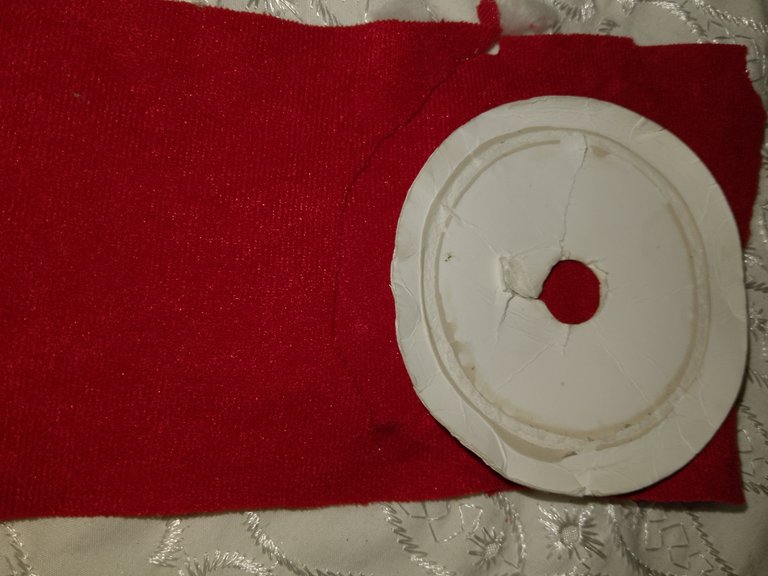
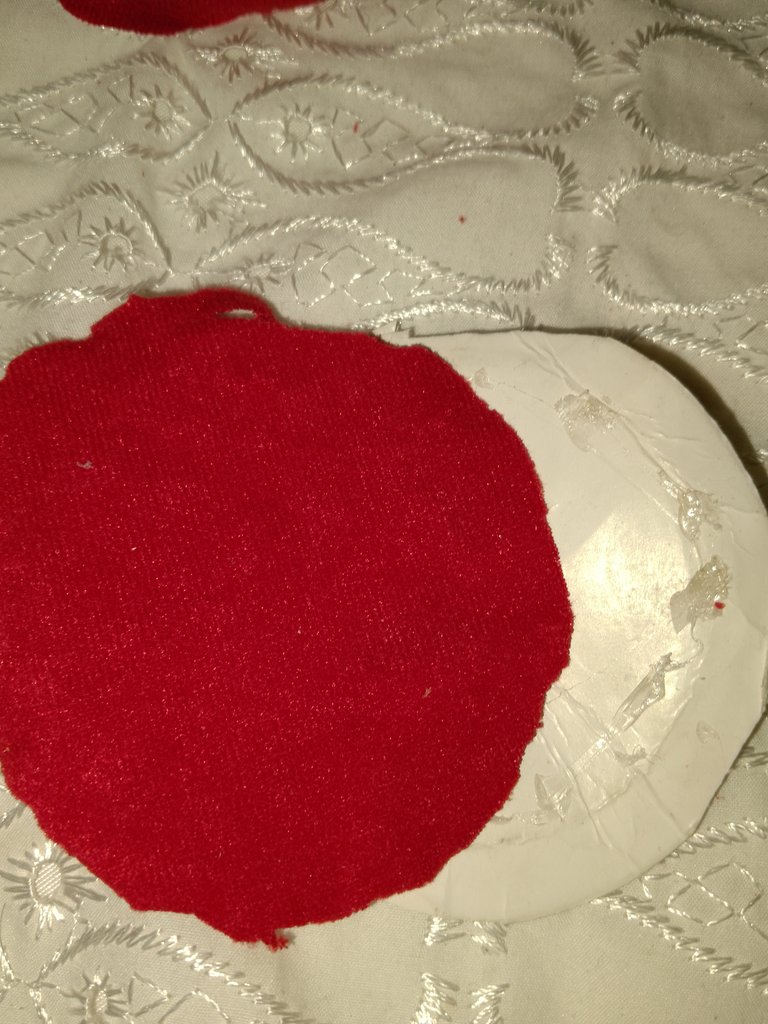
Ya después de pegar la tapa vamos a proceder a pegar la tapa con silicon caliente el arriba del tuvo de la servilletacon mucho cuidado para que no se descuadre.
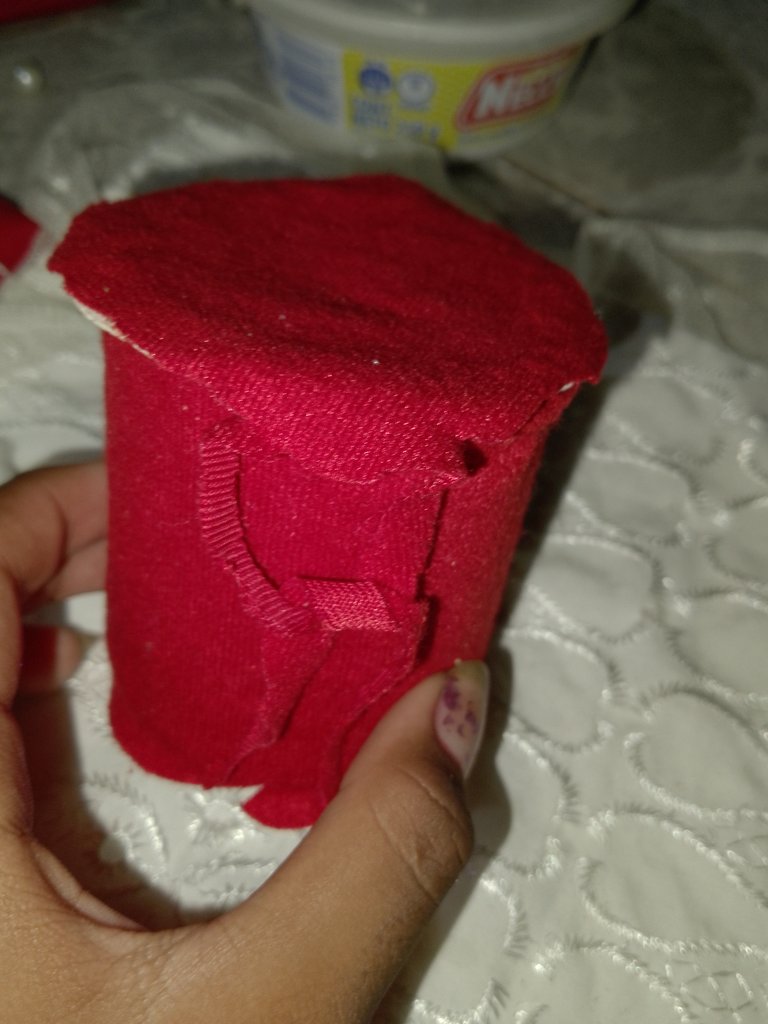
Paso 8
Ya después de pegar la tapa con silicon vamos a tomar el algodon pollito y agarramos la pega y pegamos el algodón pollito en el tuvo de la servilleta.
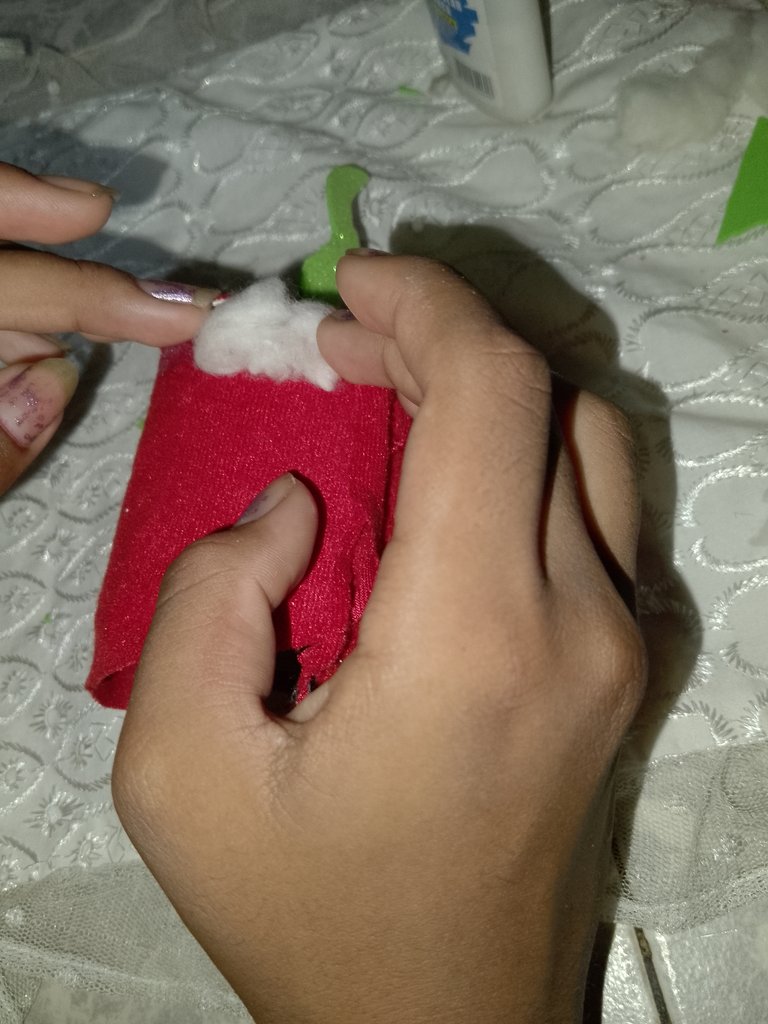
ya después de pegar algodón pollito
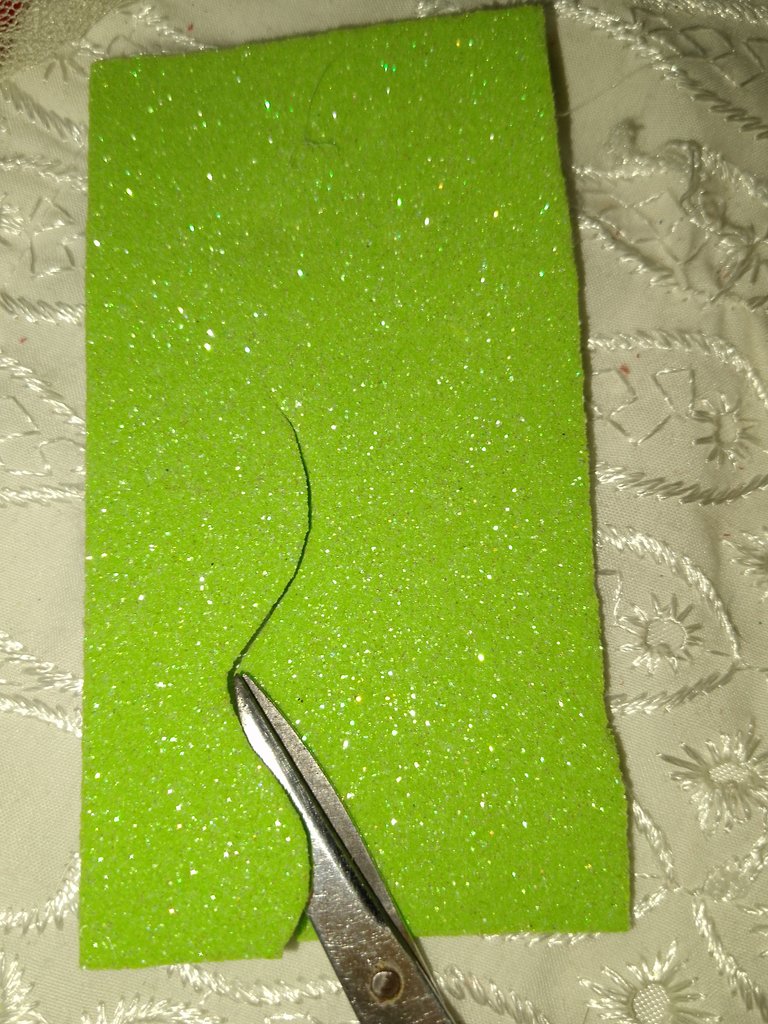
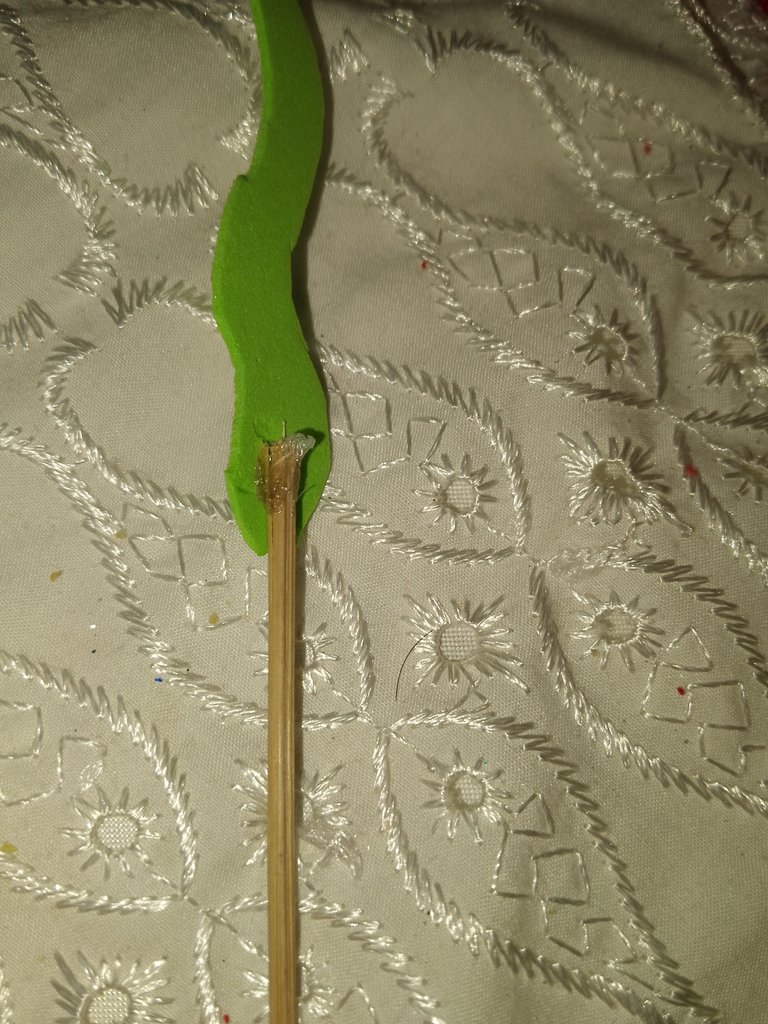
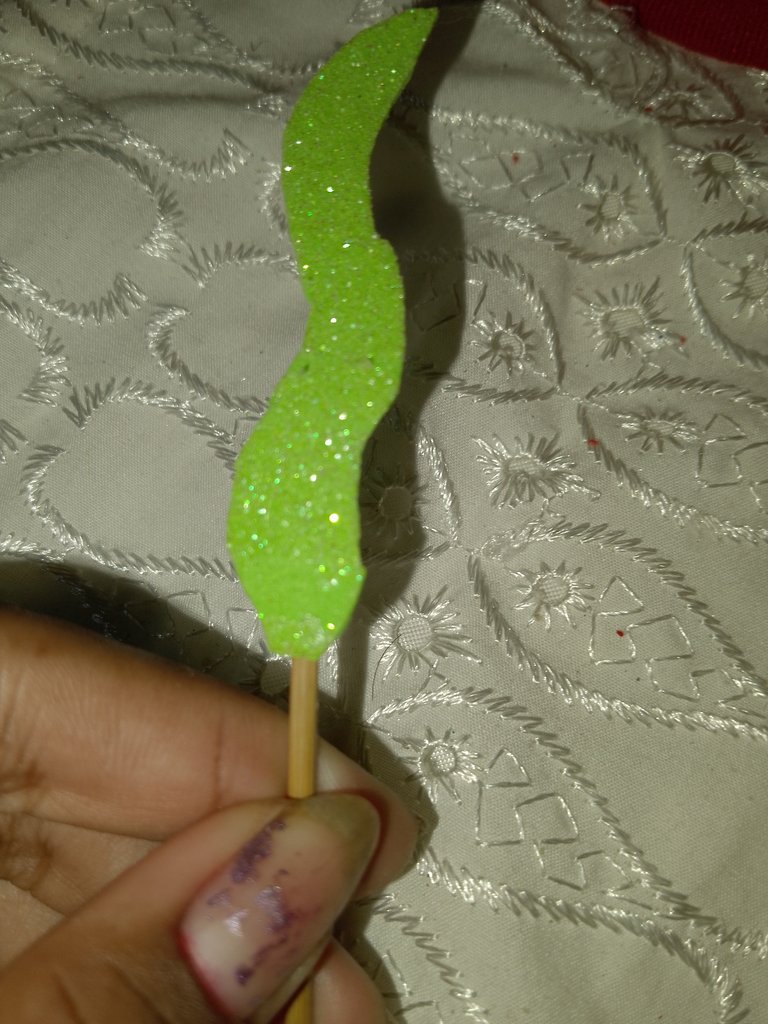
vamos a agarrar el foamy verde y vamos asarcar una vela en forma de curva y agarramos el palito de altura con silicón caliente y pegamos la vela con el palito de altura ya después pegar la vela vamos a pegar la vela arriba del tuvo de servilleta.
Paso 9
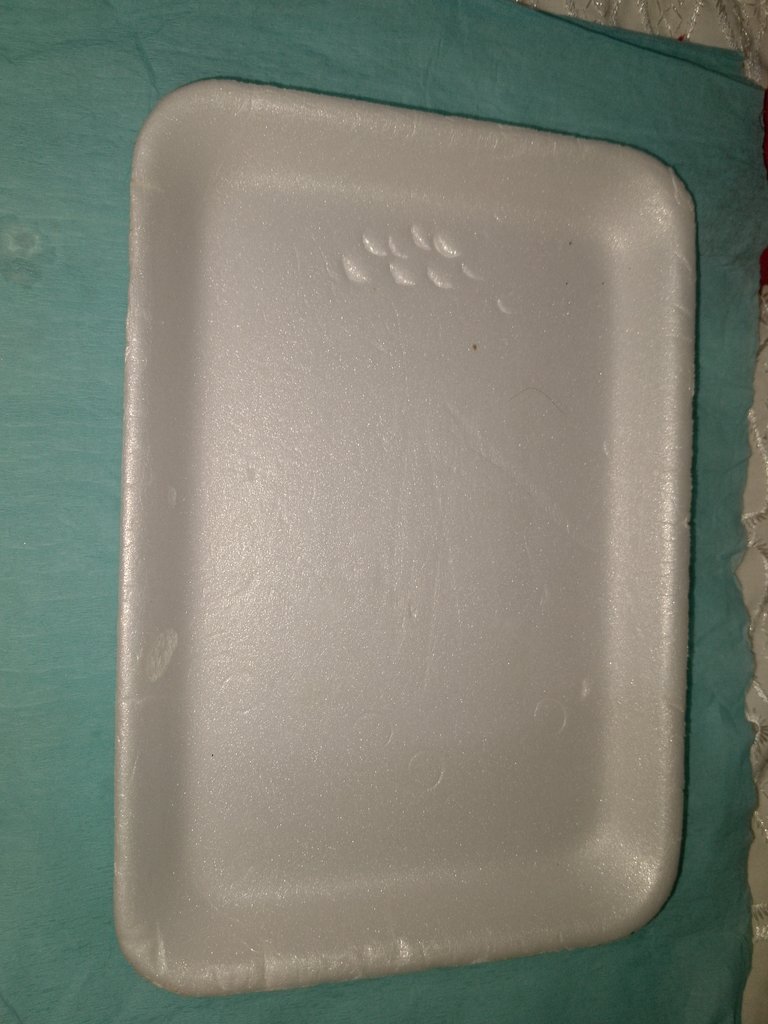
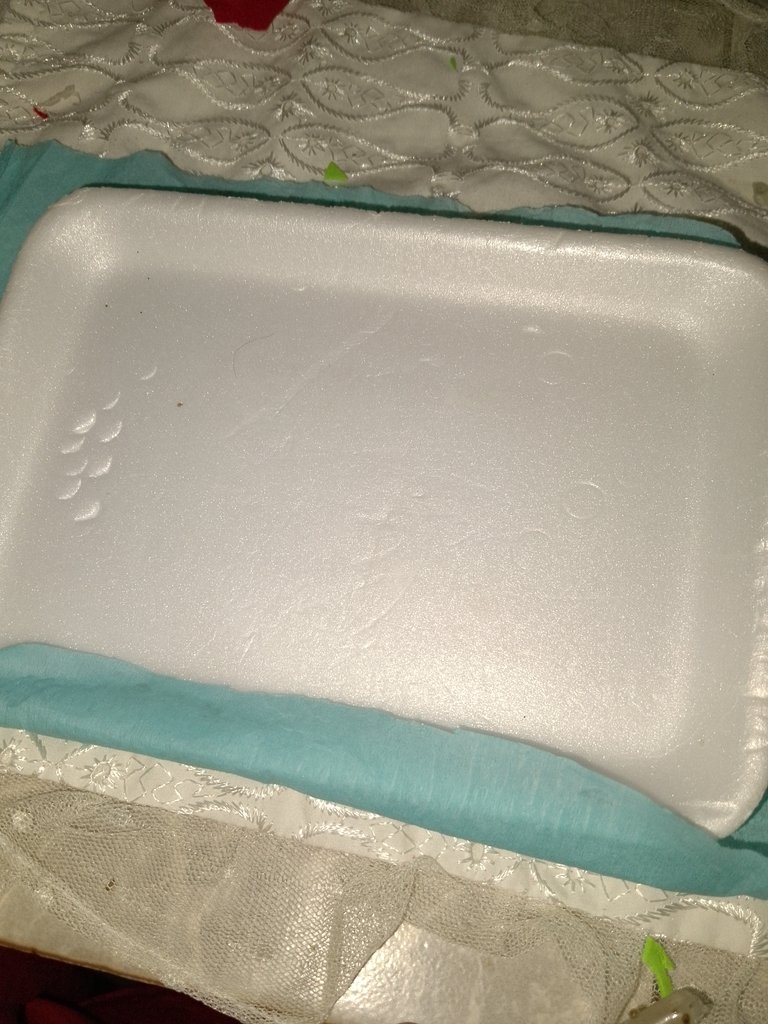
Ya después que tengamos las dos velas listas vamos a tomar el plato de plástico anime íbamos a tomar el papel crepe azul y vamos a cubir el plato de papel crepe ya cuando hayamos cubierto todo el plato vamos a cortar a la misma medida y a cuando hayanos cortado vamos a tomar la pega y pegamos las puntas del papel crepe .
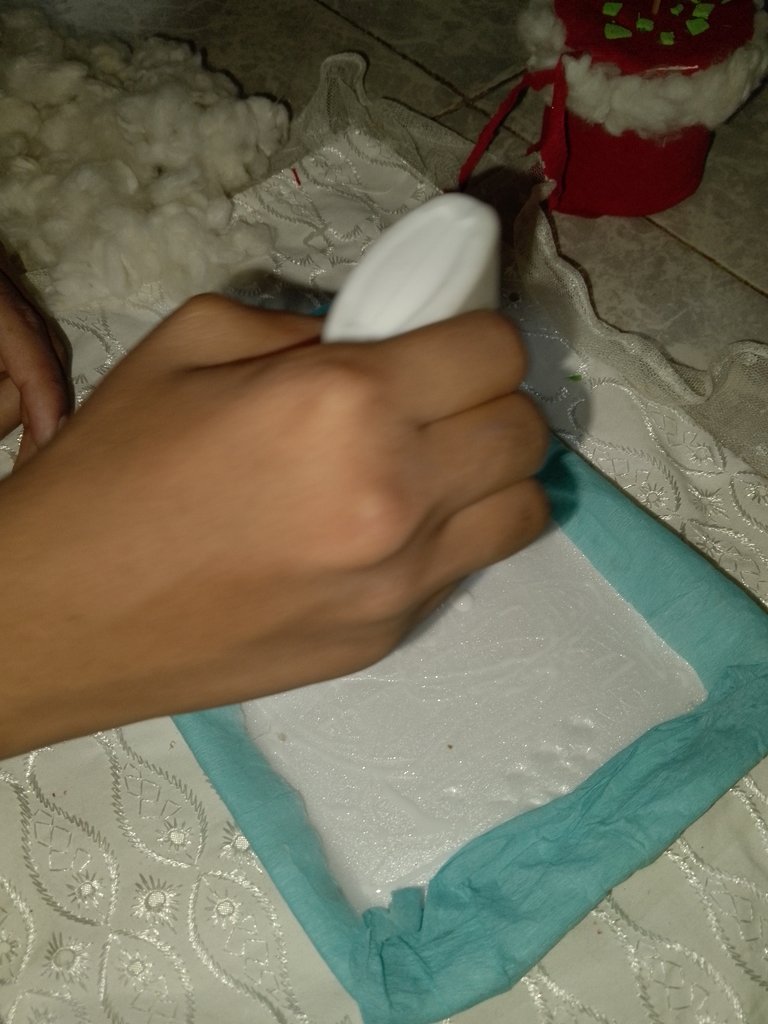
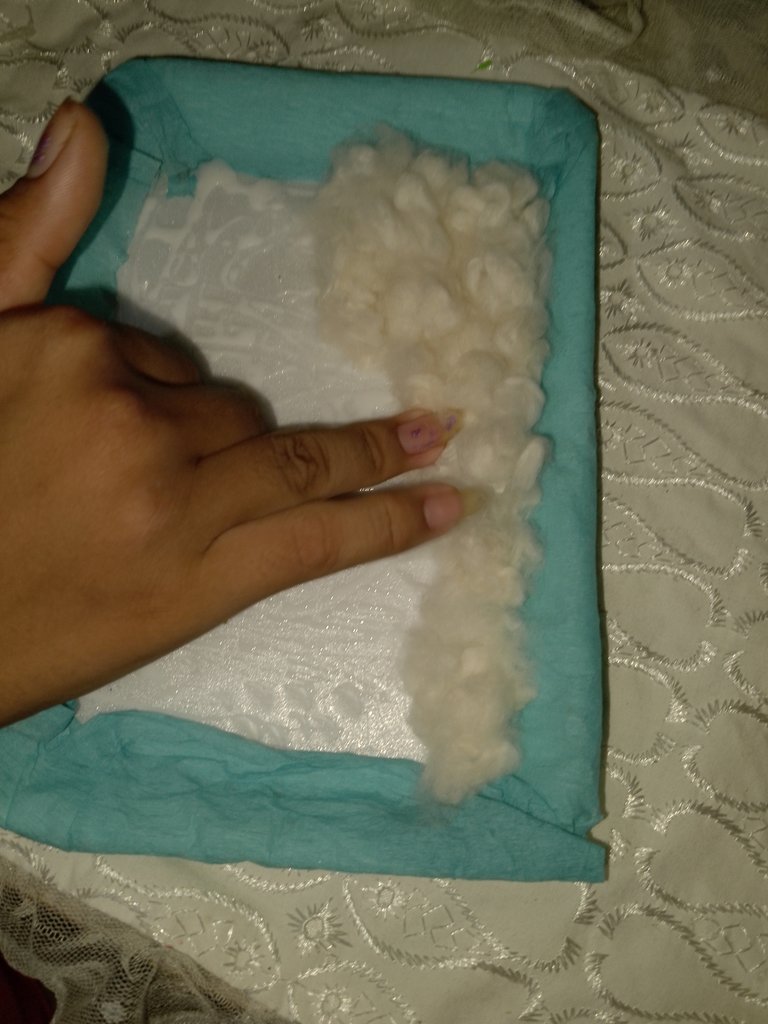
Ya después de hacer eso vamos a. Pegar algodón pollito por dentro del plato ya cuándo hayanos pegado el algodón pollito vamos a tomar el silicón y pegamos la dos velas por dentro del plato y hacemos otra gotera pará pegarla pora fuera.
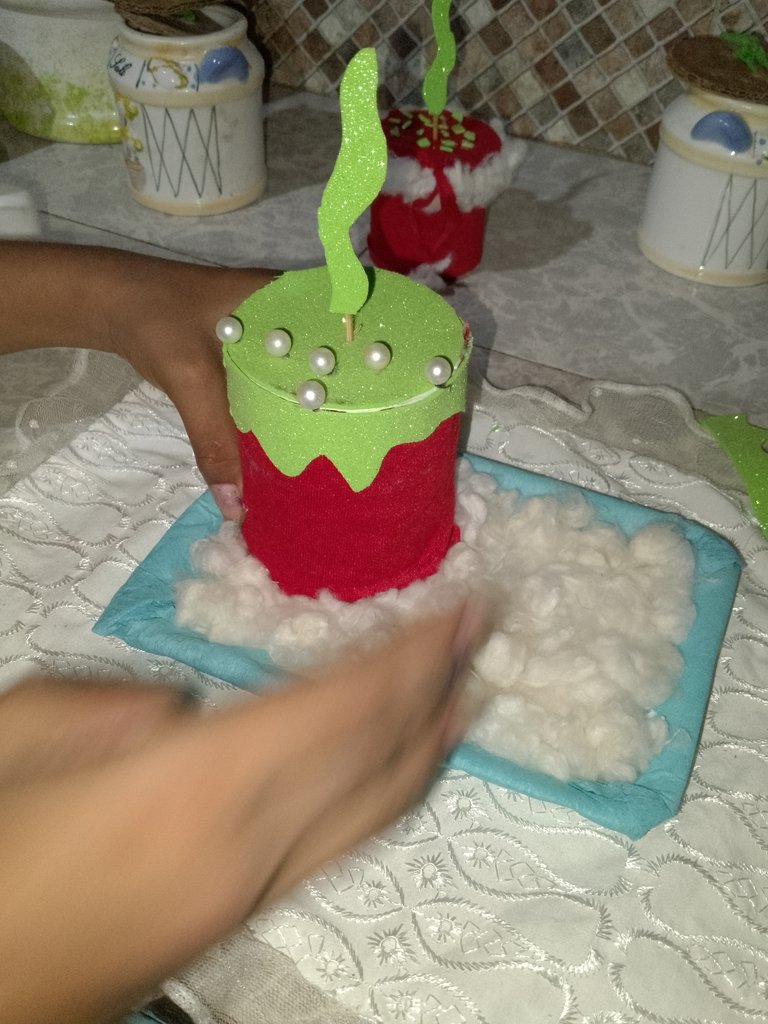
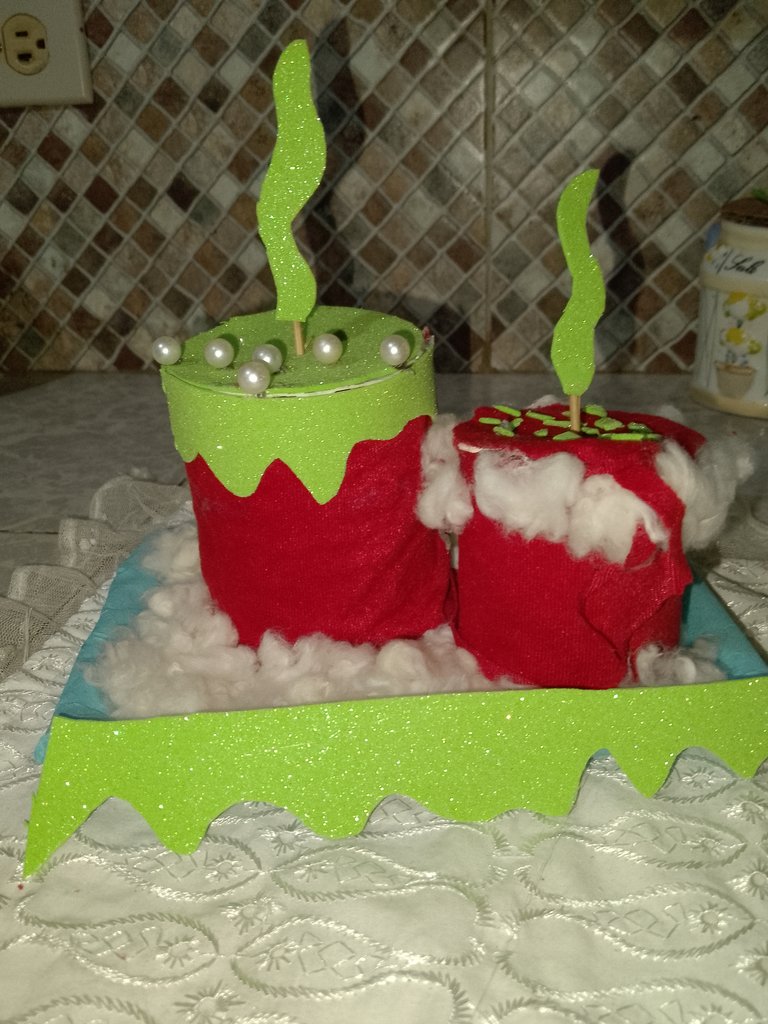
Resultado final.
Espero amigos que le haya gustado esta vela navideña sencilla para decorar en sus casas asta la próxima amigos muchos éxitos para todos ustedes
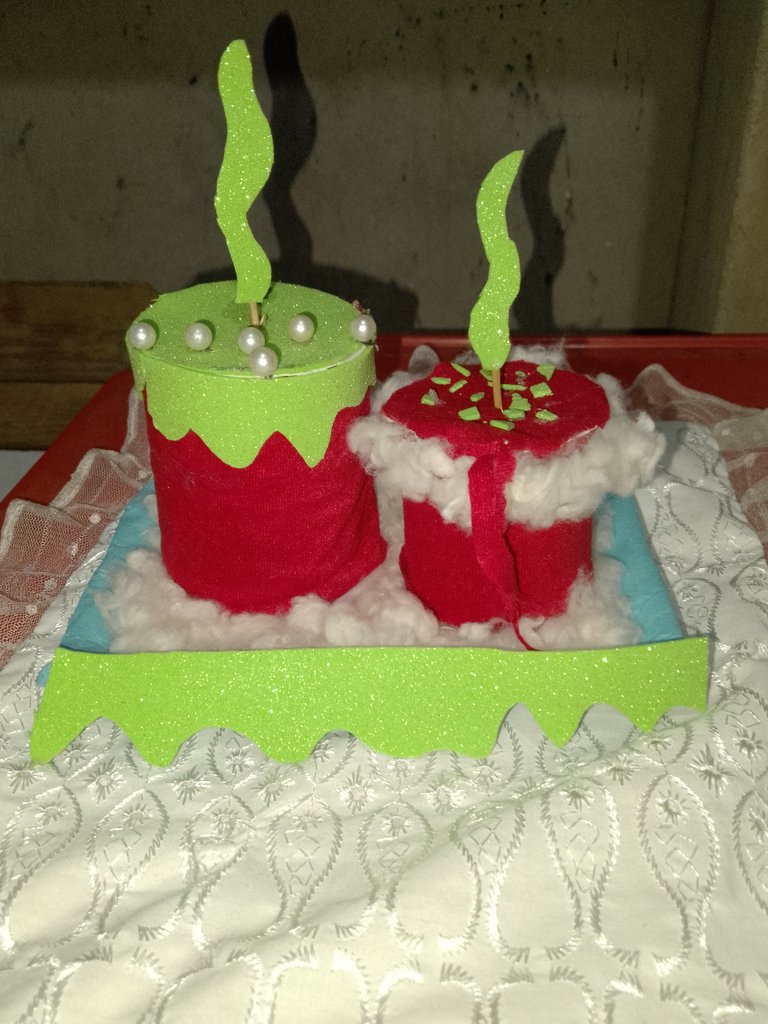
__ las fotos son de mi propiedad y fueron tomadas por mi teléfono max 2plus.
_ traductor utilizado:deepl.

Hello friends of this beautiful diyhub community I hope you are very well in this beautiful day because today I want to share with all of you this beautiful Christmas candle for your home which I hope you like friends below the materials needed to make this Christmas candle were as follows:
Materials needed.
_ green foami.
_ scissors.
_ cilicon.
_ glue.
_ cotton chick.
_ height stick.
_ red felt.
_ blue crepe paper.
_ plastic plate.
_ large white beads.
_ ham can.
_ napkin tube.
_ thin cardboard lid.

Procedure
Step 1
The first thing we are going to do is to take the ham can and we are going to cut the red felt and we are going to measure the red felt with the ham can and we cut the red felt to the size of the ham can and we glue the felt very carefully so that it doesn't get out of place and that it is the same size.


Step 2
After we have glued the red felt we are going to glue a thin cardboard lid to the same size as the ham can, we are going to glue the green foamy and we are going to glue a circle on top of the cardboard lid to the same size as the thin cardboard.


After we have cut the foamy to the same size as the cardboard, we will proceed to glue the cardboard with the foamy to make the candle cover stronger.

Step 3
After we have glued the foamy with the lid, we are going to apply the silicone and we are going to glue the foamy lid we made on top of the candle.

After we glued the foamy lid we are going to take the foamy and we are going to chop it and we are going to take out a candle and we are going to apply the silicone and the height stick, we take the candle we made and we glue it with silicone on the height stick and we put it in the center of the Christmas candle.


Step 4
After we have done all this procedure we are going to take again the green foamy and we are going to cut in form of v the foamy to make the leaks of the candle.


Once we have the candle leaks ready, we are going to glue them with hot silicone very carefully so that there are no open spaces in the candle.


Step 5
Once we have glued the leaks we are going to glue with hot silicone on top of the lid the big white pearls to make them look like drops of the candle.


Step 6
now after we are done with the first candle we are going to make the small candle we are going to take the red felt we are going to measure with the napkin tube and cut to the same size of the napkin tube.

after we have cut the red felt to the same size as the napkin tube we are going to take the silicone and glue the red felt with the hot silicone.


Step 7
Already after doing all this procedure we are going to make the cover we are going to take the red felt and we are going to take a cardboard cover to the same size as the napkin had and after measuring we are going to take the hot silicone and glue the cover with the red felt.


After gluing the lid, we will proceed to glue the lid with hot silicon on top of the napkin tube, being very careful not to get it out of place.

Step 8
After hot gluing the lid with silicon we are going to take the cotton chick and take the glue and glue the cotton chick on the napkin holder.

and after we glue the cotton chick
we are going to take the green foamy and we are going to cut a candle in the shape of a curve and we are going to take the height stick with hot silicone and we are going to glue the candle with the height stick and after we glue the candle we are going to glue the candle on top of the napkin holder.


Step 9
Once we have the two candles ready we are going to take the anime plastic plate we are going to take the blue crepe paper and we are going to cover the crepe paper plate and when we have covered the whole plate we are going to cut it to the same size and when we have cut it we are going to take the glue and glue the ends of the crepe paper.


After doing that we are going to. Glue the cotton chick inside the plate and when we have glued the cotton chick we are going to take the silicone and glue the two candles inside the plate and make another drop to glue it outside.


Final result.
I hope you liked this simple christmas candle to decorate your home. See you next time friends, best wishes to all of you.

the photos are my property and were taken by my max 2plus phone.
translator used:deepl.


