
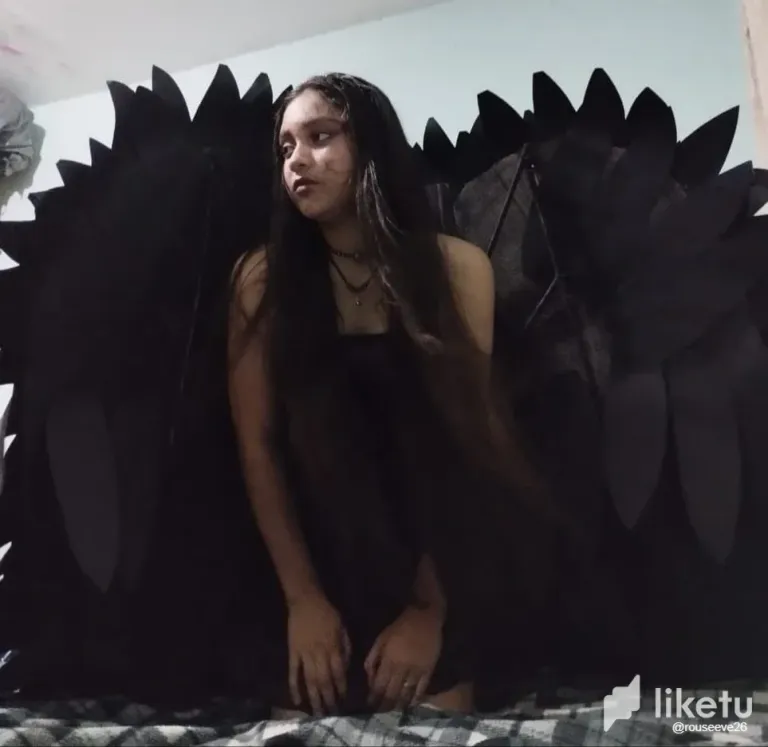
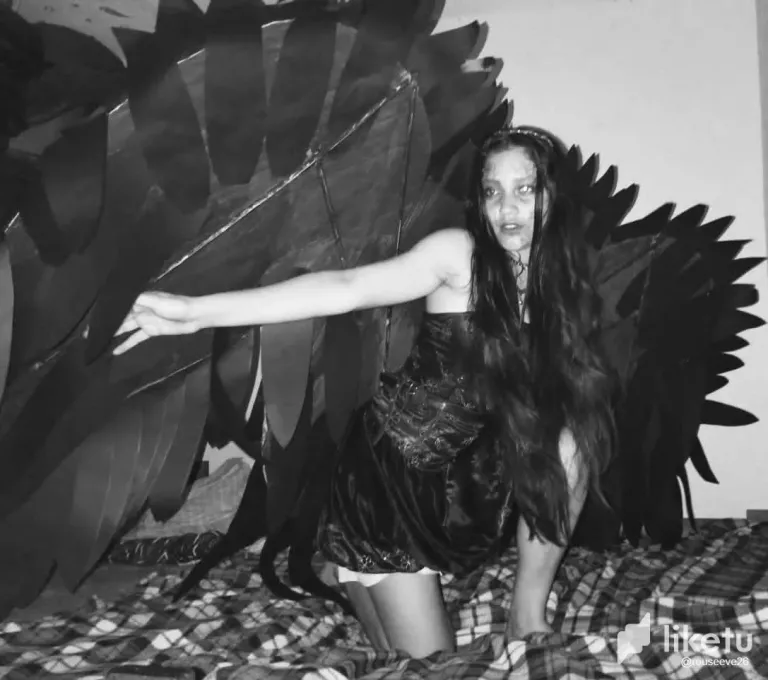
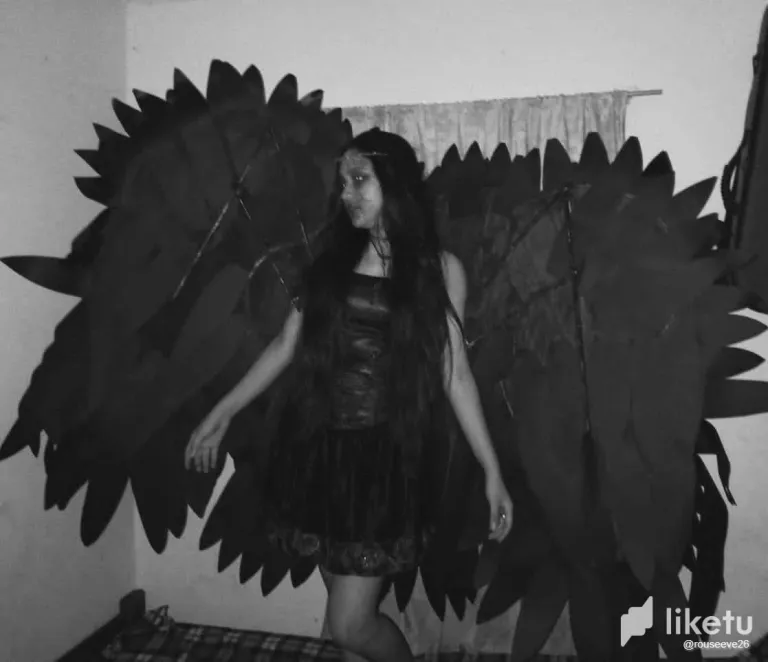
Saludos cordiales mis amigos integrantes de @hive, hoy quiero presentarme con estás hermosas alas que elaboré con distintos tipos de materiales reciclados. Me llena de alegría participar en esta iniciativa de halloween promocionada por @liketu y @diyhub, me dije voy a superar mis inseguridades al momento de crear; porque muchas veces digo que no seré capaz de lograr los objetivos, y en este proyecto creo que supere mis propias expectativas, cuando me propongo algo hasta que no lo hago como lo planeo no tengo tranquilidad ni paz, por eso en este proyecto di todo por el todo.
Muchos días tuve inconvenientes al momento de armar, de cortar las plumas y de pegarlas, muchas veces queme mis dedos con el silicón caliente y otras veces no aguantaba mi columna de todo el tiempo que estuve sentada. Pero cuando vez el resultado final, es justo ahí cuando te enamoras de tu creación de que cuando haces algo con amor y dedicación el resultado es lo que esperas a eso se le llama felicidad. La felicidad es cuando te sientes bien y tú corazón siente alegría. Así estoy yo en este momento muy emocionada con mi proyecto.
Sin más aquí les dejo la lista de todo los materiales que se utilizaron.
MATERIALES:
✓ Antena de aluminio.
✓ Cajas de cartón.
✓ Alambre dulce o de cobre.
✓ Silicón caliente.
✓ Silicón al frío.
✓ Cartulinas Negras.
✓ Pintura Negra.
✓ Tornillos.
✓ Tuercas.
✓ Tijeras.
✓ Pinza.
✓ Cúter ó exacto.
✓ Clavo de acero inoxidable.
PASO A PASO:
PASO 1:
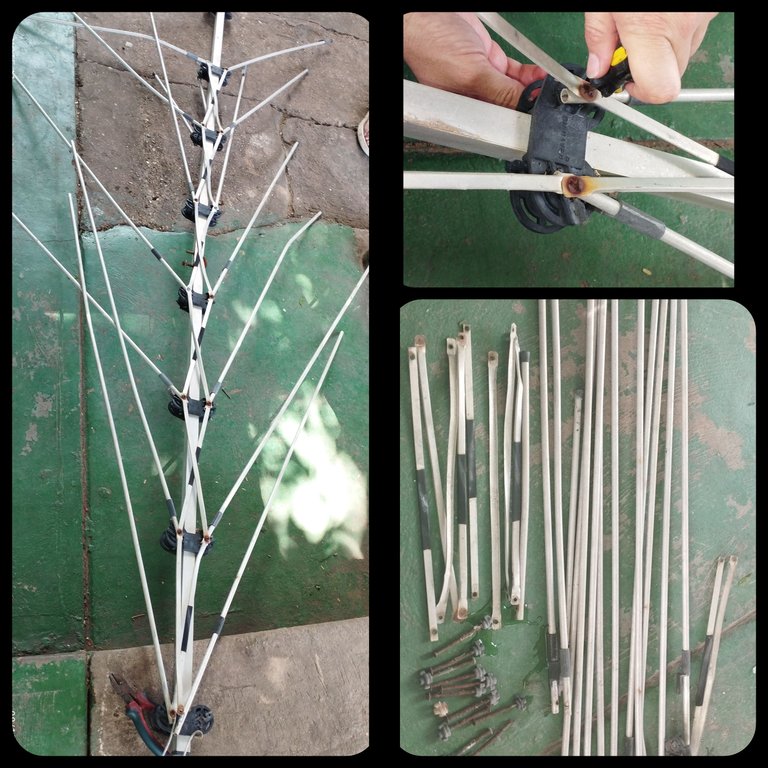
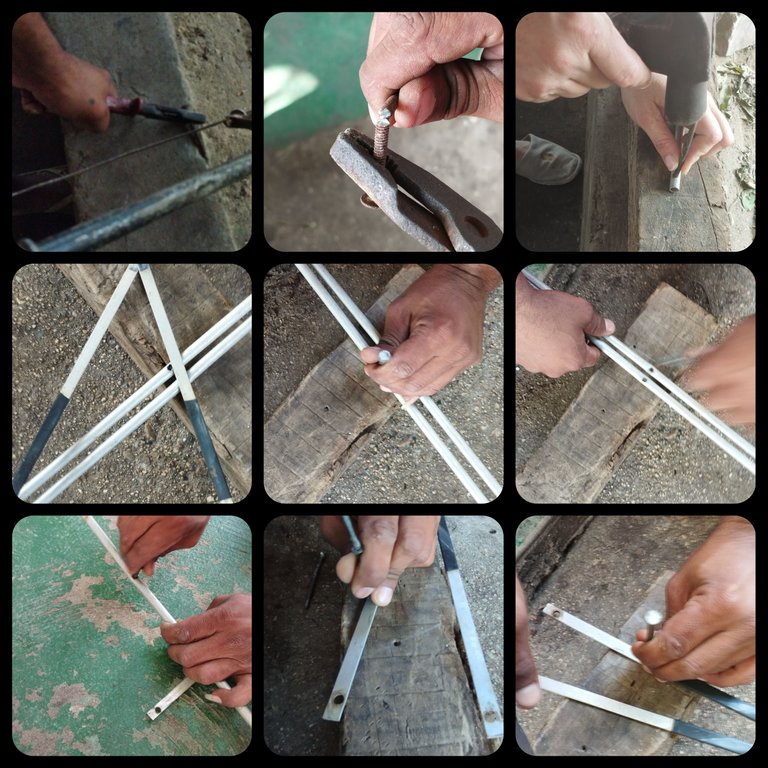
En esta etapa fue desarmar la antena, ya que solo se tenía que utilizar algunos de sus tubos de aluminio para el mecanismo de las alas.Esto fue un algo tedioso. Una vez desarmando nos pusimos a seleccionar los tubos de los tamaños que necesitábamos en estos incluído los tornillos y las tuercas. Ya que la antenas fue el mecanismo de las Alas.
PASO 2:
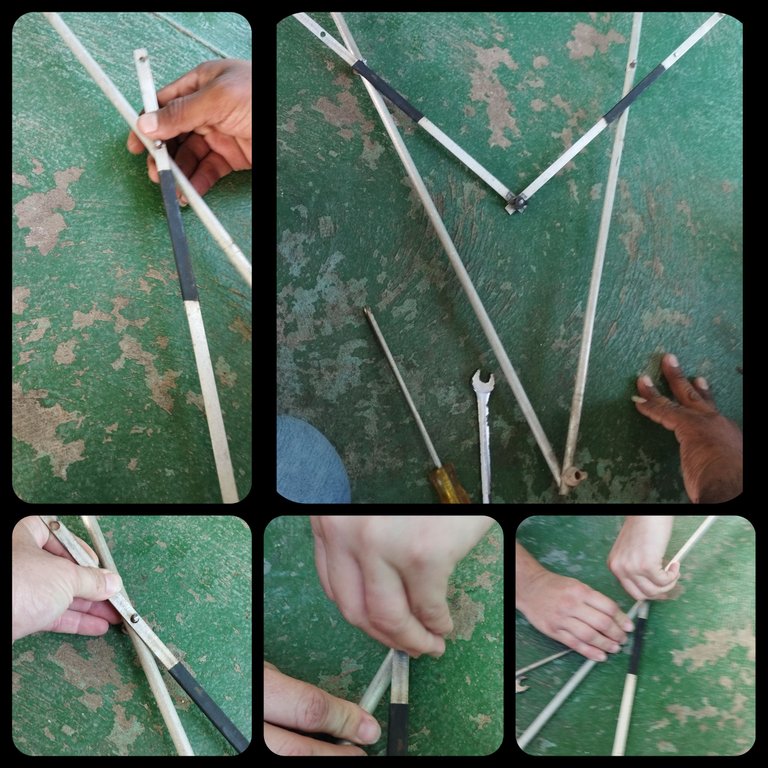
Ahora nos pusimos a armar el mecanismo. En esta oportunidad se utilizaron seis (6) tubos de aluminio de diferentes medidas, Dos (2) tubos de aluminio de ochenta y cinco (85) Centímetros, dos tubos de treinta centímetros (30), Dos de setenta y cinco (75) y Dos (2)platinas de (35) Centímetro, nueve (9) Tornillos y nueve (9) tuercas.
Hacemos una forma de M y vamos uniendo con el clavo de acero vamos a realizar los agujeros dónde colocarán los tornillos y las tuercas.

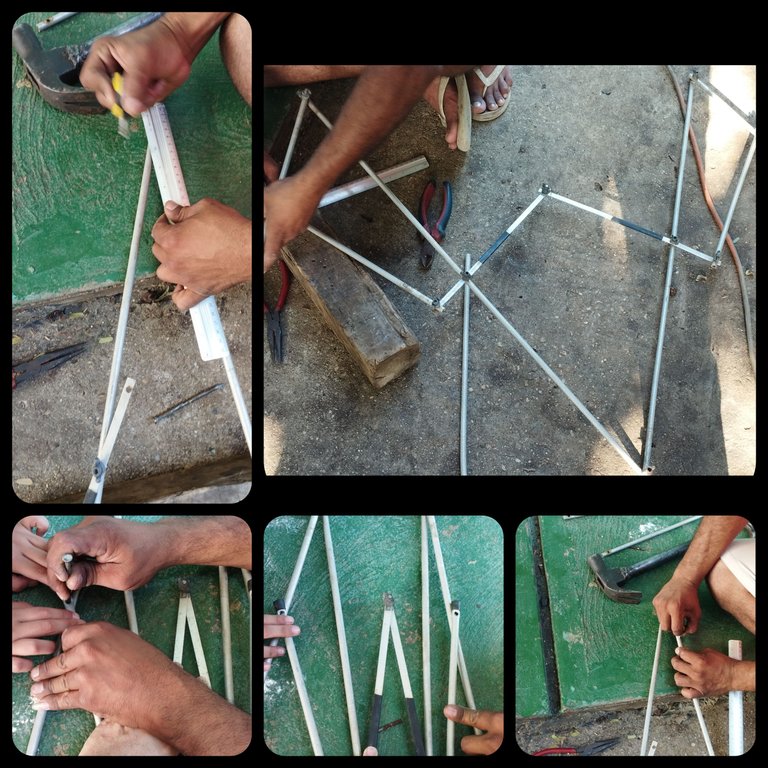
Una vez todos los tubos colocados en su posición obtendrás este resultado.

PASO 3:
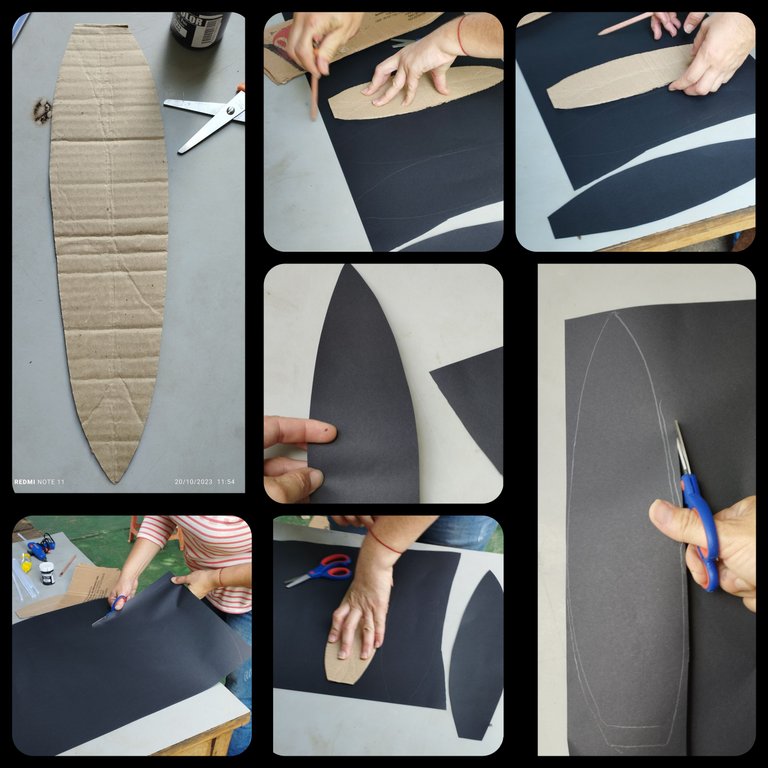
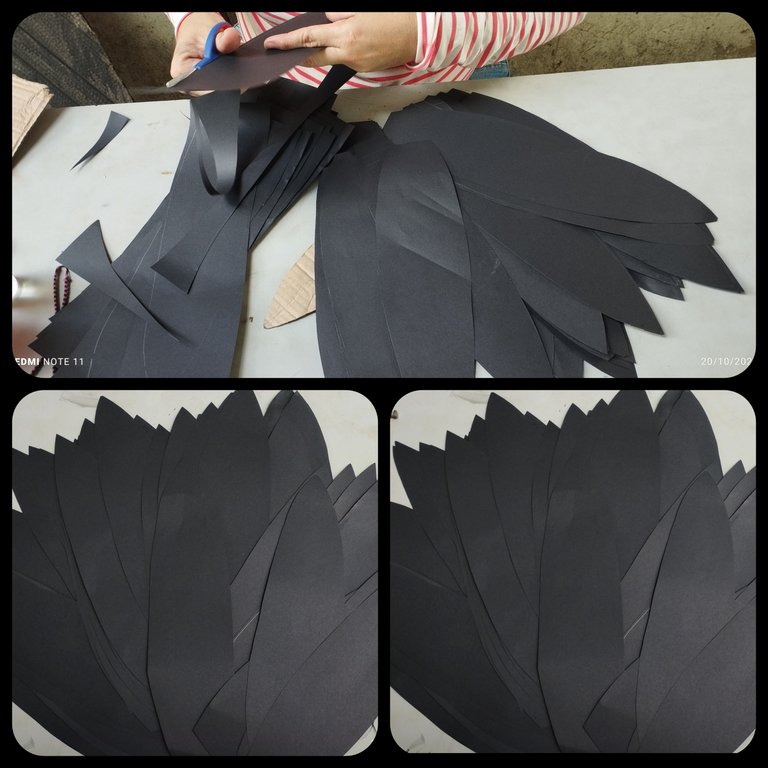
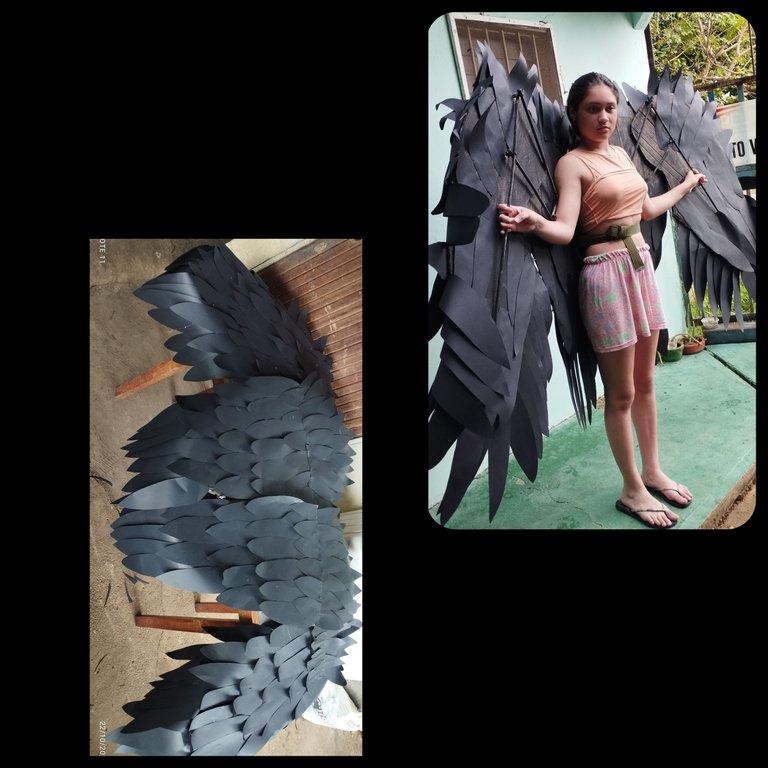
En un cartón se hizo un molde de pluma el cual se coloca en la cartulina y se cortan. En total se utilizaron 22 cartulinas de las cuales salieron 220 plumas Un trabajo duro para cortar y pegarlas una a una que resaltar que fueron los los dos lados.
PASO 4:
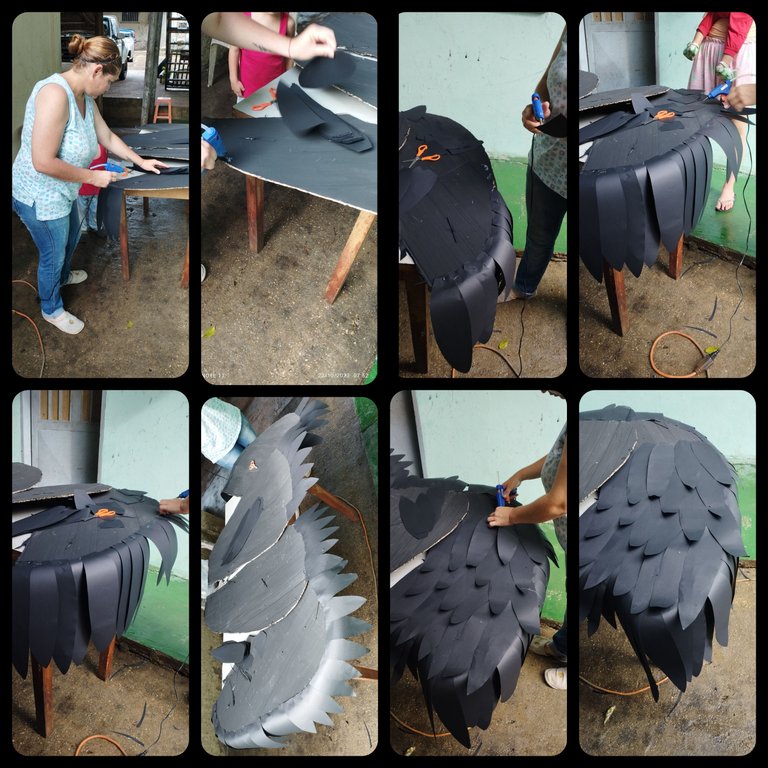
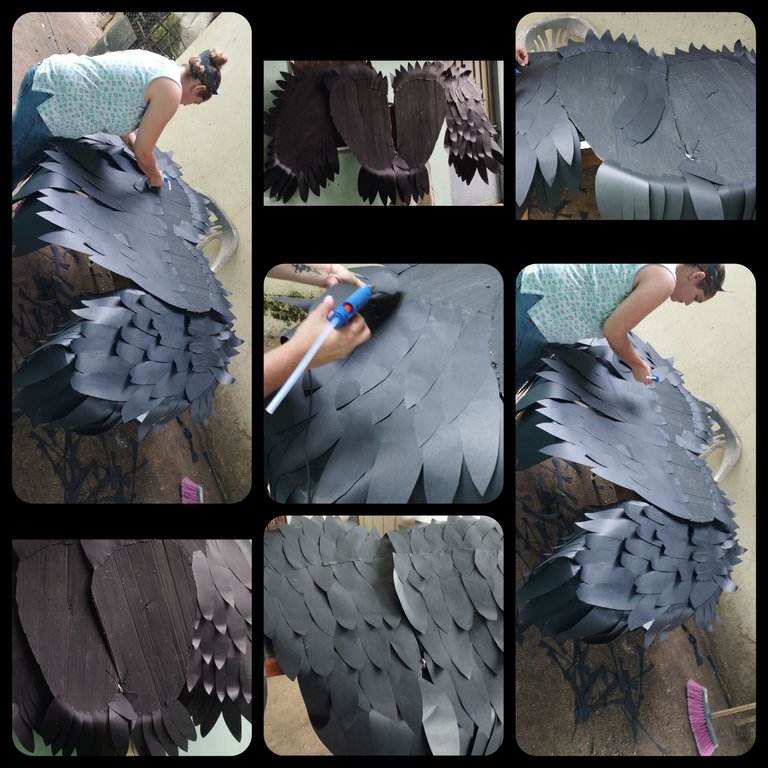
Se colocaron las plumas de afuera hacia adentro y en la parte del medio se tuvieron que cortar un poco más pequeñas las plumas. Esto para que tuviera forma y no se viera tan abrumada una vez terminado el proceso la probamos y ocurrió un accidente se rompió uno de los tornillos pero logramos solucionarlo.
PASO 5:
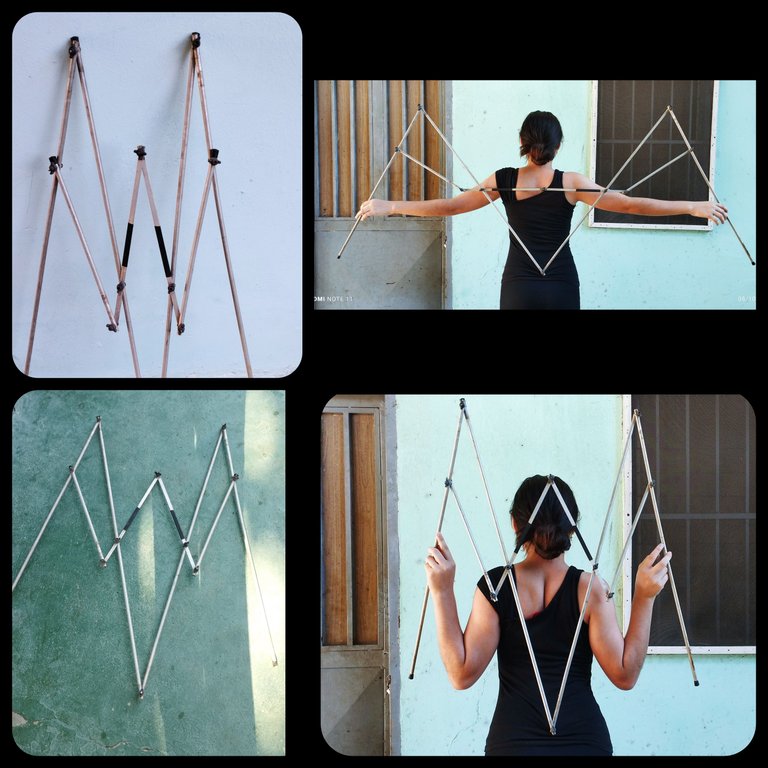
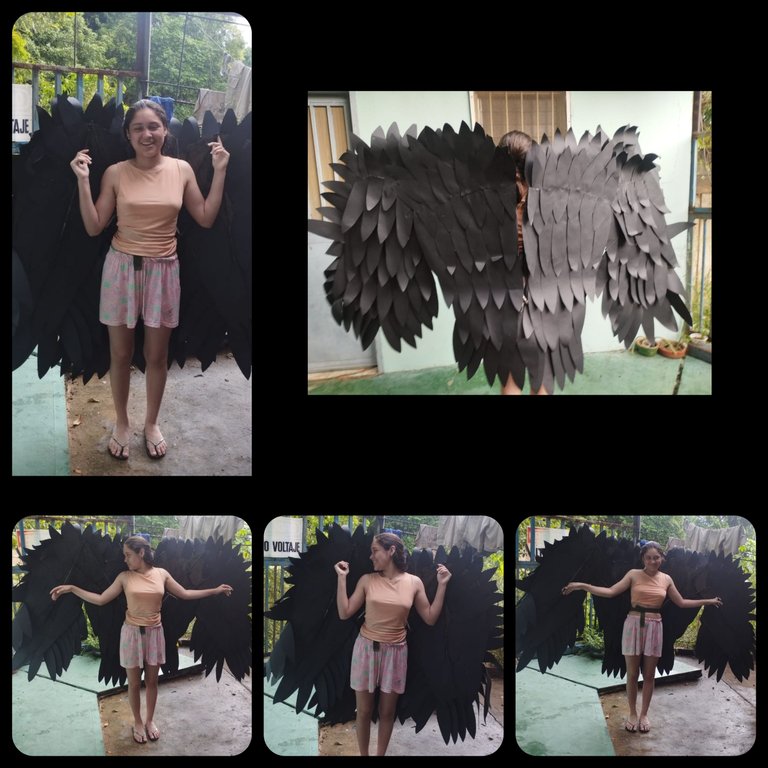
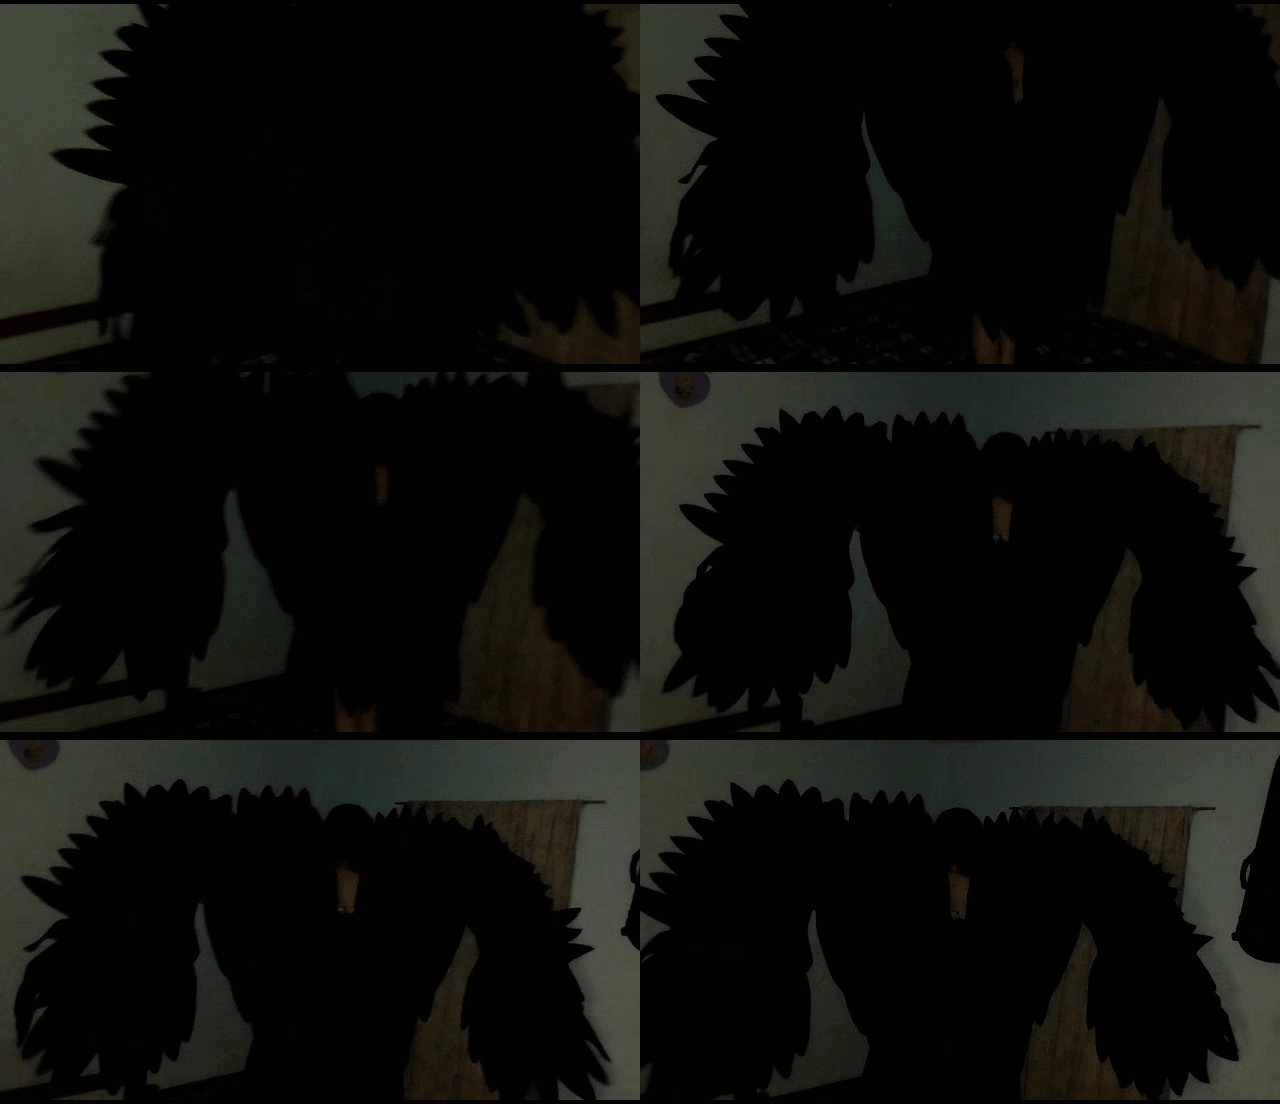
Para la prueba final, procedimos a probar las alas y nos quedarán bellísima.
Las imagenes me pertenecen, fueron tomadas de mi teléfono Redmi Note 11.
Las fotos fueron Editadas en programa editor de Polish.
traductor: Deepl Traslator.
Warm greetings my friends from @hive, today I want to introduce myself with these beautiful wings that I made with different types of recycled materials. It fills me with joy to participate in this halloween initiative promoted by @liketu and @diyhub, I told myself I will overcome my insecurities when creating; because many times I say that I will not be able to achieve the objectives, and in this project I think I exceeded my own expectations, when I propose something until I do not do it as I plan I have no tranquility or peace, so in this project I gave everything for everything.
Many days I had problems when assembling, cutting the feathers and gluing them, many times I burned my fingers with the hot silicone and other times I couldn't hold my spine for all the time I was sitting. But when you see the final result, that's when you fall in love with your creation, when you do something with love and dedication the result is what you expect, that's called happiness. Happiness is when you feel good and your heart feels joy. That's how I am right now, very excited about my project.
Without further ado, here is the list of all the materials that were used.
MATERIALS:
Aluminum antenna.
Cardboard boxes.
✓ Soft or copper wire.
✓ Hot silicon.
✓ Cold silicone.
✓ Black cardboard.
✓ Black paint.
✓ Screws.
✓ Nuts.
✓ Scissors.
✓ Clamp.
✓ Cutter or exacto.
✓ Stainless steel nail.
STEP BY STEP:
STEP 1:
At this stage was to disassemble the antenna, since we only had to use some of its aluminum tubes for the wing mechanism, this was a bit tedious. Once disassembled we started to select the tubes of the sizes we needed in these including the screws and nuts. Since the antennas were the wing mechanism.

STEP 2:
Now we started to assemble the mechanism. In this opportunity we used six (6) aluminum tubes of different sizes, two (2) aluminum tubes of eighty-five (85) centimeters, two tubes of thirty centimeters (30), two of seventy-five (75) and two (2) plates of (35) centimeters, nine (9) screws and nine (9) nuts.
We make an M shape and we are going to join with the steel nail we are going to make the holes where the screws and nuts will be placed.


Once all the tubes are in position you will get this result.

STEP 3:
In a cardboard was made a feather mold which is placed on the cardboard and cut. In total 22 cardboards were used from which came out 220 feathers. A hard work to cut and paste them one by one to highlight that they were the two sides.


STEP 4:
The feathers were placed from the outside to the inside and in the middle part the feathers had to be cut a little smaller. This was done so that it would have shape and not look so overwhelmed. Once the process was finished we tested it and an accident happened, one of the screws broke but we managed to solve it.
( )
)

STEP 5:
For the final test, we proceeded to test the wings and they will look beautiful.


The images belong to me, they were taken from my Redmi Note 11 phone.
The photos were edited in Polish editor program.
Translator: Deepl Traslator.
For the best experience view this post on Liketu


