Howdy, DIYHub friends! I wish you a wonderful week. This time I want to share with you a nice but at the same time simple craft. It's a wall decoration made with popsicle sticks that I know you're going to love. Let's take a look at the materials and the step-by-step.
¡Qué tal, amigos de DIYHub! Les deseo una maravillosa semana. En esta ocasión quiero compartir con ustedes una linda pero a la vez sencilla manualidad. Se trata de un adorno de pared hecho con paletas de helado que sé que les va a gustar mucho. Veamos los materiales y el paso a paso.

We will need / Vamos a necesitar:
- Popsicle Sticks / Paletas de helados
- Colored cardboard / Cartulina de colores
- Decorative beads / Cuentas decorativas
- Black paint and paintbrush / Pintura negra y pincel
- Scissors and liquid silicone / Tijeras y silicón líquido

We start by gluing 4 popsicle sticks with silicone to form a square. We will need 7 of these squares to assemble the craft.
Iniciamos pegando 4 paletas con silicón hasta formar un cuadro. Necesitaremos 7 de estos cuadros para armar posteriormente la manualidad.

We proceed to paint each of them black. I chose this color as it is a quite sober shade.
Procedemos a pintar cada uno de ellos de color negro. Elegí este color ya que es una tonalidad bastante sobria.

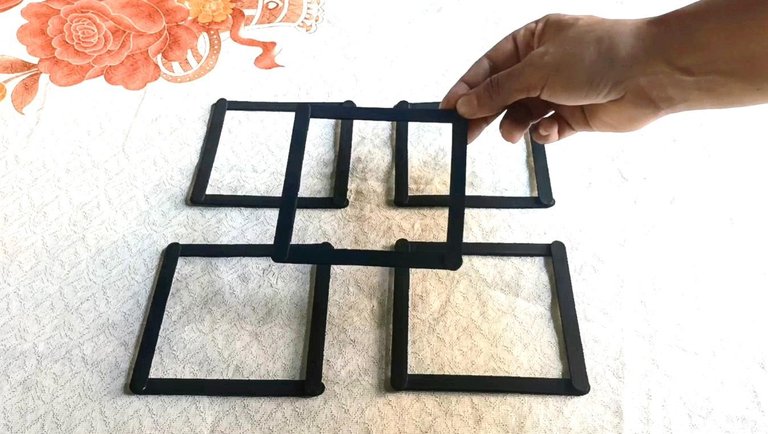
Here we already have several squares ready. To assemble the structure of the ornament we are going to place 4 squares as shown in the image and we are going to glue a fifth square in the center.
Acá ya tenemos listos varios cuadros. Para armar la estructura del adorno vamos a colocar 4 cuadros como vemos en la imagen y les vamos a pegar un quinto cuadro en el centro.

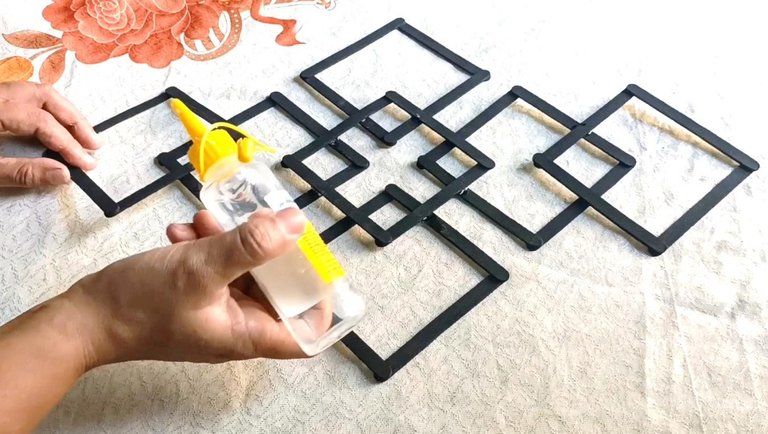
We turn it to obtain a rhombus shape and then place a square/rhombus at each end of the structure to achieve the desired design.
Lo giramos para obtener una forma de rombo y pasamos a colocar un cuadro/rombo en cada extremo de la estructura para así lograr el diseño deseado.

For the decorative details, we are going to create some flowers out of colored cardboard. With the help of a small container, we mark and cut out circles.
Para los detalles decorativos, vamos a crear unas flores a partir de cartulina de colores. Con la ayuda de un envase pequeño, marcamos y recortamos círculos.

Let’s make 3 folds until we obtain the shape we see in the image. With a small coin we mark a semicircle at the top and cut it out. Let's see the shape when we unfold it again.
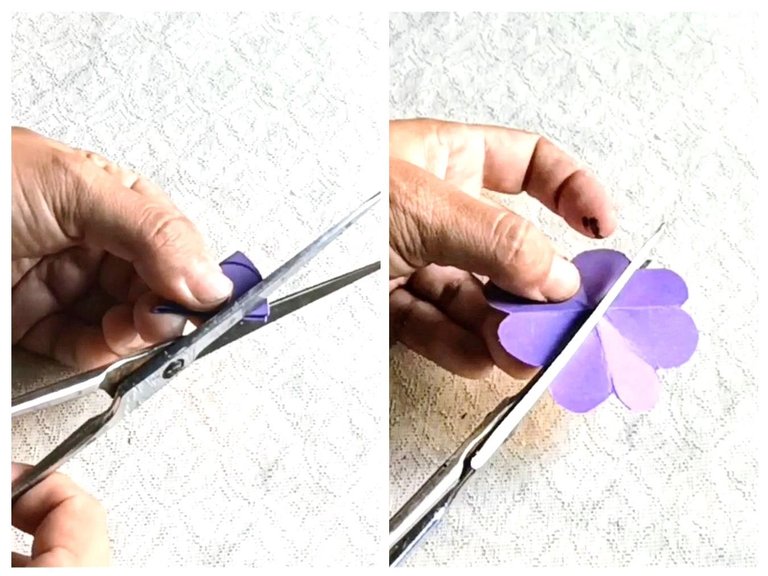
Now we make some cuts in what will be the petals of the flowers and sharpen them with the scissors to make them as neat as possible. Stretch the flowers inwards to curve them.
Vamos a hacer 3 dobleces hasta obtener la forma que vemos en la imagen. Con una pequeña moneda marcamos un semicírculo en la parte superior y recortamos. Veamos la forma que queda al desplegar nuevamente.
Ahora hacemos unos cortes en lo que serán los pétalos de las flores y afinamos con la tijera para que quede lo más prolijo posible. Estiramos las flores hacia adentro para lograr curvarlas.

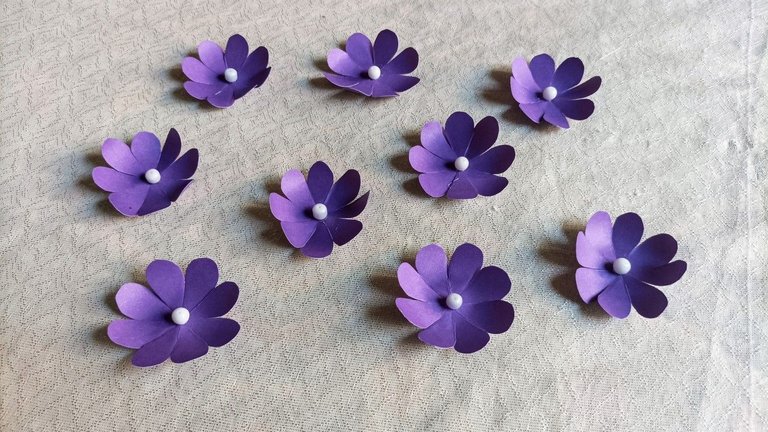
Then place a decorative bead in the center. Here we can see several already made, 8 of these are needed.
Posteriormente le colocamos una cuenta decorativa en el centro. Aquí podemos ver varias ya hechas, se necesitan 8 de estas.

Now it's time to glue the flowers to the sticks structure, making the design of your choice; I went for a linear design that I really liked. You could use water-based varnish to give it a touch of shine; in my case I preferred to leave it with a matte finish.
And that's how our wall decoration made with popsicle sticks looks like. I hope you liked this decorative element for any space in your home. Thank you for your kind visit.
Es hora de pegar las flores en la estructura de paletas, realizando el diseño de nuestra preferencia; yo me decanté por un diseño lineal que me gustó mucho. Podrían usar barniz al agua para darle un toque de brillo; en mi caso preferí dejarlo con acabado mate.
Y así queda nuestro adorno de pared hecho con paletas de helado. Espero que les haya gustado este elemento decorativo para cualquier espacio del hogar. Gracias por su amable visita.

▶️ 3Speak
