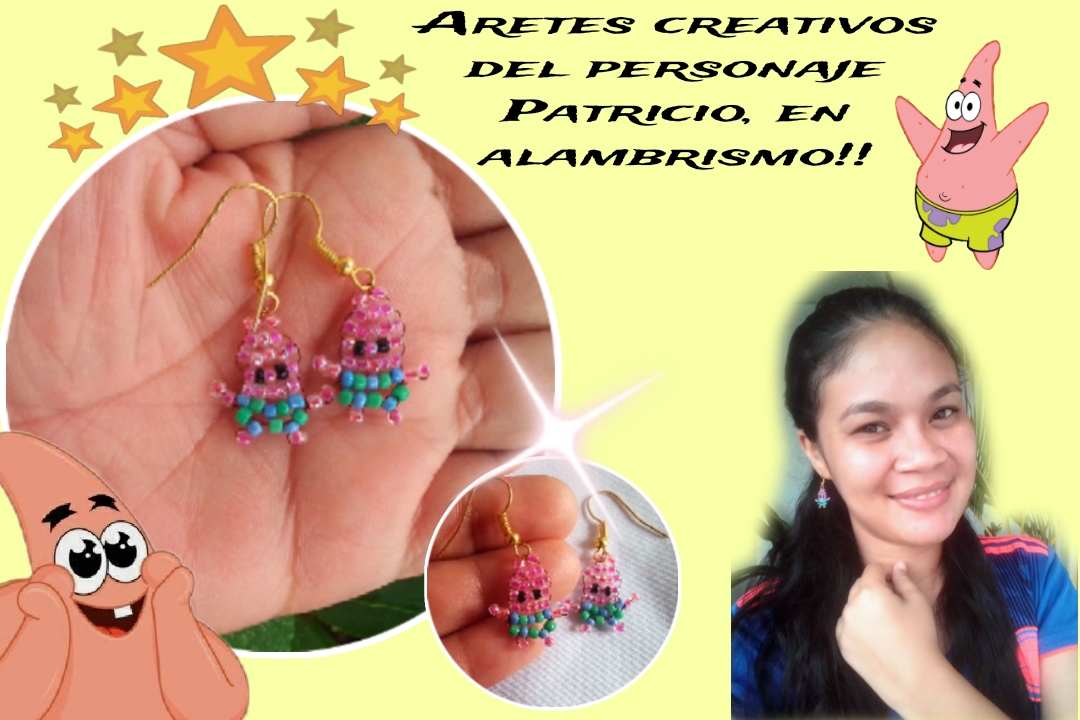
Que tal amigos creativos, como están?? Es un placer saludar a toda la comunidad y desearles una preciosa tarde... Bueno en mi cuidad hemos pasado un día lluvioso, bastante tranquilo, fresco y agradable, me encantan los dias así pues trabajo con mucha serenidad y paz observando la lluvia caer.
Quien no ha visto Bob Esponja?, pues yo creo que muchos, esta divertida comiquita marcó nuestra infancia por su extrovertida y alegre historia de amistad y ocurrencias, yo disfrutaba verla una y otra vez con mis hermanos, de hecho recuerdo sus canciones y sonrio..El día de hoy quiero contarles como fué que elaboré unos creativos aretes del personaje animado Patricio, el mejor amigo de Bob, una estrellita de mar muy chistosa y media torpe pero también muy alegre y fiel, que a mi parecer era la mejor figura de la comiquita..Estos aretitos fueron hechos con alambre y mostacillas y está tarde te invito a mirar su elaboración!
How about creative friends, how are you?? It is a pleasure to greet the entire community and wish you a beautiful afternoon... Well, in my city we have spent a rainy day, quite calm, cool and pleasant, I love days like this so I work with great serenity and peace watching the rain fall.
Who hasn't seen SpongeBob SquarePants? Well, I think many have, this fun little comic marked our childhood for its outgoing and happy story of friendship and occurrences, I enjoyed watching it over and over again with my friends. Brothers, in fact I remember your songs and I smile. Today I want to tell you how I made some creative earrings for the animated character Patricio, Bob's best friend, a very funny and somewhat clumsy starfish but also very happy and faithful. , which in my opinion was the best figure in the comic... These little earrings were made with wire and beads and this afternoon I invite you to look at their creation!
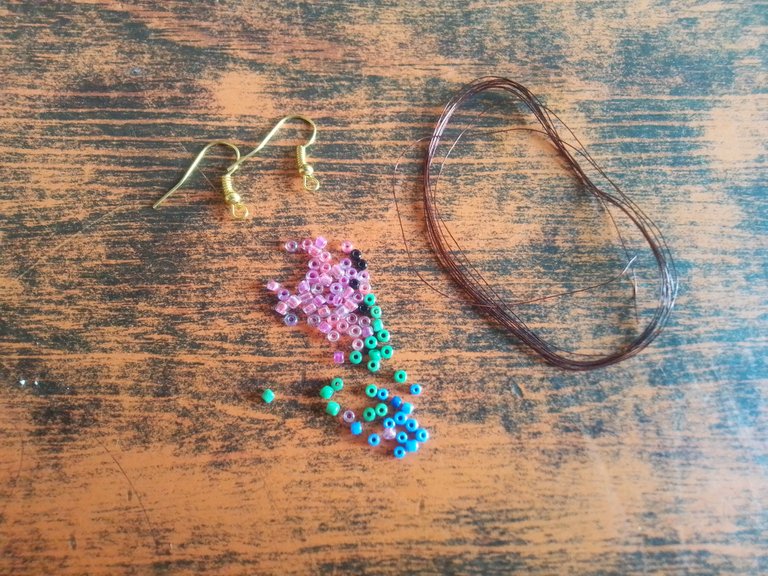
Materiales que necesitas:
Materials you need:
- Mostacillas rosadas, negras, moradas, verdes, azul.
- Alambre fino.
- Sujetadores.
- Pink, black, purple, green, blue beads.
- Fine wire.
- Bras.
(PROCEDIMIENTO)
(PROCEDURE)
Paso 01
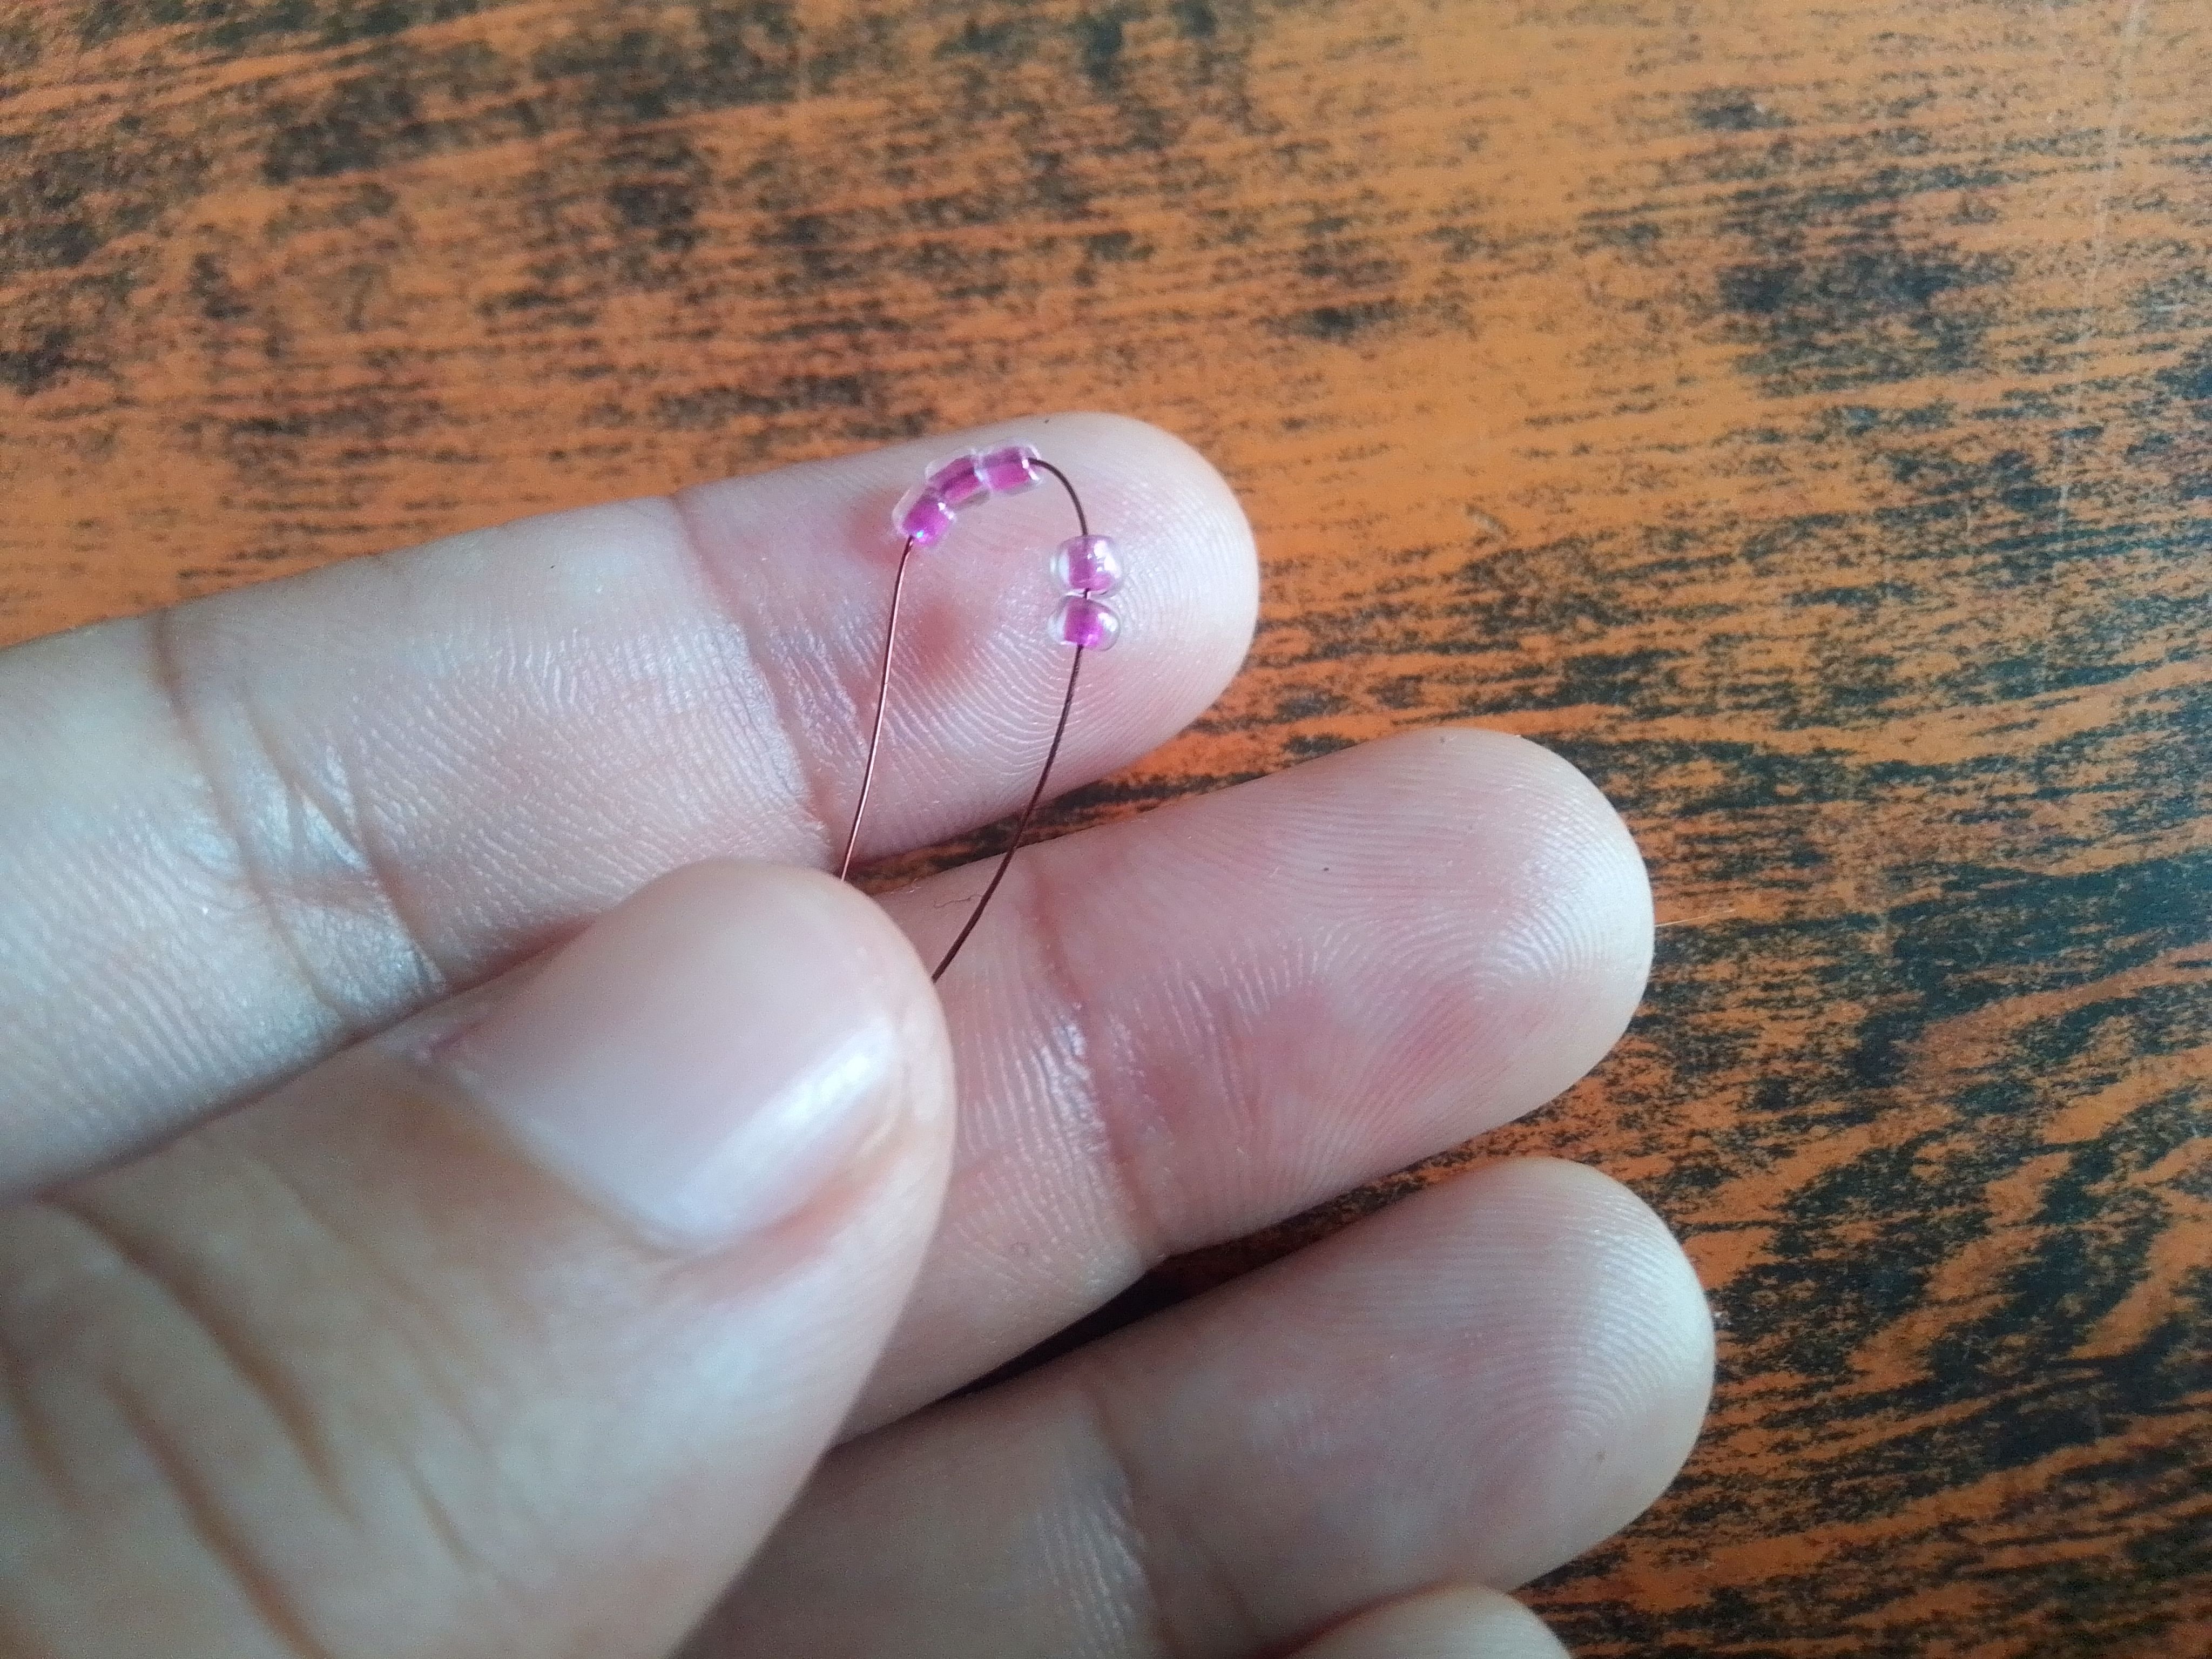
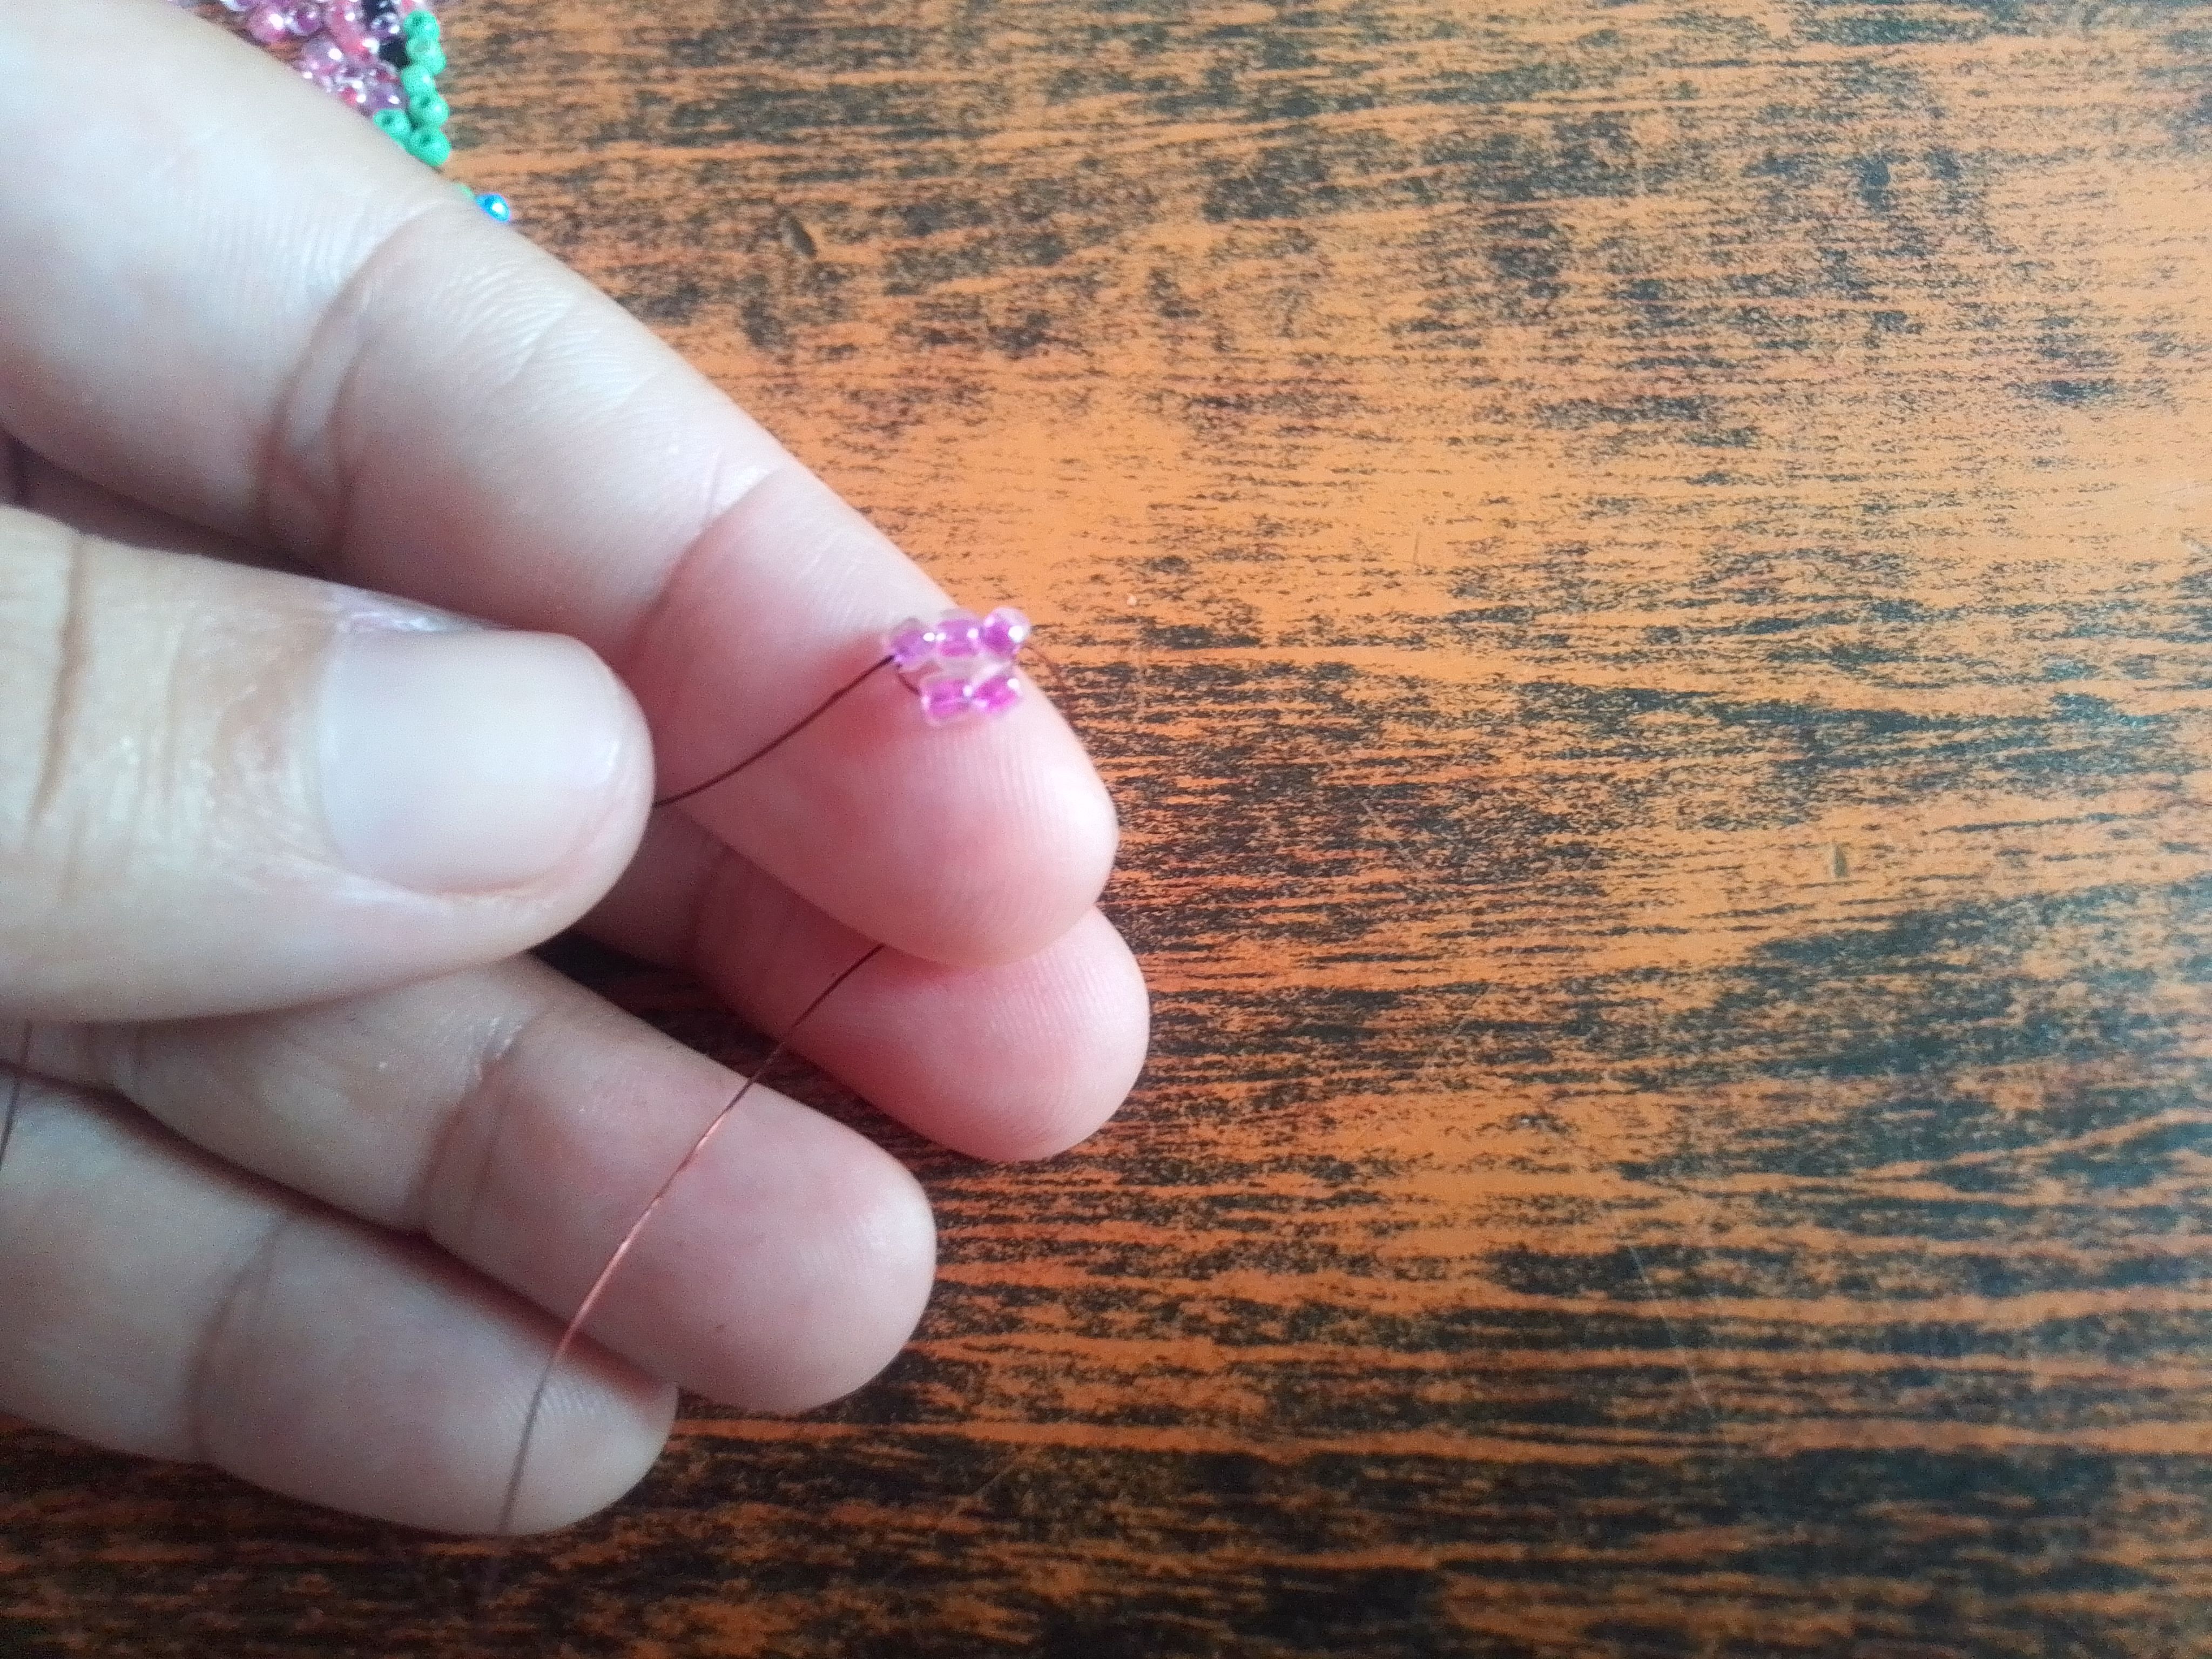
Para hacer está alegre estrellita, no se necesitan muchas mostacillas porque son bastante pequeñitas..La cantidad de alambre exacta para la elaboración de una de ellas es de 50cm..Iniciamos colocando cinco mostacillas rosadas y cruzamos por el centro de las últimas tres y apretamos.
Step 01
To make this happy little star, you don't need many beads because they are quite small. The exact amount of wire to make one of them is 50cm. We start by placing five pink beads and We cross through the center of the last three and press.
Paso 02
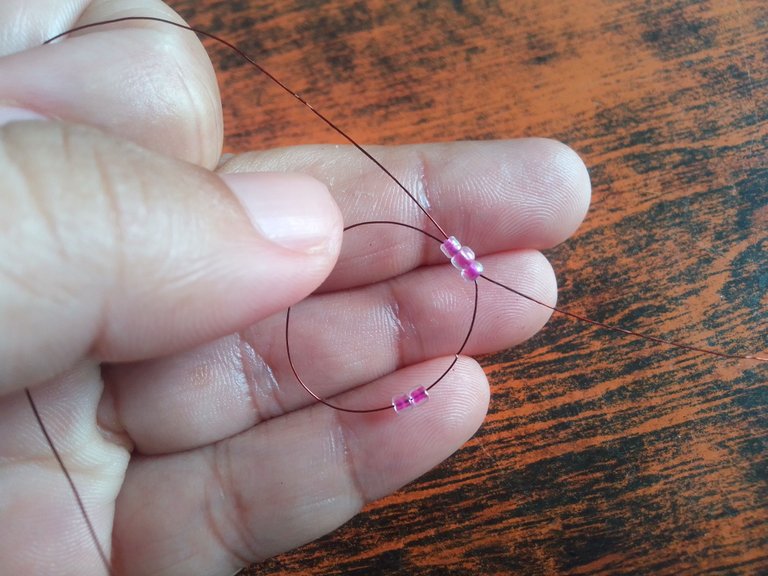
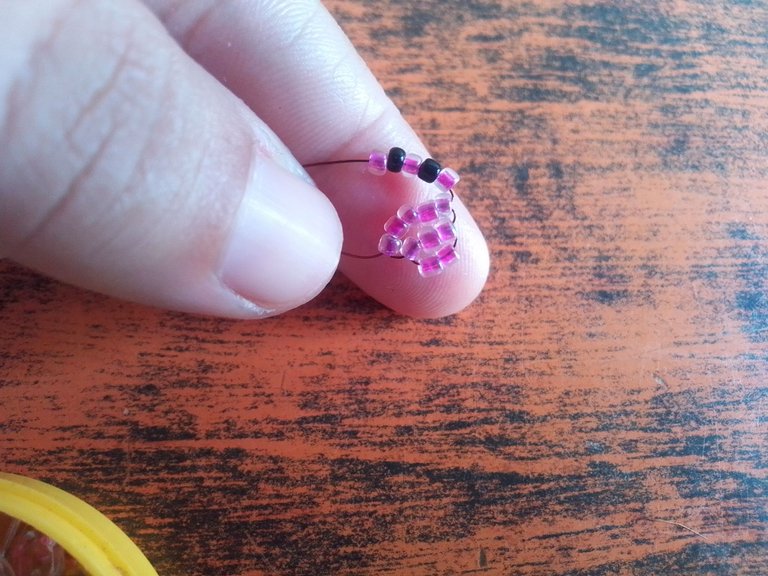
Ahora inserto por cualquiera de los dos hilos cinco mostacillas rosadas más y cruzamos.
Step 02
Now I insert five more pink beads through either of the two threads and we cross.
Paso 03
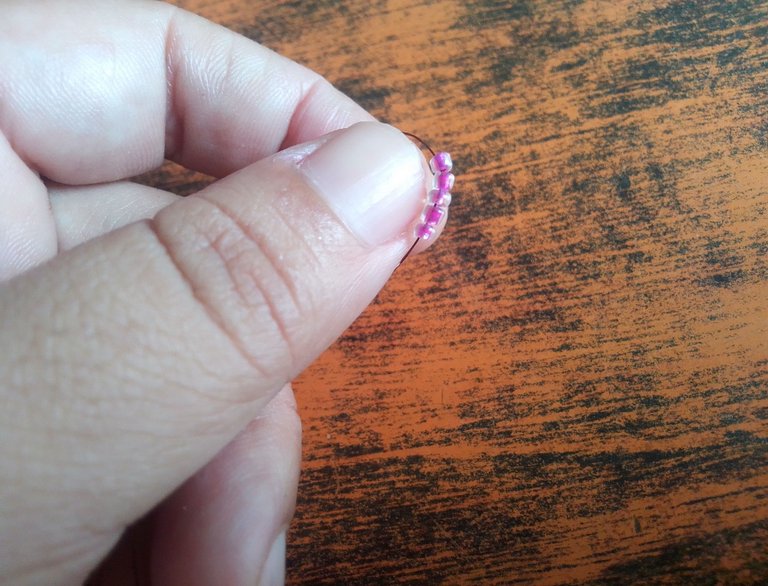
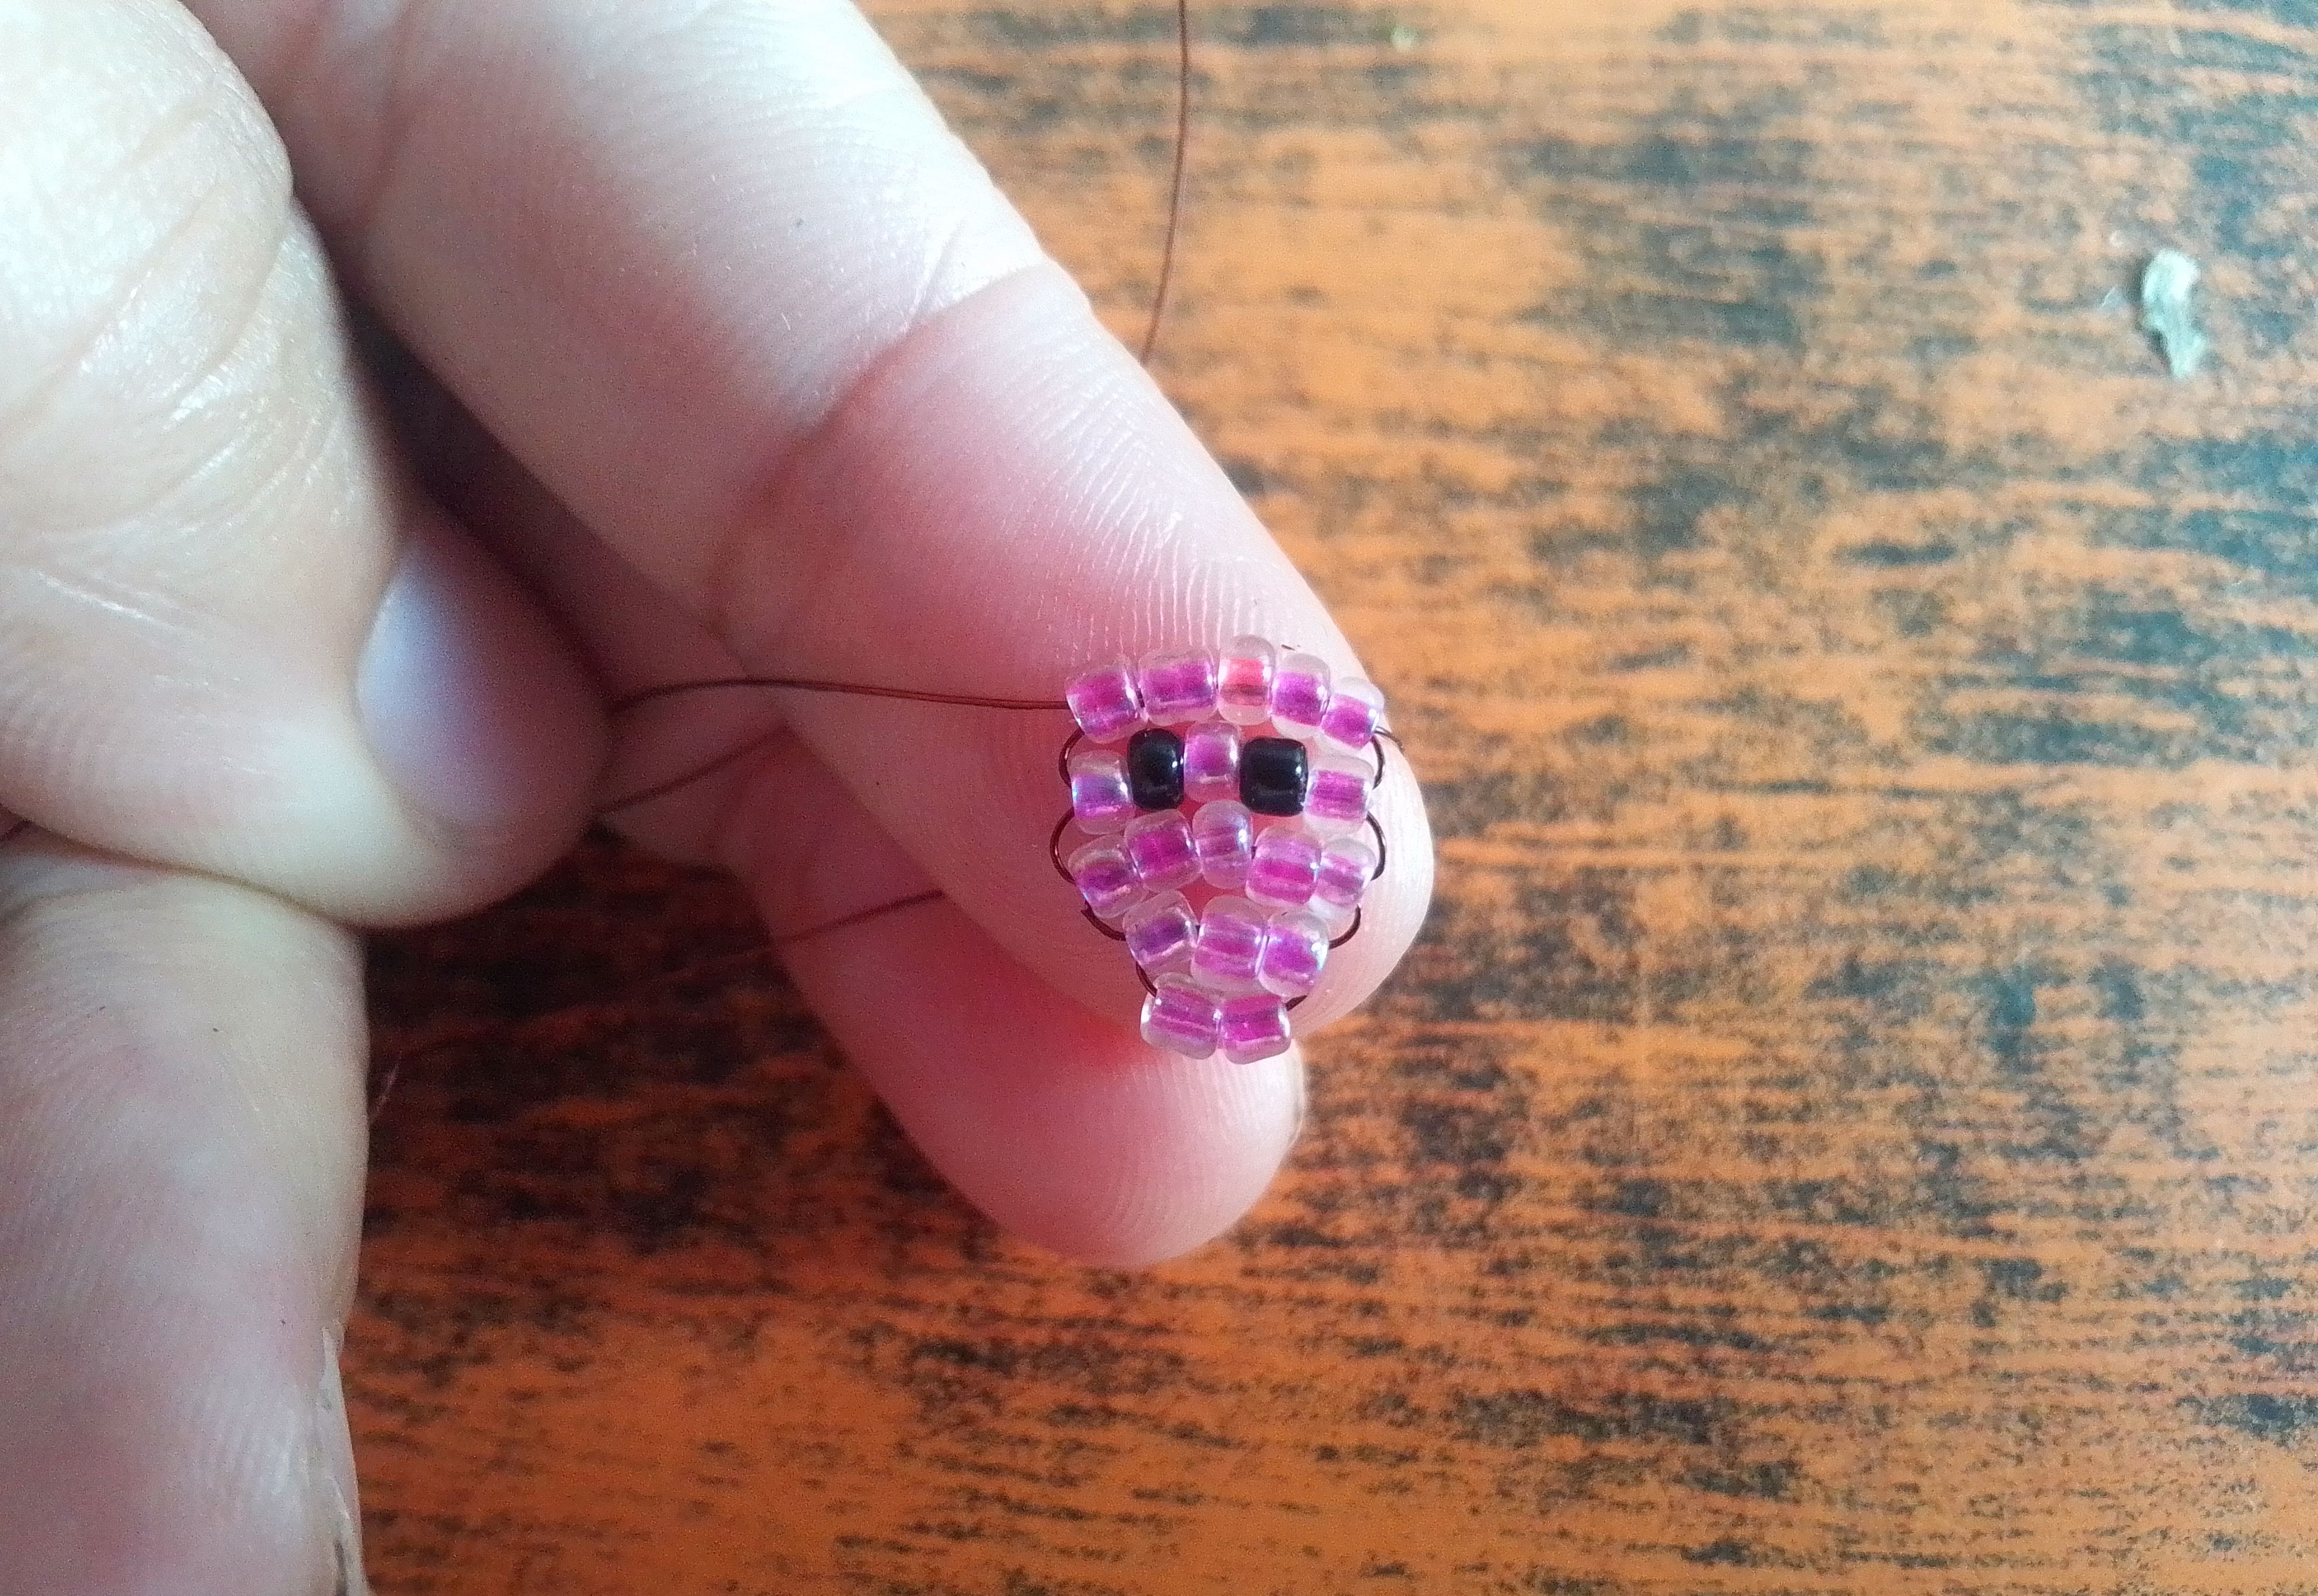
Para hacer lo ojitos voy a insertar, una mostacilla rosada, una negra, una rosada, una negra y una rosada y cruzamos, ajustando bien el alambre. Agrego cinco mostacillas rosadas más en la proxima vuelta.
Step 03
To make the eyes I am going to insert a pink bead, a black one, a pink one, a black one and a pink one and we cross, adjusting the wire well. I add five more pink beads on the next round.
Paso 04
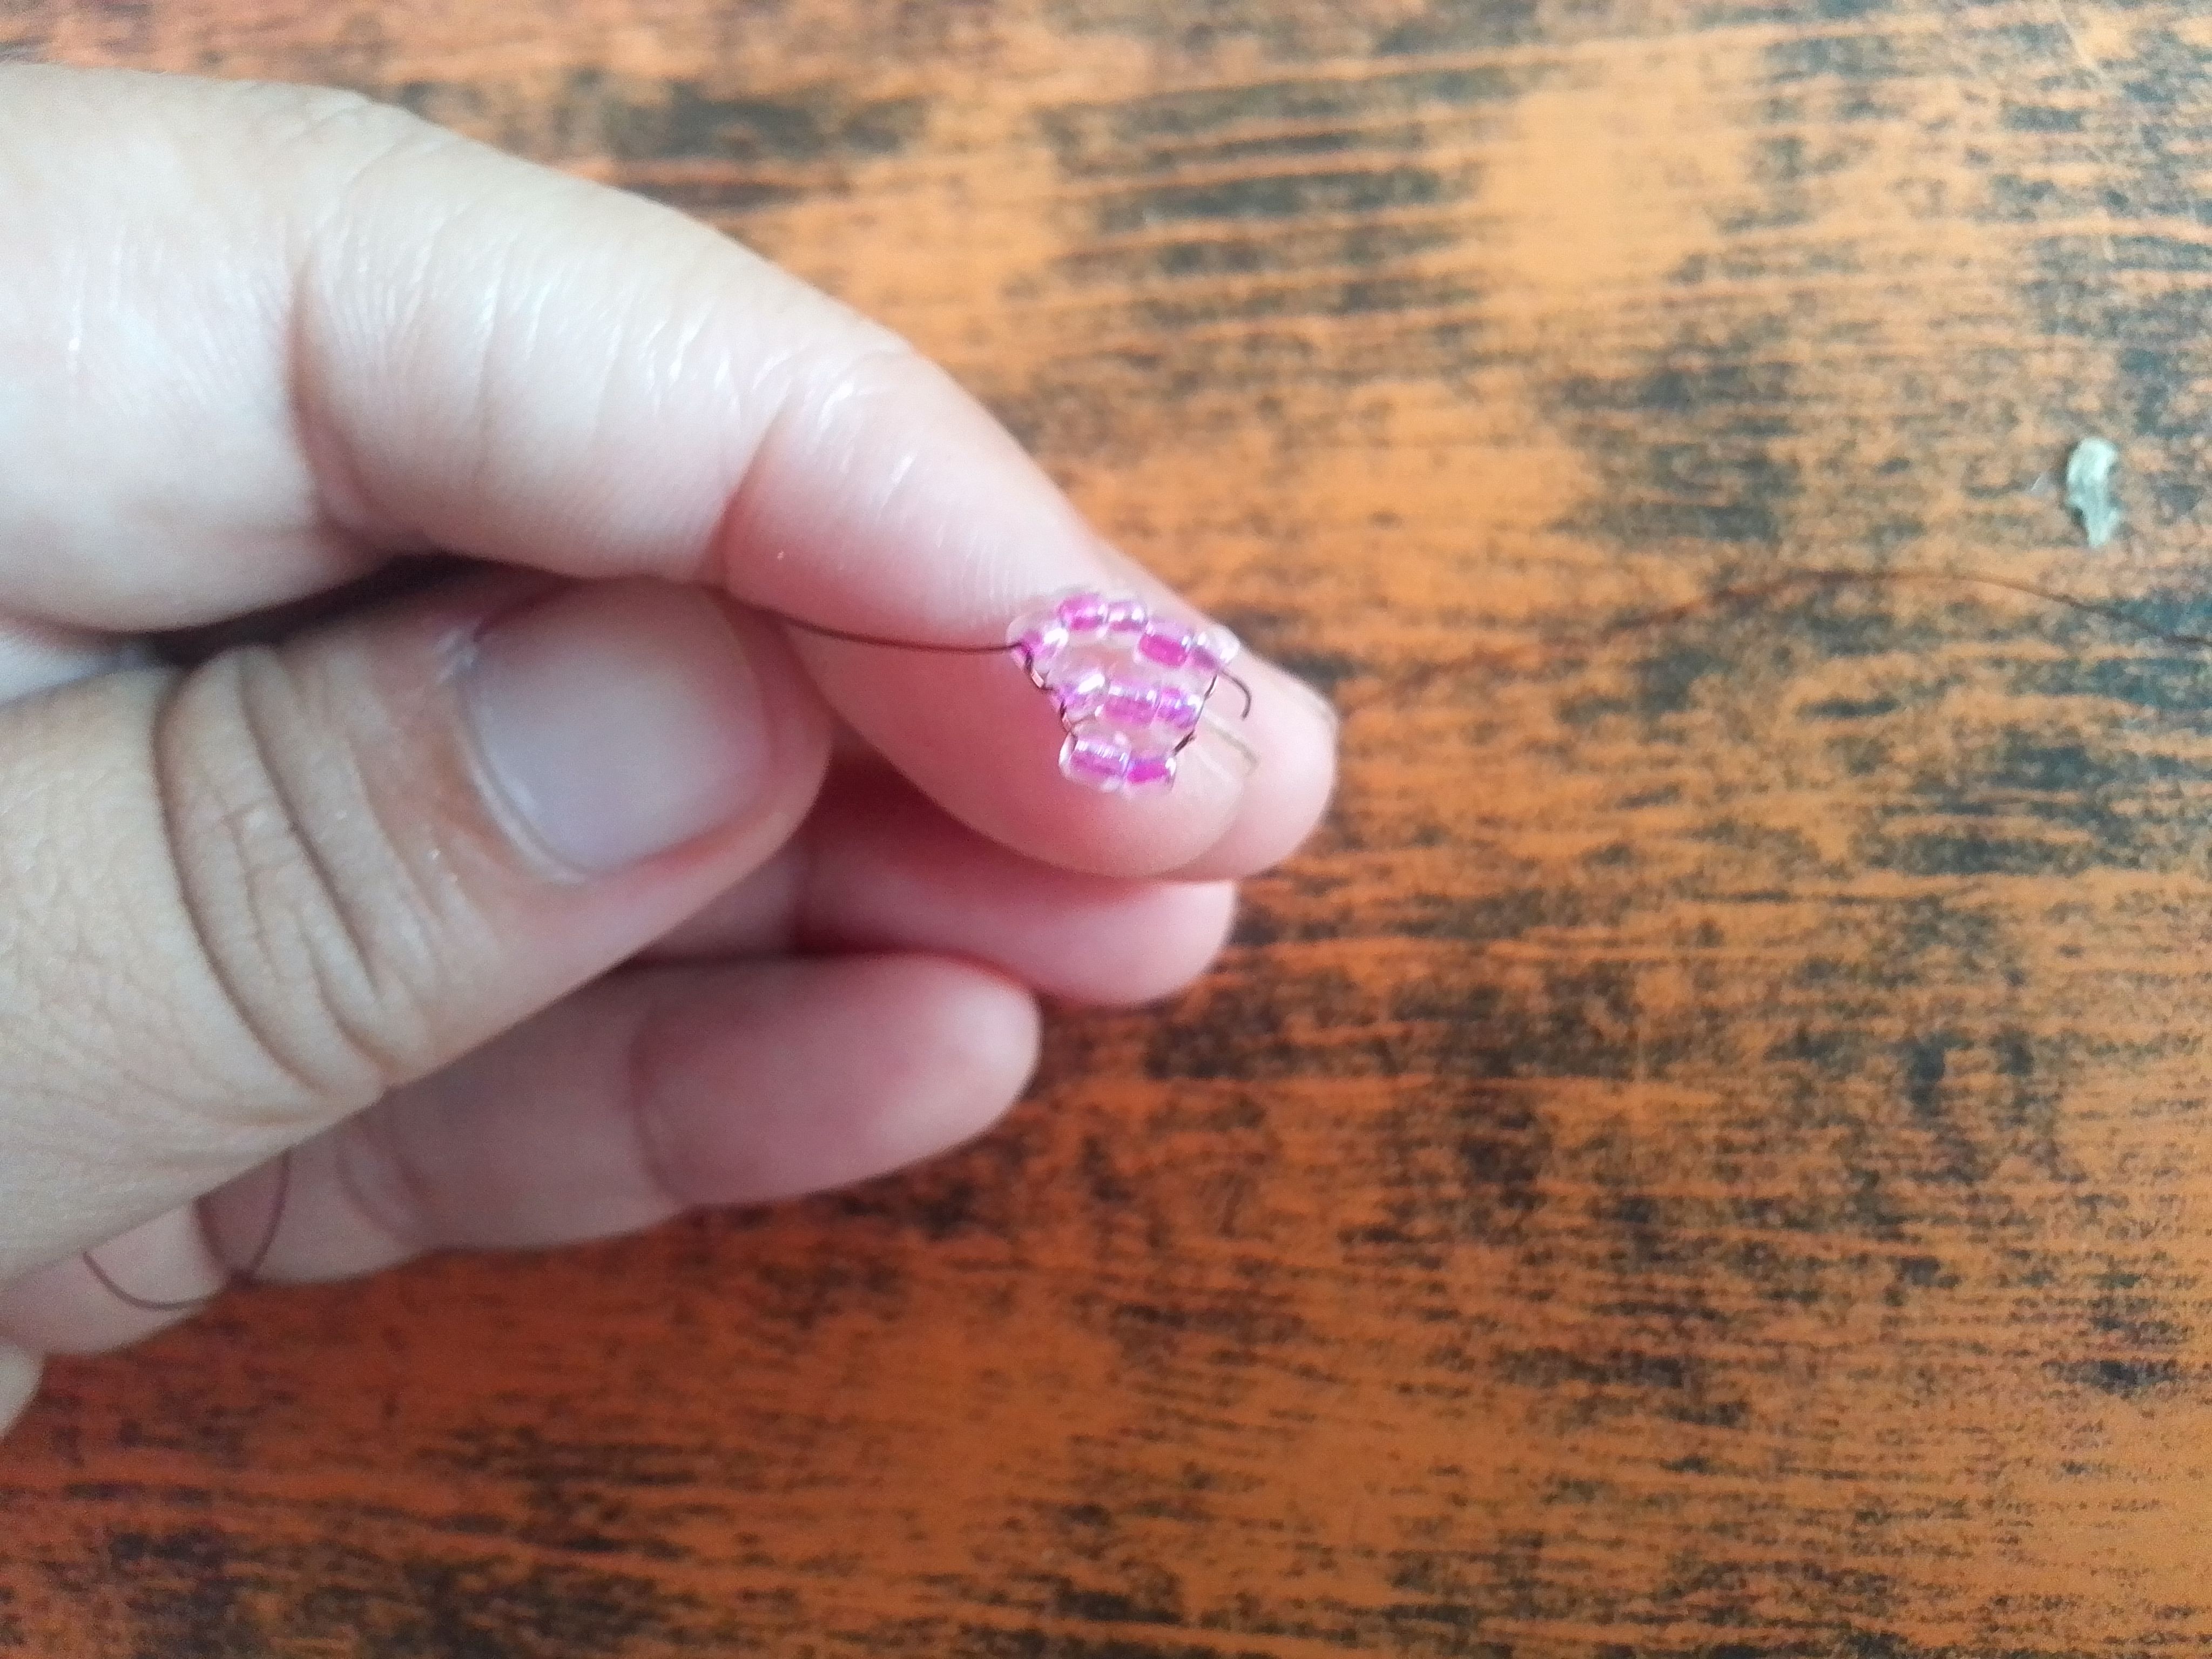
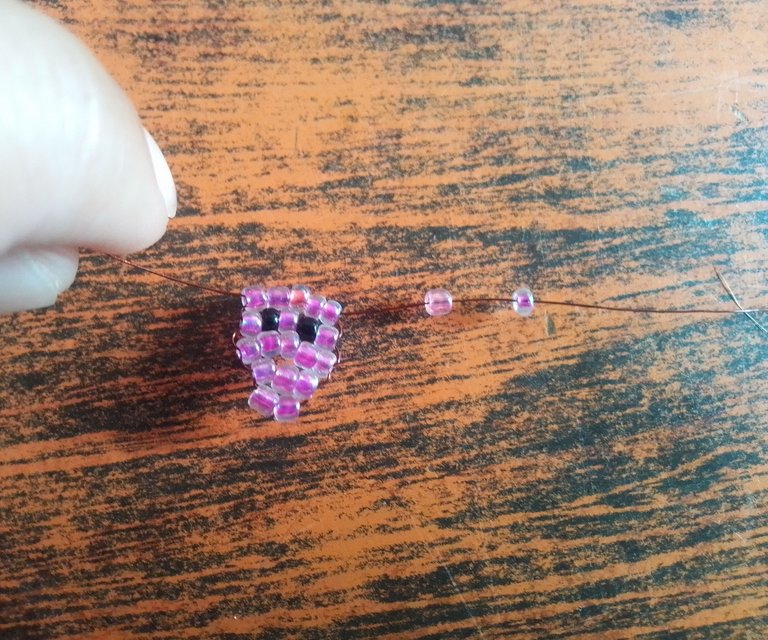
Para los bracitos introduzco dos mostacillas rosadas en un extremo del alambre y lo regreso por la primer que metimos, lo mismo hagi del otro lado.
Step 04
For the little arms I insert two pink beads at one end of the wire and return it through the first one we inserted, I do the same on the other side.
Paso 05
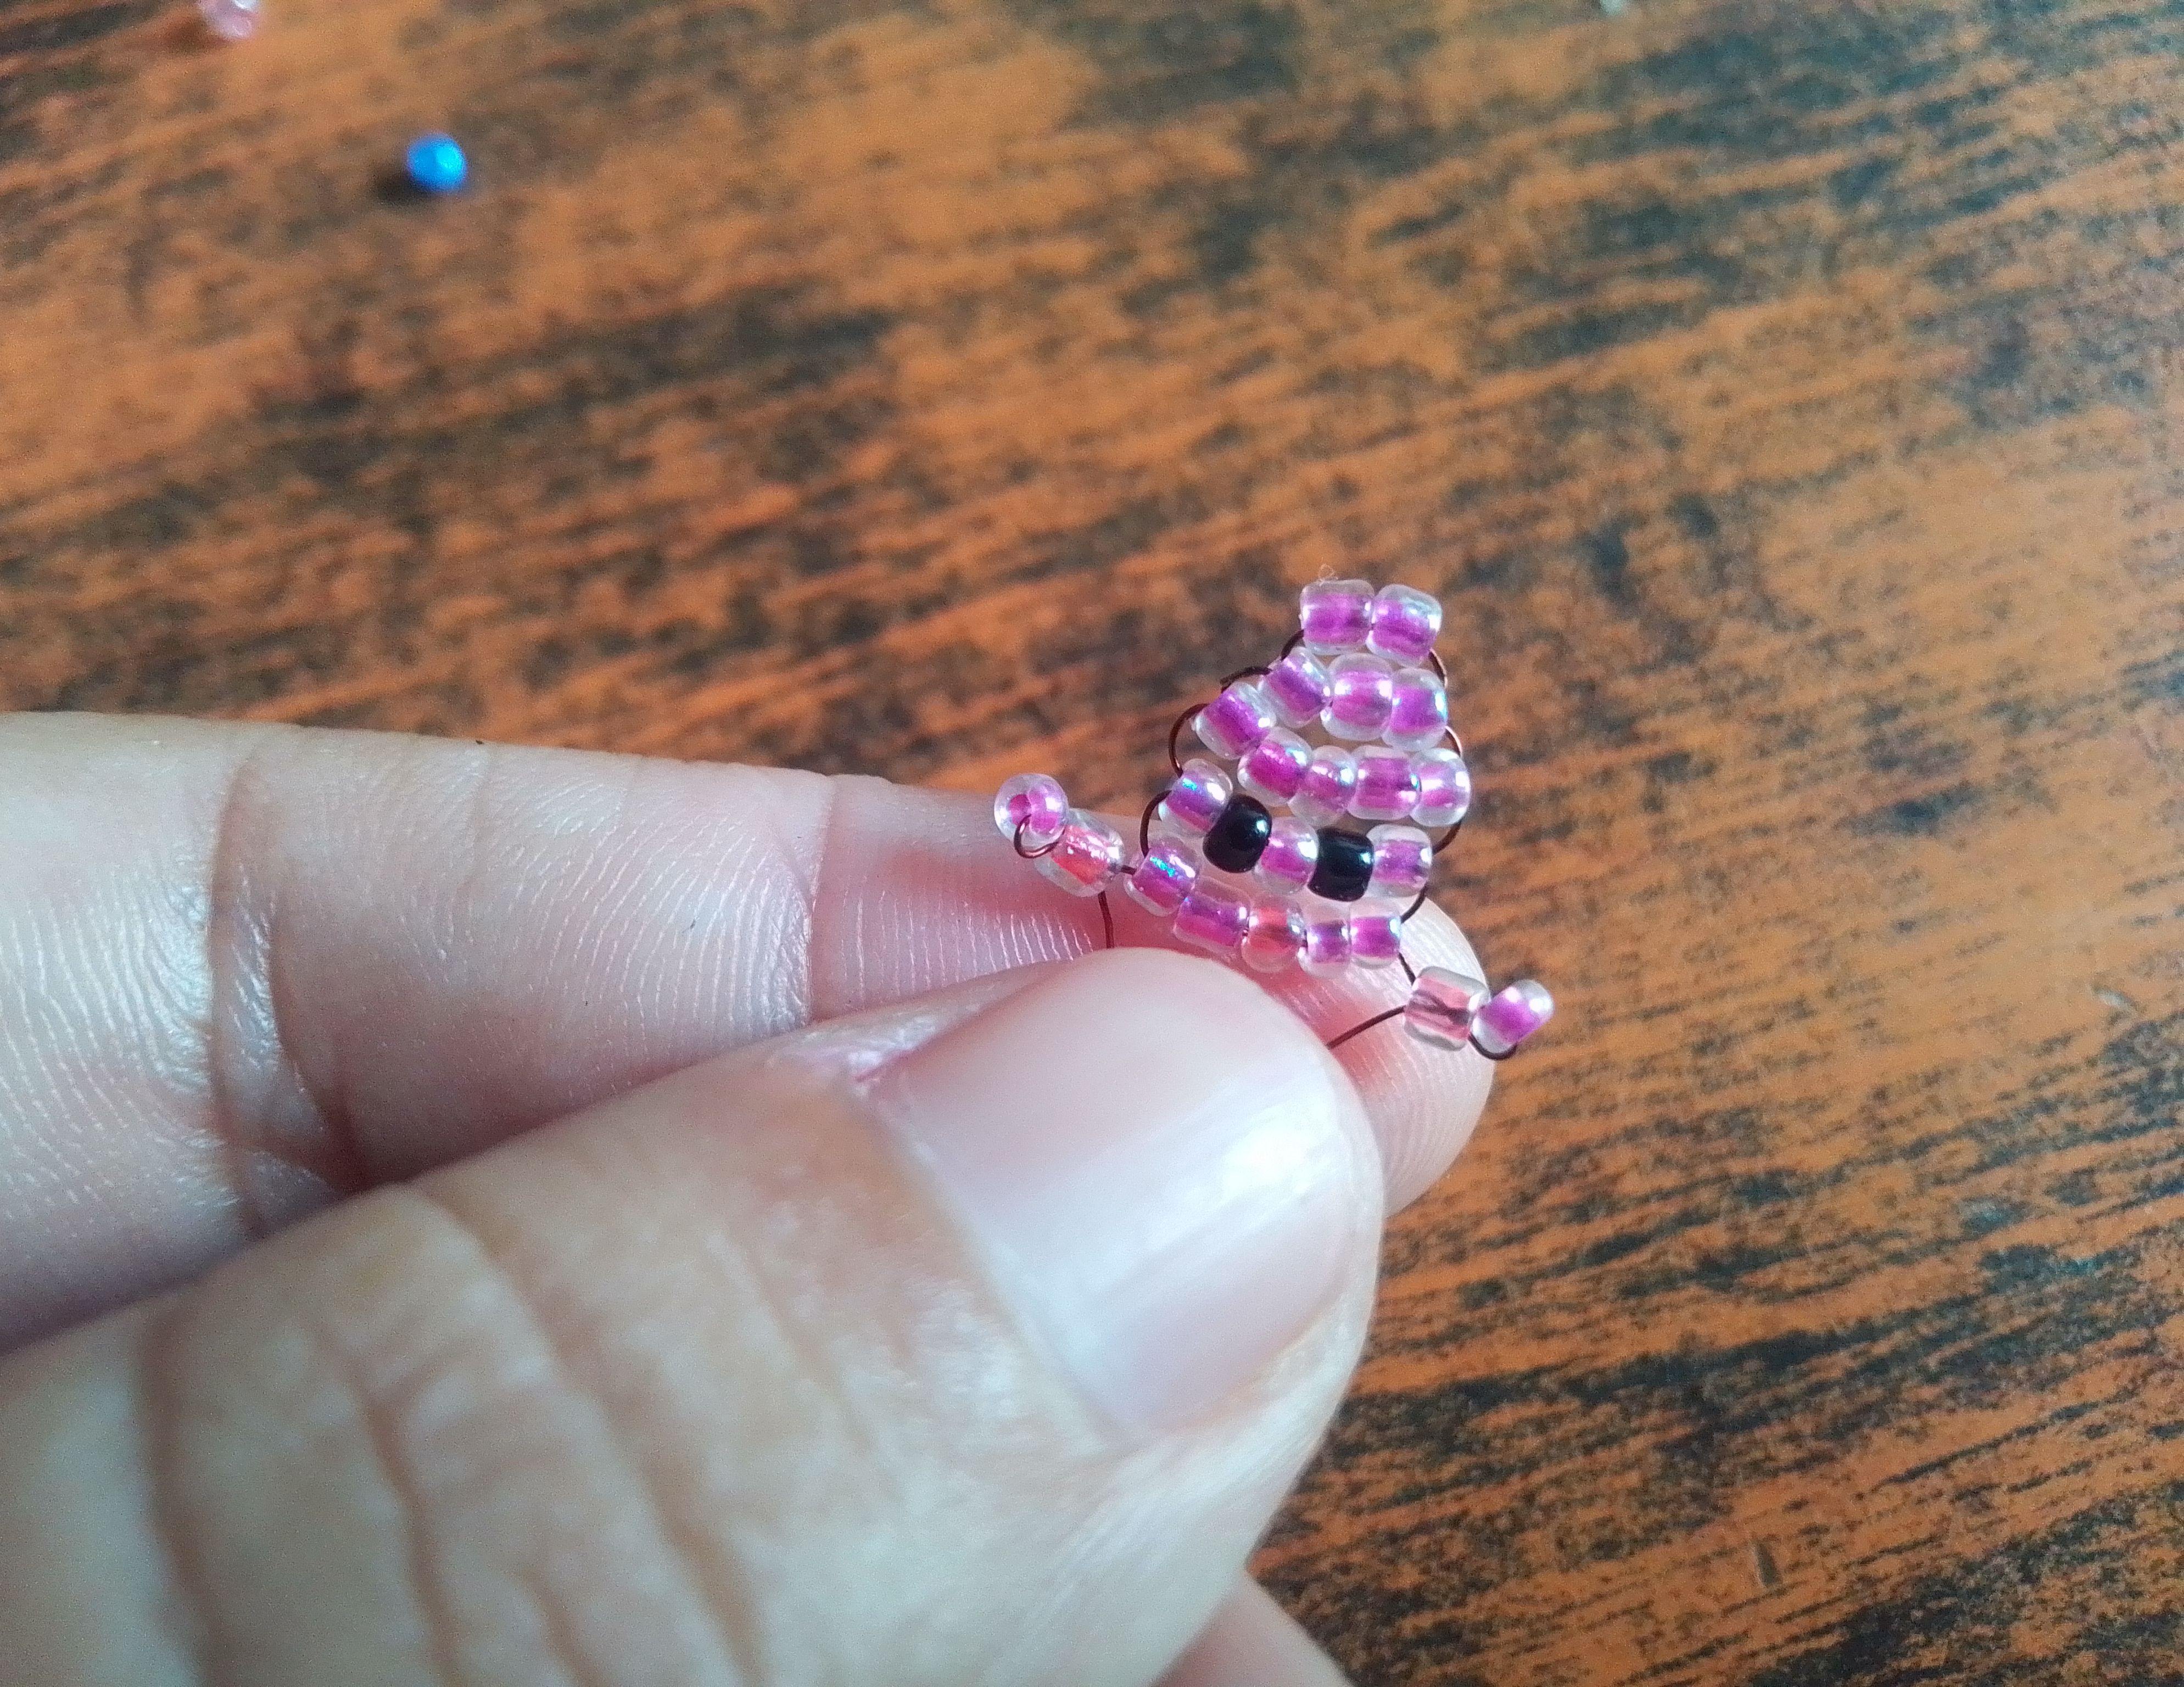
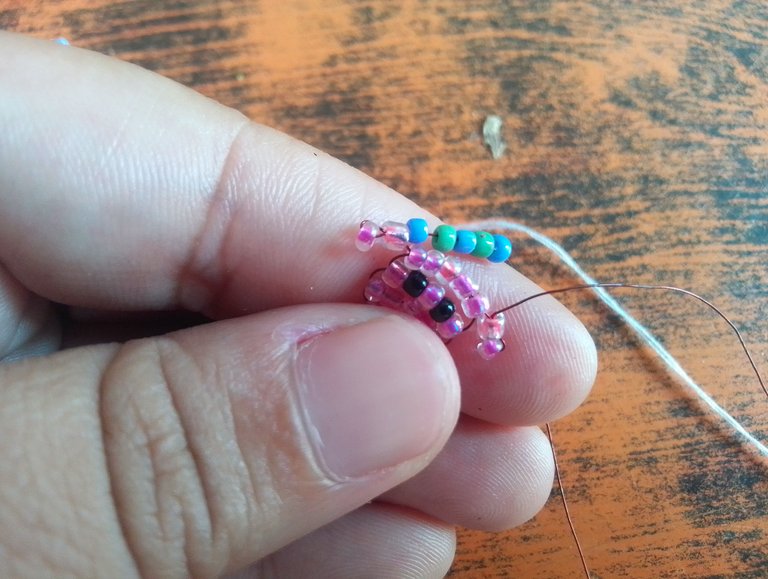
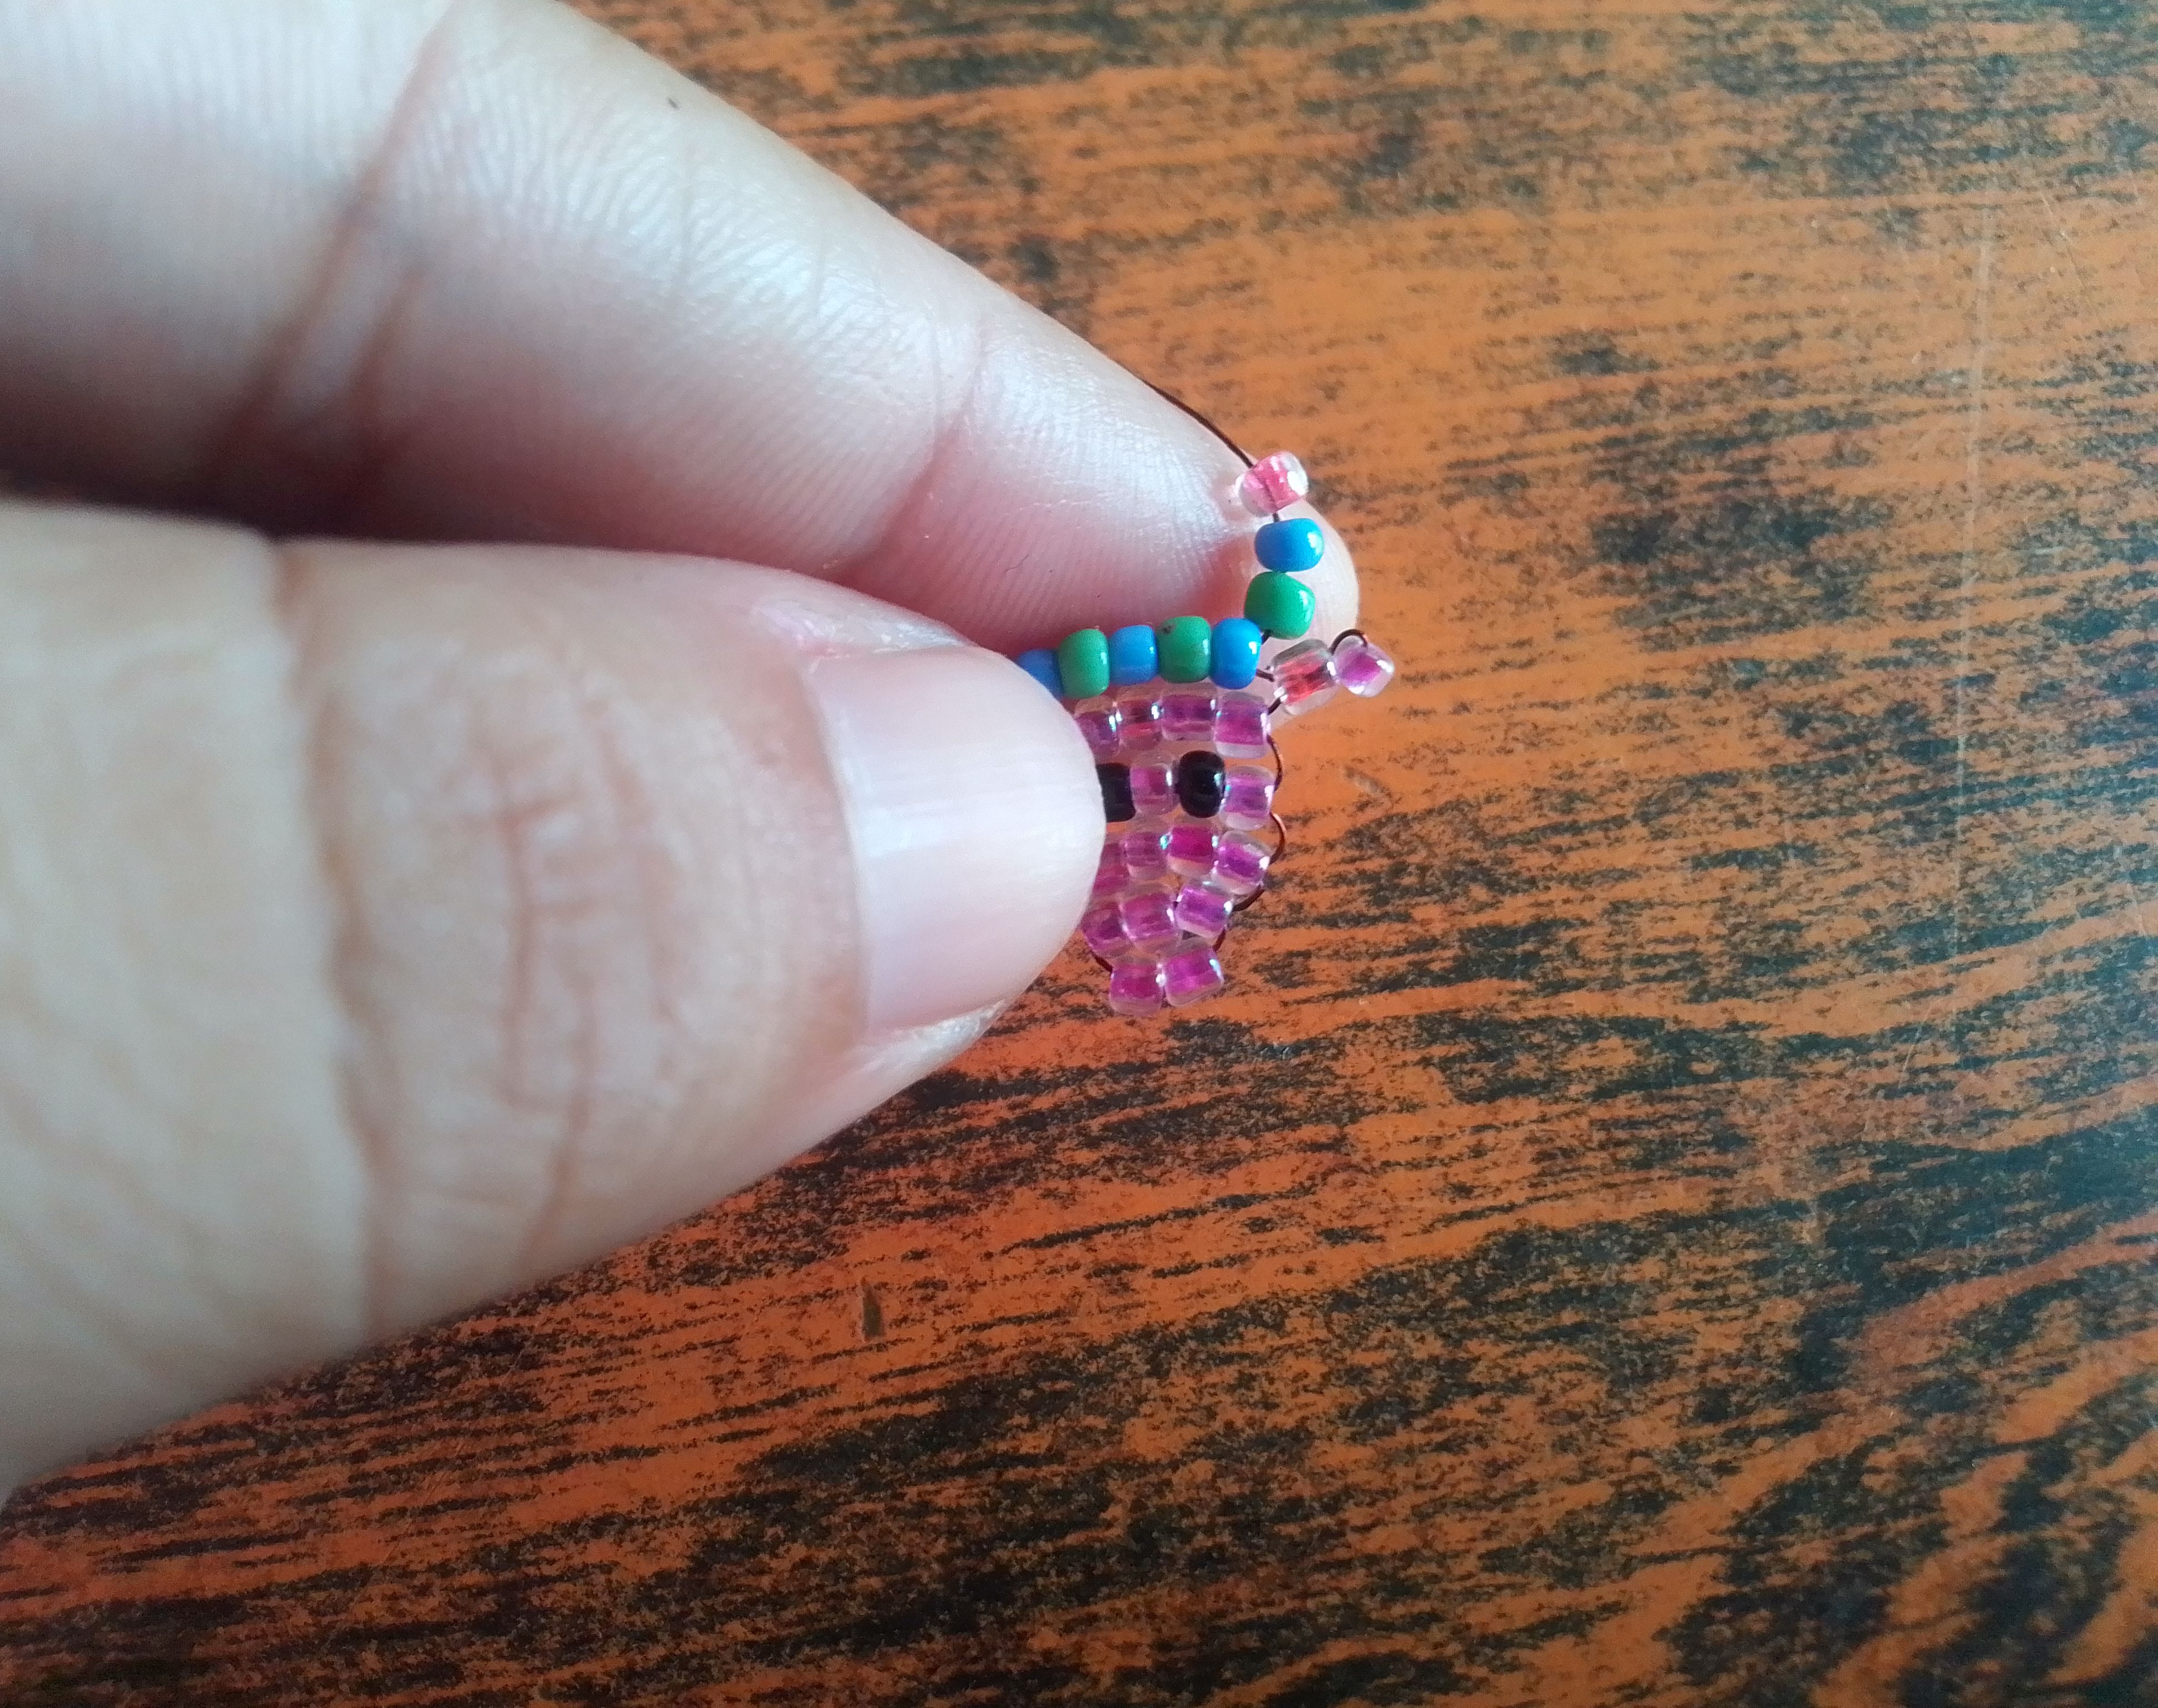
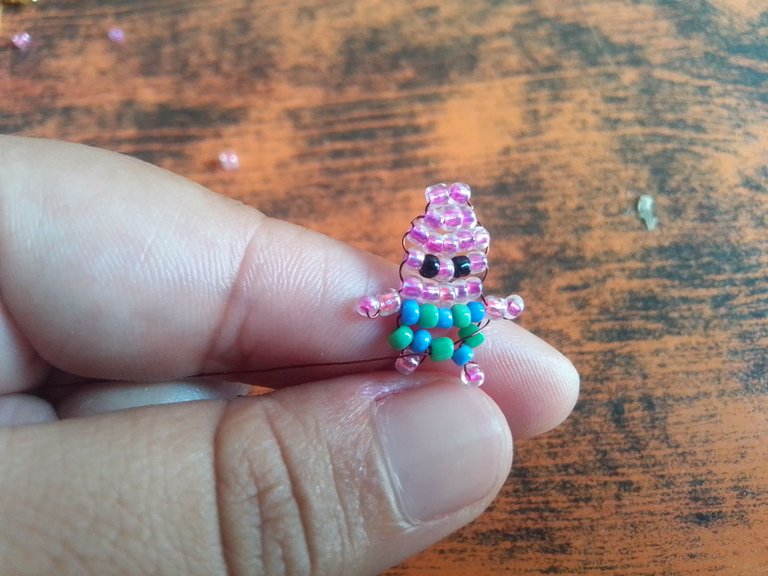
Para el pantalón agregaré una mostacilla azúl, una verde, una azul, una verde y una azul y cruzamos. En la patitas coloco una mostacilla verde, una azul y una rosada en cada extremo del hilo.
Step 05
For the pants I will add a blue bead, a green one, a blue one, a green one and a blue one and we will cross. On the legs I place a green, a blue and a pink bead at each end of the thread.
Paso 06
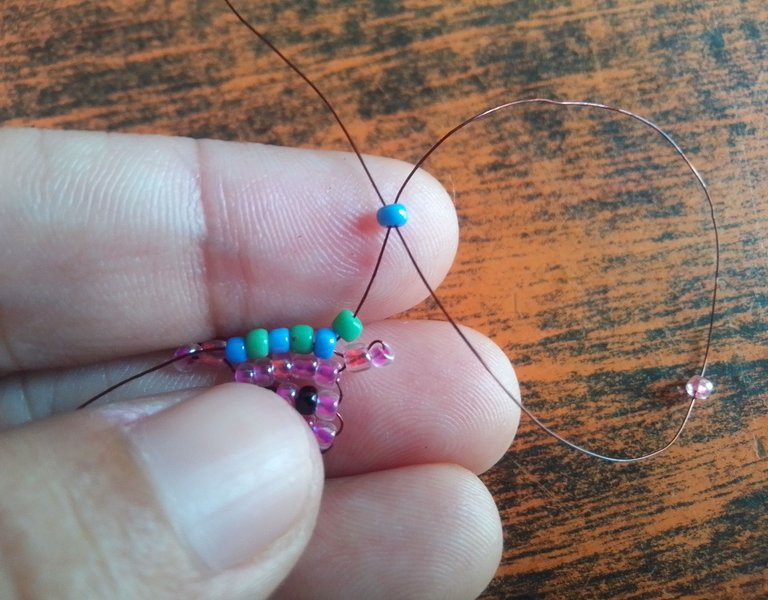
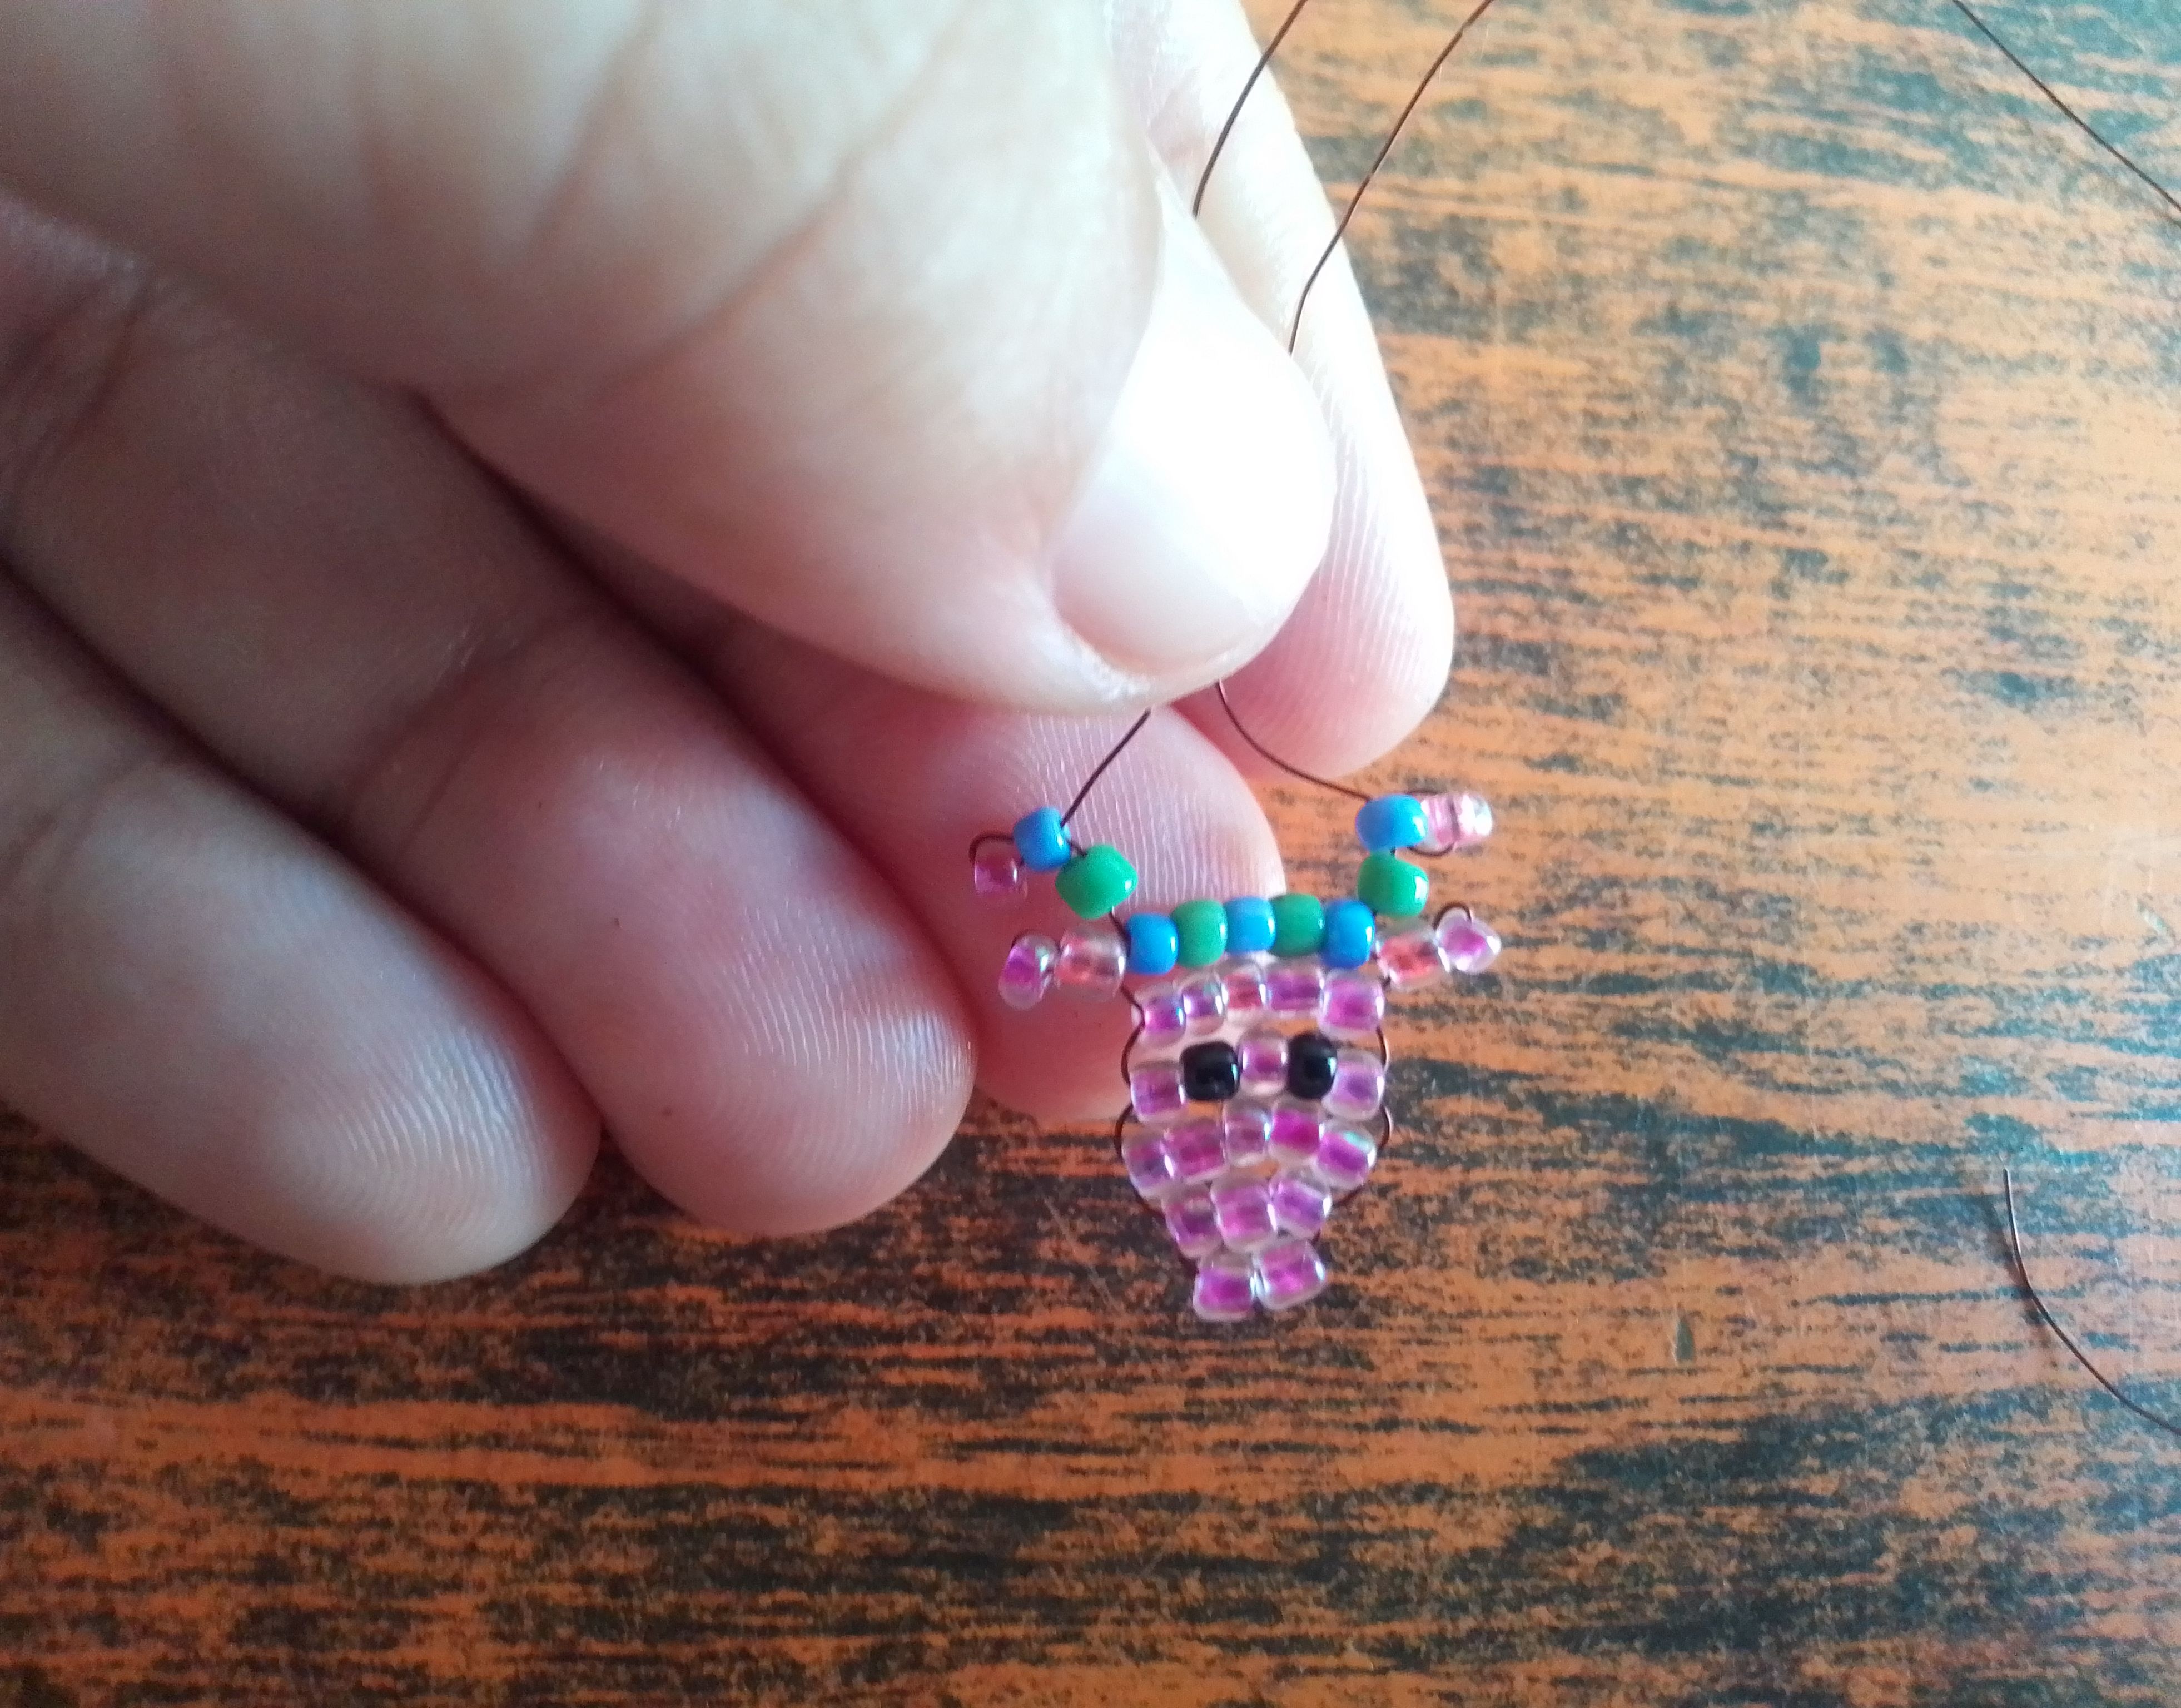
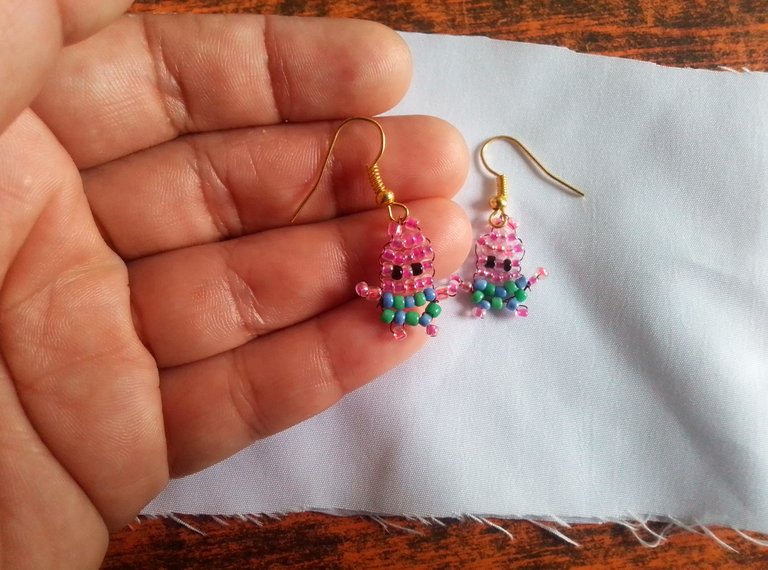
Ahora voy a regresar el alambre por la mostacilla azul de cada lado. Luego inserto una mostacilla verde, cruzo el sobre, aprieto y me devuelvo hacia arriba por el verde. En la cabecita de mi muñequito voy a colocar un gancho sujetador.
Step 06
Now I'm going to return the wire through the blue bead on each side. Then I insert a green bead, cross the envelope, press and go back up the green. I am going to place a clip on the head of my doll.
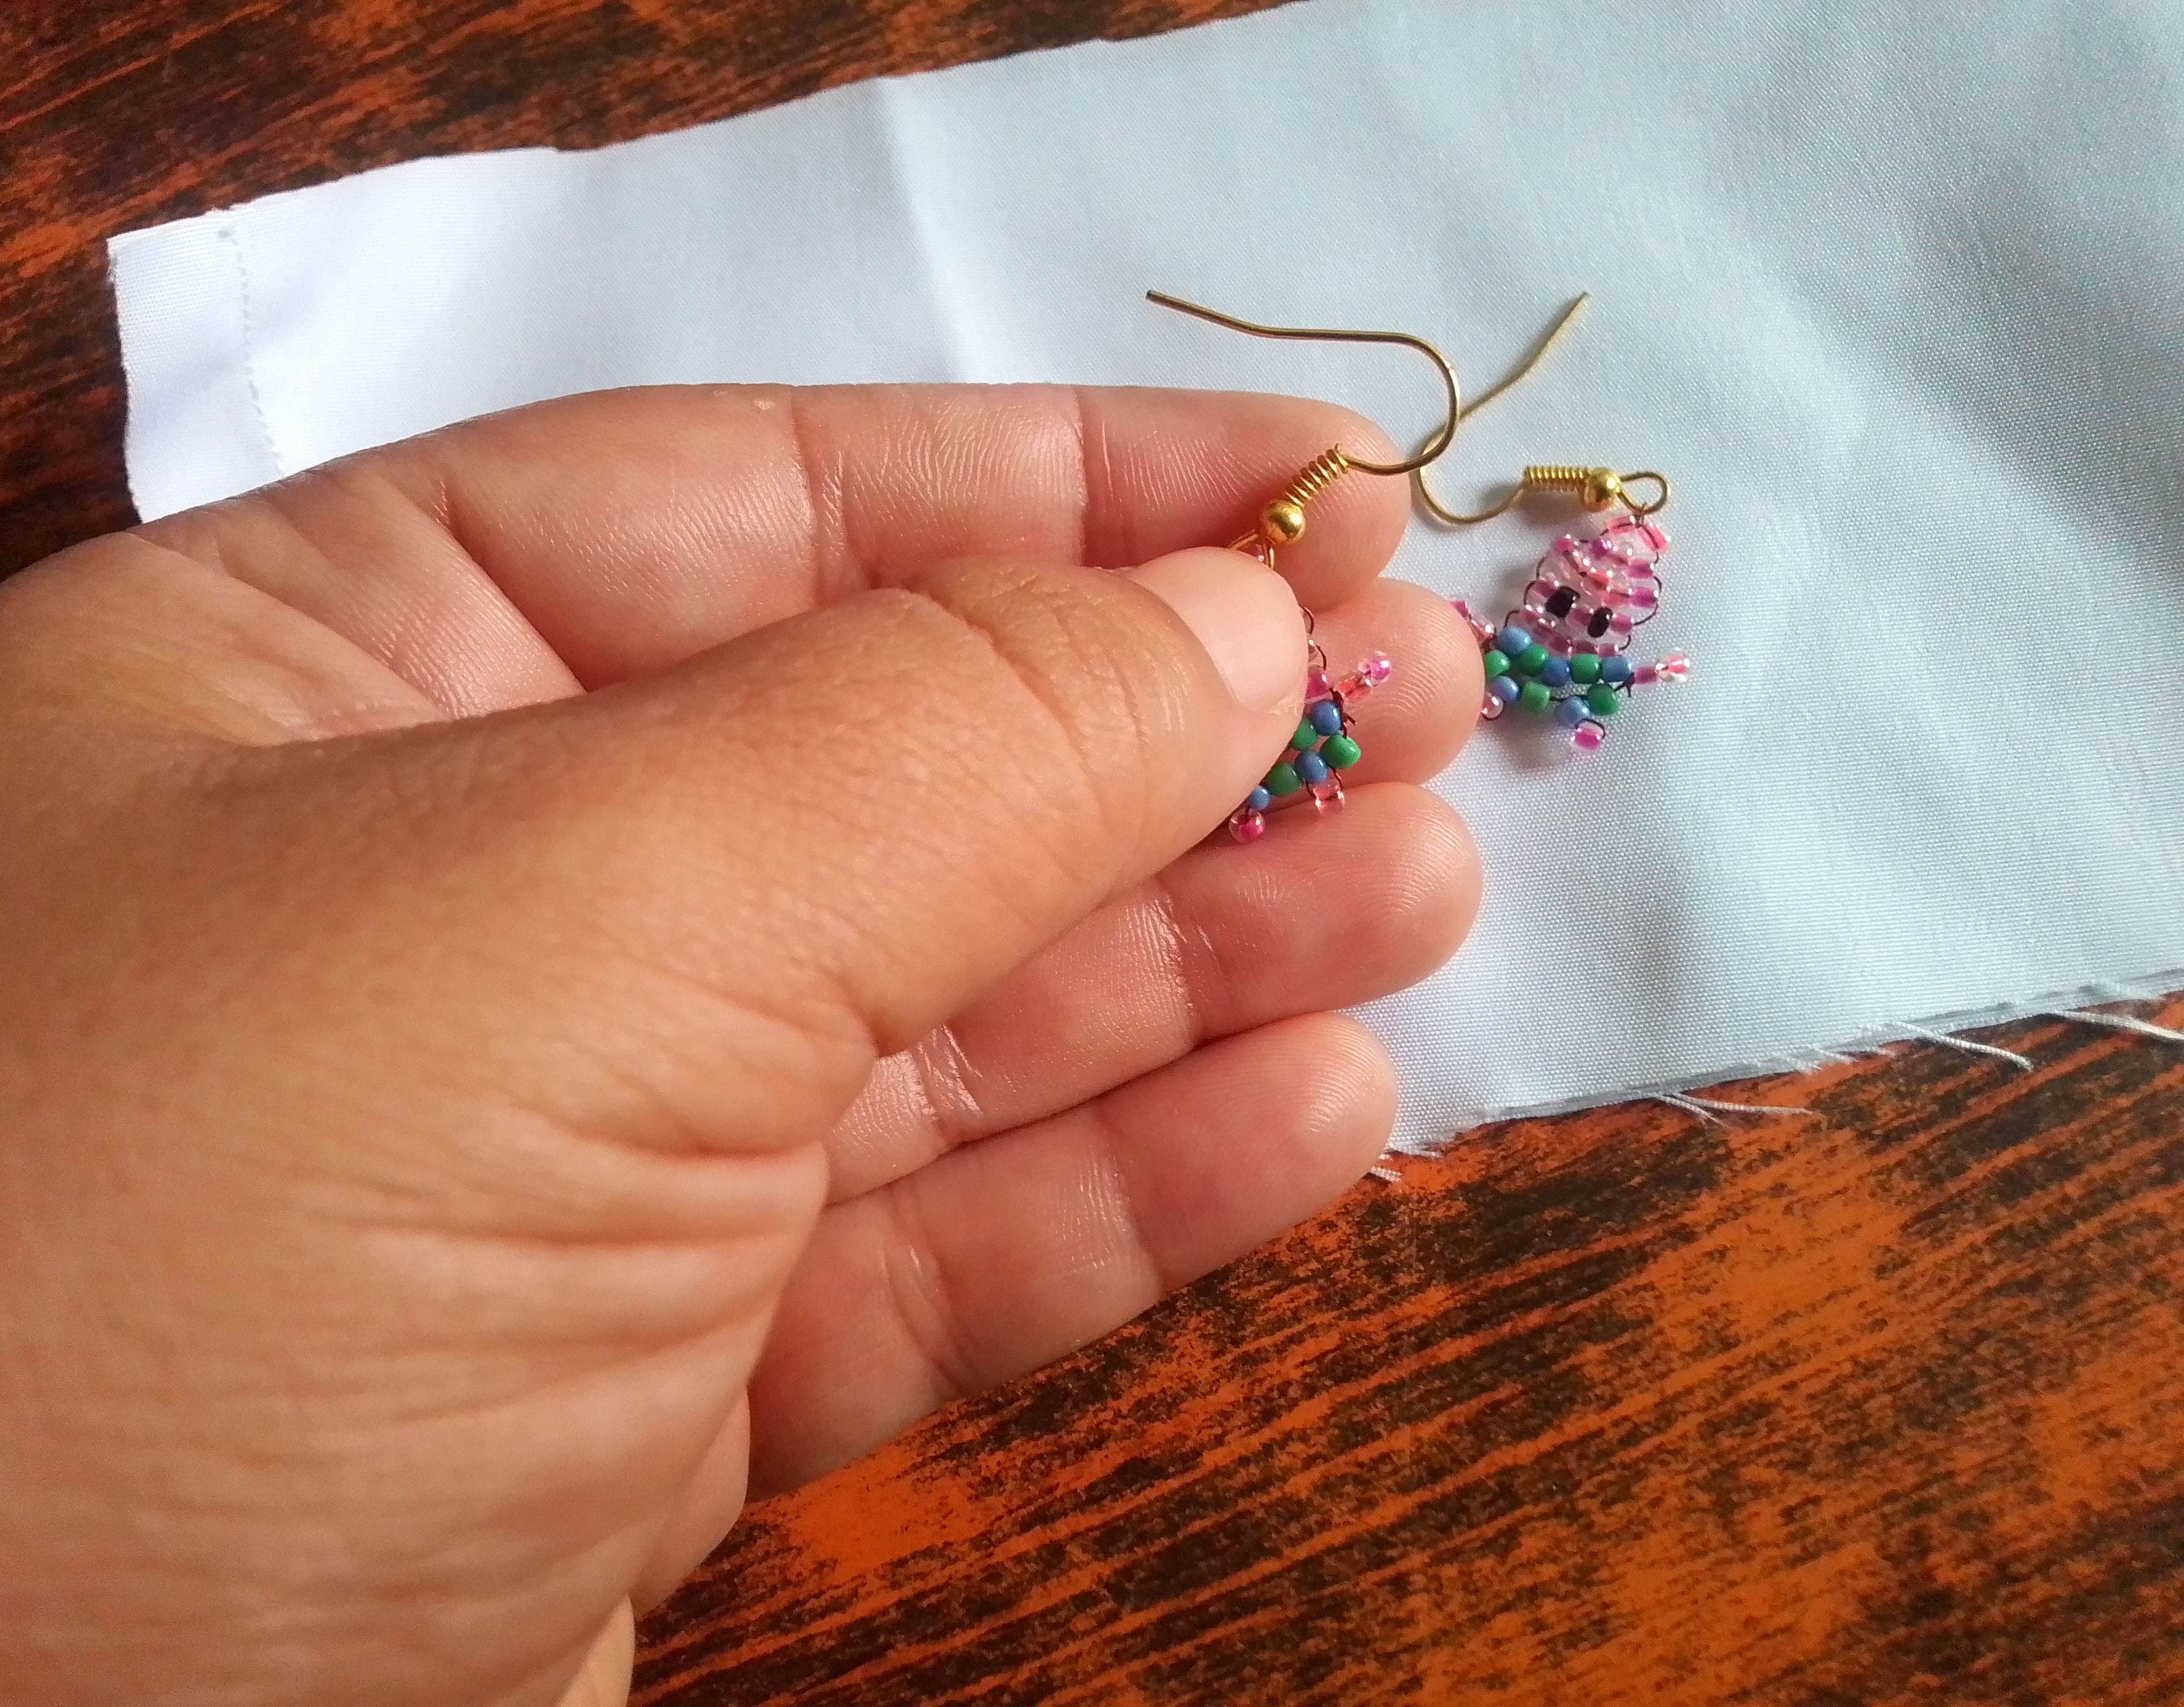
✨Resultado!✨
Result!
De esta manera se ven estos alegres aretitos, muy graciosos y prácticos de crear espero sea de sus agrado.
This is how these cheerful little earrings look, very funny and practical to create, I hope you like them.
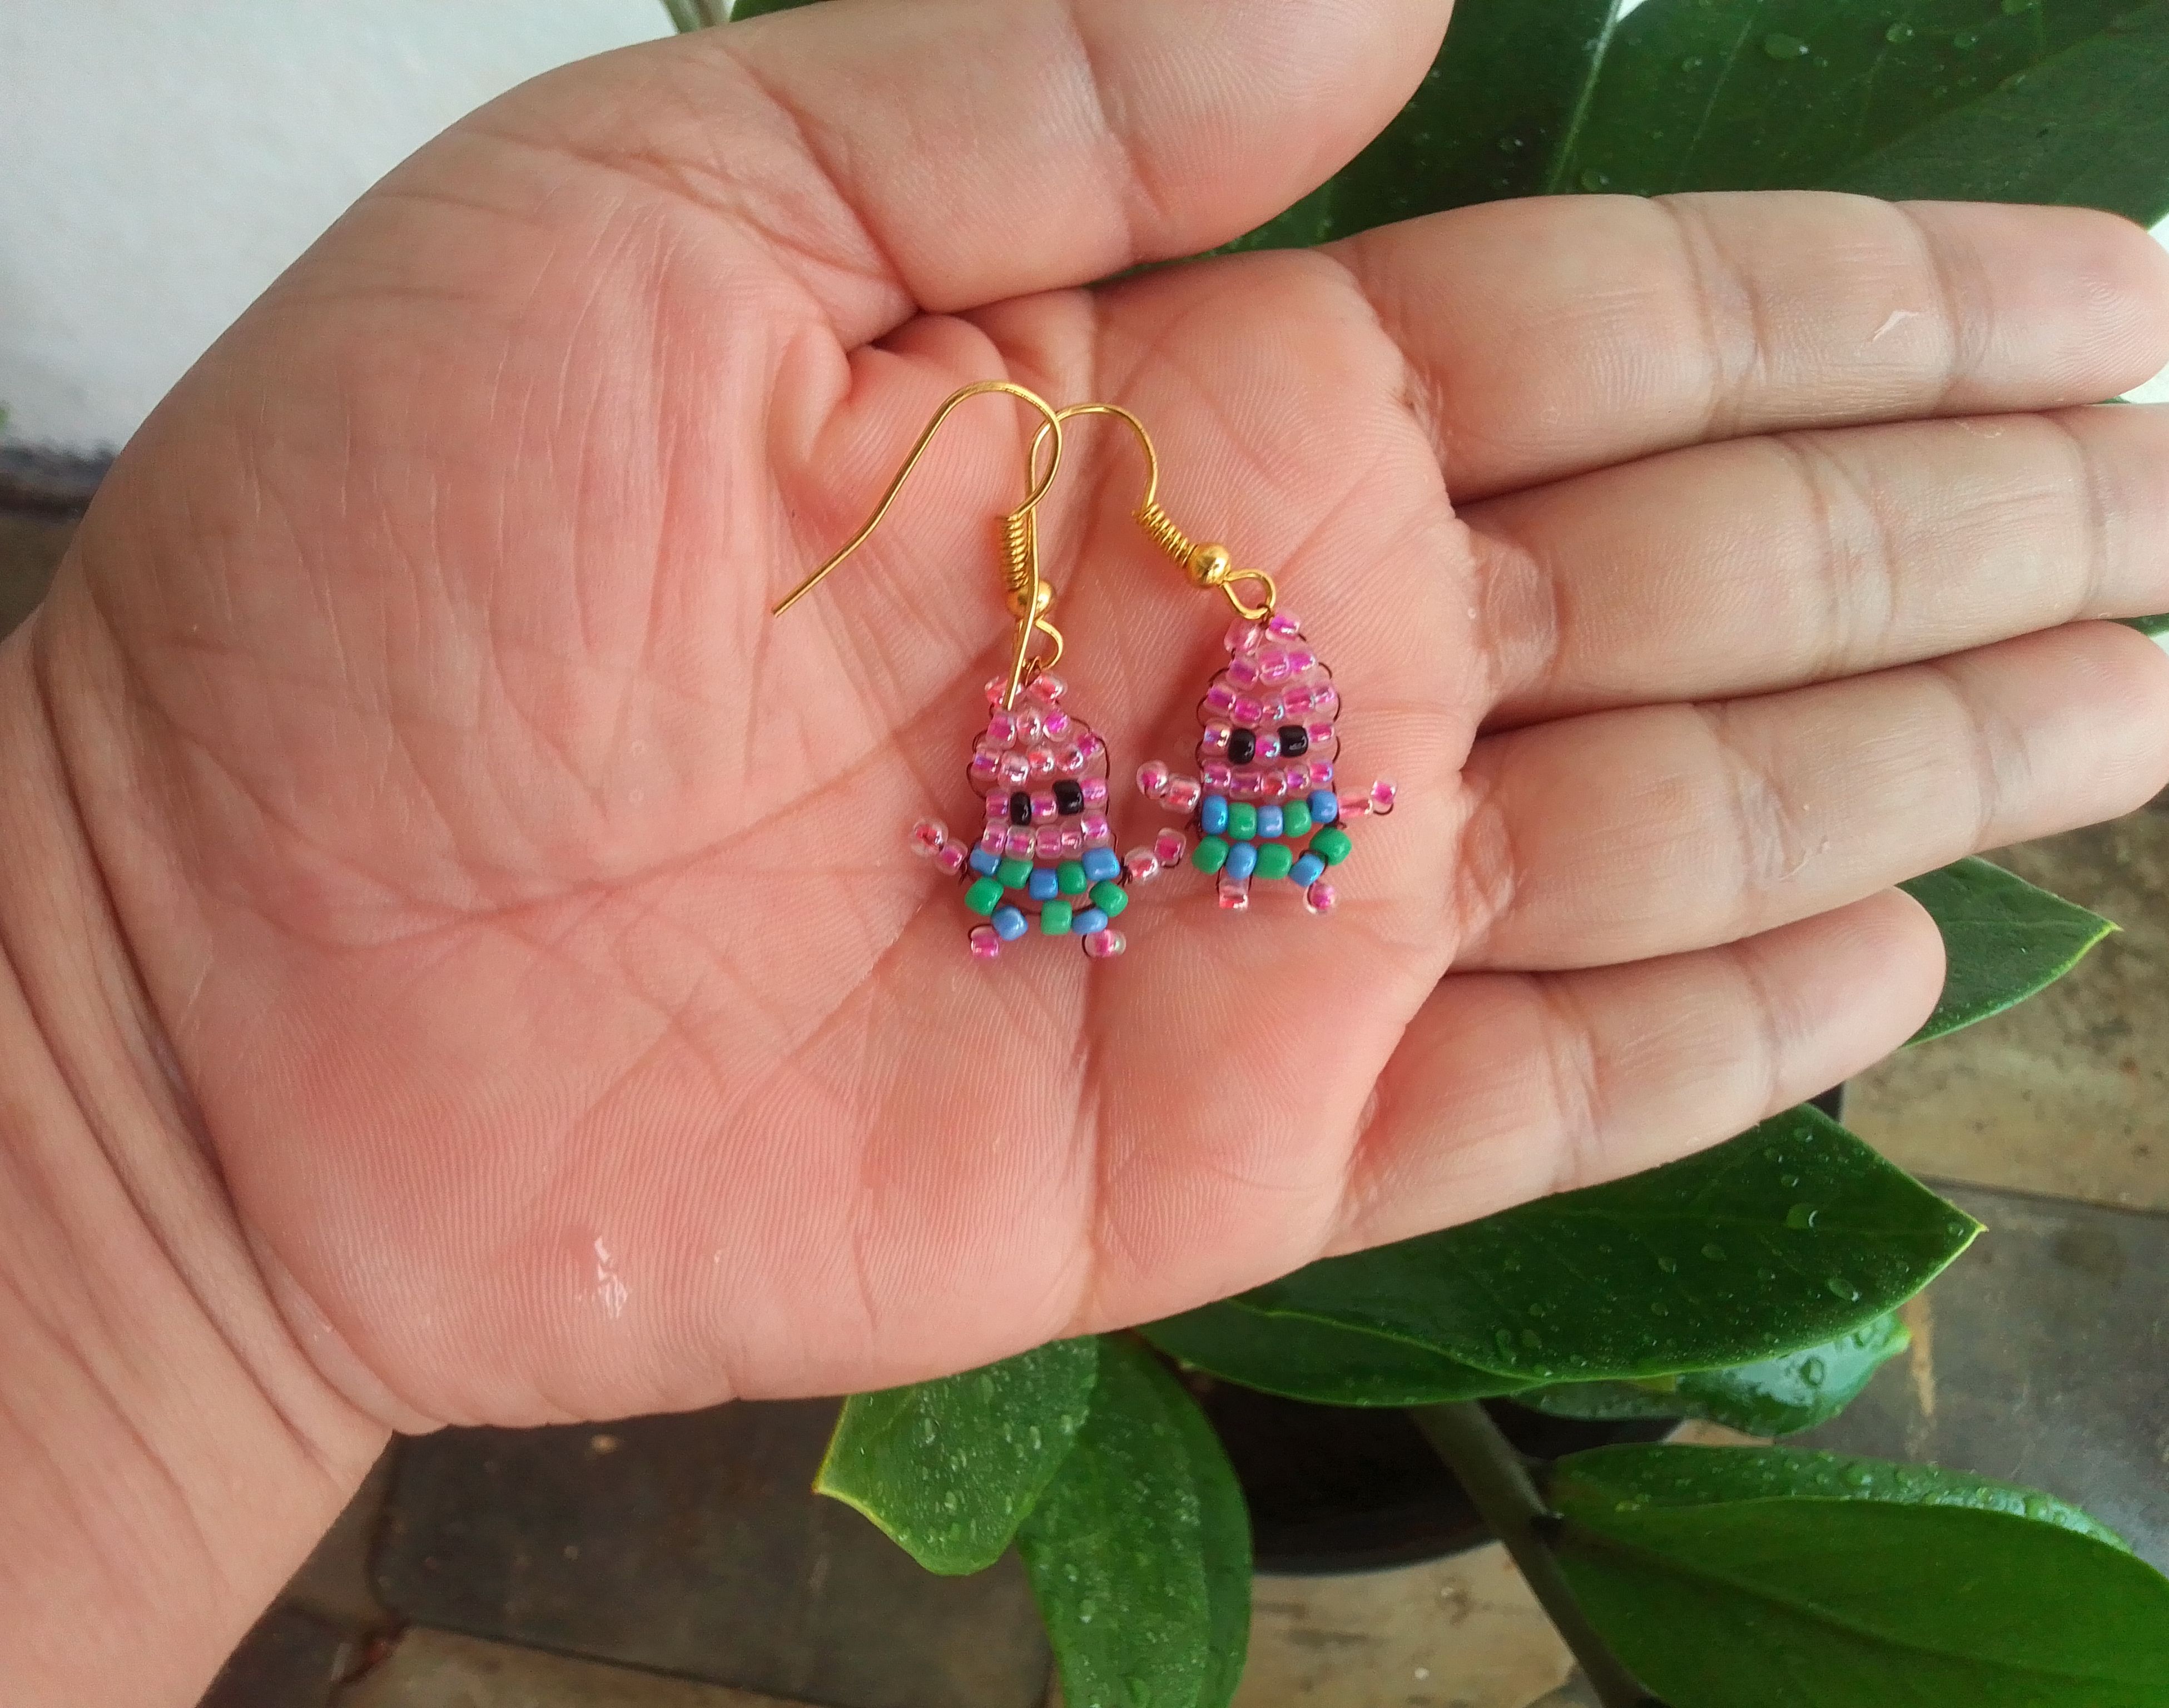

Así llegamos al final de mi trabajo creativo de hoy, espero les guste, hasta una próxima oportunidad!
So we come to the end of my creative work today, I hope you like it, until next time!
Todas las imágenes de esta publicación son de mi autoria capturadas de mi dispositivo Smooth 6.5, primera imagen editada en PicsArt | Texto original traducido en el traductor de Google.
All images in this post are my own, captured from my Smooth 6.5 device, first image edited in PicsArt | Original text translated in Google translator.


