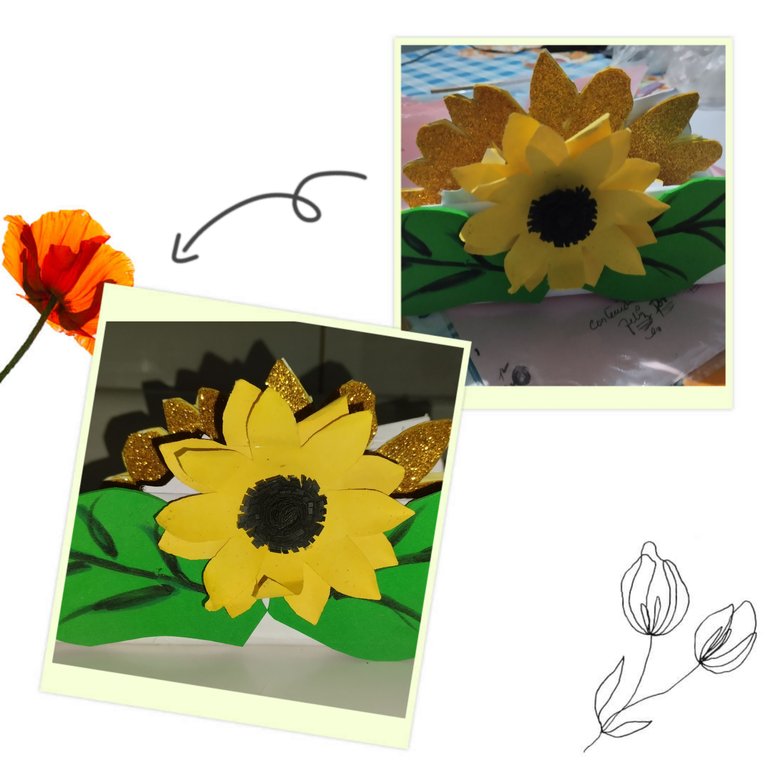
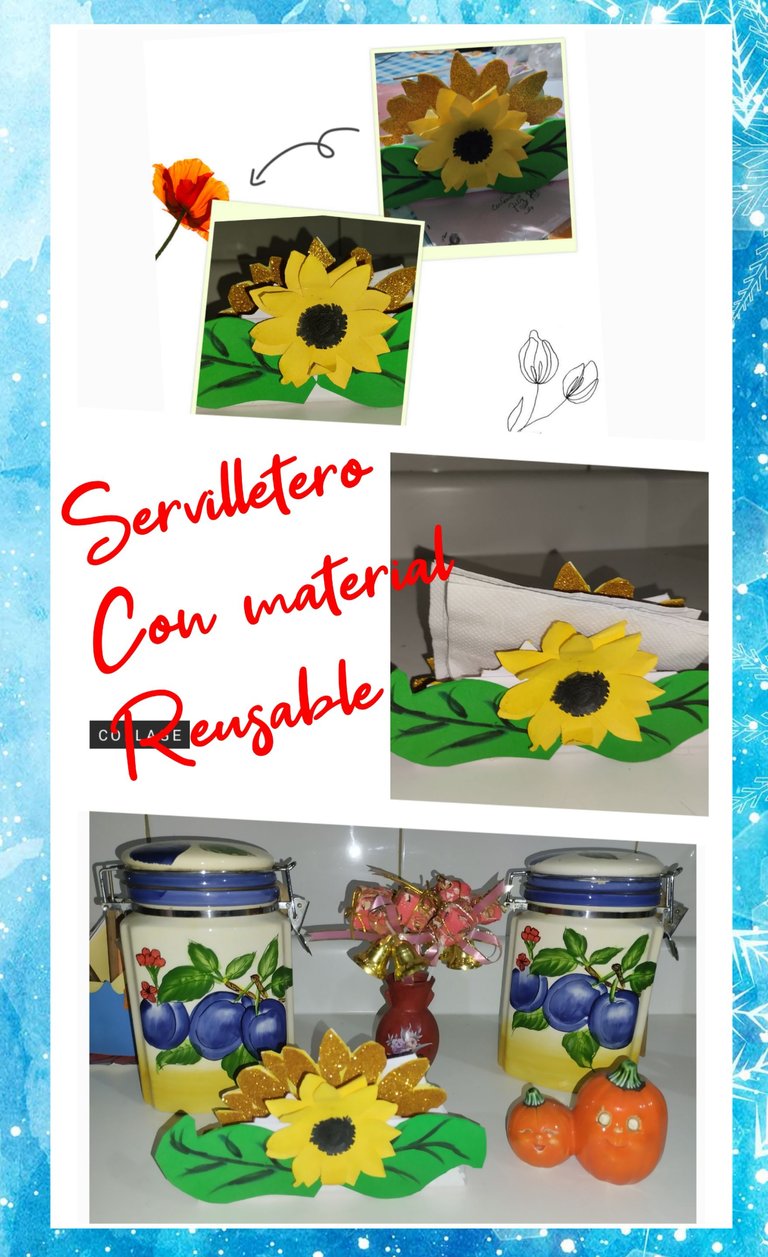
ENGLISH
Hello friends of @hive, it is a pleasure for me to greet you on this beautiful day, friends who love reused creativity, I wish you a great weekend, may God bless you, and fill you with his immense peace and prosperity. and love
Today I find myself, happy and grateful to God because it is already a year, which brought me back to life, although I walk in the valley of the shadow of death I will fear no evil, because your rod and your staff will give me encouragement
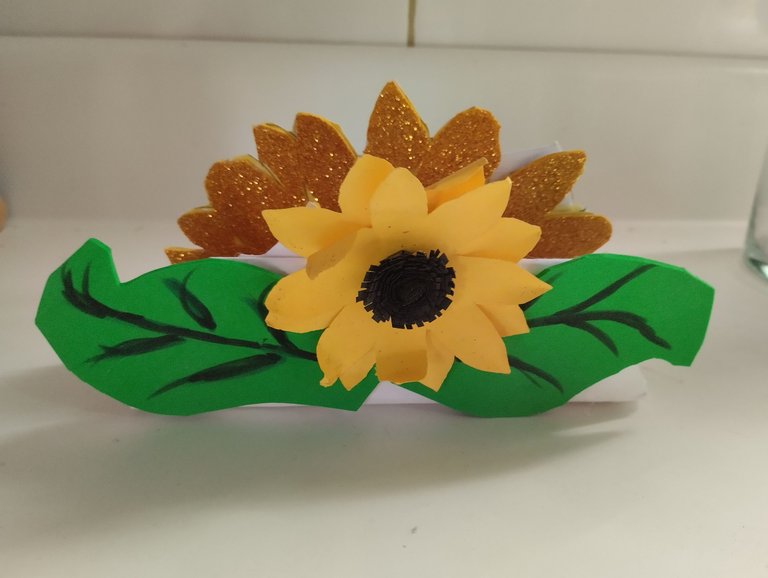
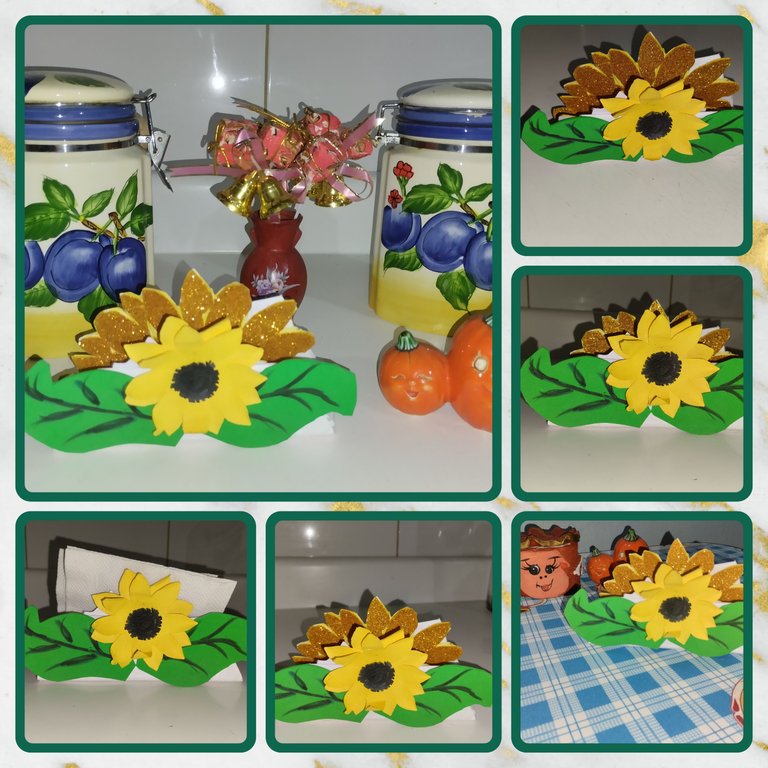
Today I want to show you my step by step of how to make this modern one with a special touch for the table, a sunflower napkin ring 🌻.
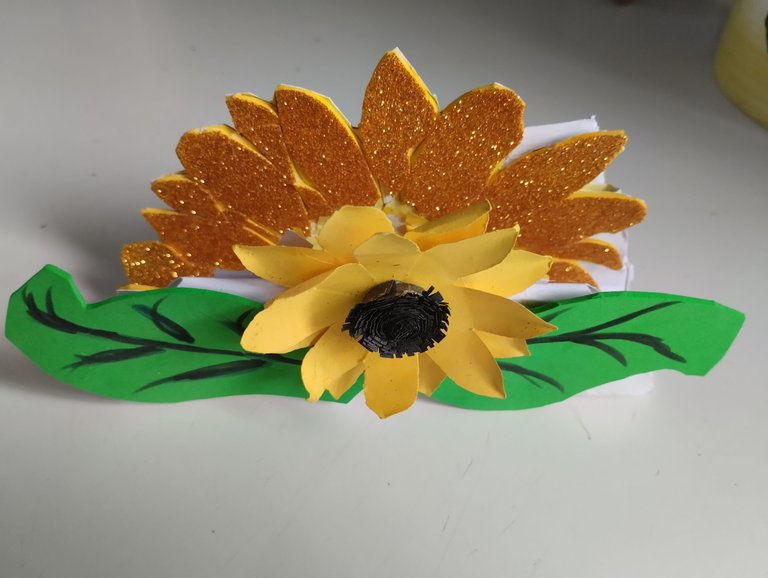
Materials💥
A napkin holder is always a support in our home and especially in the kitchen. I really like sunflowers and this time I took the initiative to make this utensil.
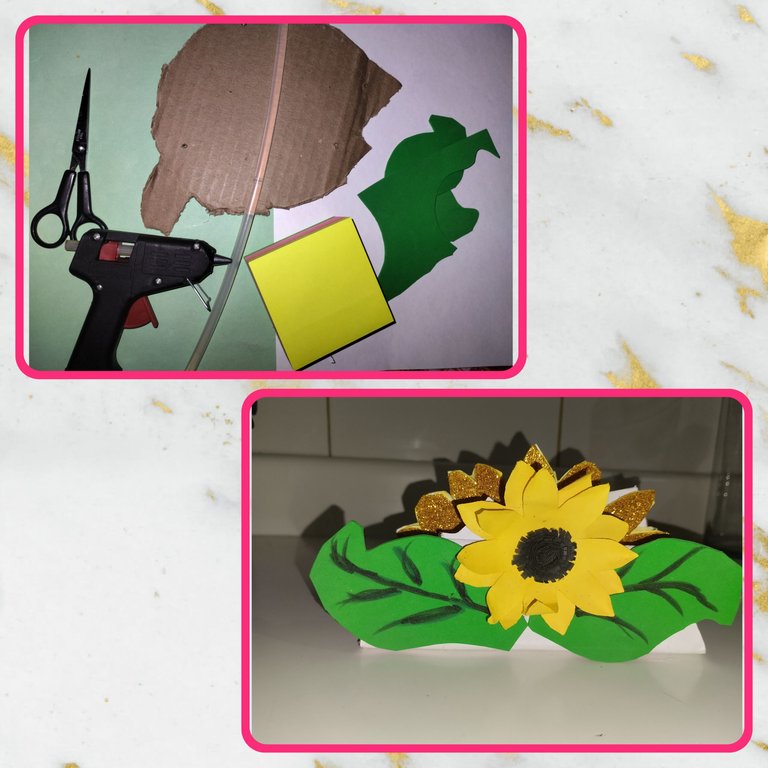
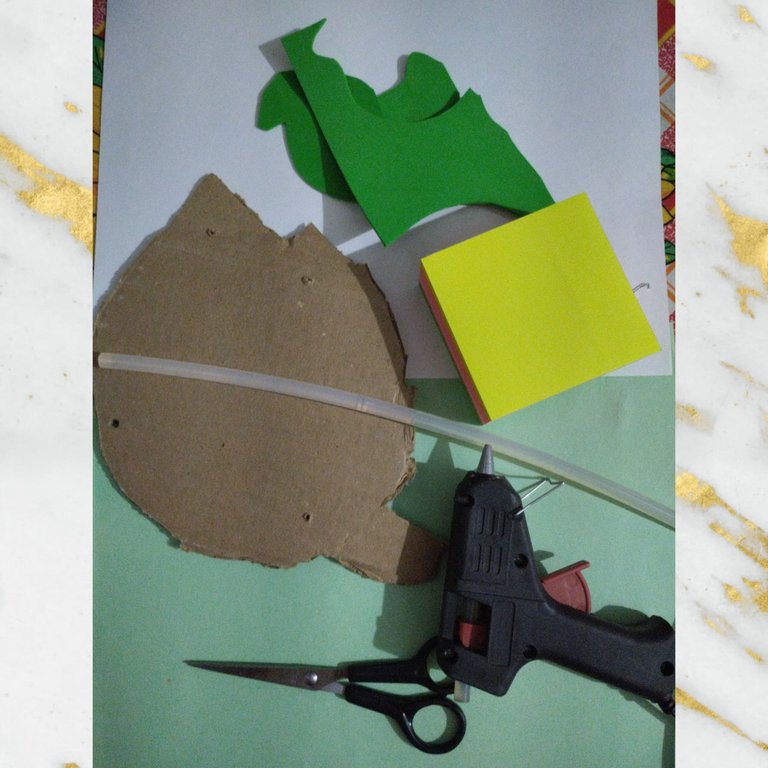
The materials required for its preparation were reusable materials.
💥White opals
💥Scissors
💥Silicone gun
💥Foami, green
💥yellow adhesive paper
💥 cardboard
The important and essential thing was that it was done in very few steps, friends it did not take me long to do it, later, cutting the cardboard.
*** Steps ***
Sunflower shaped napkin holder 🌻
Friends who love creativity, making this napkin ring was, above all, very fun, done in just a few steps.
🌻First step
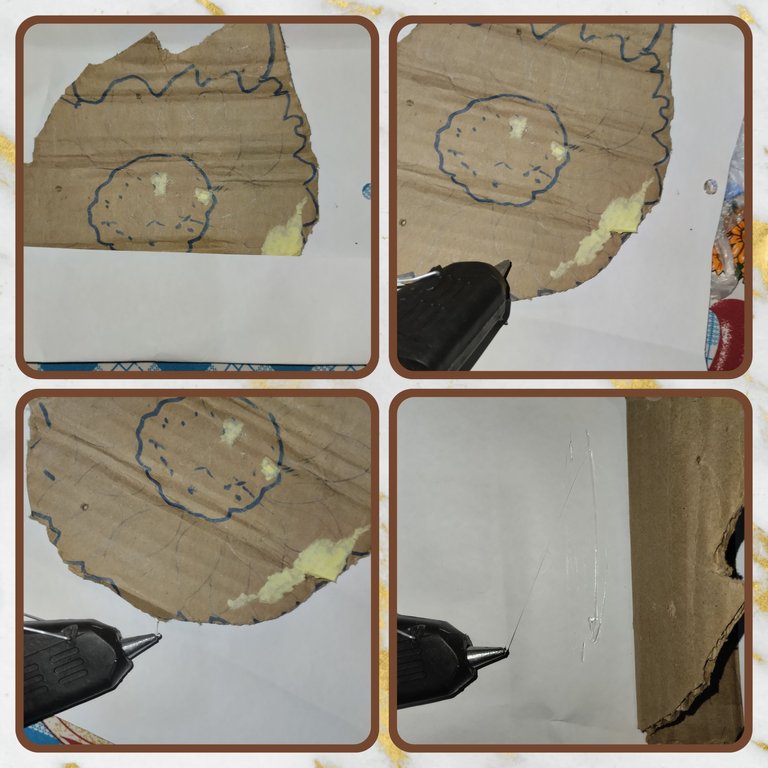
I start to make this household utensil by taking a cardboard, which on this occasion I used as the base of the napkin holder, folded it into three equal parts.
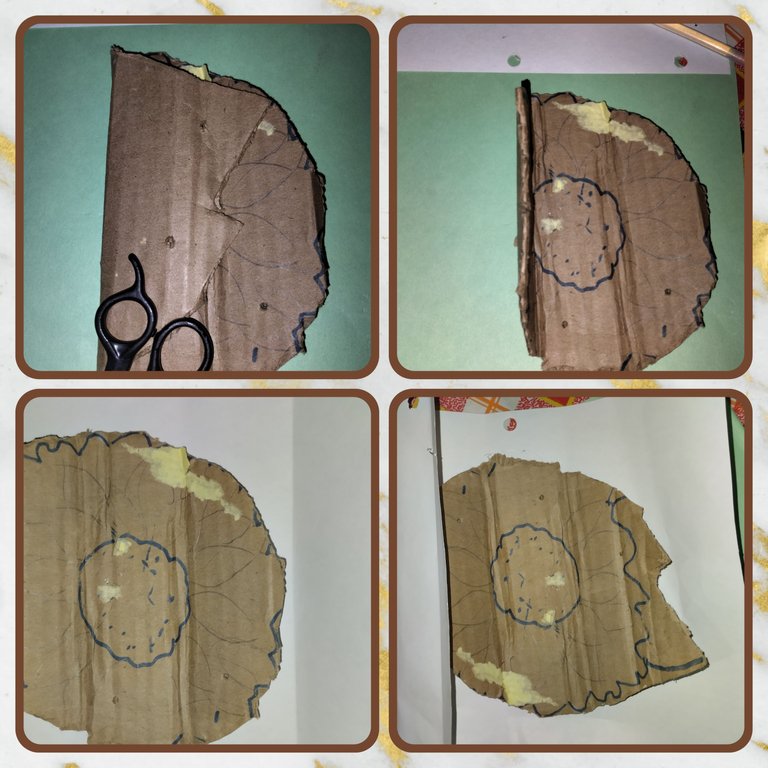
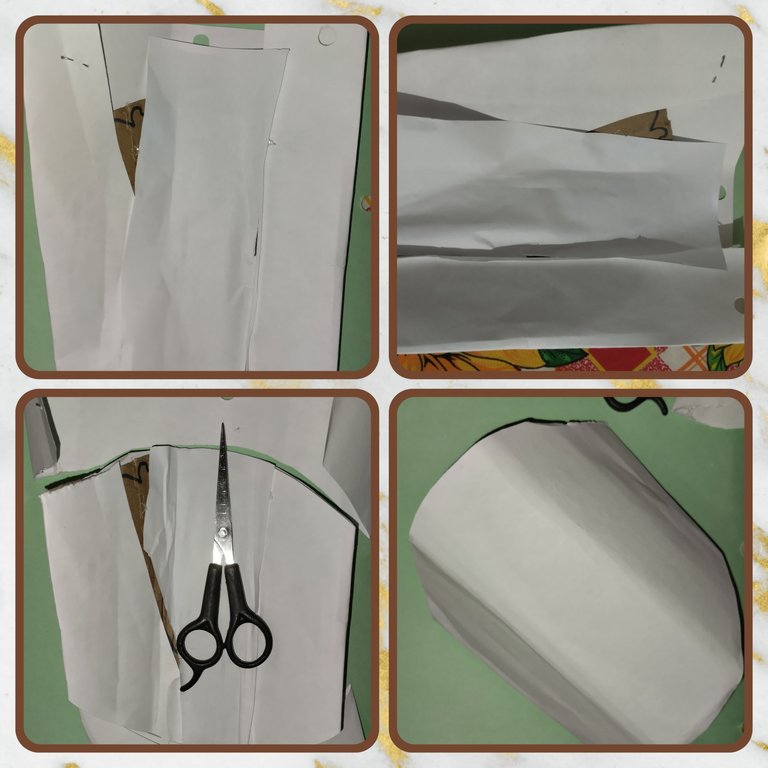
I continue now by taking an opaline and folding it and I begin to glue with the silicone gun on the reverse side, I continue now by gluing a piece of leaf to the cardboard. Then I cut out the protruding sides of the cardboard to finish this first and essential step.
🎁Second step
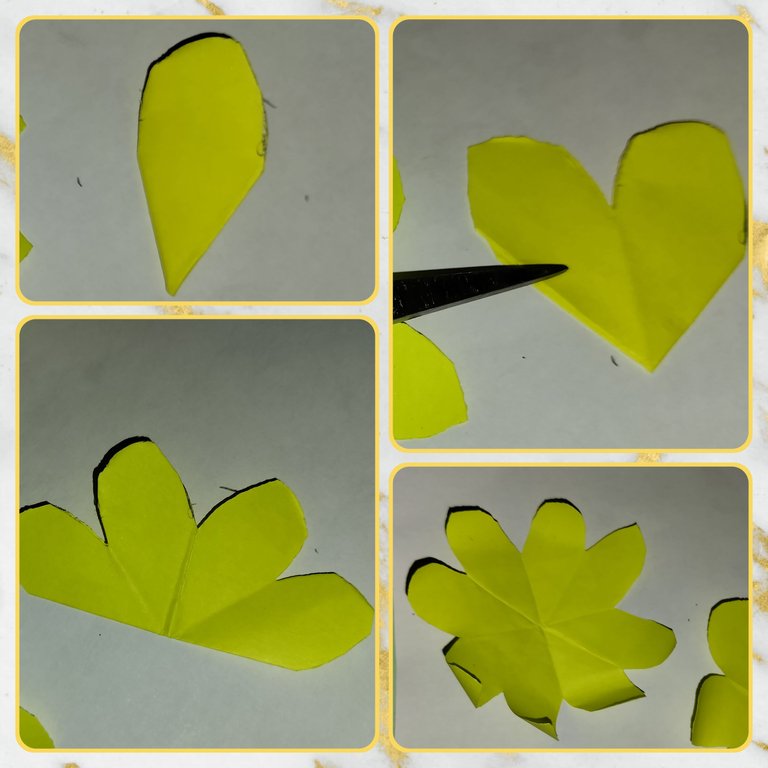
I continue my beautiful creation, now taking yellow adhesive paper blocks, to make my sunflower from that material.
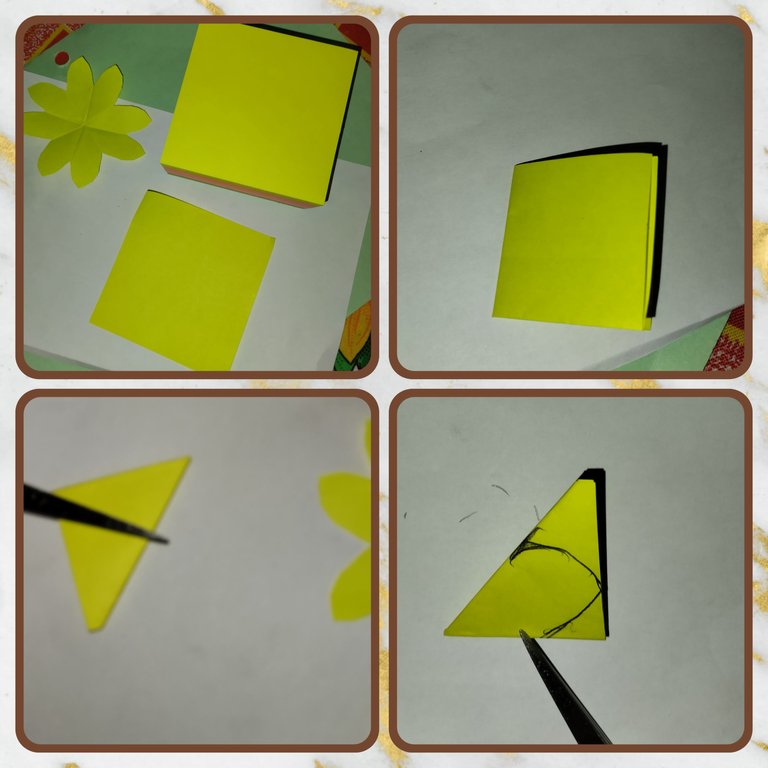
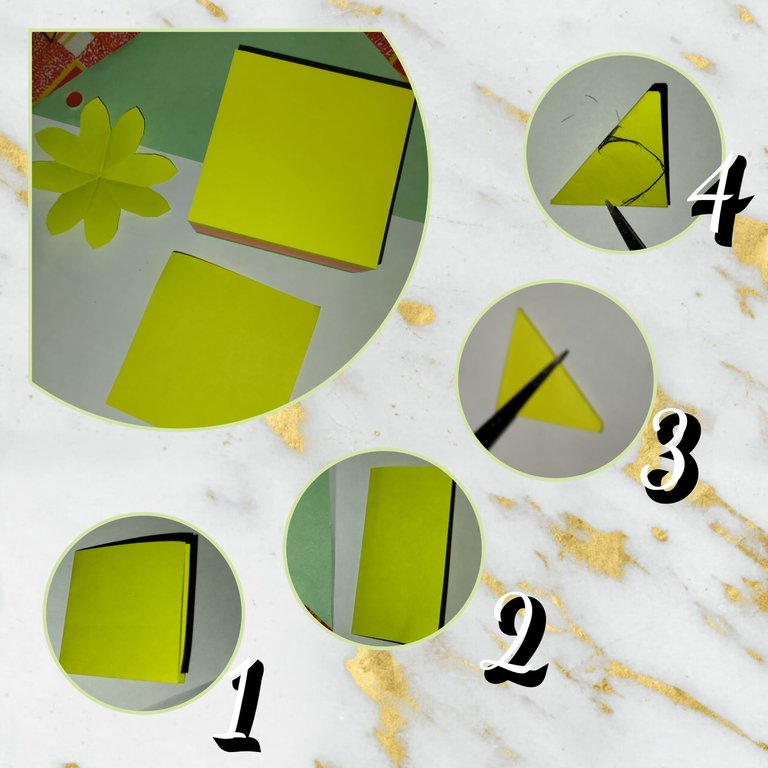
He took a sticky paper and folded it in half and I folded it in half again, then I folded it again and he took a pencil and made the shape of the petal on it and he took the scissors and cut out where he made the shape of petal, the operation is repeated, and then one is glued on top of the other and the center of the flower is attached..
🎁third step
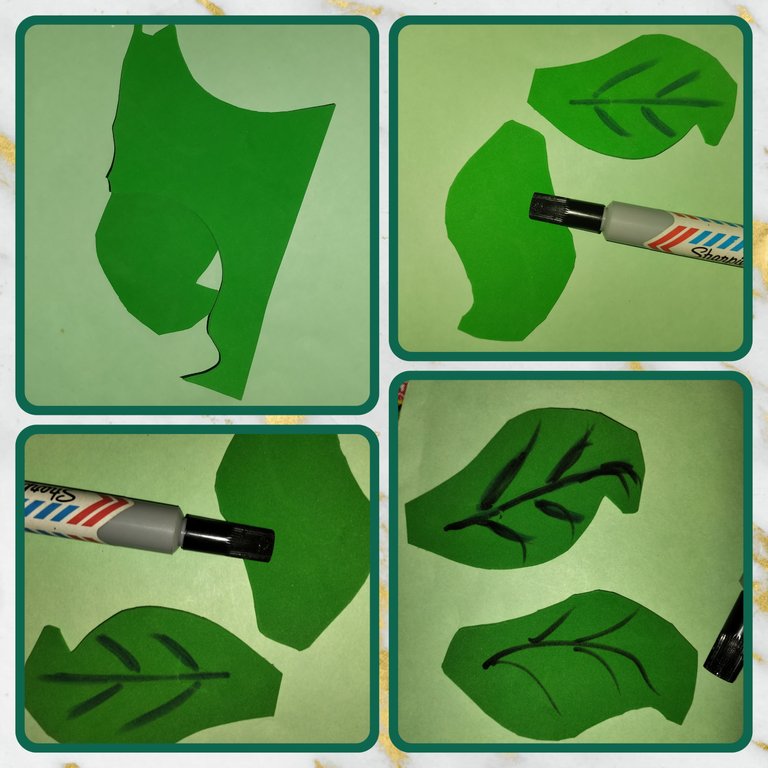
I continue with my creation now making the sunflower leaves 🌻, I take the pieces of green foamis and make two leaves and then I take a highlighter and mark the shape of it.
🎁Fourth step
Having the base of the napkin ring, the sunflower and its leaves, I begin to assemble my napkin ring, my household utensil.
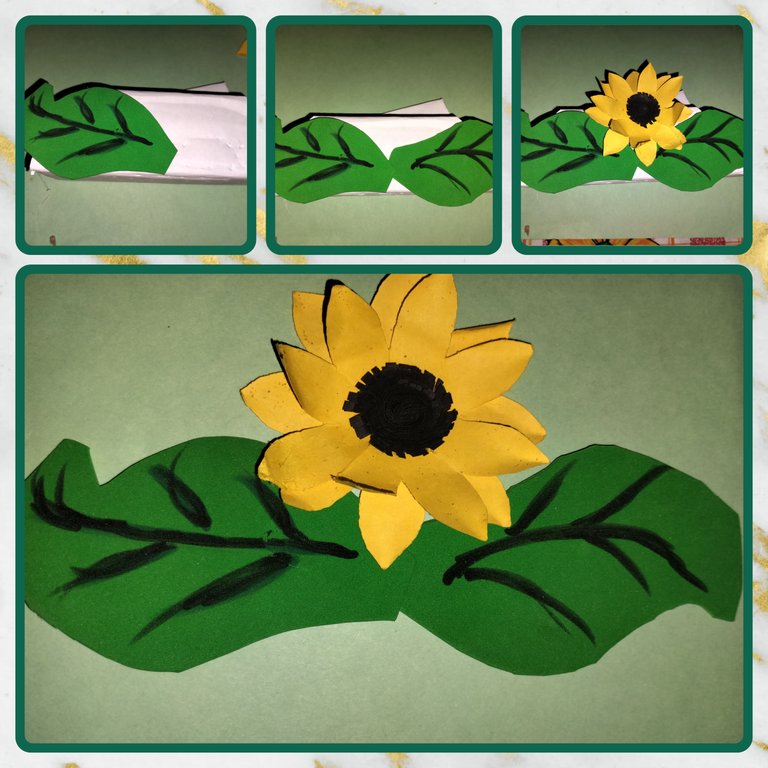
First, the leaves are glued to the base, then the sunflower flower is attached to the leaves, and a sunflower is attached to the inside of the napkin ring. Finishing my beautiful napkin ring with a special touch.
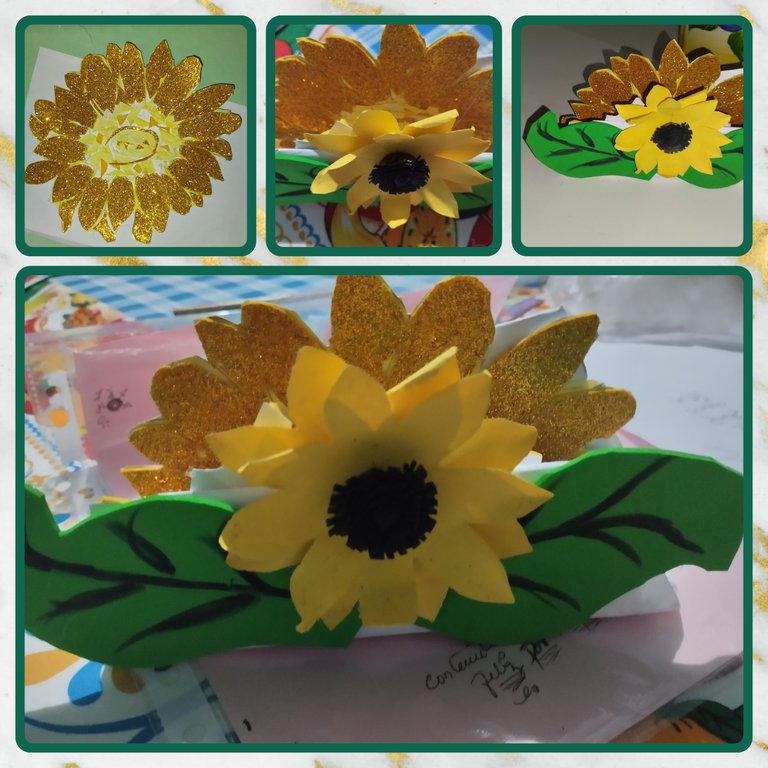
Friends was very easy to make and above all fun, and the most important thing was that she was pleased with the final result.
💚🌹💚🌹💚🌹💚🌹💚🌹💚🌹💚
💥 100% exclusive content, original to me.
🤳 Own photographs, taken with my Redmi 10C. Edited with GridArt collage
🧑💻Translator Used: Deepl Translator
💚🌹💚🌹💚🌹💚🌹💚🌹💚🌹


ESPAÑOL
Hola amigos de @hive es un placer para mí, saludarlos en este precioso dia, amigos amantes de lo reutilizado de la creatividad, les deseo que tengas un excelente fin de semana, que Dios los bendiga, y los llene de su inmensa paz, prosperidad y amor
El día de hoy me encuentro, contenta y agradecida con Dios porque ya es un año, que me trajo nuevamente a la vida, aunque ande en valle de sombra de muerte no temeré mal alguno, porque tú vara y tú cayado me infundirán aliento 🫁
Hoy deseo mostrarles mi paso a paso de como realice este moderno con un toque especial para la mesa, de un servilletero de girasol 🌻.

Materiales💥
Un servilletero siempre es un soporte en nuestro hogar y sobre todo en la cocina, a mí me gustan mucho los girasoles y esta vez tomé la iniciativa de realizar este utensilio.

Los materiales requeridos para la elaboración del mismo, fueron materiales reutilizables
💥Opalinas blanca
💥Tijera
💥Pistola de silicón
💥Foami, verde
💥papel adhesivo amarillo
💥 cartón
lo importantes y primordial que se realizó en muy pocos pasos, amigos no me tomó mucho tiempo realizarlo, más tarde, cortando el cartón.


🪄Pasos🪄
Servilletero de forma de Girasol 🌻
Amigos amantes de la creatividad, realizar este servilletero fue sobre todo muy divertido, realizado en muy pocos pasos
🌻Primer paso
Empiezo para la realización de este utensilio del hogar tomando un cartón, que en esta oportunidad lo utilizo como la base del servilletero, lo dobló en tres partes iguales.

Continuo ahora tomando un opalina y la dobló y empiezo a pegar con la pistola de silicón por la parte reversa, continuo ahora pegando en el cartón un pedazo de hoja. Luego recorto los lados sobresaliente del cartón para así finalizar con este primer y primordial paso.


🎁Segundo paso
Continuo que mi hermosa creación, ahora tomando tacos adhesivos de papel amarillos, para realizar mi girasol de ese material.

Tomó un papel adhesivo y lo dobló a la mitad y lo vuelvo a doblar a la mitad, luego lo vuelvo a doblar y tomó un lápiz y hago en él la forma del pétalo y tomó la tijera y recortar por dónde realice la forma de pétalo, se repite la operación, y luego se pega uno sobre el otro y se anexa el centro de la flor..


🎁tercer paso
Continuo con mi creación realizando ahora las hojas del girasol 🌻, tomo los retazos de foamis de color verde y hago dos hojas y luego tomo un resaltador y le marco la forma de la misma.

🎁Cuarto paso
Teniendo la base del servilletero, el girasol y las hojas del mismo, empiezo armar mi servilletero, mi utensilio del hogar.

Primero se pega las hojas en la base, luego se anexa la flor de girasol sobre las hojas, y por dentro del servilletero anexo un girasol. Dando terminada mi hermoso servilletero con un toque especial.

Amigos fue muy fácil de realizar y sobre todo divertido, y lo más importante que para ella fue de agrado el resultado final.
💚🌹💚🌹💚🌹💚🌹💚🌹💚🌹💚
💥 Contenido 100% exclusivo, original de mi propiedad.
🤳 Fotografías propias, tomadas con mi Redmi 10C. Editadas con collage GridArt
🧑💻Traductor Utilizado: Deepl translator
💚🌹💚🌹💚🌹💚🌹💚🌹💚🌹
