What better way to start a new year of posting than a bit of DIY, eh?
A while back my laptop suffered a fatal flaw with the battery, which all in all isn't a huge issue - I don't use it much, and when I do use it, it's plugged in.
Being an older AlienWare 15, I had the option to pay for a new battery to be installed or to simply remove the battery entirely and stick with only plugged-in use of the laptop. Naturally, I wasn't about to spend the several hundred getting a new battery for a piece of hardware that I rarely ever use, so to keep it safe for use and ensure the battery didn't start puffing up and exploding... I opted to remove it.
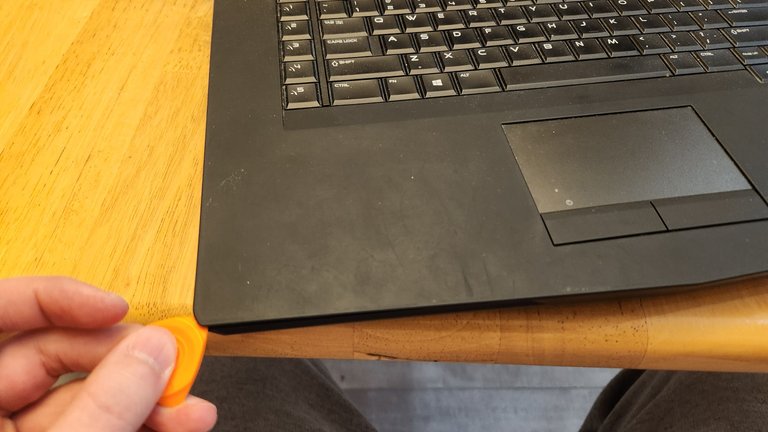
Since I was in there anyhow, I did a bit of general poking about to see how things fit together. I'm not a professional, I've never opened up a laptop before to dig into it's hardware components, so it was a fun bit of tinkering.
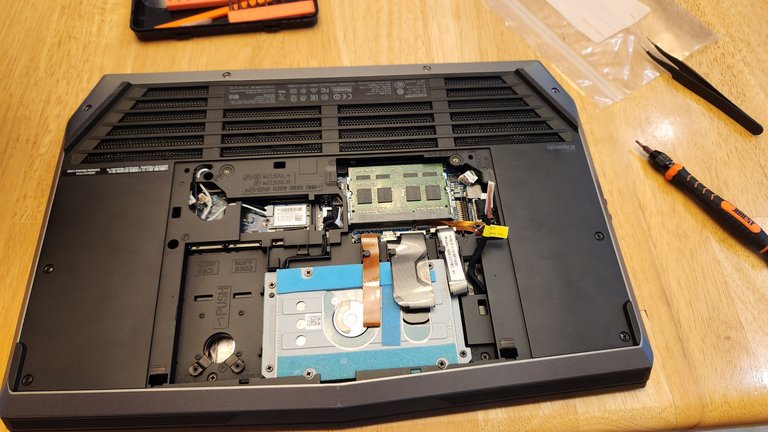
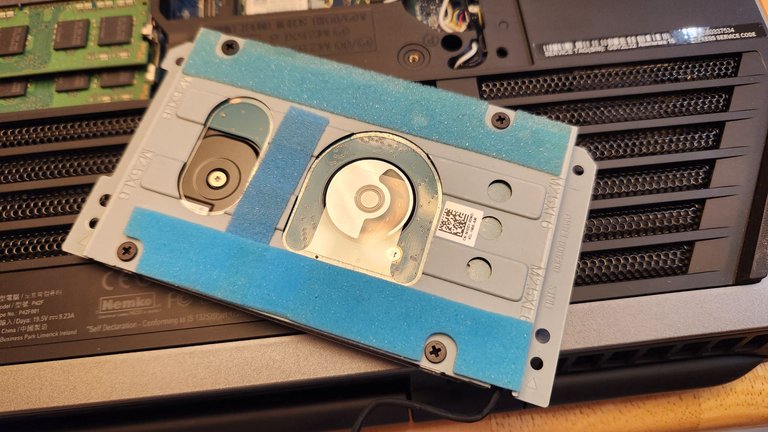
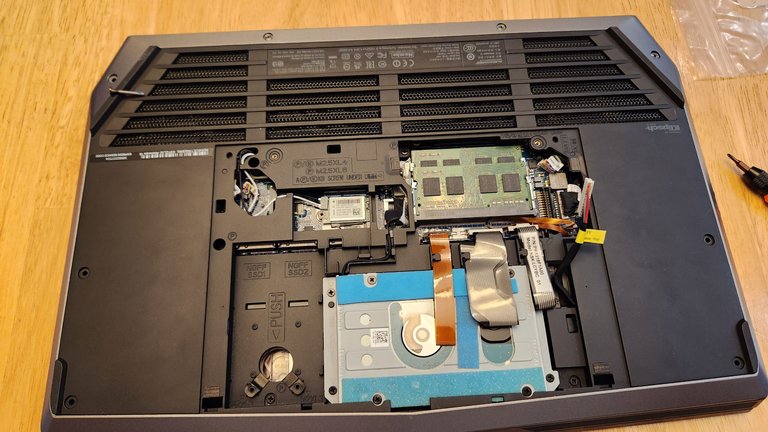
I forgot to take a picture with the back-plate still on, but as that's boring anyhow I think you'll forgive me. Once you remove four screws on the back, the plate pops off and reveals the HDD (with blue), the ram sticks, and an un-used SSD slot next to the HDD.
This does allow easy access to the most commonly replaced/upgraded elements of the laptop which is a neat design. I'm not sure if this is common across all types of laptop as - per my prior statement - I've never pulled one apart before. But at least for this, I appreciate the design of this section.
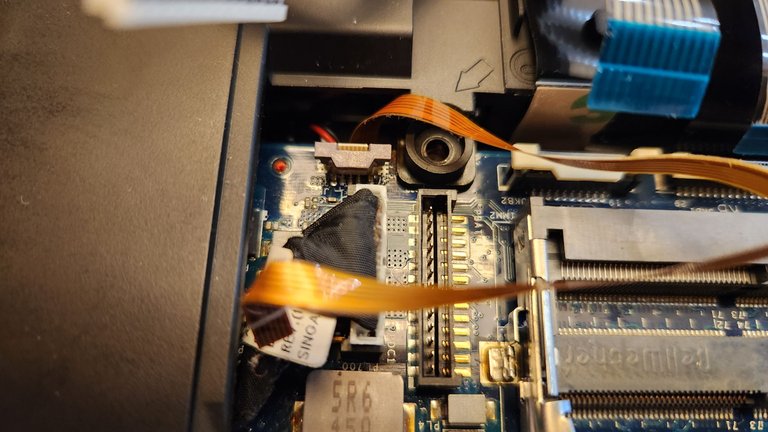
Before you do much tinkering in the guts of a laptop, it's super important to remove the Battery connector. Even I know this (having built a desktop PC or two in my time). So, it was my first task.
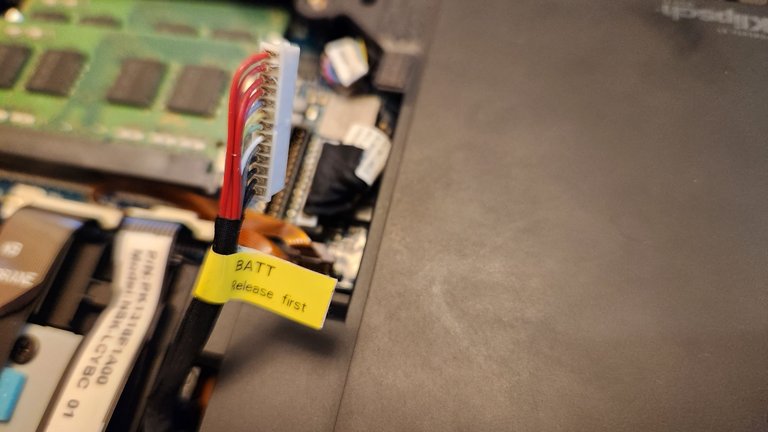
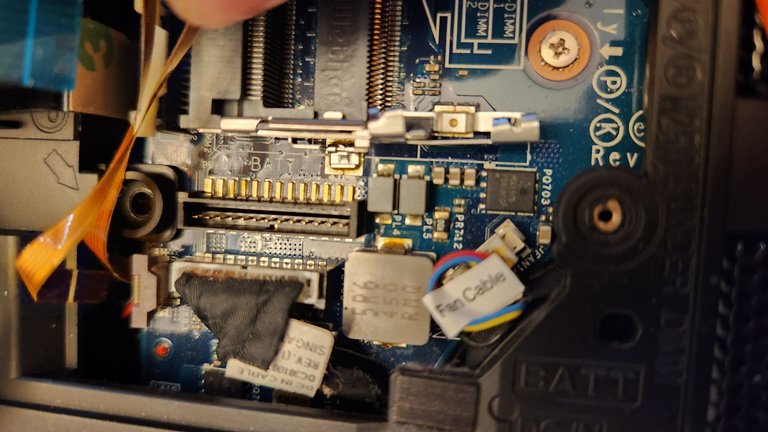
Here (above) we have the slot for power, a fan cable we'll have to remove later, and a screw that will also need to be removed to access the battery.
Next up I removed the HDD connection to the motherboard, so I could pull it out.
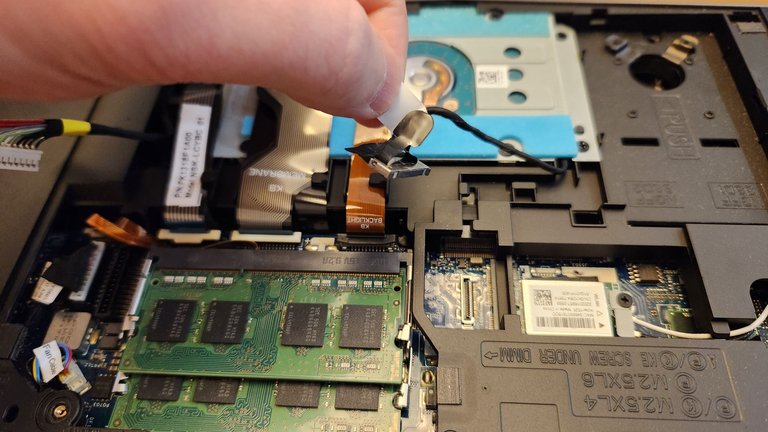
And then comes the HDD! Nice. That was pretty easy. Definitely won't bother paying anyone else to upgrade a laptop now that I've seen how easy HDD/SSDs are to tinker with (if I ever need to).
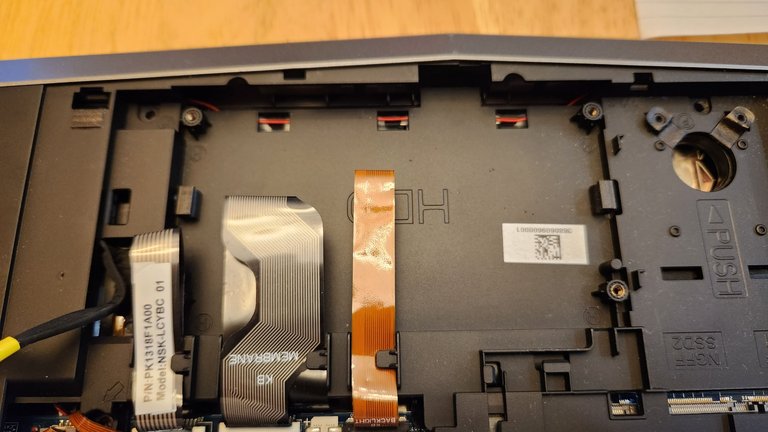
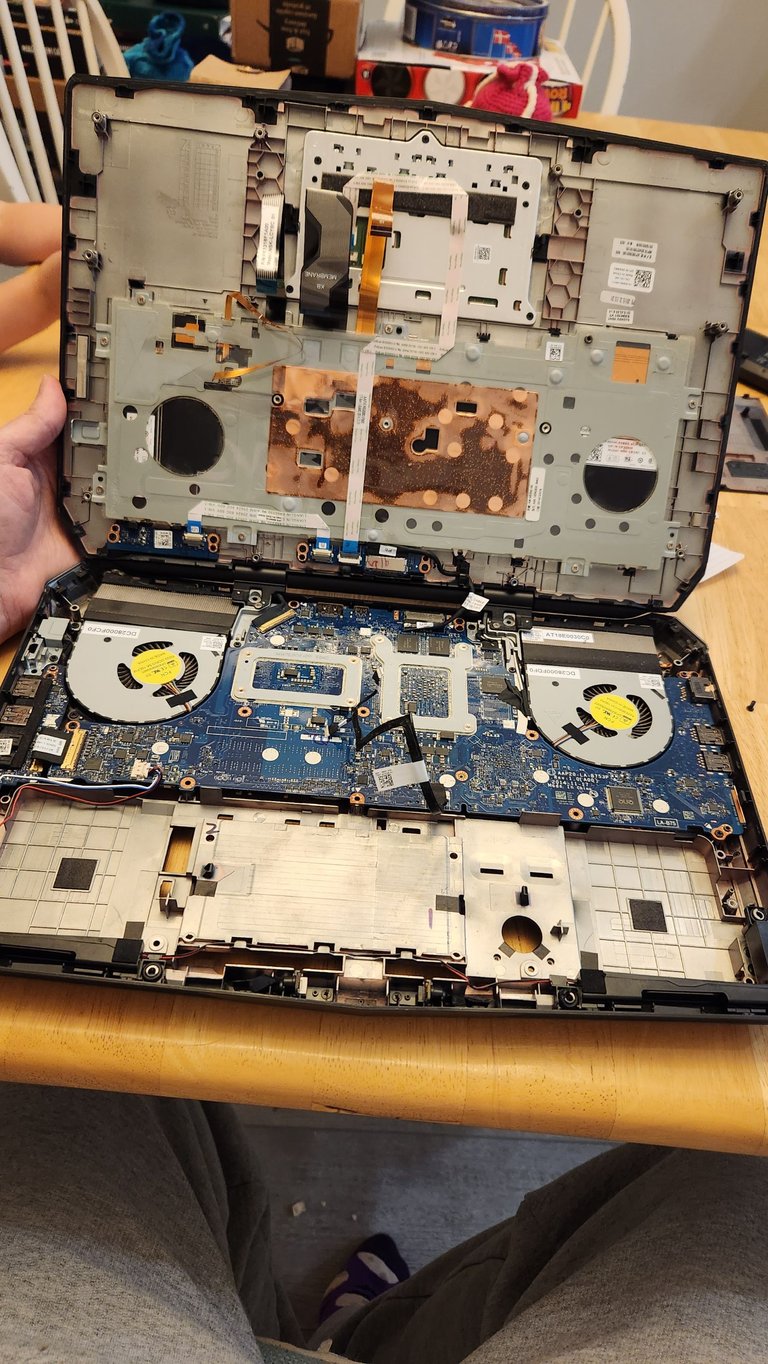
For what I'm trying to access, a lot of this entire layer has to be removed, including these three connections (keyboard, monitor, and... trackpad I think), but we'll get to that more later.
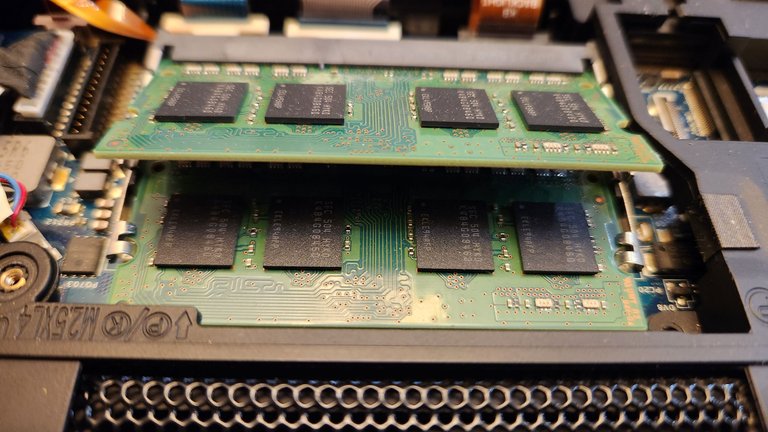
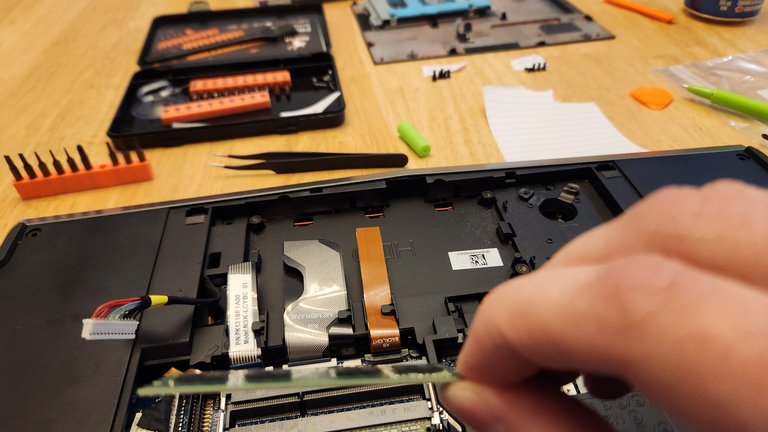
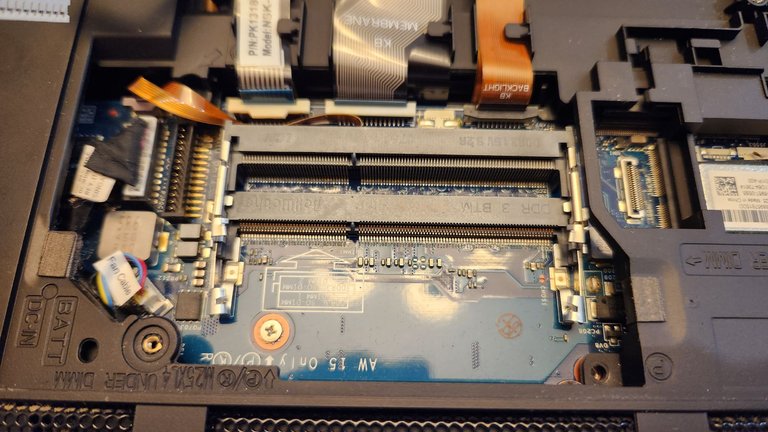
We also need to remove the RAM so I can safely lift this layer and get to the battery, so we pop these out and I'm a little shocked at the fact that this thing has been running on 8GB of memory. My desktop currently has like, 48GB or some stupid-overkill amount.
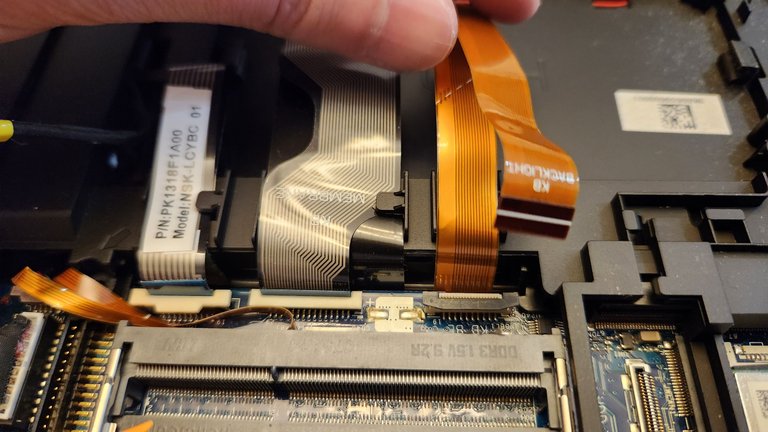
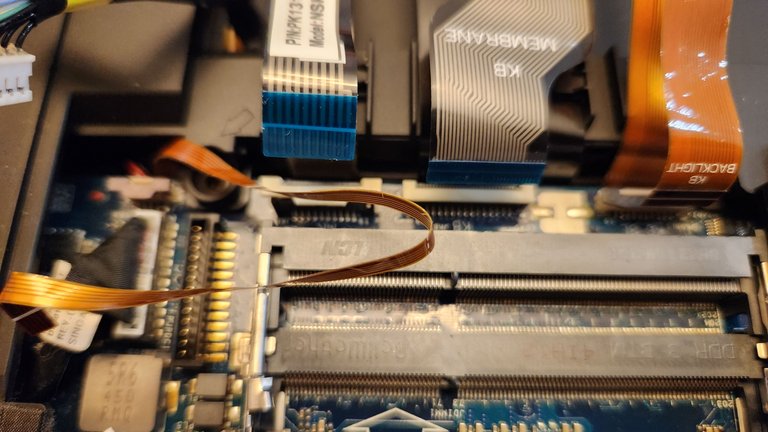
And here we get into the actual disconnection of those cables I mentioned earlier! It's important to remove these as we have to pop this entire motherboard up to get to the next section, and if you don't it could snag and cause you a bunch of problems. These are pretty easy to get in and out, once you work your nail under the little ledge to release it.
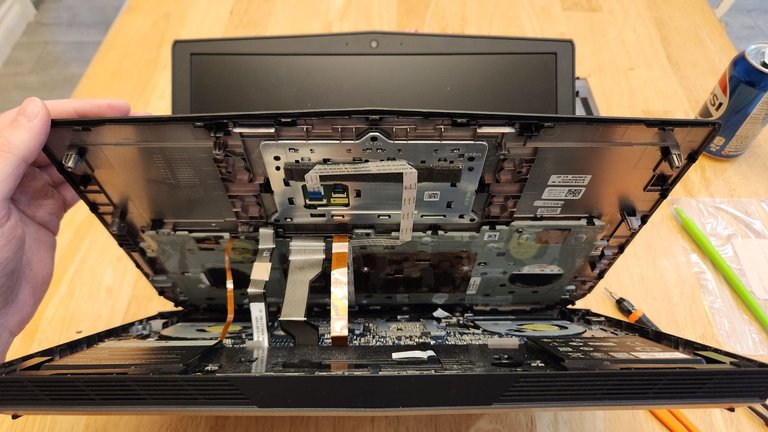
And here, we get to the point where it's important to pop the keyboard up so we can look at the next layer. This was a bit tricky, I missed one screw that was well hidden and it kept things stuck together until I noticed it... but even with the screw removed, this was by far the most annoying part. These are not built to easily come apart, which I guess makes sense. I thought multiple times that the pressure I had to use would break it. Thankfully, no such issues!
And here we have the two main layers separated! You can see the four cables I removed pulling through gaps between the bottom layer and the keyboard-backed layer.
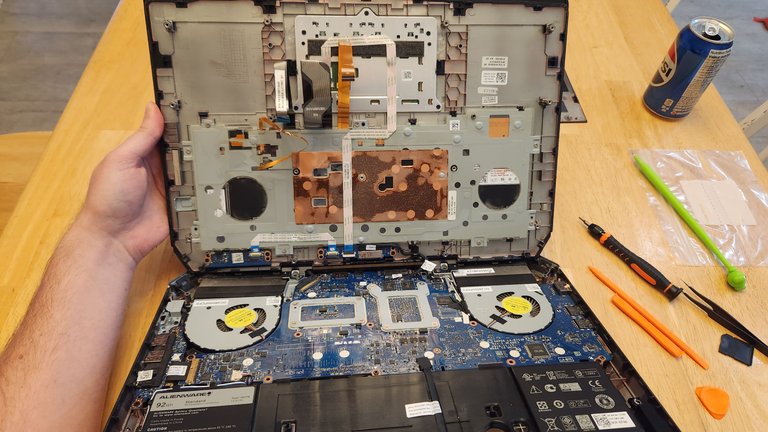
Here we have a bunch of stuff like fans, and, most importantly... that dead battery! In the Alienware15 at least, it spans across the keyboard palm rest area, which is why removing so much of this was necessary for access.
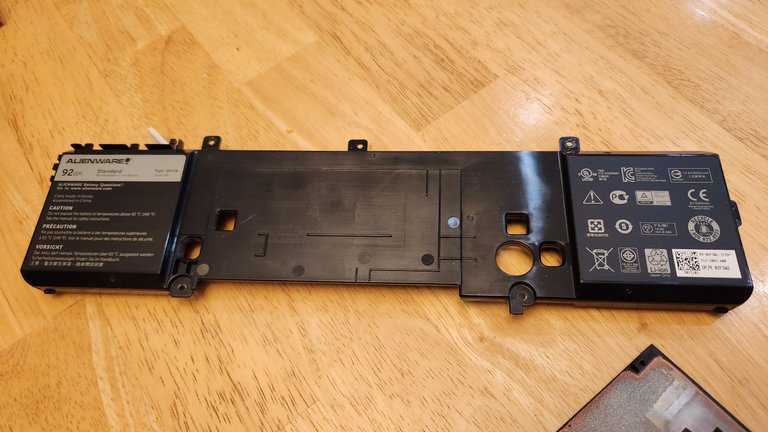
Battery removed!
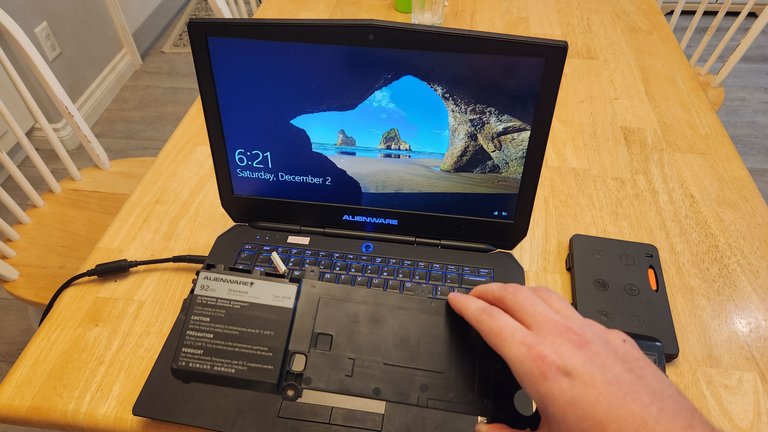
Once we popped that sucker out, it was time to put everything back together in the reverse order. It was pretty simple, with basically no surprises. Threading the cords through was probably the most annoying part.
The problematic battery itself! It's super important if you remove a laptop battery that you take these to a recycling station. They do not mix well with water, and it could cause fire/explosions if you just toss them into the garbage. If not in your garbage, definitely in the landfill. So, take them in to be properly disposed of at a specialized center!
Finally, I thought it would be important to show the PC working without it's battery. It's still slow and old, but it does the trick for what I need.
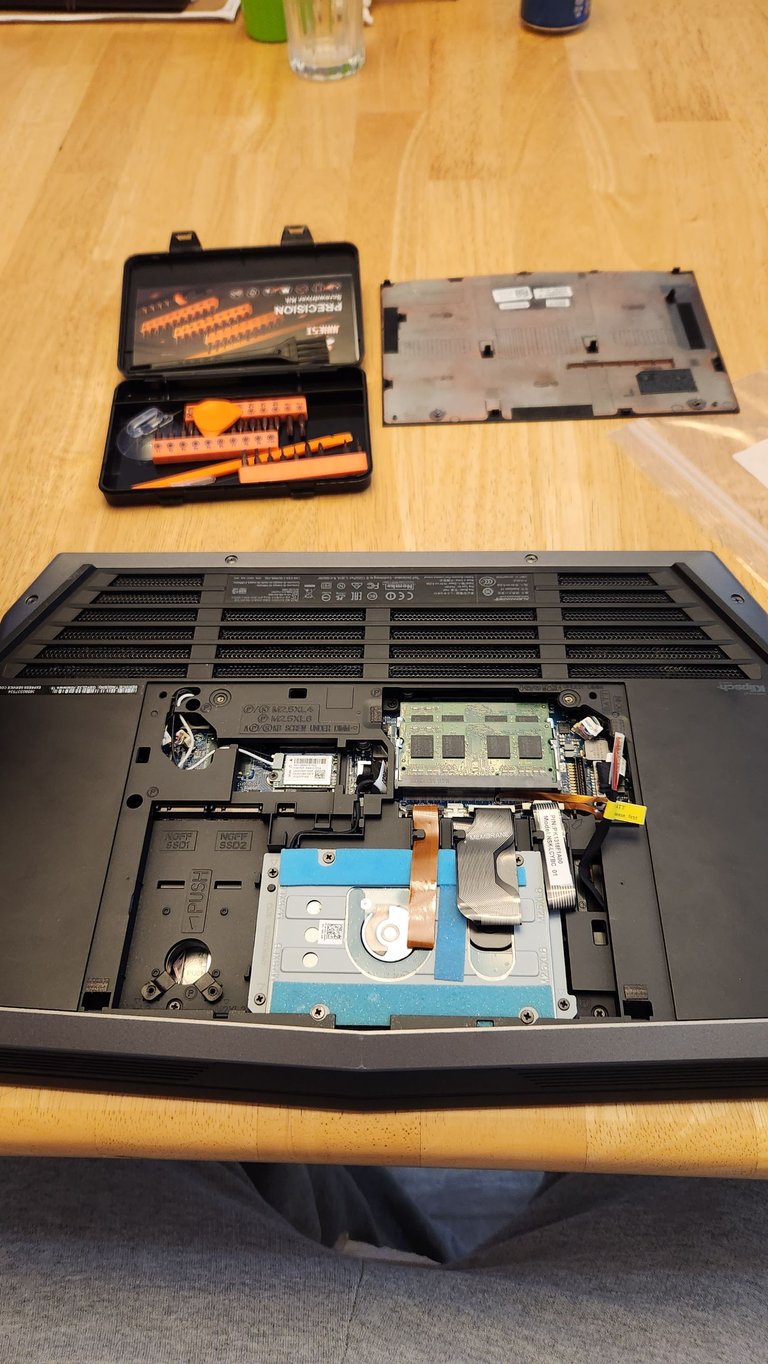
Oh, and while I'm thinking of it, I used a very cheap laptop repair kit to do all of this. "JOREST 38Pcs Precision Screwdriver Set, Tool Kit" which was about $16 CAD on Amazon.
https://www.amazon.ca/gp/product/B09PY8WQHJ/ref=ppx_yo_dt_b_search_asin_title?ie=UTF8&psc=1
Pretty happy with this, since taking this to a repair place even just to remove the battery would have been easily $100-$200.

Join the Worldbuilding Community!