Hello hivers
Today I want to share with you this process of creating a stand to put my laptop to work in the room. I had this problem and I managed to solve it with recycled materials and a little ingenuity. In the room I had almost no space and I had to make the process where only I could put this creation without getting in the way in the day to day. Here are the steps I followed.
Hola hivers
Hoy quiero compartir con ustedes este proceso de crear un soporte para poder poner mi laptop para trabajar en el cuarto. Pues tenía este inconveniente y logre resolverlo con materiales reciclados y un poco de ingenio. En el cuarto no tenía casi espacio y tuve que realizar el proceso donde único podía poner esta creación sin que estorbara en el día a día. A continuación les dejo los pasos que fui siguiendo.
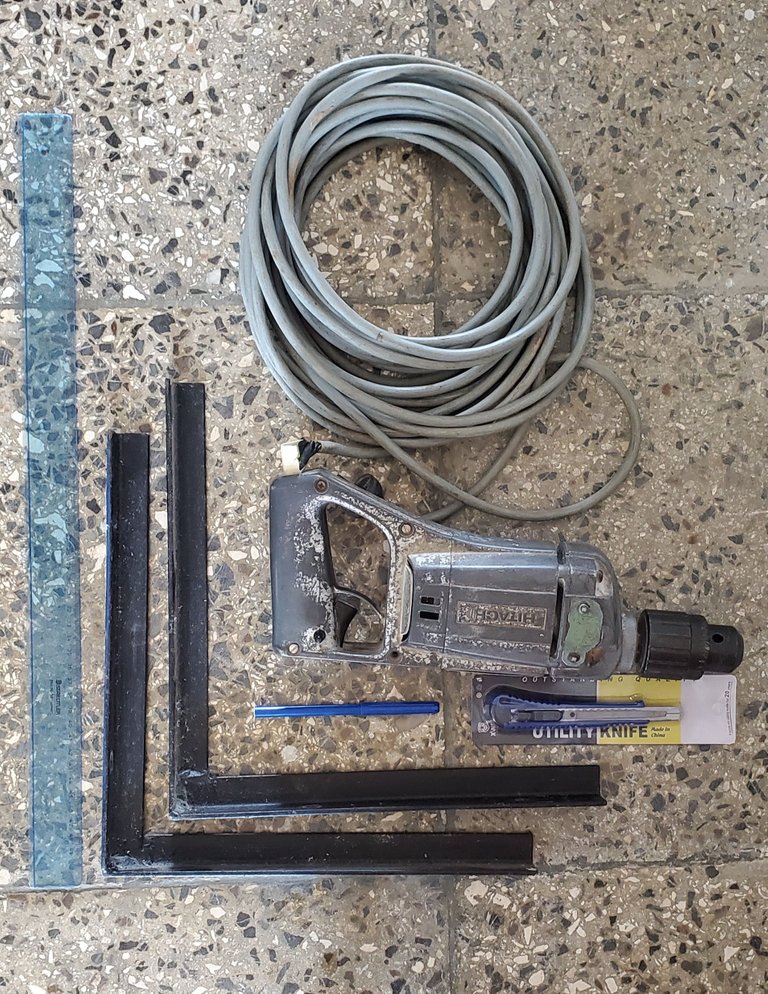
Here I show you the fundamental tools for the process
1- Drill
2-Cutter
3-Marker
4-Friends foot
5-Ruler
Aquí les muestro las herramientas fundamentales para el proceso
1- Taladro
2-Cutter
3-Marcador
4-Pie de amigos
5-Regla
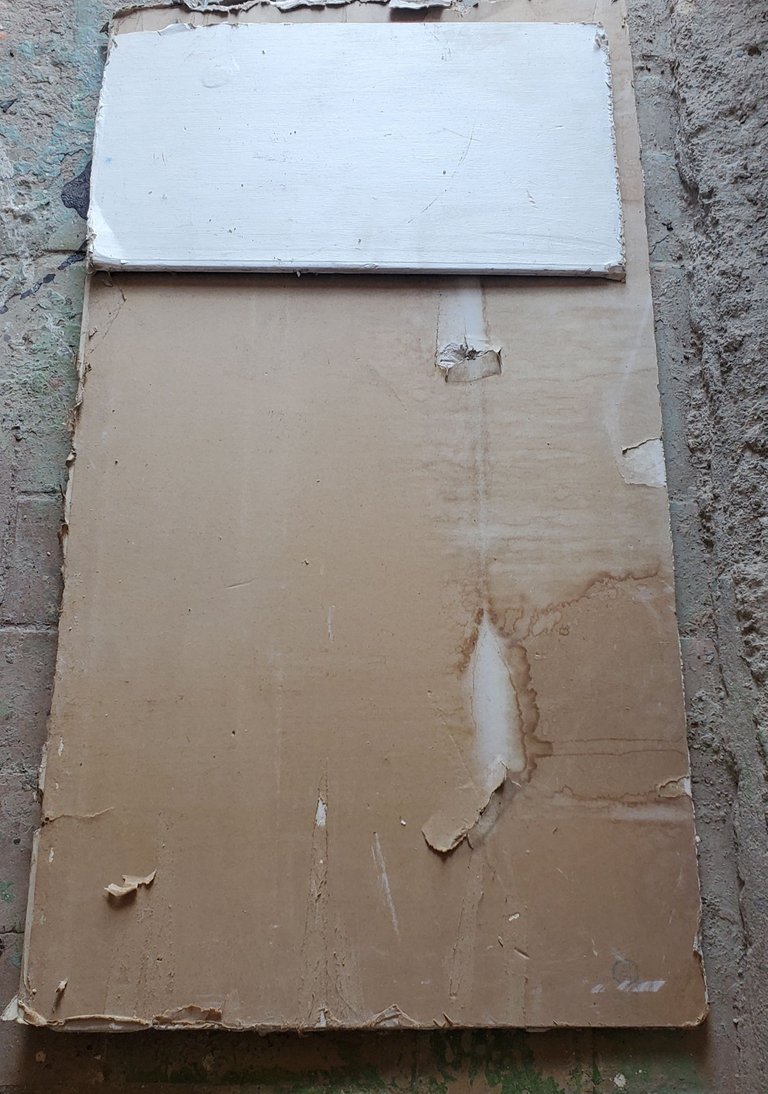
Plasterboard to be the table base
Pladur para que sea la base de la mesa
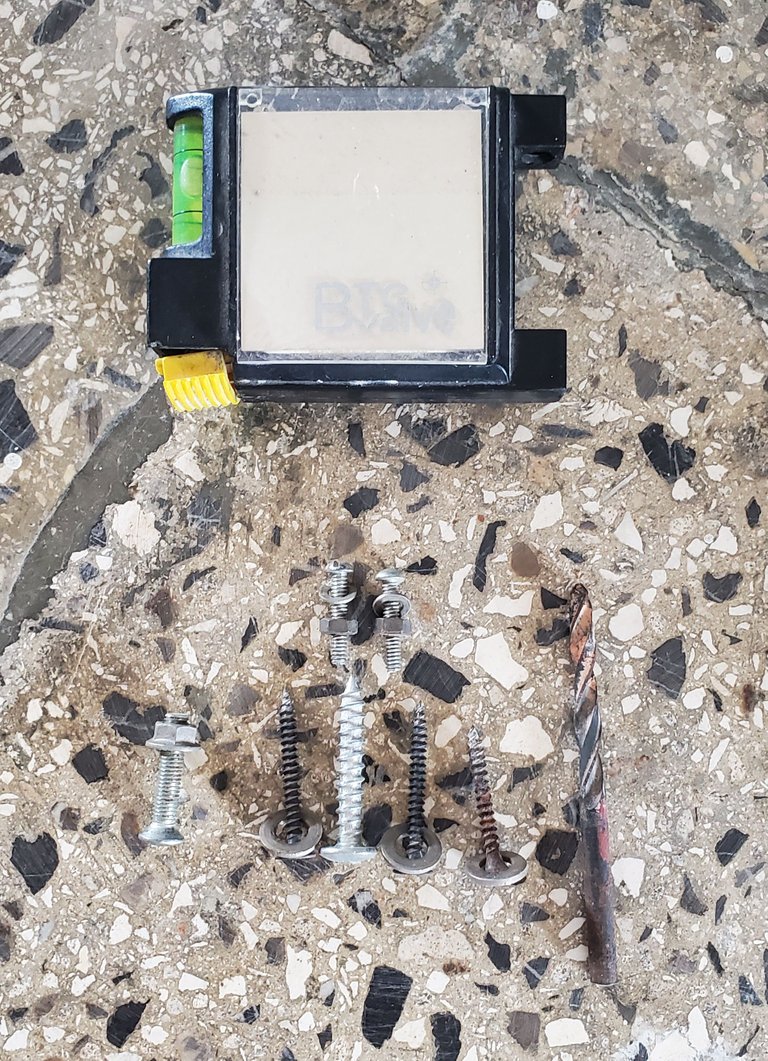
Canvas with level and screws
Lienza con nivel y tornillos
The first step is to open the holes for the friend's feet, in this case I didn't put it because these friend's feet were in another place and I already had them open, so I took advantage and put the first friend's foot to take it as a guide. I marked the holes on the wall and opened them.
El primer paso es abrirle los huecos a los pies de amigo, en este caso no lo puse porque estos pie de amigos estaban en otro lugar puesto y ya los tenía abierto, así que aproveche y puse el primer pie de amigo para cogerlo de guía. Marque en la pared los huecos y los abrí.
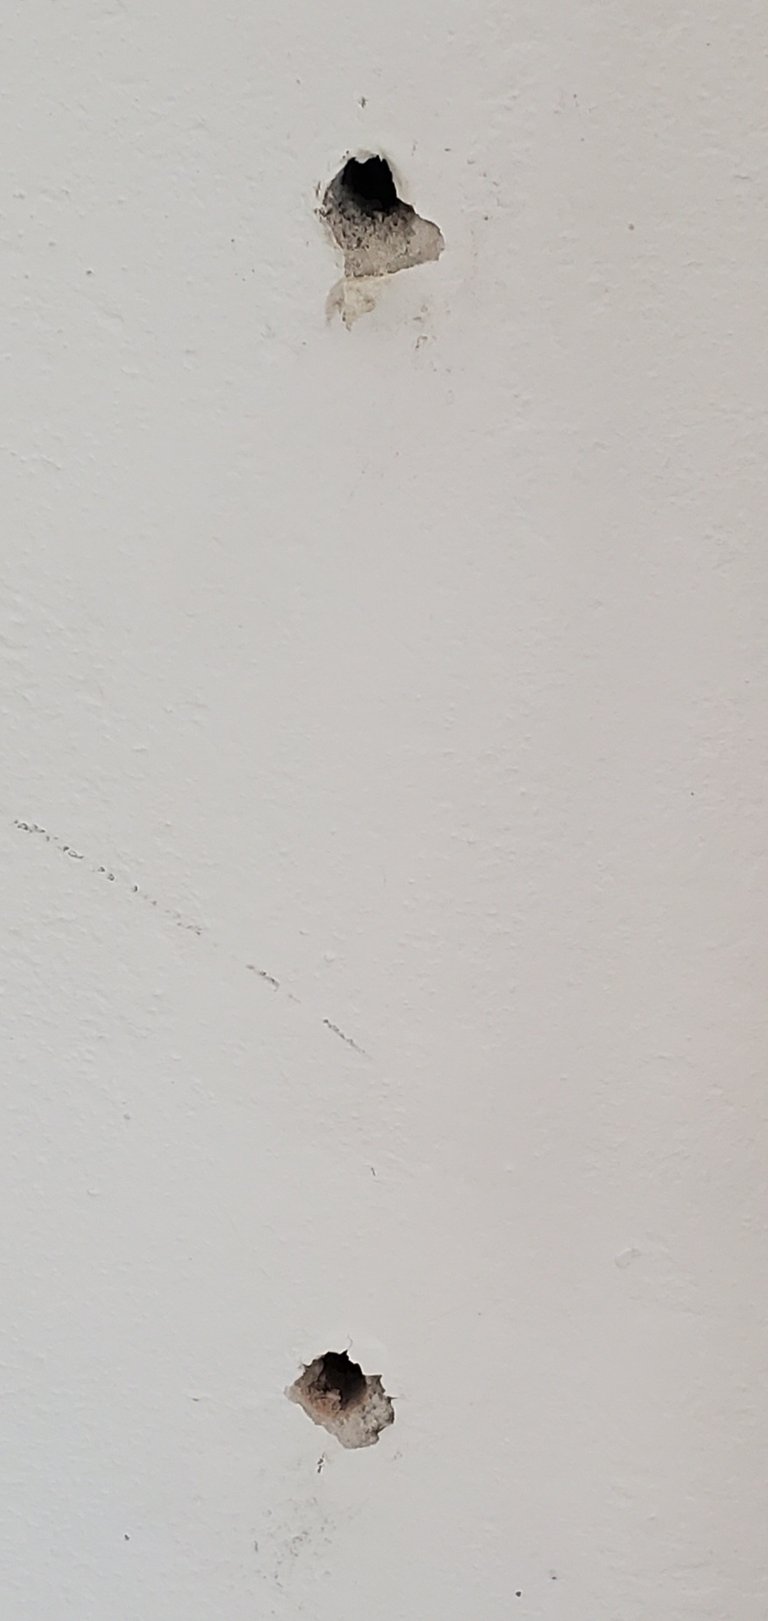
Subsequently, I put some wooden plugs for the screw to fix well, these plugs were made square, many users make it round and the truth is that this way it tends to rotate.
Posteriormente, le puse unos tacos de madera para que el tornillo fijara bien, estos tacos se hicieron cuadrados, muchos usuarios lo hacen redondos y la verdad es que de esa forma tiende a girar.

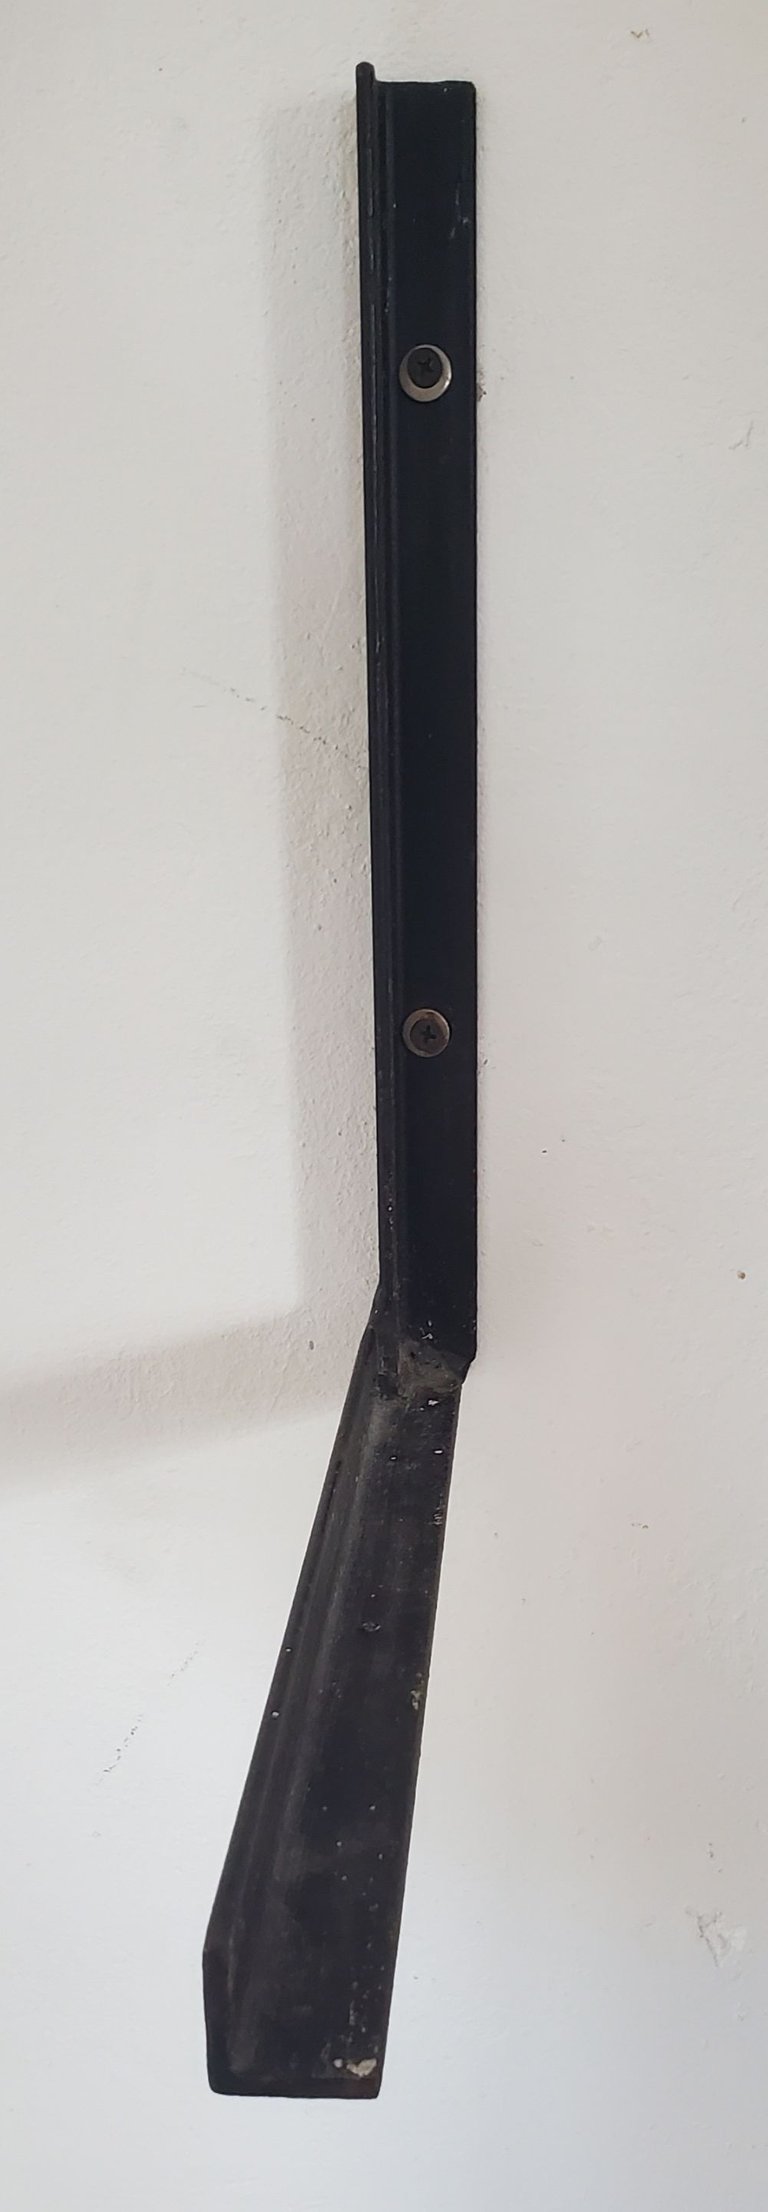
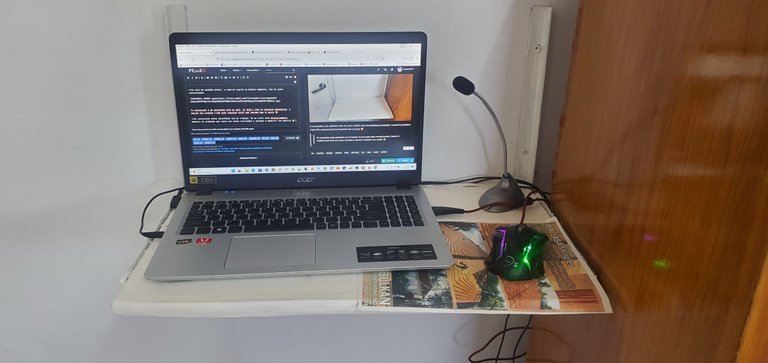
Now we can put our first foot of friend, this will serve to mark where the other should go and will give us the level of the same, for this we rely on the ruler and the canvas with the level. The measures I used were 55cm x 70 cm, but this varies depending on what we want. With these measures I have the perfect size for the 15.6 inch laptop and the mouse.
Ya podemos poner nuestro primer pie de amigo, este servirá para marcar donde debe ir el otro y nos dará el nivel del mismo, para esto nos apoyamos de la regla y la lienza con el nivel. Las medidas que yo utilice fueron de 55cm x 70 cm, pero esto varía en dependencia de lo que deseemos. Con estas medidas me da perfecto para la laptop de 15.6 pulgadas y el mouse.
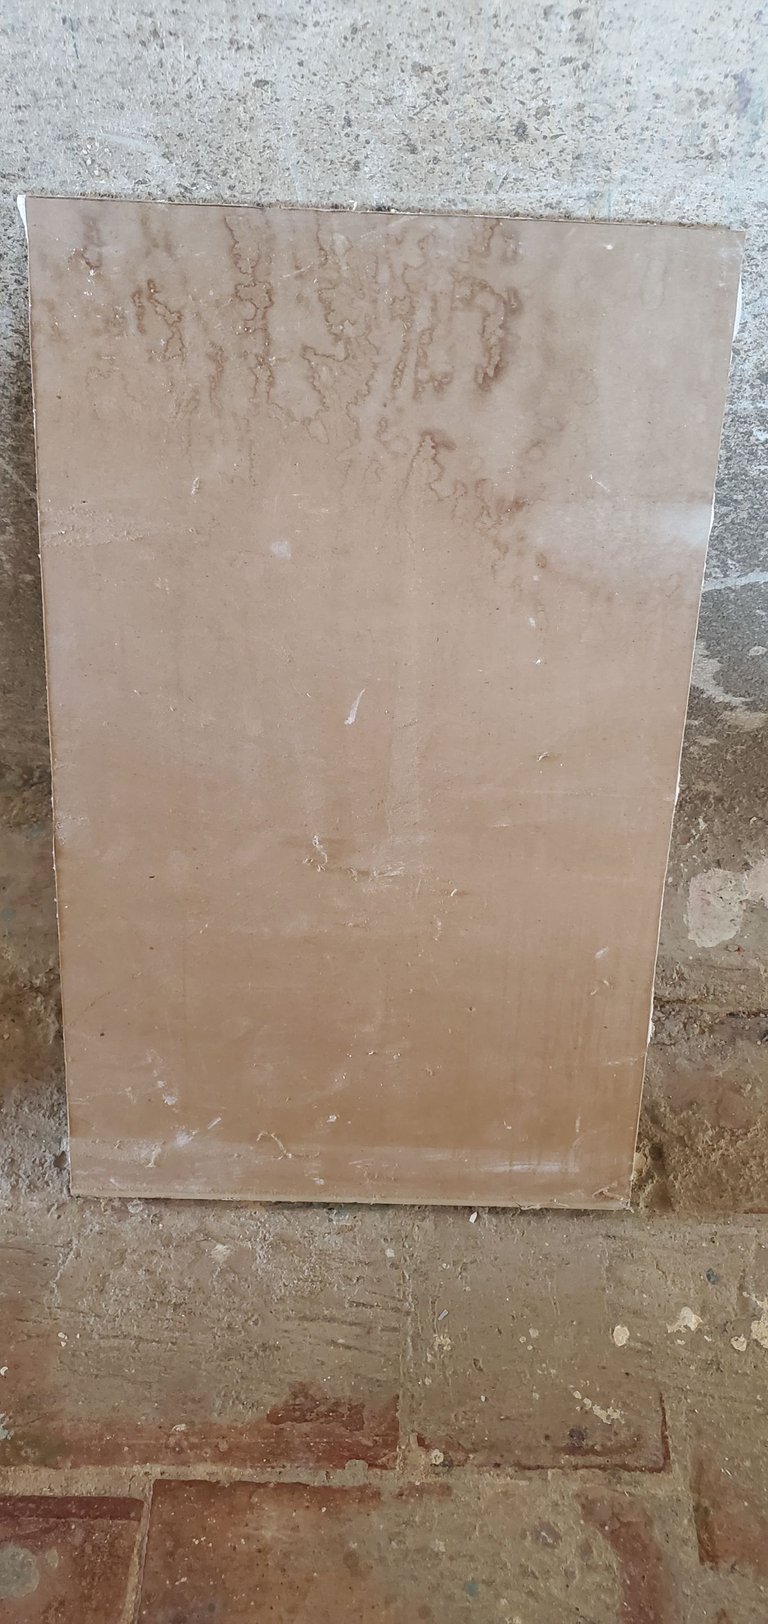
This is the plasterboard cut to the size that I put previously, as it is recycled the edges are not in optimal conditions so it was necessary to put something.
Este es el pladur picado a la medida que les puse anteriormente, como es reciclado los bordes no están en óptimas condiciones así que había que ponerle algo.
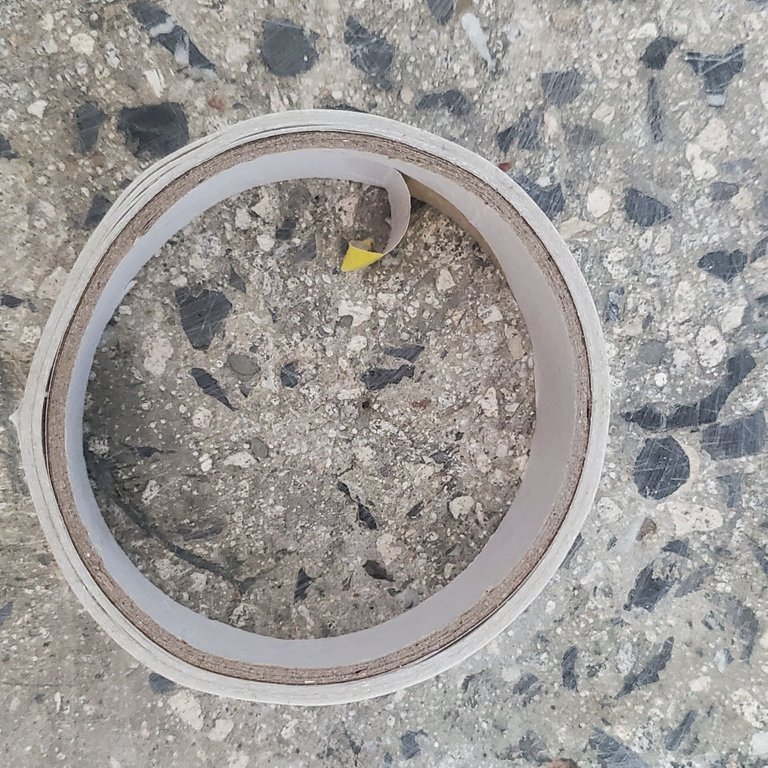
I found a tape to cover these edges that didn't work out, but it was what I had on hand so as not to stop the process. So I put the tape on it and presented it to see how it was going to look.
Encontré una cinta para tapar estos bordes que no resolvía, pero era lo que tenía a mano para no parar el proceso. Así que le puse la cinta y lo presente para ver cómo iba a quedar.
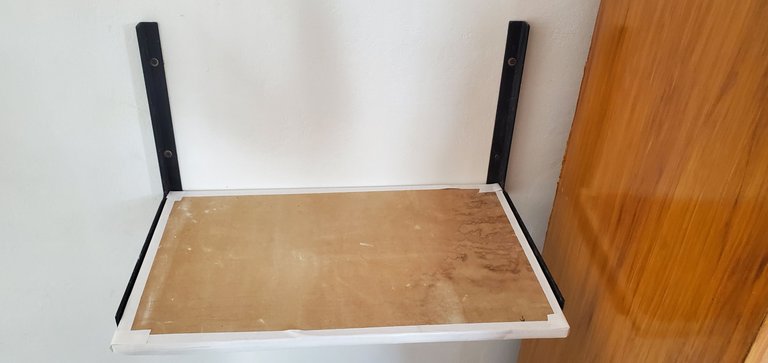
It was time to fix the plasterboard and the angle brackets. The first screw was easy, we just screwed it from bottom to top, took it out and having the hole already marked we put it right there underneath.
Llegó el tiempo de fijar el pladur y los angulares. El primer tornillo se puso fácil, solo lo enroscamos de abajo hacia arriba, lo sacamos y teniendo ya el hueco marcado lo metimos por ahí mismo hacia debajo.
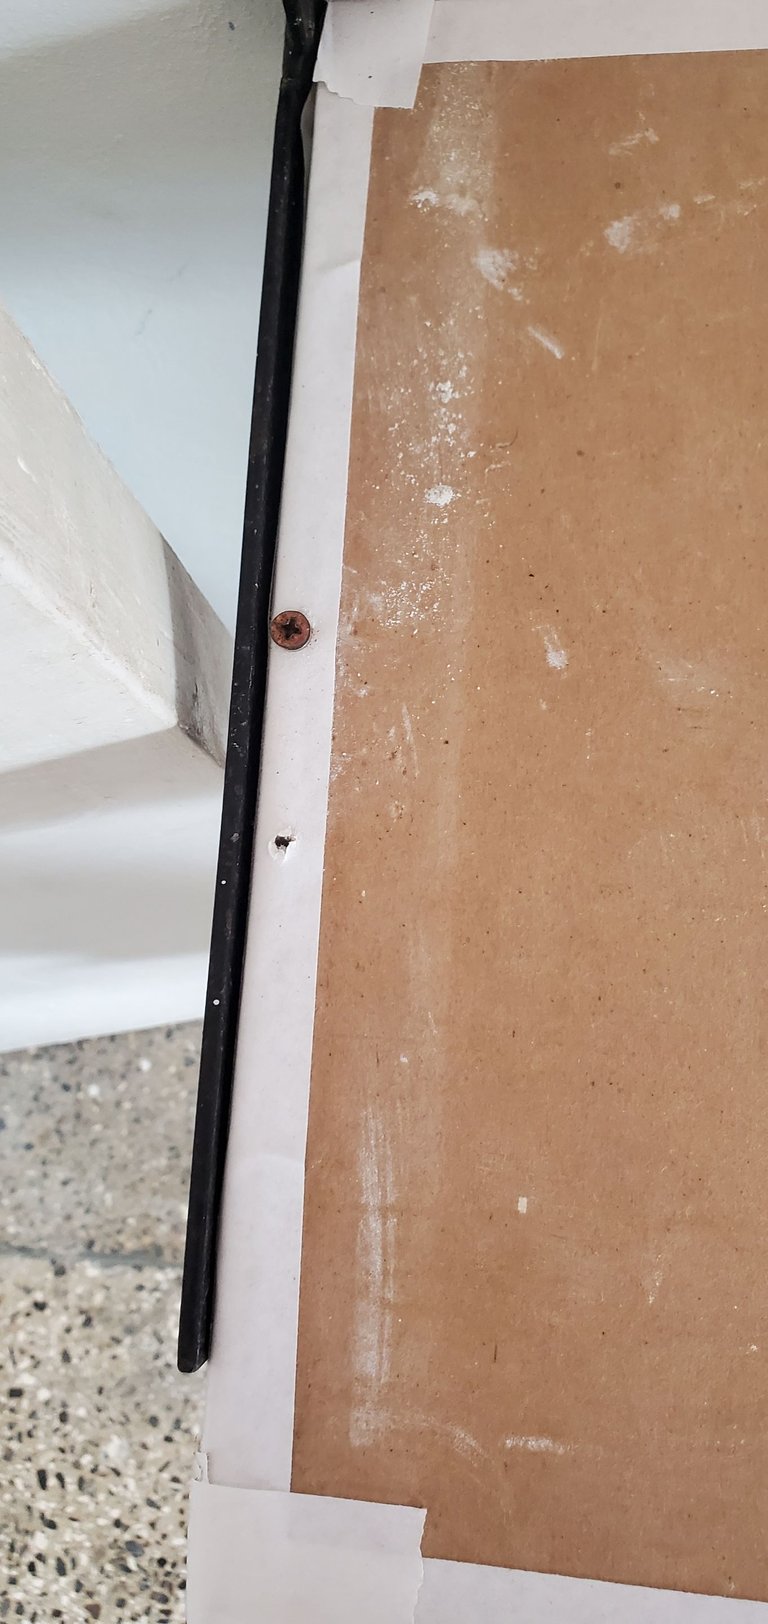
The second one, on the other hand, moved to the side, but since the plasterboard is so weak, we decided to leave it that way.
El segundo, por otra parte, se nos movió hacia el lado, pero como el pladur es tan débil , decidimos dejarlo así.
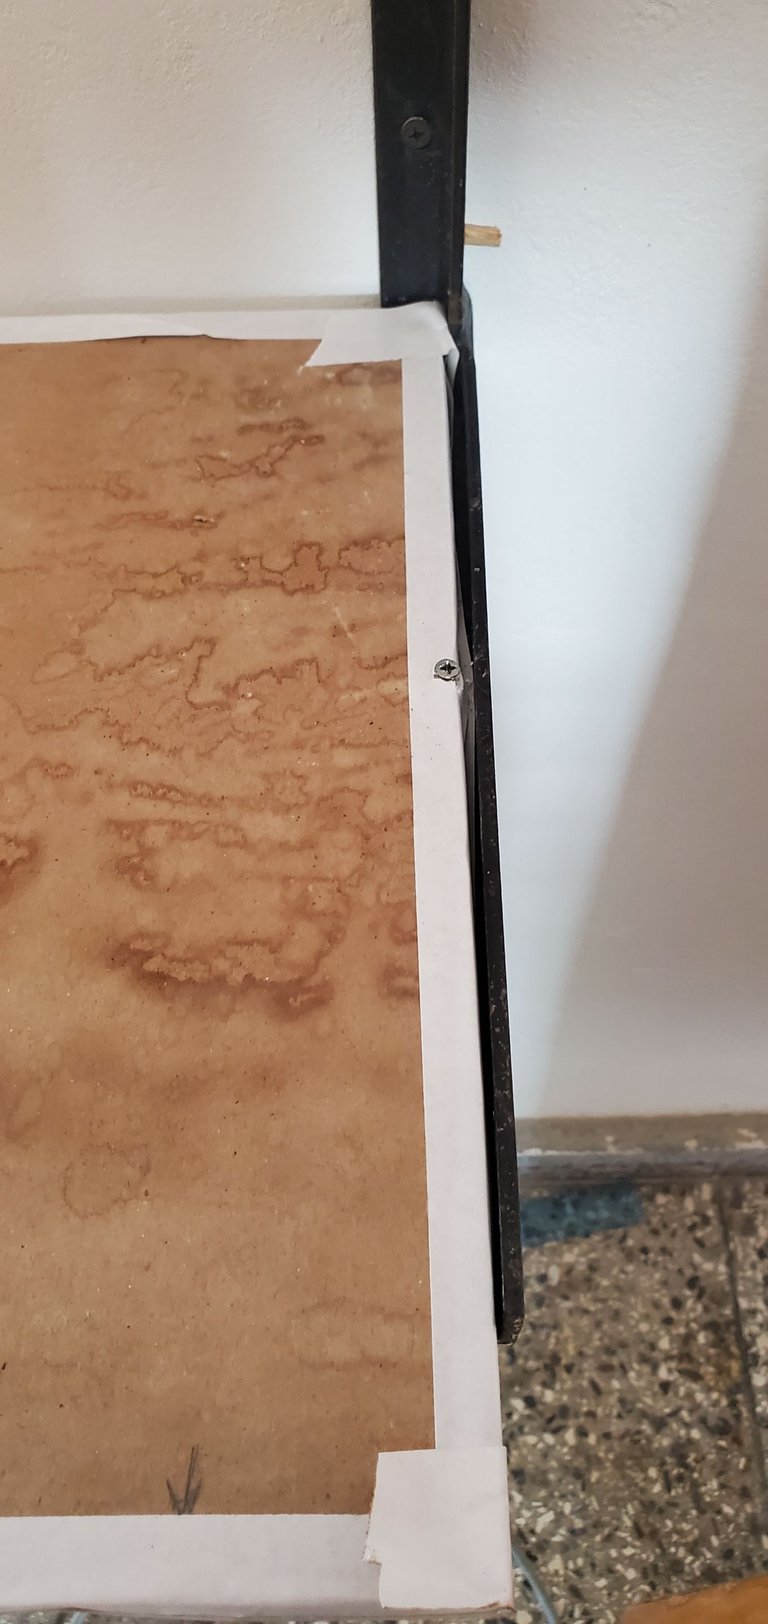
I was given some plasterboard putty and some plasterboard paper for the edges, I did not expect this and I have never worked with it, but without fear of success. I soaked that paper in the putty and put it on the edge.
Me regalaron un poco de masilla de pladur y papel del mismo para los bordes, esto no me lo esperaba y nunca he trabajado con ello, pero Sin miedo al Éxito. Embarre ese papel en la masilla y se lo puse en el borde.
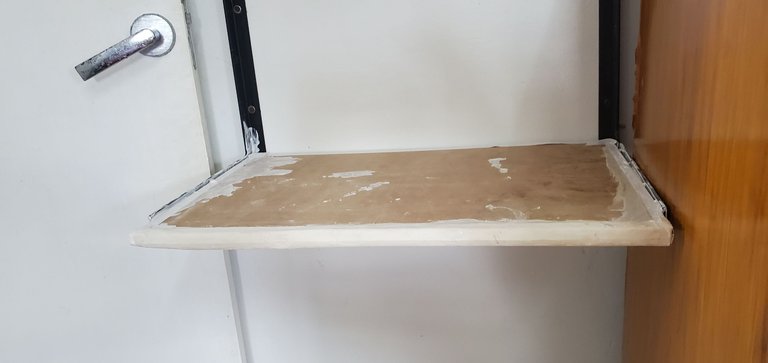
All that was left to do was paint, and since my room is completely white, that was the color of choice.
Ya solo me quedaba pintar, y como mi cuarto es blanco completo, fue el color seleccionado.
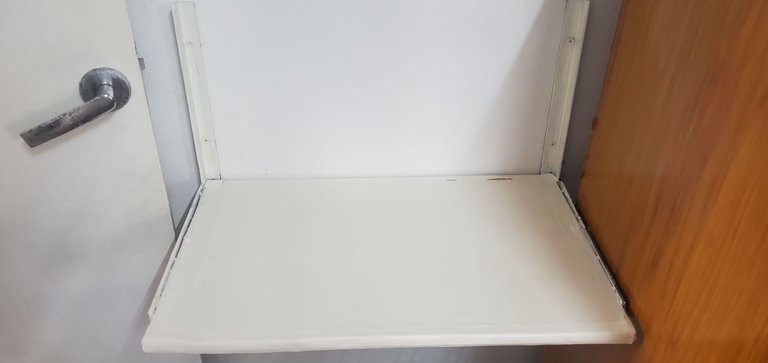
In conclusion I am satisfied with my work. It didn't cost me anything monetarily. I solved the problem I had with recycled stuff and learned how to putty 😂.
En conclusión estoy satisfecho con mi trabajo. No me costo nada monetariamente. Resolví el problema que tenía con cosas recicladas y aprendí a embarrar con masilla 😂.
Banner: Click in photo
Photos: Screenshots and my autority
Twitter: @newnow497
Facebook: @newnow497
translate: Deepl free
