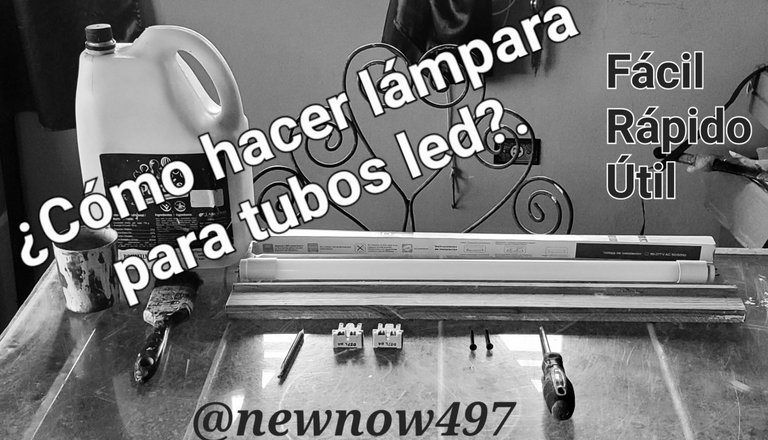
Good morning guys, of this beautiful community of ours. Today I want to bring you a tutorial that many of you will find useful. But this time it will not be about technology, but about the home. We all know the difficult economic situation we are currently going through in Cuba, so I bring you this easy, quick and very useful proposal. We will make a nice, pretty and cheap lamp for led tubes. Currently a single lamp costs more than 1500 Cuban pesos, half the salary of any of us. So if it is a way to save money, what are we waiting for to start?
Buen día muchachos, de esta hermosa comunidad nuestra. Hoy les quiero traer un tutorial que a muchos les servirá. Pera esta vez no será de tecnología, sino del hogar. Todos sabemos la difícil situación económica por la que estamos transitando actualmente en Cuba, por eso les traigo esta propuesta fácil, rápida y muy útil. Haremos una lámpara para tubos led linda, bonita y barata. Actualmente una lámpara sola sale en más de 1500 pesos cubanos, la mitad del salario de cualquiera de nosotros. Entonces si es una vía para ahorrar ¿A qué esperamos para comenzar?.
WHAT DO WE NEED?
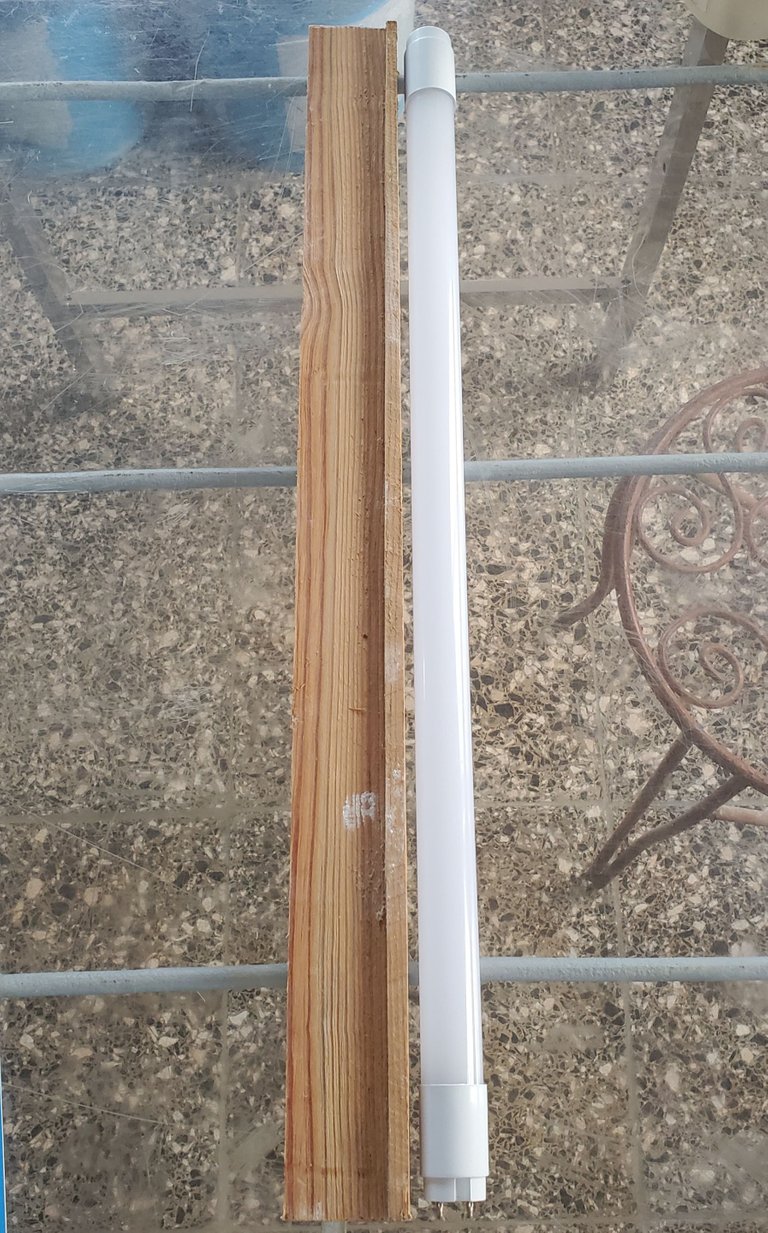
1 piece of wood of square or rectangular shape of the length of the bulb that will be our lamp base.
1 led bulb.
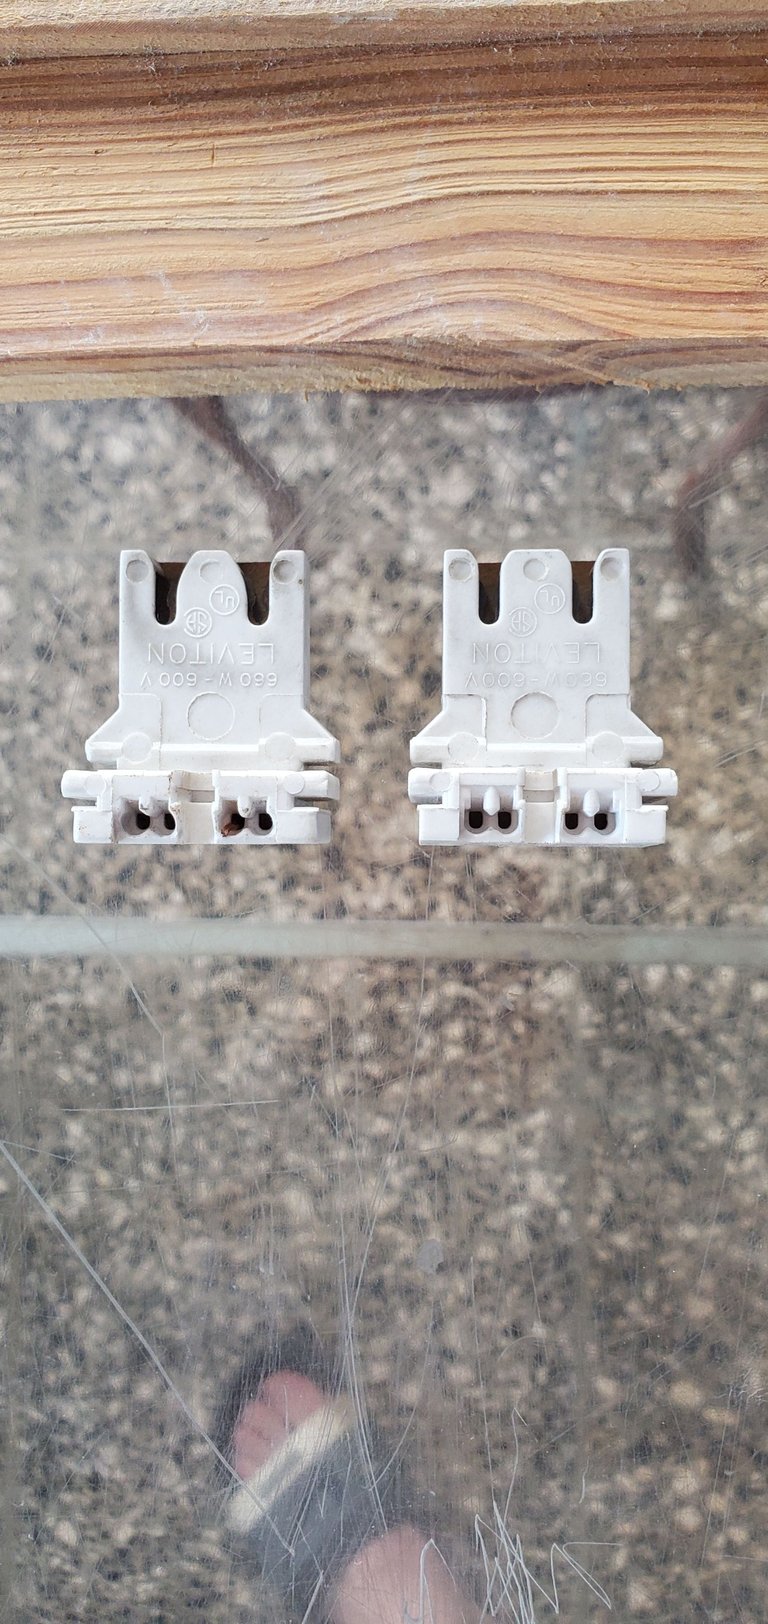
2 lamp legs.
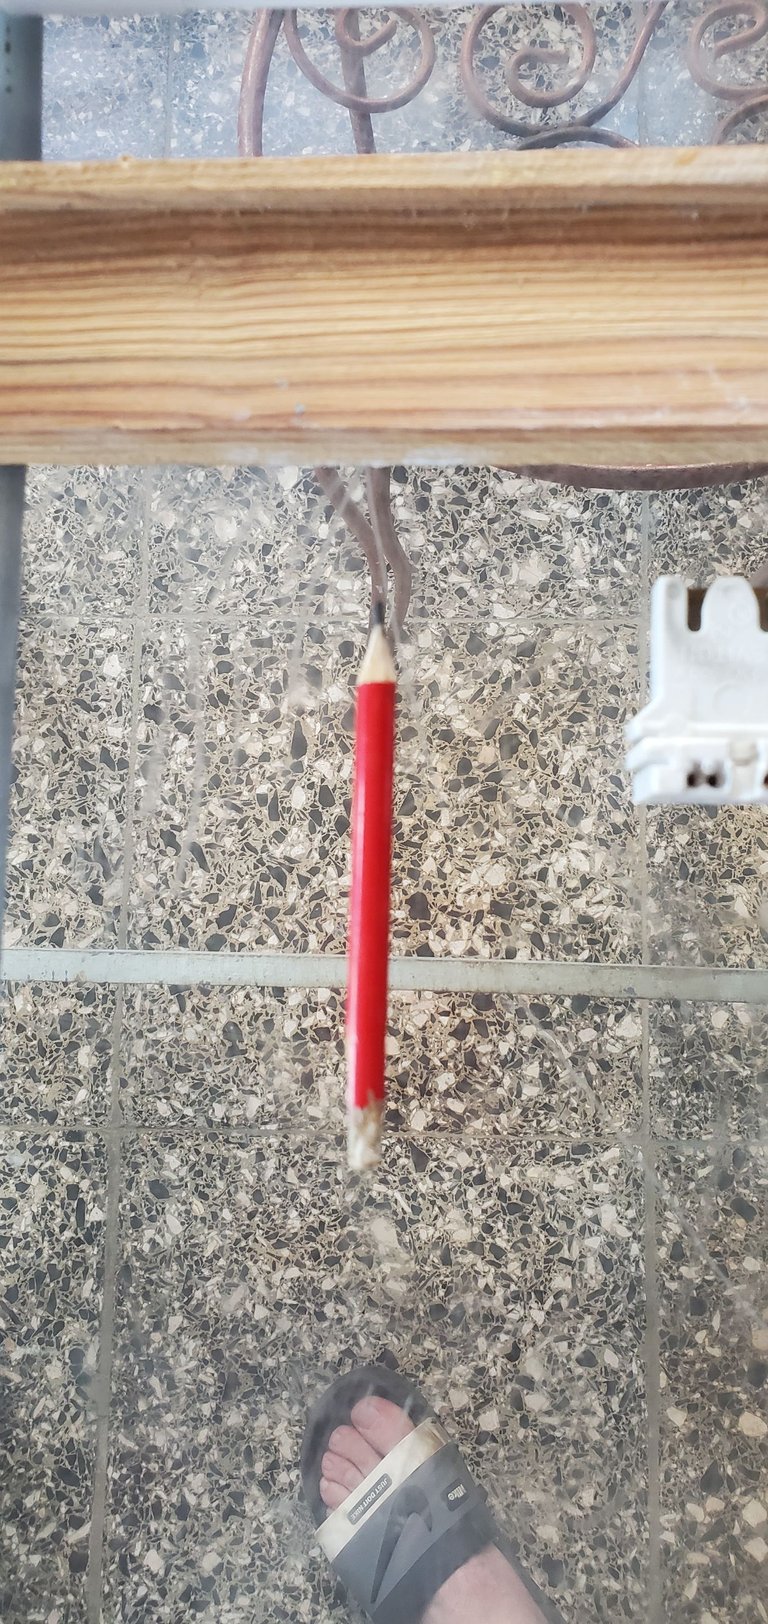
1 pencil to mark.
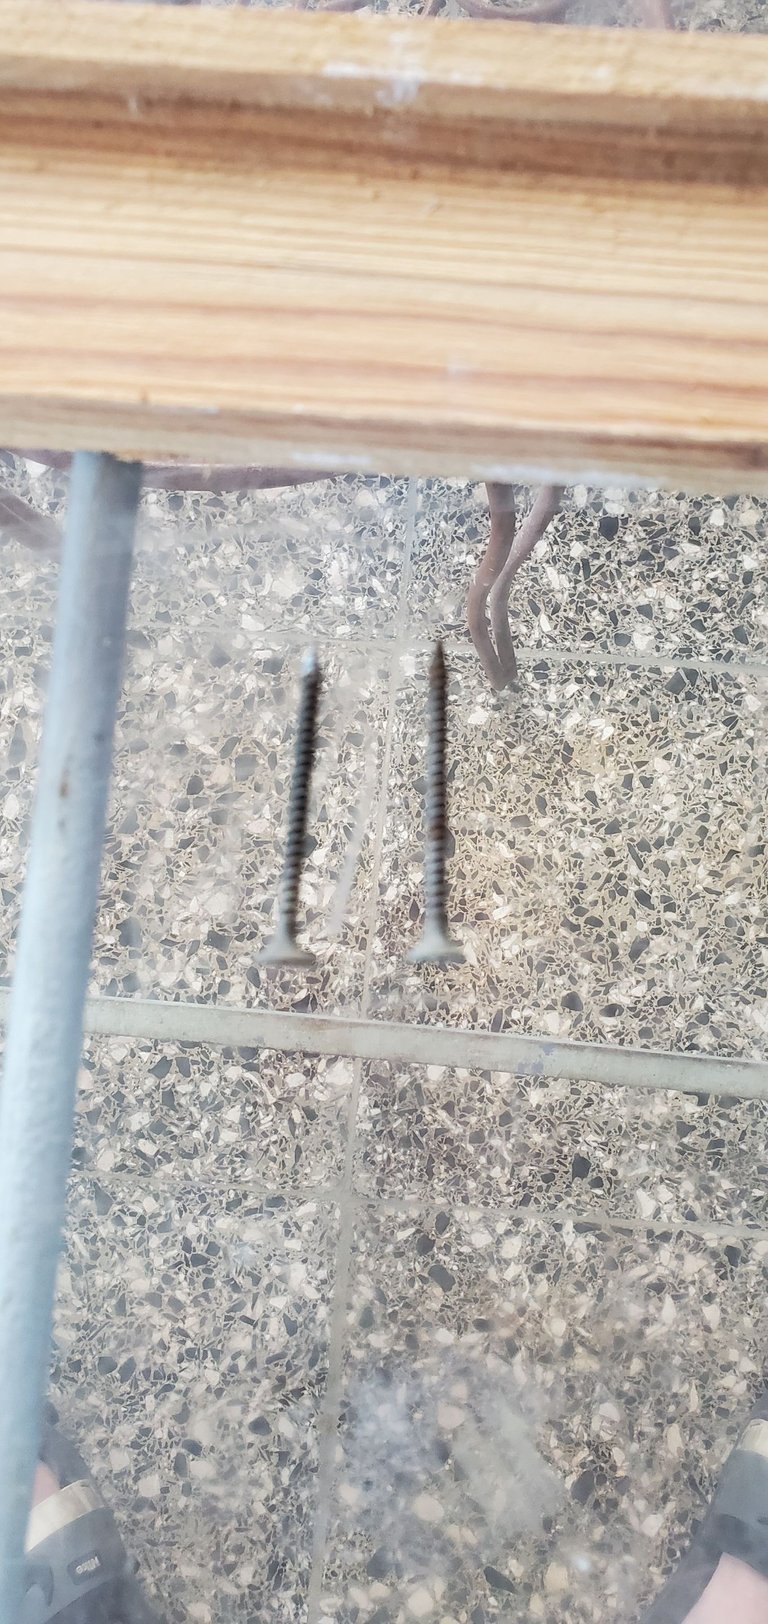
2 screws to fix the legs.
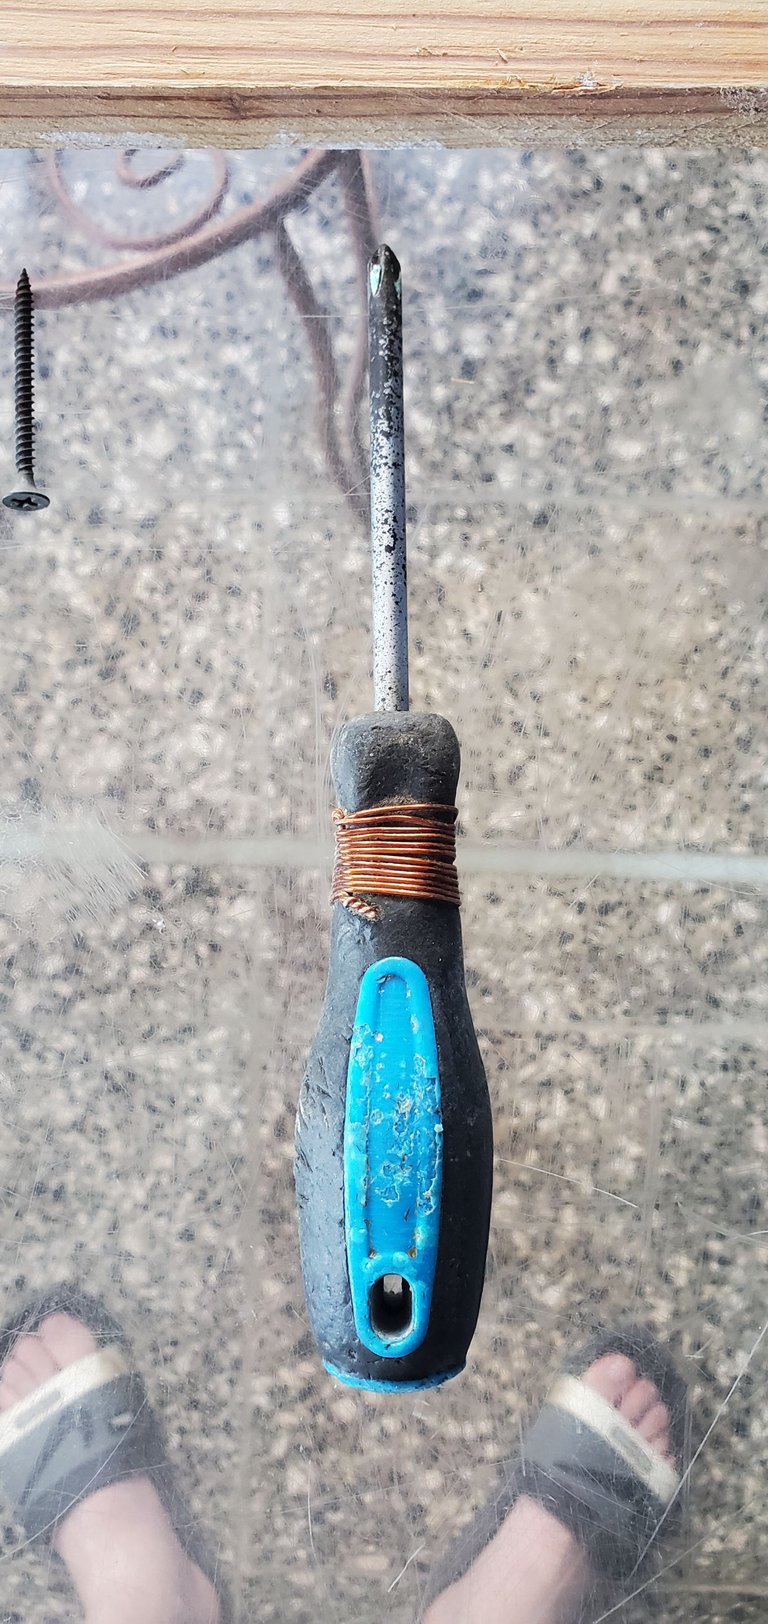
1 screwdriver.
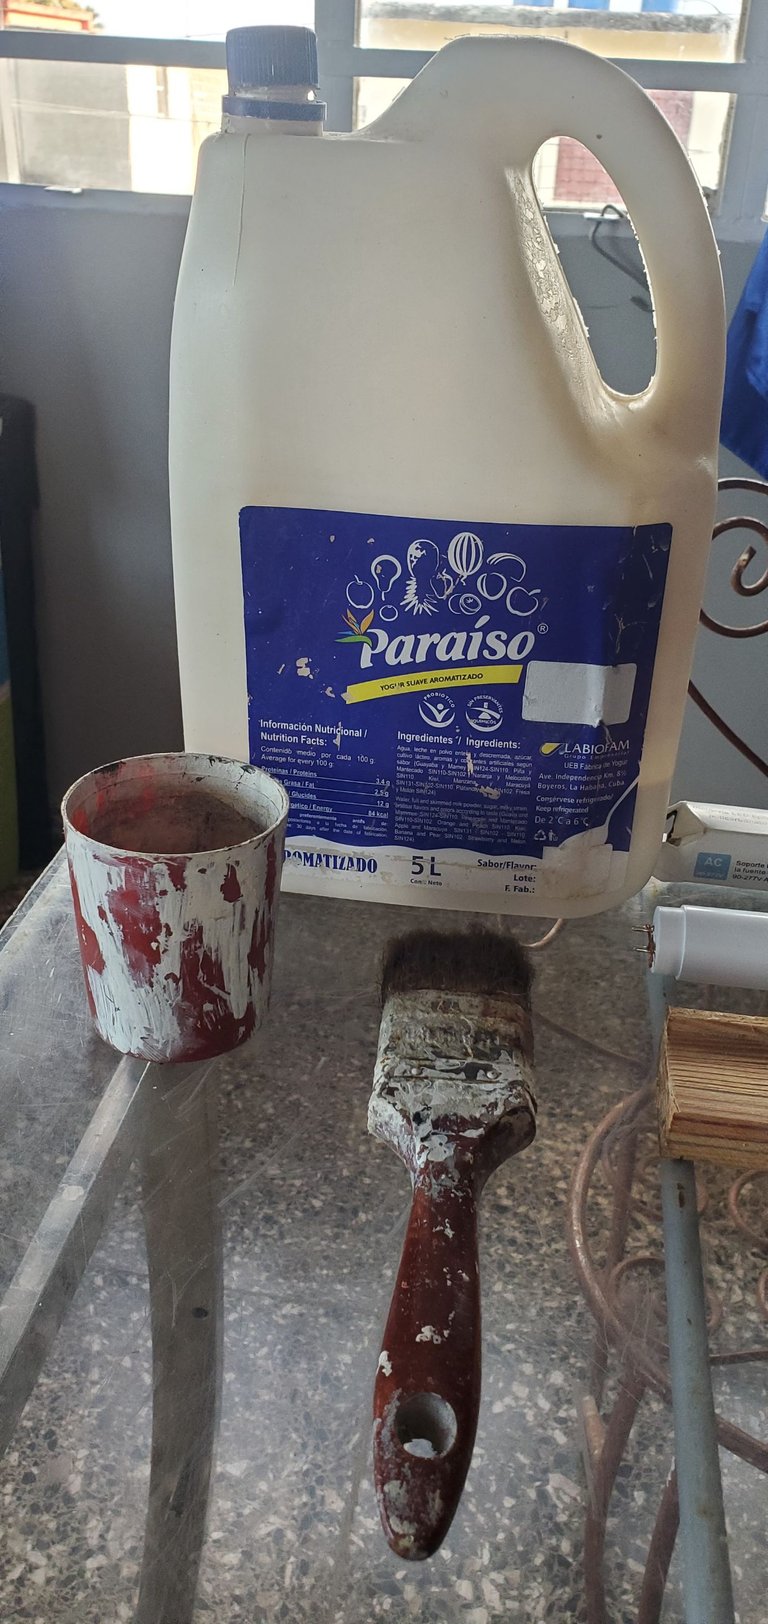
1 brush to paint.
Paint color we want to paint the lamp.
¿QUÉ NECESITAMOS?
1 pedazo de madera de forma cuadrada o rectangular del largo del bombillo que será nuestra base de lámpara.
1 bombillo led.
2 patas de lámparas.
1 lápiz para marcar.
2 tornillos para fijar las patas.
1 destornillador.
1 brocha para pintar.
Color de Pintura que deseemos para pintar la lámpara.
In the following photos I will show you the materials I will use for this demonstration.
En las siguientes fotos les mostraré los materiales que yo usaré para esta demostración.
 |  |
|---|
 |  |  |
|---|
Execution.
First we will put the legs of the lamp to the wood at the ends of it to give it the shape of the lamp and we will mark with the pencil to fix them. This step is very important, the legs must be well fixed because they are the ones that will hold the weight of the bulb, which is not much but if they are loose it can fall.
Ejecución.
Primeramente pondremos las patas de la lámpara a la madera en los extremos de la misma para darle la forma de lámpara y marcaremos con el Lápiz para fijarlas. Este paso es muy importante, las patas deben estar bien fijadas ya que son las que aguantarán el peso del bombillo, que no es mucho pero si quedan flojas se puede caer el mismo.
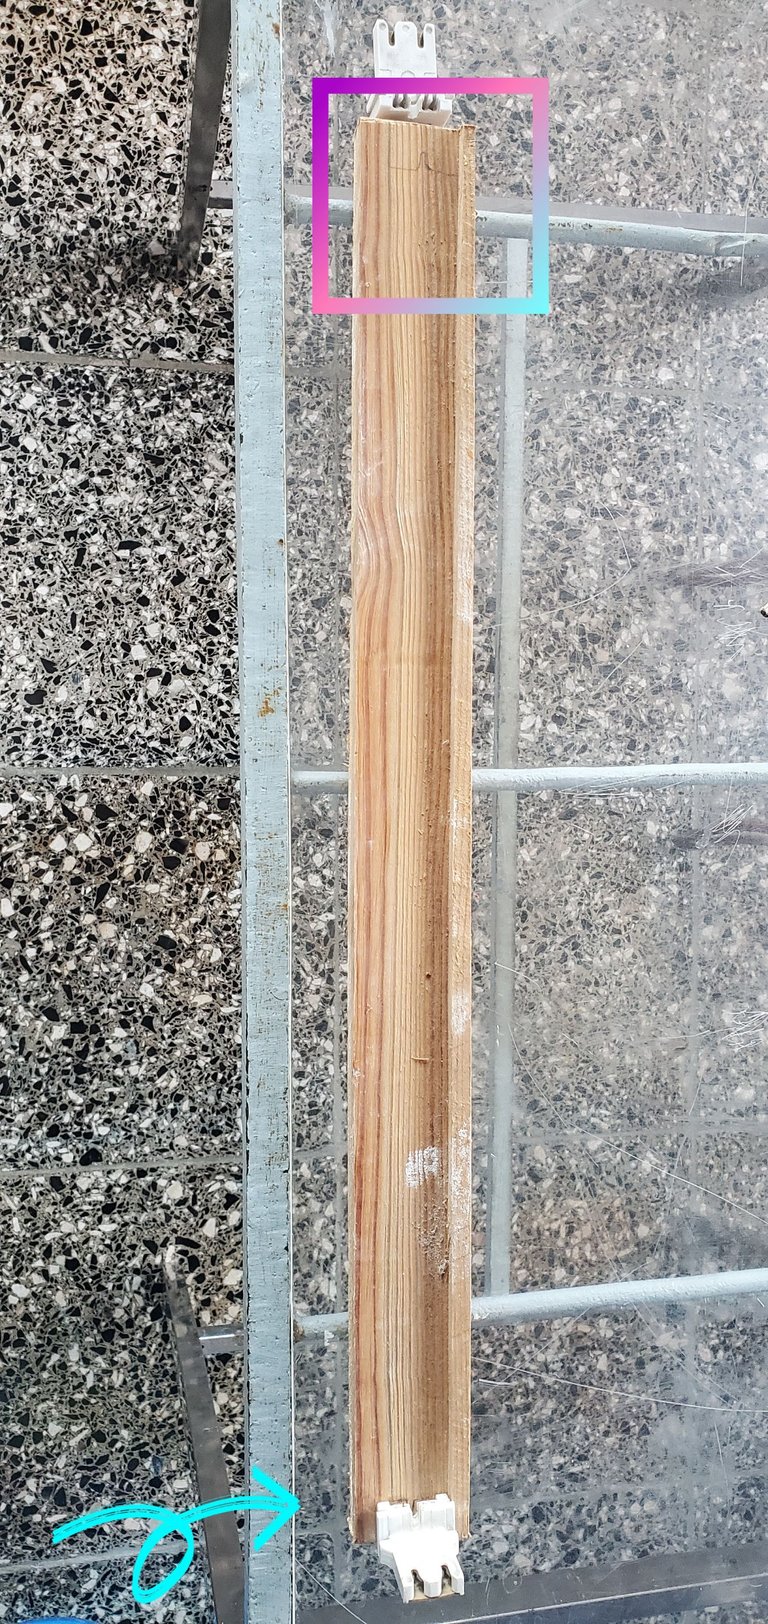
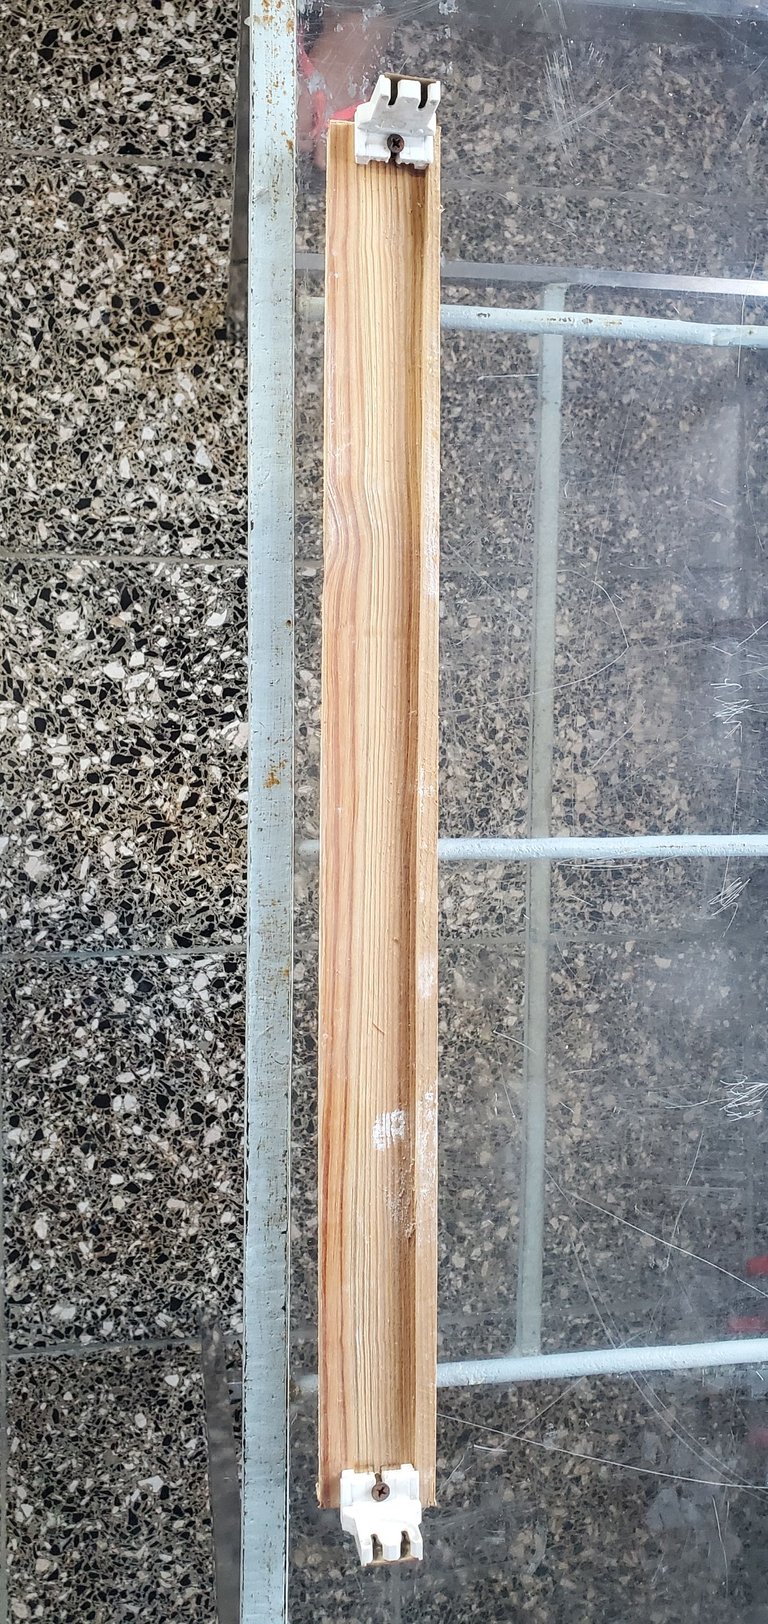
Once ready we will paint it, I chose white paint because I love that color, the design part varies depending on what we like.
Una vez lista la pintaremos, yo escogí Pintura blanca porque me encanta ese color, la parte del diseño ya varía en dependencia de lo que nos guste.
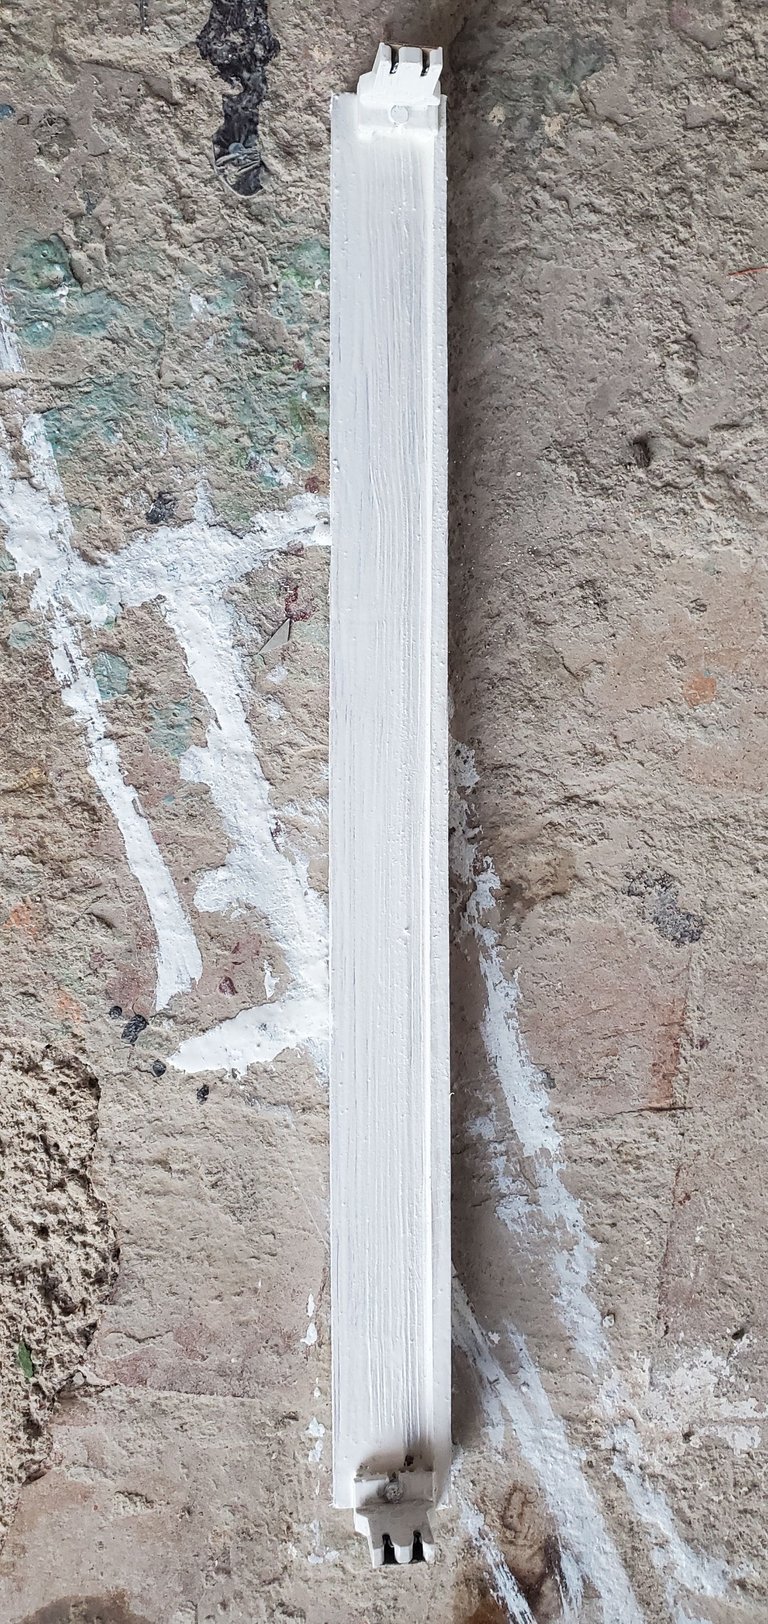
Look how it has changed. This photo is with only 1 coat of paint, I recommend that you give it as many coats as you like because the better painted it is, the nicer it will look. I will continue and then finish painting it.
Miren que cambio dio. Esta foto es con solo 1 mano de pintura, recomiendo que le den tantas manos como gusten ya que mientras mejor pintada quede, más linda se nos verá. Yo proseguire y después la termino de pintar.
Now we will go to the part of the electrical connection, it is not that I forgot to put it above, it is that I wanted to separate this very important part. The led tubes come with two connection formats, the first is to put a current phase to each leg and the second is that the two power phases will go to the same leg. This bulb that I have is the first format, so I will feed the two legs separately.
How do we know which format is the tube we have🤔?
At the end of the bulb we will find a description. If it is of the first format it will not have any electrical schematic. If it is of the second format will be represented with L and N. Although it happens sometimes that does not tell us this information, if this is the house first try to feed it in the first way that will be the one we will do.
Ahora iremos a la parte de la conexión eléctrica, no es que se me haya olvidado ponerlo arriba, es que quería separar esta parte bien importante. Los tubos led vienen con dos formatos de conexión, el primero es ponerle una fase de corriente a cada pata y el segundo es que las dos fases de alimentación van a ir a la misma pata. Este bombillo que yo tengo es del primer formato, por eso alimentare las dos patas por separado.
¿Cómo sabemos cuál formato es el tubo que tenemos🤔?
En el extremo del bombillo encontraremos una descripción. Síes del primer formato no tendrá esquema de electricidad alguno. Si es del segundo formato estará representado con L y N. Aunque suele suceder a veces que no nos dice esta información, si este es el casa prueben primero alimentarlo de la primera forma que será la que haremos.
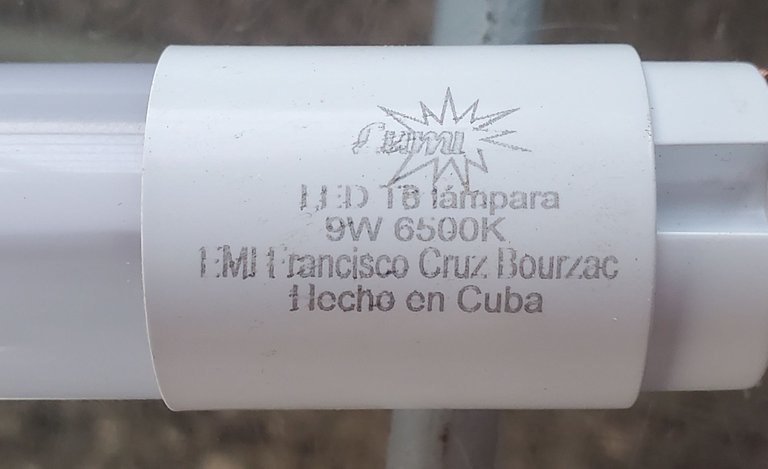
Connecting.
Conectando.
As we had said a cable to each leg and current that is ready.
Como habíamos dicho un cable a cada pata y corriente que está lista.
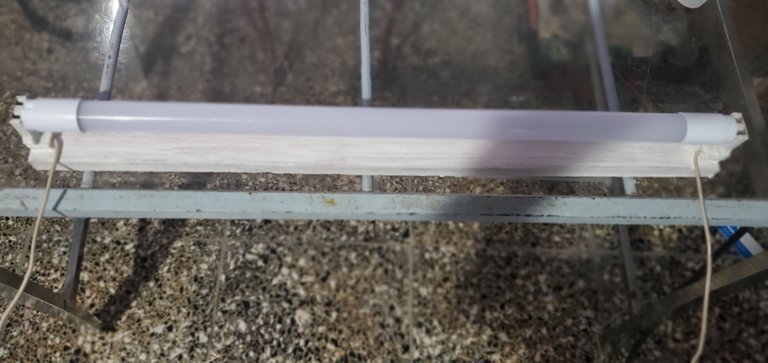
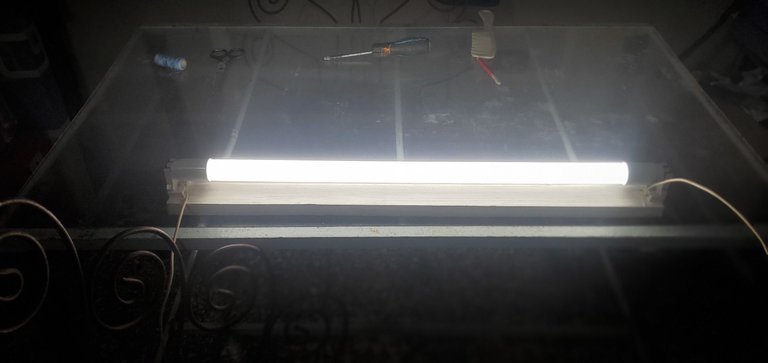
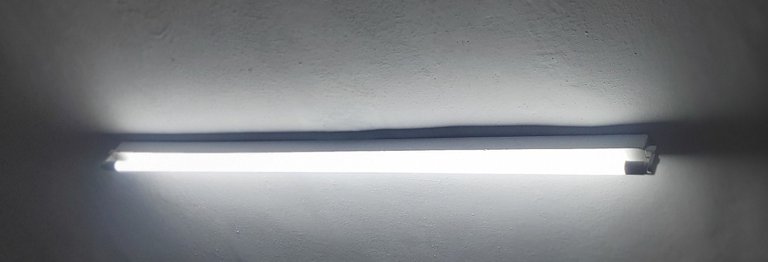
I hope it can help anyone who needs this wonderful idea the photo I leave below is the lamp in my room made in the same way. You can try to look for other types of materials and so on. If you have any made by you, leave photos in the comments, if not let me know if you dare to save a little money and you will do it when you need it.
Espero que pueda ayudar a quien necesite esta maravillosa idea la foto que les dejo a continuación es la lámpara de mi cuarto echa de la misma forma. Puedes intentar buscar otros tipos de materiales y demás. Si tienes alguna echa por ti, deja fotos en los comentarios, sino déjame dicho si te animas a ahorrar un dinerito y la harás cuando te haga falta.
Photos: My authorship.
Separador
Traducción/translate
Twitter: @newnow497
Facebook: @newnow497
Community support @Hivecuba


