Hello hivers friends
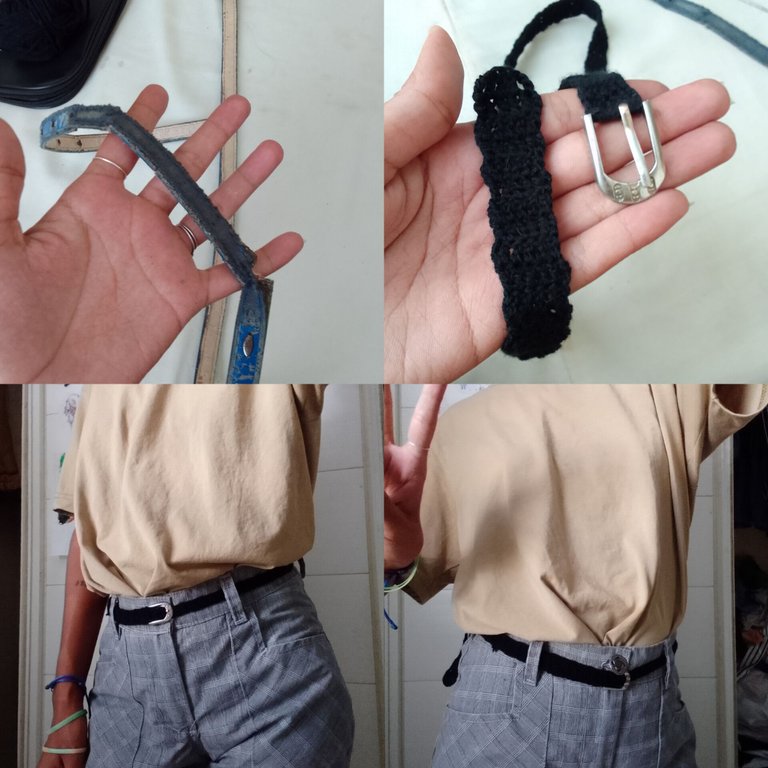
These days I've been putting some order in my closet and the truth is that I've had to stop using a lot of things because they don't fit anymore or because they've worn out. Organizing and putting everything separately and classifying it is a hard task😅, but nothing that is not solved. Among the things that have worn out I found these belts, which I have been using for many years but they are already very worn and they are starting to split in some parts. Taking advantage of the fact that I had already bought yarn to knit, I wanted to renew them and make them new. Here I bring the process to share with you.
Materials
🧶Yarn
🧶Needle
🧶Scissors
🧶Old belt
Process
First of all we will look for an old belt or one that is already very worn, I had two but in the end I selected the one that apparently is blue because it is the one I like to wear the most 😅.
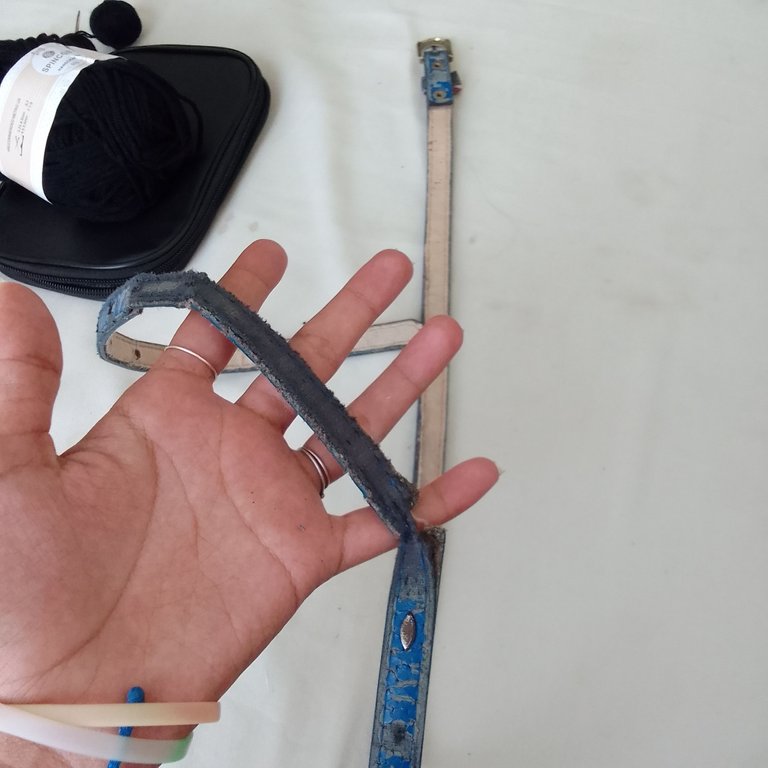

As you can see in the pictures they were already at the point of breaking.
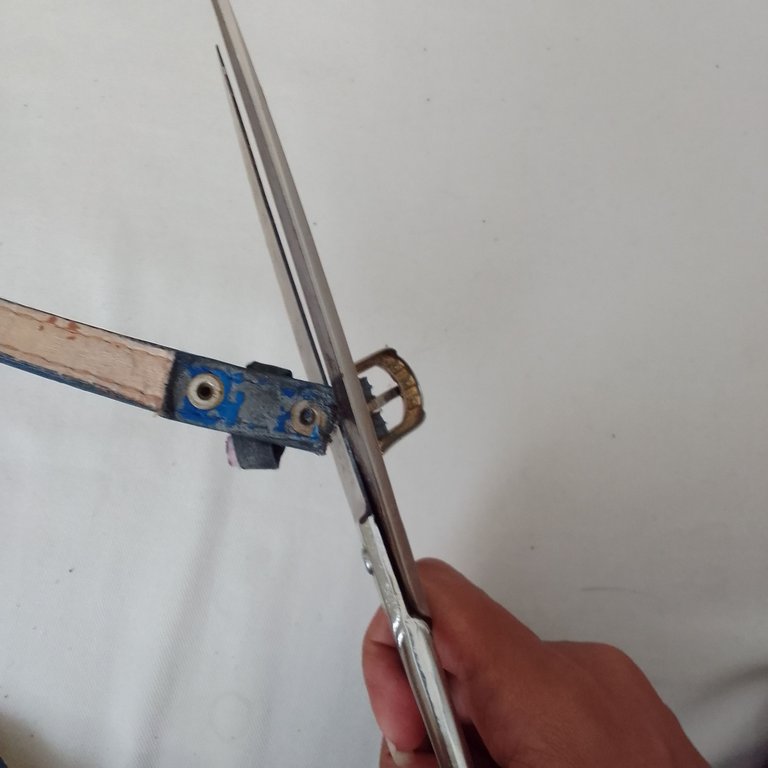
The next thing I did was to cut the belt strap with scissors so I could keep the buckle.
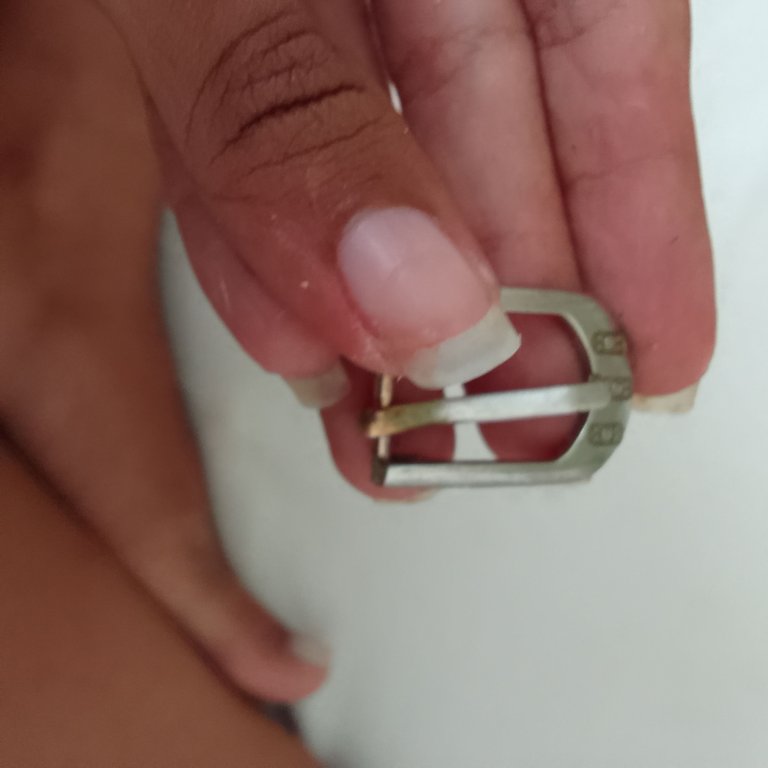
Then I took the buckle and linked it with half stitch (first a chain and then half stitch). That's how it was going to turn out.
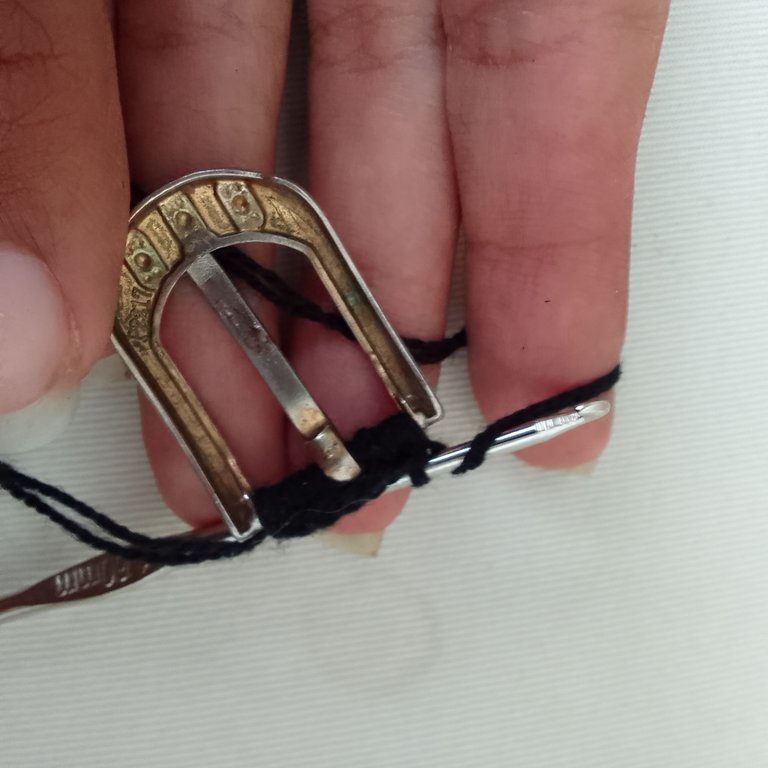
When I got to the end I made 2 chain stitches, I turned to lift the fabric and from there I was making double crochet stitches, which you can do with any other stitch if you want to do it (I did it like that because it seemed simpler to me)
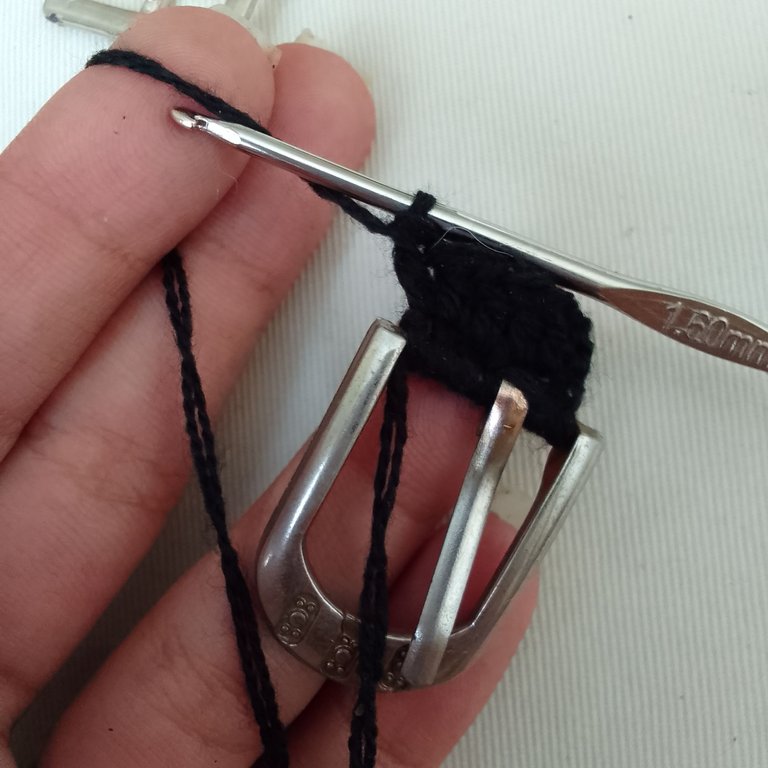
After that it only remains to repeat the previous step until you have the desired length (I made it more or less the same size as the belt was already)
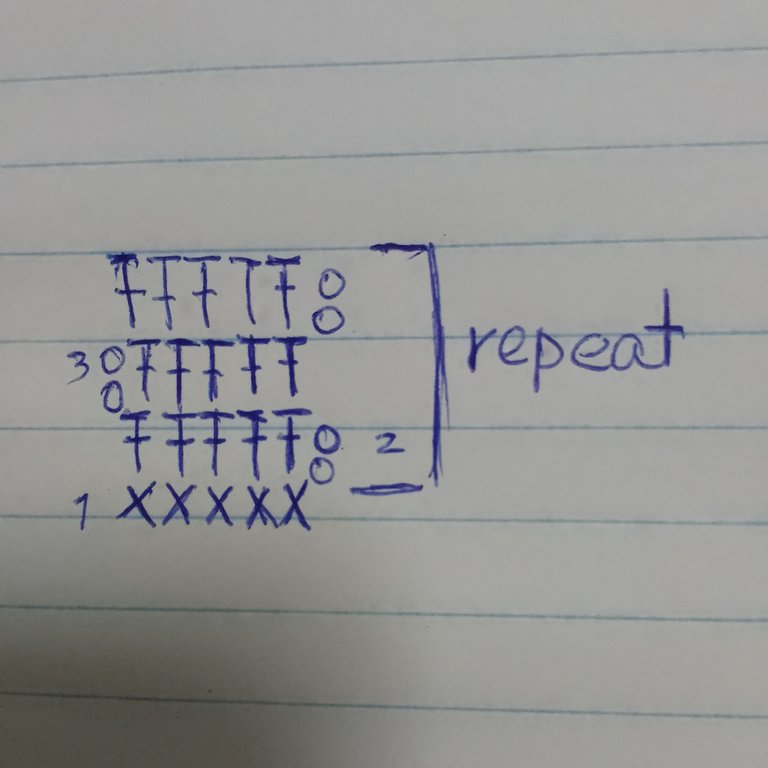
This was the pattern I was looking for (I made it myself).
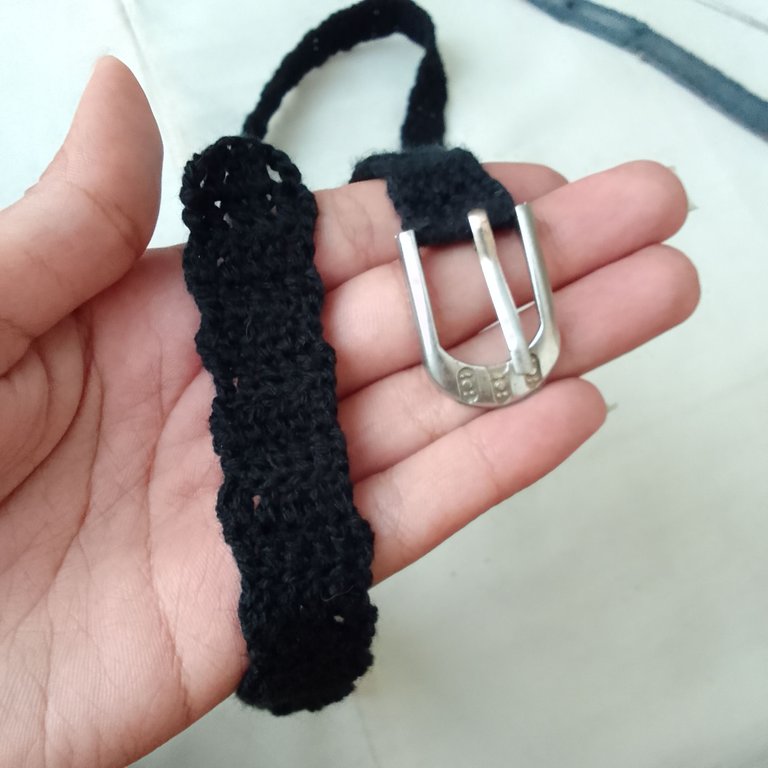
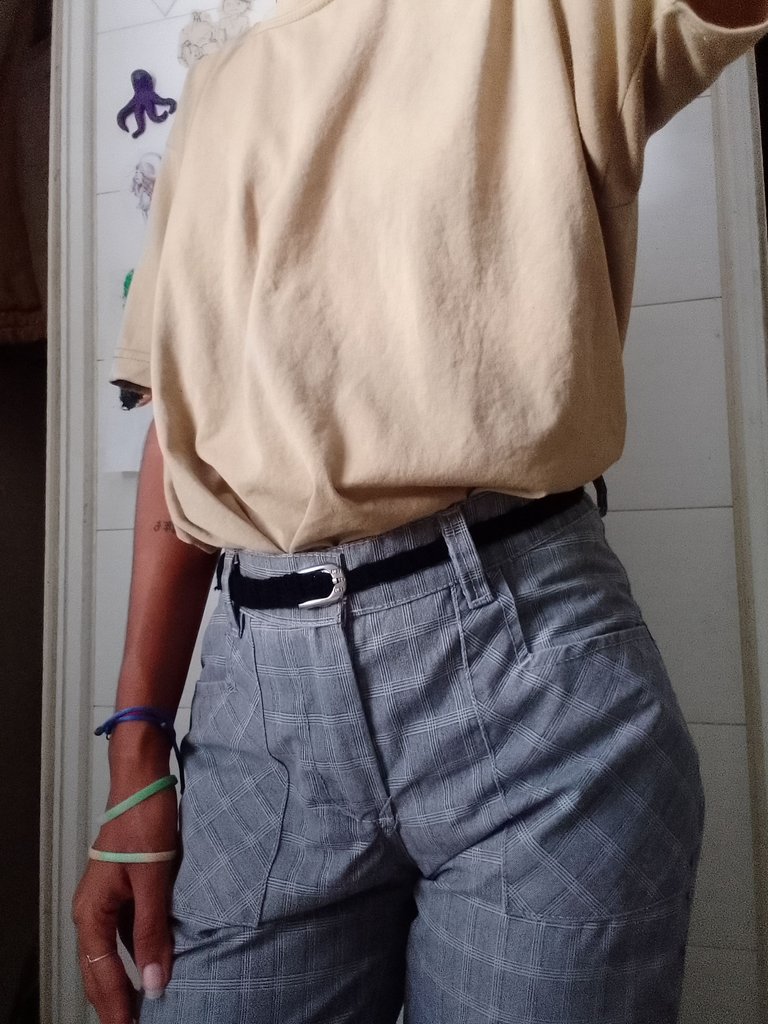
And that's how my new belt turned out. I've been trying it and it's even better than the previous one, as it's much more comfortable.
This is something anyone can do at home. And if you don't know how to make the dots in these images I explain how to do it.

Chain stitch

Half a point

Vareta point
If you made it this far thank you very much for reading and I hope you liked it. See you in the next post ❤️.
Hola amigos hivers
En estos días estuve poniendo un poco de orden en mi armario y la verdad es que he tenido que dejar de usar muchas cosas por que ya no me quedan o porque se han desgastado. Organizar y poner todo por separado y clasificarlo es una tarea dura😅, pero nada que no se solucione. Entre las cosas que se han desgastado encontré estos cinturones, que ya llevan muchos años que los uso pero ya estan muy desgastados y se estan empezando a partir por algunas partes. Aprovechando que ya había comprado hilo para tejer, quise renovarlos y hacerlos nuevos. Aquí les traigo el proceso para compartirlo con ustedes.
Materiales
🧶Hilo
🧶Aguja
🧶Tijeras
🧶Cinturón viejo
Proceso
Primero que nada buscaremos un cinturón viejo o que ya este muy desgastado, yo tenía dos pero al final seleccione el que aparentemente es azul porque es el que más me gusta ponerme 😅.


Como ven en las fotos ya estaban al punto de romperse.
Lo siguiente que hice fue cortar la correa del cinturón con unas tijeras para así poderme quedar con la hebilla.


Luego tomé la hebilla y la enlacé con punto medio (primero una cadeneta y luego medio punto). Así iba quedando.

Cuando llegué al extremo hice 2 puntos cadeneta, volteé para levantar el tejido y de ahí fui haciendo puntos varetas, cosa que ustedes si lo quieren hacer lo pueden hacer con cualquier otro punto (yo lo hice así porque me pareció más sencillo)

Luego de esto solo queda repetir el paso anterior hasta tener la longitud deseada (yo lo hice más menos del mismo tamaño del que ya era el cinturón)
Este fue el patrón por el que me estuve fijando (lo hice yo misma).

Y así fue como quedó mi nuevo cinturón. Lo estuve probando y es incluso mejor que el anterior, ya que es mucho más cómodo.


Esto es algo que cualquiera puede hacer en casa. Y si es que no sabes como hacer los puntos en estas imágenes te explico como hacerlo.

Punto cadeneta

Medio punto

Punto vareta
Si llegaste hasta aquí muchas gracias por leer y espero que te haya gustado. Nos vemos en el próximo post ❤️.


