Hola amigos de #Hive
Hoy quiero compartirles algo en lo que estuve trabajando hace muy poco tiempo y que la verdad me sorprendió bastante el resultado porque era algo que nunca antes había hecho. Como ya saben me gusta el tejido a crochet y hace unos meses estaba tomando clases, las cuales por motivos ajenos no he podido continuar, pese a que mi profesora de tejido trabaja junto conmigo ninguna de las dos hemos tenido tiempo de continuar con las clases😅 así que en algún momento las retomaremos.
Hasta ahora se los puntos básicos y algunos otros, entonces me baso en eso cada vez que quiero hacer algo. En las clases aprendí también a hacer y leer patrones de tejido, y muchas veces no hago ninguna de las dos como en la realización de este croptop (fue luego de que lo terminé que decidí hacer el patrón, para no olvidarme de como lo hice), y sí, a veces hago todo al revés de como debería, pero como últimamente dicen "hay que confiar en el proceso"😅.
Materiales
Estambre
Aguja
Tijeras
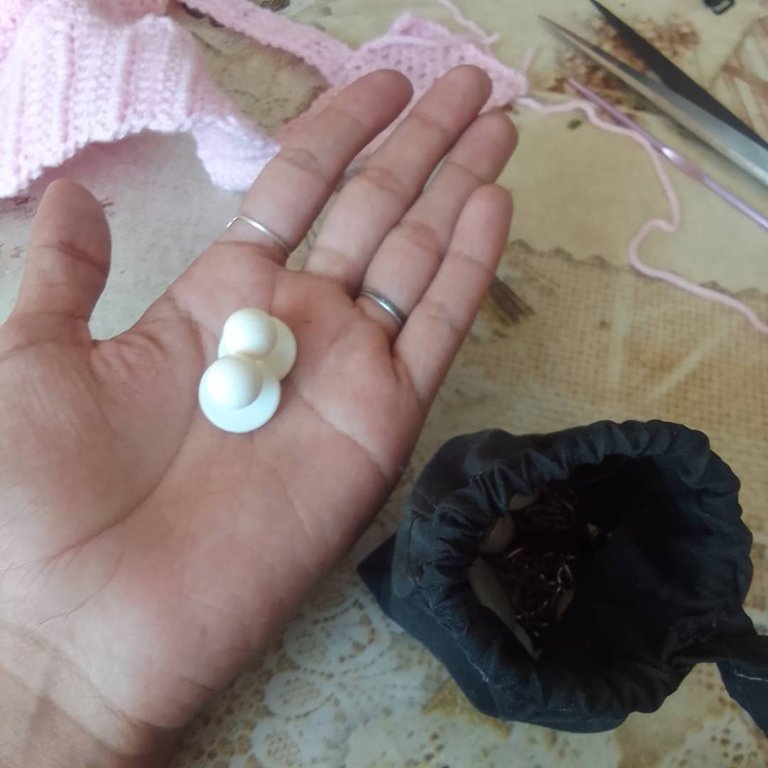
Botones
Pasos
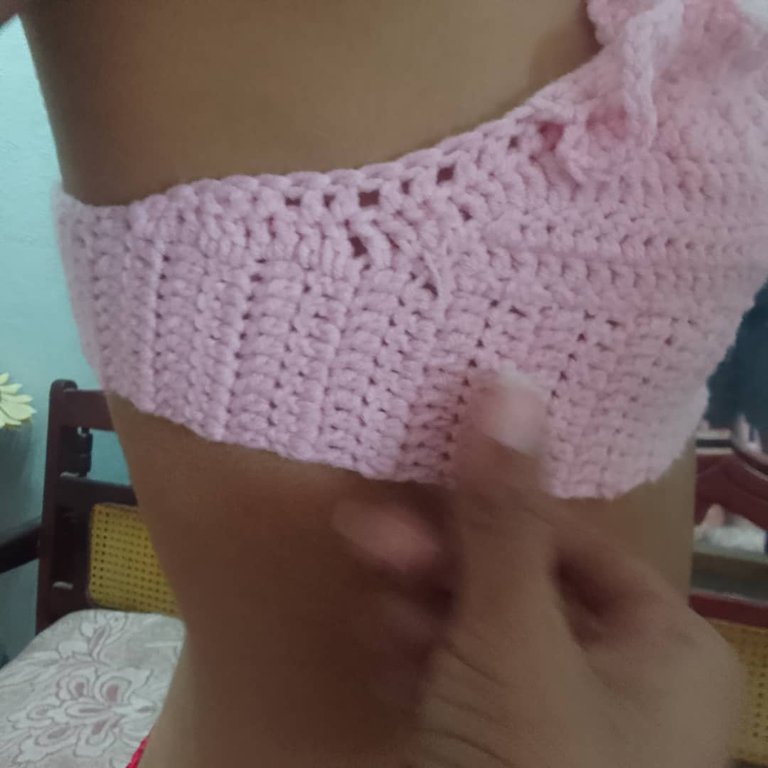
Empecé haciendo la faja para el top, ni muy grande, ni muy pequeña. con punto cadeneta para empezar y luego punto vareta para levantar el tejido.
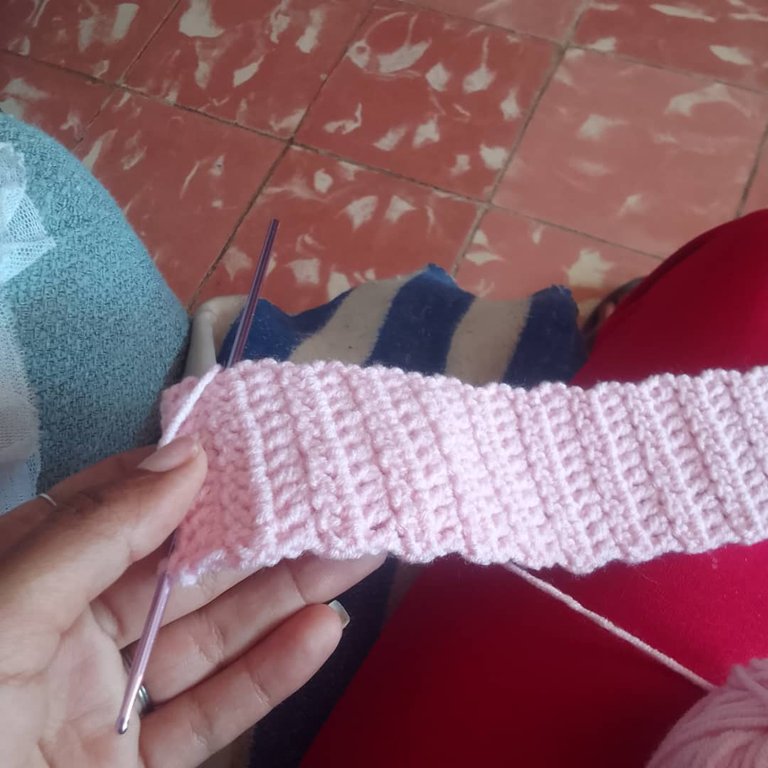
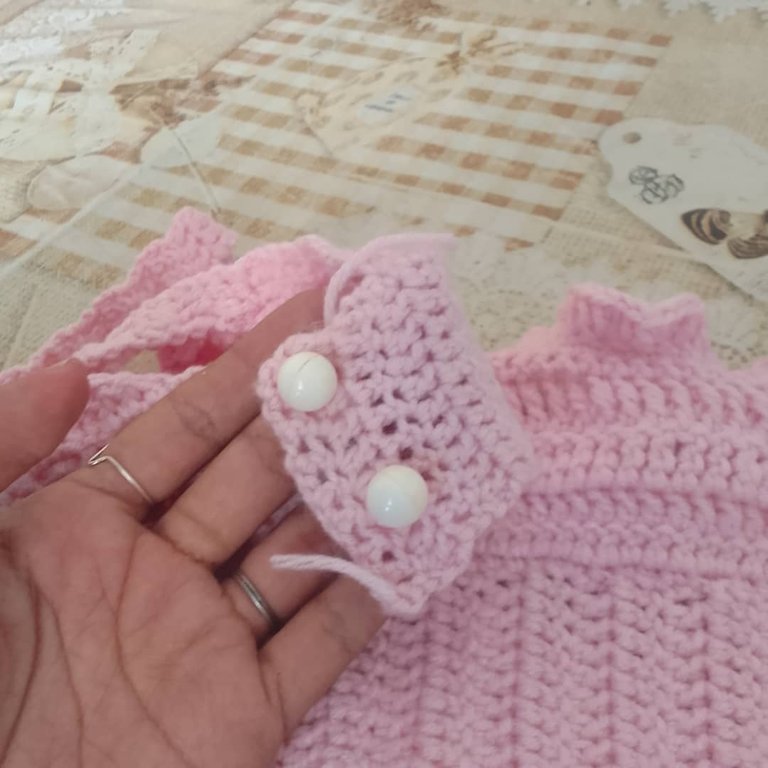
Antes de terminar la faja dejé unos espacios para hacer los ojales para los botones. Entonces vamos a la parte en la que puede complicarse esto.
Pero vamos con calma para no perdernos.
Mucho antes de aprender q tejer había pasado un curso de corte y costura y los conocimientos adquiridos en ese curso me han sido muy útiles, en la realización de este top me sirvieron para identificar la sisa (que es la distancia que hay entre el hombro y la parte baja de la axila) que es donde empezará la parte que conformará el busto. Para que quedara igual de ambos lados utilicé alfileres para marcar.
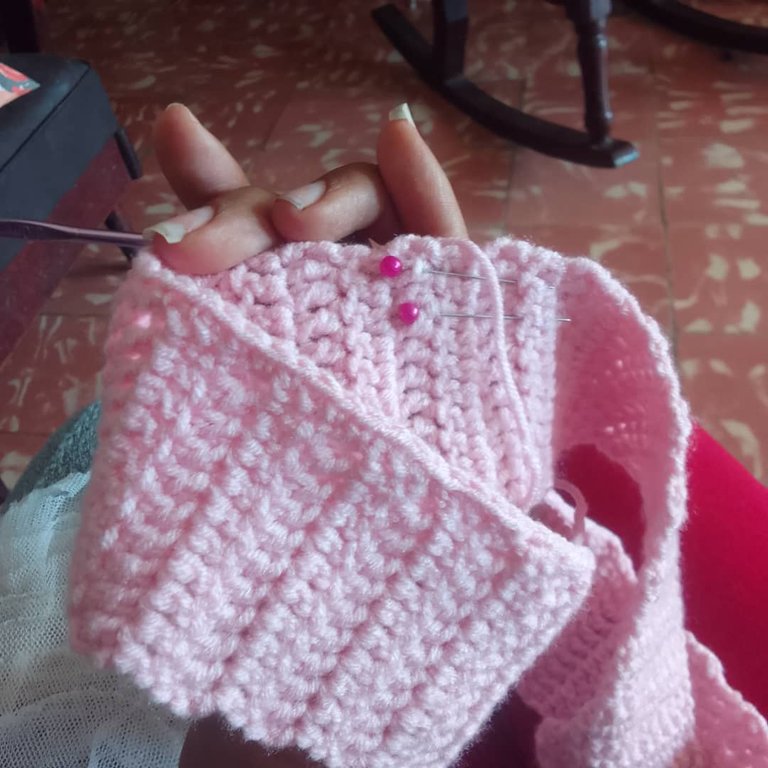
También marqué la parte del busto para que tuviera forma, ya que ahí debería agregar algunos puntos.
Al principio pensé que sería difícil, porque como había dicho antes nunca había intentado hacer algo así y tampoco me guíe por un patrón, todo fue más bien como un experimento.
Para que tuviera una forma mucho más bonita a medida que iba subiendo el tejido le hacía puntos más pequeños en los extremos para que quedara la forma redondeada de la sisa.
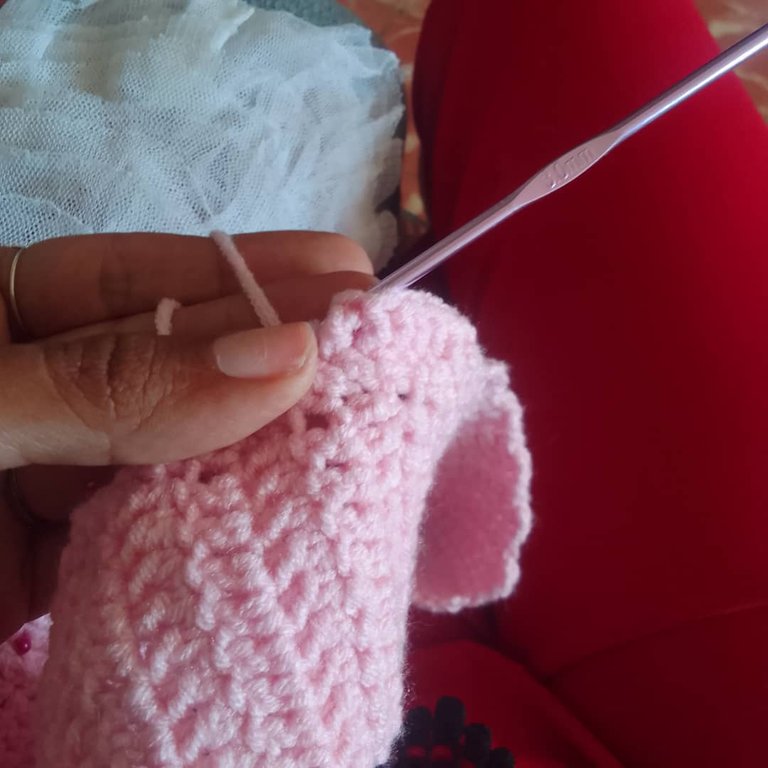
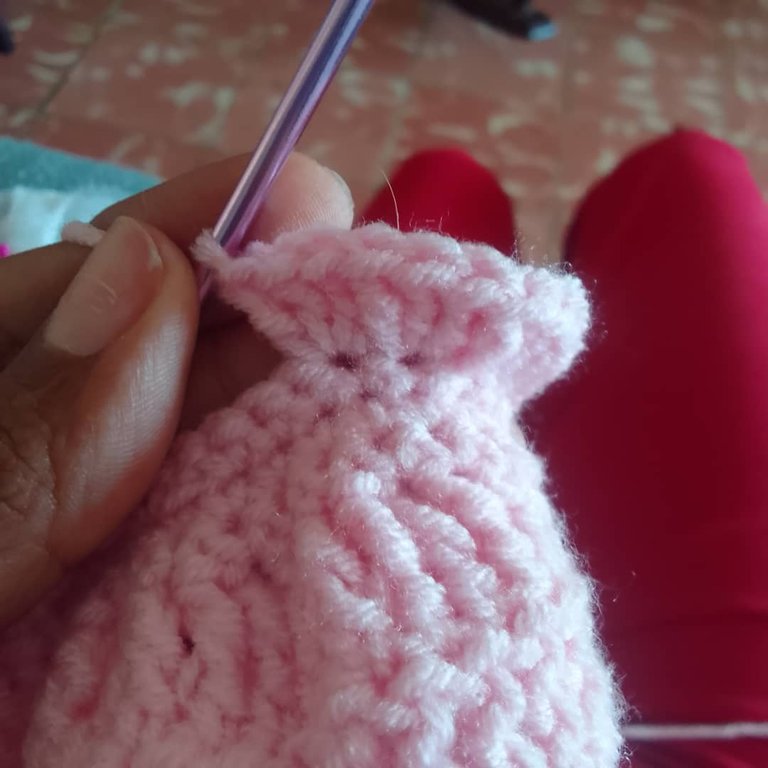
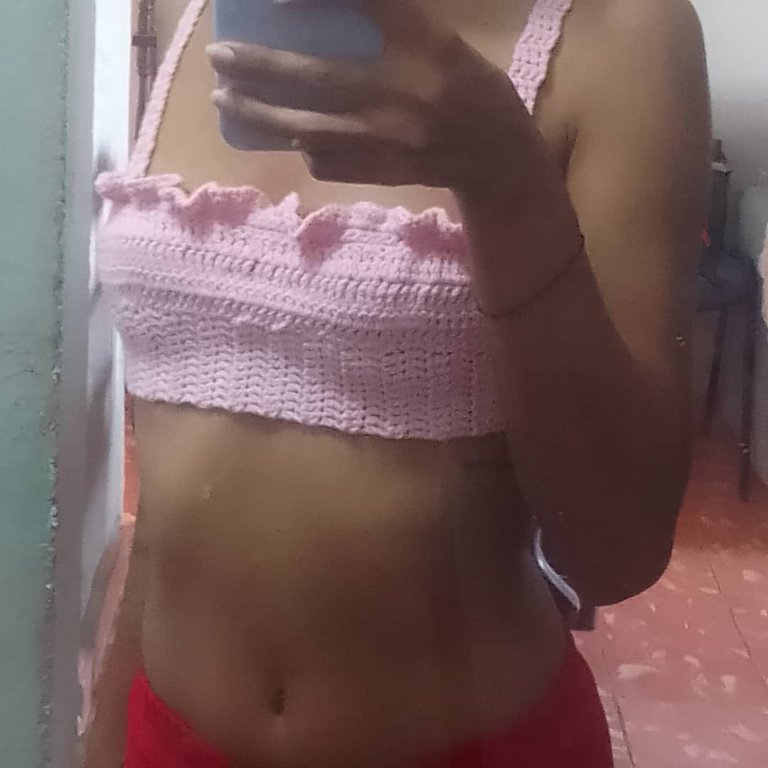
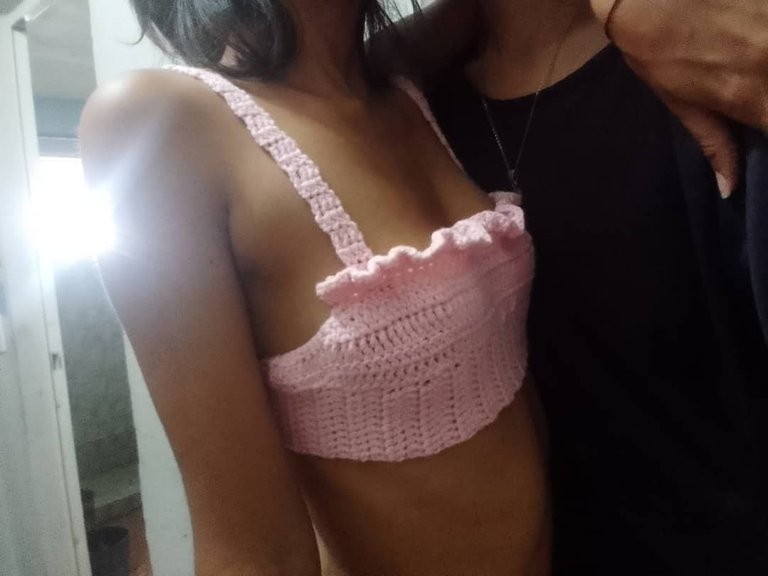
Cuando ya había levantado lo suficiente como para que no me ocurrieran accidentes le hice un fruncido en la parte de arriba, que lo logré haciendo tres puntos en uno mismo.
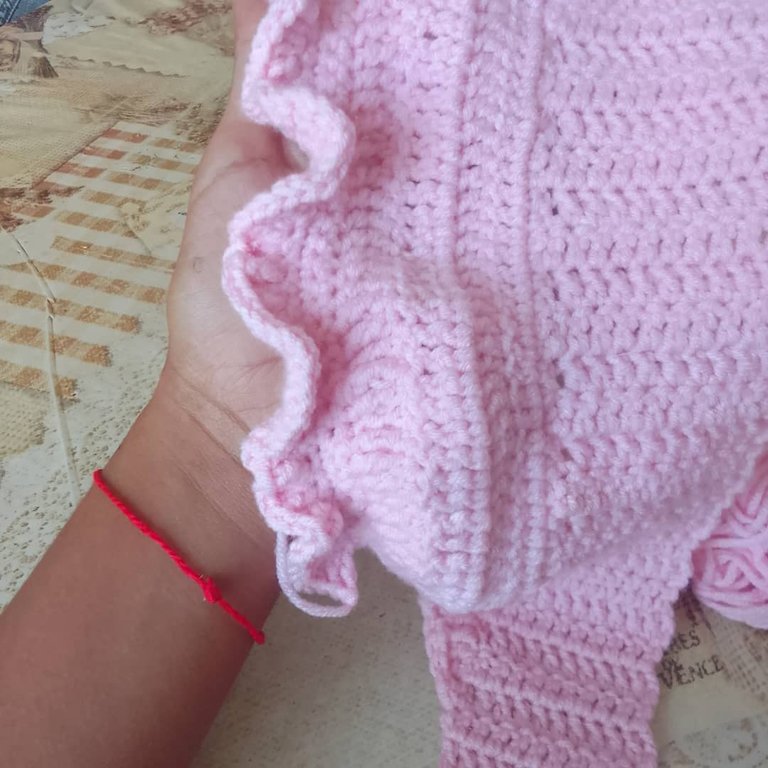
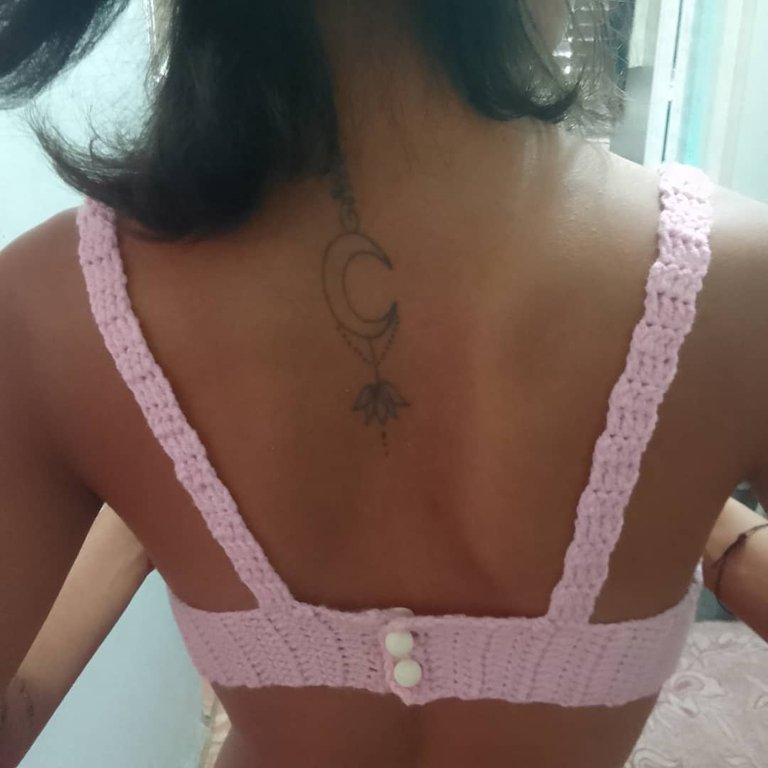
Luego le hice unos tirantes los cuales uní con punto raso al tejido del top. Y por último agregué los botones.
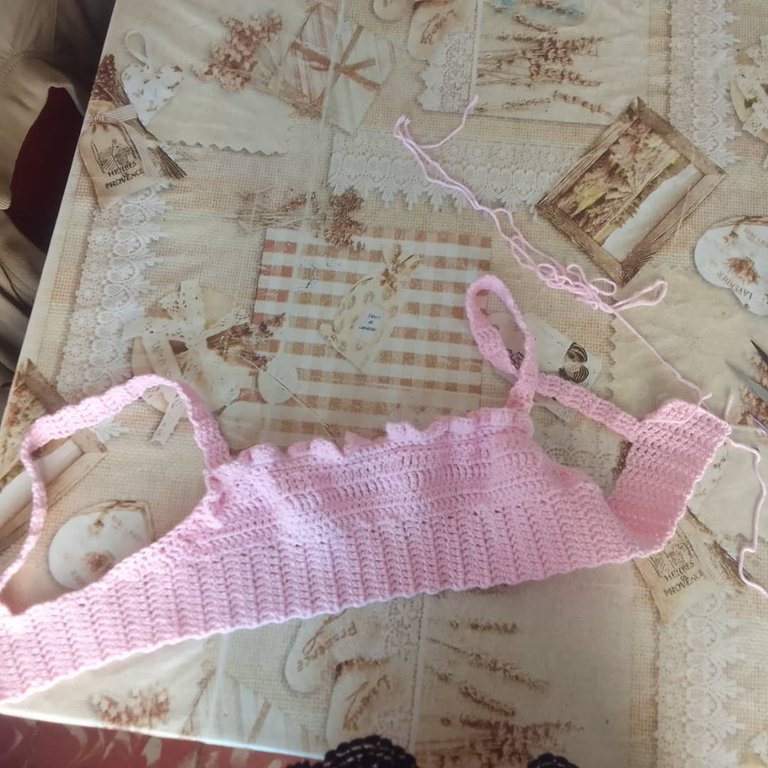
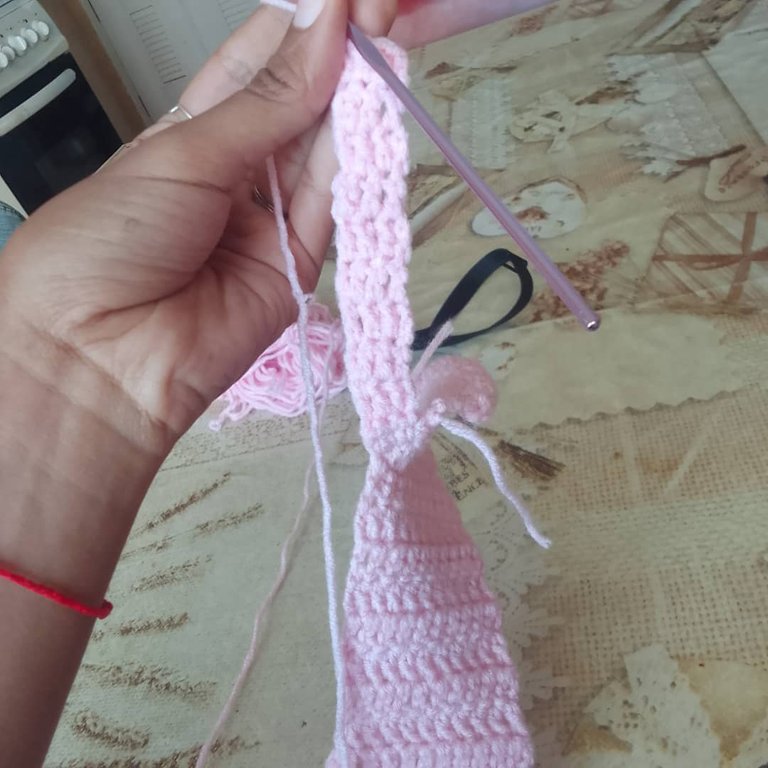
Claramente no podía faltar la comprobación de que me quedara bien. Ya que es un top y estamos en primavera muy próximos al verano en mi país, puede que le haga un juego a esta pieza para utilizarlo de bikini, sería una buena idea, a parte hace mucho que no voy a una playa.
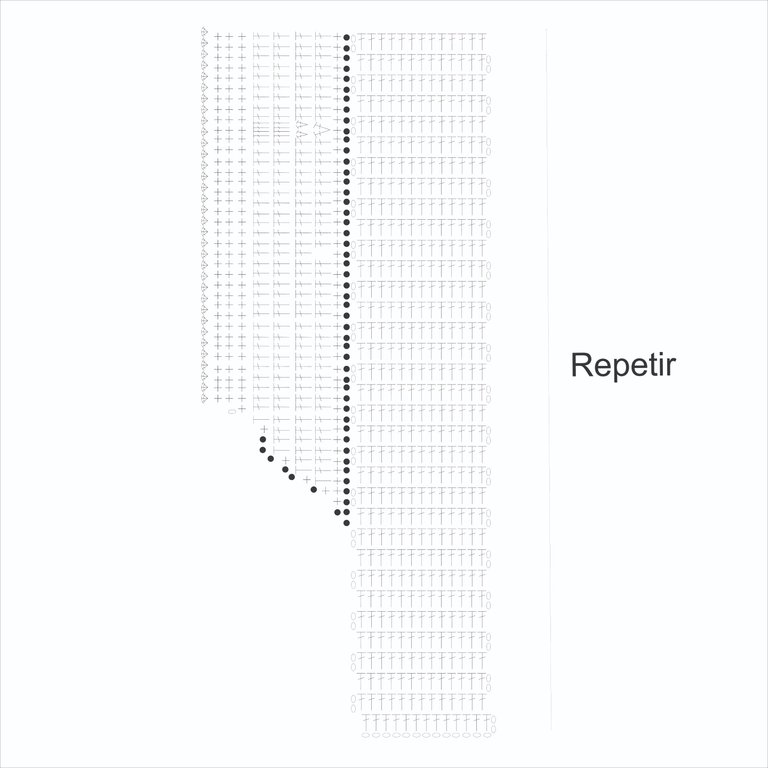
Vectorizado en CorelDraw
Bueno esta no es la mejor de las explicaciones que he dado de cómo hacer algo, pero les dejaré el patrón que hice después de haber hecho el top (que para ser sincera ni yo misma sé que fue lo que hice). Es el primer top que hago y estoy segura de que no será el último, así que habrá tiempo para mejorar la técnica y experimentar con cosas nuevas. Sin más que agregar espero que les haya gustado y nos vemos en el próximo post❤️.
English
Hello friends of #Hive
Today I want to share with you something I was working on very recently and the truth is that I was quite surprised by the result because it was something I had never done before. As you already know, I like crocheting and a few months ago I was taking classes, which for reasons beyond my control I have not been able to continue, even though my knitting teacher works with me, neither of us have had time to continue with the classes😅 so at some point we will return to them.
So far I know the basics and a few others, so I rely on that every time I want to do something. In the classes I also learned to make and read knitting patterns, and many times I don't do either as in making this croptop (it was after I finished it that I decided to make the pattern, so as not to forget how I did it). , and yes, sometimes I do everything the opposite of how I should, but as they say lately "you have to trust the process"😅.
Materials
Stamen
Needle
Scissors
Buttons
Steps
I started making the sash for the top, not too big, not too small. with chain stitch to start and then double crochet stitch to lift the fabric.

Before finishing the sash I left some spaces to make the buttonholes for the buttons. So let's get to the part where this can get complicated.
But let's go slowly so as not to get lost.
Long before learning how to knit, I had taken a cutting and sewing course and the knowledge acquired in that course has been very useful to me. In making this top it helped me identify the armhole (which is the distance between the shoulder and the lower part of the armpit) which is where the part that will make up the bust will begin. To make it look the same on both sides I used pins to mark.

I also marked the bust part for shape as I should add some stitches there.
At first I thought it would be difficult, because as I had said before I had never tried to do something like this and I was not guided by a pattern either, everything was more like an experiment.
To give it a much more beautiful shape, as the fabric went up, I made smaller stitches at the ends so that the rounded shape of the armhole remained.

When I had lifted enough so that no accidents would happen, I made a gather at the top, which I achieved by making three stitches in one.


Then I made some straps which I joined with a slip stitch to the top fabric. And lastly I added the buttons.


Clearly I couldn't miss checking that it fit me well. Since it is a top and we are in spring, very close to summer in my country, I may make a match for this piece to use as a bikini, it would be a good idea, besides I haven't been to a beach in a long time.


Vectorized in CorelDraw
Well, this is not the best explanation I have given on how to make something, but I will leave you the pattern I made after making the top (which to be honest, I don't even know what I did). It's the first top I've done and I'm sure it won't be the last, so there will be time to improve the technique and experiment with new things. Without further ado I hope you liked it and see you in the next post❤️.


