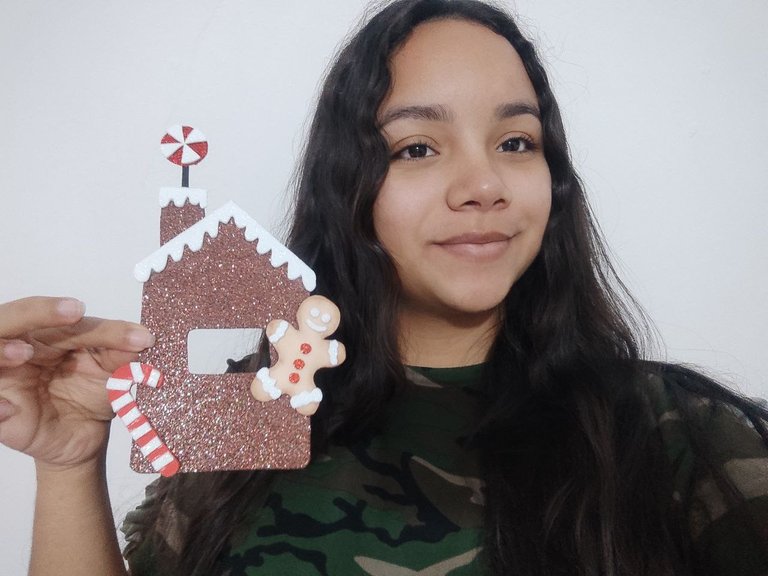
Hola amigos de #DIYHUB me complace compartir con ustedes mi creación para ambientar nuestra casa en la temporada navideña, esta vez se trata de una hermosa casa de jengibre con su respectiva galleta, para decorar el interruptor de la luz. Es un muy sencillo de hacer, únicamente debemos tener los materiales y el sentimiento navideño para que nos quede genial.
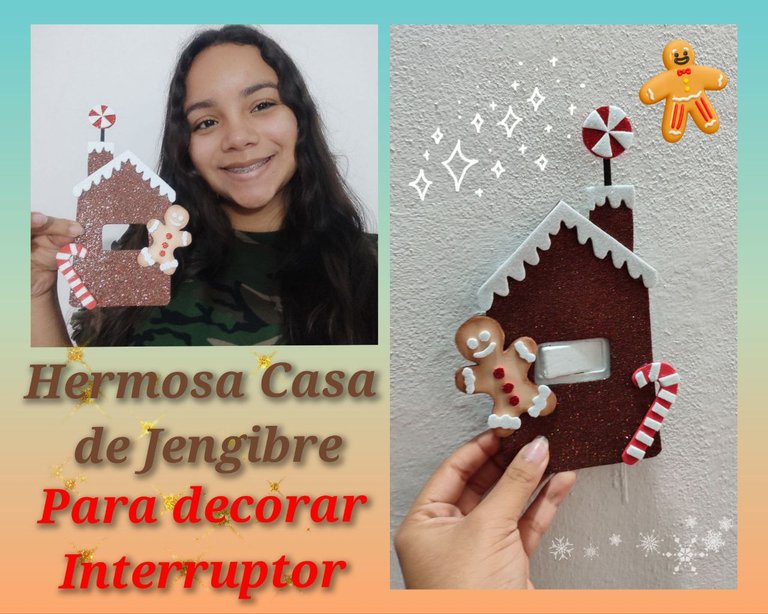
Hello friends of #DIYHUB I am pleased to share with you my creation to set our home in the Christmas season, this time it is a beautiful gingerbread house with its respective cookie, to decorate the light switch. It is a very simple to make, we just need to have the materials and the Christmas feeling to make it look great.
Materiales usados:.
- Lápiz y hoja blanca.
- Foami color marrón brillante.
- Foami color blanco.
- Foami color rojo brillante.
- Foami color carne mate.
- Marcador color marrón.
- Silicon líquido.
- Tijera.
Materials used..
- Pencil and white sheet.
- Brown glossy foami.
- Foami white color.
- Bright red foami.
- Matte flesh-colored foami.
- Brown marker.
- Liquid silicon.
- Scissors.
Procedimiento:
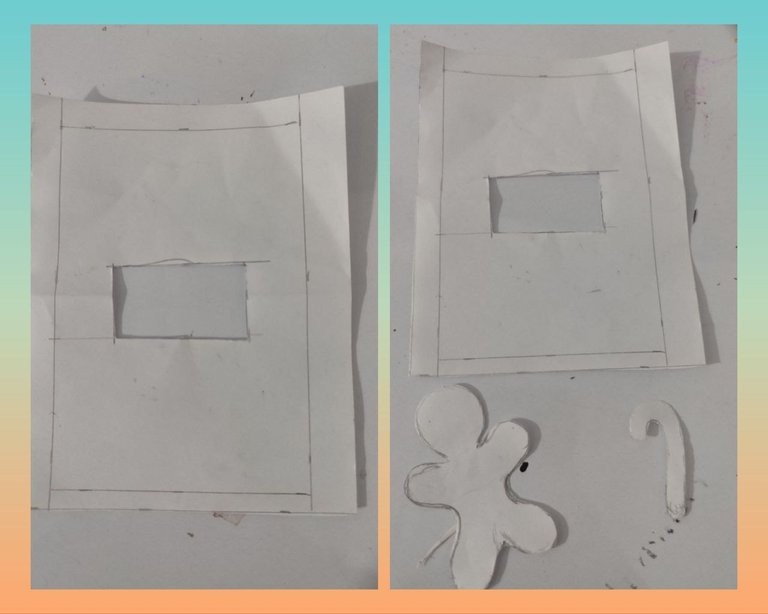
Primer Paso: Tome la hoja de papel y el lapiz para sacar el molde a utilizar, para eso fue con una regla al interruptor y lo medí hacia arriba y hacia los lados, también medí el suiche. Con las medidas dibuje el tamaño previsto para la casa de jengibre. Tambíen realice el molde del muñeco, el bastón y otros detalles de la casa de jengibre.
Procedure:
First step: I took the sheet of paper and the pencil to draw the mold to use, for that I went with a ruler to the switch and measured it up and to the sides, I also measured the suiche. With the measurements I drew the size foreseen for the gingerbread house. I also made the mold of the doll, the cane and other details of the gingerbread house.
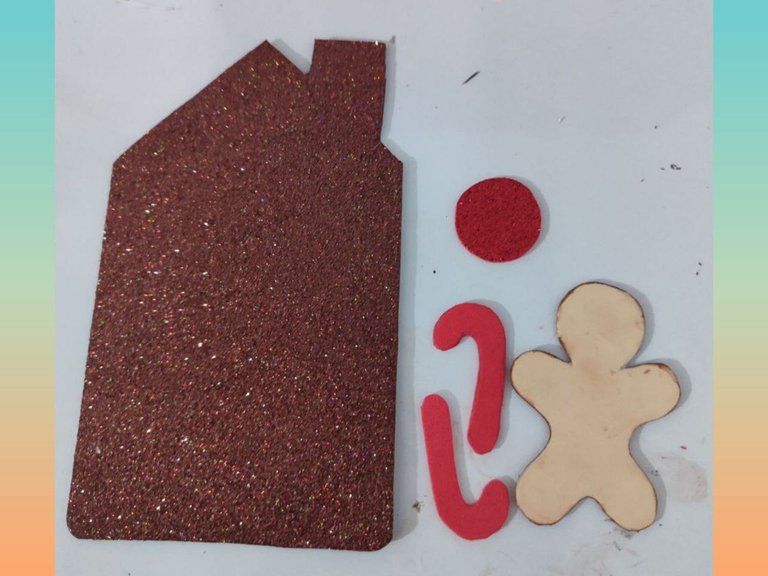
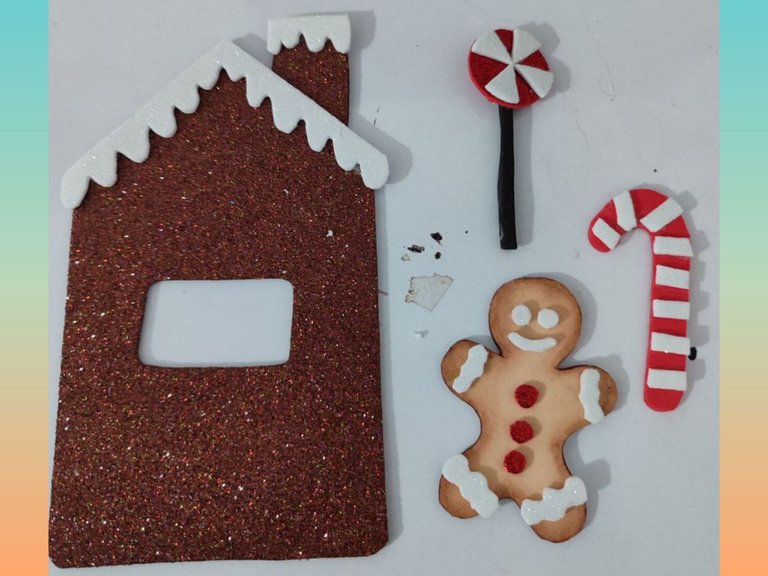
Segundo Paso: Luego de tener los moldes hechos en papel, use el lápiz para marcar en el foami, y la tijera para recortar las piezas. Recorte en foami marrón brillante la casa de jengibre. En foami rojo los dos bastones y en foami color carne el muñeco de galleta de jengibre.
Second step: After having the molds made on paper, use the pencil to mark on the foami, and the scissors to cut out the pieces. Cut out the gingerbread house in shiny brown foami. In red foami the two canes and in flesh-colored foami the gingerbread cookie doll.
Tercer Paso: Continúe recortando las piezas en foami, esta vez en foami blanco brillante la simulación de la nieve del techo de la casa y algunas tiras para decorar los bastones. Use el marcador color marrón para pintar el borde del muñeco a los fines de ver la galleta cocida.
Third step: Continue cutting out the pieces in foami, this time in bright white foami to simulate the snow on the roof of the house and some strips to decorate the canes. Use the brown marker to paint the edge of the doll to show the baked cookie.
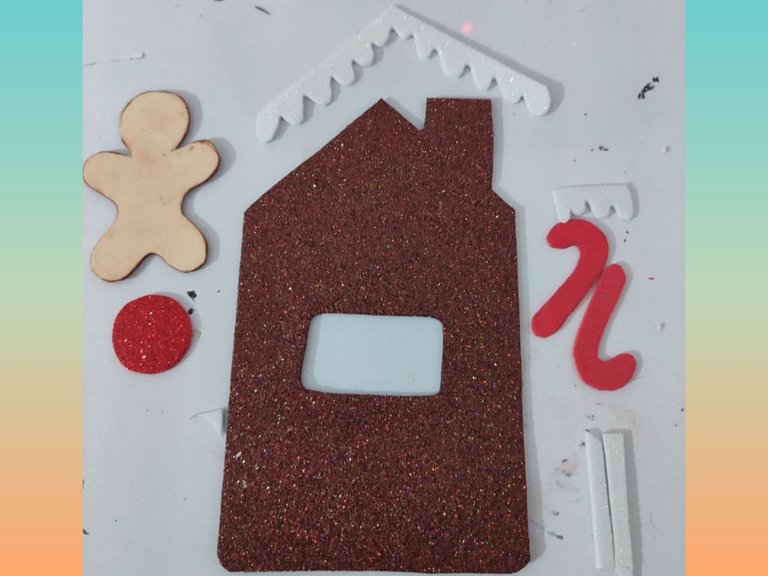
Cuarto Paso: Llego el momento de usar el silicon para pegar las piezas, pegue la nieve del techo, al muñeco las piezas blancas para señalar el rostro, las manos y los pies. Igualmente a pegue tiras blancas al bastoncito. y al circulo de la chimenea.
It was time to use the silicone to glue the pieces, I glued the snow on the roof, the white pieces to the doll to indicate the face, hands and feet. I also began to glue white strips to the cane and the circle of the chimney.
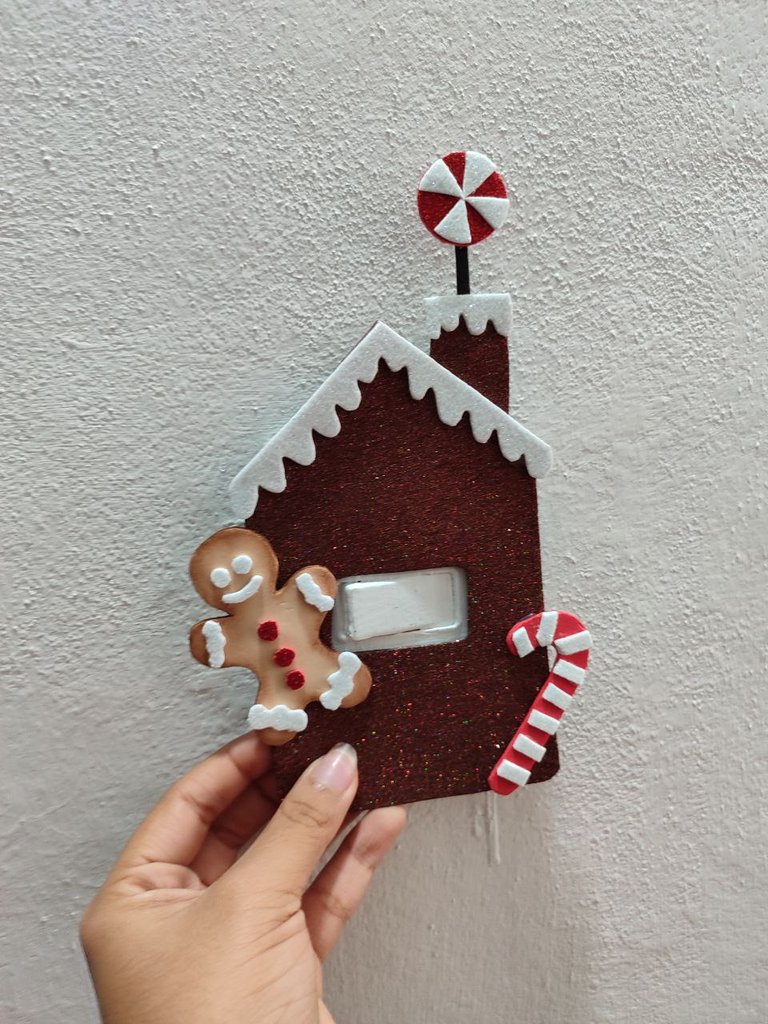
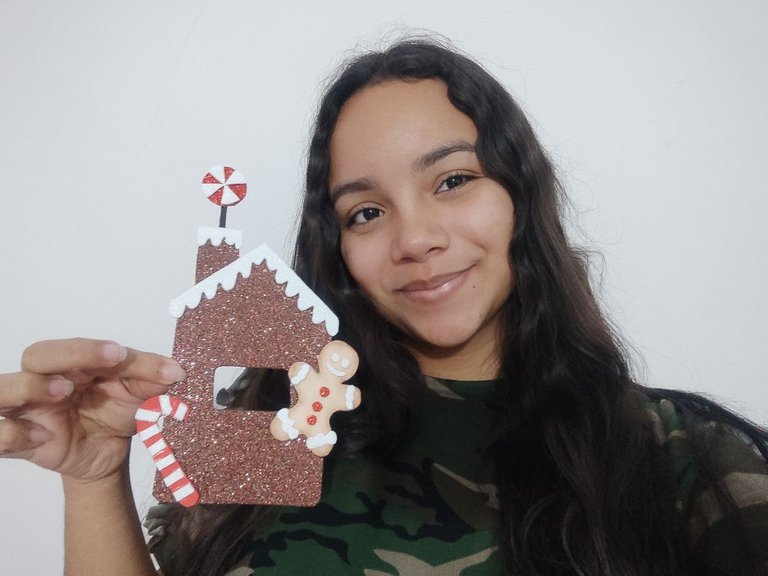
Teniendo lista mi casa de jengibre, fue a probar como lucia en el interruptor y quede enamorada por eso les muestro encantada como a quedo mi creación para decorar en navidad.
Having my gingerbread house ready, I went to test how it looked on the switch and I was in love with it, so I am delighted to show you how my creation turned out to decorate for Christmas.
Todas las fotos son de mi propiedad y exclusivas para esta publicación. Camara usada: Teléfono Redmi Note 9. All photos are my property and exclusive for this publication. Camera used: Redmi Note 9 phone.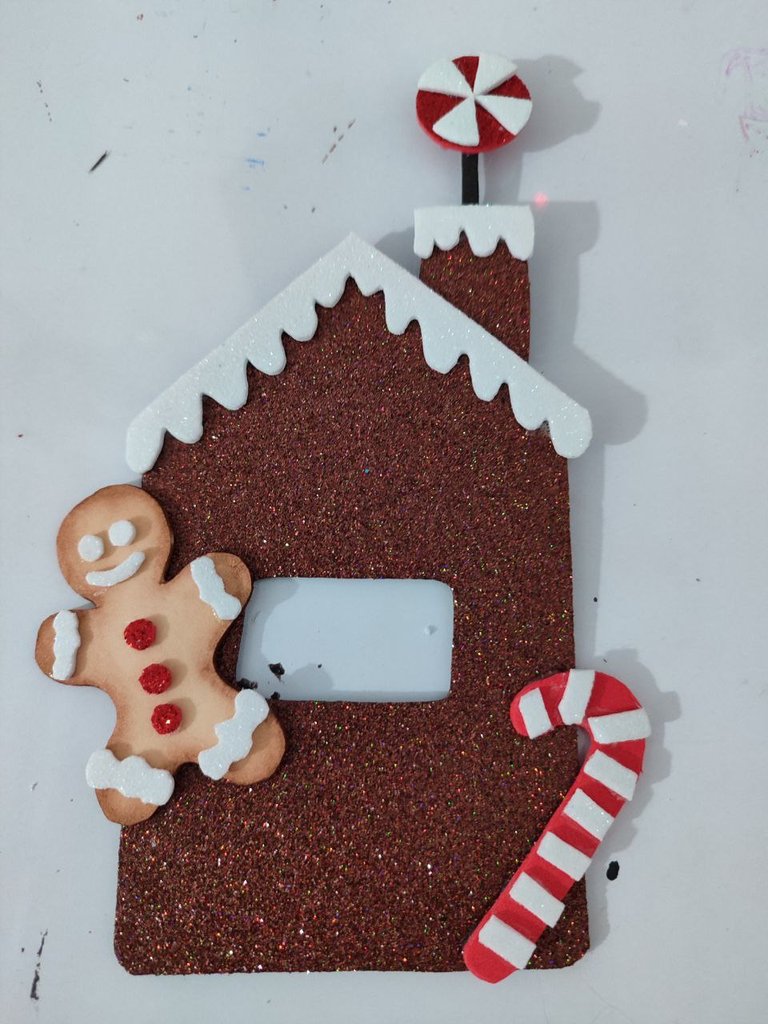

He usado el traductor Deepl.com versión gratuita.
Muchas gracias por leer y visitar mi post.💖
I used Deepl.com translator free version.
Thank you very much for reading and visiting my post.💖
