Good, good my bloggers stars 💫 I hope you had a wonderful day and I wish you a happy start of the month, this time I want to share a craft that was given without being fully planned, I will teach you how to make some decorative pictures for the kitchen, magical place where the succulent foods that will taste our taste buds are born, That is why in view of the importance that the kitchen represents, today in my work we realized that we had to make that area where we eat every day a comfortable, pleasant place to eat at ease.
Buenas, buenas mis blogueros estrellas 💫 espero tuvieran un maravillo día y les deseo un feliz inicio de mes, en esta oportunidad quiero compartir una manualidad que se dió sin estar plenamente planificada, voy a enseñarles cómo realizar unos cuadros decorativos para la cocina, lugar mágico en dónde nacen los suculentos alimentos que degustarán nuestras papilas gustativas, proporcionándonos los nutrientes y energía para nuestro día a día, es por ello que en vista de la importancia que representa la cocina, el día de hoy en mi trabajo nos dimos cuenta que debíamos hacer de esa área en dónde día a día comemos un lugar cómodo, agradable para poder comer a gusto.
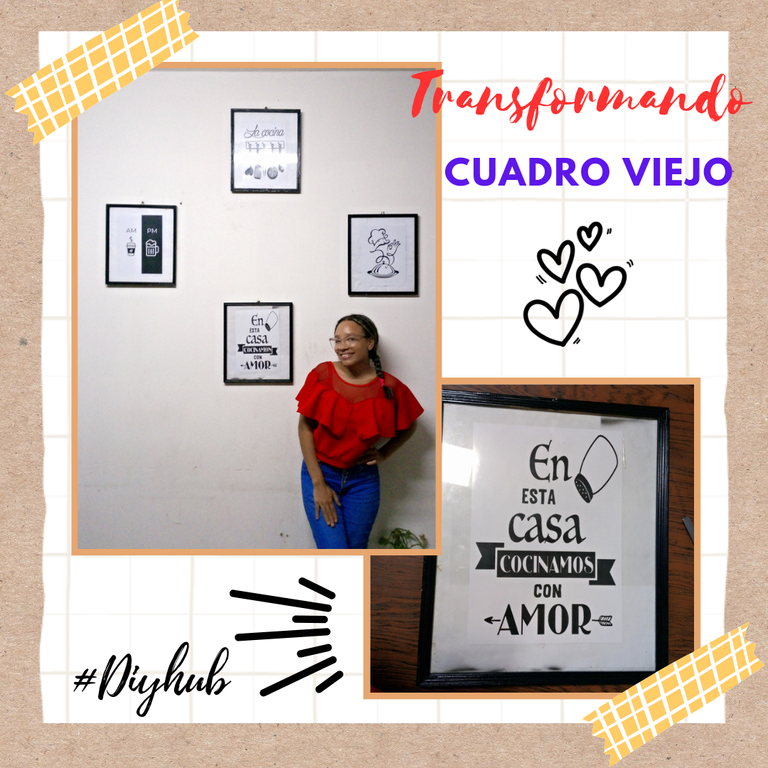
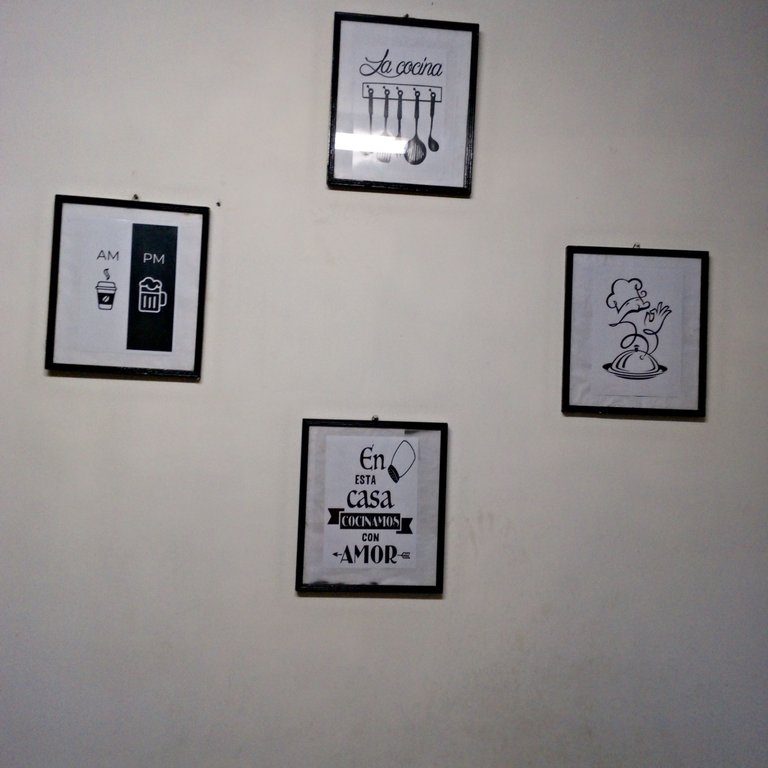
Yesterday we had done an exhaustive cleaning in the Tribunal areas and we found some deteriorated pictures, they had worn frames and the internal images were in bad conditions, so we decided to give a new use to those pictures and transform them into something useful, I started to put my imagination to fly and the idea of making some pictures for the kitchen came out.
El día de ayer habíamos realizado una limpieza exhaustiva en las áreas del Tribunal y encontramos unos cuadros deteriorados, tenían los Marcos desgastados y las imágenes internas en malas condiciones, entonces decidimos darle un nuevo uso a esos cuadros y transformarlos en algo provechoso, empecé a poner mi imaginación a volar y salió la idea de hacer unos cuadros para la cocina.
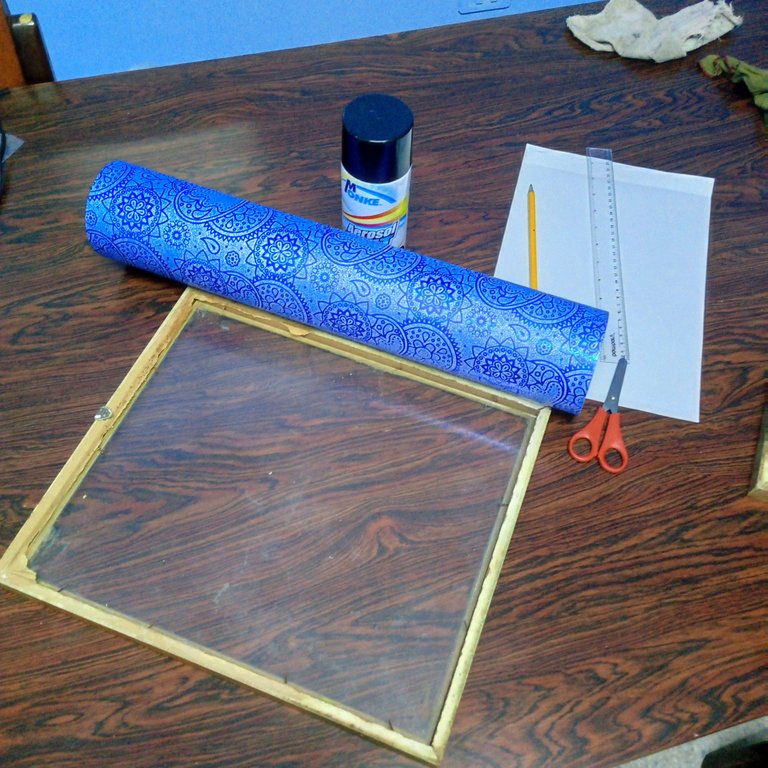
To make them we need the following materials.
- Frame with glass.
- Roma or pointed scissors.
- Spray paint 🎨
- White sheets.
- Graphite pencil.
- Prints with the figures of our liking.
- Cardboard (optional).
Para realizarlos necesitamos los siguientes materials
- Marco con vidrio.
- Tijera punta Roma o puntiaguda.
- Pintura en aerosol 🎨
- Hojas blancas.
- lápiz grafito.
- Impresiones con las figuras de nuestro gusto.
- Cartulina (opcional).
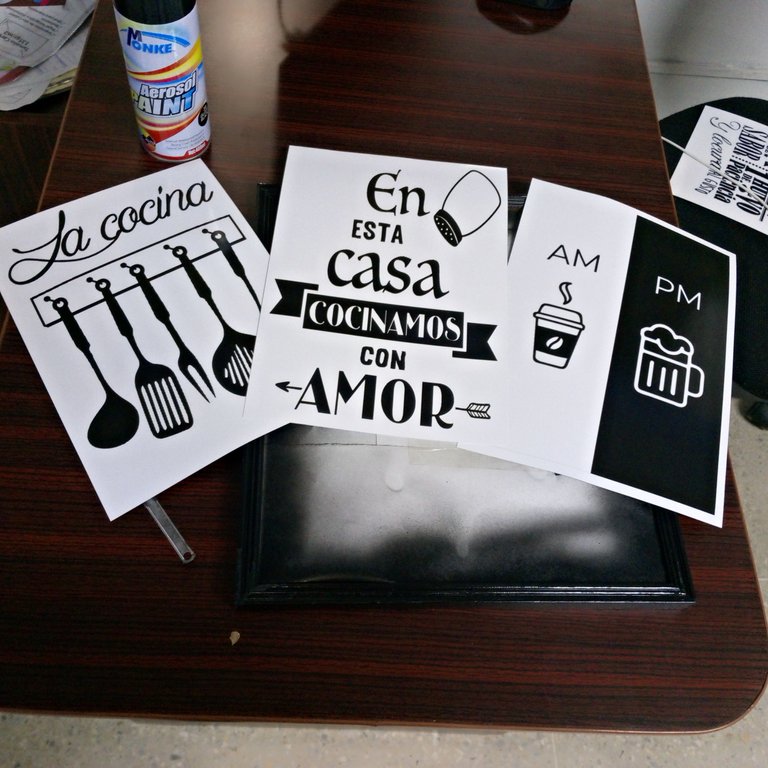
Let's go to the elaboration:
Vamos a la elaboración:
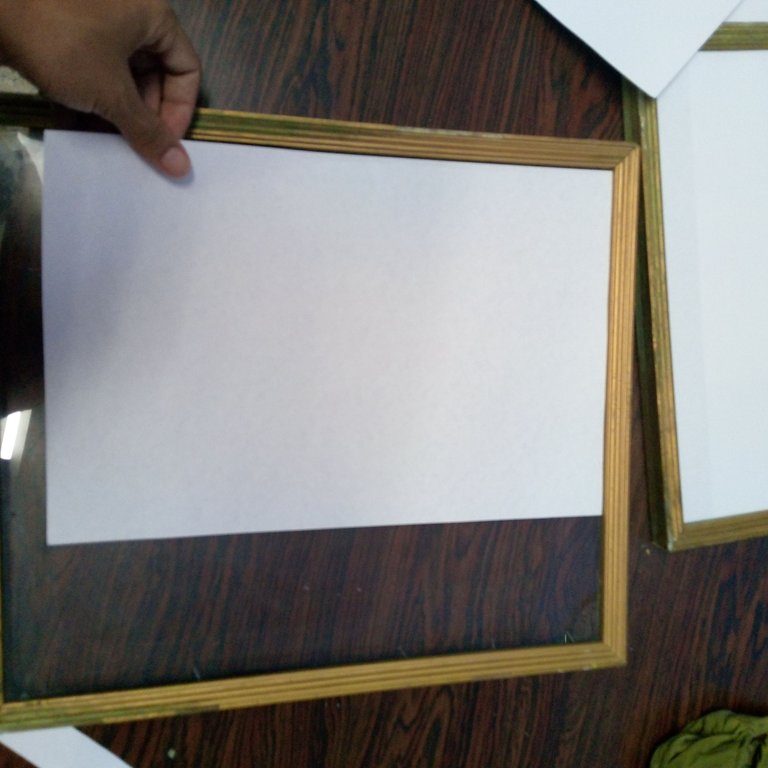
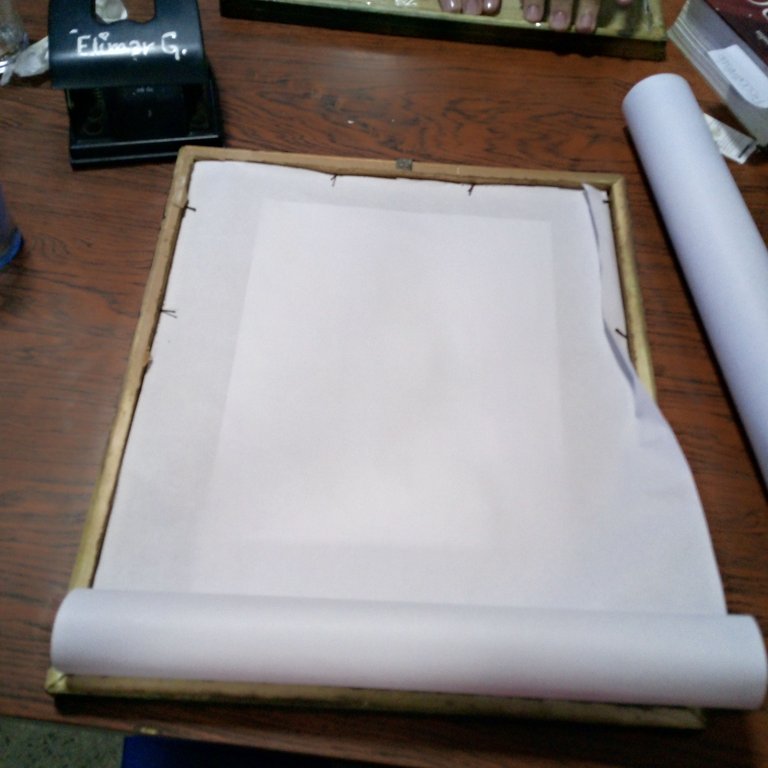
- Step N° 1:once we have the frame clean, if your frame already has the glass we must cover it with white sheets to prevent the glass from staining.
- Paso N° 1:una vez tengamos limpio el marco, si su marco ya posee el vidrio lo debemos cubrir con hojas blancas para evitar que el vidrio se manche.
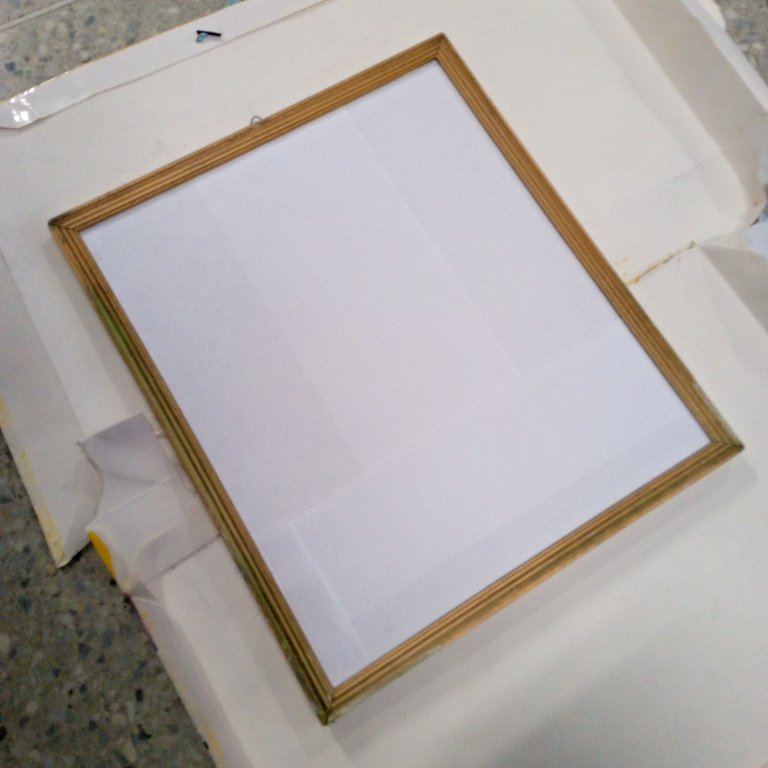
- Step N° 2: we place our frame on a surface to be painted, remember that as it is spray paint we must make sure to place a protector underneath to avoid damaging the surface where we are going to paint.
- Paso N° 2: colocamos nuestro marco en una superficie para ser pintado, recordemos que como es pintura en aerosol debemos asegurarnos de colocar un protector abajo para evitar dañar la superficie donde vamos a pintar.
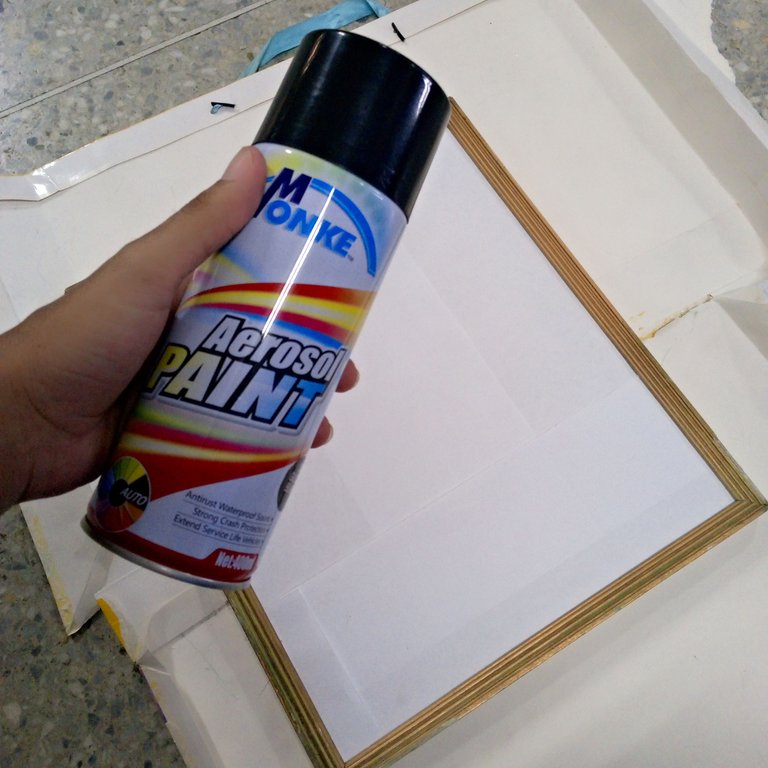
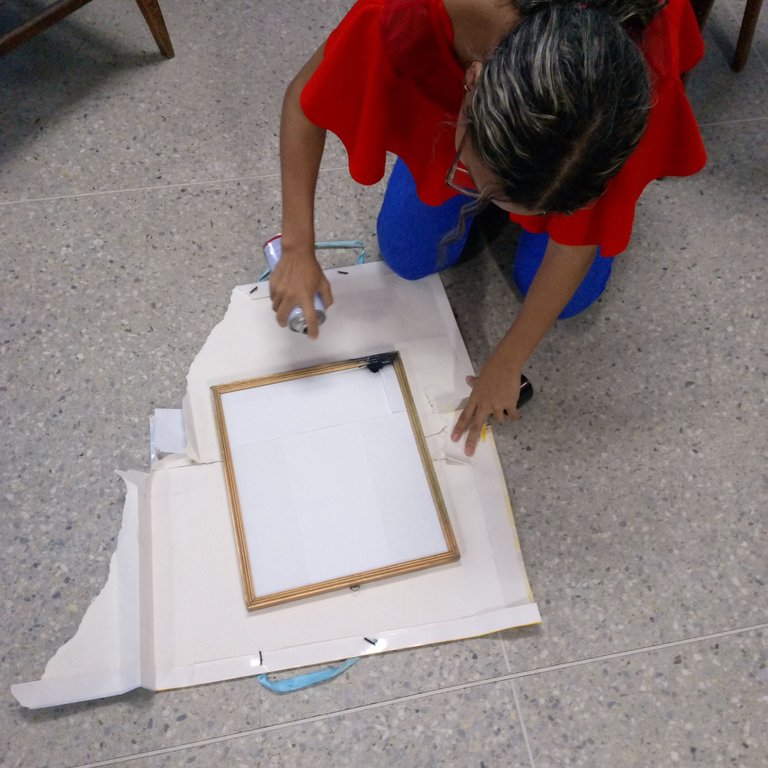
- Step N° 3: once the surface is secured we proceed to start painting our frame.
- Paso N° 3: una vez asegurado la superficie procedemos a empezar a pintar nuestro marco.
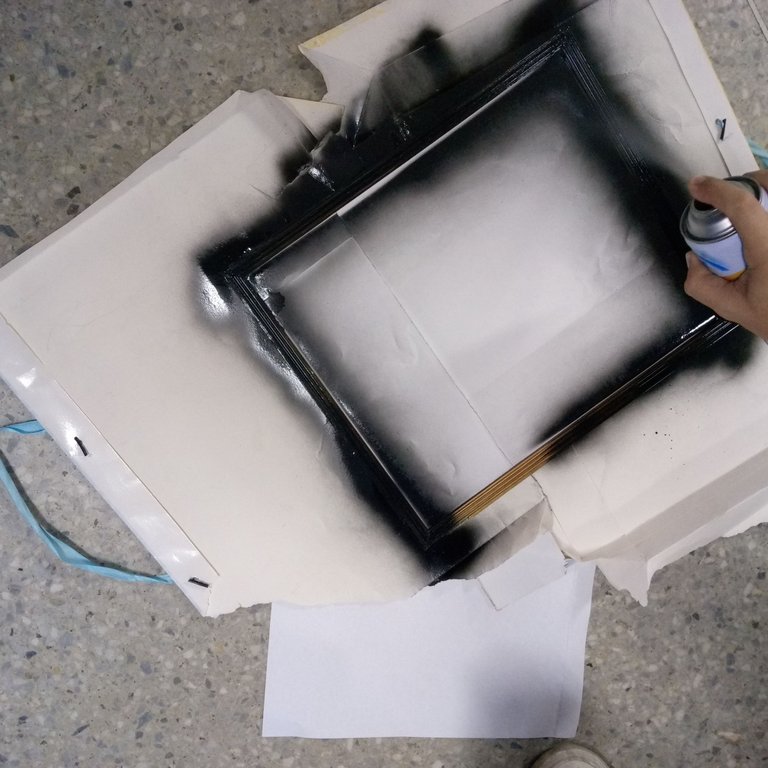
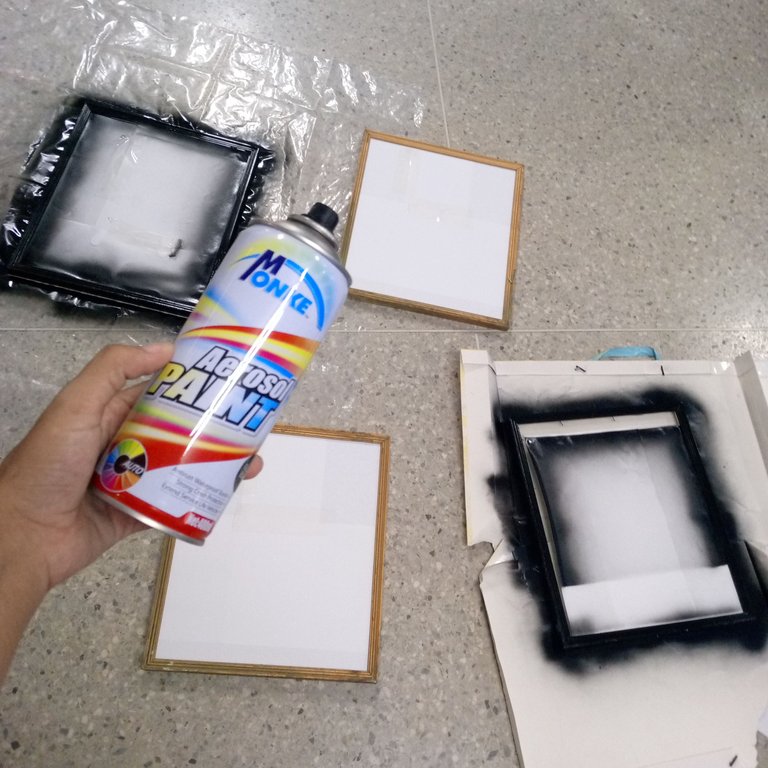
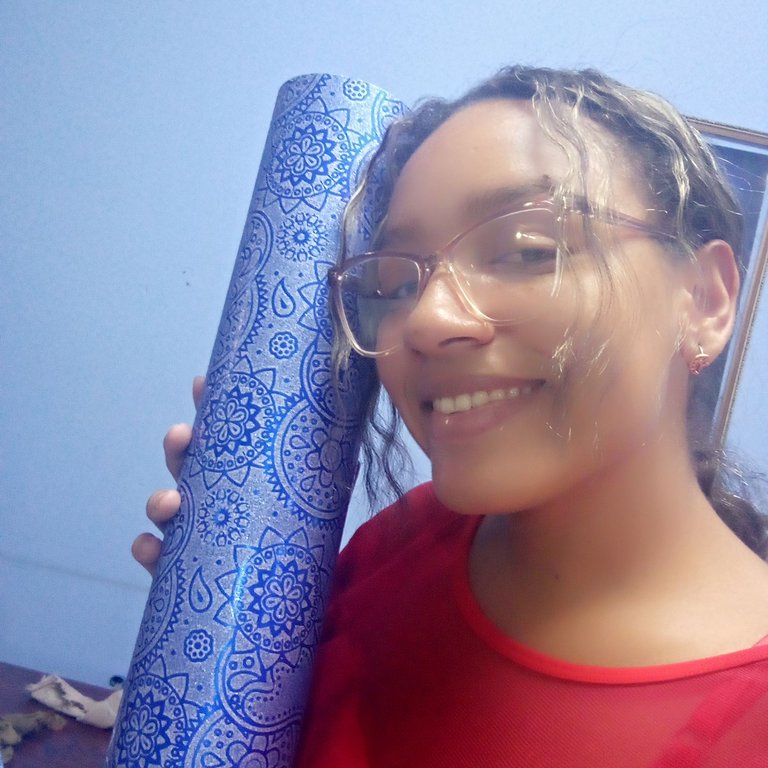
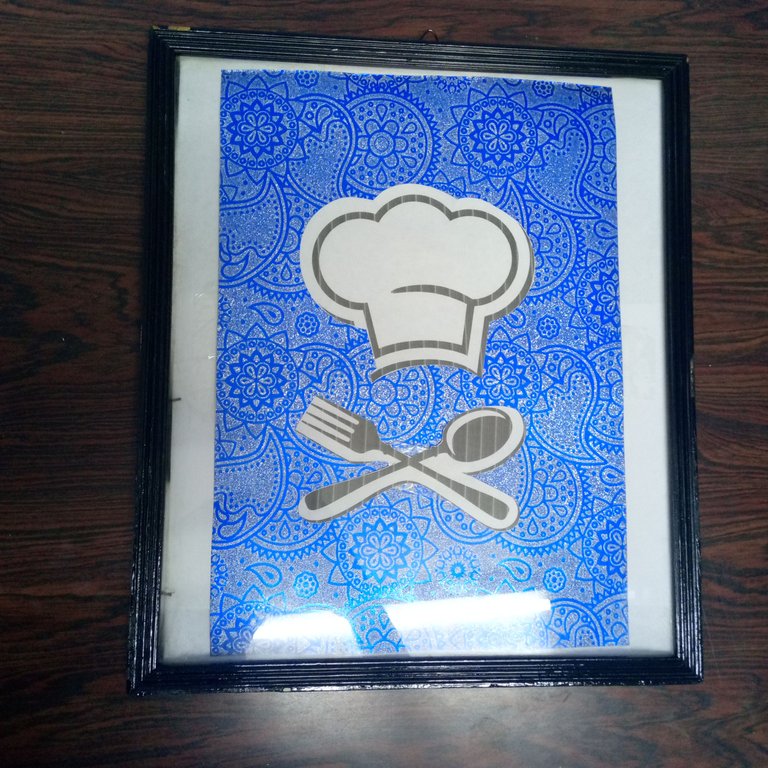
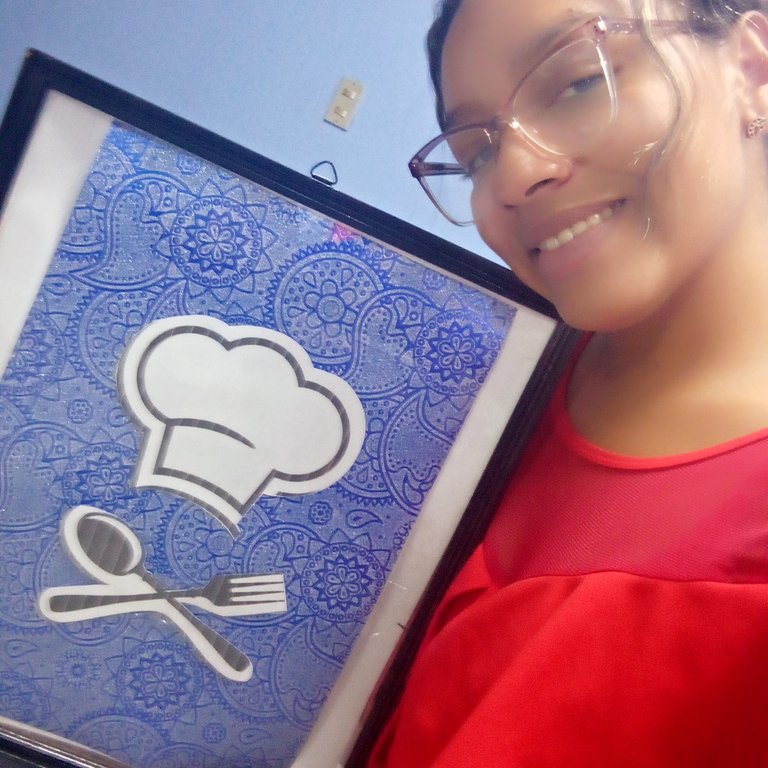
- Step N° 4: While the frame dries, we start to take our cardboard if we are going to use it, in my case I have blue printed cardboard and white cardboard, and we mark the measurements of the frame on the cardboard.
- Paso N° 4: Mientras él marco se seca, empezamos a tomar nuestra cartulina si la vamos a utilizar, yo en mi caso tengo cartulina azul estampada y cartulina blanca, y marcamos las medidas del marco en la cartulina.
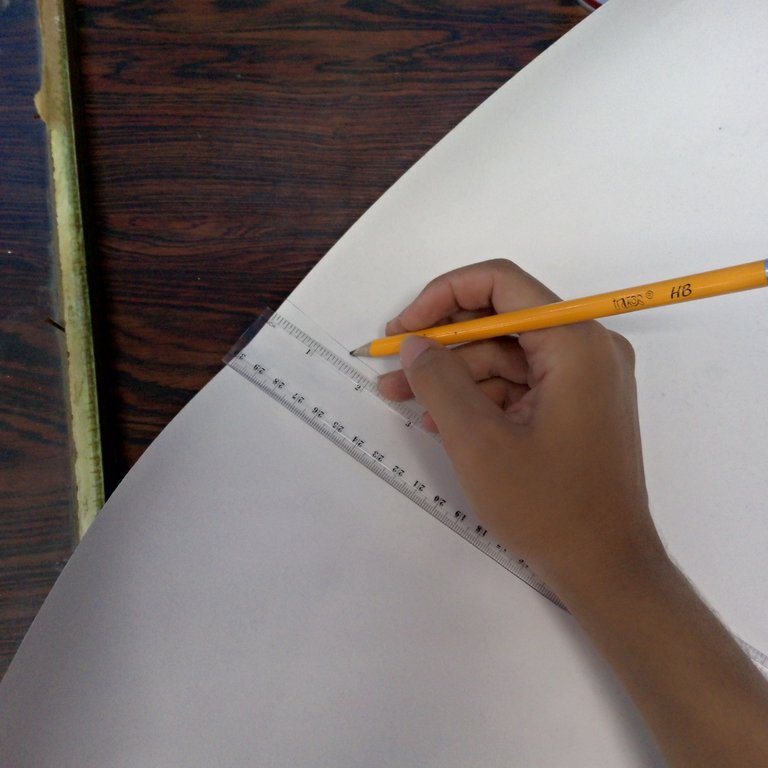
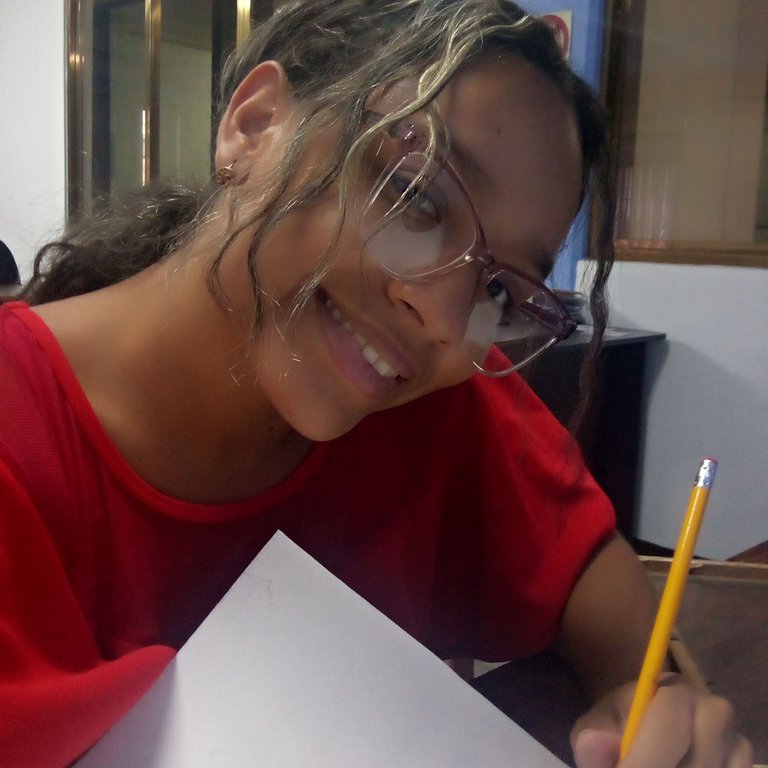
- Step 5: Once the cardboard is marked, we proceed to cut it out and we will have something like this.
- Paso N° 5: Una vez marcada la cartulina procedemos a recortarla y nos quedará algo así.
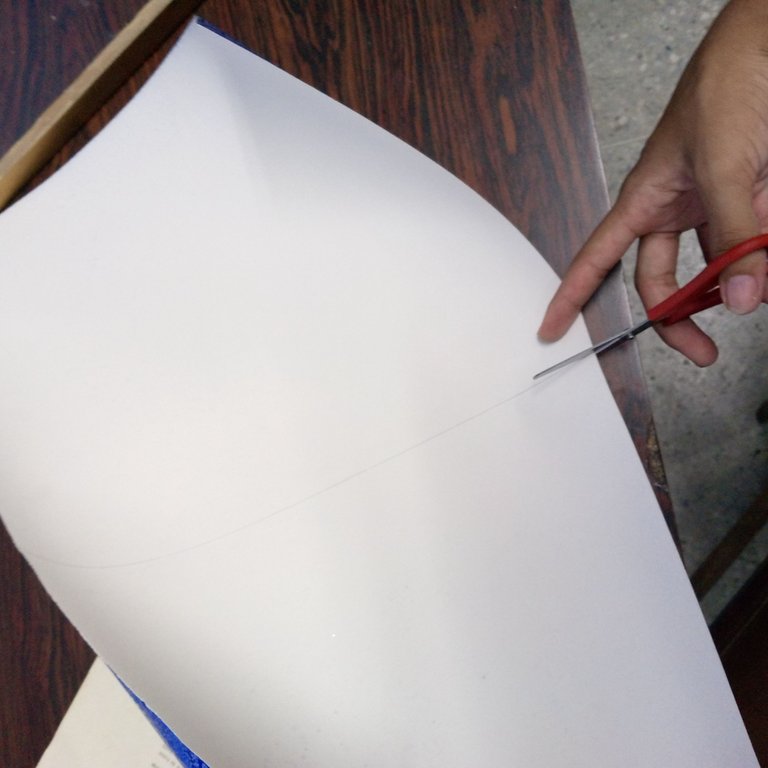
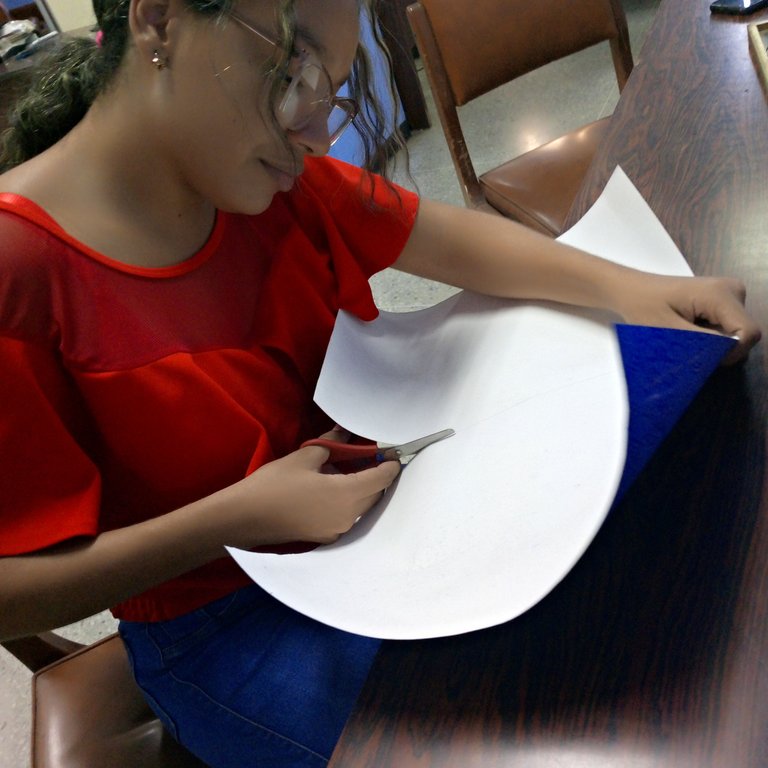
- Step 6: after cutting the cardboard, we take the figure we have chosen to place and we square it so that it is centered in the frame.
- Paso N° 6: luego de cortada la cartulina, tomamos la figura que elegimos para colocar y cuadramos que quede céntrica en el marco.
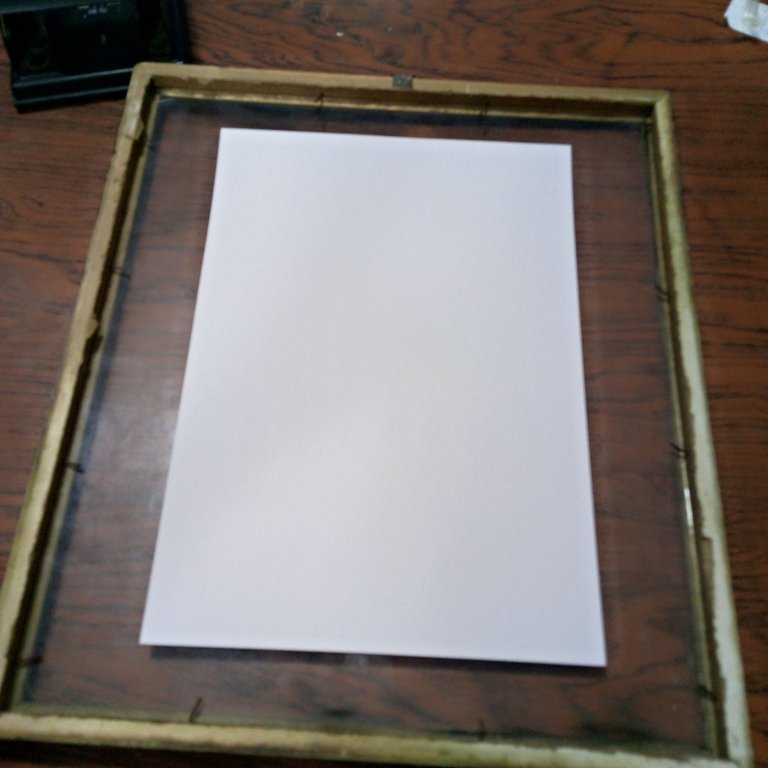
- Step N° 7: we place the cardboard together with the image on the frame and secure it with a cardboard.
- Paso N° 7: colocamos la cartulina junto con la imagen en el cuadro y la aseguramos con un cartón.
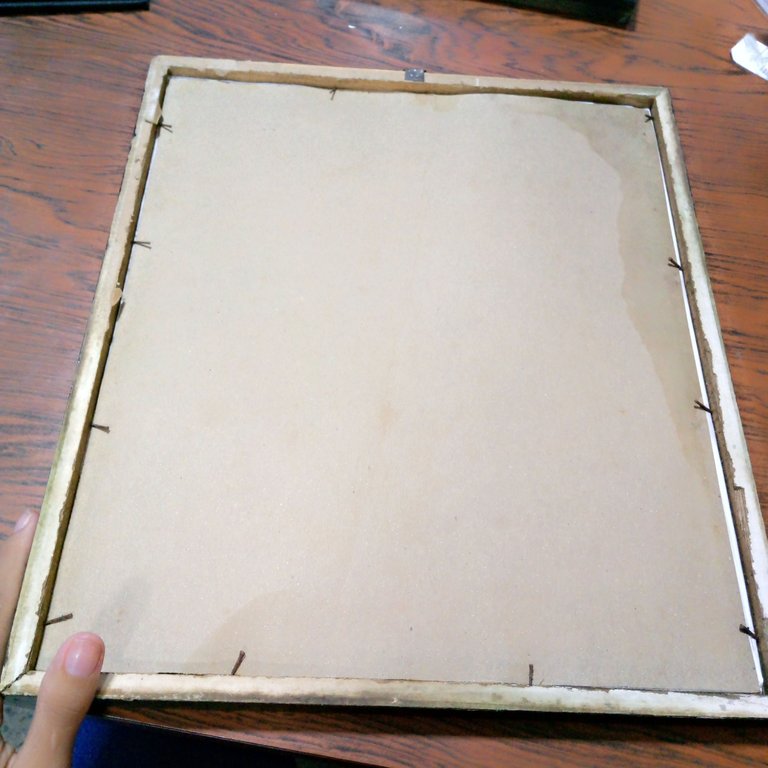
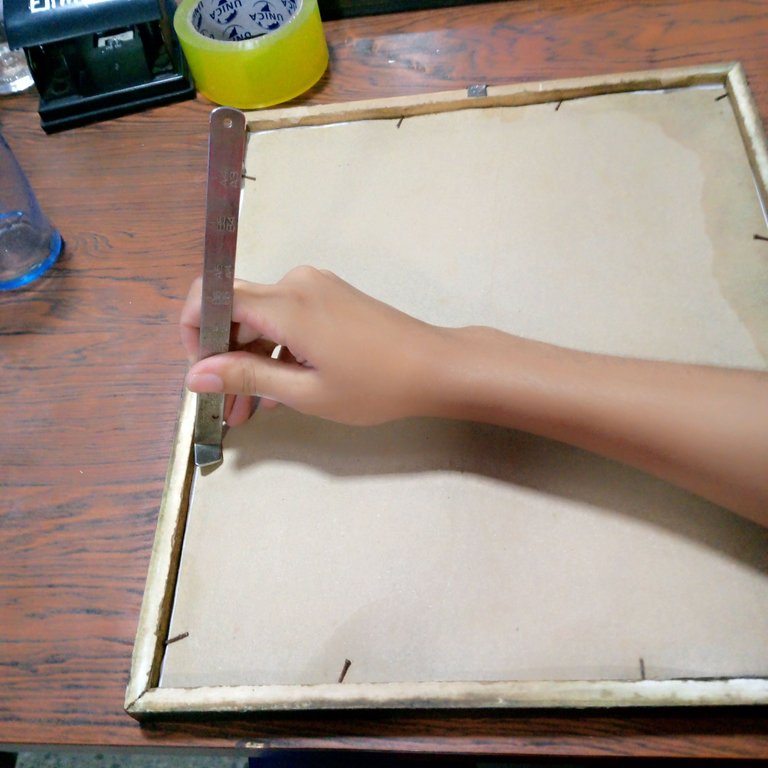
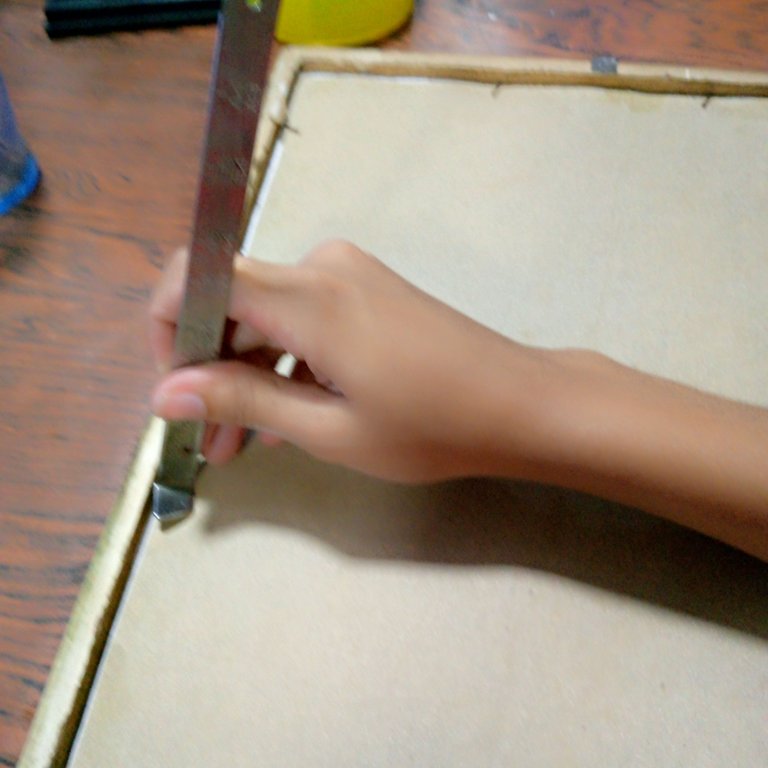
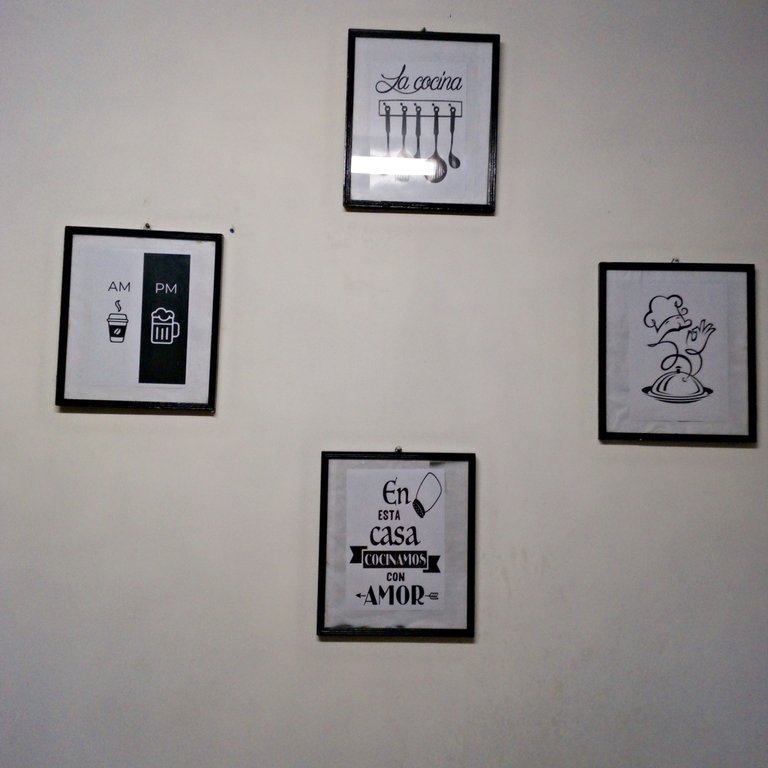
- Step N° 8: the frame already has some nails that secure the cardboard so that it does not come out, then we press on those nails and ready we can place and enjoy our pictures made by our own hands.
- Paso N° 8: el marco que tenía ya posee unos clavitos que aseguran el cartón para que no se salga, entonces apretamos en esos clavitos y listo ya podemos colocar y disfrutar de nuestro cuadros hechos por nuestras propias manos.
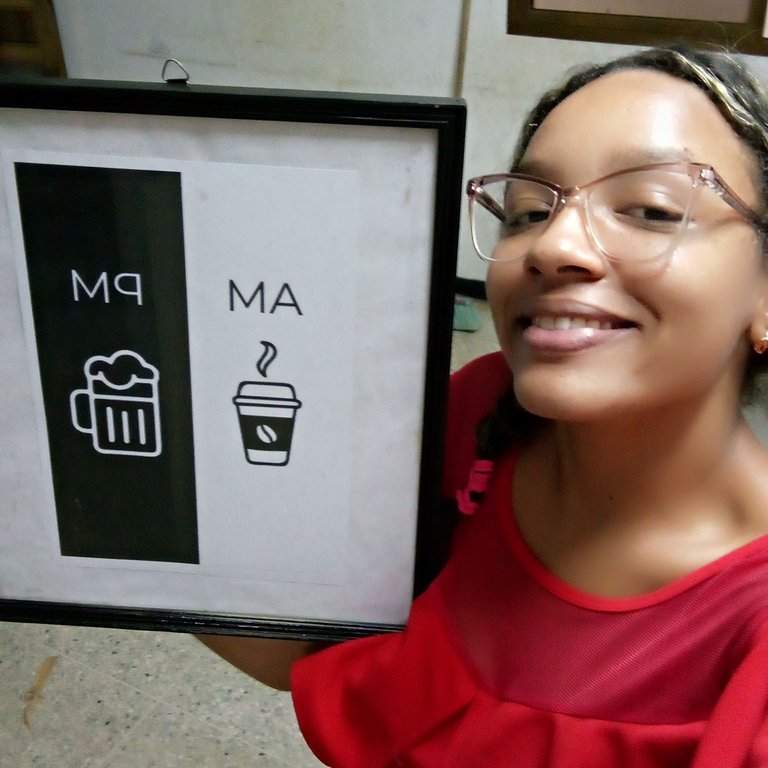
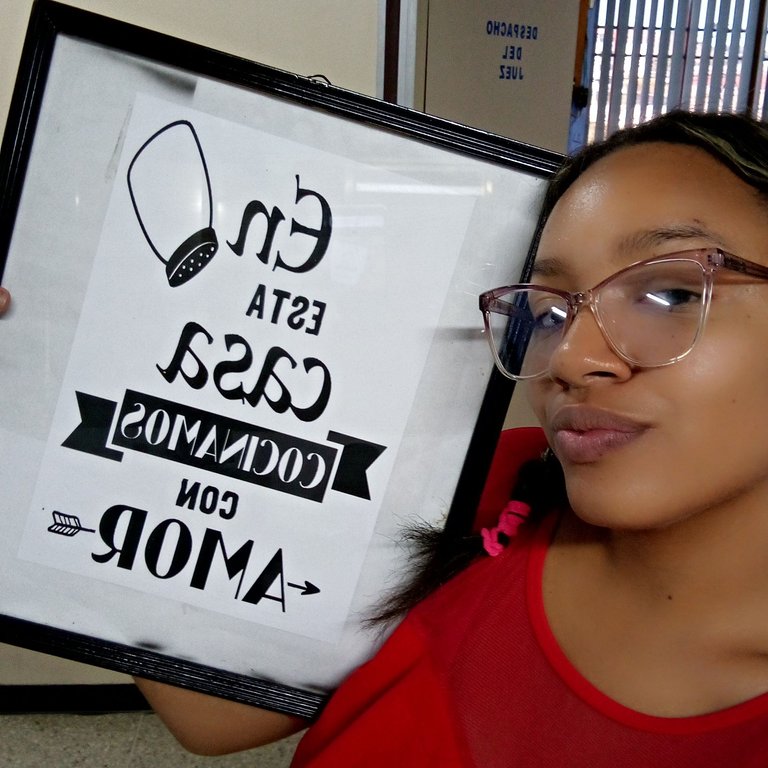
The spaces in which we share daily must represent something for us, we must give them our personal touch to feel at ease in them, with things that for others is waste we can do wonderful things, let's give new life to what we believe is already trash, be the designer of your dreams and it is necessary that you transmit those dreams through your works.
Los espacios en los que compartimos a diarios deben representar algo para nosotros, debemos darle muestro toque personal para sentirnos a gusto en ellos, con cosas que para otro es desecho podemos hacer cosas maravillosas, demos nueva vida a aquello que creemos que ya es basura, se el diseñador de tus sueños y es necesario que transmites esos sueños a través de tus obras.
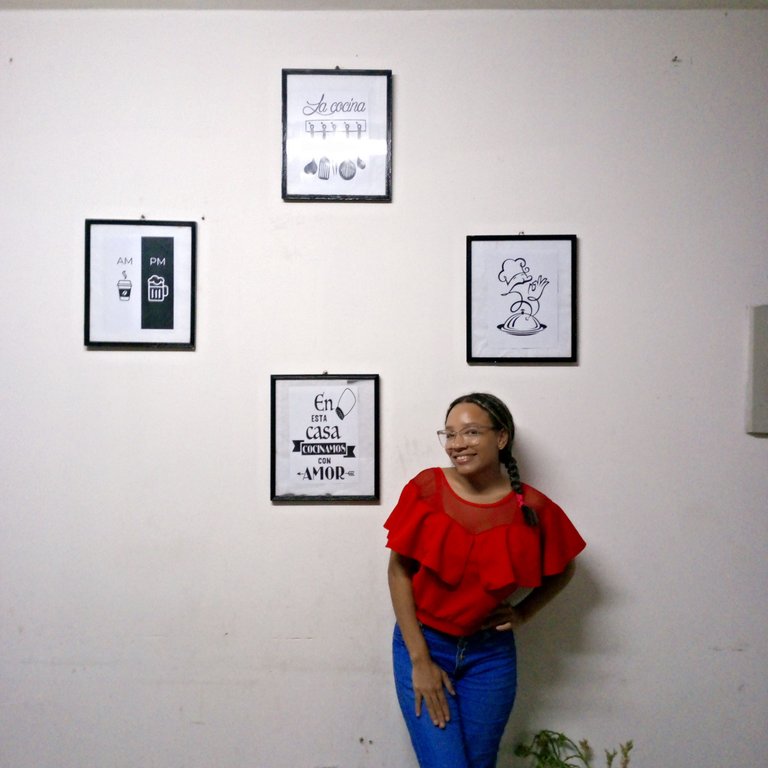
I say goodbye to you not before thanking @hivesucre and @ocd because I was able to create this blockchain, without leaving aside @omarcitorojas who is always willing to give me a helping hand whenever I need it when publishing a post with you; I hope my dear bloggers dare to make these pictures and enjoy it as much as I do.
Me despido de ustedes no sin antes agradecer a @hivesucre y @ocd porque a ellos pude crear este blockchain, sin dejar a un lado a @omarcitorojas que siempre está dispuesto a brindarme una mano amiga cada vez que la necesito al momento de publicar algún post con ustedes; espero mis queridos blogeros se atrevan a realizar estos cuadros y lo disfruten tanto como yo.
All photographs are my own, captured with my Infinix Smart 7 mobile device, the cover photo was edited with Canva
The text and summary is entirely my own.
Text translated with DeepL
Todas las fotografías son de mi autoría capturadas con mi dispositivo móvil Infinix Smart 7, la foto de portada fue editada con Canva
El texto y resumen es totalmente de mi autoría.
Texto Traducido con DeepL


