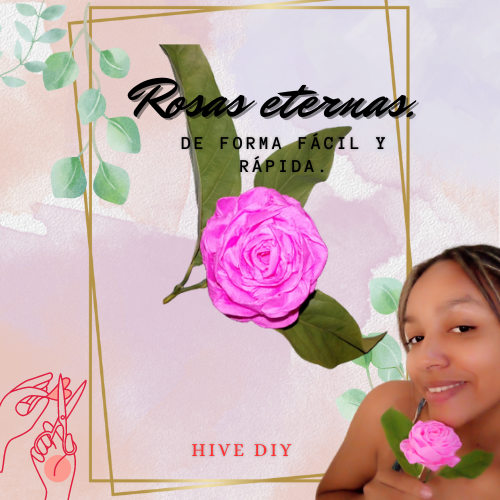
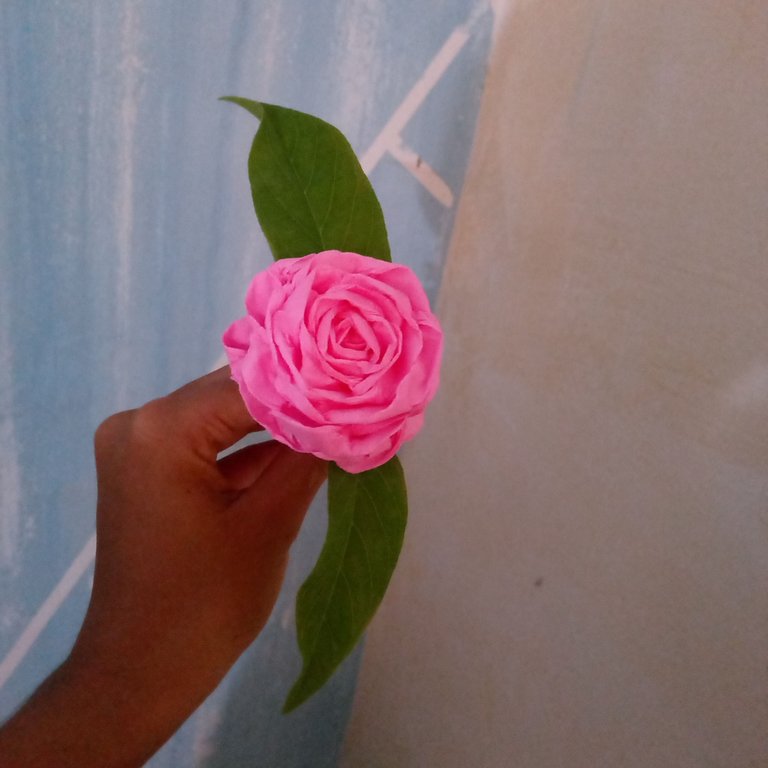
Hello my creative 💫, I hope that like me, this day has been of blessings; many times there is no better way to express our feelings to the people we love than with a gesture, and there is no greater detail that people value more than those made with our own hands💫, since they are made with all our love ❤️, this time I want to share with you these eternal roses🌹, made with crepe paper, perfect to make a small detail to any loved one.
Hola mis creativos 💫, espero que al igual que yo, este día haya sido de bendiciones; muchas veces no hay una mejor manera que expresarle a las personas que queremos nuestros sentimientos que con algún gesto, y no hay un mayor detalle que las personas valoren más que aquellos realizados con nuestras propias manos🫱, ya que son hecho con todo nuestro amor ❤️, en esta oportunidad quiero compartir con ustedes estas rosas eternas🌹, realizadas con papel crepé, perfectas para realizar un pequeño detalle a cualquier ser querido.
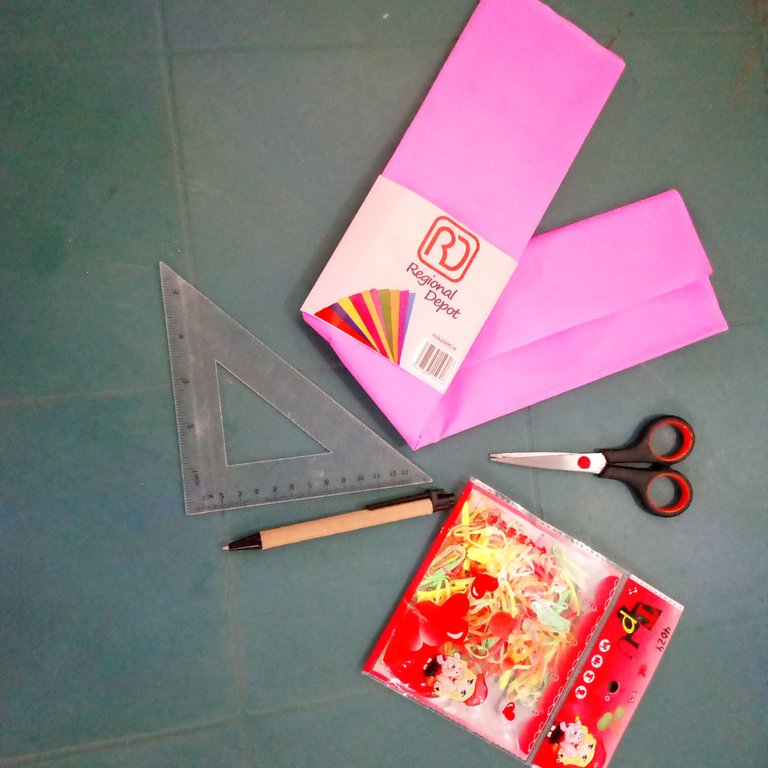
For this we will need the following materials
- 1 crepe paper of your favorite color.
- 1 scissors, it can be Roma tip.
- 1 ruler 📏
- 1 pencil ✏️
- Rubber bands.
Para ello necesitaremos de los siguientes materiales
- 1 papel crepé de tú color preferido.
- 1 Tejera, puede ser punta Roma.
- 1 regla 📏
- 1 lápiz ✏️
- Liguitas de goma.

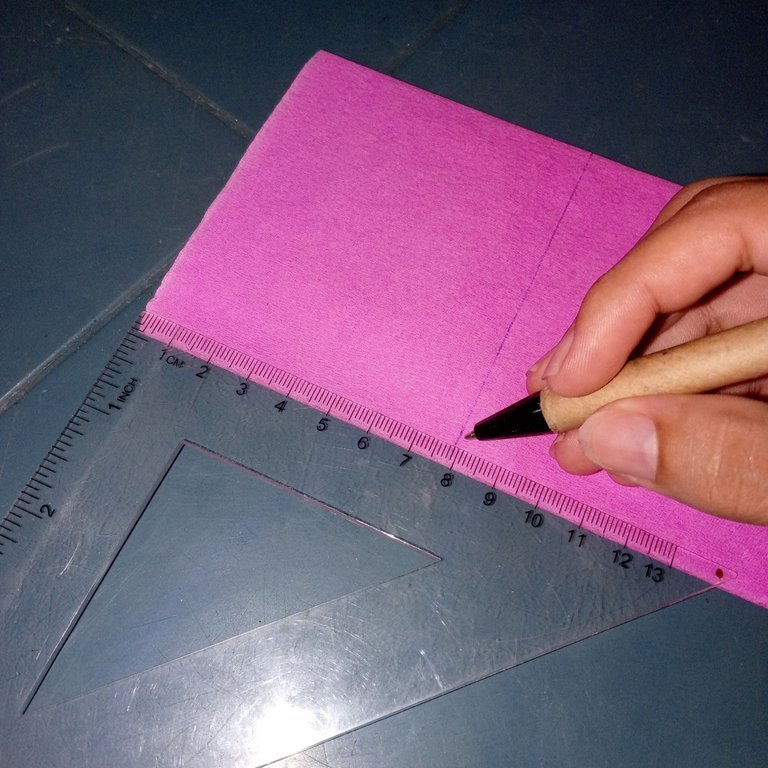
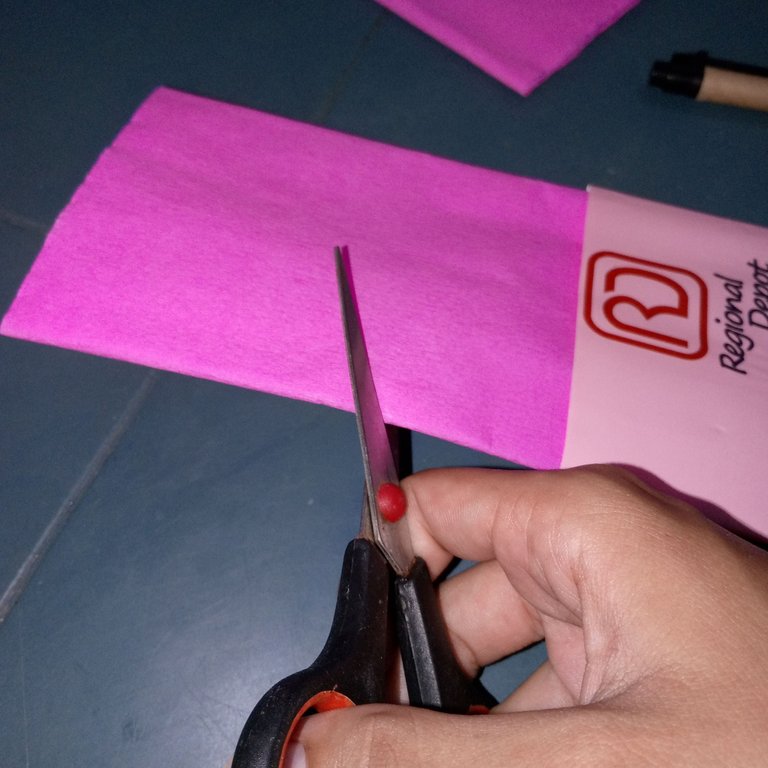
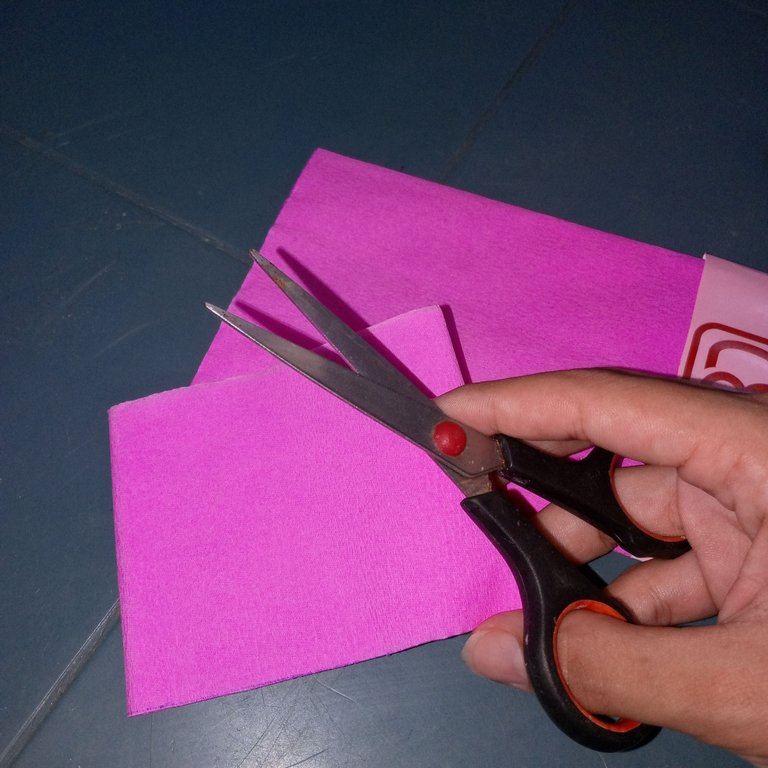
- Step 1: As a first step we will mark 8 centimeters with our ruler on the crepe paper and then cut it out.
- Paso 1: Cómo primer paso marcaremos 8 centímetros con nuestra regla en el papel crepé y luego lo recortamos.
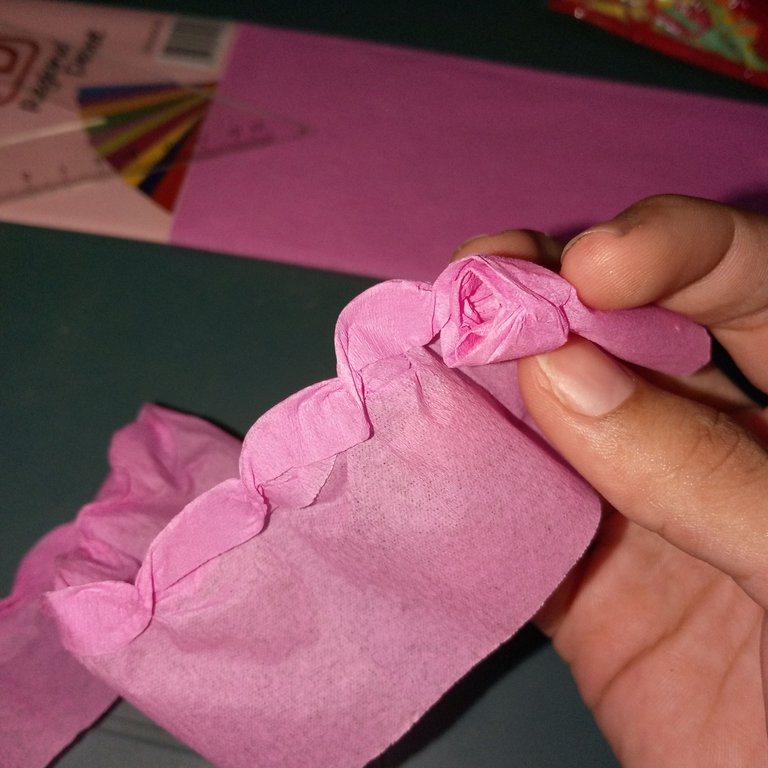
- Step 2: We will make a fold of 1cm in the upper horizontal part of the paper, then we will make another fold in the corner, leaving a triangle shape at the end of the paper.
- Paso 2: Haremos un doble de 1cm en la parte horizontal superior del papel, posteriormente se le hace nuevo doblé en la esquina, quedando así una forma de triángulo en el extremo del papel.
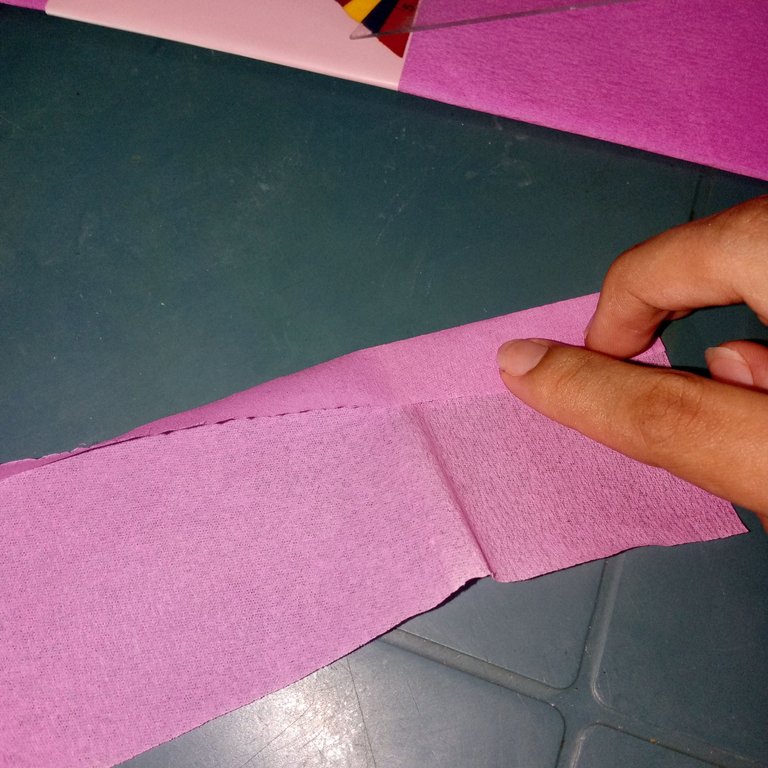
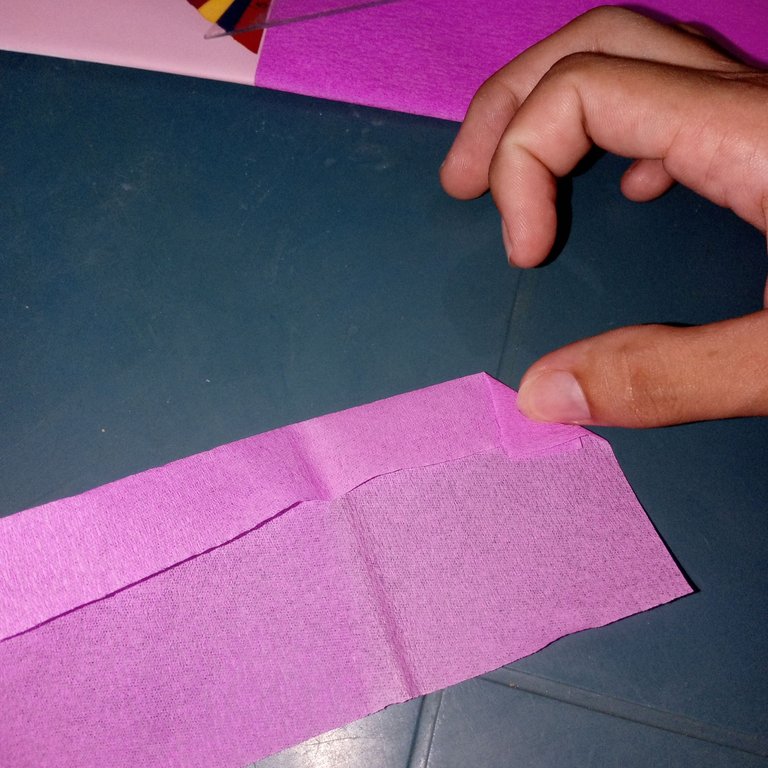
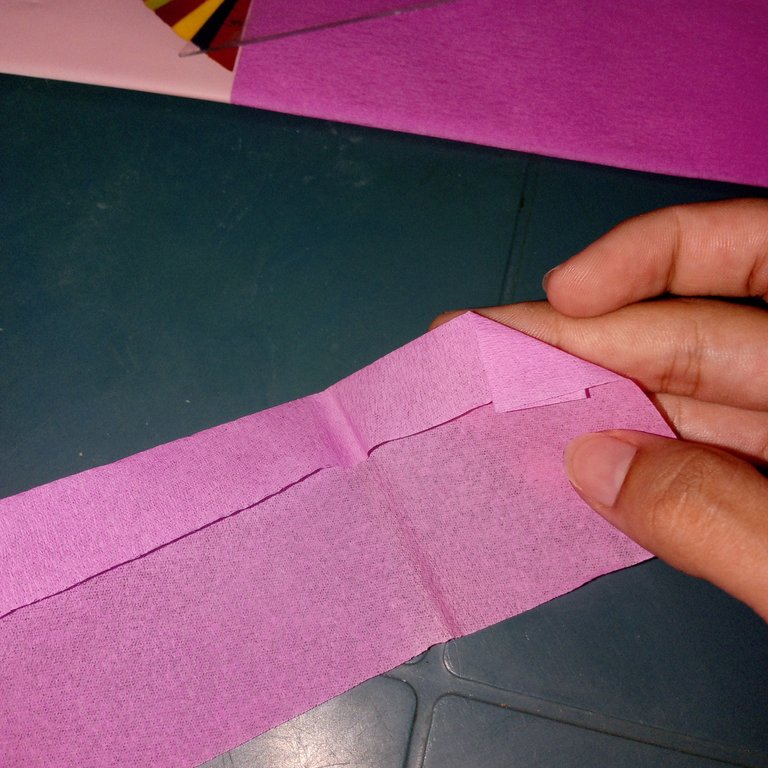
- Step 3: Afterwards, a fold must be made and once it is done, it is folded again until it looks like this.
- Paso 3: Posteriormente se debe realizar un doblé y una vez realizado el mismo, se vuelve a doblar hasta que nos quede así.
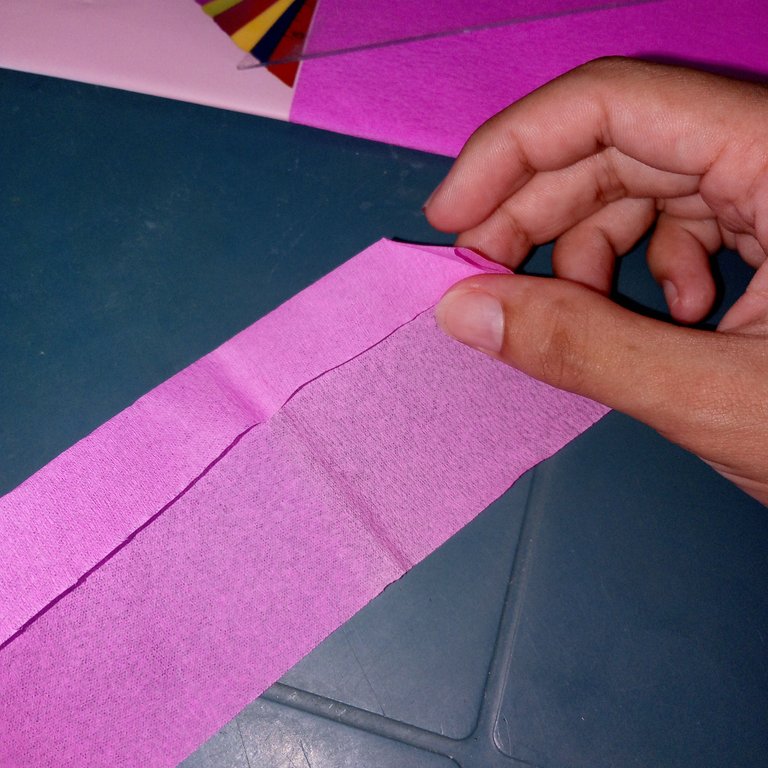
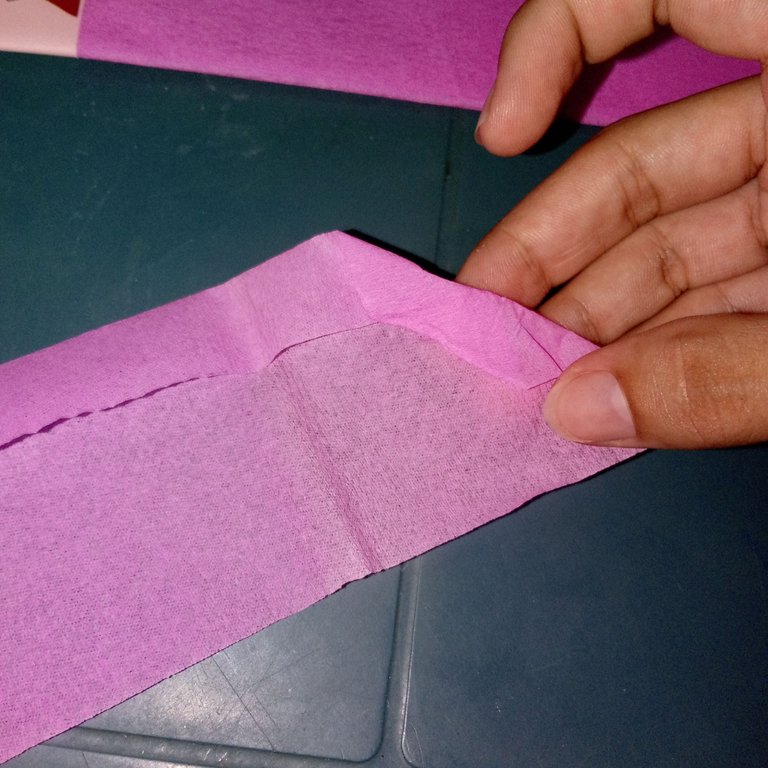
- Step 4: Then we divide that end in half and make a turn towards the top and we will have something like this.
- Paso 4: Después dividimos ese extremo a la mitad y hacemos una vuelta hacia la parte superior y nos quedará algo así.
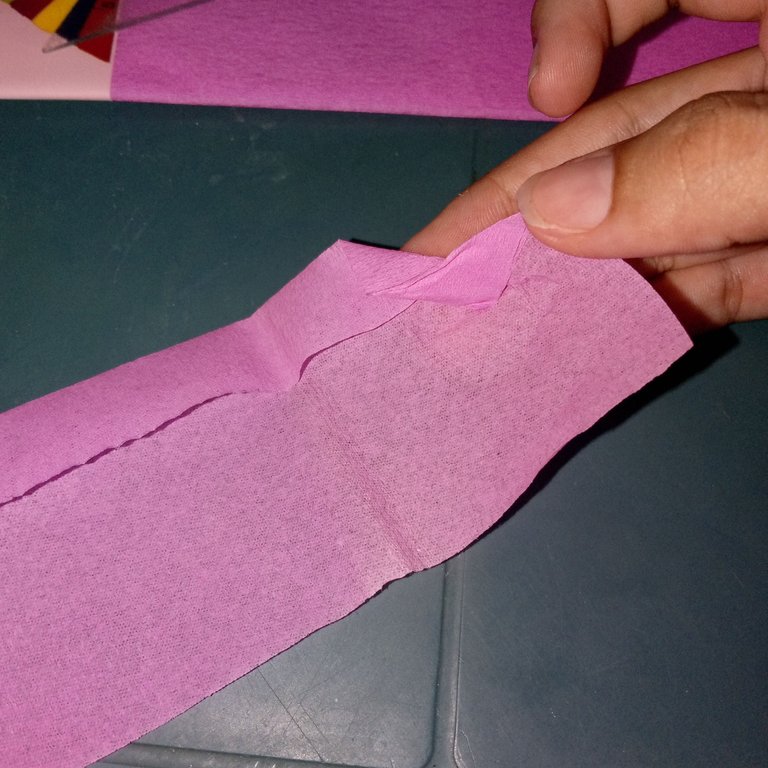
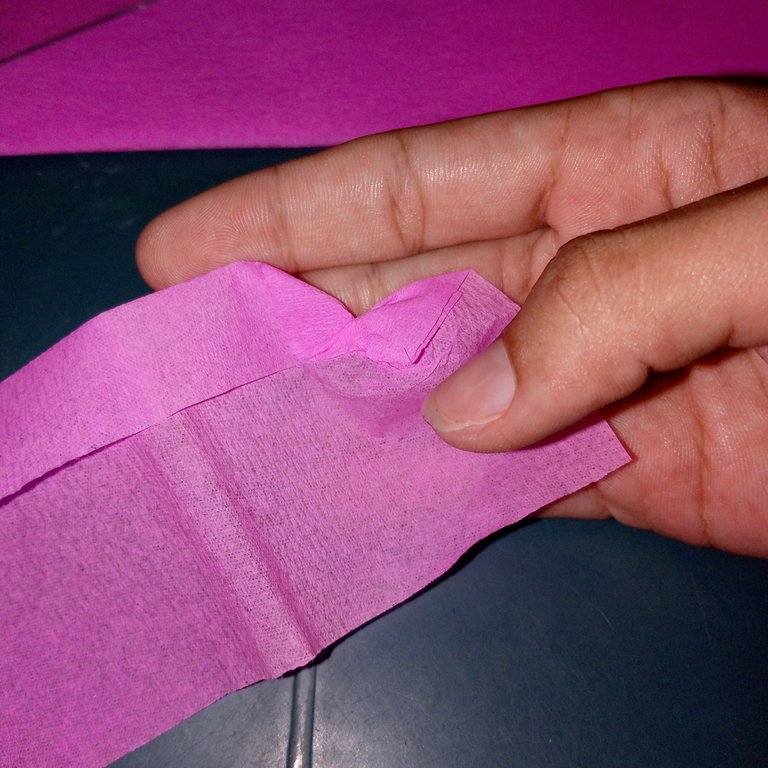
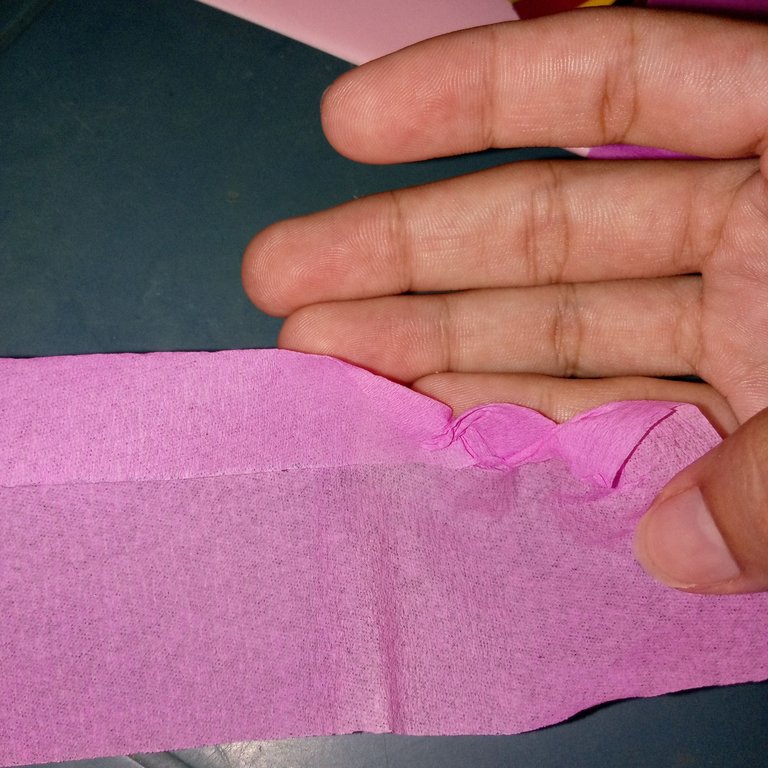
- Step 5: Repeat this procedure until the crepe paper strip is completed.
- Paso 5: Repetimos este procedimiento hasta culminar con la tira del papel crepe.
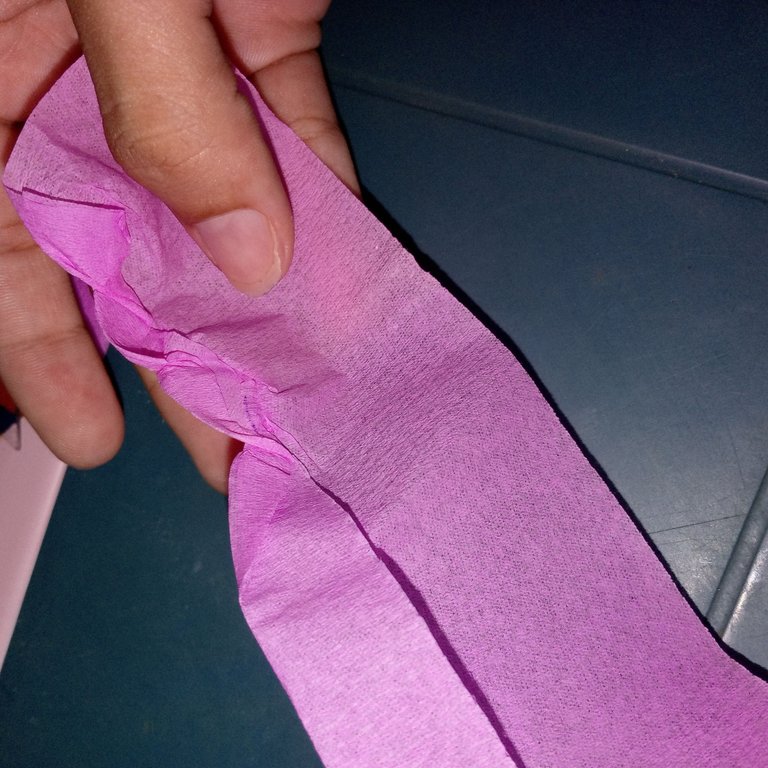
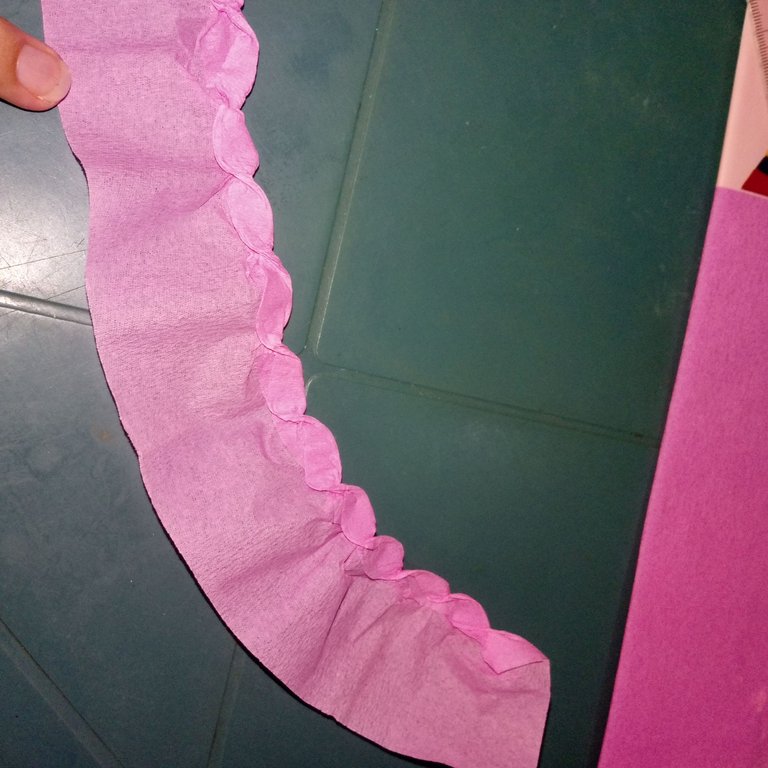
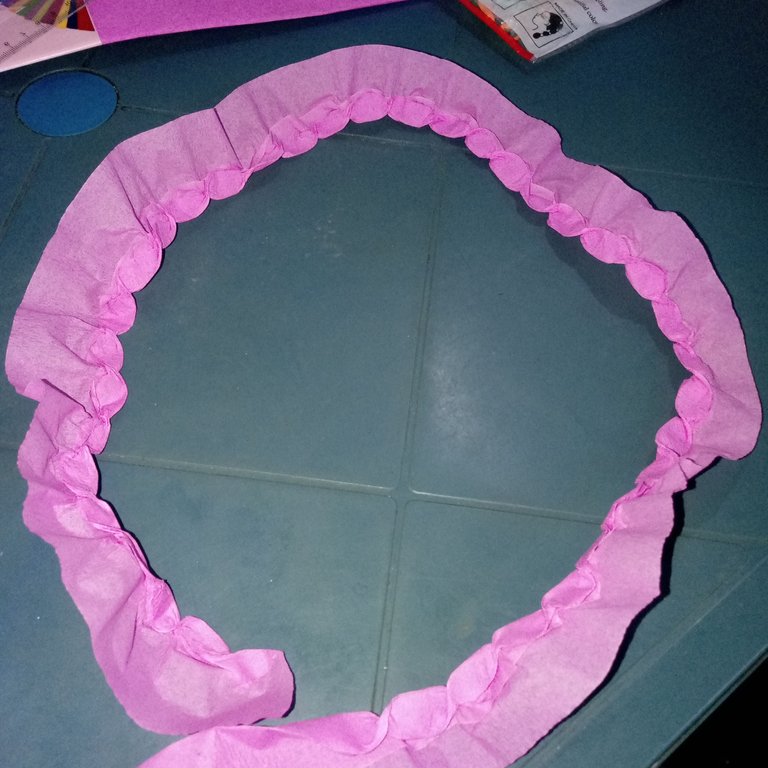
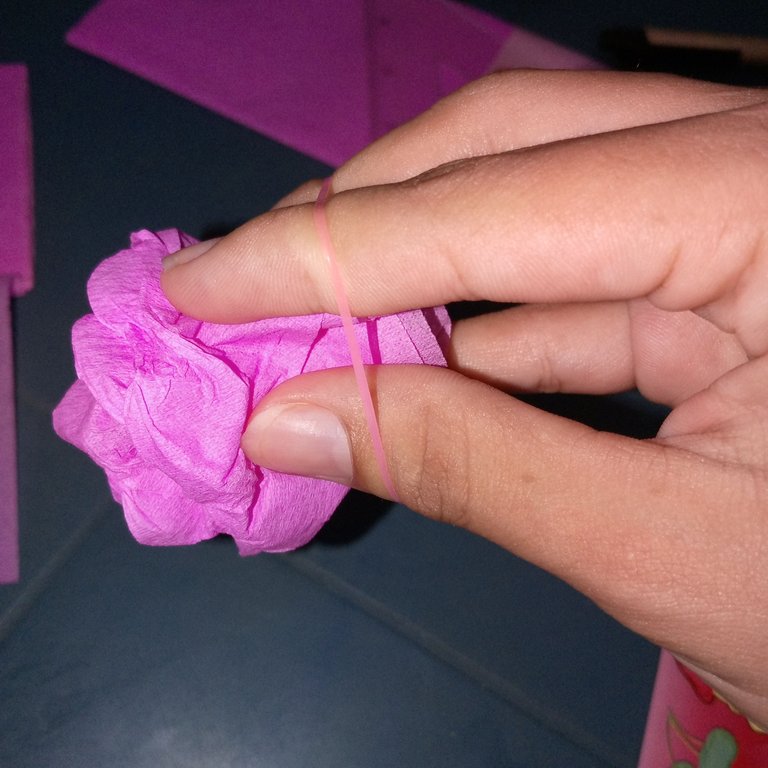
- Step 6: To finish we begin to roll up to form our rose and then secure it with our rubber band, tying it at the bottom.
- Paso 6: Para culminar empezamos a enrollar hasta formar nuestra rosa y luego la aseguramos con nuestra liga de goma, amarrando la misma por la parte inferior.
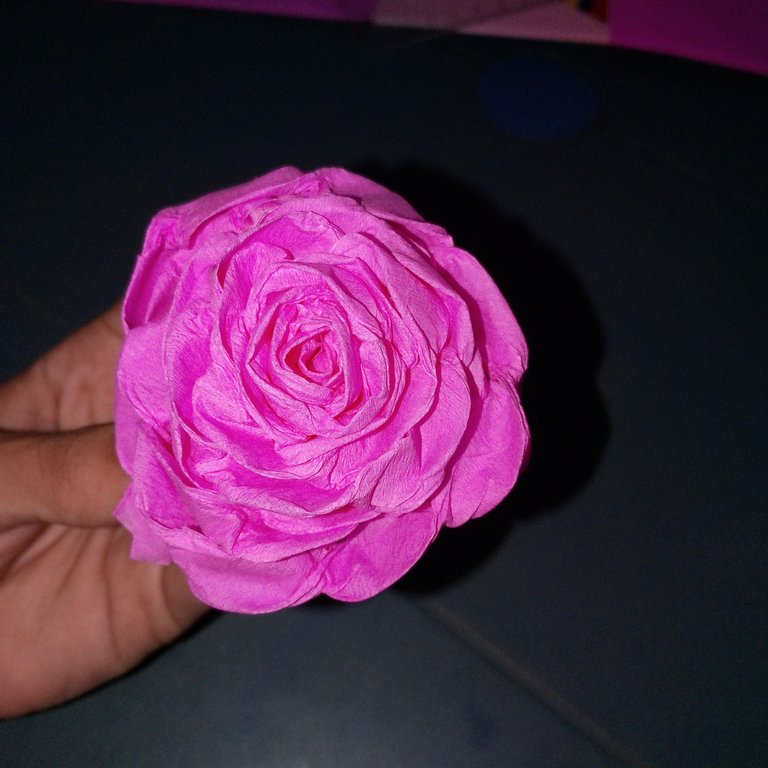
They are super practical and easy to make roses, experience this craft and surprise family and friends. I hope you like it and I hope it helps you, you draw the limit of your dreams🤩, make every day magical ✨and different.
Son rosas súper prácticas y fáciles de hacer, experimenta está manualidad y sorprende a familiares y amigos. Espero les guste y les sirva de ayuda, el límite de tus sueños los trazas tú🤩, has que cada día sea mágico✨ y distinto.
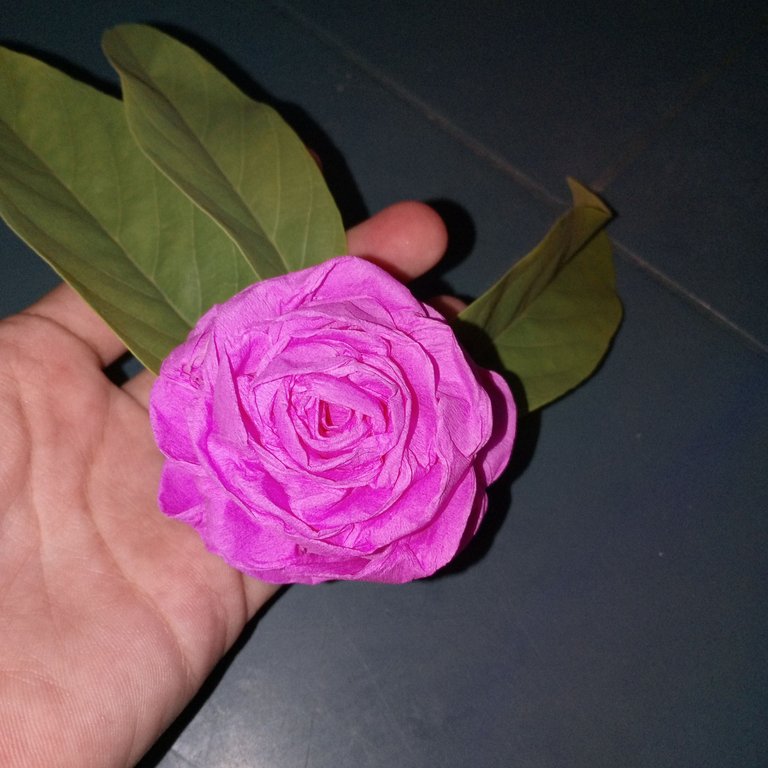

I want to thank @hivesucre, without them I would not be sharing content with all of you and @omarcitorojas for always being available in each of my publications, I hope I can continue creating together with you my dear stars💫.
Quiero agradecer a @hivesucre, sin ellos no estaría compartiendo contenidos con todos ustedes y a @omarcitorojas por siempre estar a disposición en cada una de mis publicaciones, espero pueda seguir creando junto a ustedes mis queridas estrellas💫
All photos are my own taken with my Infinix Smart 7 mobile device, the cover photo was edited with Canva.
Todas las fotografías son de mi autoría capturadas con mi dispositivo móvil Infinix Smart 7, la foto de portada fue editada con Canva
The text and summary is entirely my own.
Text Translated with DeepL
El texto y resumen es totalmente de mi autoría.
Texto Traducido con DeepL


