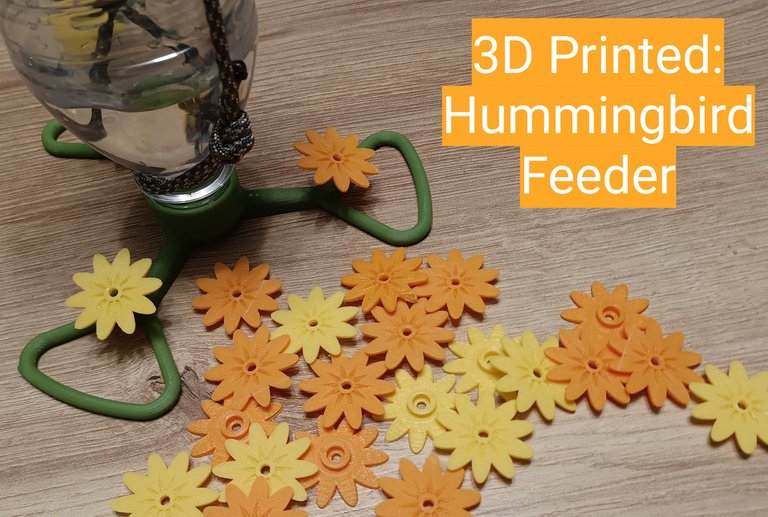
I've been thinking about making this Hummingbird Feeder for a while, we see lots of Hummingbirds here in the spring and summer. The birds are gone for the winter, but I'll be ready for their return with this 3D printed Hummingbird Feeder kit.
Design Download
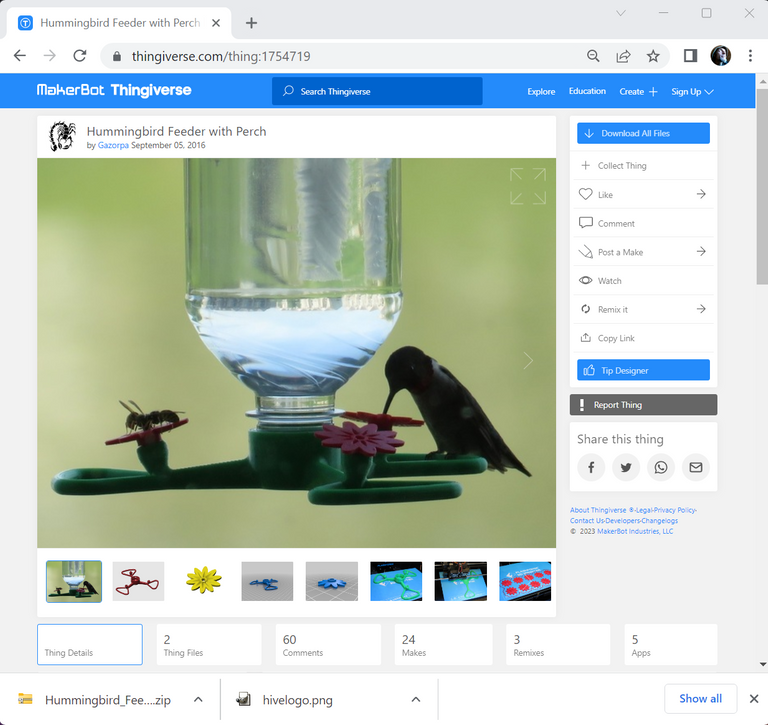
I found this hummingbird feeder with perch design on (thingiverse.com) - a great resource to find 3D printable designs.
Open Design in FlashPrint
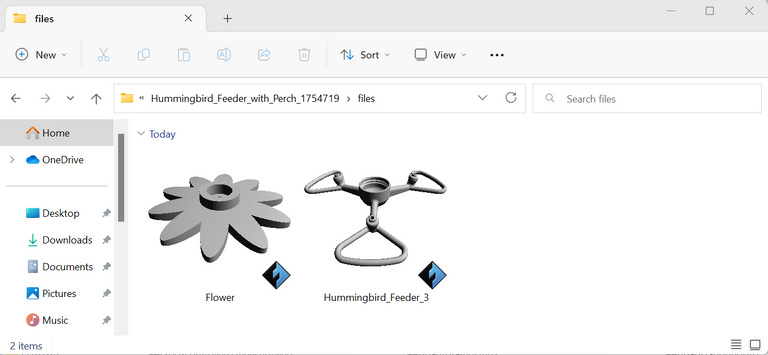
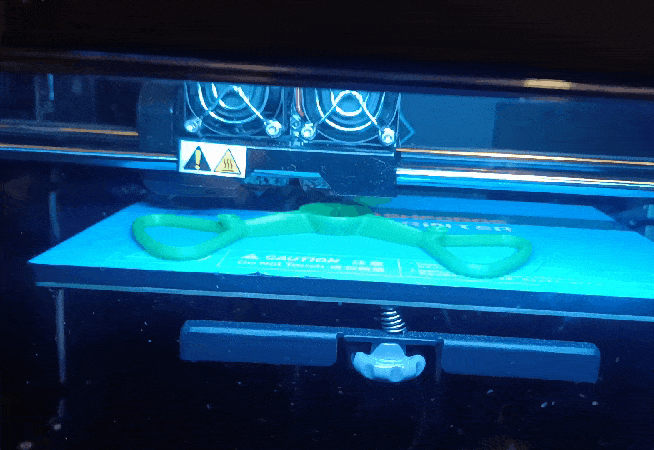
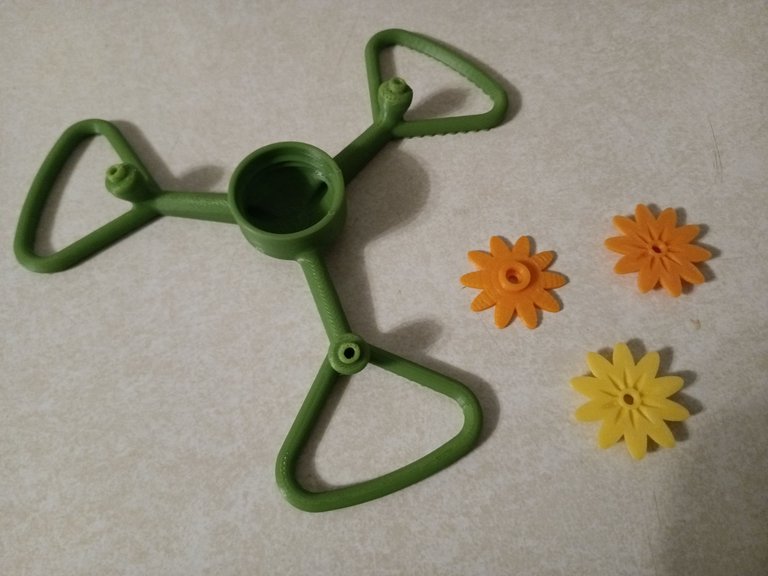
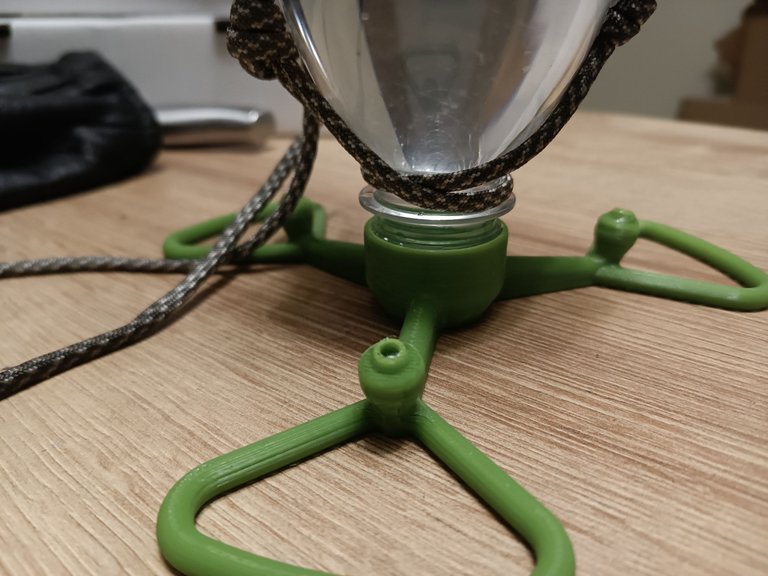
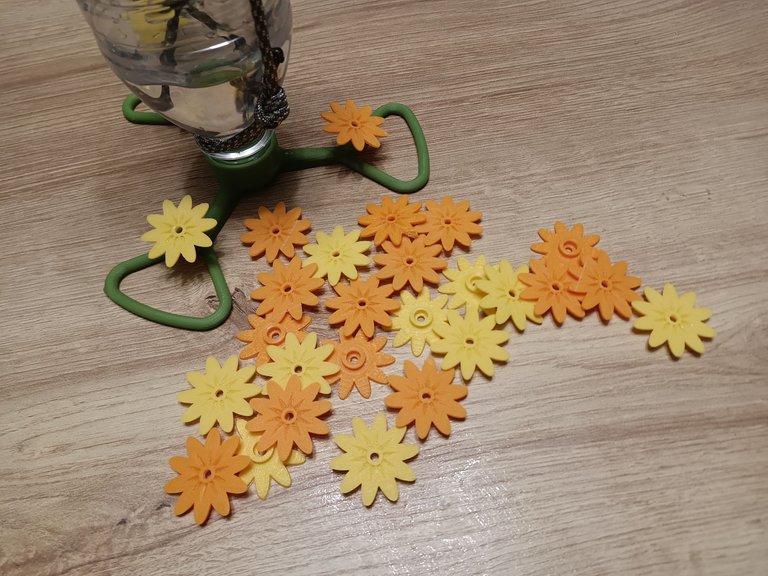
The hummingbird feeder file comes with two .STL files - the base with threads for screwing in a standard water bottle and bird stands with the connector feeds for the printed flowers (the other file). I'm using green filament for the base, yellow and orange for the flowers.
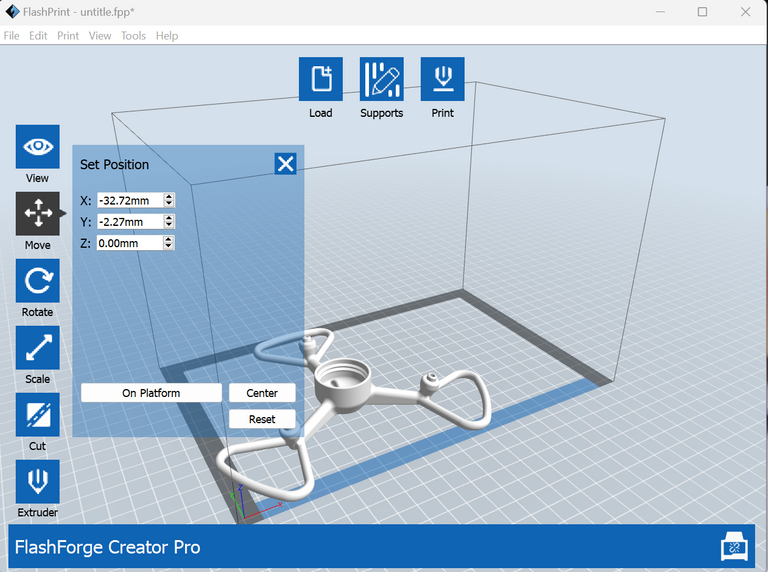
To prepare the design for the printer, double clicking the design in the file folder of the unpacked downloaded design .zip's 'file' folder opens it in the FlashPrint software. The base is 'Moved' into position.
 |  |
|---|
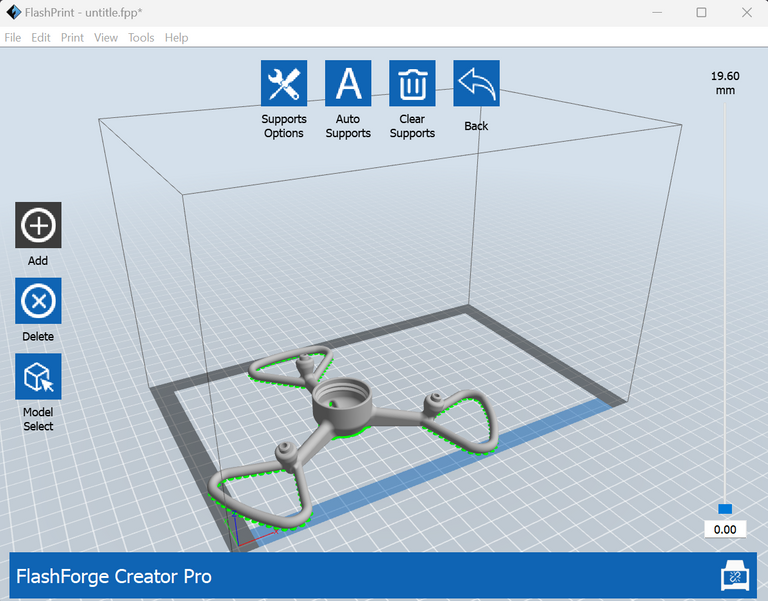
Supports auto added from the Supports menu - you can see the auto added supports, above-right. After clicking the 'Print' button, supports are 'enabled', then the 'Ok' button is clicked to save the .x3g file for the 3D printer.
 |  |
|---|
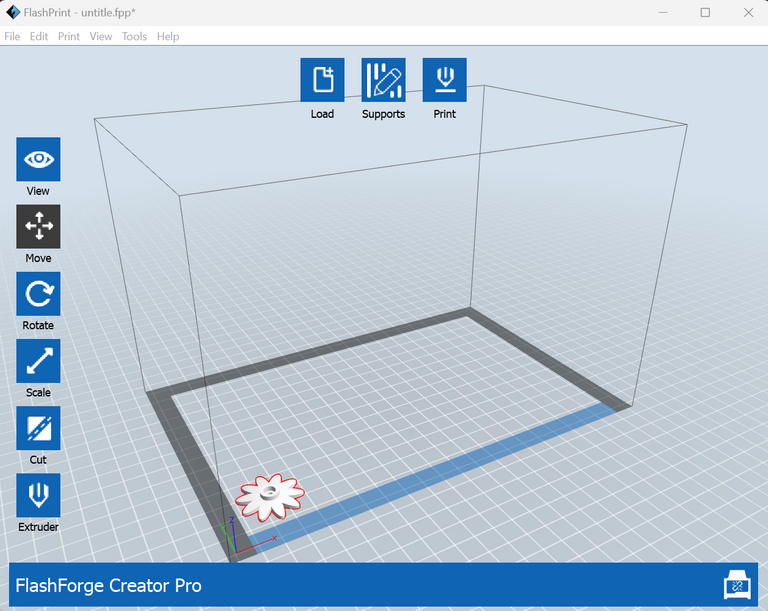
Next to prepare, the flower .STL file is opened, the flower moved to position.
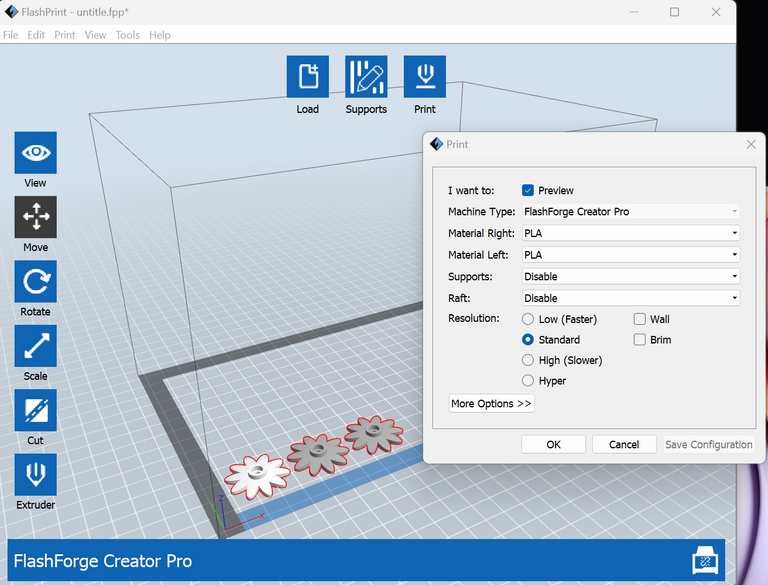
CTRL-C and a couple CTRL-Vs duplicates the flower to the three that are needed.
 |  |
|---|
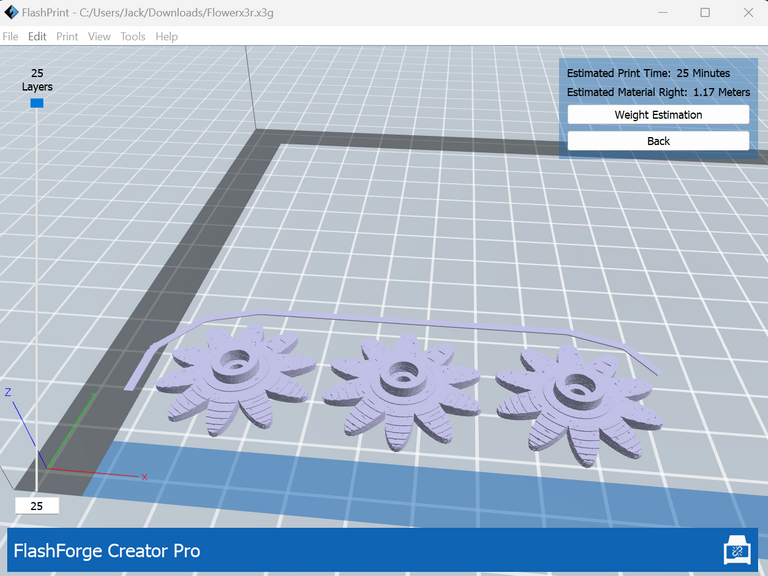
Clicking the 'Print' button, then the 'OK' button saves the printer friendly .x3g file. The base and flower design .x3g files are copied to an SDCard, then inserted into the 3D printer.
3D Printing
The 'Print from SDCard' option is selected on the 3D printer, the feeder base file is selected.
 |  |
|---|
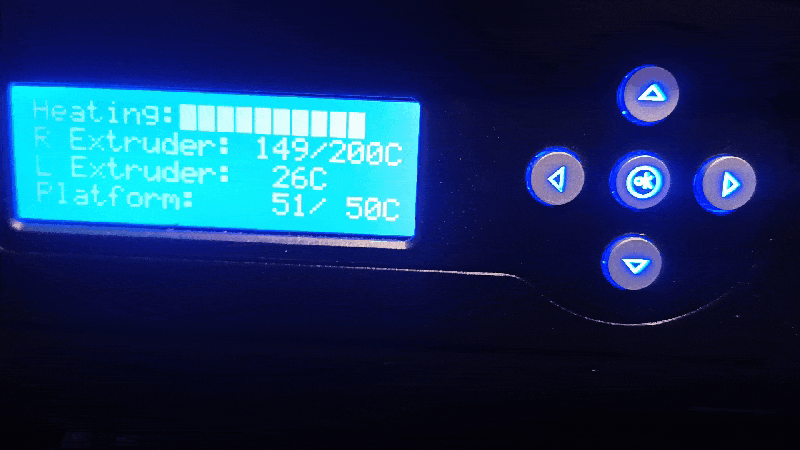
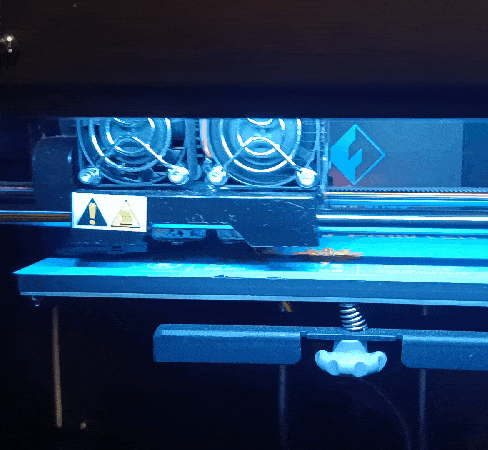
After print head preheats to Celsius and the print platform heats to 50 degrees Celsius, the 3D print job begins.
 |  |
|---|
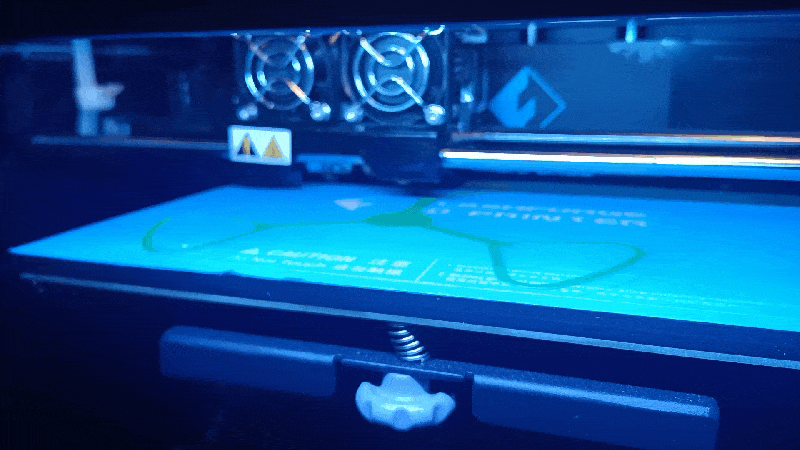
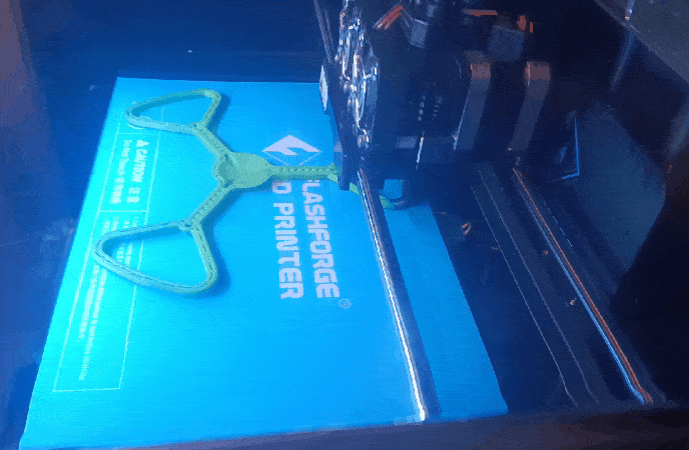
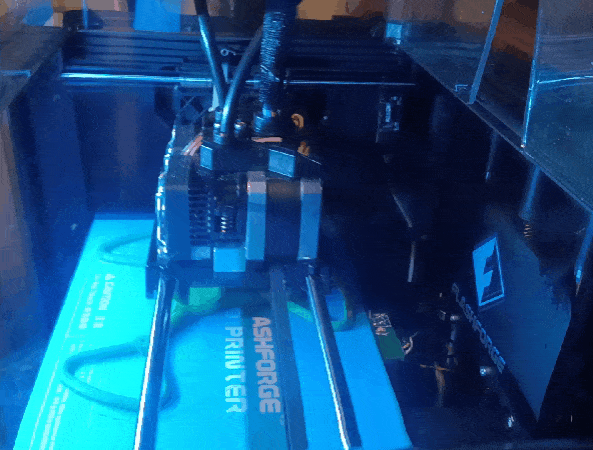
Layer by layer, the print head moves forward/backward and side to side - extruding filament as the print platform slightly lowers after each layer.
 |  |
|---|
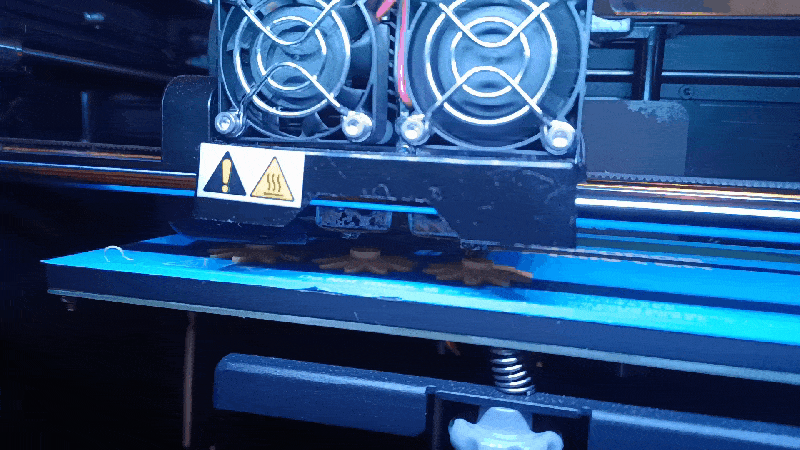
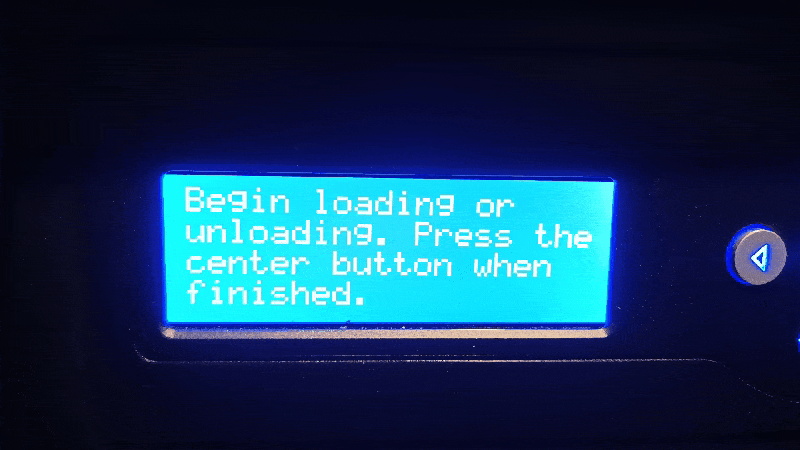
Filament Change for Different Colors
After printing a couple bases with a green color filament, I changed to the yellow filament for 3D printing a batch of three yellow flowers. You can see me stopping the loading of yellow filament to orange, in the below-right GIF, for the printing of a batch of three orange flowers.
 |  |
|---|
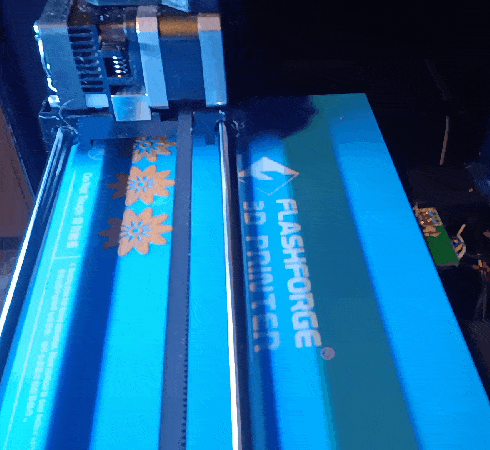
After a quick 30 minute print each, the flowers are completed.
 |  |
|---|
Feeder Ready for Assembly
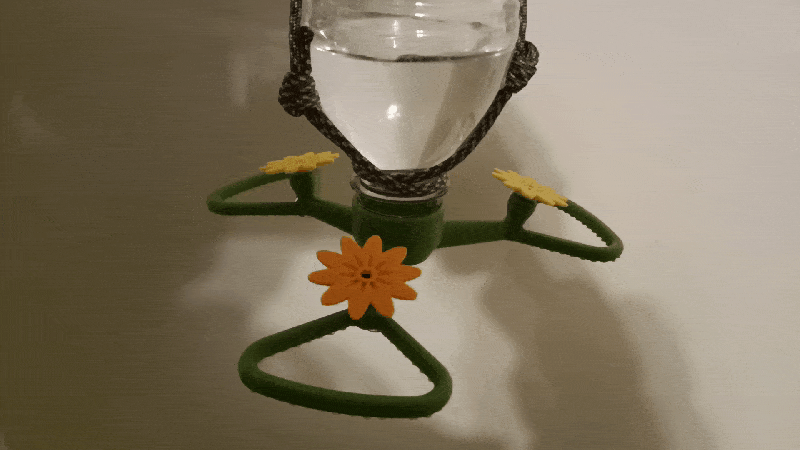
With the hummingbird feeder base and flowers 3D printed, it's ready for Assembly.
Sugar Water Reservoir
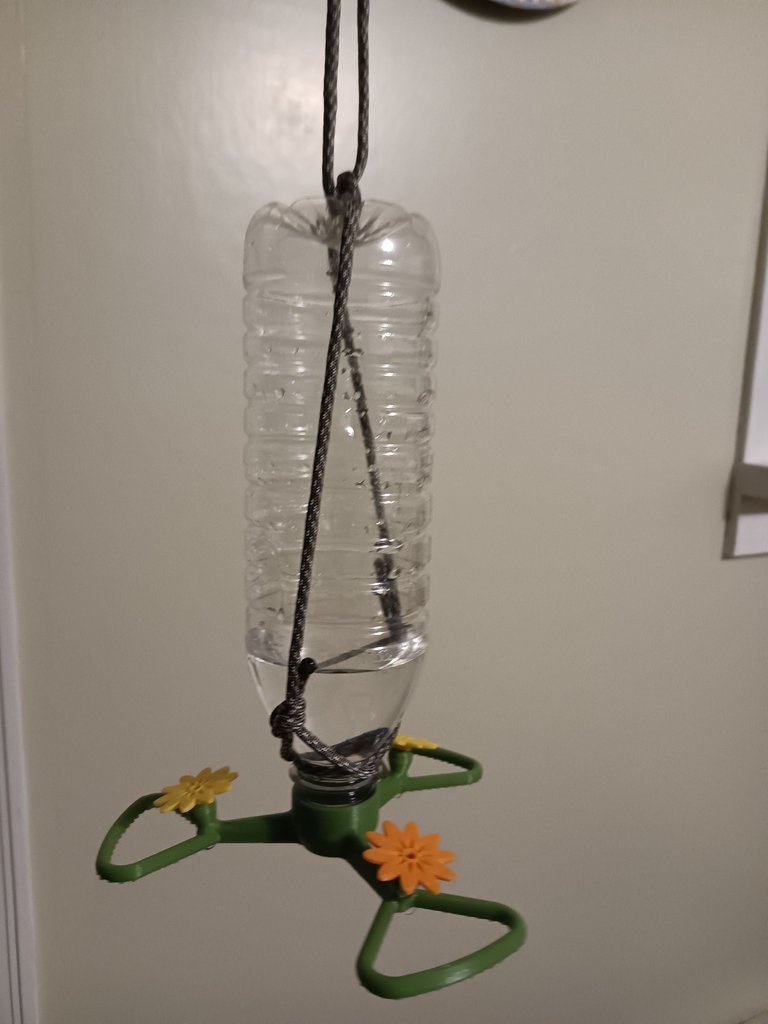
For testing, I have this plastic water bottle, but I'll be looking for a smaller glass seltzer bottle for the final feeder reservoir. Two small ropes string up the bottle easily for hanging.
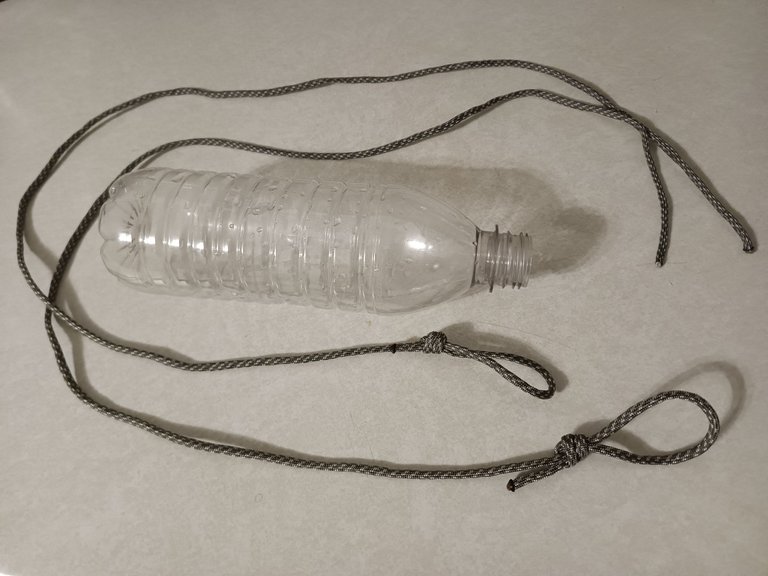 |  |
|---|
Each rope loop is looped over the top of the bottle - the bottom of the bottle has indents, so it's easy to line the across from each other before tying.
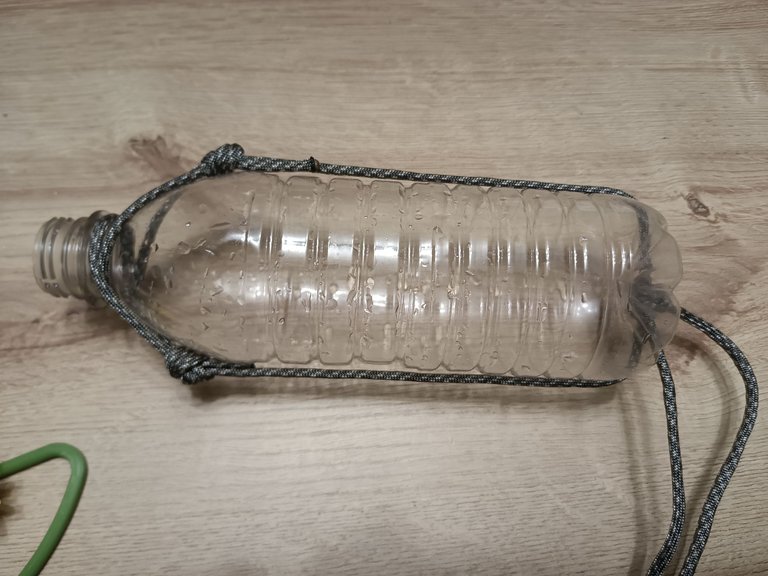
Water tension from the small holes and low pressure keeps the water from spilling out. You can see how much I could fill the bottle before the pressure was too much, I'm on the hunt for a smaller glass bottle.
Hummingbird Sugar Water Recipe
- 4 Cups Water
- 1 Cup Sugar
Stirred together until sugar is completely disolved.
The feeder needs to be rinsed out thoroughly after a couple days or after each filling - to prevent mold from growing in there.
The hummingbird feeder is ready for spring, now the hummingbirds can stay awhile for a refresh, instead of just humming by :)

