Greetings everyone
How are you all doing in this new month? I hope you all are doing well. I am writing this post here today, just to share with you all a Diy post on how to sew a car seat by following some of the steps I will be sharing here.
Sewing of car seats from old to new is something I love doing because is what I know to do and I love to share with others just to learn from them. Although some people see this as not being important to them just because they don't have a car and some see it as something very difficult but believe doing this is simple, it may not be important to you now just take it seriously and learn from it. I know how much I charge to learn something but you guys are lucky to learn from me free.
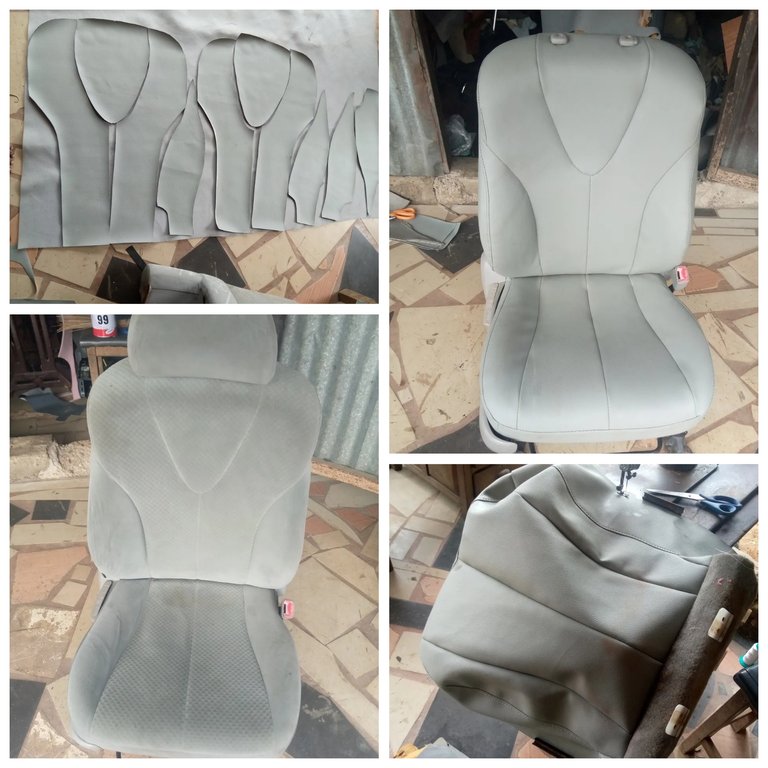
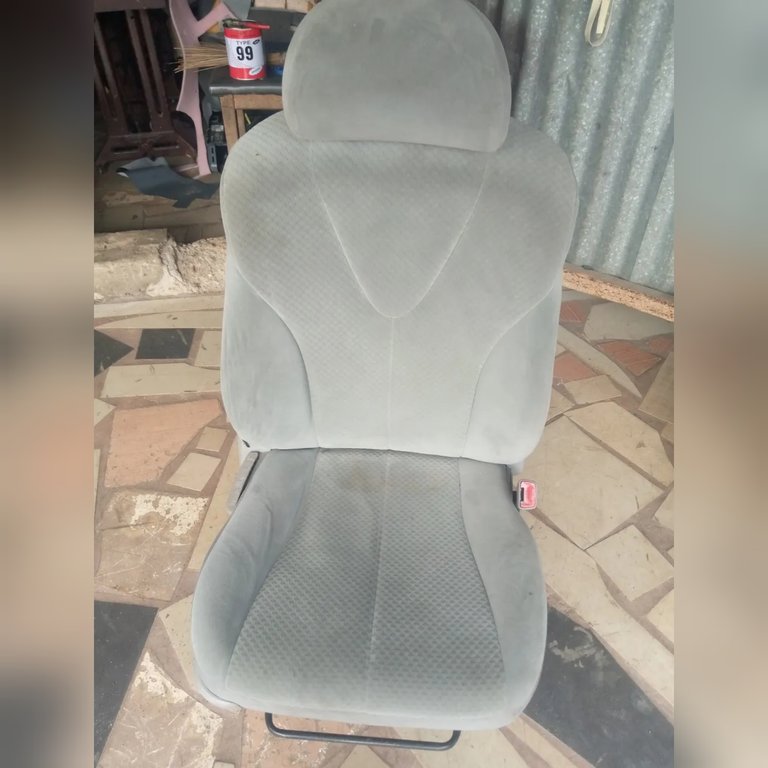
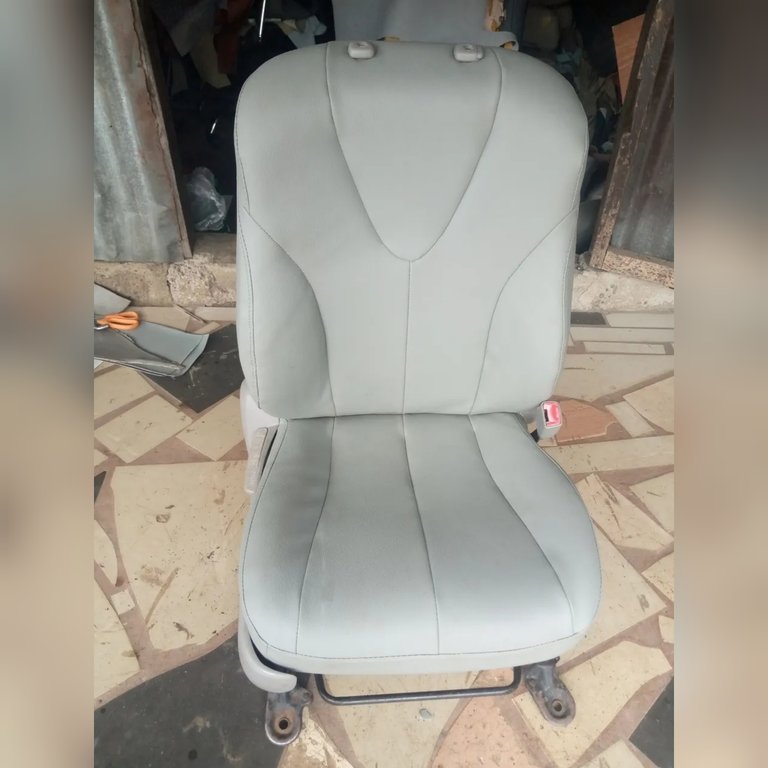
Showing below is a seat of a Toyota Camry and I was asked to change the seat to leather so that the interior would look neat.
Seat before
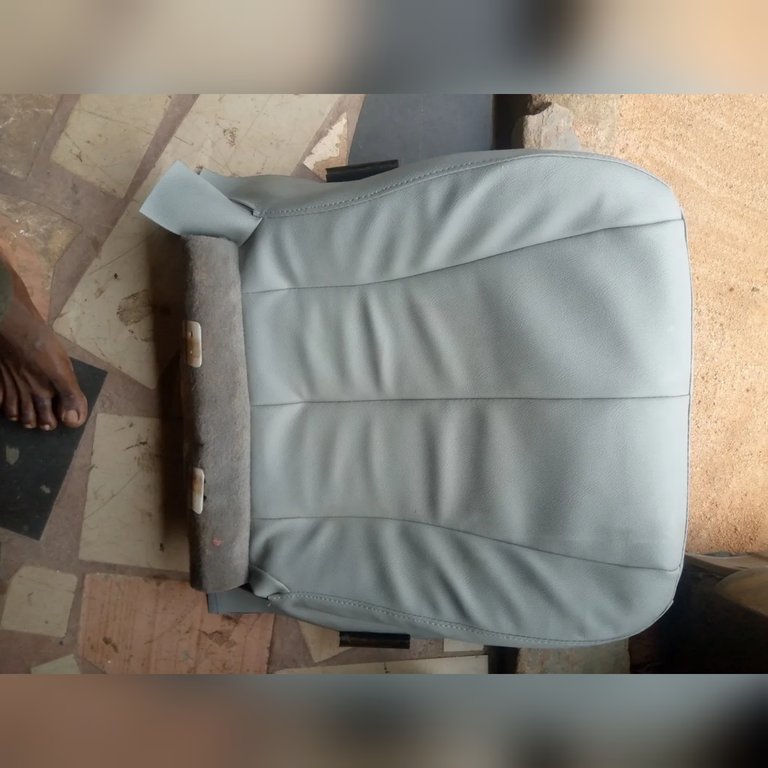
Seat after

If you compare the two photos above you wil see a very big difference.
To do this is simple. Let me share with you guys sime simple steps i follow.
I get the new leather first from the market the match with the interior of car.

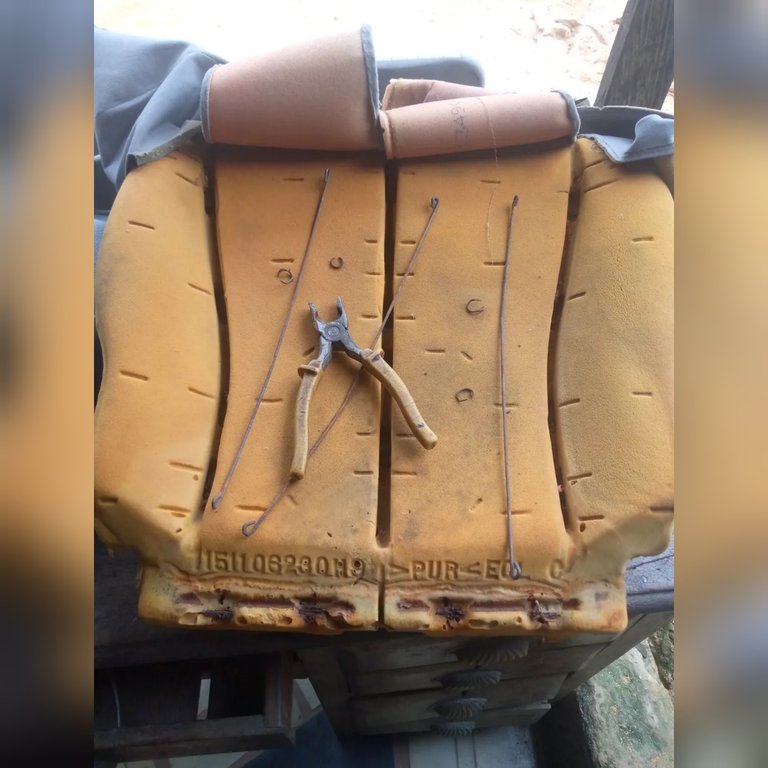
I then loose the side cover, the seperate the main seat from the back so that i can find it simple to have access to all part of the seat.

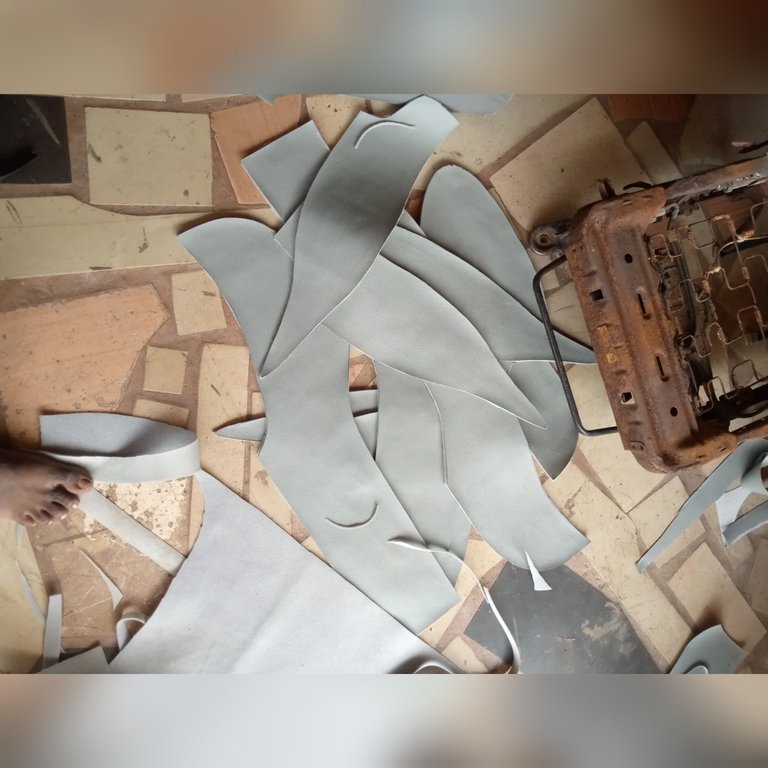
After loosing it, i then use take to measure out the length and breath of each pattern on the seat and the pen ir down.

I then transfer the measurements to the new leather and the mark it out.
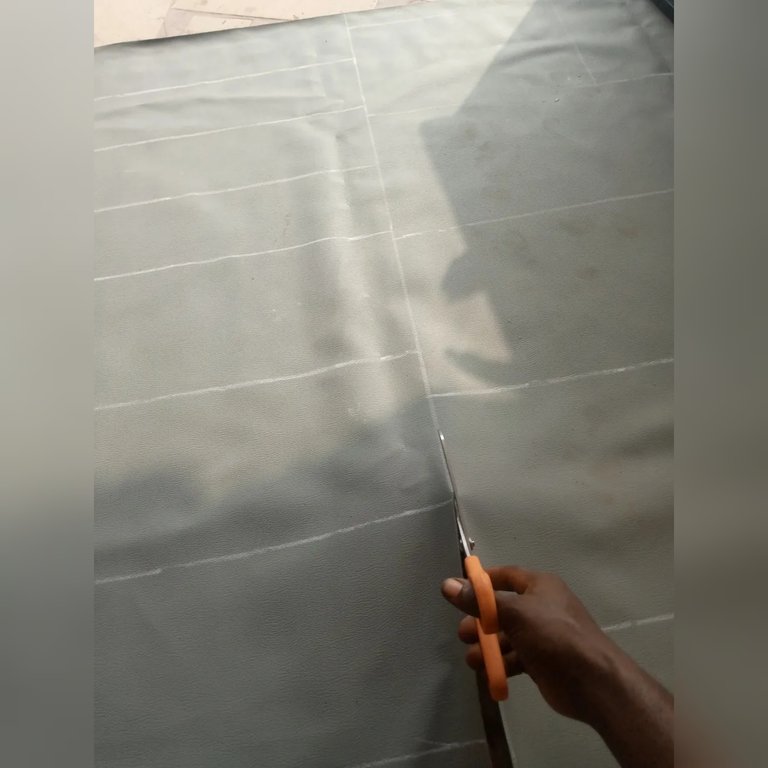
I then cut them out following the line i dray.
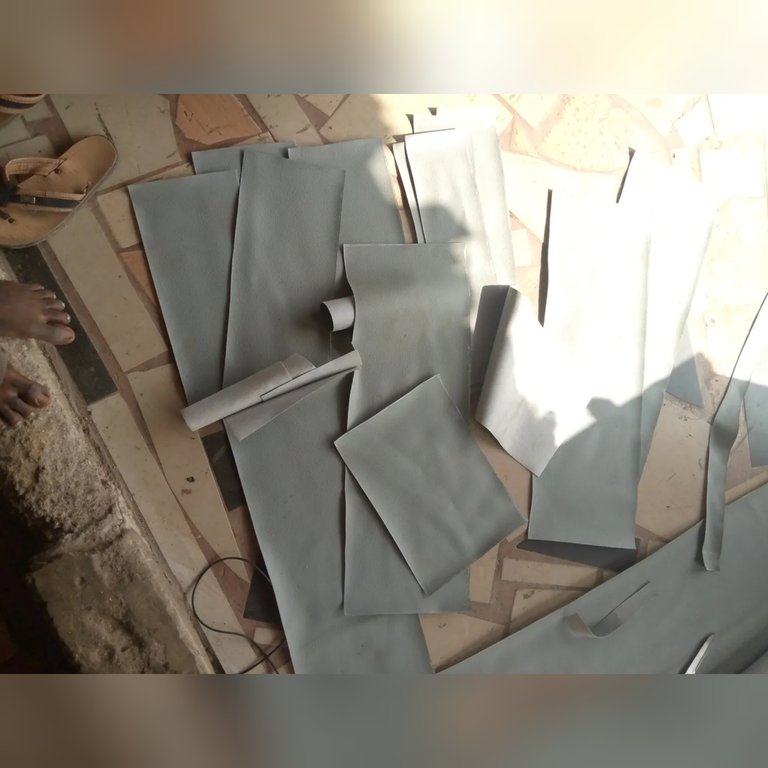
I then place the cut material on its position, then Trace the shape out with the help of chat which is now the new pattern i am going to work with.
I then place the pattern on a roof fabric and the gum it together.

I use scissors to cut it out and finally my sewing pattern is ready and the is what i make of to get the work welldone.
After getting the pattern ready, i then carefully use a sewing machine to join those pattern together has it is in the old seat.

After successful Sewing the new seat cover i then proceed to cover it by clipping it to the form frame with the help clips.

Here is the outcome of the seat after clipping it.
Here is the back.
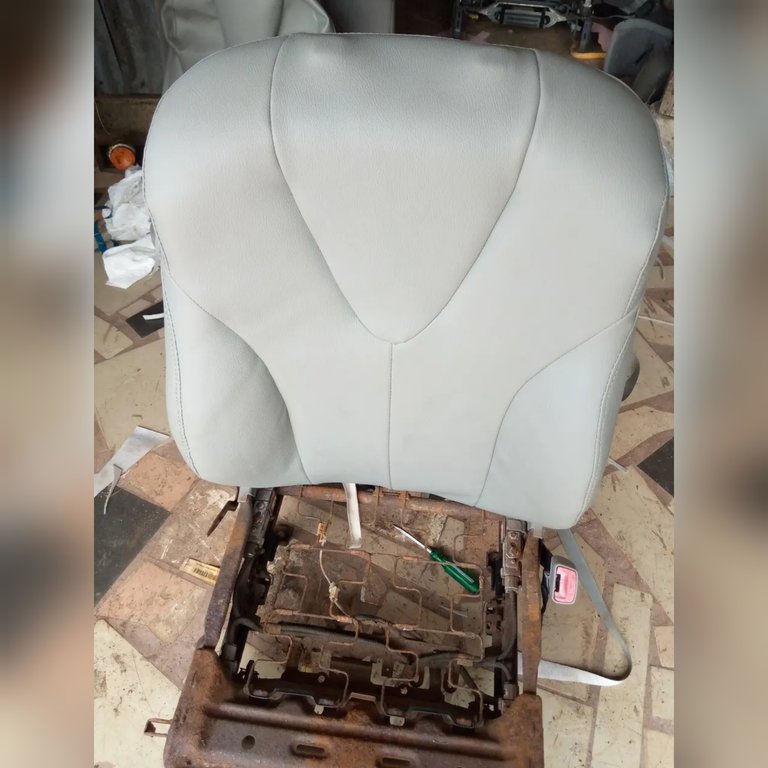
After clipping both of them, i then tight it back here is the finish work.
This look so beautiful and simple.
If you follow those steps you will see it is very easy to do it mostly if you can sew with a sewing machine.
I am very happy that i am able to share a post here, hope to get your support. Thanks for stopping by..
Posted Using InLeo Alpha

