Hello guys welcome to my blog today i will be sharing a tutorial on how i changed an Android phone charging port.
New charging port
Soldering iron
Soldering paste
Soldering led
Candle
Lighter
Flat and star tools
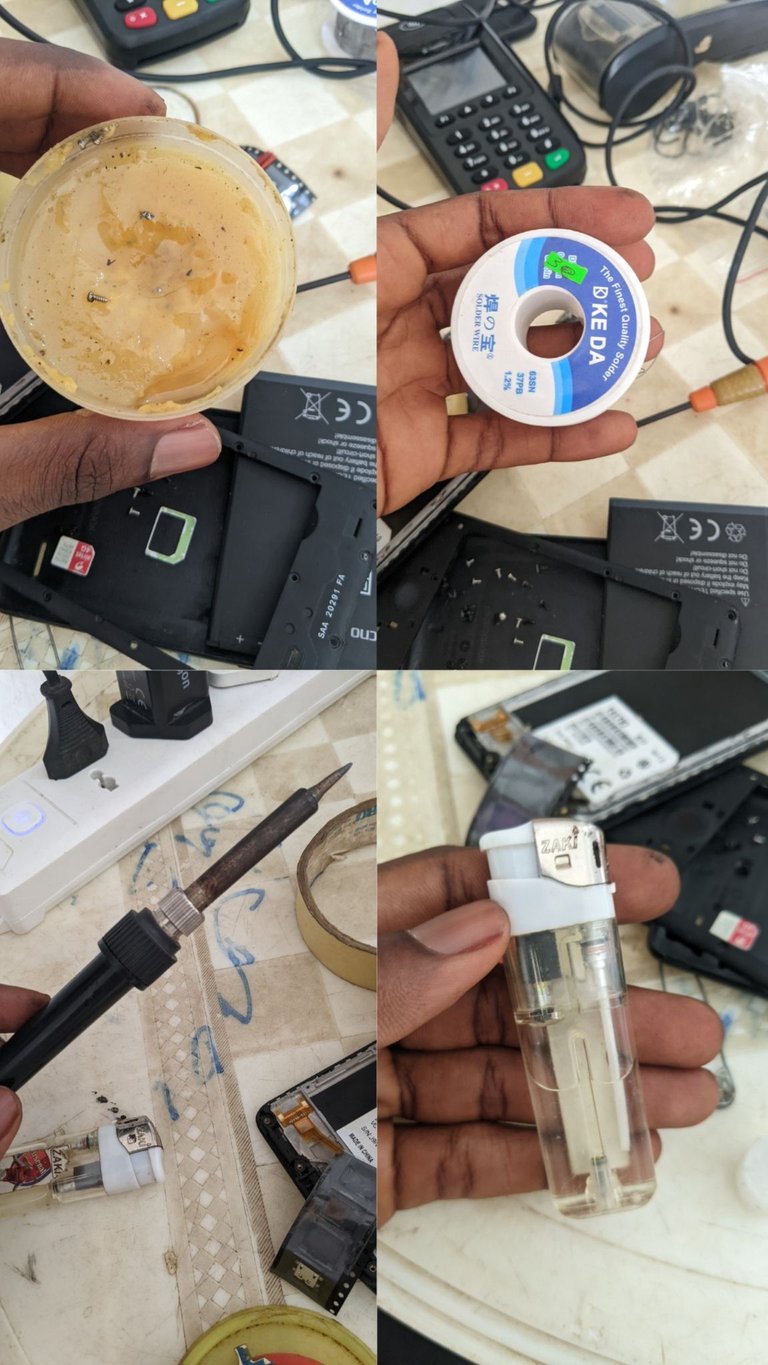
Picture design using Canva
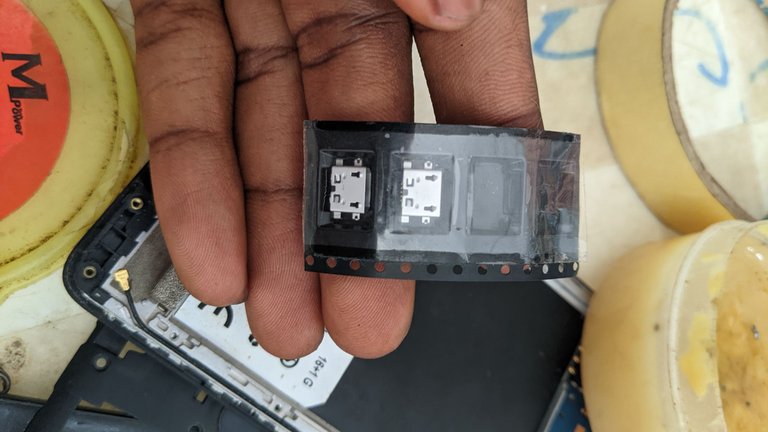
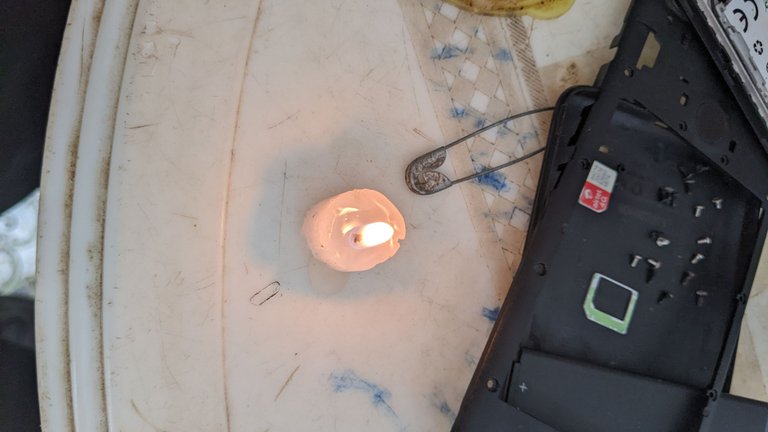
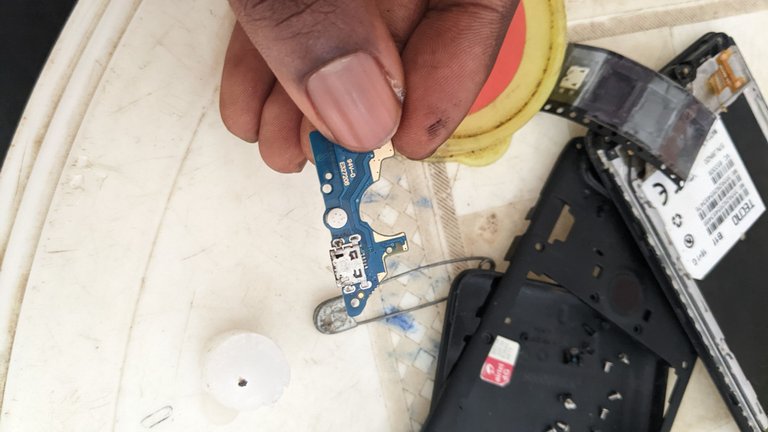
The first thing to do here is to loose the phone nuts by using a star and flat tools after this process i will make sure all my equipments are ready then i will have to remove the bad charging port from the phone first by doing this i will need candle, lighter and paste since i don't have a rework station then i improvised candle 🕯️ so i will light this candle and then apply a little past on the surface of the charging port after that i will place it where i light the candle so it can be soft and ready to remove after one minutes then port will be soft and we have to be careful so we won't get the phone spoilt

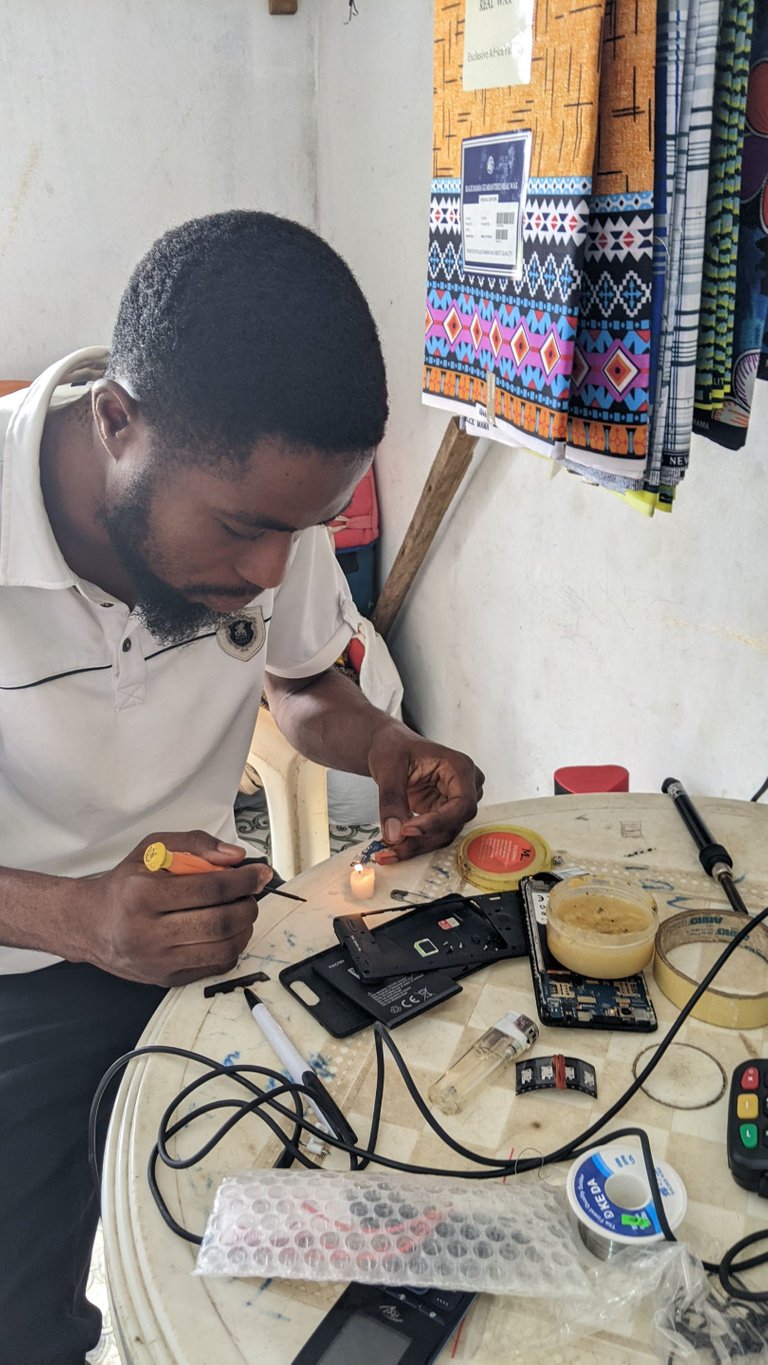
After i successfully removed the bad port i will replace it with a new one by going the same process i mean lighting the candle again at this point it's not necessary if i add paste but then i must make it's firm before i removed it and make sure it's sited where it's ought to sit on the panel

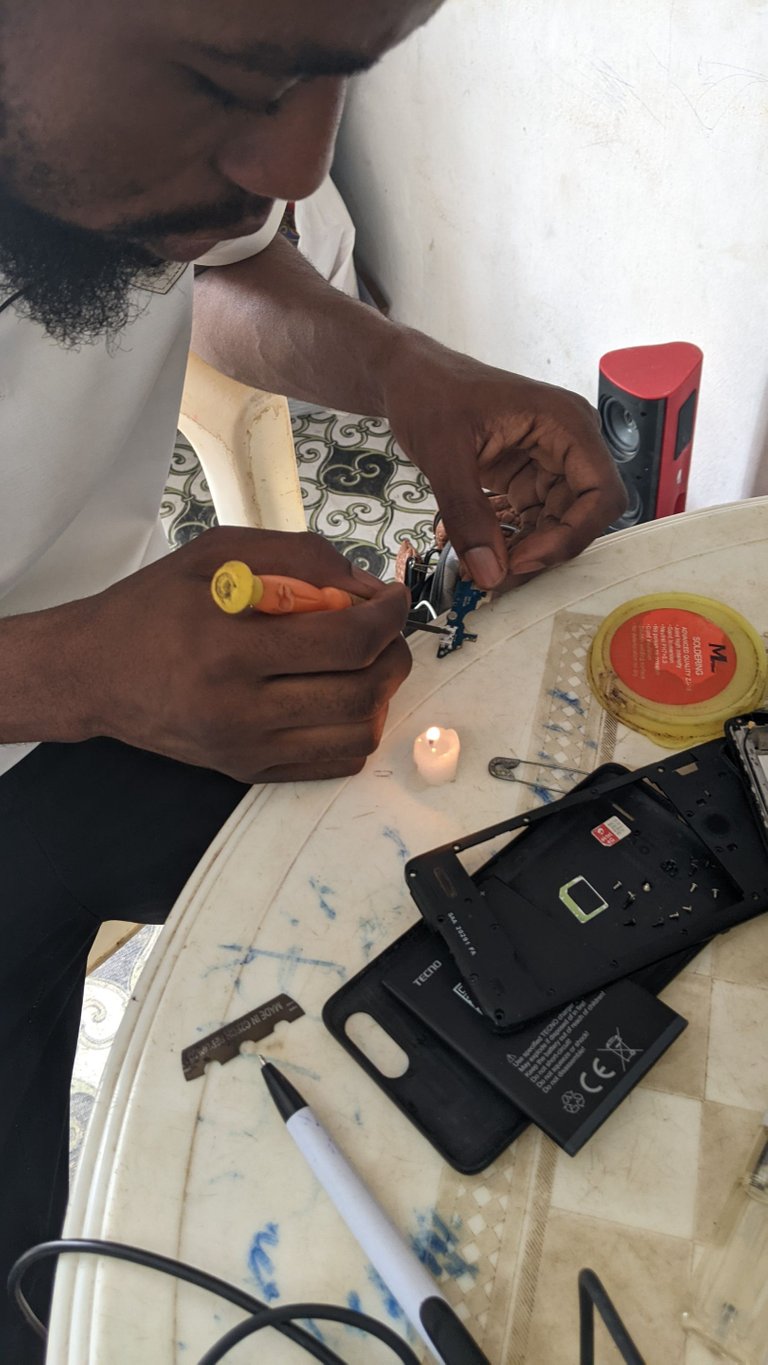
At this point the work is almost done but then i need to apply Little led by using my soldering iron to make sure it is already sited where it's sitting if not i will just add a little let using soldering iron. This is not necessary if it's already sited well but in case it's doesn't but in this tutorial the port already sited well so i don't need it but i just includes it in case someone needs to know about it.
I gave the port to be dry and i coupled the phone back so i can text it and fortunately it's worked well
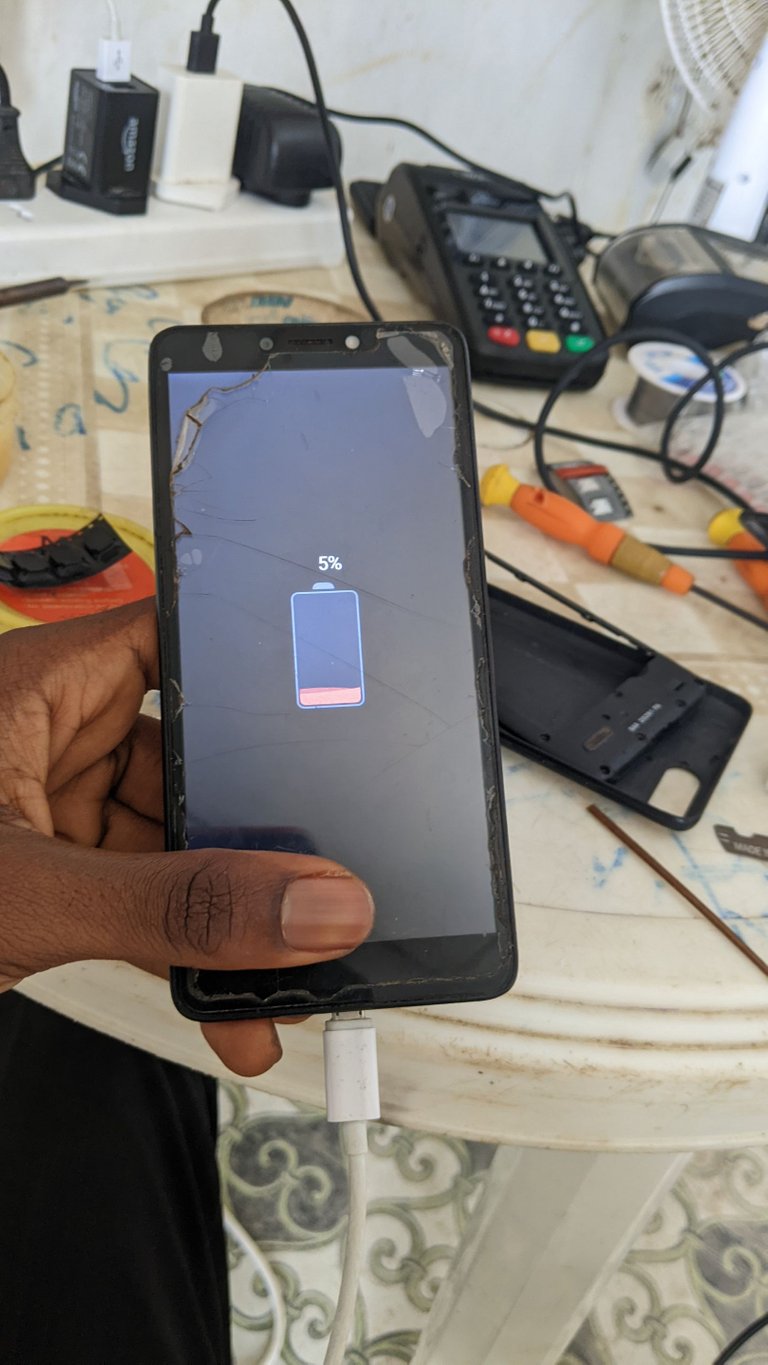
I make sure i text it well by changing the phone very well and it's enters 65 percent before final coupling.
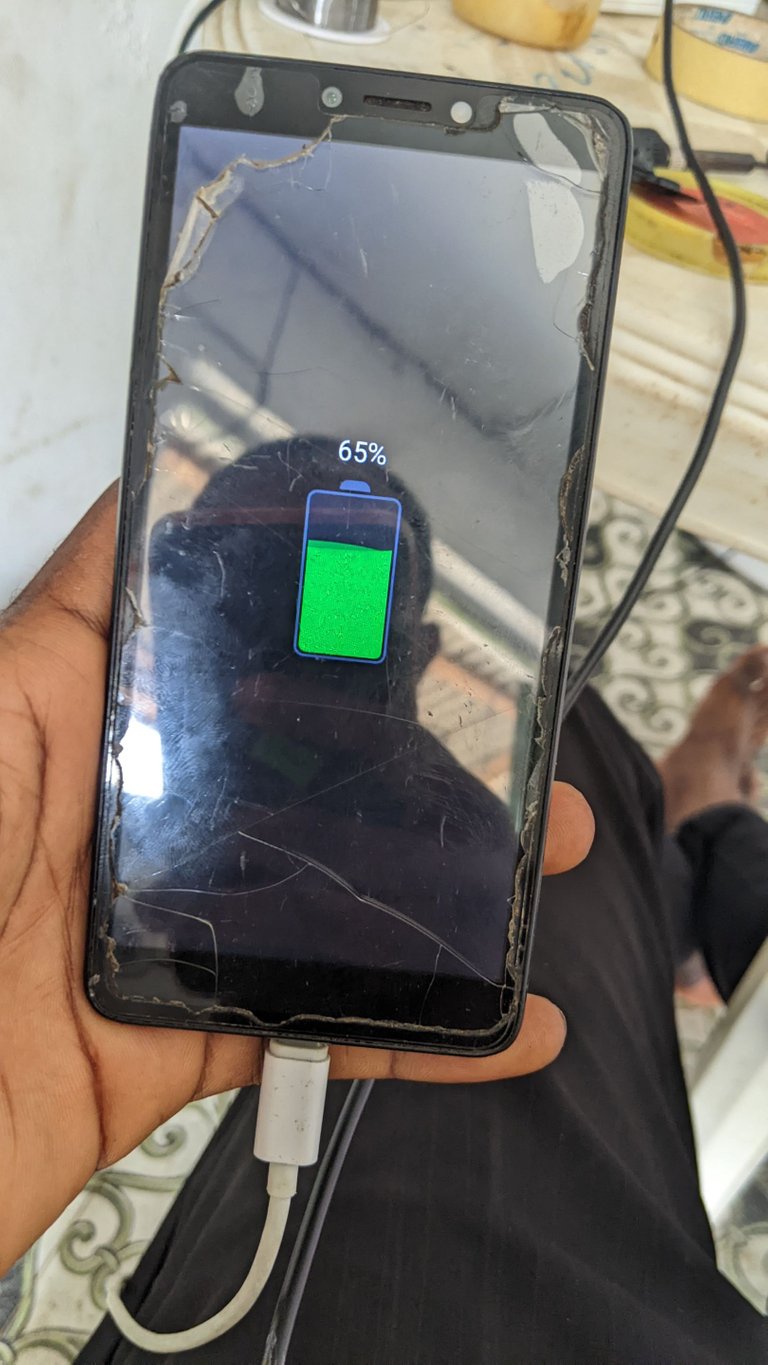
Here is my tutorial on how to change an Android phone charging port and this tutorial work for any phone that has thu kind of charging port. Welcome to my blog have a nice day.
All the pictures in this tutorial is taken with my phone by a friend of mine


