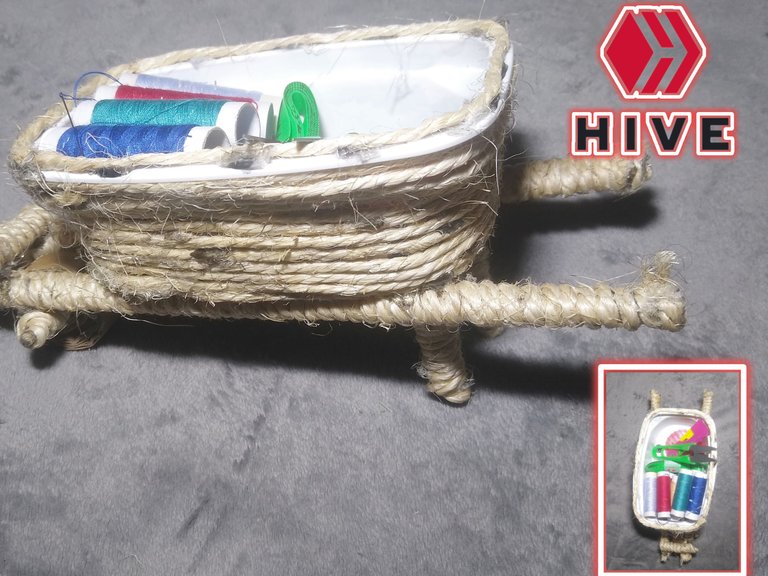
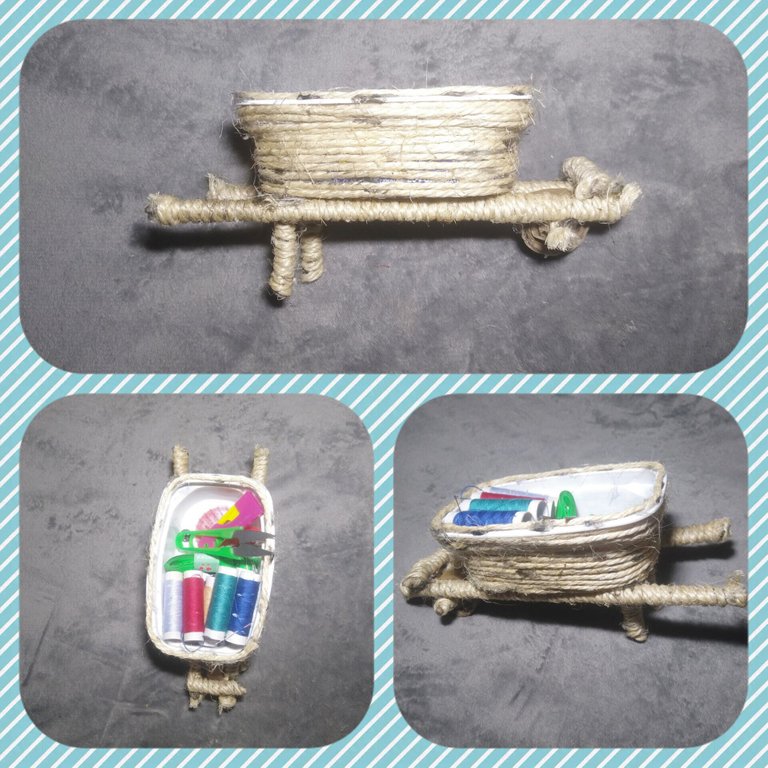
Esta carretilla hecha con un envase de mantequilla y otros elementos fáciles de encontrar me parece una buena opción decorativa, además es doble propósito porque puedes usarla para guardar algo en su interior o sembrar una planta, etc.
espero tu semana fluya exitosamente donde te encuentres
Acompáñame hasta el final
.This wheelbarrow made with a butter container and other easy to find elements seems to me a good decorative option, it is also dual purpose because you can use it to store something inside or to plant a plant, etc.
I hope your week flows successfully wherever you are.
Join me until the end
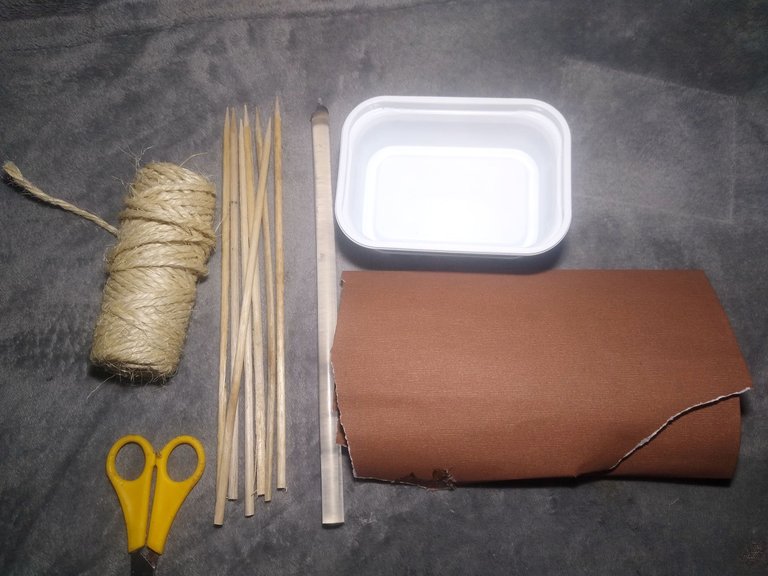
MATERIALES
- recipiente de mantequilla
- cartulina plana
- silicona
- palitos de brochetas
- cabuya rustica o fique
- tijeras
MATERIALS
butter container
flat cardboard
silicone
skewer sticks
cabuya rustica or fique
scissors

Paso 1
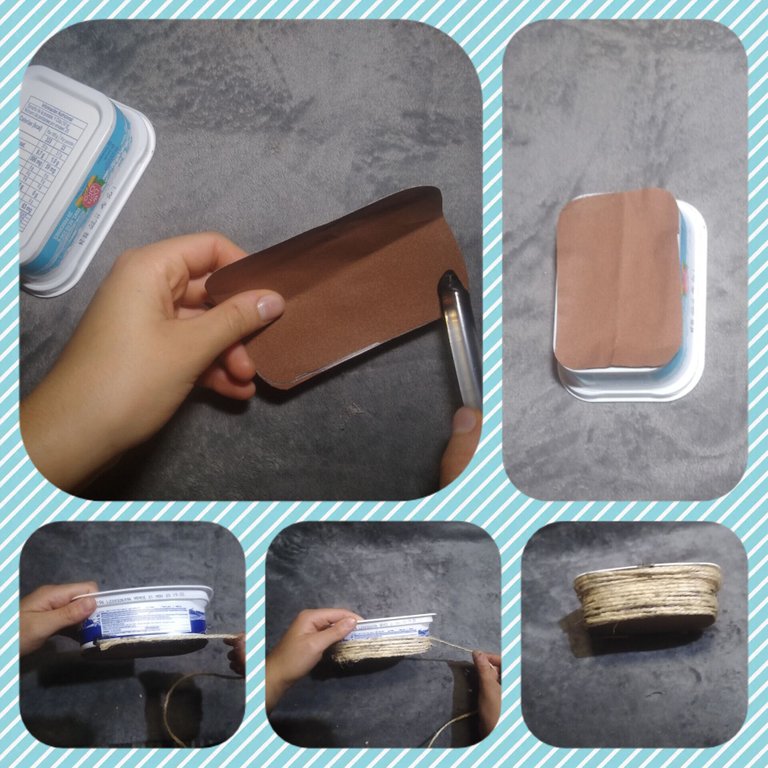
Empezamos trazando un molde en cartulina en la parte inferior del recipiente que usaremos lo cortamos y procedemos a pegarlo con silicona, posteriormente pegamos la cabuya poco a poco y asegurandonos que no quede mucho espacio entre una tira y otra, esto para que asi quede bien forrado.
We start by tracing a mold on cardboard at the bottom of the container we will use, cut it and proceed to paste it with silicone, then we paste the cabuya little by little and making sure that there is not much space between one strip and another, this so that it is well lined.

Paso 2
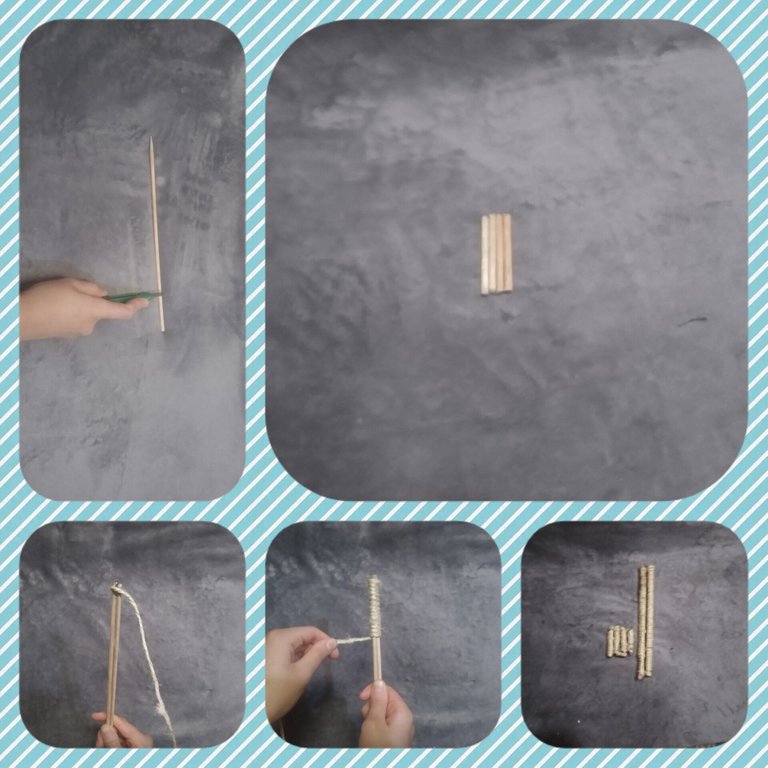
Acá lo que haremos será medir y cortar cuatro pedazos de 8 cm cada uno, luego pegaremos dos palos de brocheta entre sí y desde ese mismo punto también la cabuya, empezamos a envolver la misma haciendo un poco de presión para que no vaya a quedar floja forrando bien los palos como observas en las fotos
Here what we will do is to measure and cut four pieces of 8 cm each, then we will stick two skewer sticks together and from that same point also the cabuya, we begin to wrap it making a little pressure so that it will not be loose, lining the sticks well as you can see in the photos.

Paso 3
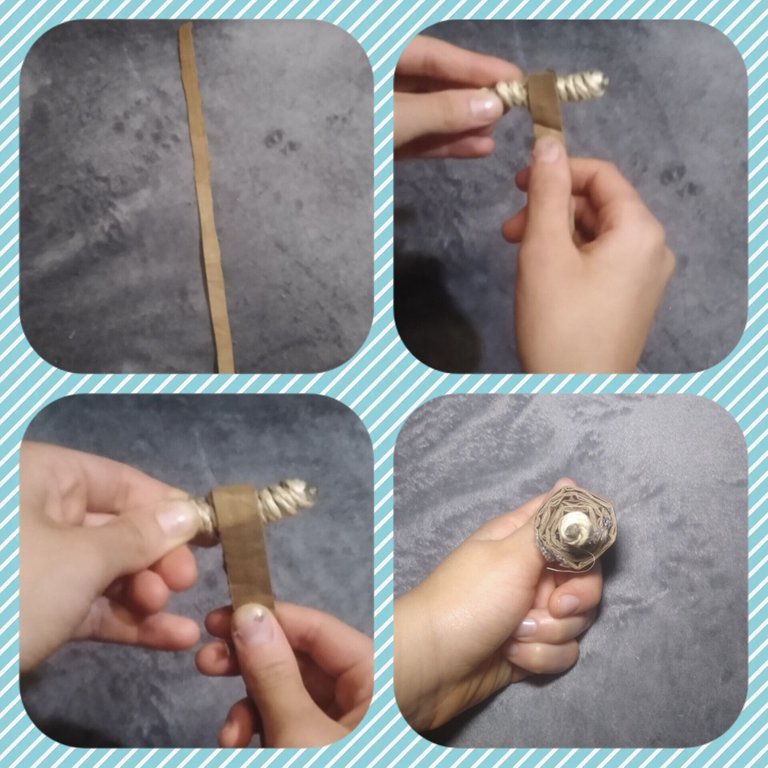
Aquí te comento en los materiales, olvide mencionar la tira de cartón de 15 cm aprox. de largo de 1 cm de ancho, pero ocupa un lugar importante en esta manualidad, pegamos el punto de partida con silicona en uno de los palos pequeños que teníamos reservados y listos con anterioridad daremos vueltas hasta terminar de enrollar el cartón aseguramos con silicona para que esté bien sujeto y así queda la rueda de la carretilla como puedes observar en la foto.
Here I tell you in the materials, forget to mention the strip of cardboard about 15 cm. long and 1 cm wide, but occupies an important place in this craft, we stick it at the starting point with silicone on one of the sticks that we had reserved and ready beforehand we will give it turns to finish rolling the cardboard securing it with silicone to be well secured and so is the wheelbarrow wheel as you can see in the photo.

Paso 4
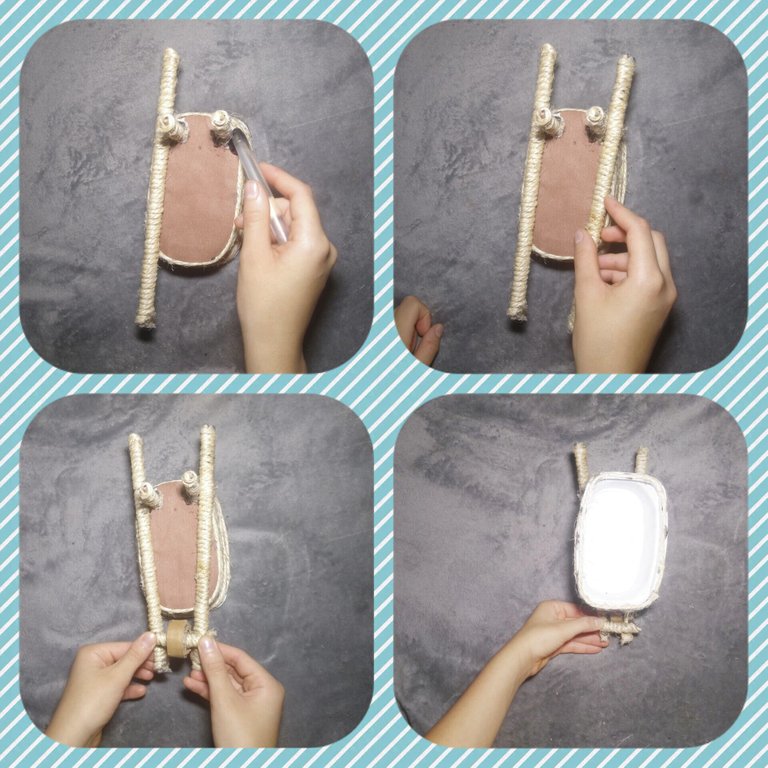
En este paso pegamos 2 de los palos pequeños y después en los costados de los mismos, una vez que están bien sujetos pegamos los palos largos de brocheta así como observas en la foto, posterior a esto pegamos también la rueda y sostenemos un momento para que quede bien pegada.
In this step we glue 2 of the small sticks and then to the sides of them, once they are well attached we glue the long skewer sticks as shown in the photo, after this we also glue the wheel and hold it for a moment so that it is well glued.

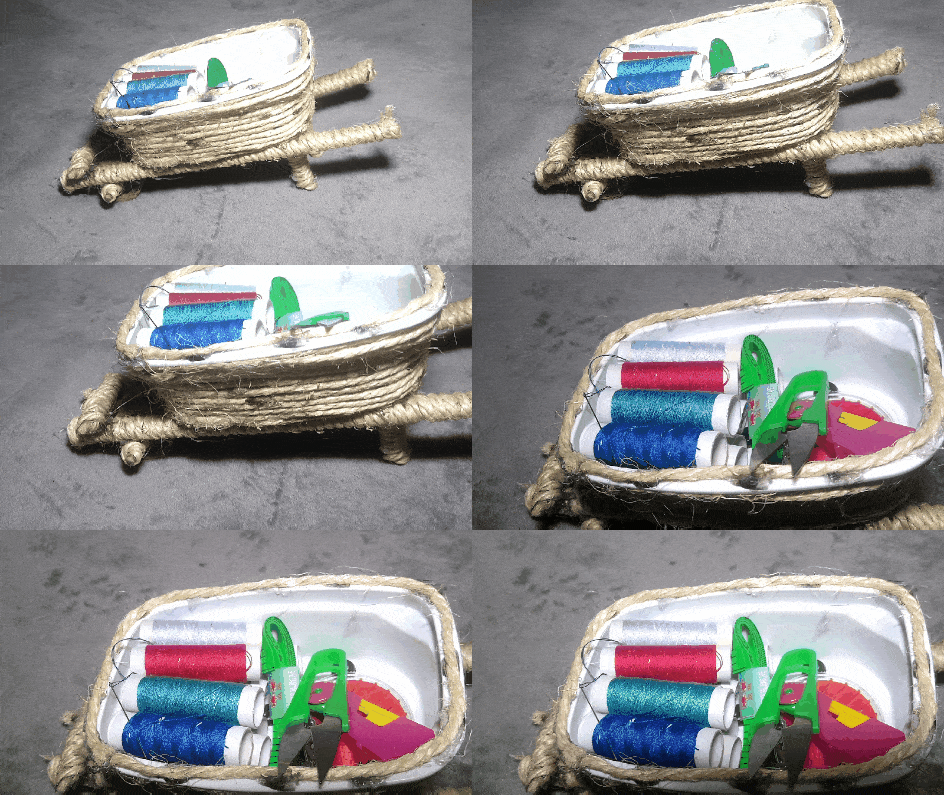
Hemos terminado la carretilla miren como quedo de bonita la use para guardar hilos,agujas, metro etc. todo un kit de costura contame tu que se te ocurre guardar en esta carretilla
Gracias por llegar hasta aqui por leer nos vemos pues
We have already finished the wheelbarrow, look how beautiful it is, I have used it to store threads, needles, ruler, etc. a whole sewing box, do you tell me what you can think of to store in this wheelbarrow?
Thanks for coming here and thanks for reading, see you later.
Fotos tomadas por mi
Traducido en DeepL
Separador usado HIVE
Fotos tomadas por mi
Traducido en DeepL
Separador usado HIVE


