
✨🌛✨🌜✨🌛✨🌜✨🌛✨🌜✨🌛✨🌜✨
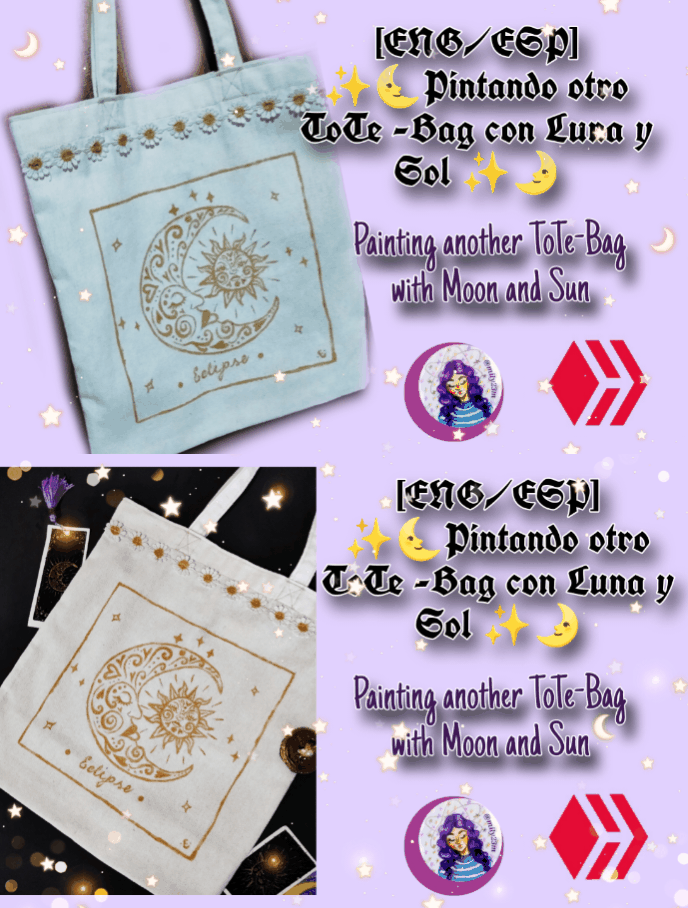
Hola bella comunidad artesana ,y manualistas , el día de hoy quiero compartirles un nuevo proyecto que me tiene muy emocionada, cuando inicio el año hice una lista de cosas para hacer o para intentar , vale recalcar que la mayoría no la hice a estas alturas 🫢 pero eso es otra cosa 😂, entre esa lista puse pintar mis propios ToTe-bags, o( bolsitos de tela para el mercado) así que ya hace unas semanas logré pintar uno que hice para un regalo y como me gustó mucho el resultado ,quería uno para mí ✨aqui es donde entra mi mamá actuando como diseñadora/costurera y me hizo el ToTe-bags como queria para yo proceder a pintarlo , acá está el proceso con fotitos espero que las disfruten.
Materiales
🌜 Tote-bag / bolsa de mercado de tela
🌜 Pinturas de tela dorada
🌜 Pincel fino
🌜Palito de altura
🌜 Regla y lápiz
✨Manos a la obra✨
English Version✨🌛✨🌜✨🌛✨🌜✨🌛✨🌜✨🌛✨🌜✨
Hello beautiful artisan community, and craftsmen, today I want to share with you a new project that has me very excited, when the year began I made a list of things to do or to try, it is worth emphasizing that I did not do most of them at this point 🫢 but that is something else 😂, among that list I put painting my own ToTe-bags, or (cloth bags for the market) so a few weeks ago I managed to paint one that I made for a gift and since I really liked the result, I wanted one for myself ✨this is where my mom comes in acting as a designer/seamstress and made me the ToTe-bags as I wanted so that I could proceed to paint it, here is the process with photos I hope that Enjoy them.
Materials
🌜 Tote-bag / cloth shopping bag
🌜 Gold fabric paints
🌜 Thin paintbrush
🌜 Tall stick
🌜 Ruler and pencil
✨Let's get to work✨
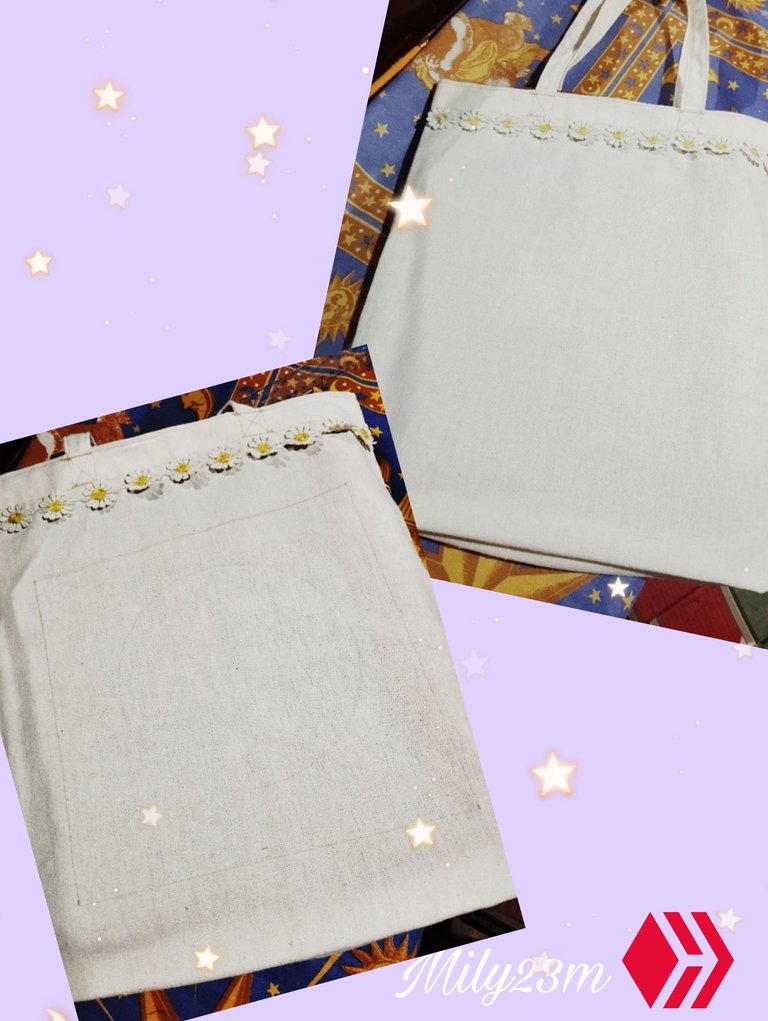
#1🌜 Teniendo el lienzo en el que trabajaremos que será el bolsito, lo extendí bien y le puse adentro una carpeta del mismo tamaño para que al pintar la pintura no traspase a la parte de atrás, este bolsito se hizo con tela liencillo una variedad de tela que es parecida a la textura de saco y a la lona , esta tela hasta ahora que ha salido buena para agarrar la Pintura que es mas parecida a bordado liquido con un textura como plastico al secar , para decorar la parte de arriba le comimos una linea de florecitas tipo bordadas que teniamos por allí, para empezar a hacer el boceto del diseño , hice un cuadrado midiendo 5,5cm desde la línea de las flores , y 5 cm desde cada lado , y 5cm en la parte inferior ,sacando un cuadrado ,y marcado la mitad de cada lado para sacar una guía y ubicar el diseño, marqué un círculo grande en el medio dejando un ligero mayor espacio debajo del círculo para agregar una palabra después en el diseño.
#1🌜 Having the canvas on which we will work, which will be the bag, I spread it well and put a folder of the same size inside so that when painting the paint does not go through to the back, this bag was made with linen fabric, a variety of fabric that is similar to the texture of sack and canvas, this fabric so far that has come out good to grab the paint that is more similar to liquid embroidery with a texture like plastic when it dries, to decorate the top we ate a line of embroidered flowers that we had there, to start making the sketch of the design, I made a square measuring 5.5cm from the line of flowers, and 5cm from each side, and 5cm at the bottom, taking out a square, and marking the middle of each side to get a guide and locate the design, I marked a large circle in the middle leaving a slightly larger space under the circle to add a word later in the design.
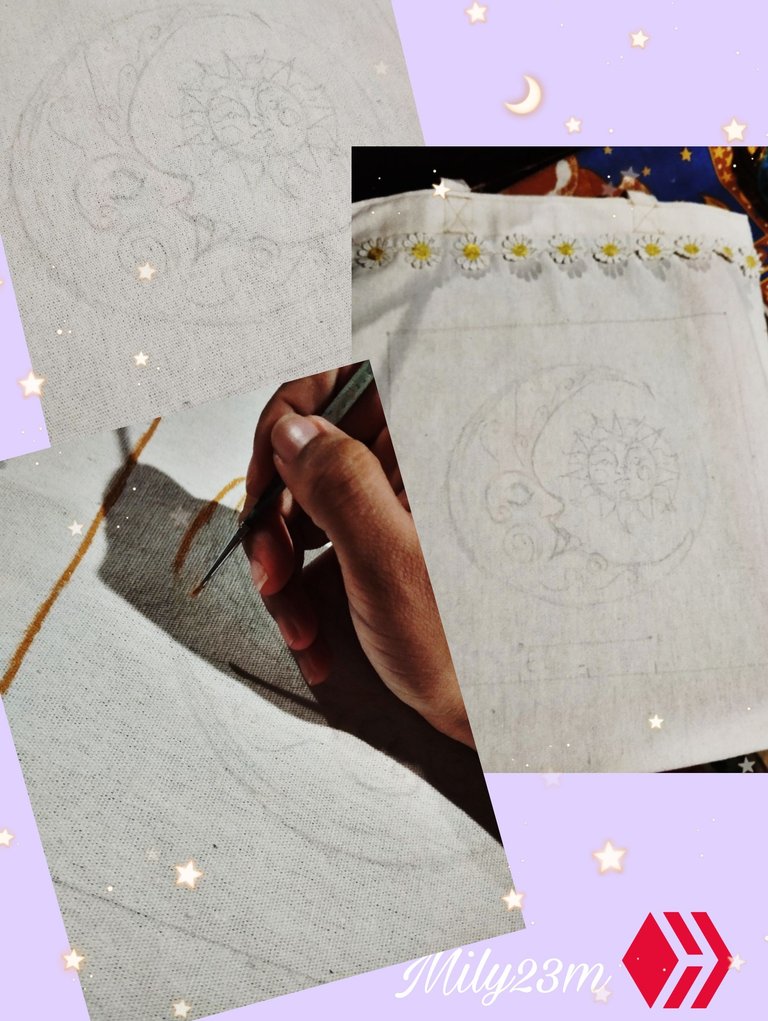
#2 Para el diseño , lo que quería lograr era un dibujo de los típicos que hago estos diseño de lunas y sol medio juntos , me parece que es un bonito diseño quería tener algo que tuviera este motivo celestial y medio místico, dentro de el círculo principal de unos 16cm de diámetro que hice lo use como una guía para sacar la forma de la media luna, tratando de que esta tuviera forma curvas de cara y mentón y no haciéndola tan recta , dentro de las dimensiones del círculo grande en el costado hice un diseño de círculo más pequeño de 4,5 cm para hacer el solo fuera de este hice otro círculo un 1 cm mas grande para hacer las guías de los rayos del sol , la idea es hacer trazos finos que no se vean con el lapiz para que no sea mucho lo que se vea después. Terminando mi diseño de luna le agregué la cara y le hice algunos arabescos pensando en como quería rellenar el cuerpo, al igual con el sol hice los rasgos de la cara un poco más serios y sacando los diseño de arabescos y espirales para rellenar espacio, para los rayos intercale rayos con movimiento y otros con triángulos , una vez termine el diseño procedí a hacer todas las lineas principales del diseño con pintura dorada y con un pincel fino.
#2 For the design, what I wanted to achieve was a drawing of the typical ones I make, these designs of moons and sun half together, I think it is a nice design, I wanted to have something that had this celestial and half mystical motif, inside the main circle of about 16cm in diameter that I made I used it as a guide to get the shape of the half moon, trying to make it have curved shapes of face and chin and not making it so straight, within the dimensions of the large circle on the side I made a smaller circle design of 4.5 cm to make the solo, outside of this I made another circle 1 cm larger to make the guides for the sun's rays, the idea is to make fine strokes that are not seen with the pencil so that not much is seen later. Finishing my moon design I added the face and made some arabesques thinking about how I wanted to fill the body, the same with the sun I made the features of the face a little more serious and removing the arabesque and spiral designs to fill space, for the rays I interspersed rays with movement and others with triangles, once I finished the design I proceeded to make all the main lines of the design with gold paint and a fine brush.
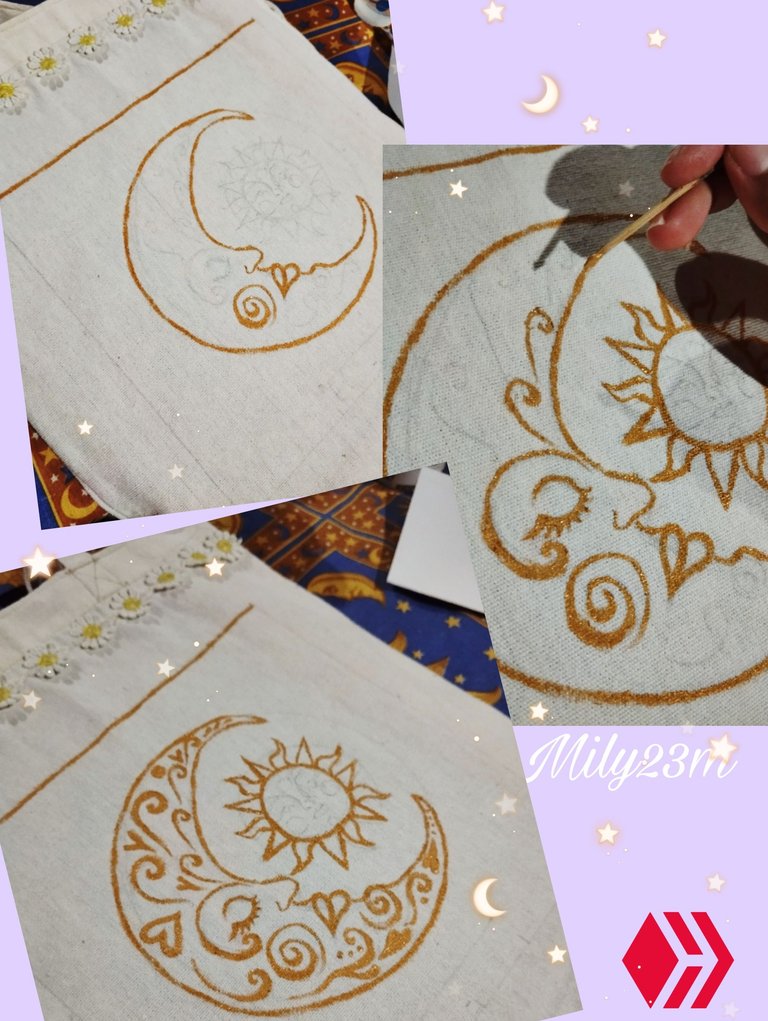
#3 Con la pintura dorada empecé a hacer el lineart principal de la luna , todo el contorno intentando extender la pintura y que quedara uniforme, no sé si es esta pintura pero al parecer es bastante espesa lo que es bueno por qué no se empapa la tela y queda más prolijo el trazo pero también da la impresión que se te va a secar y quedará muy dura al tacto tipo plástico,por lo que trataba de que quedara una capa de pintura suficiente pero no exagerada, luego hice la línea recta superior ayudándome de la regla 📏 para marcar la línea recta , y luego seguí haciendo el diseño del contorno del sol. Para hacer los diseños mas delicados de la luna como los ojos y los arabescos ,usé un pailo de dientes con el que fuí dibujando con mucho cuidado las formas que quería, principalmente trate de hacer los mismos diseños pero agregué algunos otros para llenar espacio ,como también los corazones y puntos .
#3 With the gold paint I started to do the main lineart of the moon, the entire outline trying to spread the paint and make it uniform, I don't know if it is this paint but apparently it is quite thick which is good because it does not soak the fabric and the stroke is neater but it also gives the impression that it is going to dry and will be very hard to the touch like plastic, so I tried to have a sufficient layer of paint but not exaggerated, then I made the upper straight line helping myself with the ruler 📏 to mark the straight line, and then I continued making the outline design of the sun. To make the more delicate designs of the moon like the eyes and the arabesques, I used a toothbrush with which I very carefully drew the shapes I wanted, mainly I tried to make the same designs but I added some others to fill space, such as hearts and dots.
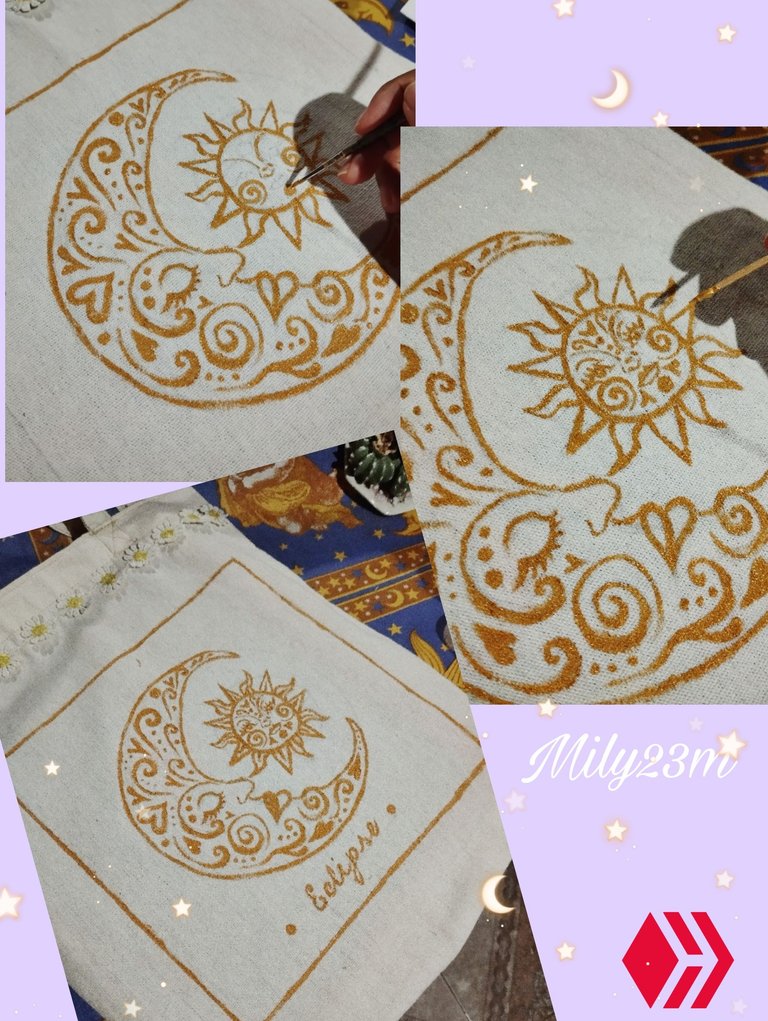
#4Para el diseño del sol también usé un palito pars los rasgos de la cara lo que me permitió darle mayor detalles haciendo la prominencias de la nariz y la cejas ,agregar los ojos y las pestañas que son muy delicadas ,para detalles mas grande como los espirales y el menton use el pincel finito, y para terminar de rellenar el diseño y agregar arabescos ,puntos y corazones seguí usando el palito de altura.Agregue también algo de sombra en el medio de cada rayito del sol, y una vez que termine el diseño en la parte inferior había marcado una linea en el medio del diseño a 1,5cm del borde inferior en dónde iba a ir la palabra que agregaría, se supone que mi diseño era hacer algo tipo esas cartas del tarot en un regtangulos y ponerle el título tipo " el eclipse" pero luego no sabía si iba a quedar bien y no se identificaba tanto como un diseño tipo carta para mí, así que terminé escribiendo solo "eclipse" ,y me paso algo 🫠 no medí bien y puse la palabra a mano alzada y del lado derecho quedó con un poco más de distancia que del lado izquierdo, casí ni se nota pero 😂 pero yo soy obsesiva con las cosas así que intente disimularlo poniéndole unos puntitos a los lados, también terminé de pintar las líneas rectas del diseño.
#4For the sun design I also used a stick for the features of the face which allowed me to give it greater details by making the protrusions of the nose and eyebrows, adding the eyes and eyelashes which are very delicate, for larger details like the spirals and the chin I used the thin brush, and to finish filling in the design and adding arabesques, dots and hearts I continued using the tall stick. I also added some shadow in the middle of each ray of the sun, and once I finished the design at the bottom I had marked a line in the middle of the design 1.5cm from the bottom edge where the word I would add was going to go, my design was supposed to do something like those tarot cards in a rectangle and put the title like "the eclipse" but then I didn't know if it was going to look good and it didn't identify itself as a card type design to me, so I ended up writing just "eclipse", and something happened to me 🫠 I didn't measure well, I put the word freehand and on the right side it was a little further away than on the left side, it's almost not noticeable but 😂 but I'm obsessive with things so I tried to hide it by putting some dots on the sides, I also finished painting the straight lines of the design.
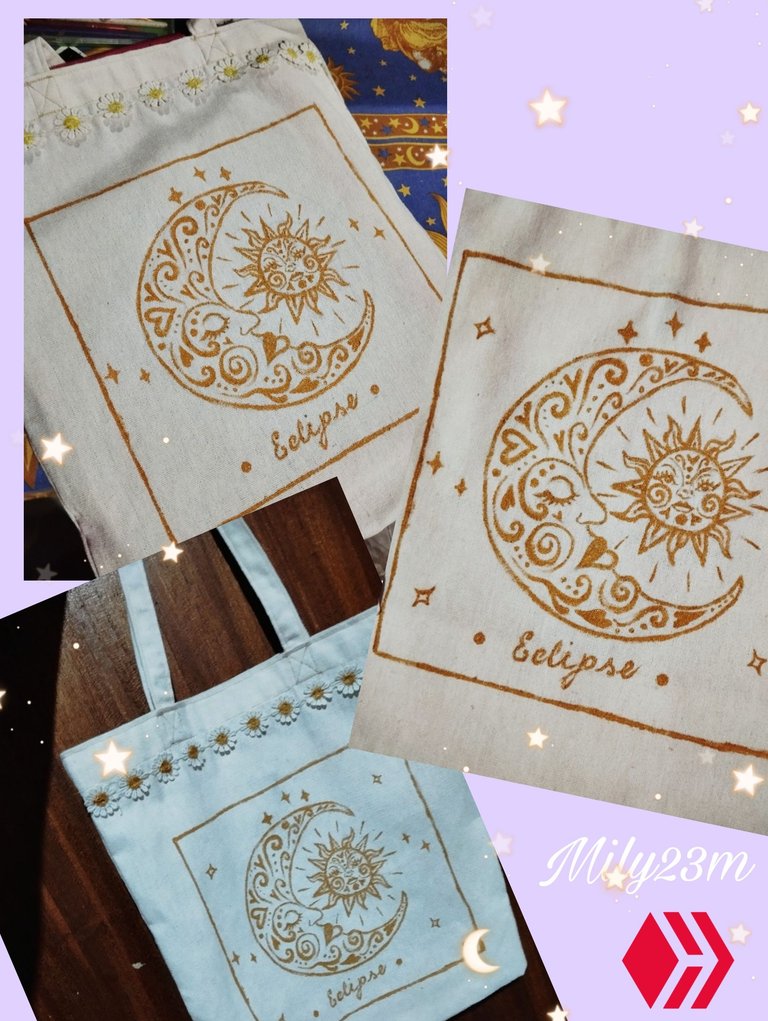
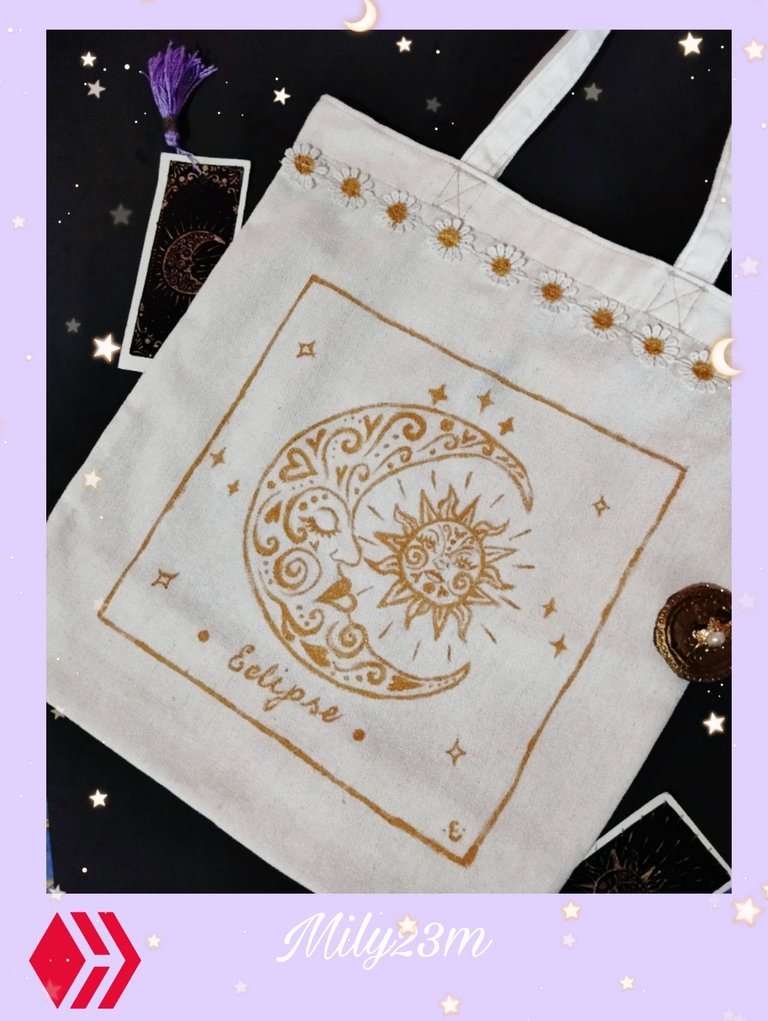
#5 Como yo soy inquieta cuando estoy haciendo este tipo de manualidades me gustó el diseño pero sentí que le faltaba algo ,se veía muy vacío , así que le agregué algunos destellos sencillos que hice alrrededor del diseño y eso lo levanto más,también agregué algunas Líneas en medio del sol y sus rayos, y en la esquinita una mini firma, luego ví que las florecitas amarillas no combinaban entonces pinte el centro de cada flor con dorado y esto complementó todo el diseño ✨🫢, una vez estuvo bien seco después de dejarlo secar una horitas , con mucho cuidado con un borrador grande borré la líneas que se veían de lápiz ,esto con cuidado levanto un poco las bolitas que se le hacen a la tela pero con cuidado delicadamente con una afeitadora las quité, así que es algo para observar en este prototipo si la tela no se empelota rápidamente como la de loneta al lavar (espero que no si no me tocará probar con una tela mejor ) 🤔. Y listo! el diseño esta completo cave mencionar que lo qué hice fue terminarlo y al otro día me lo estrene súper Feliz , y me lo chulearon 😚✨ nada más miren la foto, amé el resultado💜 , porque los he visto mucho en pinterest y ahora tengo muchos diseños en la mente 😅 que quiero intentar.
✨Espero que les haya gustado el post !😚💜✨ muchas gracias por leerme !
✨Fotos tomadas por mí en mi equipo Redmi note 12 editadas en Pics art y gif realizado en app creador de GIFs texto traducido en Google traductor.✨
English Version#5 Since I am restless when I am doing this type of crafts I liked the design but I felt that it was missing something, it looked very empty, so I added some simple sparkles that I made around the design and that lifted it more, I also added some lines in the middle of the sun and its rays, and in the corner a mini signature, then I saw that the little yellow flowers did not match so I painted the center of each flower with gold and this complemented the whole design ✨🫢, once it was very dry after letting it dry for a few hours, very carefully with a large eraser I erased the lines that were seen in pencil, this carefully raised a little the balls that are made to the fabric but carefully delicately with a razor I removed them, so it is something to observe in this prototype if the fabric does not become numb quickly like canvas when washing (I hope not if not I will have to try with a better fabric) 🤔. And that's it! the design is complete, just to mention that all I did was finish it and the next day I debuted it super happy, and they showed it to me 😚✨ just look at the photo, I loved the result💜 , because I've seen them a lot on pinterest and now I have many designs in mind 😅 that I want to try.
✨I hope you liked the post! 😚💜✨ thank you very much for reading me!
✨Photos taken by me on my Redmi note 12 device edited in Pics art and gif made in GIF creator app text translated in Google translator.✨

