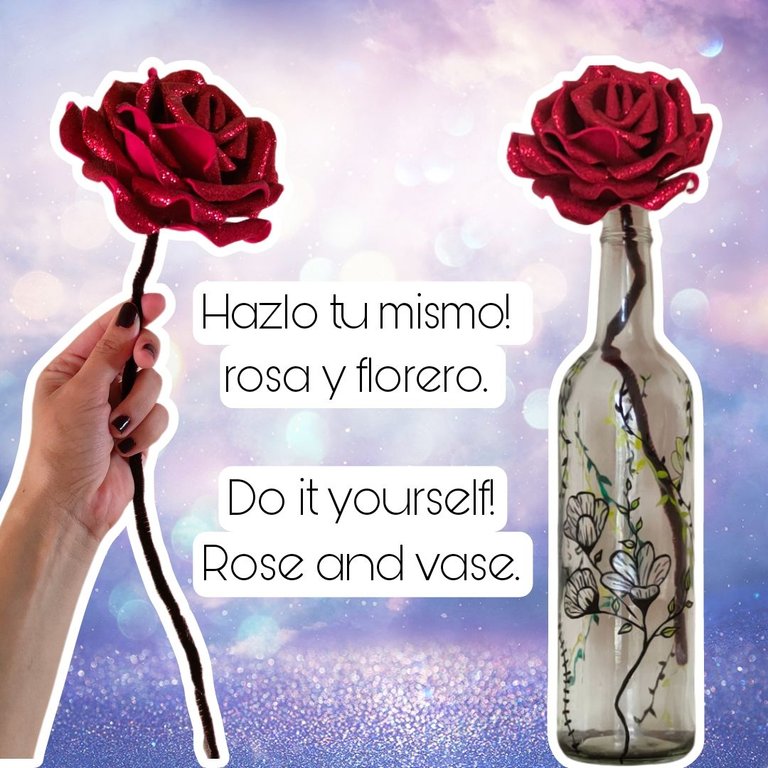
Bienvenidos || Welcome

Feliz dia estimados amigos hace unos días buscaba el tiempo para poder realizar un florero y rosa para decorar mi mesa asi que el día de ayer puse manos a las obras para ejecutar está ingeniosa idea y pa ello utilice los siguientes materiales:
Happy day dear friends a few days ago I was looking for the time to make a vase and rose to decorate my table so yesterday I put my hands to work to execute this ingenious idea and for this I used the following materials:

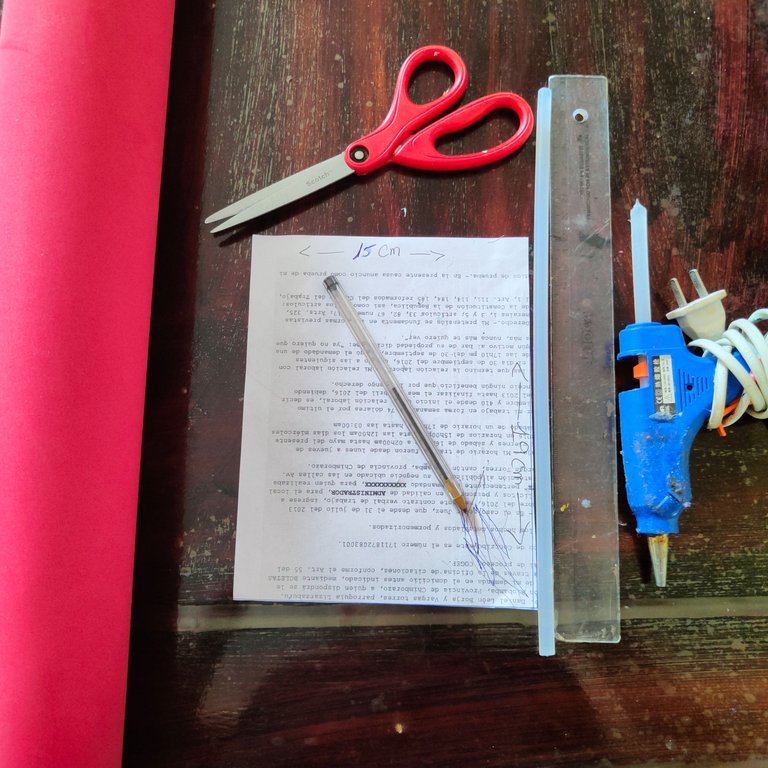
Materiales || Materials

✨ Hoja reciclada.
✨ Regla.
✨ Tijera.
✨ Foamy de color rojo.
✨ 2 limpia pipa.
✨ Silicon.
✨ Botella de vidrio.
✨ Pinturas acrilicas.
✨ Pincel lainer.
✨ Brillo de uñas.
✨ Recycled sheet.
✨ Ruler.
✨ Scissors.
✨ Red colored foam.
✨ 2 pipe cleaners.
✨ Silicon.
✨ Glass bottle.
✨ Acrylic paints.
✨ Lainer brush.
✨ Nail polish.

Pasos ||Steps

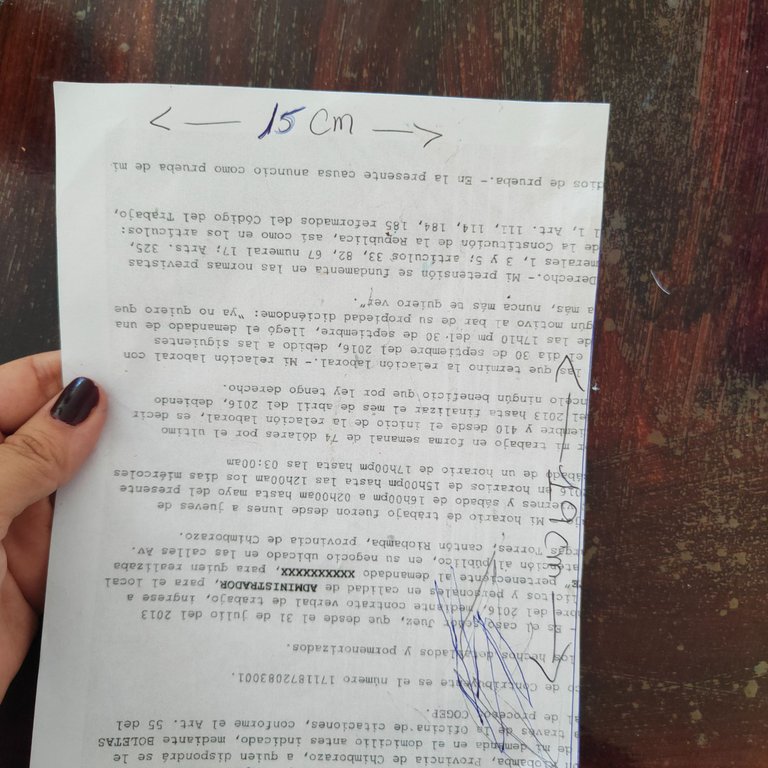
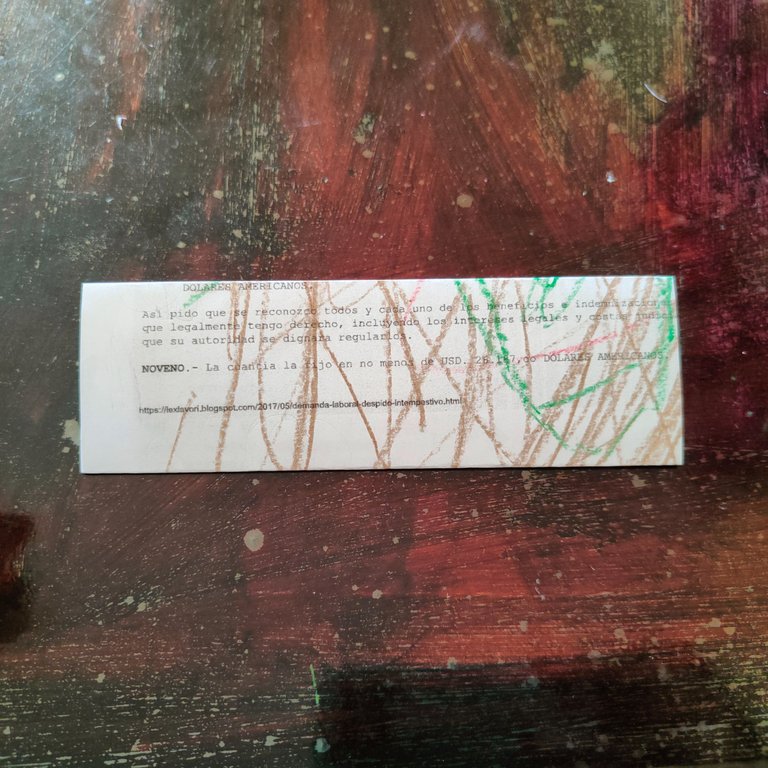
✨ Paso 1. Lo primero que vamos hacer es la plantillas para hacer la rosa, asi que tomaremos una hoja, puede ser reciclada, vamos a medir y recortar un rectangulo de 15 centimetro de ancho y 19 de alto, lo siguiente sera doblar la hoja por la mita y luego volvemos a doblar.
✨ Step 1. The first thing we are going to do is the templates to make the rose, so we will take a sheet, it can be recycled, we will measure and cut out a rectangle of 15 centimeters wide and 19 centimeters high, the next thing will be to fold the sheet in half and then fold it again.
 |  |  |
|---|
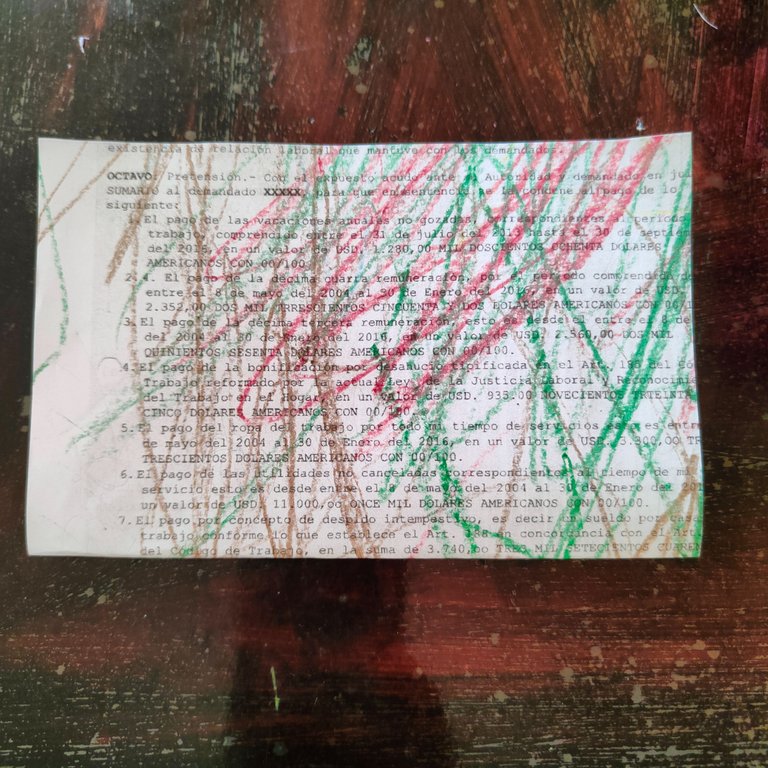
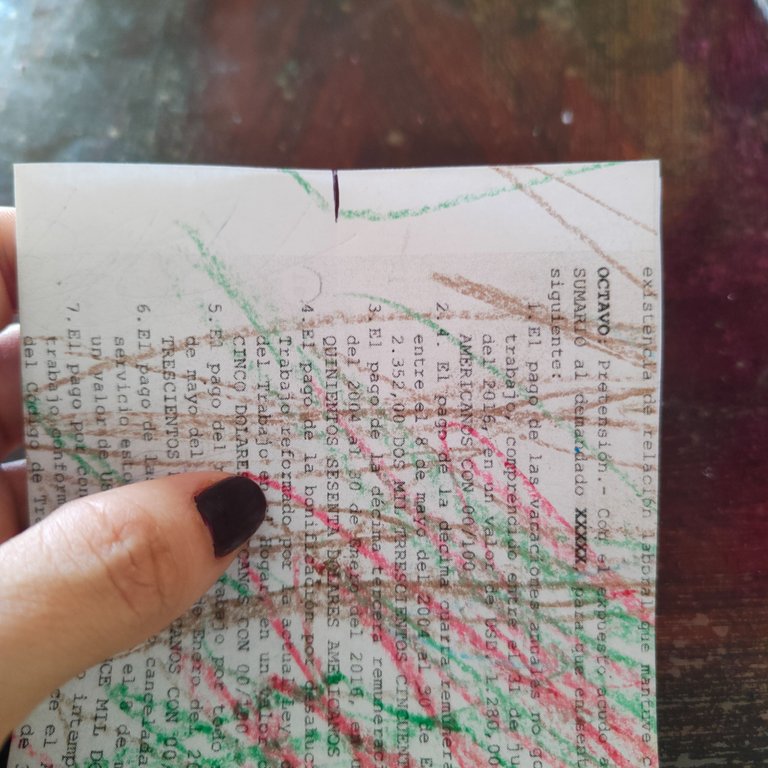
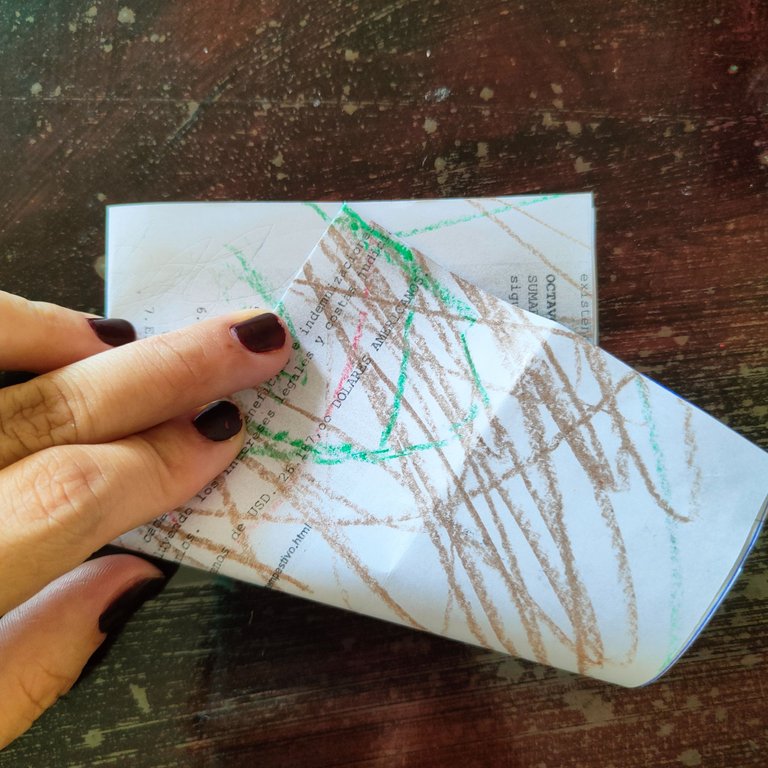
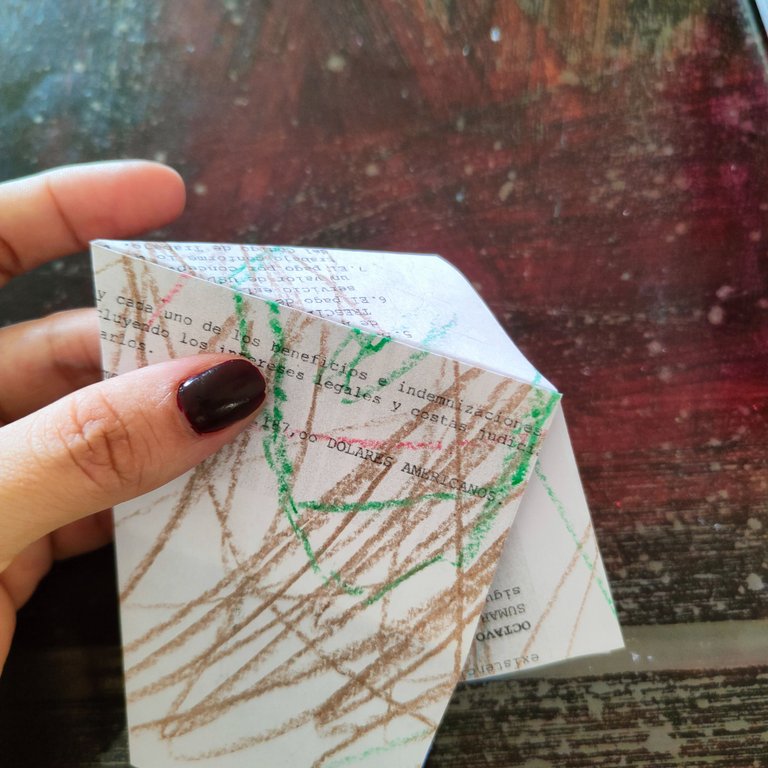
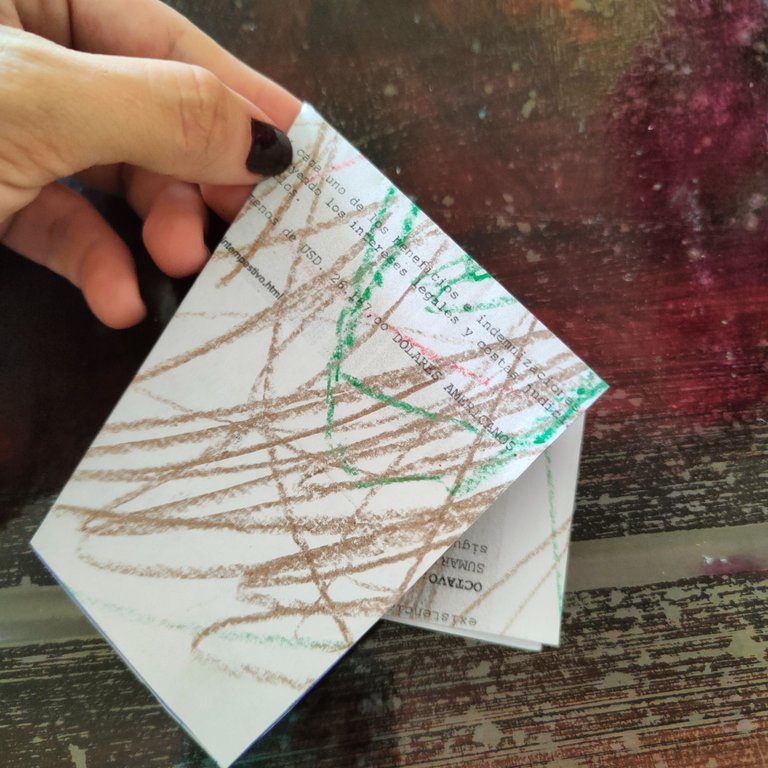
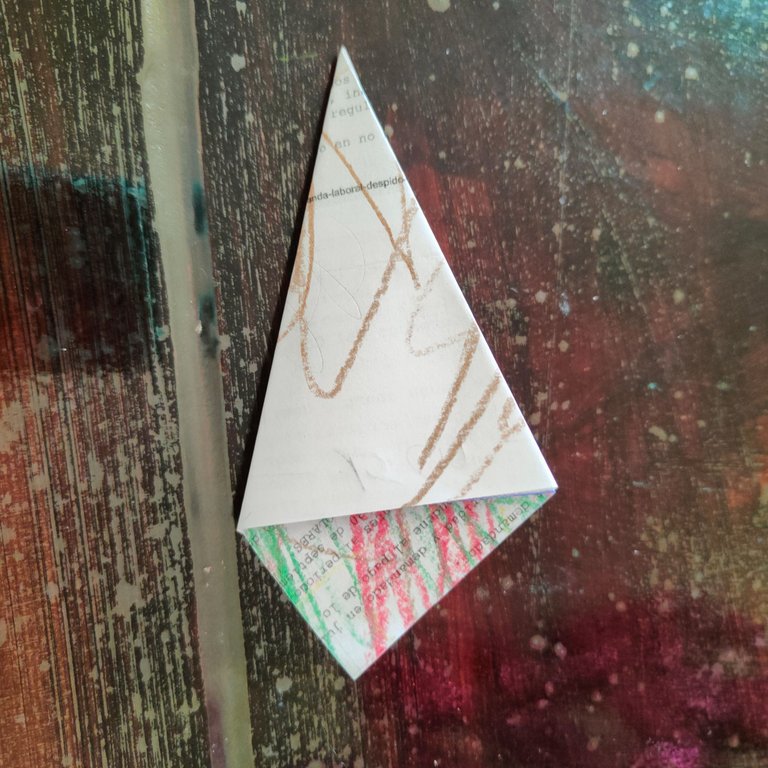
✨ Paso 2. Lo siguiente es abrir nuestra hoja dejando al descubierto el último doble y marcaremos donde esta el doble para guiarnos y llevaremos hacia ese centro la punta del extremo izquierdo, asi mismo doblaremos hacia atras la parte de la hoja que queda a mano derecha y por debajo formando una especie de triángulo.
✨ Step 2. The next thing is to open our sheet exposing the last double and we will mark where the double is to guide us and we will take to that center the tip of the left end, likewise we will fold back the part of the sheet that is on the right hand side and below forming a kind of triangle.
 |  |  |
|---|
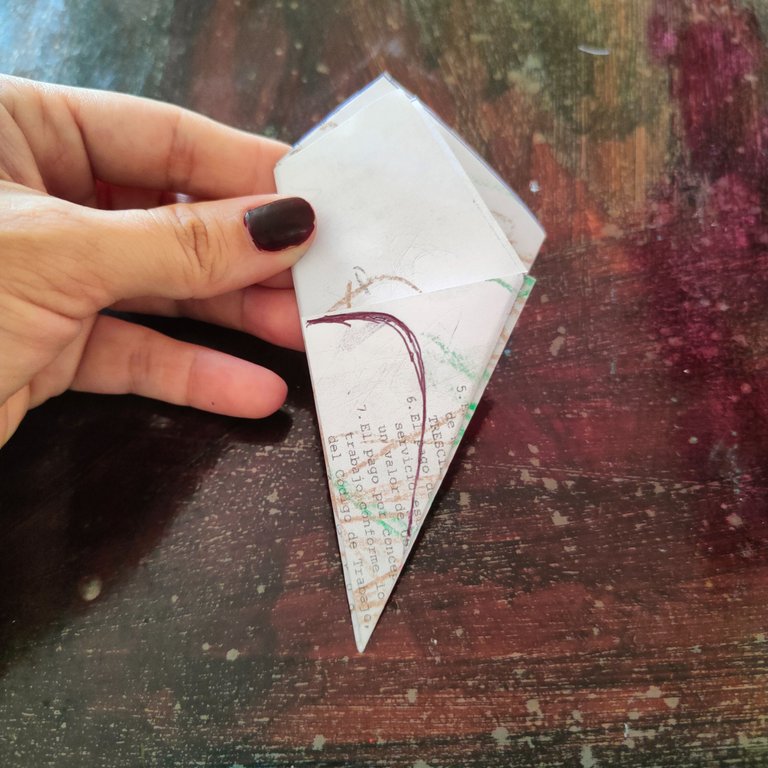
✨ Paso 3. Le daremos la vuelta a nuestra pieza y haremos otro doble formando un triángulo, volvemos darle la vuelta a la figura y asi mismo procedemos a dibujar en la parte donde esta la punta un pétalo.
✨ Step 3. We will turn our piece over and we will make another double forming a triangle, we turn the figure over again and proceed to draw a petal in the part where the tip is.
 |  |  |
|---|
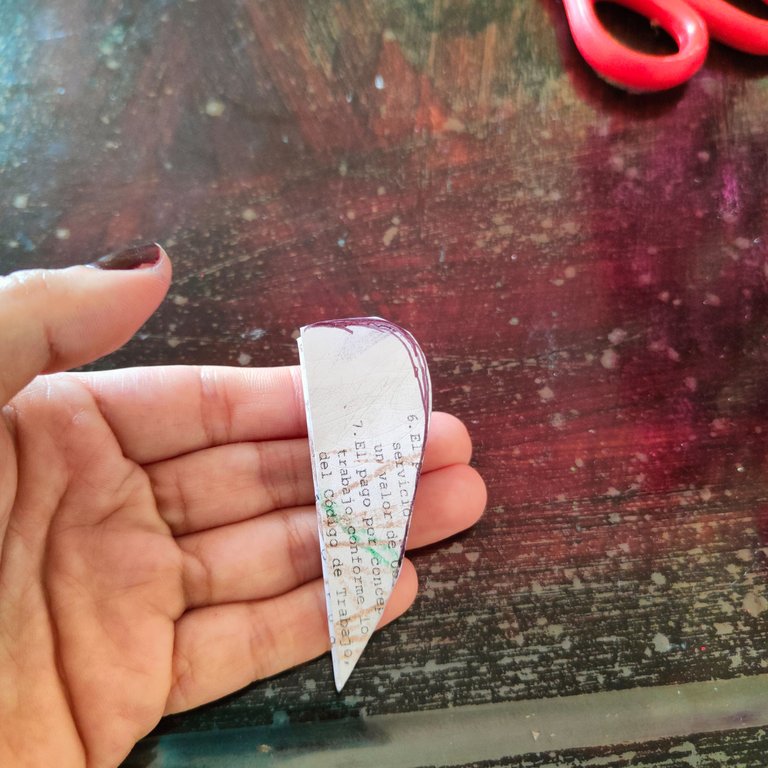
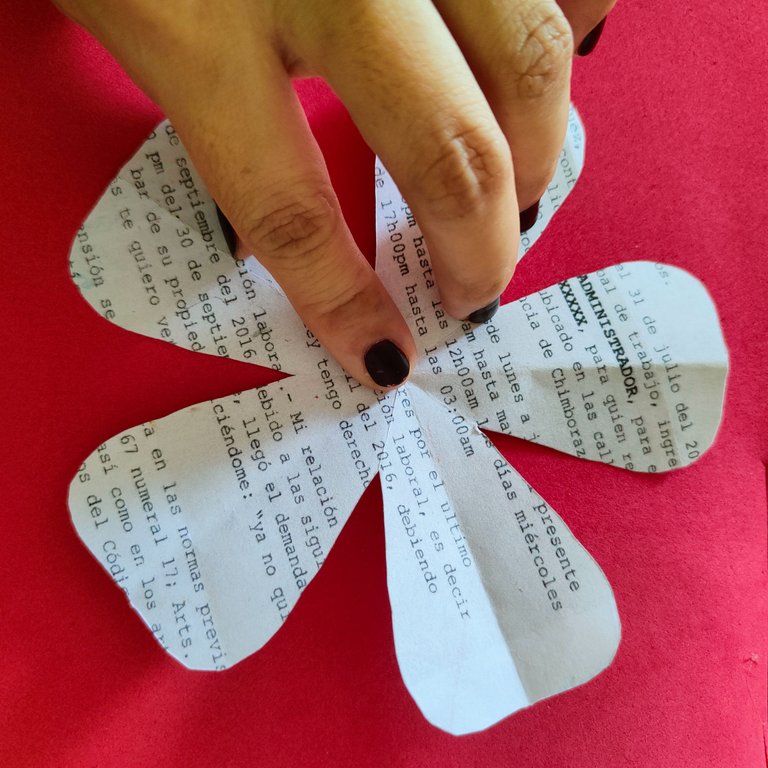
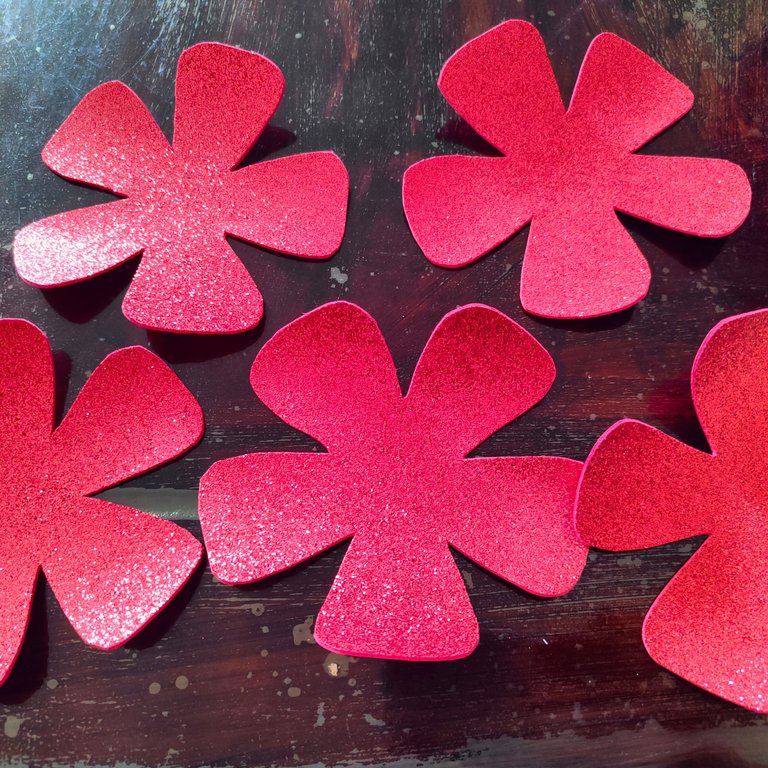
✨ Paso 4. Procedemos a cortar y abrimos nuestro pliego veremos como hemos terminado el patron que nos ayudara hacer la rosa, asi que comenzamos a realizar 5 de estas flores en Foamy.
✨ Step 4. We proceed to cut and open our sheet we will see how we have finished the pattern that will help us make the rose, so we begin to make 5 of these flowers in Foamy.
 |  |  |
|---|
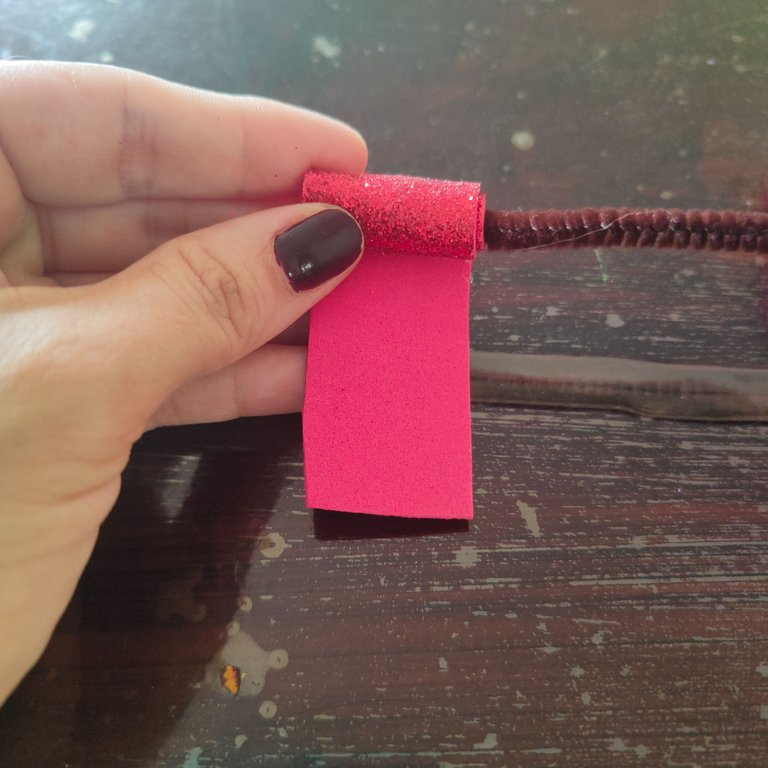
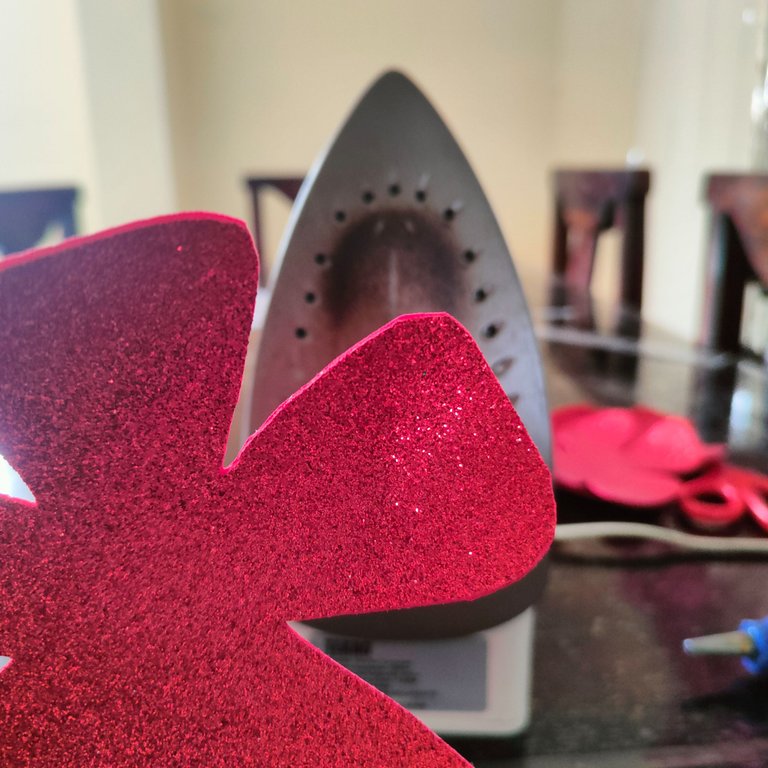
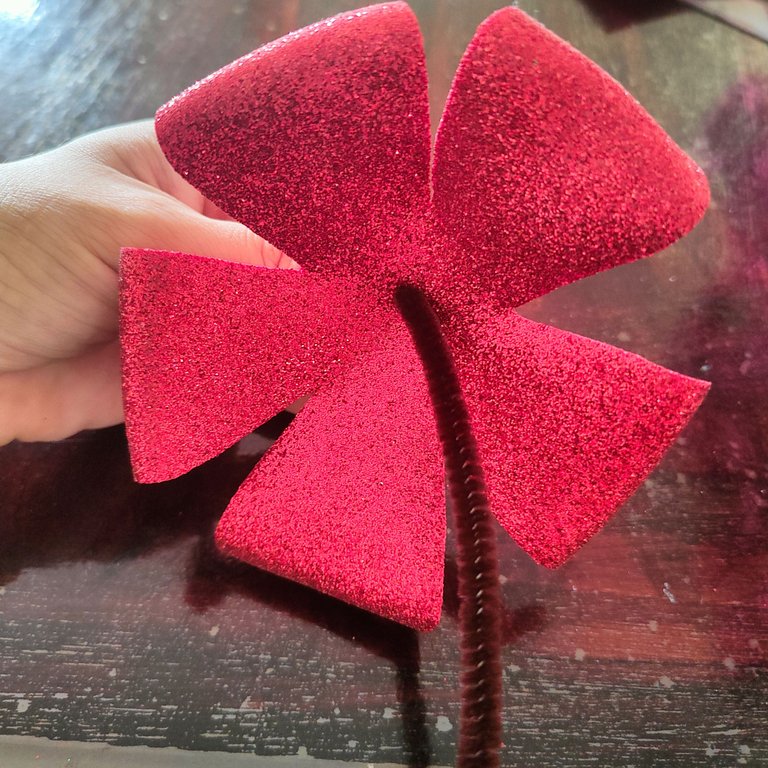
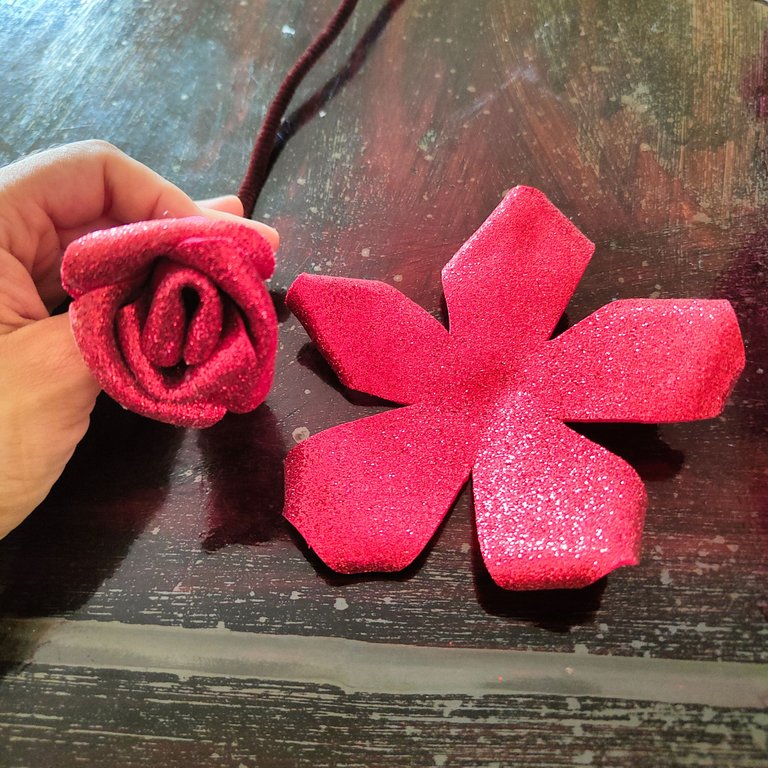
✨ Paso 5 Haremos una tira de foamy rojo de 10 centímetros de ancho y 2 de alto, seguidamente tomaremos el limpia pipa y en el vamos enrollar la cinta de Foamy fijando con silicon asi tendremos el centro de nuestra rosa, con la plancha vamos a comenzar a darle forma a los petalos ligeramente hacia atras y hacia el centro de cada uno, introducimos el limpia pipa en el centro de las flores de foamy.
✨ Step 5. We will make a strip of red foamy 10 centimeters wide and 2 centimeters high, then we will take the pipe cleaner and in it we will roll the Foamy tape fixing with silicone so we will have the center of our rose, with the iron we will begin to shape the petals slightly backwards and towards the center of each one, we introduce the pipe cleaner in the center of the foamy flowers.
 |  |  |
|---|
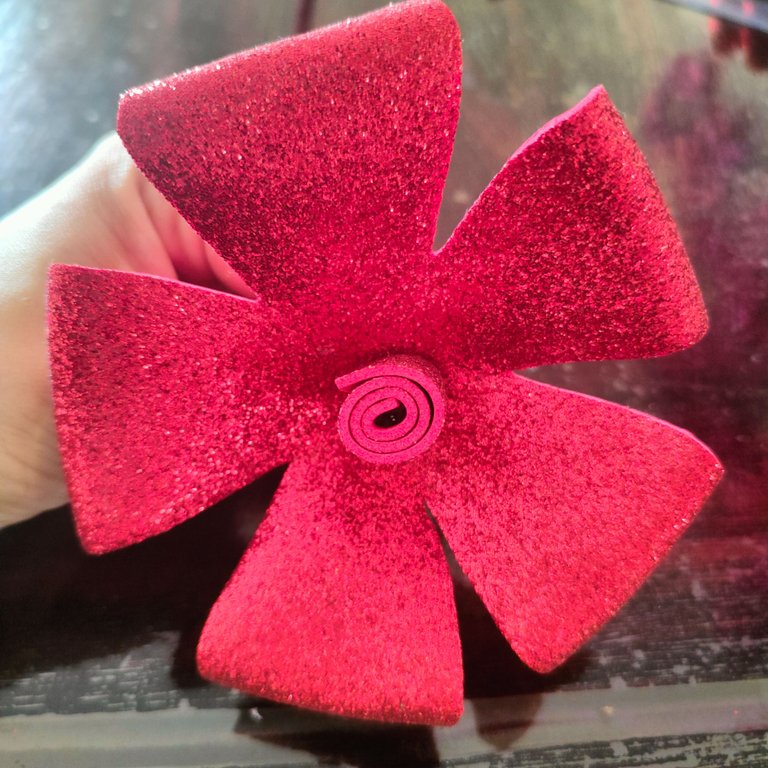
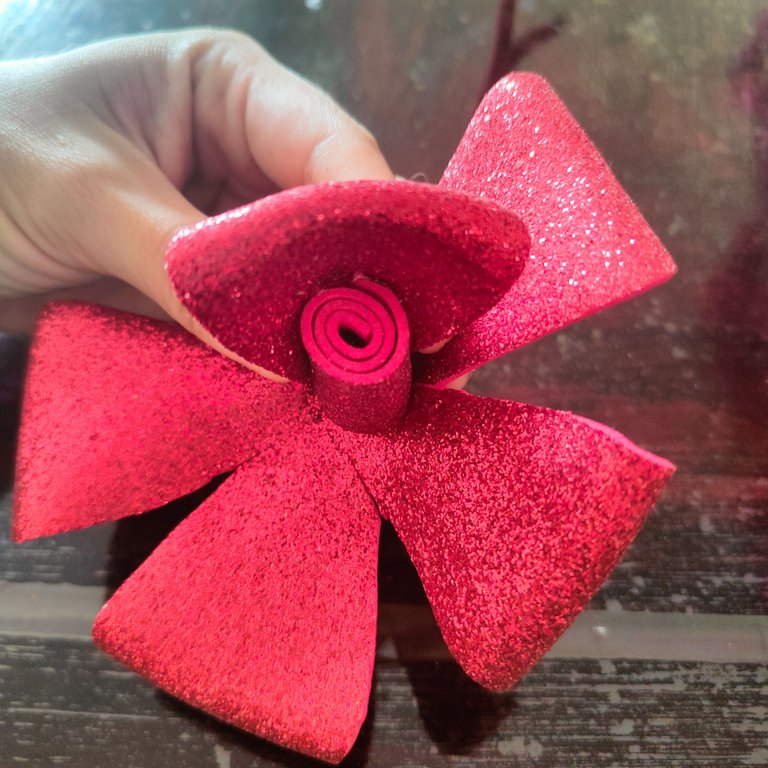
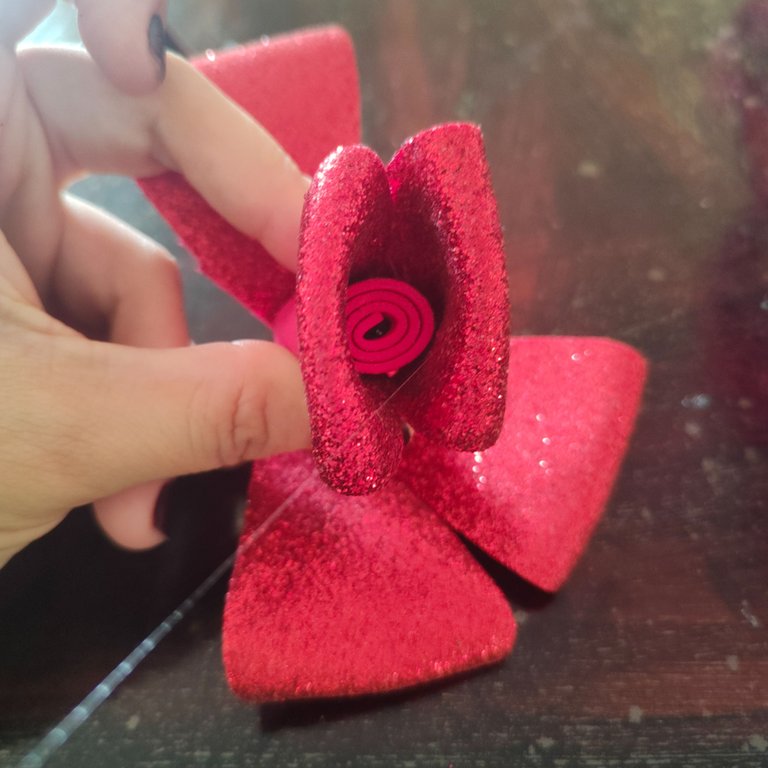
✨ Paso 6. Introduciremos la primera flor con está haremos el centro de la rosa, comenzaremos pegando un petalo al rededor del limpia pipa, seguidamente pegaremos el petalo que esta frente al que se fijo primero iremos trabajando siempre asi para que la rosa tome poco a poco forma.
✨ Step 6. We will introduce the first flower with this we will make the center of the rose, we will begin by gluing a petal around the pipe cleaner, then we will glue the petal that is in front of the one that was fixed first, we will always work in this way so that the rose takes shape little by little.
 |  |  |
|---|
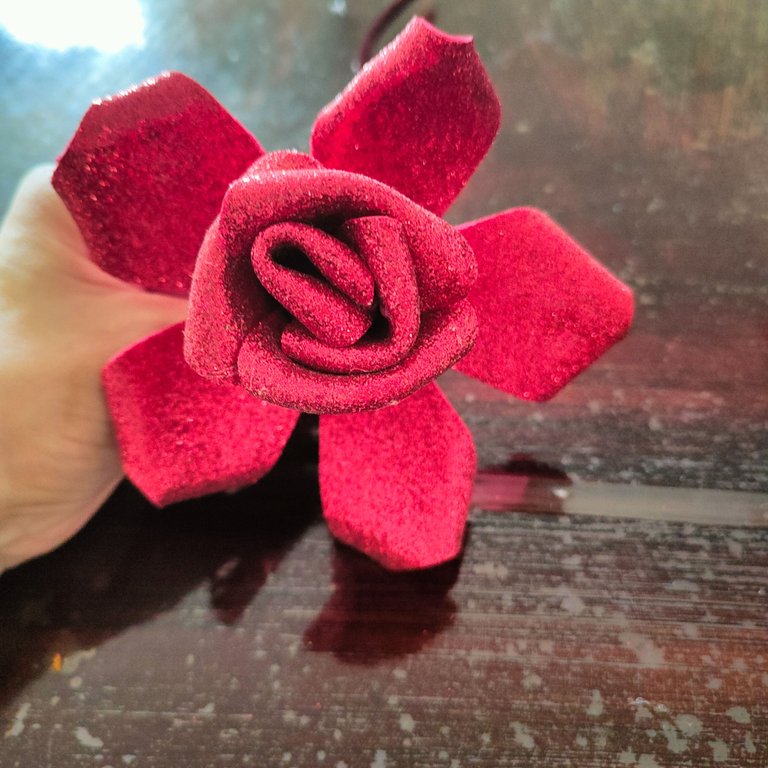
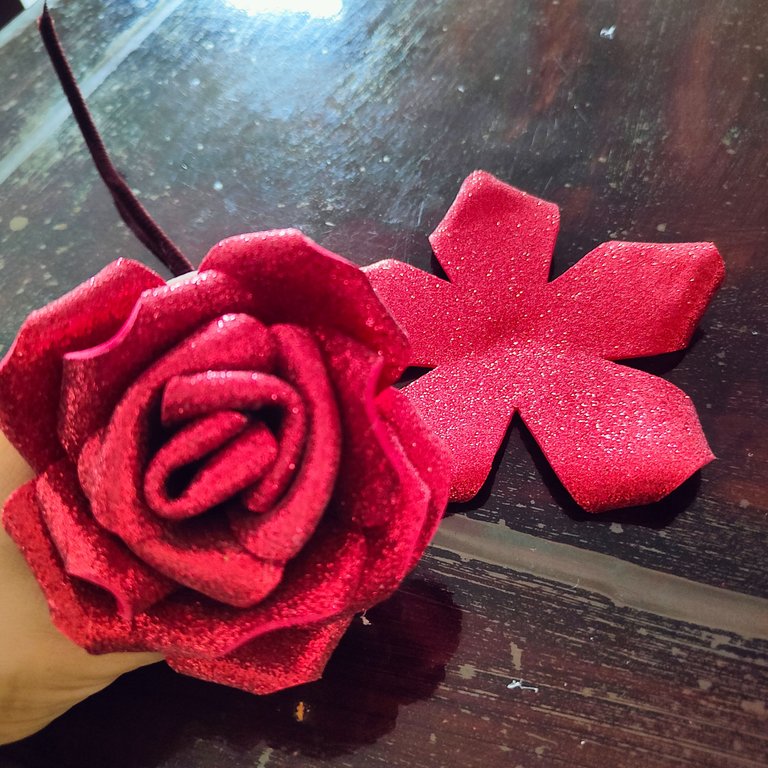
✨ Paso 7. Iremos poco a poco introduciendo las flores y fijando petalo por petalo hasta haber ocupado las 5 flores.
✨ Step 7. We will gradually introduce the flowers and fix petal by petal until we have occupied all 5 flowers.
 |  |  |
|---|
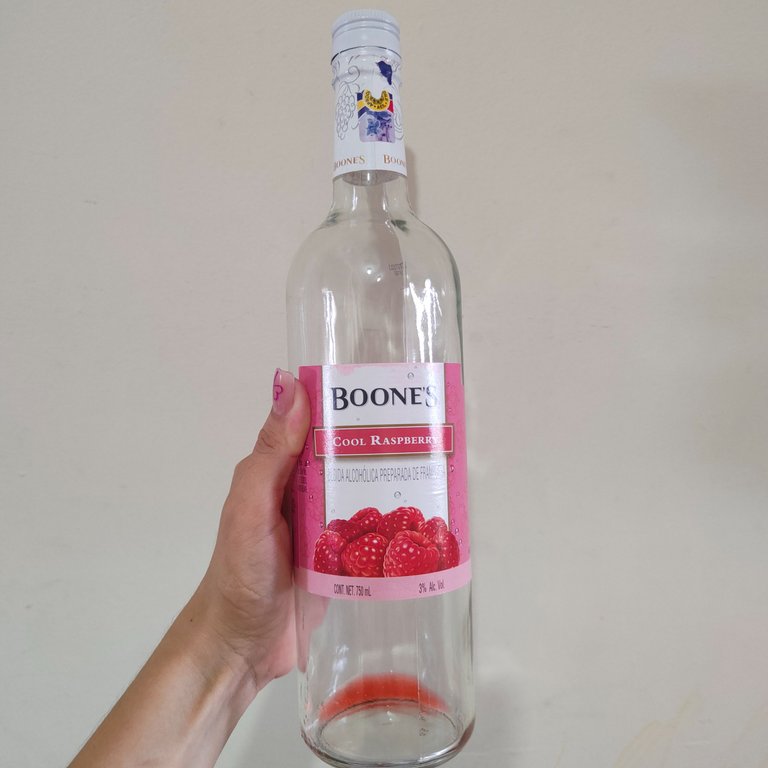
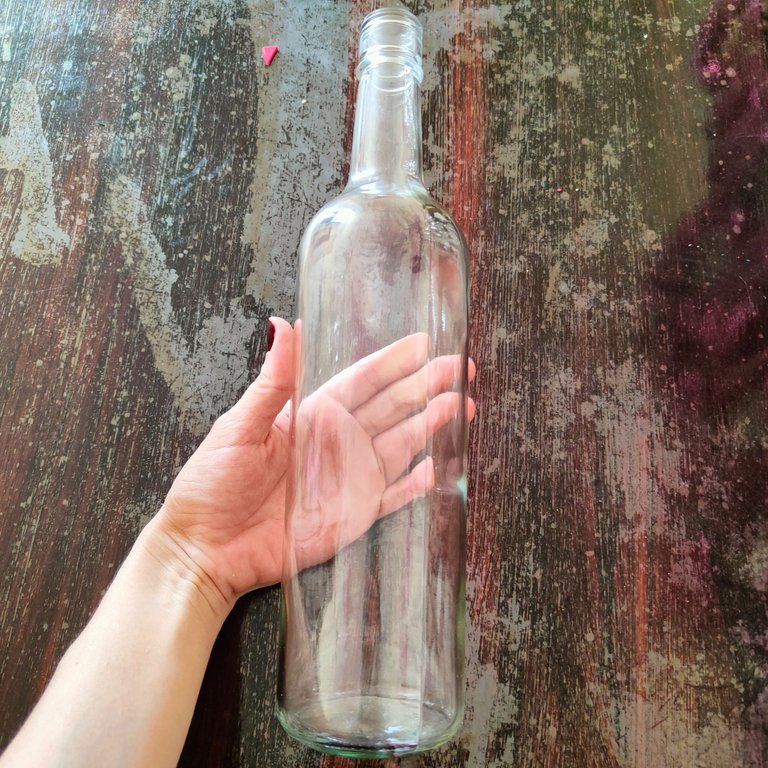
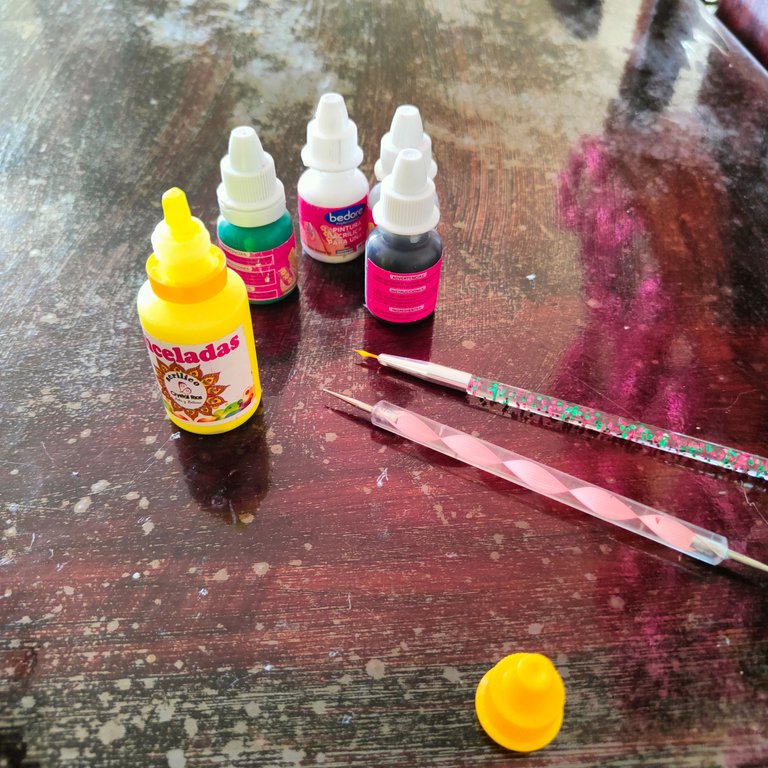
✨ Paso 8. Para hacer el florero vamos primero a lavar y retirar las etiquetas de la botella que vamos a ocupar y seguidamente comenzaremos con las pinturas acrilicas a dibujar sobre ella.
✨ Step 8. To make the vase we will first wash and remove the labels from the bottle we are going to use and then we will start drawing on it with the acrylic paints.
 |  |  |
|---|
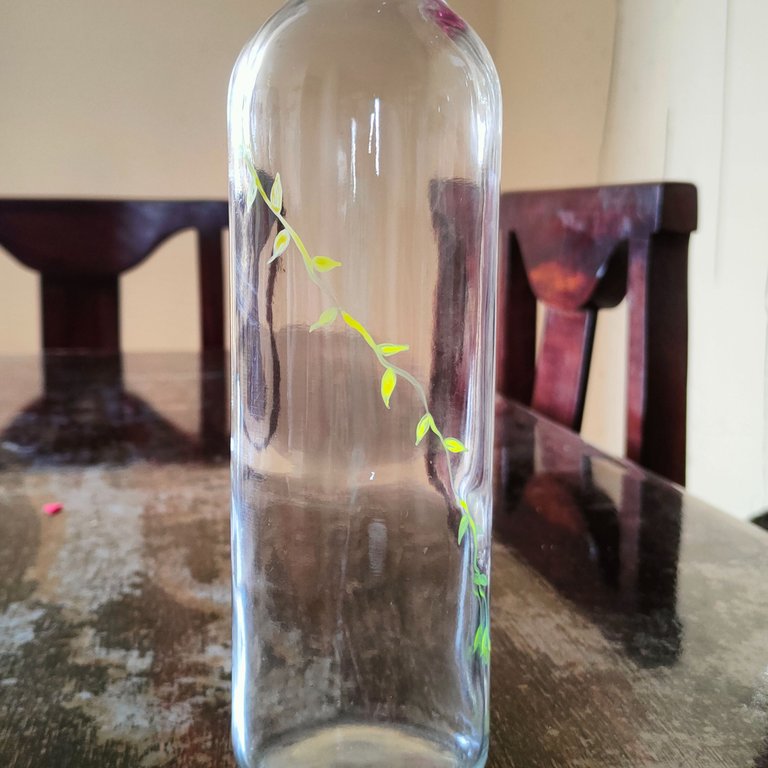
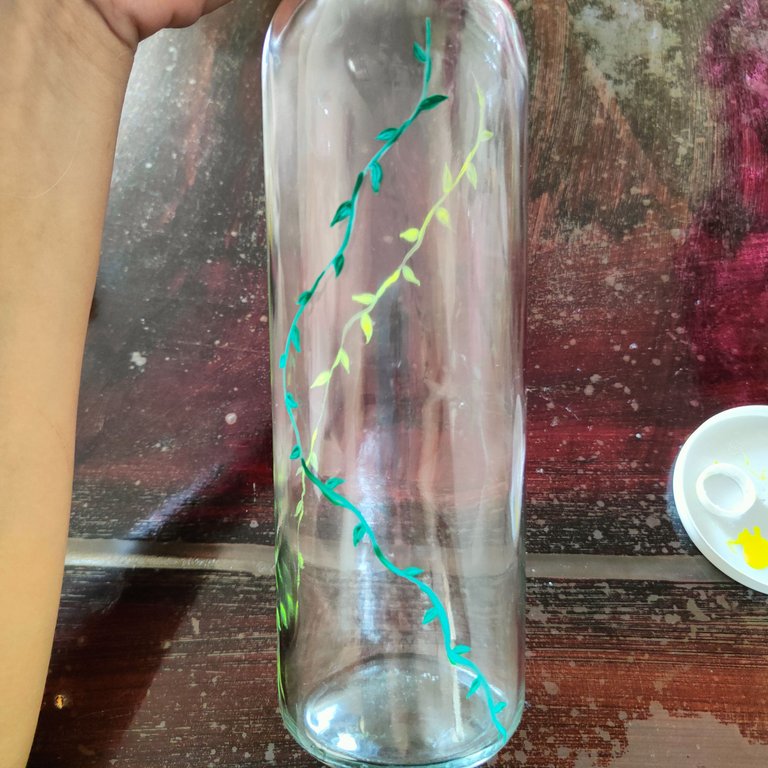
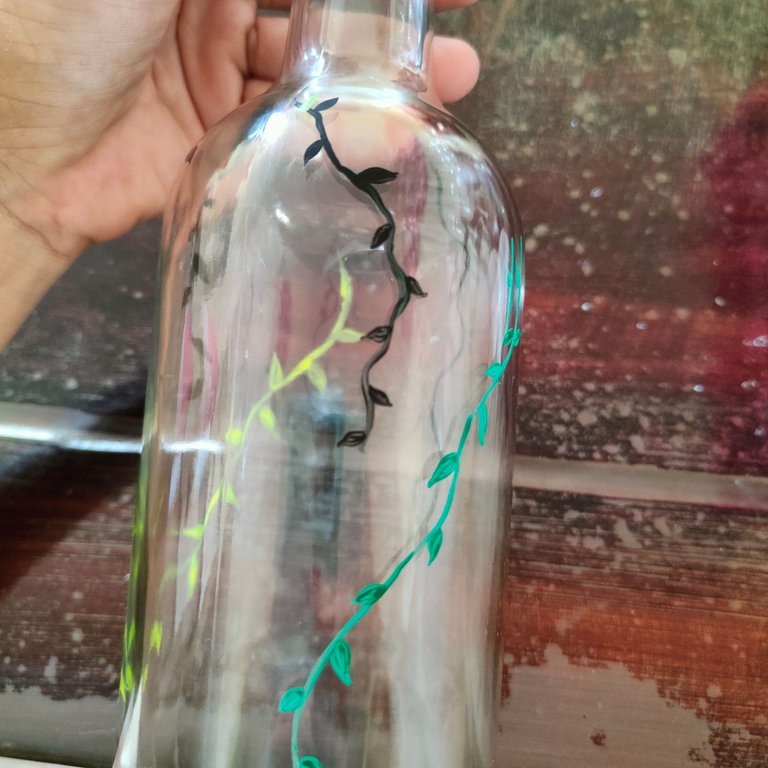
✨ Paso 9. En mi caso comence haciendo ramas y hojas en colores verdes, amarillo y negro alrededor de toda la botella.
✨ Step 9. In my case I started by making branches and leaves in green, yellow and black colors around the whole bottle.
 |  |  |
|---|
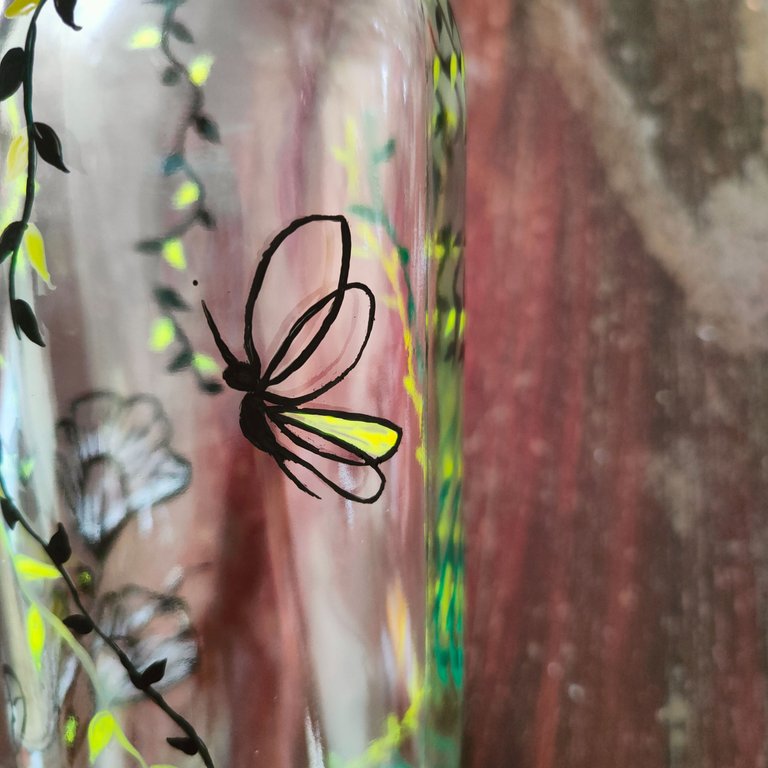
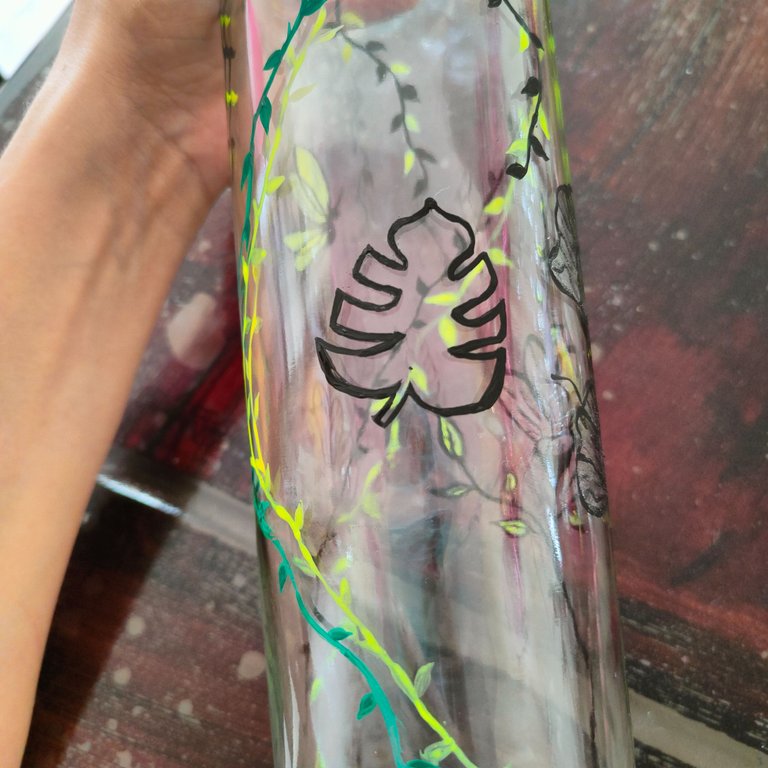
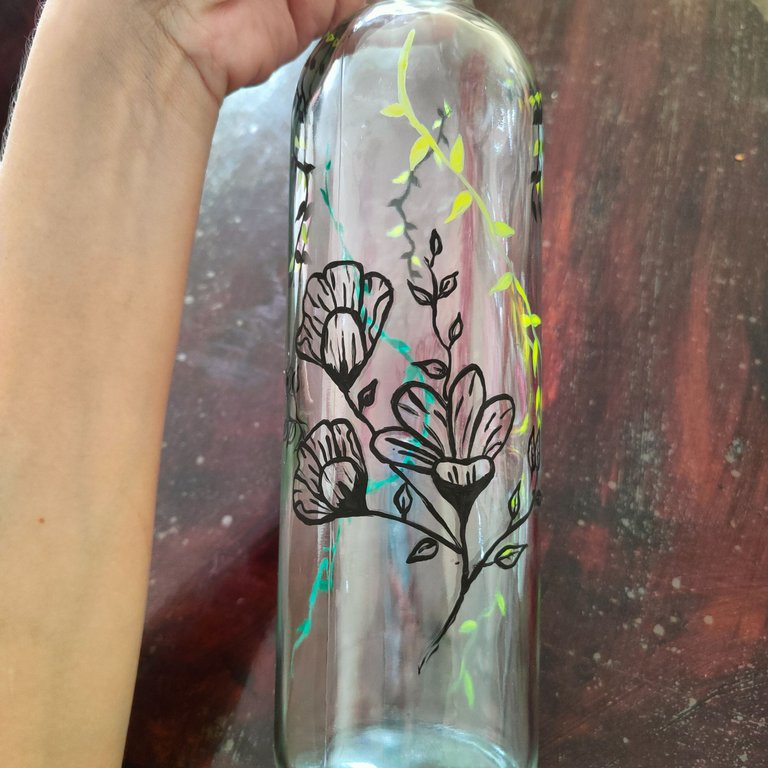
✨ Paso 10. Por ultimo hice los diseños mas grande que fueron unas flores, hoja y mariposa en color negro, un trabajo de mucha paciencia pero un lindo resultado.
✨ Step 10. Finally I made the biggest designs which were flowers, leaf and butterfly in black color, a very patient work but a nice result.
 |  |  |
|---|
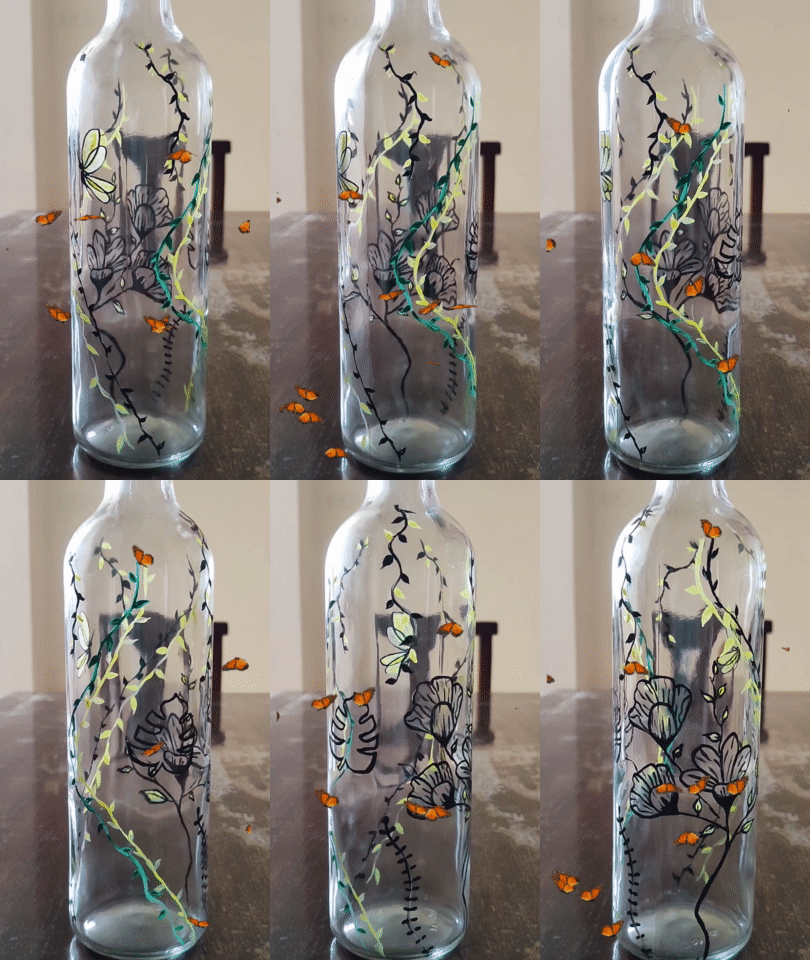

Resultado || Result

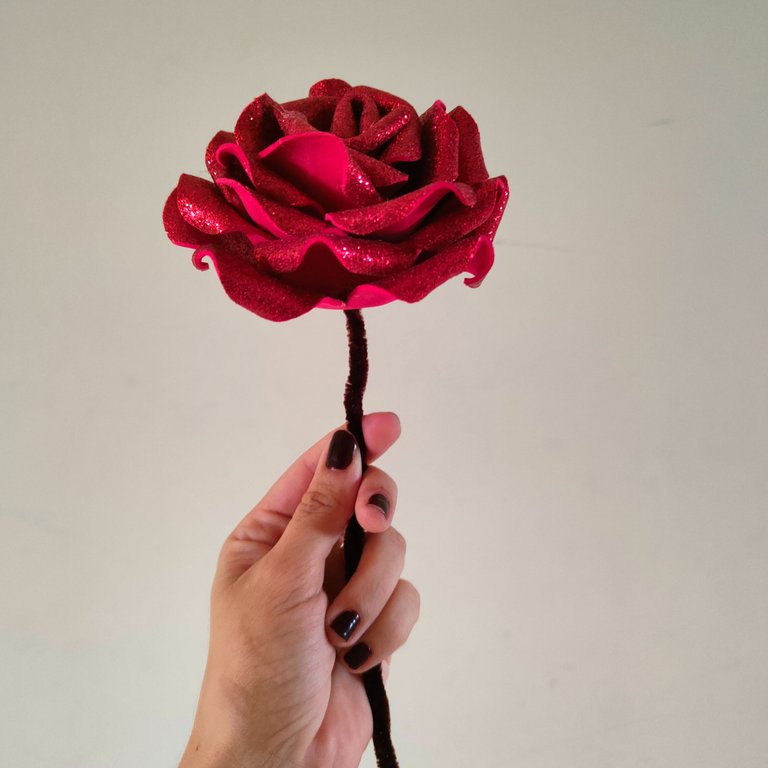
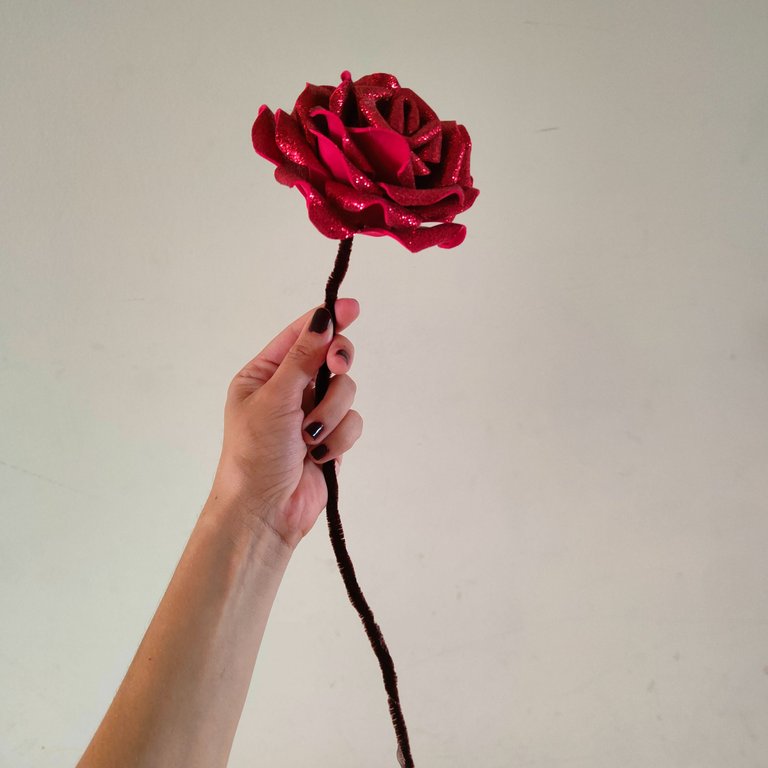
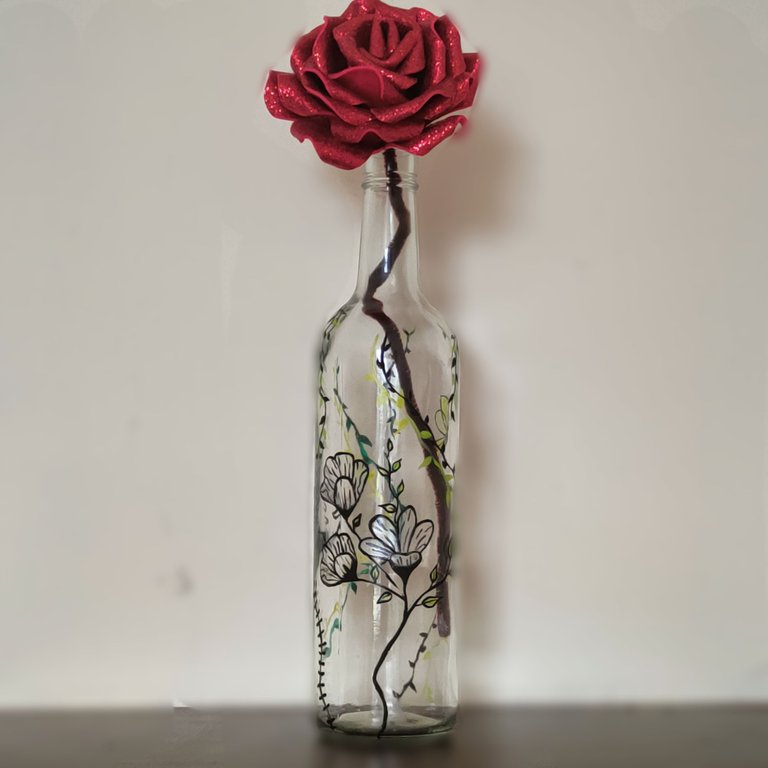
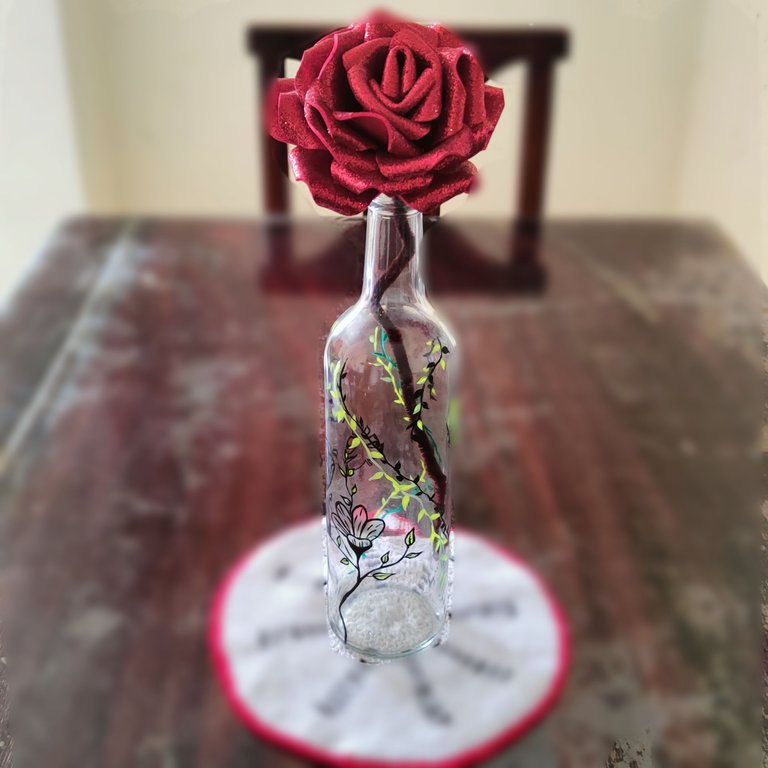
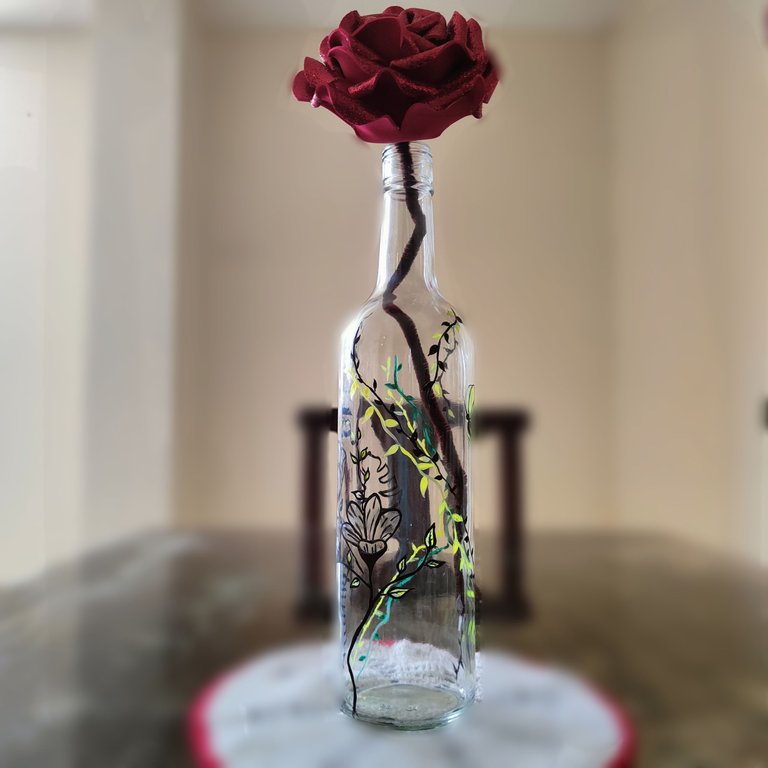

Sin duda ame mucho el resultado ya que la rosa tiene un realismo espectacular muy hermoso y la botella tiene su toque de en sueño me gusto mucho para decorar mi comedor, esperando que el contenido sea de utilidad para todos se animen a realizar sus propias rosas y floreros para decorar los diversos rincones de su hogar, como siempre agradecida por su tiempo, atencion y apoyó estimados amigos y lectores sera hasta un proximo post.
No doubt I loved the result as the rose has a very beautiful spectacular realism and the bottle has a touch of dreamy I really liked to decorate my dining room, hoping that the content is useful for everyone to be encouraged to make their own roses and vases to decorate the various corners of your home, as always grateful for your time, attention and support dear friends and readers will be until a future post.
La creatividad no tiene límite. || There is no limit to creativity. 💡♻️✂️🌹

COMMUNITY DIY.


🎥Imágenes y vídeo creados con: |Images and video created with: Youcut video| Giphy | Canva |
🇪🇸 Traducido con DeepL


