Welcome || Bienvenidos

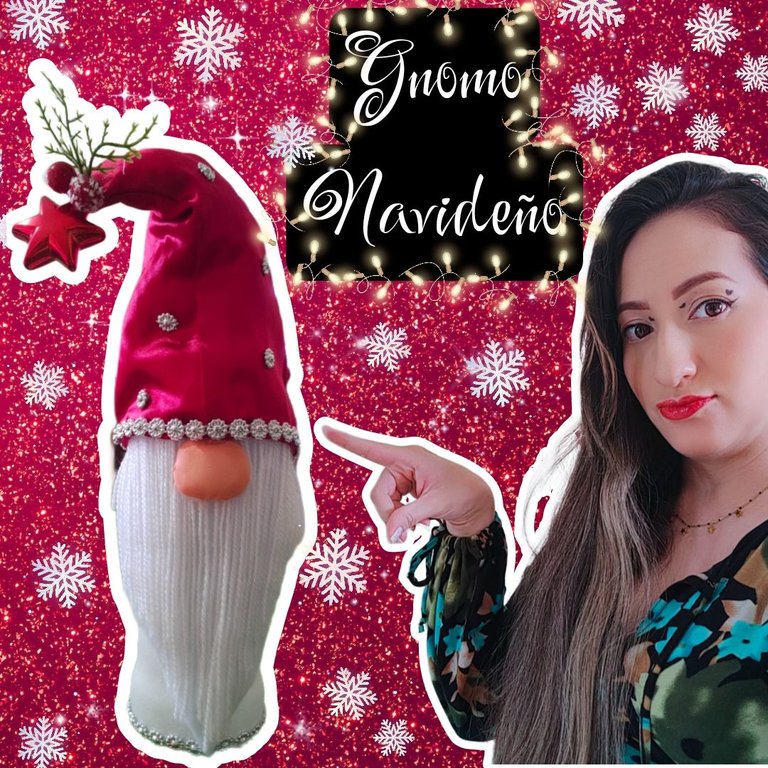
Feliz noches queridos amigos y lectores como en cada post siempre es un placer para mi estar y compartir con cada uno de ustedes, en esta ocasión me complace unirme a la iniciativa de esta hermosa comunidad, espacio creativo que nos permite explorar y compartir nuestras habilidades, tenia dias tratando de tener un espacio de tiempo para participar sin embargo Navidad es un mes bastante movido, para mi entrada decidí compartí como elaborar desde casa y con materiales que tenemos (reciclaje) un hermoso Gnomo asi que sin mas preambulo comencemos.
Happy evening dear friends and readers as in every post is always a pleasure for me to be and share with each of you, this time I am pleased to join the initiative of this beautiful community, creative space that allows us to explore and share our skills, I had days trying to have a space of time to participate however Christmas is a busy month, for my entry I decided to share how to make from home and with materials we have (recycling) a beautiful Gnome so without further ado let's start.

Materiales || Materials

⭐ 1 botella de vidrio reciclada.
⭐ Pega blanca
⭐ Talco.
⭐ Esponja.
⭐ Silicon en barra.
⭐ Tela de seda roja.
⭐ Fieltro blanco.
⭐ Lana de tejer blanca
⭐ Foami.
⭐ Algodon.
⭐ 1 Limpia pipa.
⭐ Adornos de su preferencia.
⭐ 1 recycled glass bottle.
⭐ White glue
⭐ Talc.
⭐ Sponge.
⭐ Silicon stick.
⭐ Red silk cloth.
⭐ White felt.
⭐ White knitting wool.
⭐ Foami.
⭐ Cotton.
⭐ 1 Pipe cleaner.
⭐ Embellishments of your choice.

Pasos ||Steps

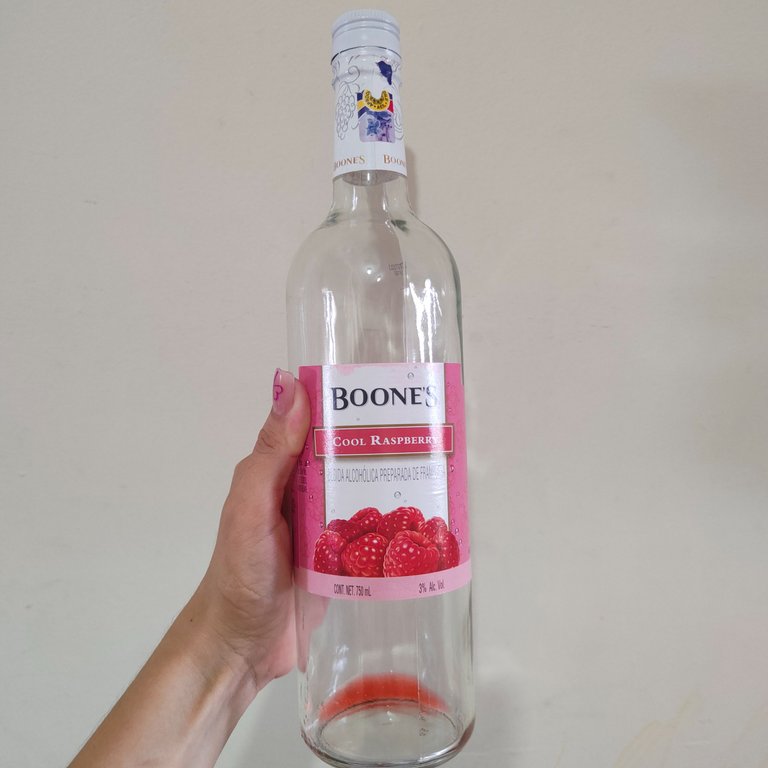
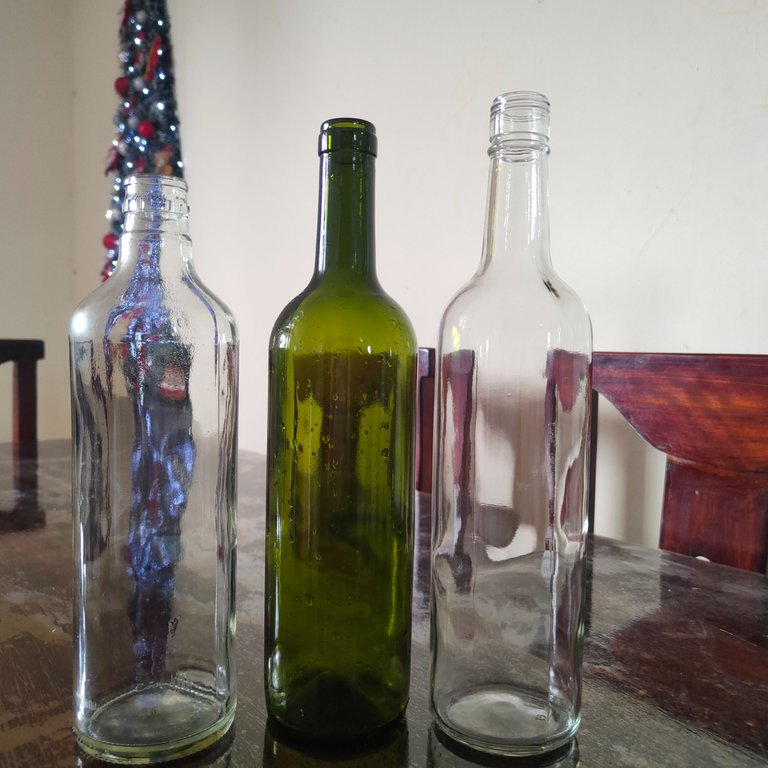
⭐ Paso 1. Iniciaremos lavando y quitando las etiquetas a nuestra botella.
⭐ Step 1. We will start by washing and removing the labels from our bottle.
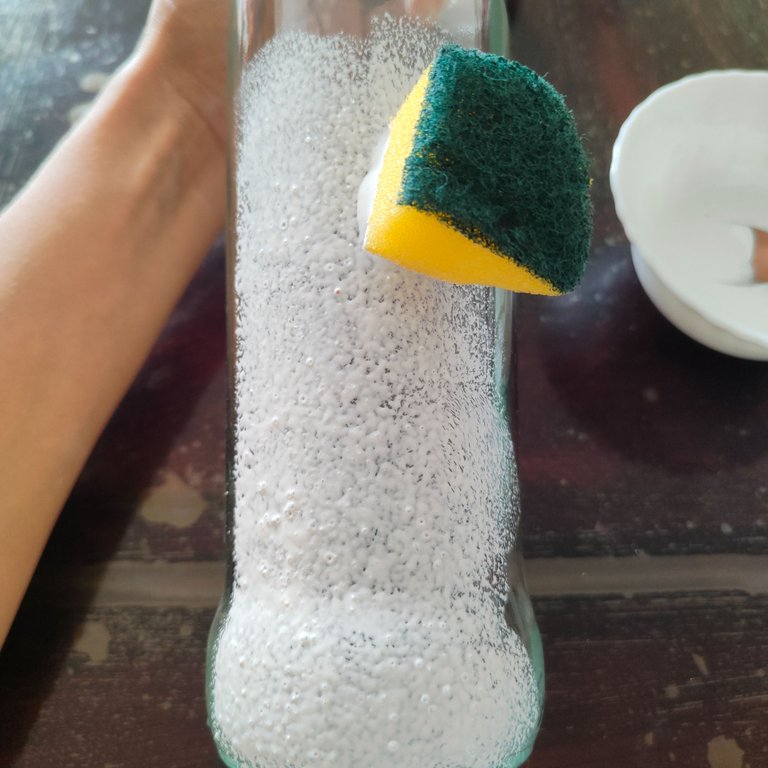
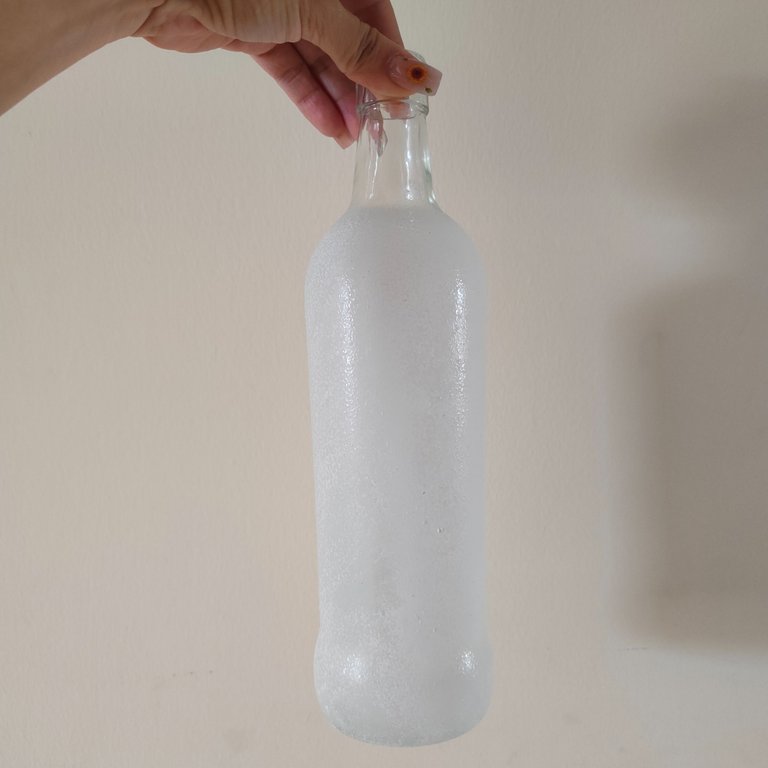
⭐ Paso 2. Una vez que está se seque vamos a preparar engrudo con talco integramos bien y dejamos con una textura un poco espesa y con una esponja vamos a cubrir nuestra botella seguidamente dejamos secar.
⭐ Step 2. Once it is dry we are going to prepare paste with talcum powder we integrate well and leave with a slightly thick texture and with a sponge we are going to cover our bottle then let it dry.
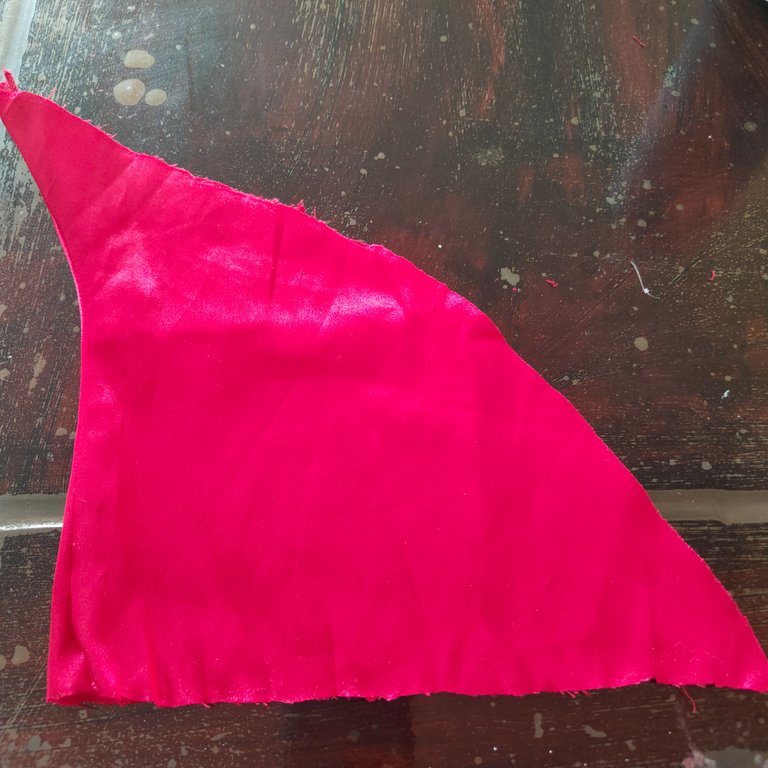
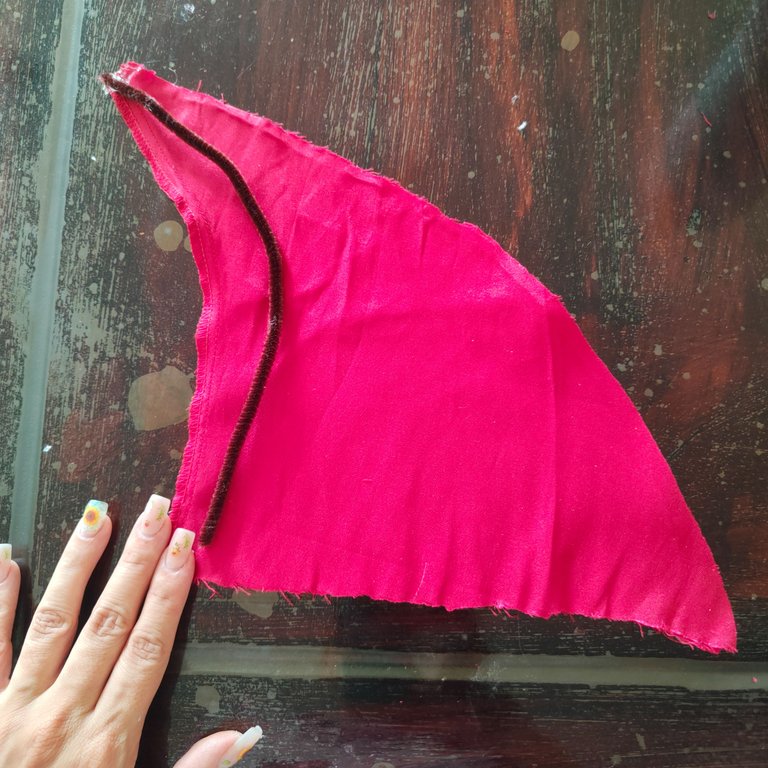
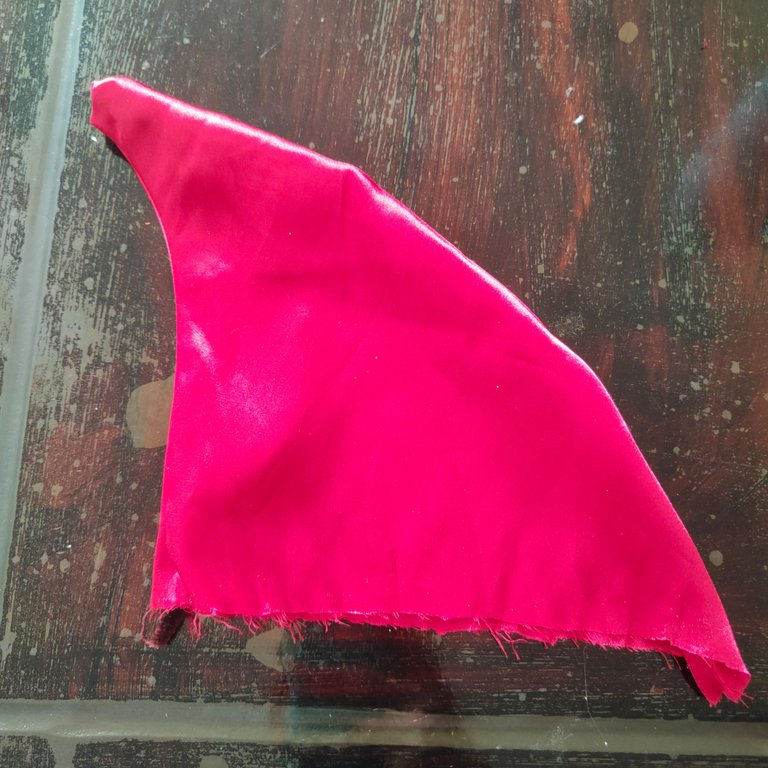
⭐ Paso 3. Mientra seca la botella, vamos a realizar el gorro con la tela de seda roja, en mi caso doble la tela por la mita de ahi parti cortando una especie de triángulo el cual pegue el borde con silicon y asi mismo fije el limpia pipa en la punta del gorro, luego le di la vuelta y asi ya estaba listo nuestro gorro.
⭐ Step 3. While the bottle dries, we are going make the hat with the red silk fabric, in my case I folded the fabric in half from there cutting a kind of triangle which I glued the edge with silicone and I fixed the pipe cleaner at the tip of the hat, then I turned it over and our hat was ready.
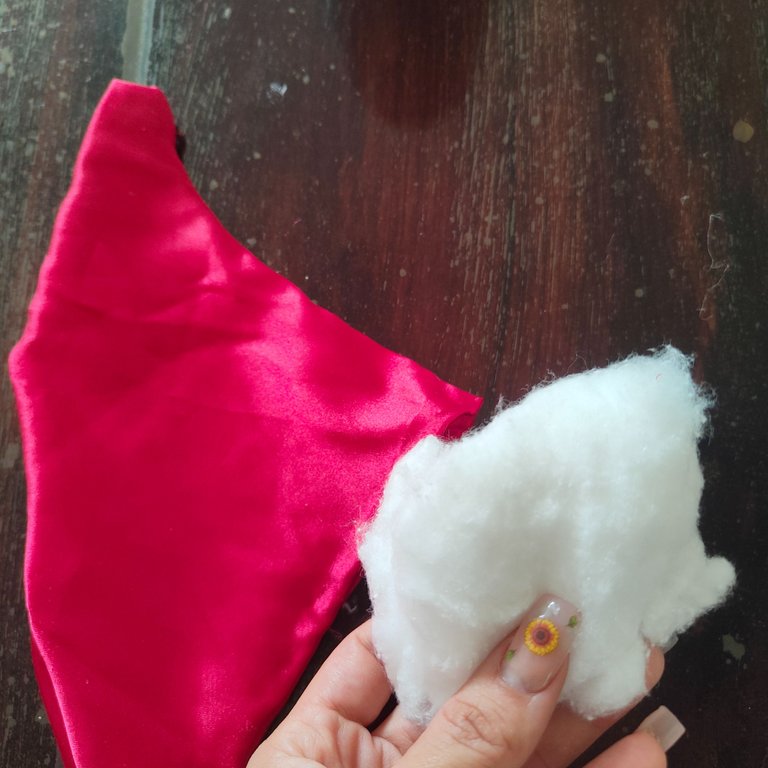
⭐ Paso 4.| seguidamente vamos a rellenar nuestro sombreros con algodón para que a la hora de fijarlo a la botella el forro mantenga su forma.
⭐ Step 4. Next, we will fill our hats with cotton so that when we attach it to the bottle, the lining will keep its shape.
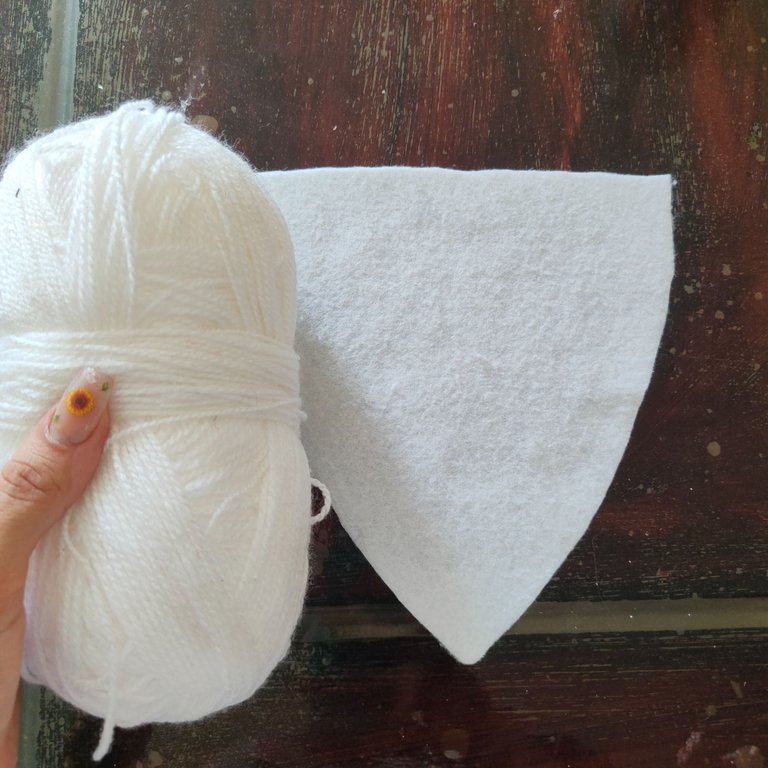
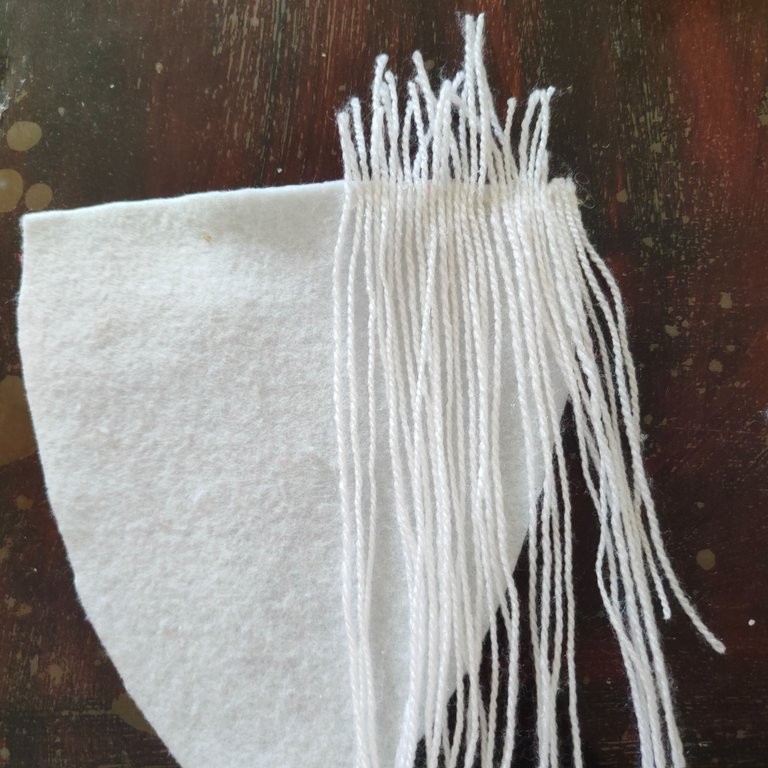
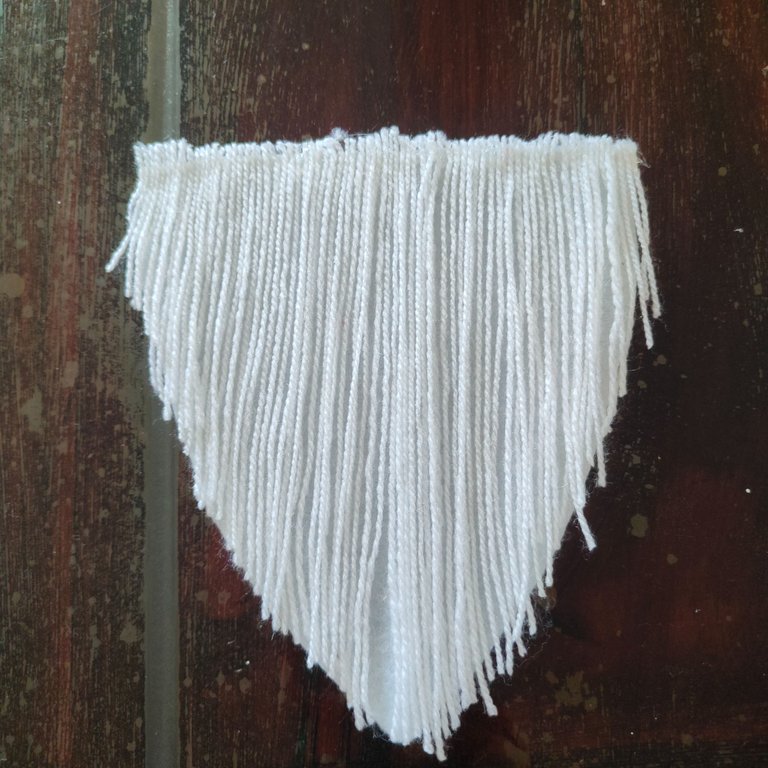
⭐ Paso 5. Tomaremos el fieltro blanco y con la tijera vamos a cortar una especie de triángulo, seguidamente para darle textura a lo que será la barba, vamos a pegar con la ayuda del silicon tiras de lana de tejer por todo el triangulo es un paso que requiere paciencia pero vale la pena el resultado, luego a con la tijera vamos a darle a los hilos la forma del fieltro.
⭐ Step 5. We will take the white felt and with the scissors we will cut a kind of triangle, then to give texture to what will be the beard, we will paste with the help of silicone strips of wool knitting around the triangle is a step that requires patience but it is worth the result, then with the scissors we will give the threads the shape of the felt.
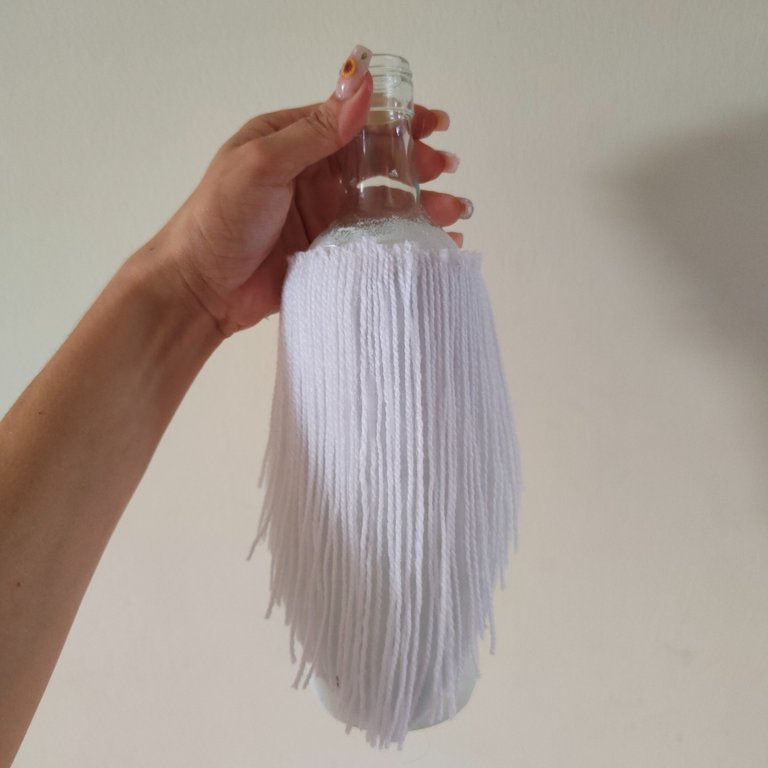
⭐ Paso 6. Vamos a fijar en la botella la barba con el silicon.
⭐ Step 6. Let's fix the beard on the bottle with silicone.
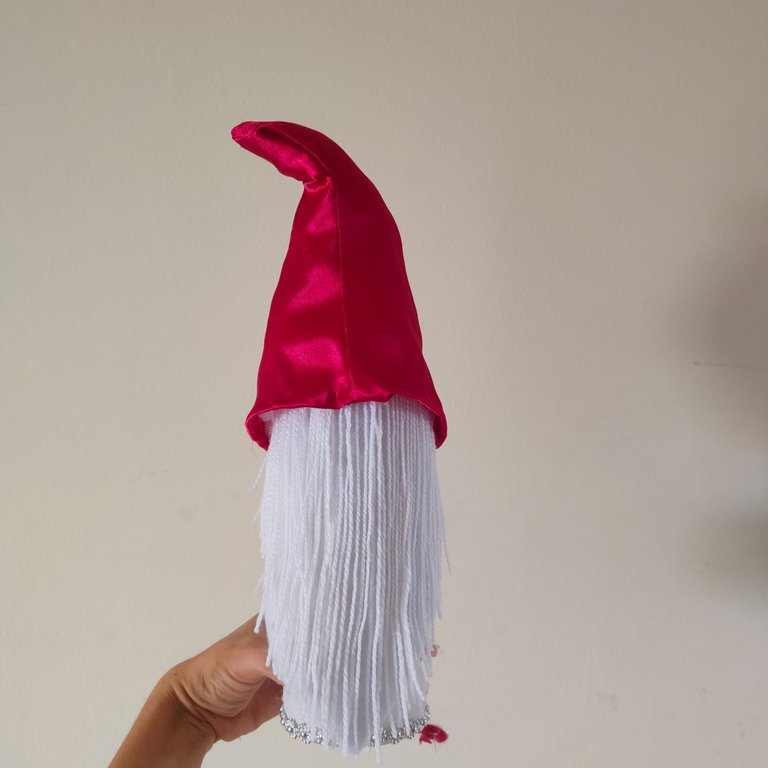
⭐ Paso 7. Continuaremos pegando el gorro en la botella con mucho cuidado y con la ayuda del silicon.
⭐ Step 7. We will continue gluing the cap on the bottle very carefully and with the help of the silicone.
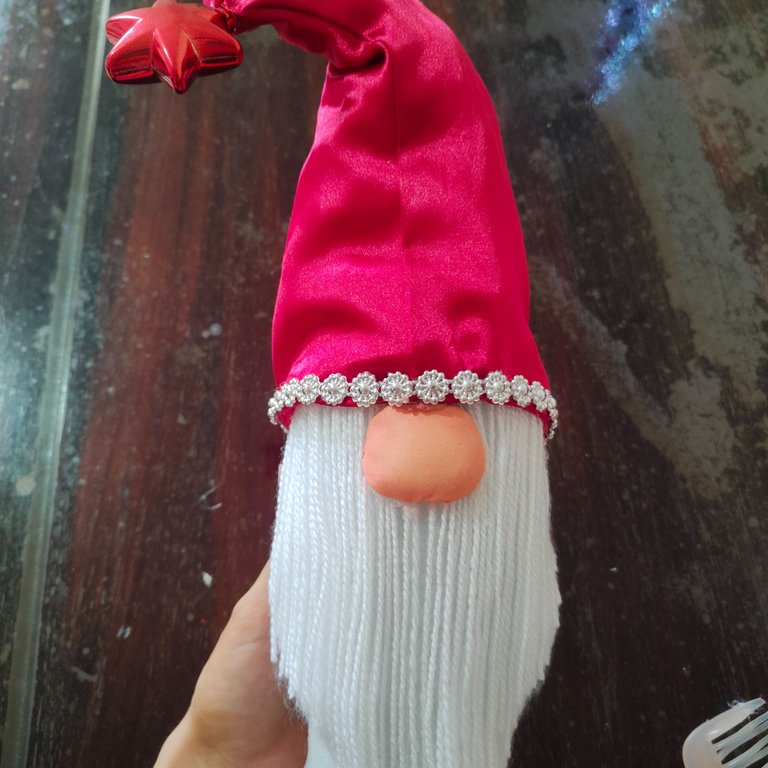
⭐ Paso 8. Habiendo fijado la barba y gorro de nuestro gnomo vamos hacer su nariz con foamy y la vamos a rellenar con algodón por último la fijamos con silicon entre el gorro y la barba.
⭐ Step 8. Having fixed the beard and hat of our gnome we are going to make his nose with foamy and we are going to fill it with cotton and finally we fix it with silicon between the hat and the beard.
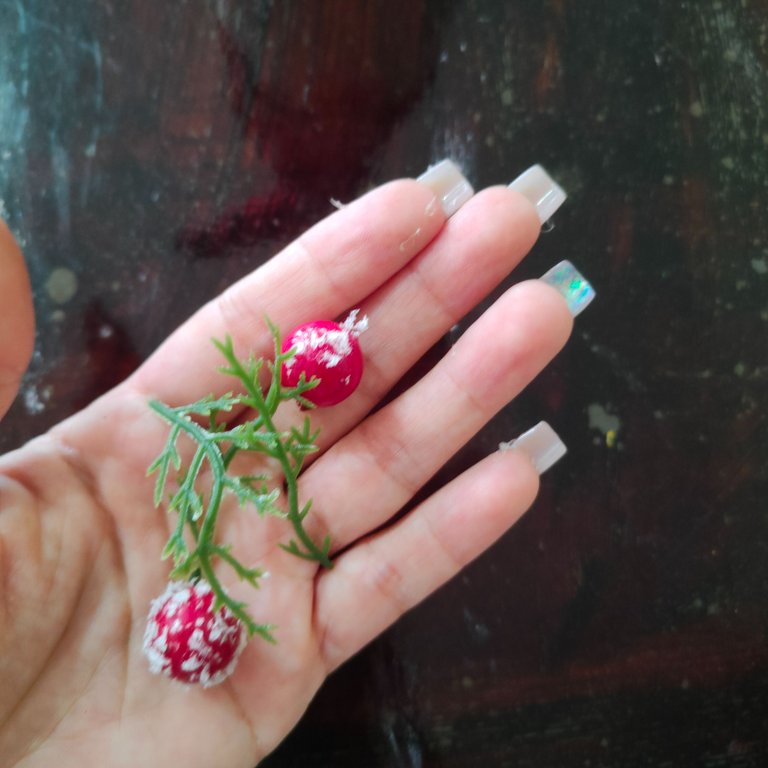
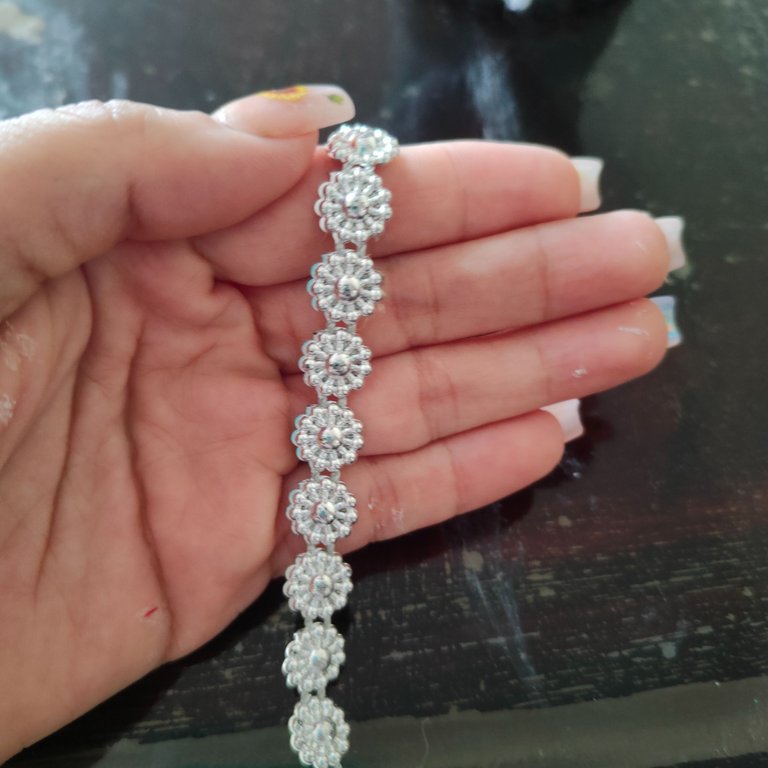
⭐ Paso 9. Decoraremos con los adornos de nuestra preferencia el gorrito, en mi caso use una estrella muérdago y ramas para su punta, unos adornos plateados para su borde inferior y parte central del gorro.
⭐ Step 9. We will decorate the hat with the ornaments of our preference, in my case I used a mistletoe star and branches for its tip, some silver ornaments for its lower edge and central part of the hat.
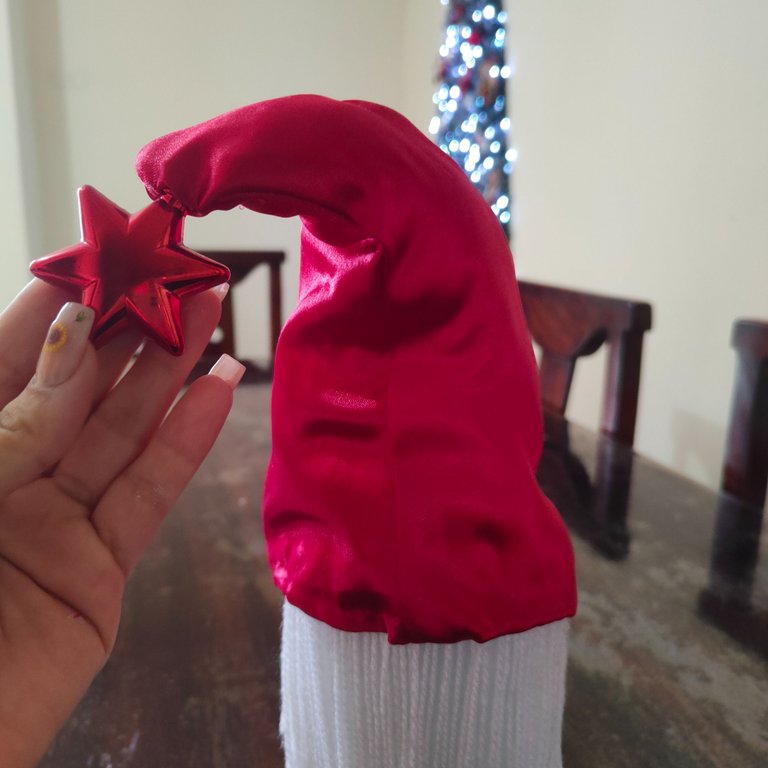
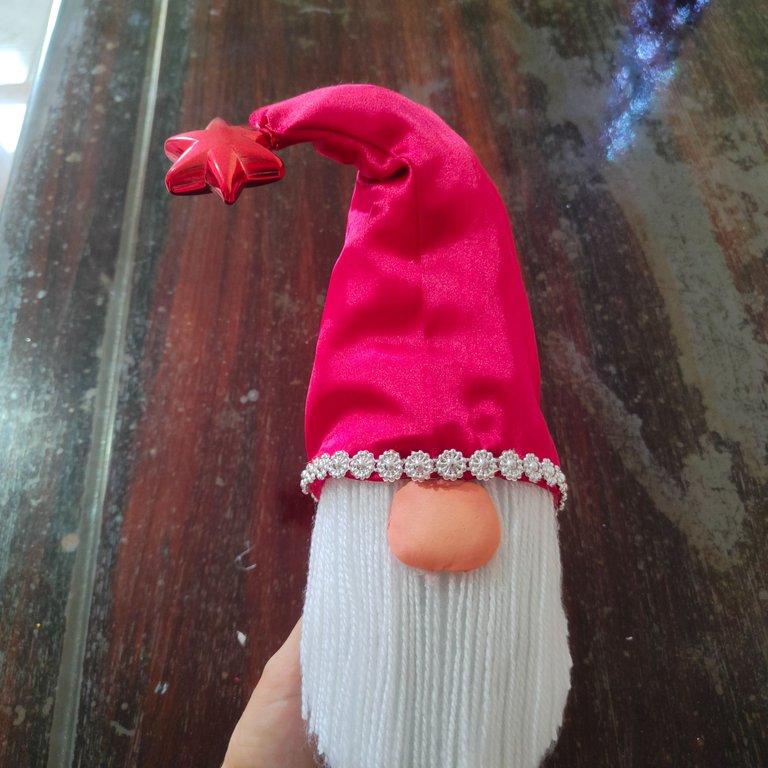
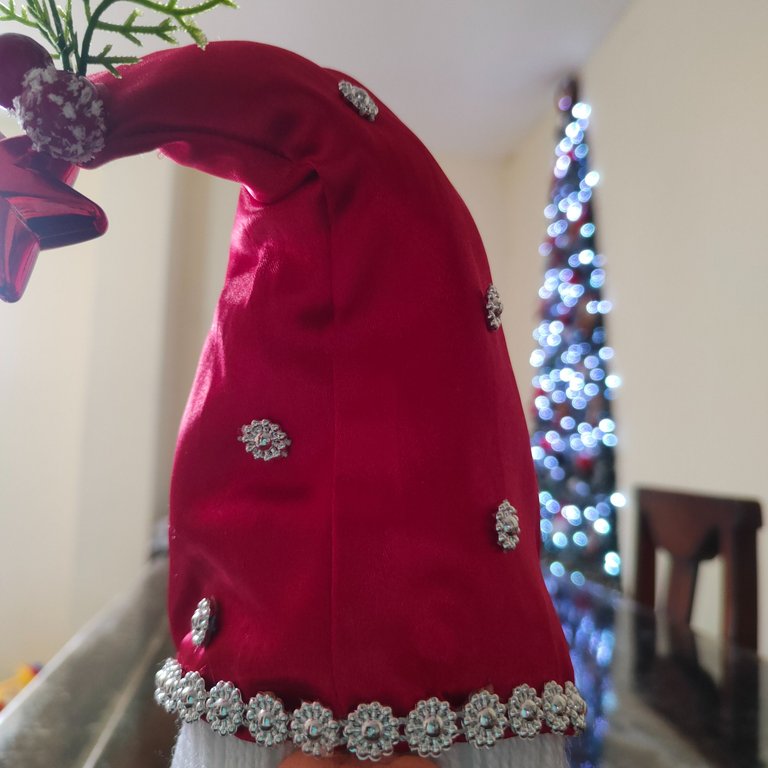
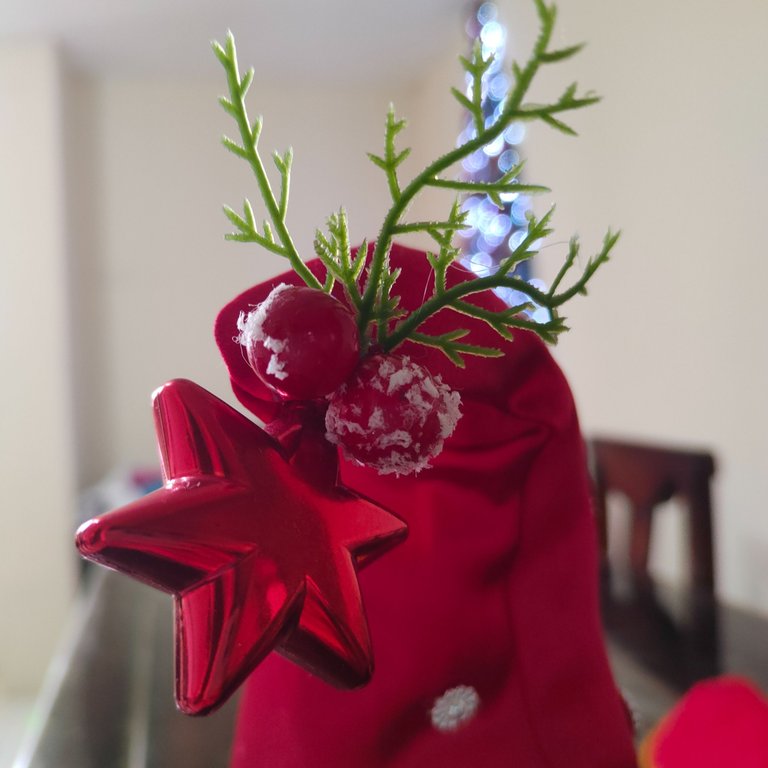
De esta forma habremos culminado nuestro hermosos gnomo para decorar cualquier espacio de nuestro hogar en mi caso estara en el comedor ya que no tengo centro de mesa navideño como tal.
In this way we will have completed our beautiful gnome to decorate any space in our home in my case will be in the dining room as I have no Christmas centerpiece as such.

Resultado || Result

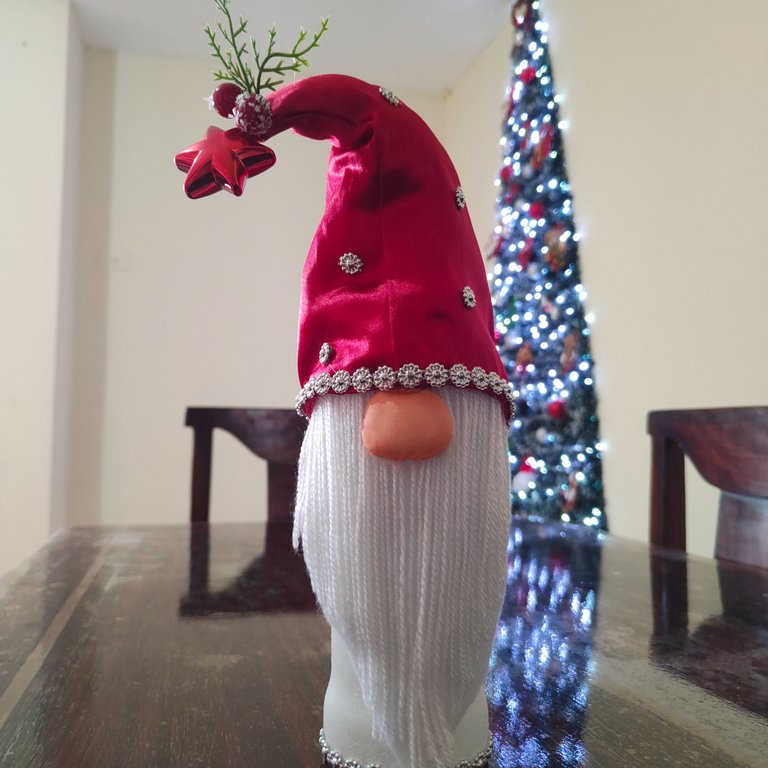
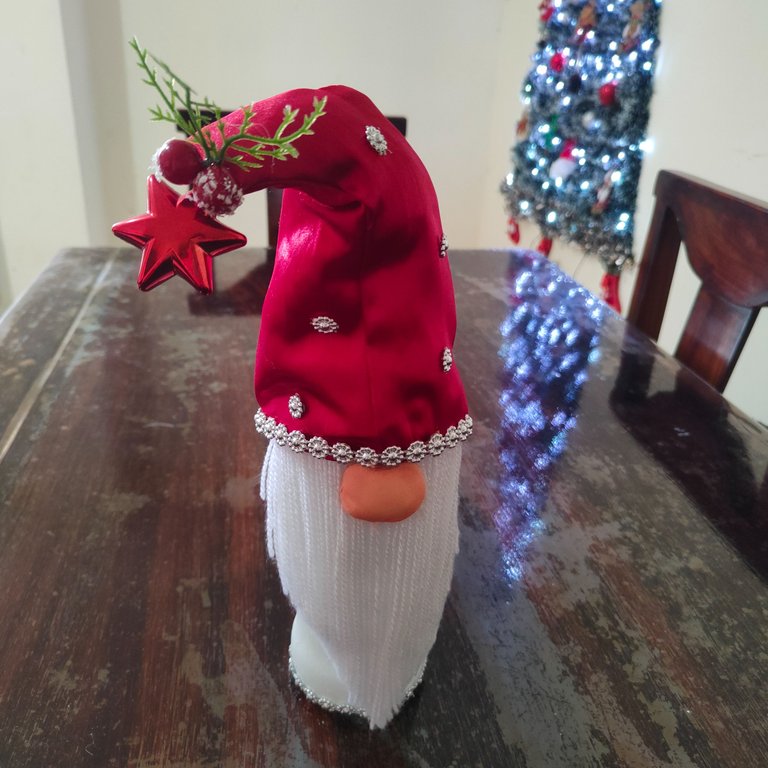
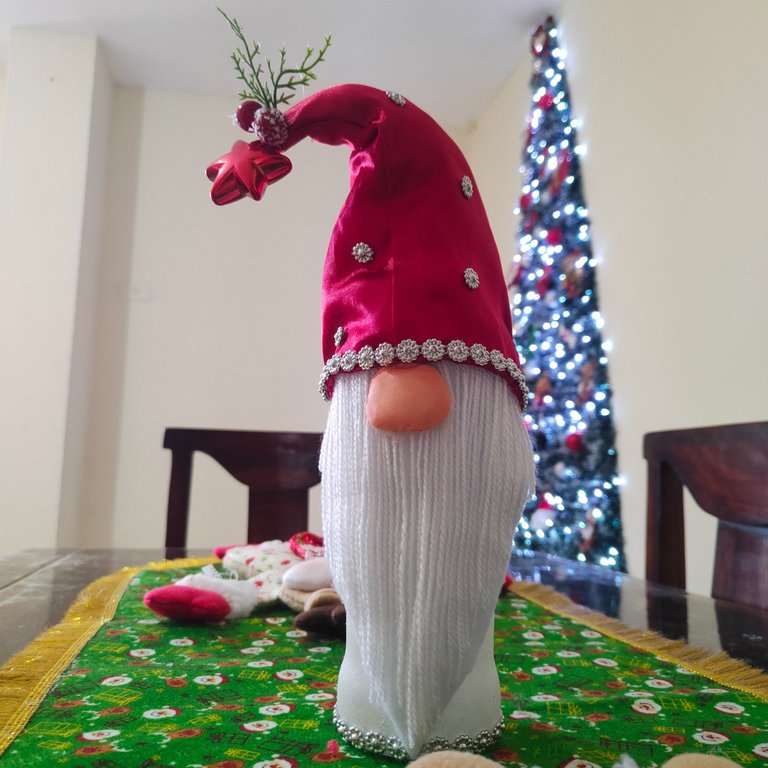
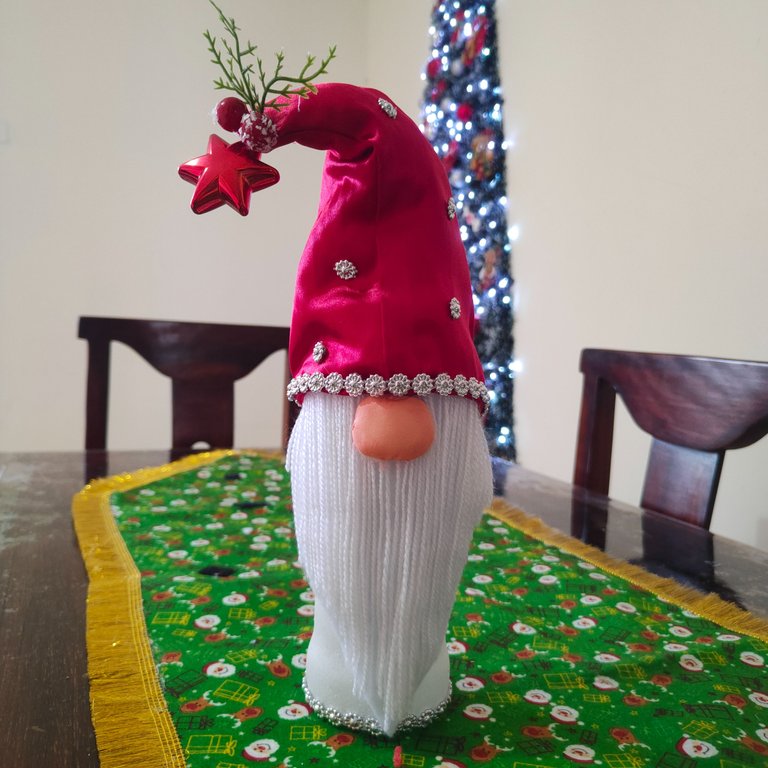

Espero haya sido de su agrado este proyecto así como de utilidad y se animen a realizar este hermoso gnomo para su hogar como siempre agradezco su atención, tiempo y apoyó estimados amigos, será hasta una próxima ocasión.
I hope you have enjoyed this project as well as useful and are encouraged to make this beautiful gnome for your home as always thank you for your attention, time and support dear friends, will be until next time.
There is no limit to creativity. || La creatividad no tiene límite. 💡♻️🎄✨🎁


🎥Imágenes y vídeo creados con: |Images and video created with: Youcut video| Giphy | Canva |
🇪🇸 Traducido con DeepL


