Hi guys!! So I made a cute Frog crochet headband, it's a very simple and easy step to follow. You can make this for your kids, or any of your loved ones. It's a very cute gift idea.
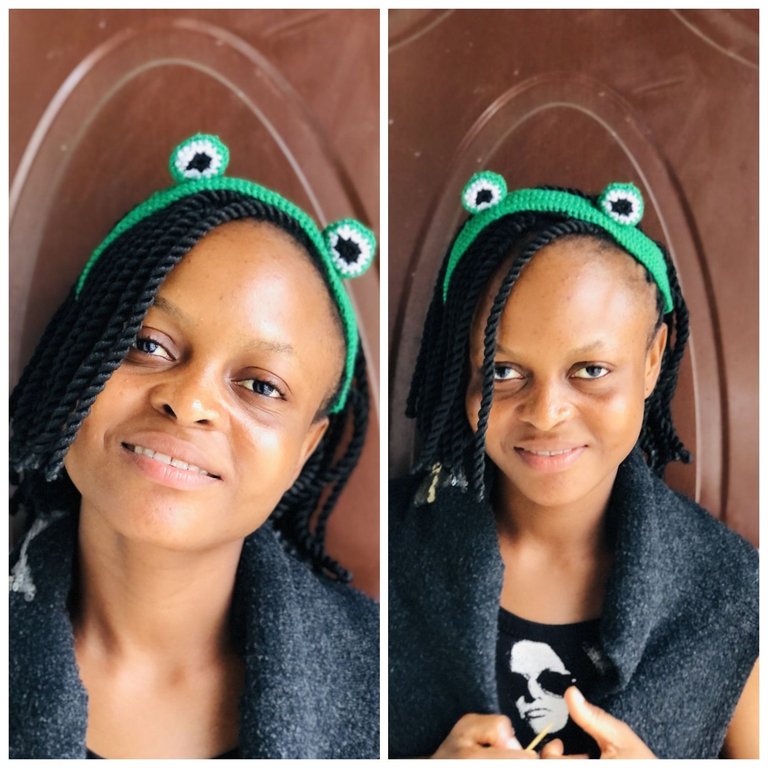
I made this headband a few days ago, but I wasn't able to share it here because well, I gave it out to my friend without taking pictures of the finished work hahaha, I know it's very funny but yeah.
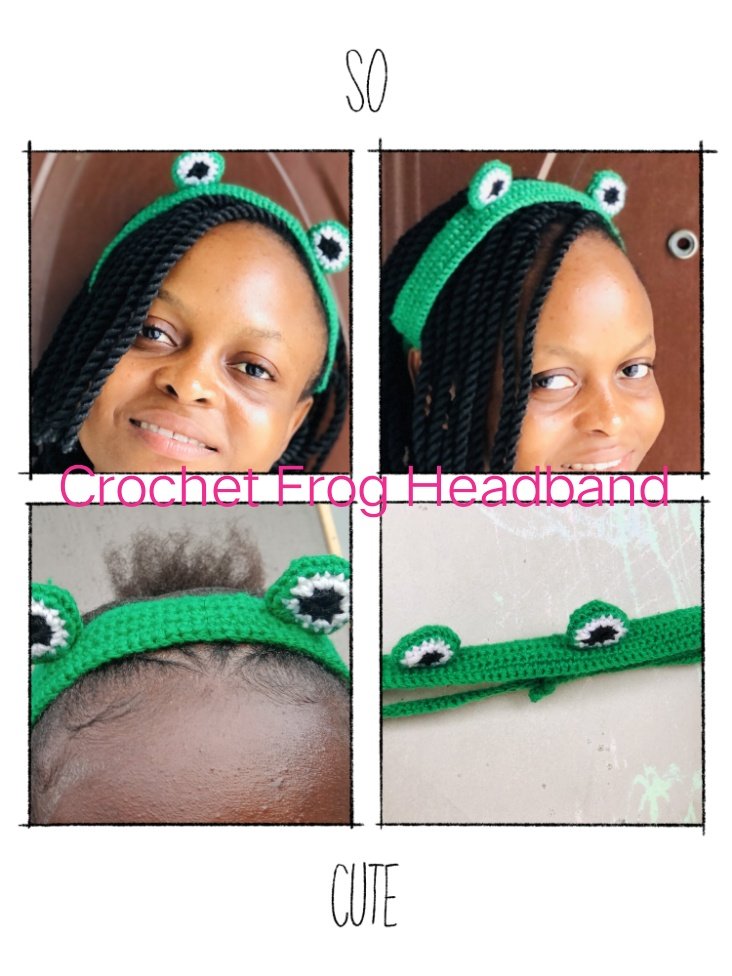
So My friend came over to the house and saw it, she asked if she could have it and I said yes, forgetting I hadn't taken pictures of it. Long story short, I had to wait for her to bring it over to the house so I could take pictures of it hahaha. I'm glad she finally brought it over so I could take some nice shots.
She took some pictures of it and sent them to me, but they weren't what I wanted, so I insisted that she bring it over to the house so I could take the pictures myself.
There are times when you just want to do everything yourself hahaha.

This pattern is very basic, all you need is a little black yarn, white yarn, and green yarn. I Used one ball of green yarn to make this, I had to double the yarn to get the size I wanted. I also used a 3.5mm hook, This hook size has to be my favorite, because it's very easy to hold, and it just gives me the perfect size.
Step 1
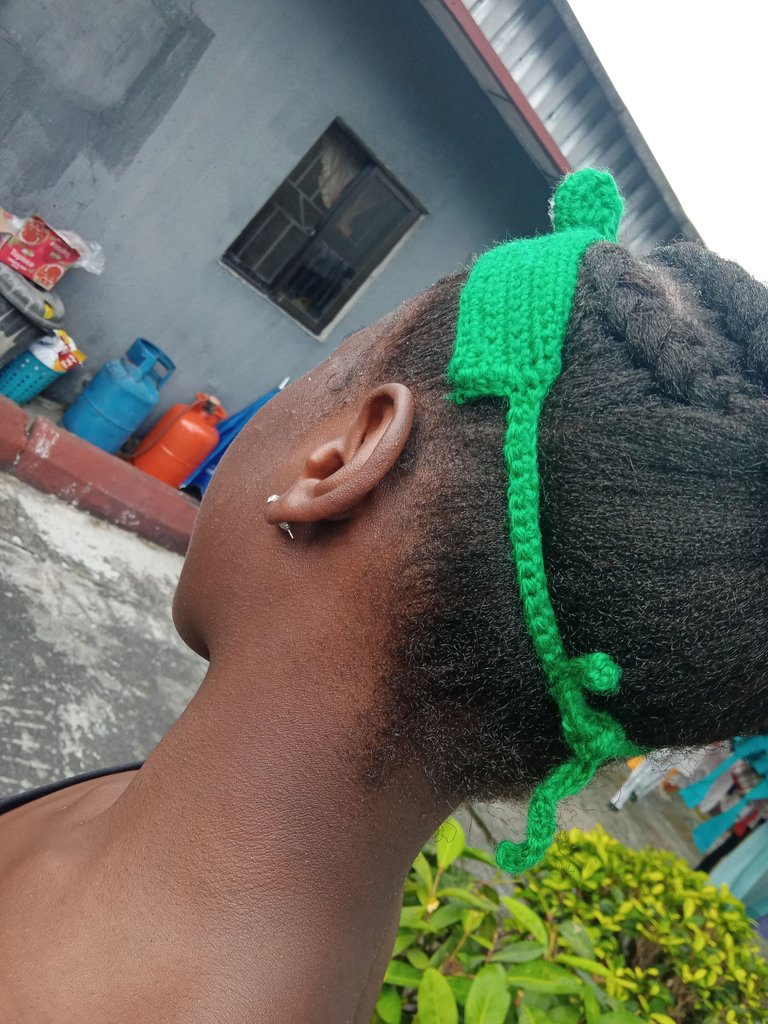
Chain 70, and do a slip stitch backward. Do this until you get the size you want.
For the headband size, wear it around your head to get the perfect measurement. That's how I got mine.
- Note The headband isn't supposed to wrap your head all at once. After making the band, you'll make a rope at the end so you can tie it around your head)
Step 2
Once you're done with the band, chain 20 on each end, and slip stitch on it to make it a little big, so you can wrap it around your head. you can check the image above to understand what I'm talking about.
Now we're done with the band, let's move unto the eyes!!
Making the eyes was my favorite because it was just a simple pattern, but the finished project was beautiful, and yes!! It was fun too
Step 1
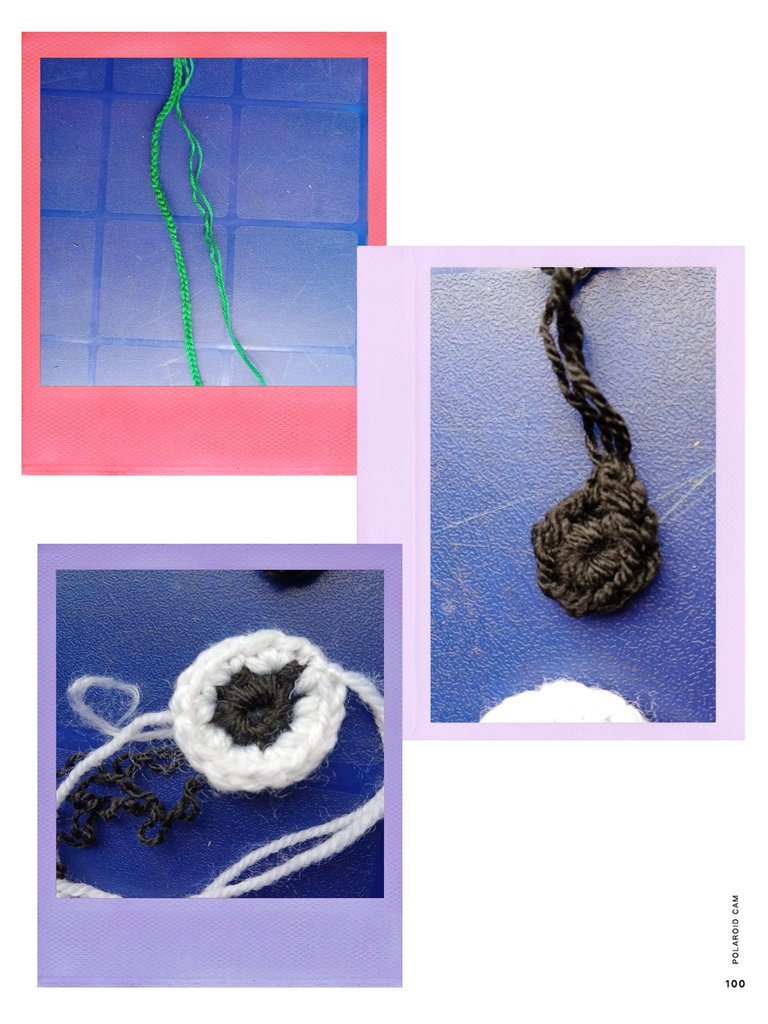
Make a magic ring, chain 1, 6 slip stitch into the ring, pull and chain 1. Cut off your yarn.
Step 2
On the next row, attach your white yarn. we are going to be increasing. Double slip stitch into every loop (increase), in the end, chain 1, and cut off the yarn.
Step 3
Add your green yarn, 1 slip stitch, on the next loop increase ( repeat this pattern until you get to the end of the row). Repeat this same pattern for the next row.
Step 4
Slip stitch into every loop.
Step 5
Slip stitch, on the next two stitches, make a decrease, ( repeat this until you have very little space so you can sew together ) once you're done, place the band on your head, measure where to place your eyes, and use a stitch marker to Mark them so you can get the perfect look.
Once you've sewed the eyes, your headband is ready to rock. I know right!! It's very simple and basic, but also very cute.
I couldn't take a picture of it without placing it on the head, it wouldn't stay.
Thanks for reading ❤
All images are mine


