Greetings to all. This time I want to show you a new floral design with beautiful spring colors. Flower tendrils are an accessory that we should always have among our options, since they are delicate, feminine and elegant. Do not miss the process for their creation, I explain below.
Versión Español
Un saludo a todos. En esta ocasión quiero mostrarles un nuevo diseño floral con bonitos colores primaverales. Unos zarcillos de flores son un accesorio que siempre deberíamos tener entre nuestras opciones, puesto que son delicados, femeninos y elegantes. No te pierdas el proceso para su creación, te explico a continuación.

Imagen creada por mí en Canva / Image created by me in Canva
Materials:
- Cold porcelain in the colors you will use.
- White glue (school glue)
- Toothpick, needle and any element that can be used as a tool.
- Cutter
- Ruler
- Tie-pin
- Silicone
- File
Procedure:
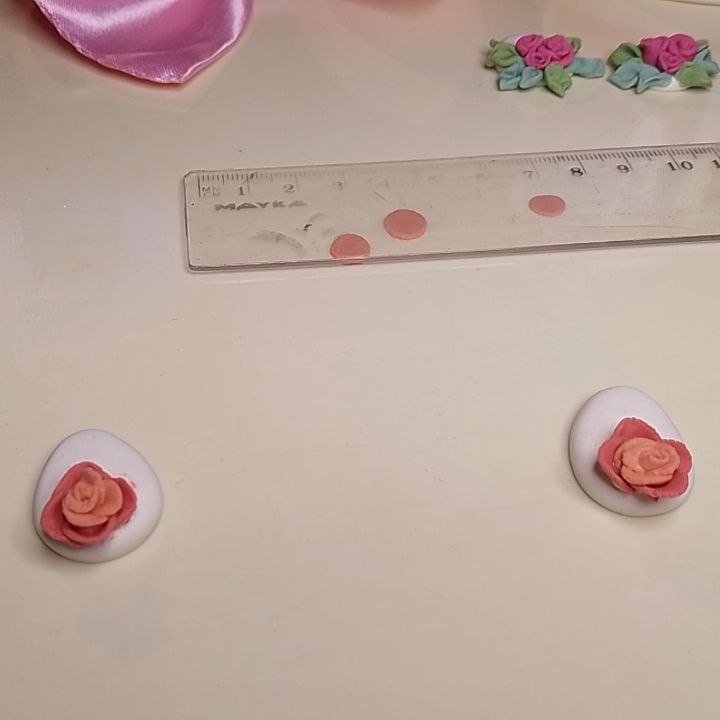
We start by forming a couple of drops in white colored dough, you should flatten them with the ruler and they will look like in the following image. Sorry if they look a little stained with colored dough, I was trying something and I didn't like the way it looked, so I removed it and started again.
Versión EspañolMateriales:
- Porcelana fría en los colores que emplearás
- Pegamento blanco (escolar)
- Palillo, aguja y cualquier elemento que te sirva de herramienta
- Cúter
- Regla
- Pin de zarcillo
- Silicón
- Lima
Procedimiento:
Iniciamos formando un par de gotas en masa color blanco, éstas las debes aplanar con la regla y se verán como en la siguiente imagen. Disculpen que se vean como un poco manchadas de masa de color, es que estaba intentando algo y no me gustó como quedó, así que lo retiré e inicié de nuevo.
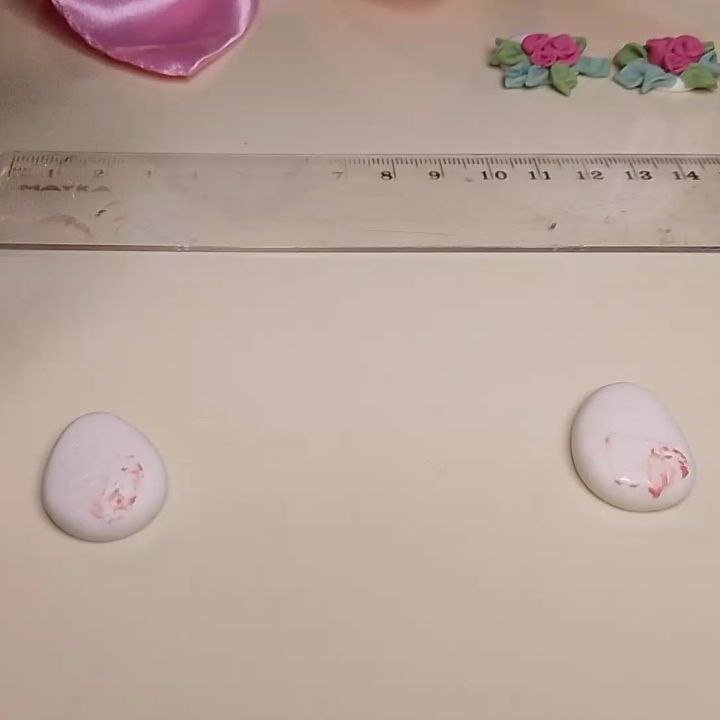
Gotas de masa blanca / Drops of white dough
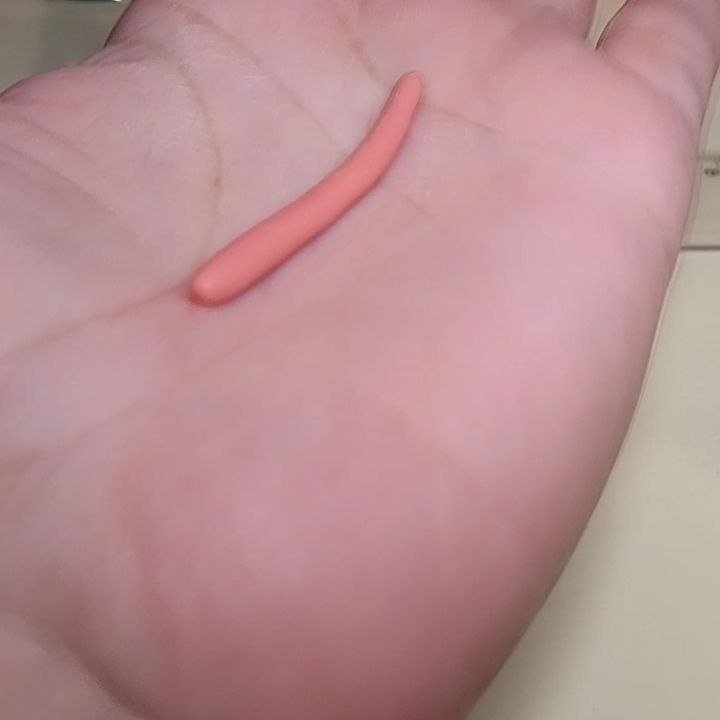
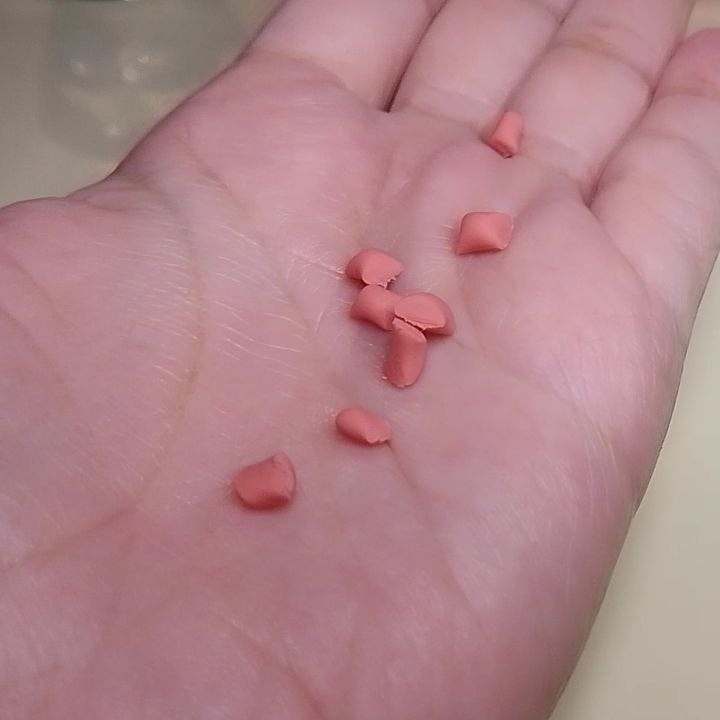
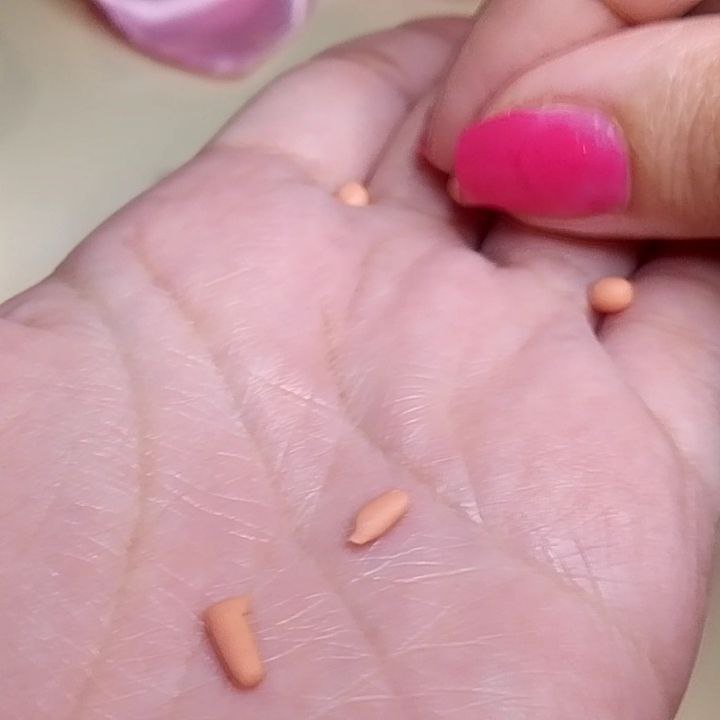
We take an orange tone, form a strip, divide it into small portions and form small balls with them, place them at a prudent distance on a surface on which we have previously distributed a little oil and flatten them with a ruler that should also have some oil.
Versión Español
Tomamos un tono naranja, formamos una tirita, la dividimos en pequeñas porciones y formamos bolitas con ellas, las colocamos a una distancia prudente sobre una superficie en la que previamente hemos distribuido un poco de aceite y las aplanamos con una regla que también debe tener algo de aceite.
 |  |  |  |
|---|
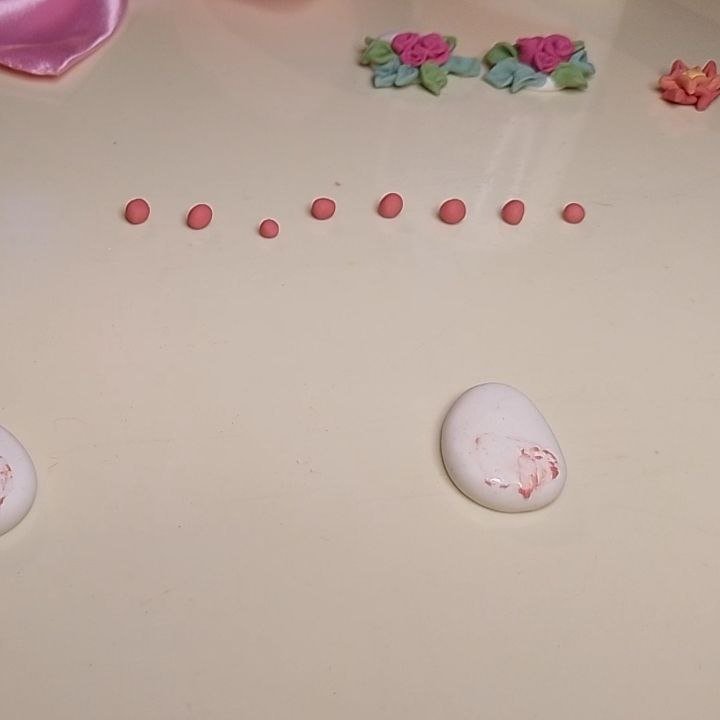
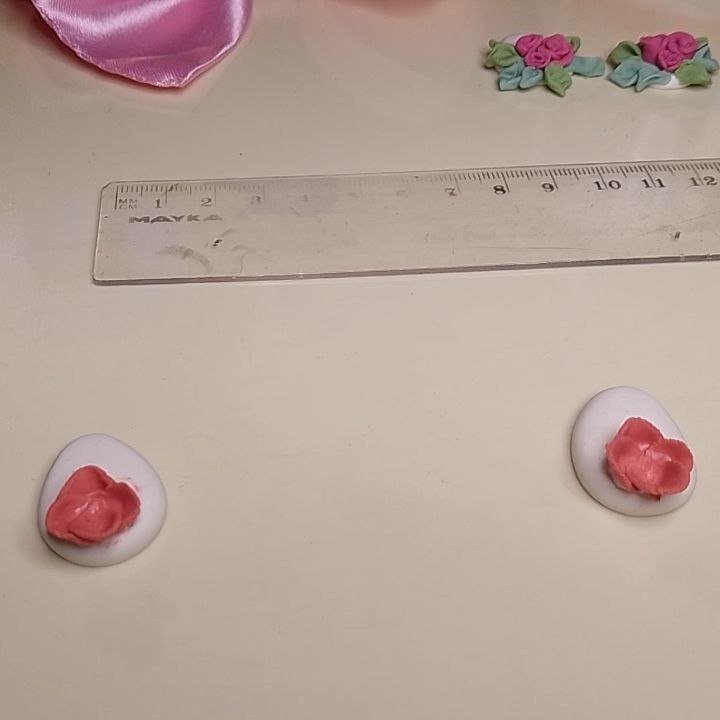
Shape each orange circle into a petal shape with the tip of the brush and place it on the white base in the place of your choice, in my case, at the bottom center. I have added four petals to each base of the flower, you can add as many as you like.
Versión Español
A cada círculo naranja le daremos forma de pétalo con ayuda de la punta del pincel y lo ubicaremos en la base blanca en el lugar de nuestra preferencia, en mi caso, en la parte inferior al centro. Yo he agregado cuatro pétalos a cada base de la flor, tú puedes agregar los que gustes.
 |  |  |
|---|
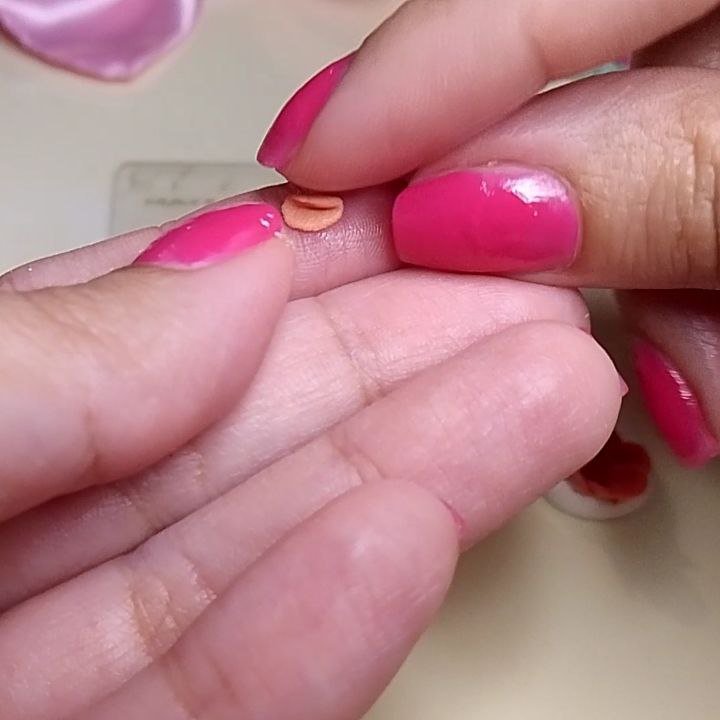
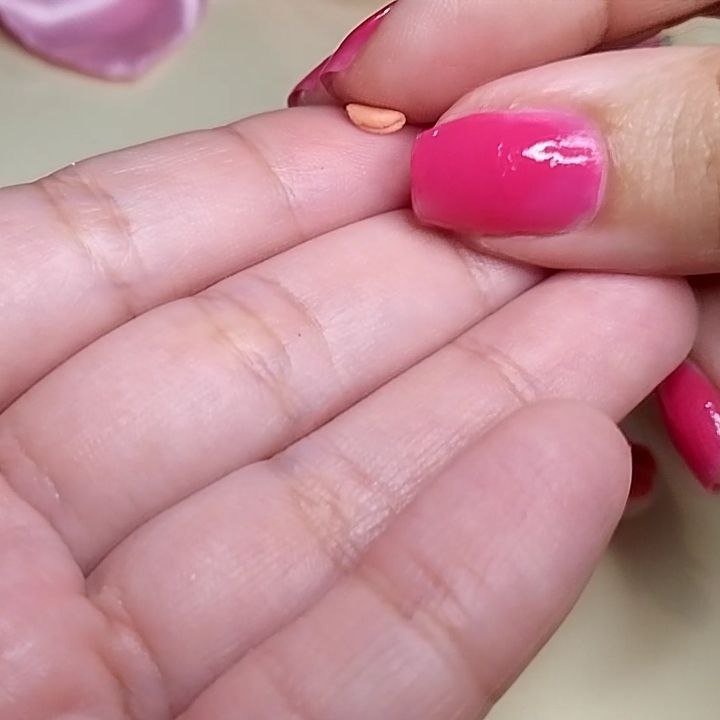
Now we go with an orange-cream color and repeat several of the previous steps, form the strip, divide it into small portions, make small balls and flatten them with the ruler. However, now we will perform the process to form a rose, then, we will take one of the circles and roll it on itself, this will be the center of the rose.
Versión Español
Ahora vamos con un color naranjita-crema y repetimos varios de los pasos anteriores, formamos la tirita, dividimos en pequeñas porciones, hacemos bolitas y aplanamos con la regla. Sin embargo, ahora realizaremos el proceso para formar una rosa, entonces, tomaremos uno de los círculos y enrollaremos sobre sí mismo, esto será el centro de la rosa.
 |  |  |
|---|
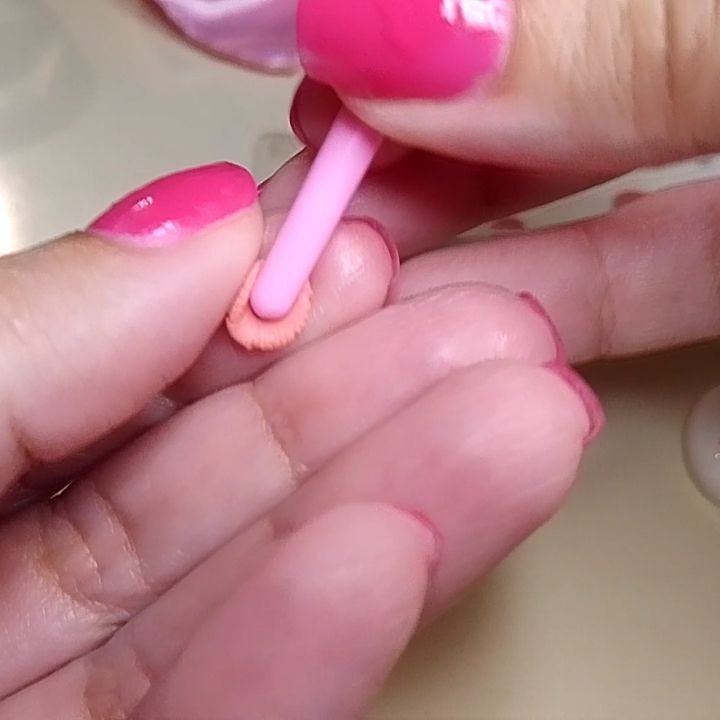
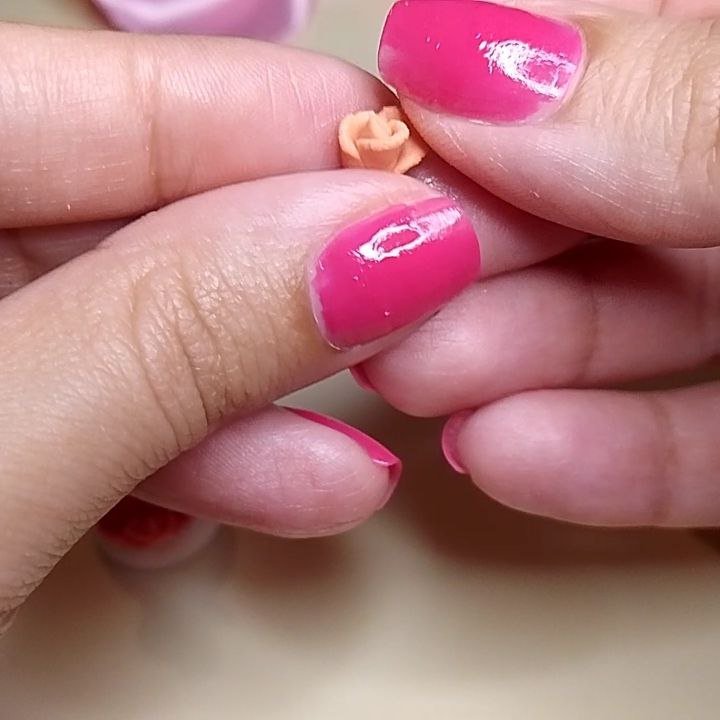
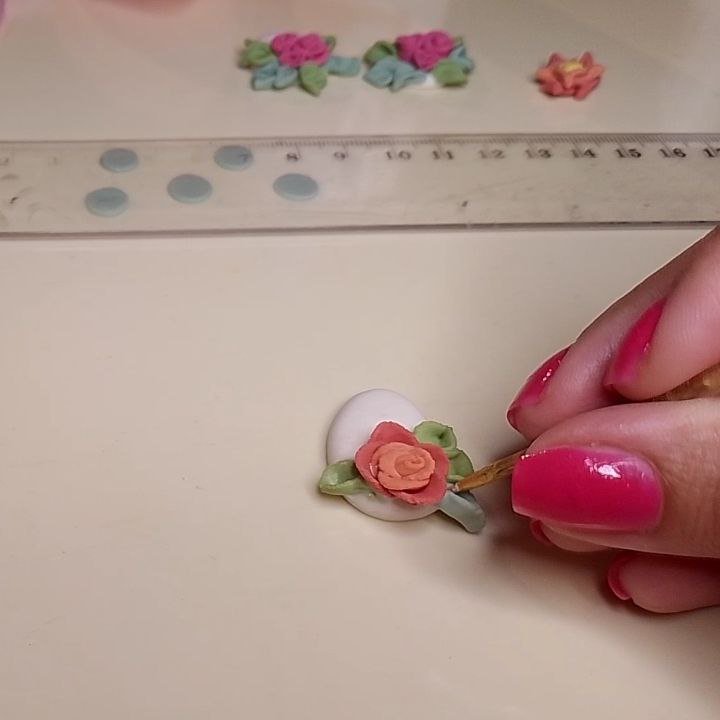
Next, we will take the following circles and wrap them around the center. Remember to arrange the petals, opening them a little to give the appearance of a rose.
Versión Español
Acto seguido, tomaremos los siguientes círculos e iremos envolviendo ese centro. Recuerda ir acomodando los pétalos, abriéndolos un poco para dar el aspecto de rosa.
 |  |
|---|
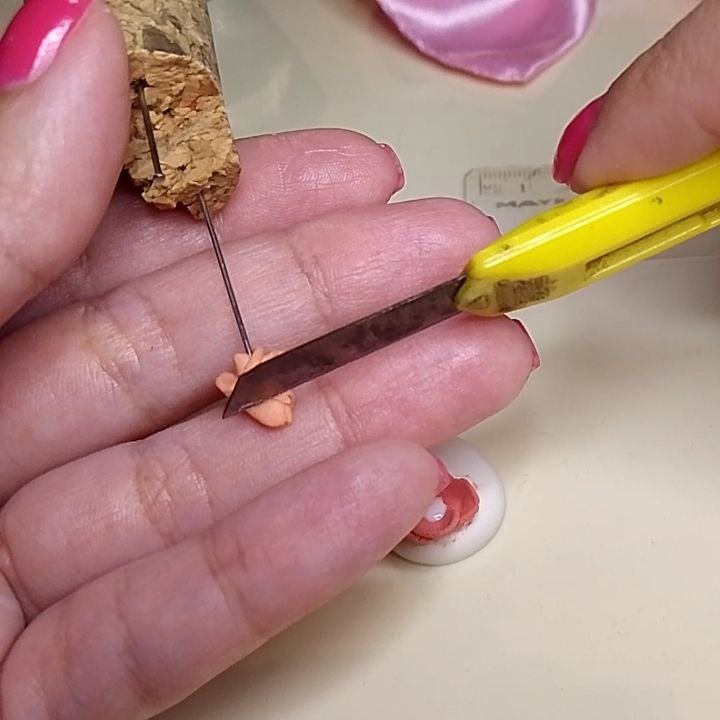
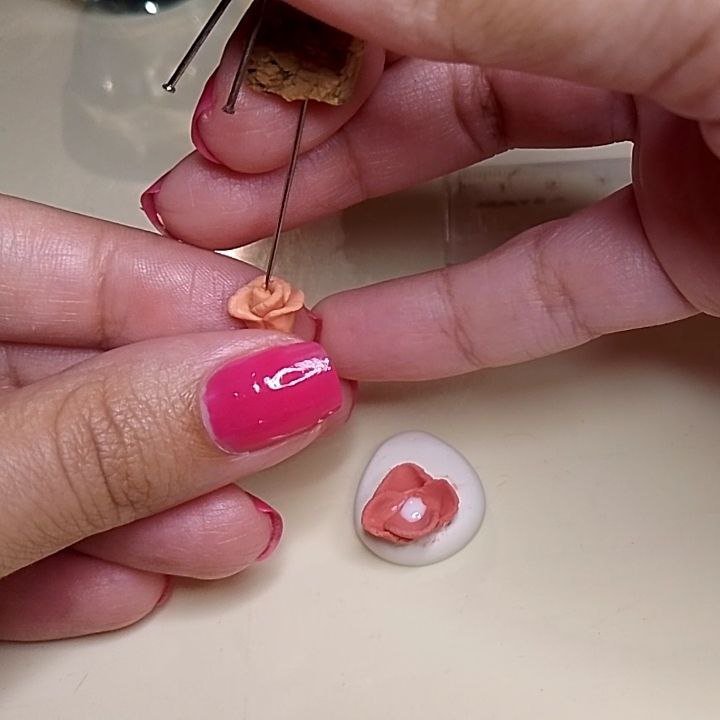
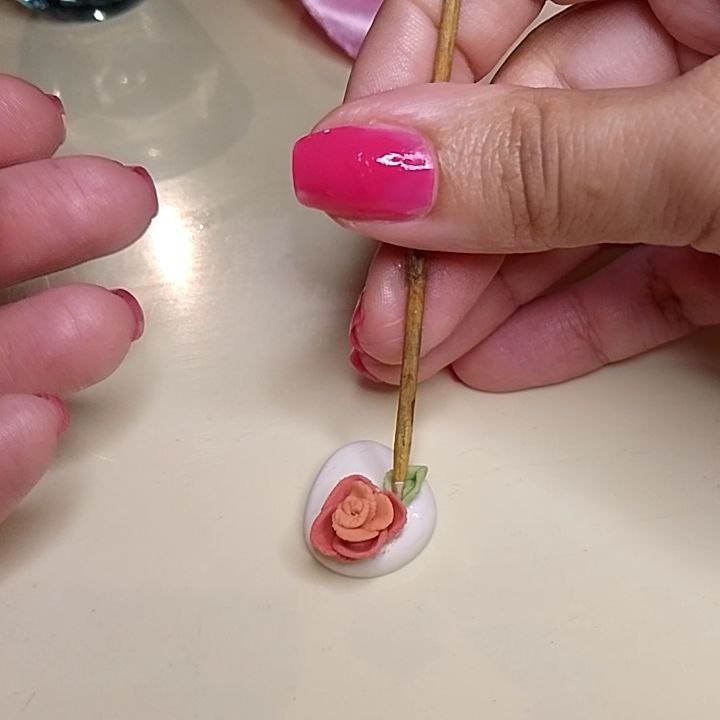
When it has the volume you want, cut the excess of the bottom part with the cutter, add some glue in the center of the flower that we had previously formed and with the help of a fine instrument, such as a needle, place it in the center and press it delicately so that it is fixed in place. Repeat the process for the other piece.
Versión Español
Cuando ya tenga el volumen que deseas, corta el excedente de la parte de abajo con el cúter, agrega algo de pegamento en el centro de la flor que habíamos formado previamente y con ayuda de algún instrumento fino, como la aguja, colócalo en el centro y presiónalo con delicadeza para que quede fijo en su lugar. Repite el proceso para la otra pieza.
 |  |  |
|---|
Now, it is the turn of the little leaves, repeat the steps to obtain the little circles but this time with green dough, take one of the circles and at one of its ends “pinch” a little, so that there is a triangular tip and repeat at the opposite end. Position it with the toothpick in the place you like best. I have placed three green leaves on each piece.
Versión Español
Ahora, es turno de las hojitas, para ello repite los pasos para obtener los circulitos pero esta vez con masa color verde, toma uno de los círculos y en uno de sus extremos “pellizca” un poco, de modo que quede una puntita triangular y repite en el extremo opuesto. Posiciónalo con el palillo en el lugar que más te guste. Yo he colocado tres hojas verdes en cada pieza.
 |  |  |
|---|
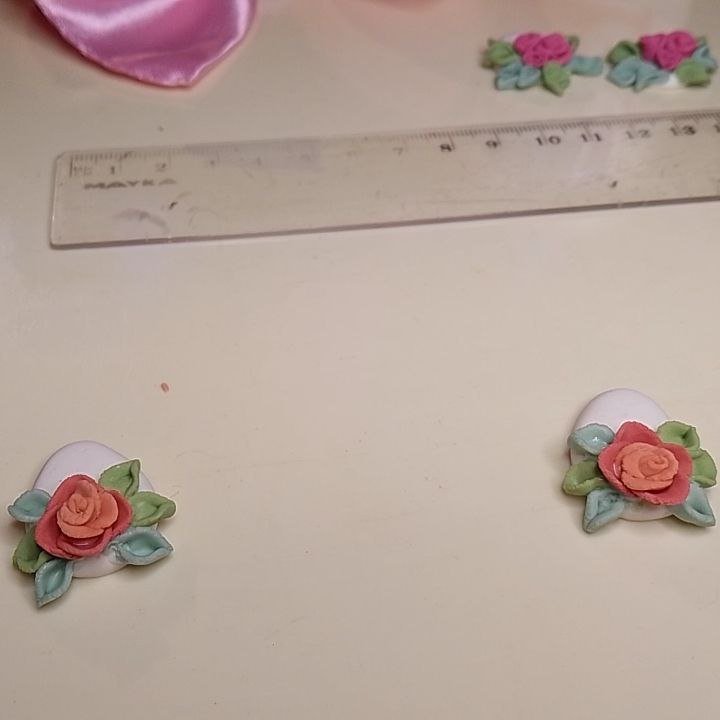
Since I love that it has different shades of green, we will repeat the process with a bluish green.
Versión Español
Como me encanta que tenga distintos tonos de verde, entonces repetiremos el proceso con un verde azulado.
 |  |  |
|---|
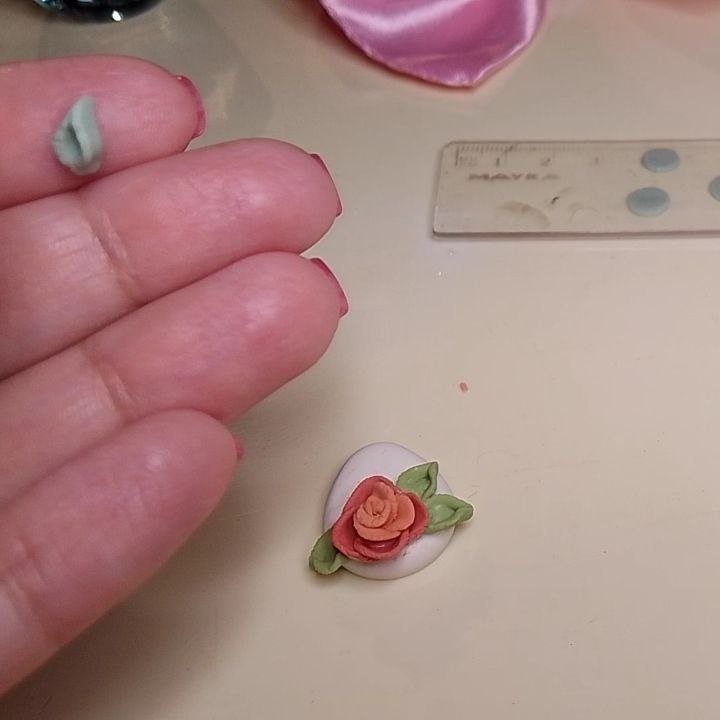
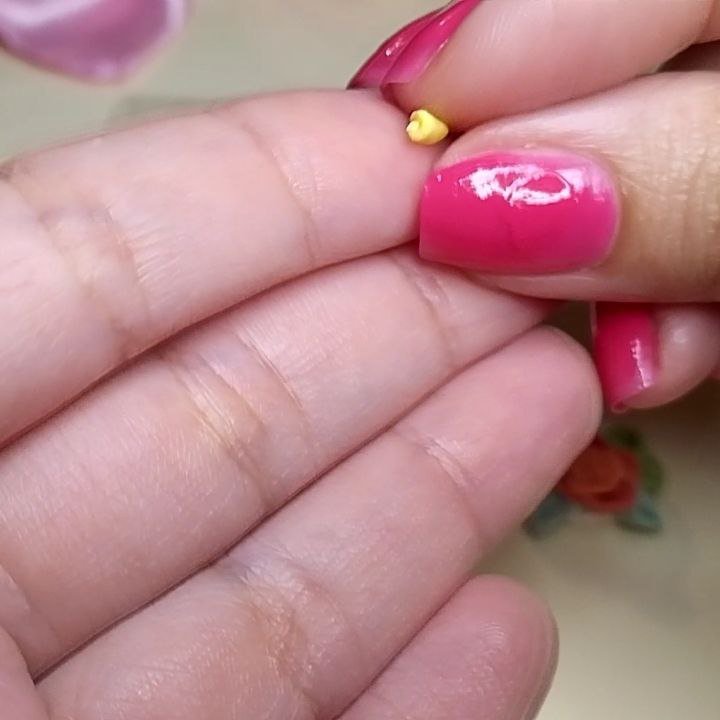
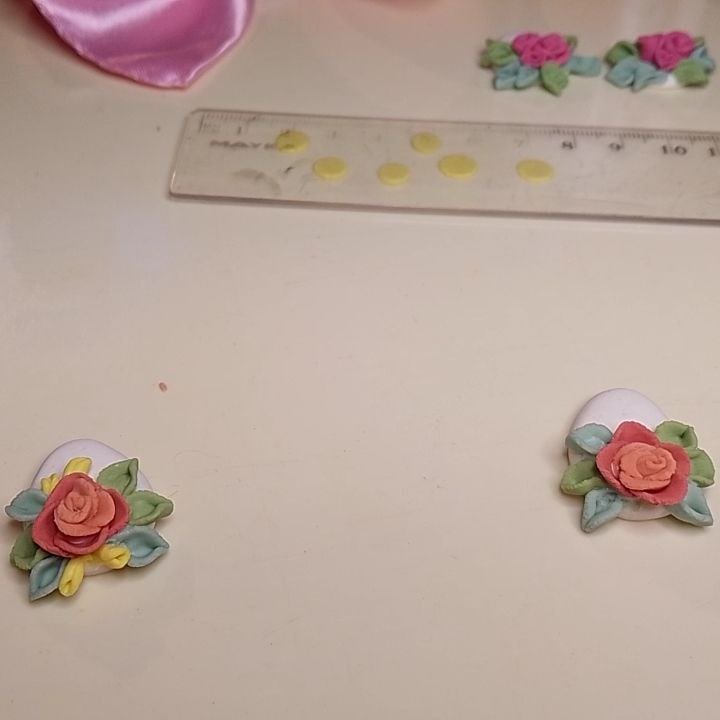
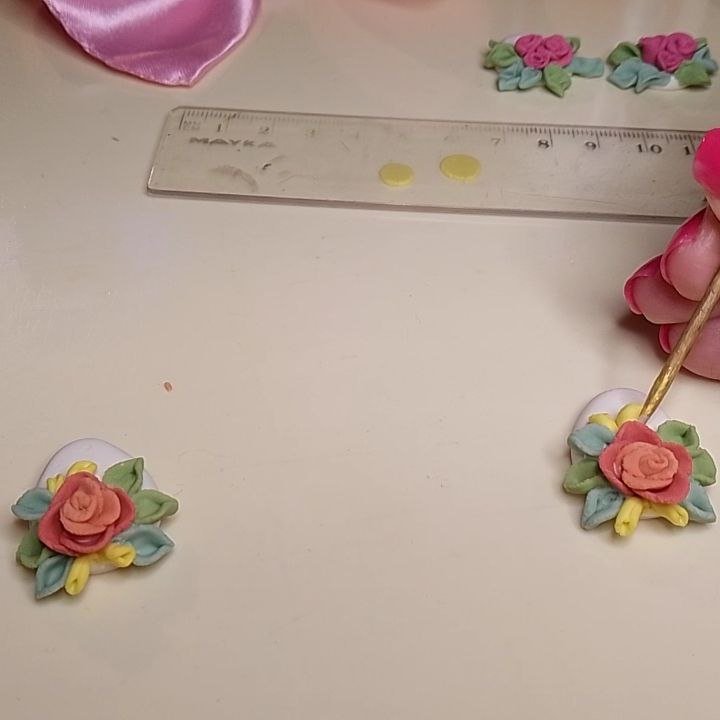
And as a final touch, I wanted to add some small buds in yellow colors, four in total and one pink. To make them, just follow the same steps as for the center of the rose and place them in strategic places with the help of the needle and toothpick.
Versión Español
Y como toque final, quise agregar unos pequeños capullos en colores amarillos, cuatro en total y uno rosado. Para hacerlos, solo debes seguir los mismos pasos que para el centro de la rosa y posicionarlos en los lugares estratégicos con ayuda de la aguja y el palillo.
 |  |  |  |  |  |
|---|
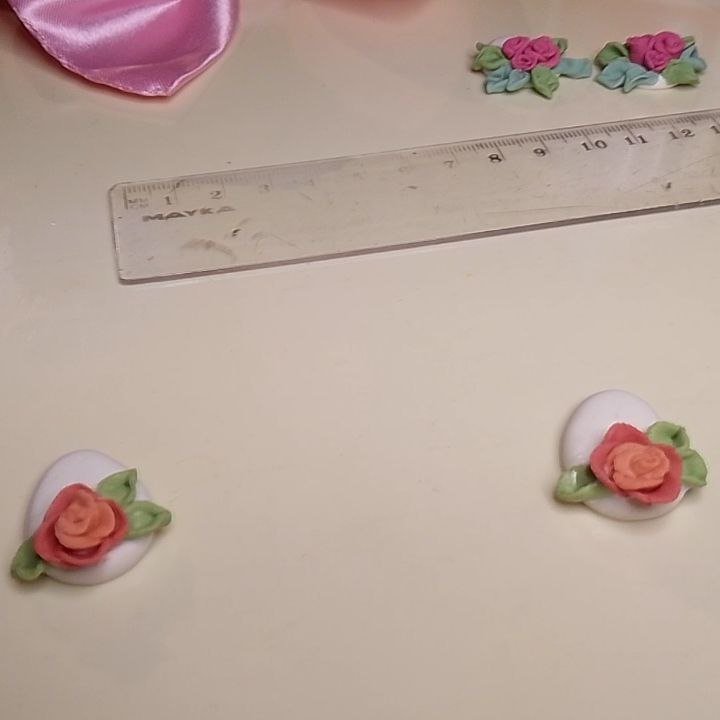
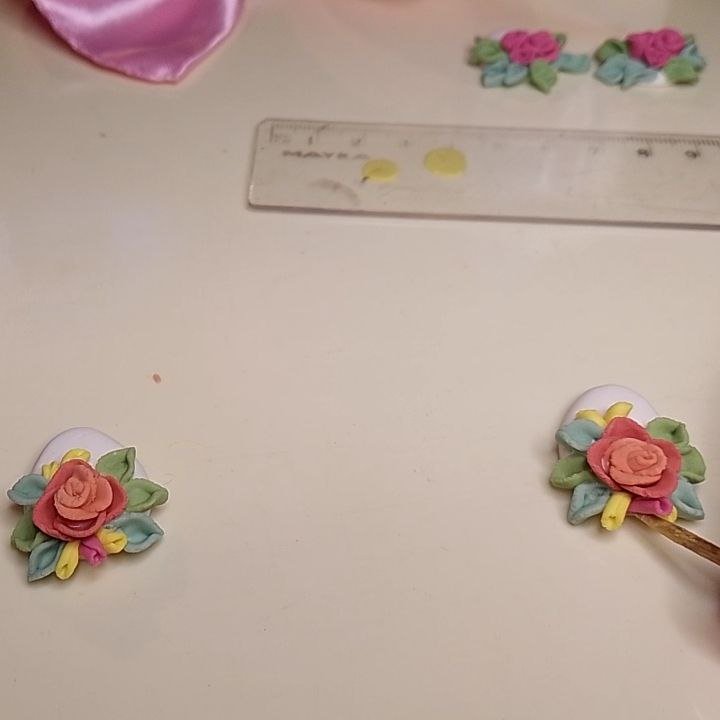
And this is the final result:
Versión Español
Y este es el resultado final:
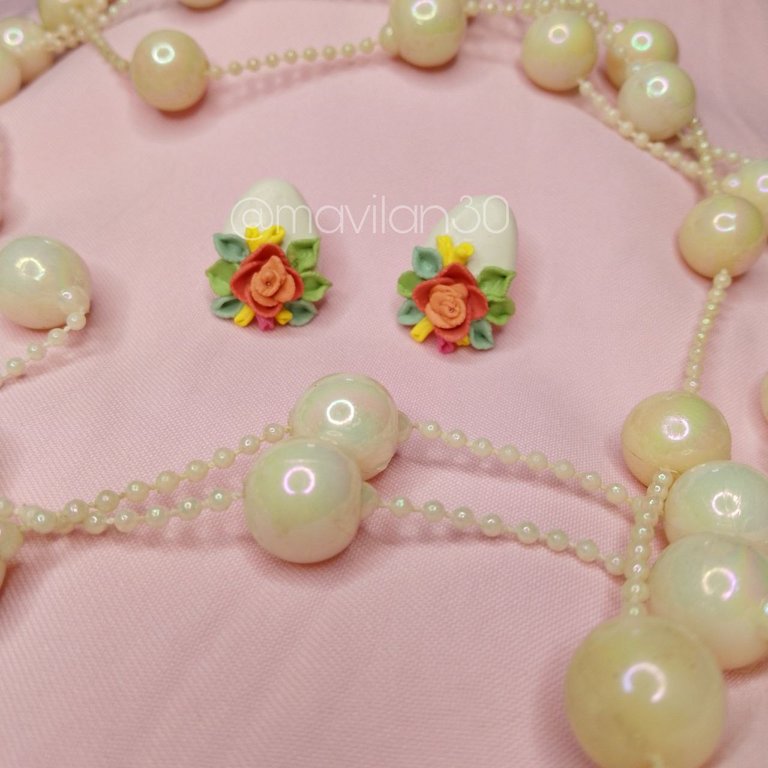
Resultado final / Final result
Final comments:
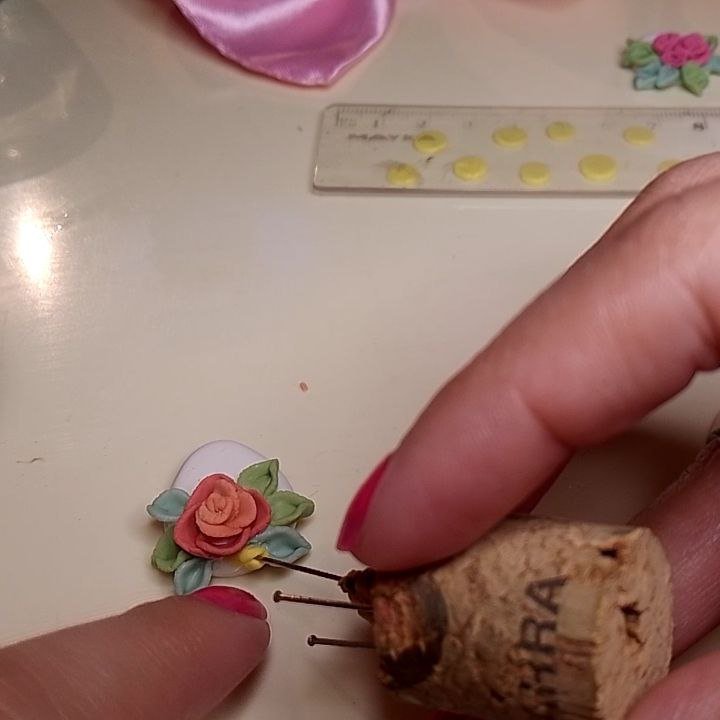
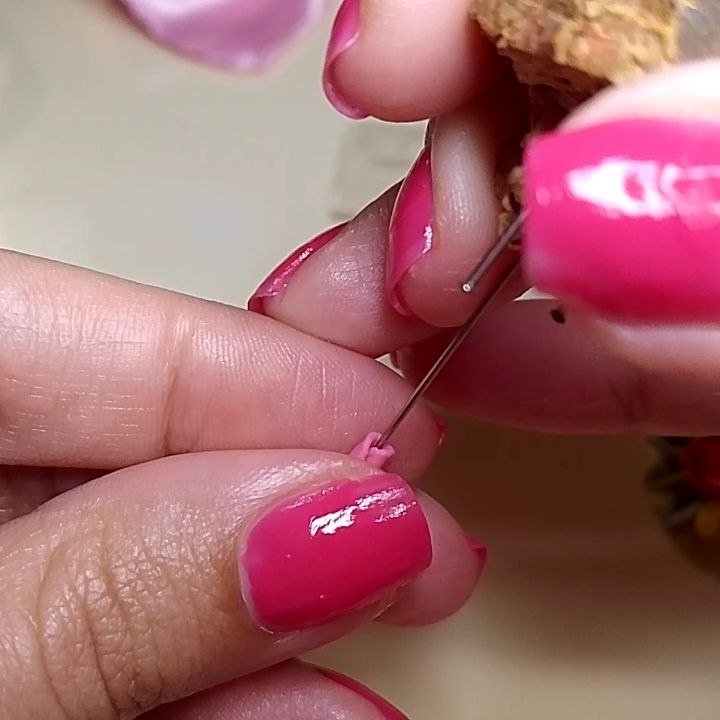
I glue the parts to the pins with hot silicone. It is very important that the silicone is really hot or it will not stick well.
Another very important fact is that you need to create a sticking surface, since the material of the pins is totally smooth, then, all you have to do is file with a nail file or sand with a water sandpaper, a little bit the surface of the base of the pin and also the part of your piece where it will be glued and ready, it will have the necessary grip.
Comentarios finales:
Las piezas las pego los pines con silicón caliente. Es muy importante que el silicón esté caliente en verdad o no se pegará bien.
Otro dato muy importante es que se necesita crear una superficie de adherencia, puesto que el material de los pines es totalmente liso, entonces, todo lo que debes hacer es limar con una lima de uñas o en su defecto lijar con una lija de agua, un poco la superficie de la base del pin y también la parte de tu pieza donde irá pegado y listo, tendrá el agarre necesario.
Enlaces de interés / Links of interest:
Let's make flexible dough (esp/eng)
Cold porcelain rose earrings (esp/eng)
Thank you so much for reading me!
¡Muchas gracias por leerme!
Own photographs, taken with my Tecno Spark 10C.
Translated to English with DeepL. Versión Español
Fotografías propias, tomadas con mi Tecno Spark 10C.
Traducido al inglés con DeepL.

Banner creado por mí en Canva / Banner made by me in Canva

