Greetings to all. This is the first time I share a post in your community, but seeing the beautiful initiative of the World Honey Bee Day, I could not resist (laughs), I really have seen beautiful creations and I can not help but share mine with all of you (I hope you like it). This time, I made a cute little bee very tender with cold porcelain (also called flexible dough), here are all the details of its elaboration, maybe you will be encouraged to make yours with your personal touch or inspire you new and wonderful ideas, let's start!
Versión Español
Un saludo a todos. Esta es la primera vez que comparto un post en su comunidad, pero viendo la hermosa iniciativa del día mundial de la abeja, no pude resistirme (risas), en verdad he visto creaciones preciosas y no puedo dejar de compartir la mía con todos ustedes (espero que les guste). En esta ocasión, hice una linda abejita muy tierna con porcelana fría (también llamada masa flexible), a continuación les dejo todos los detalles de su elaboración, tal vez se animen a hacer las suyas con su toque personal o les inspire nuevas y maravillosas ideas ¡empecemos!
Imagen creada por mí en Canva / Image created by me in Canva
Materials:
- Cold porcelain
- Cold paints (yellow, black, red, white, red, white)
- White glue
- Cutter
- Ruler
- Hoop
- Fairy dust
- Cord
- Toothpick
- Brush
Procedure:
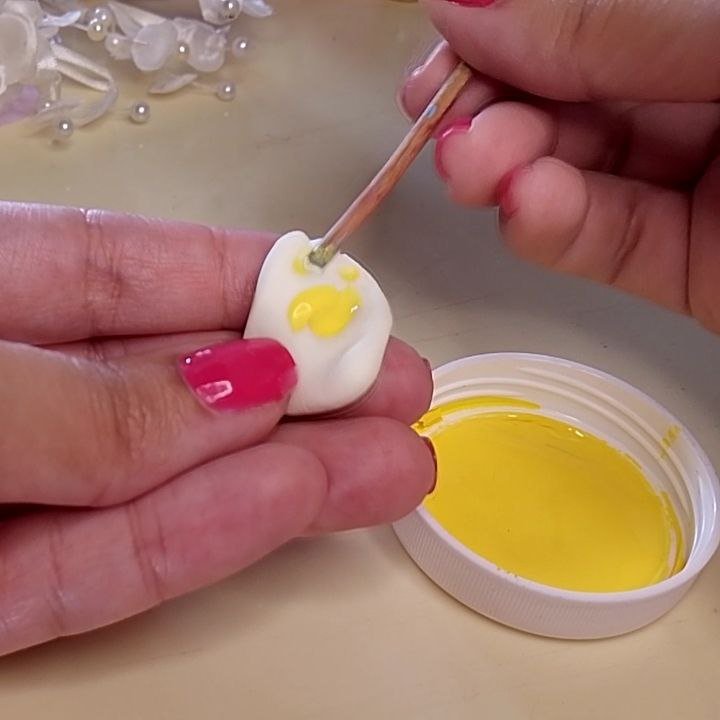
We start by coloring the dough with the colors we require for the design, in this case they would be yellow, black, white and pink. I have used cold paints, but you can use other types of pigments, such as oil. You only have to add a few drops depending on how strong you want the color to be, you must remember that while the dough is fresh, the color will be lighter and as it dries/hardens, the color will be darker.
Versión EspañolMateriales:
- Porcelana fría
- Pinturas al frío (amarillo, negro, rojo, blanco)
- Pegamento blanco
- Cúter
- Regla
- Argolla
- Polvo de hadas
- Cordón
- Palillo
- Pincel
Procedimiento:
Iniciamos coloreando la masa con los colores que requerimos para el diseño, en este caso serían amarillo, negro, blanco y rosado. Yo he empleado pinturas al frío, pero puedes utilizar otros tipos de pigmentos, como por ejemplo, el óleo. Solo debes agregar unas gotitas según lo fuerte que deseas que sea el color, debes recordar que mientras la masa está fresca, el color se verá más claro y al ir secando/endureciendo, el color se verá más oscuro.
 |  |
|---|
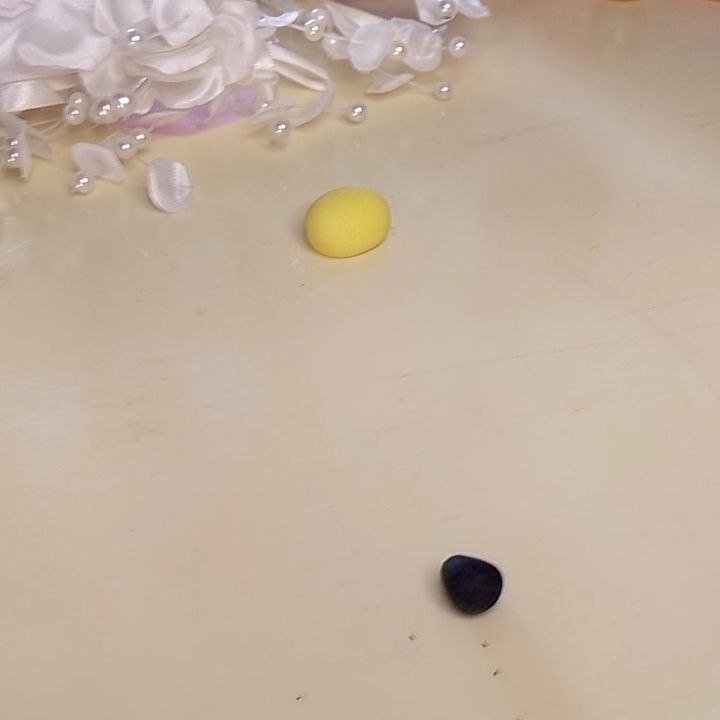
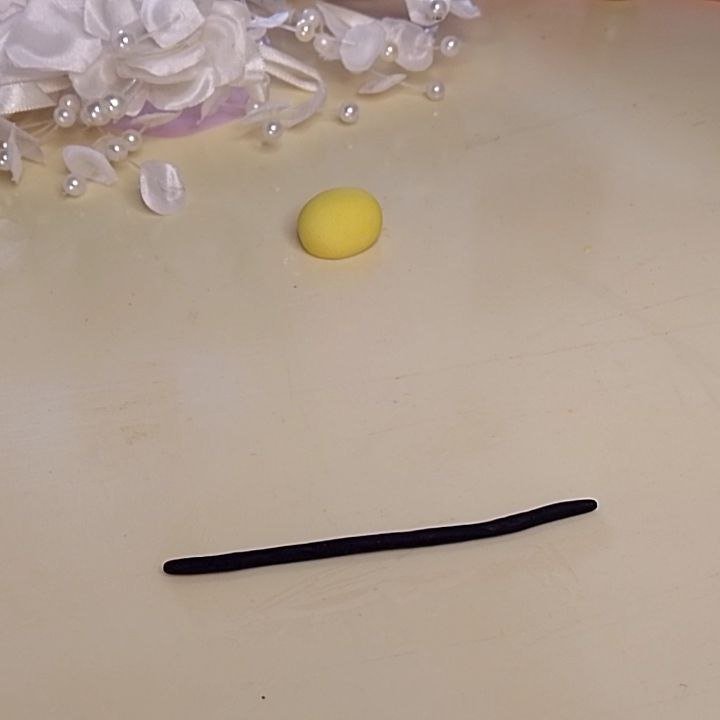
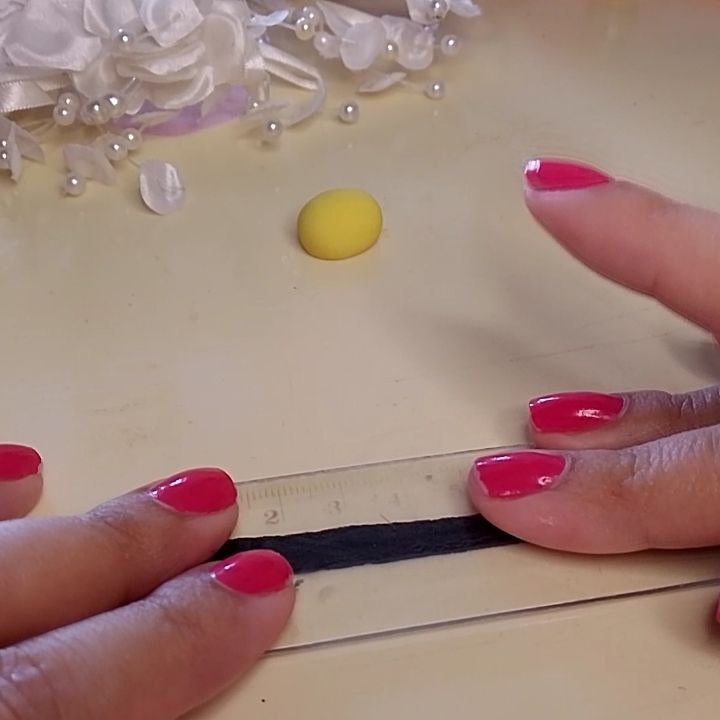
Now, we will take a portion of the yellow dough and form a kind of flattened oval, this will be the base for the body of our bee. You should always add some oil to the work surface so that the dough does not stick and is easier to manipulate. We will also take a small portion of the black color and form an elongated strip. With the help of a ruler or any similar element, with a smooth surface, we will flatten the black strip by applying pressure on it.
Versión Español
Ahora, tomaremos una porción de la masa amarilla y formaremos una especie de óvalo achatado, esa será la base para el cuerpo de nuestra abeja. Siempre debes agregar algo de aceite a la superficie de trabajo para que la masa no quede adherida y sea más fácil manipularla. También tomaremos una pequeña porción del color negro y formaremos una tira alargada. Con ayuda de una regla o cualquier elemento similar, de superficie lisa, aplanaremos la tirita negra aplicando presión sobre ella.
 |  |
|---|
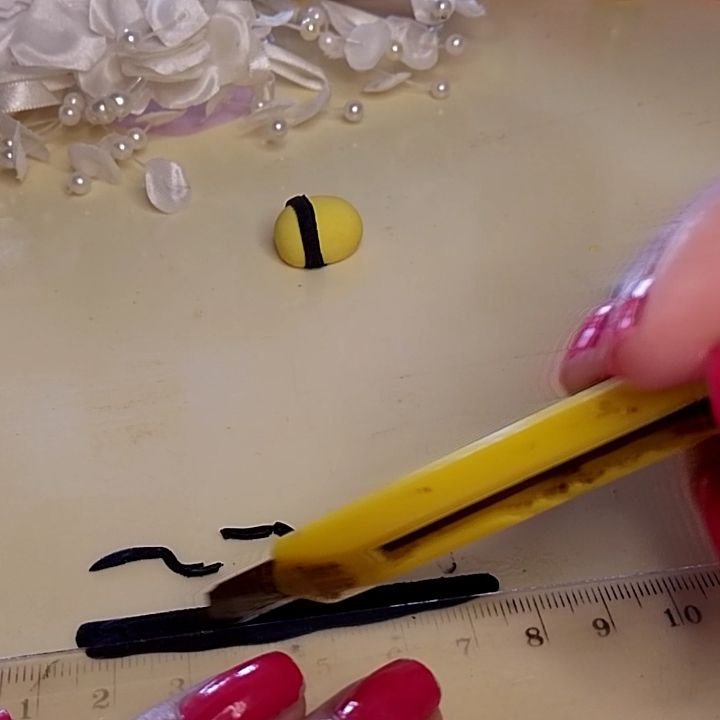
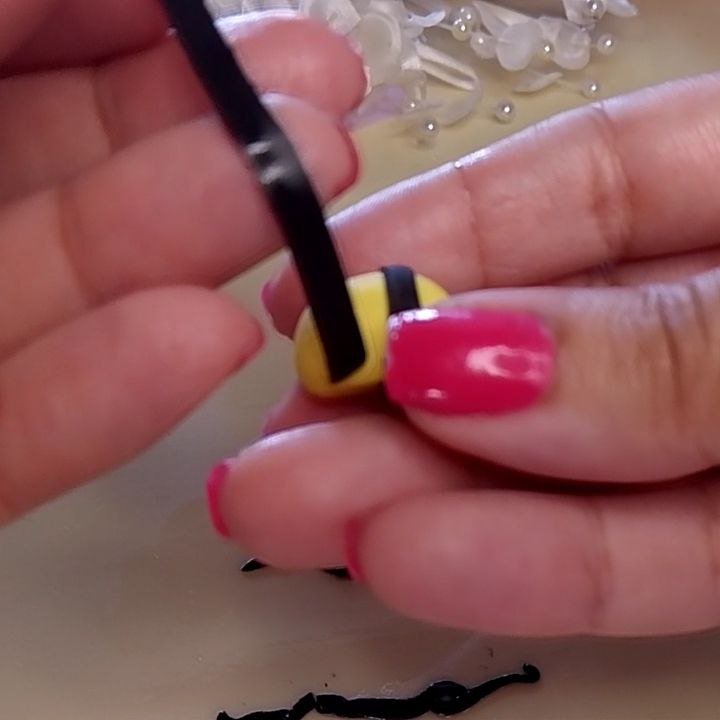
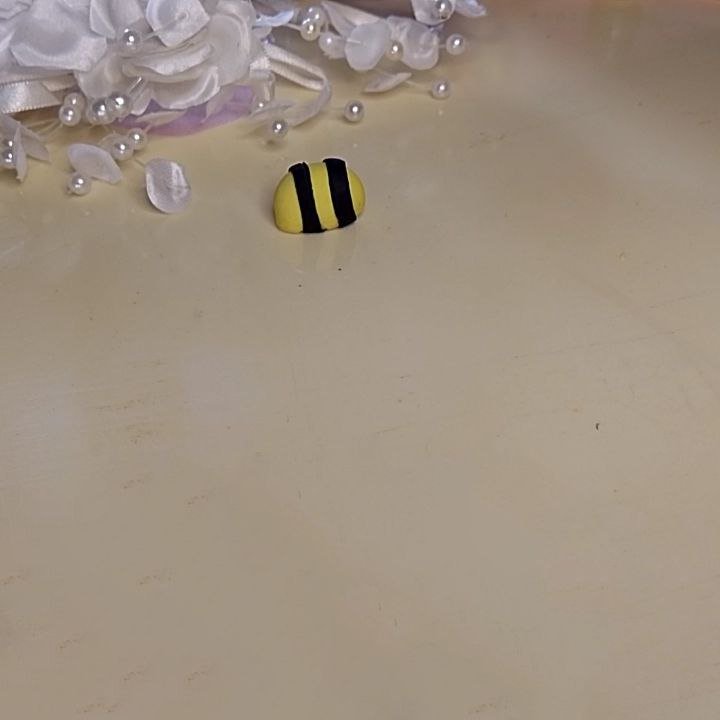
Once again, using the ruler, but this time to guide us, we will use the cutter to cut the excess. The idea is to form one of the black stripes of the bee's body. Then, we proceed to place it in its final place and cut the excess. We put pressure on the piece delicately with our fingers or an instrument so that everything looks integrated. In this case, there were two stripes, so the procedure is done twice.
Versión Español
Una vez más, haciendo uso de la regla, pero esta vez para guiarnos, haremos uso del cúter para cortar el excedente. La idea es formar una de las franjas negras del cuerpo de la abeja. Luego, procedemos a colocarla en su lugar definitivo y cortar lo que sobre. Hacemos presión sobre la pieza delicadamente con nuestros dedos o algún instrumento para que todo se vea integrado. En este caso, fueron dos franjas, así que el procedimiento se hace dos veces.
 |  |  |
|---|
It is time to add the ring that will allow our little bee to travel with us to different places being a pendant. This type of ring is made up of the typical ring of the pendant and a straight piece that is inserted into the figure, the latter, we must coat it with white glue and then insert it into the upper part of the body of the bee.
Versión Español
Es momento de agregar la argolla que permitirá que nuestra abejita viaje con nosotros a distintos lugares siendo un colgante. Este tipo de argolla está conformada por el aro típico del colgante y una pieza recta que se introduce en la figura, esta última, debemos recubrirla con pegamento blanco y luego de ello, introducirla en la parte alta del cuerpo de la abejita.
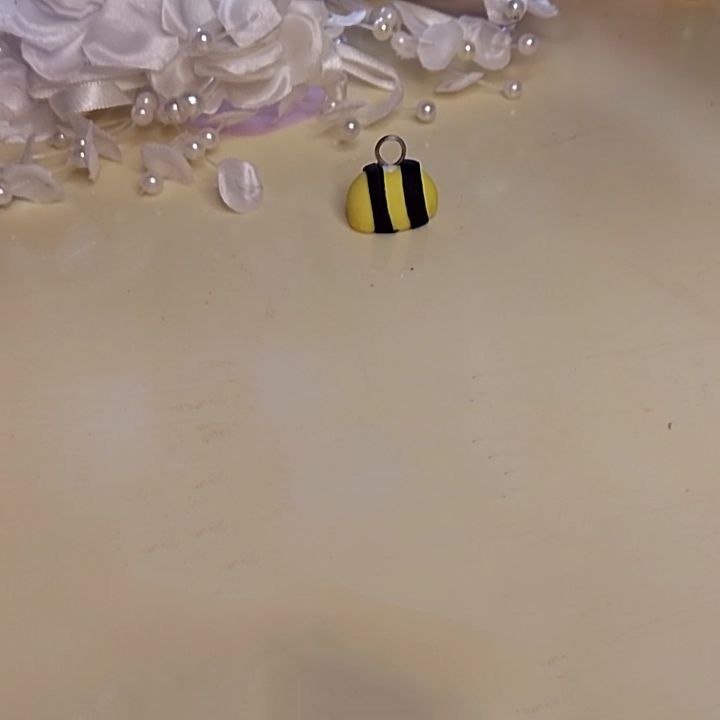
Añadimos la argolla / Add the ring
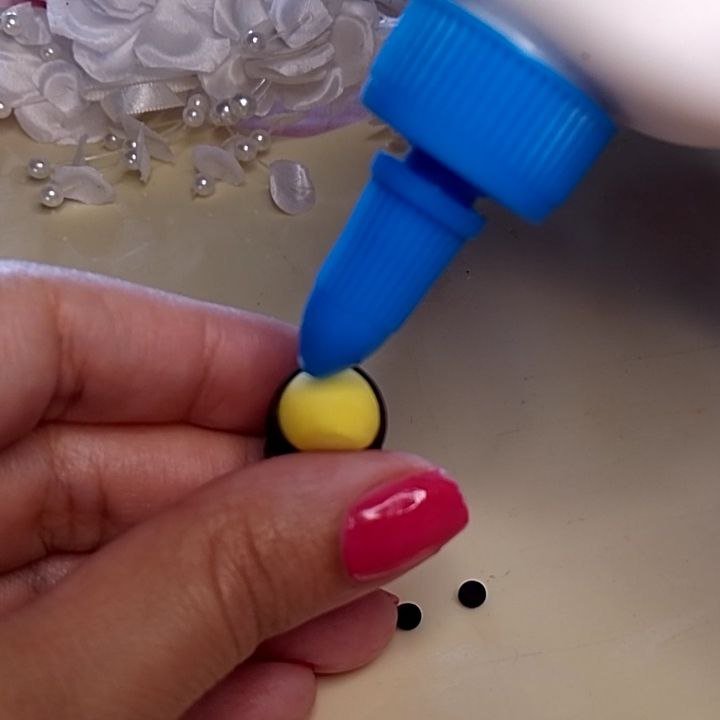
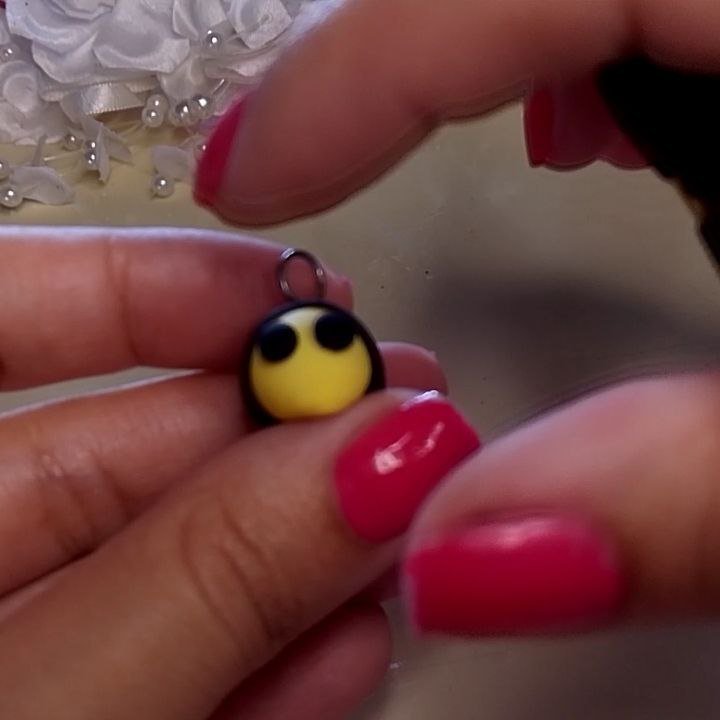
For the eyes, we will take two small portions (very small indeed) of black dough, form small balls and then flatten them, making sure they are in a circular shape. Add some glue to the bee's face where we will place the eyes and delicately press them with our fingers.
Versión Español
Para los ojitos, tomaremos dos pequeñas porciones (en verdad muy pequeñas) de masa color negro, formaremos bolitas y luego las aplanaremos cuidando que queden de forma circular. Añadimos algo de pegamento en la carita de la abeja donde ubicaremos los ojos y presionando delicadamente con nuestros dedos los posicionamos.
 |  |
|---|
For the stinger we will also use the black dough. Simply form a small cone and then press it on the back of the bee's body for adhesion, readjusting any flaws with your fingers.
Versión Español
Para el aguijón también usaremos la masa de color negro. Basta con formar un pequeño cono y luego presionarlo en la parte trasera del cuerpo de la abejita para su adherencia, reajustando cualquier desperfecto con nuestros dedos.
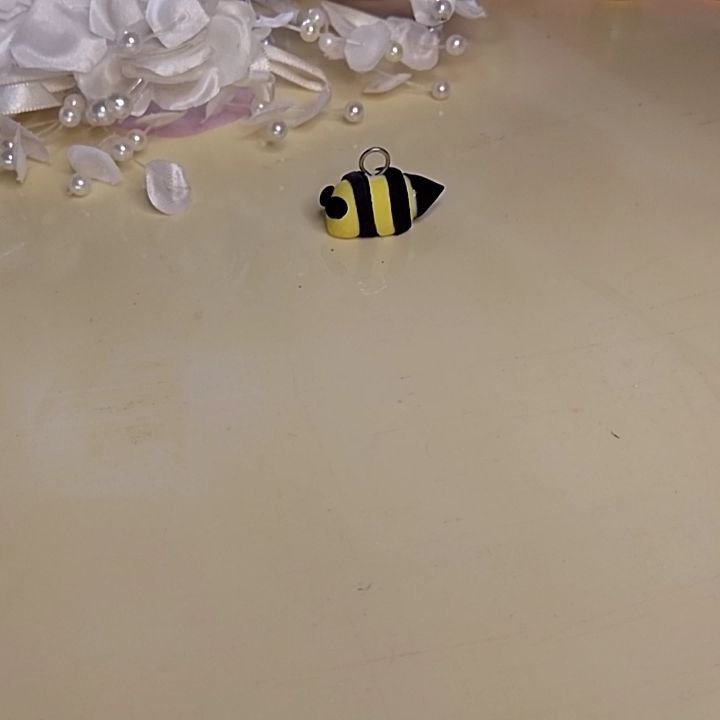
Añadiendo el aguijón / Adding the sting
Now, forming small ovals of white dough, we add the wings of the little bee just to the sides of the ring. In this case I used a wooden stick because the space was too small for my fingers.
Versión Español
Ahora, formando pequeños óvalos de masa blanca, añadimos las alas de la abejita justo a los lados de la argolla. En este caso sí me ayudé de un palito de madera porque el espacio era muy reducido para mis dedos.
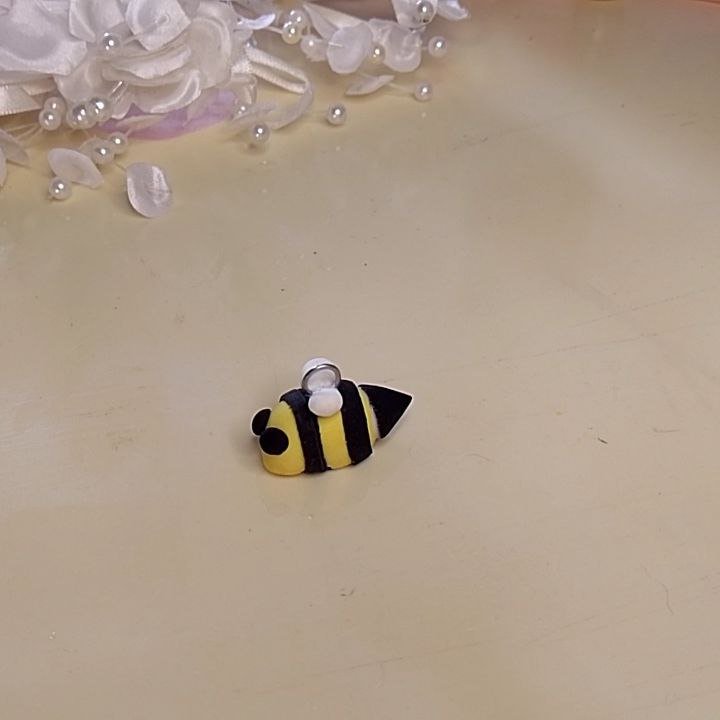
Colocando las alitas / Placing the wings
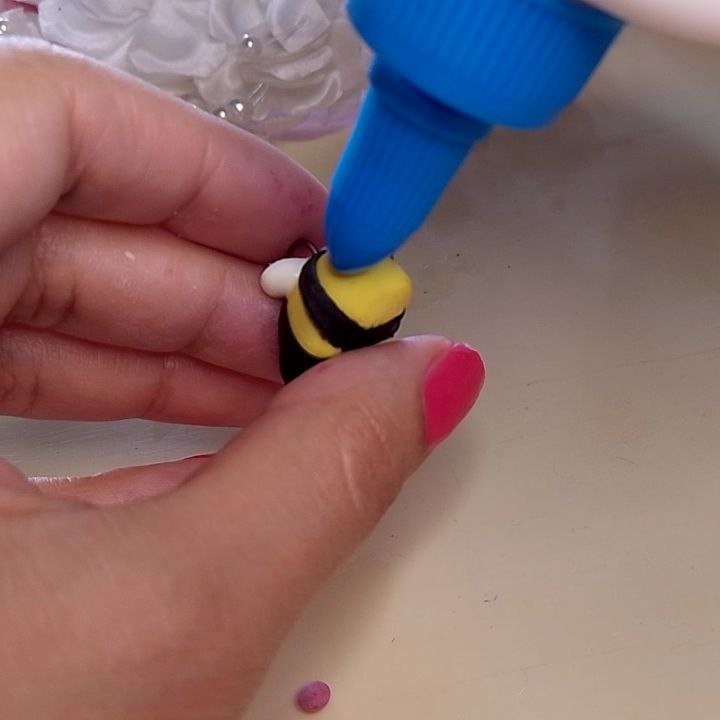
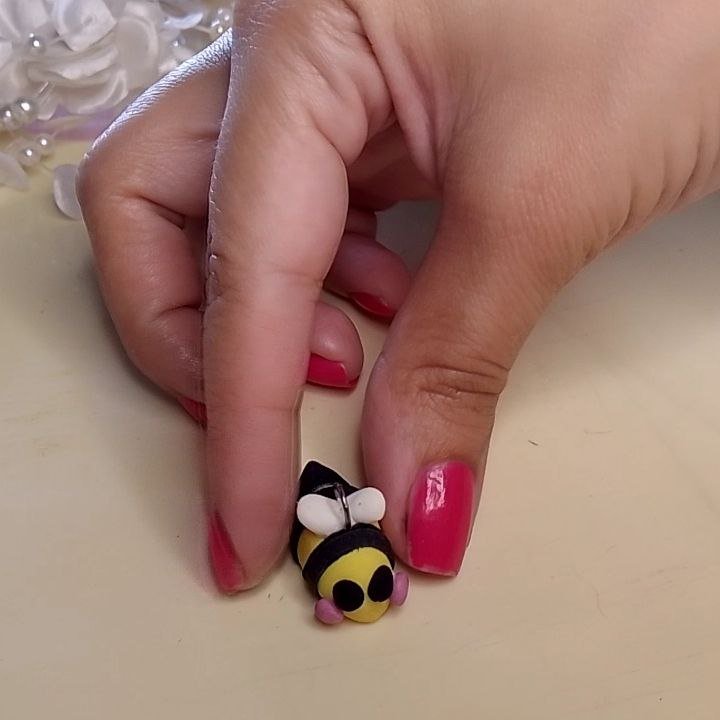
Likewise, we will take the pink dough and make two little circles for the blush, repeat the procedure placing glue on the sides of the face, under the eyes and adhere the pink circles. We are adding glue because at this point the dough was already drying, so it needed an extra support for the adherence.
Versión Español
Igualmente, tomaremos de la masa rosa y haremos dos circulitos para el rubor, repetiremos el procedimiento colocando pegamento a los lados de la carita, debajo de los ojos y adheriremos los círculos rosados. Estamos agregando pegamento porque para este punto ya la masa estaba secando, por lo que necesitaba de un apoyo extra para la adherencia.
 |  |
|---|
With the white paint and a fine brush or a toothpick, we make touches of light in the bee's eyes to make it look full of life, doesn't it look beautiful? Just look at that honey-sweet face (laughs).
Versión Español
Con la pintura blanca y un pincel fino o un palillo, hacemos toques de luz en los ojos de la abeja para que se vea llena de vida ¿verdad que se ve preciosa? No más miren esa carita dulce como la miel (risas).
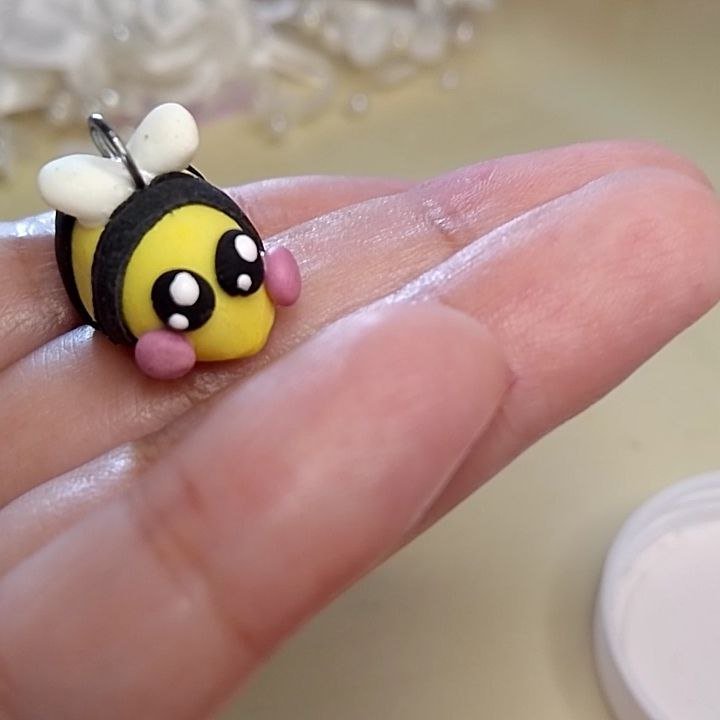
Toques blancos / White touches
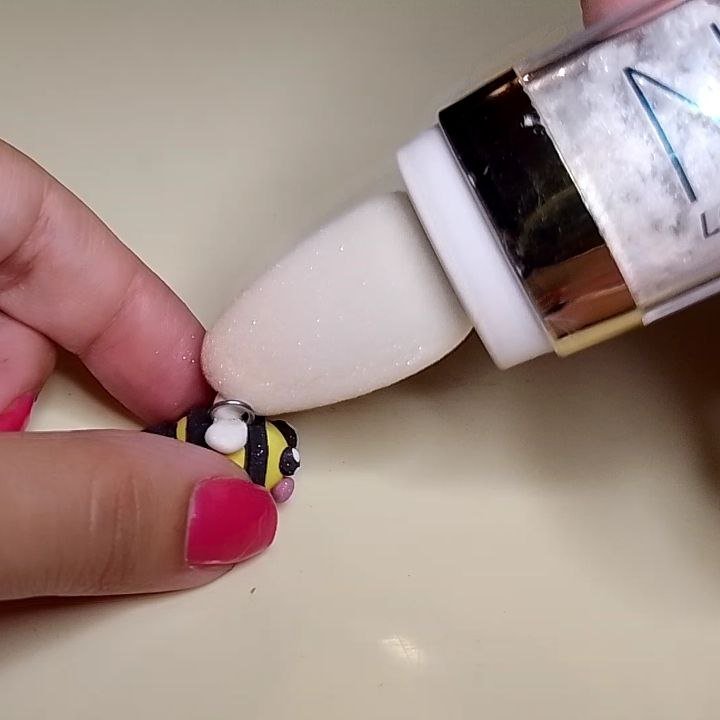
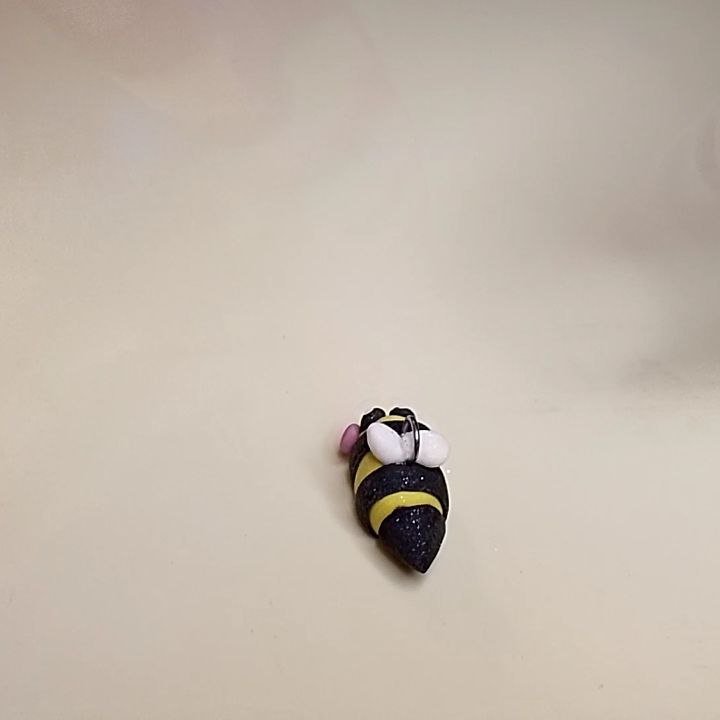
I let it dry for about 24 hours and took my fairy dust and filled it with glitter why? Because I love glitter and I wanted this to be a beautiful, magical, glamorous little bee (more laughter).
Versión Español
La dejé secar unas 24 horas y tomé mi polvo de hadas y la llené de brillos ¿por qué? Porque me encanta el brillo y quería que esta fuera una abejita hermosa, mágica y glamorosa (más risas).
 |  |
|---|
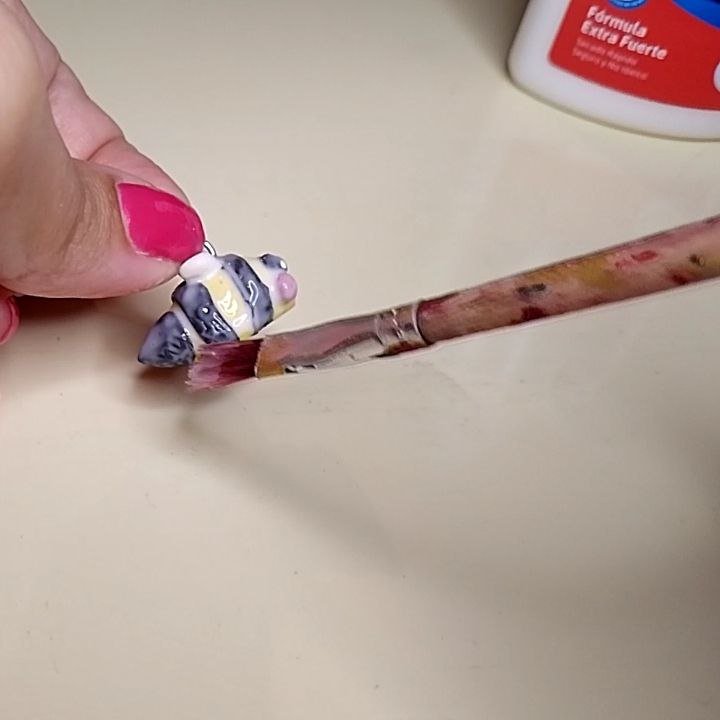
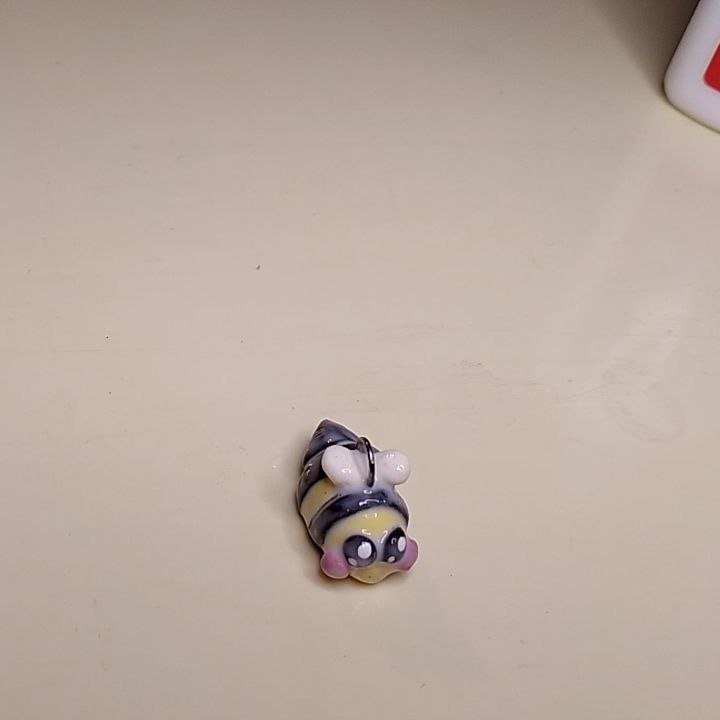
With the help of a brush, I evenly spread white glue all over the surface of the bee to seal everything and give it a shiny look when it dries and that's it.
Versión Español
Con ayuda de un pincel, esparzo uniformemente pegamento blanco por toda la superficie de la abeja para sellar todo y darle un aspecto brillante al secar y esto es todo.
 |  |
|---|
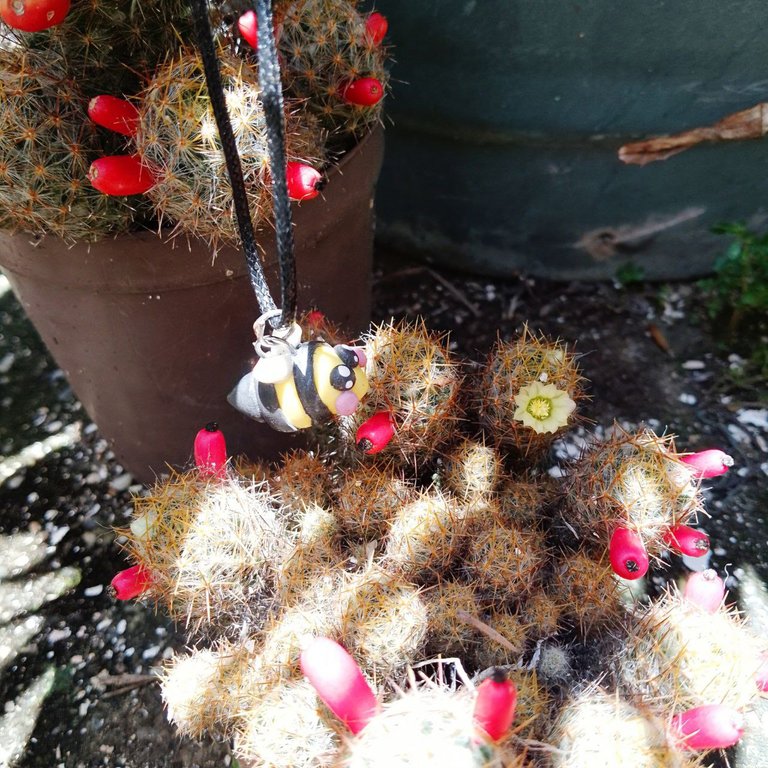
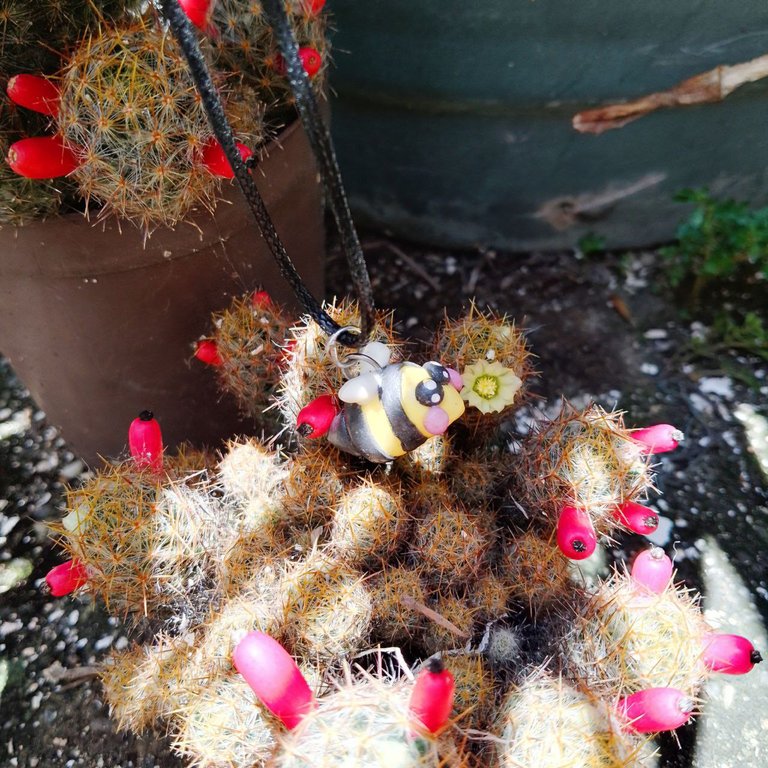
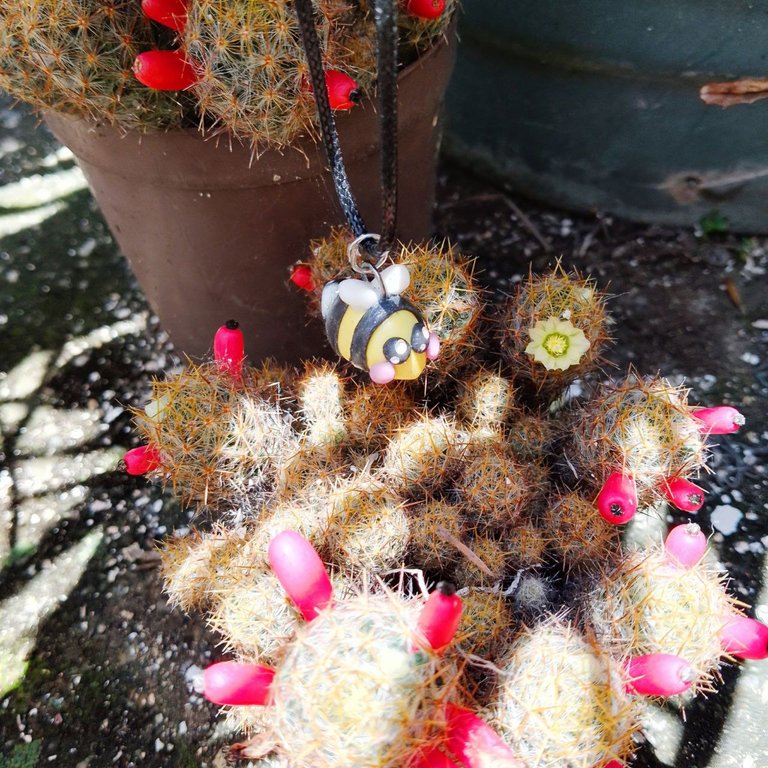
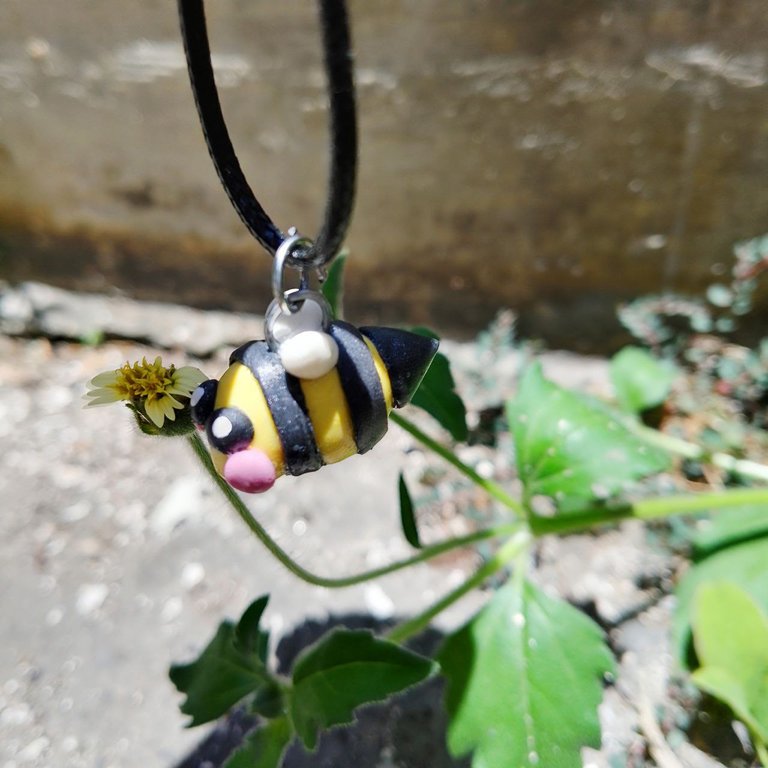
Once everything is dry, we attach the cord to make it a beautiful necklace, you can also wear this little bee as a bracelet or as an ornament on your favorite bag. And of course, it's time for a photo session.
Versión Español
Una vez todo está seco, le colocamos el cordón para que sea un hermoso collar, también puedes llevar esta abejita como una pulsera o como un adorno en tu bolso favorito. Y por supuesto, es momento para una sesión de fotos.
 |  |  |  |
|---|
Final comments:
You can seal the piece with some type of clear varnish if you wish, I have used white glue on many designs in the past and it works quite well, it is very durable (I am talking years), however, I have also used clear enamel from the same line of cold paints and it works perfectly as well, so it is your choice.
You do not need to apply a gloss coat, either glue or varnish, you can leave the piece matte if you prefer.
If at some point the dough you are still molding starts to dry out too quickly, you can moisten your fingers a little with water to hydrate the dough when you knead it again.
Comentarios finales:
Puedes sellar la pieza con algún tipo de barniz transparente si así lo deseas, yo he usado pegamento blanco en muchos diseños en el pasado y funciona bastante bien, es muy duradero (hablo de años), sin embargo, también he usado el esmalte transparente de la misma línea de las pinturas al frío y funciona perfectamente también, así que es tu elección.
No es necesario que aplique una capa brillante, ya sea pegamento o barniz, puedes dejar la pieza mate si así lo prefieres.
Si en algún momento la masa que estás aún moldeando se empieza a secar demasiado rápido, puedes humedecer un poco tus dedos con agua y así, hidratar la masa al amasarla de nuevo.
¡Muchas gracias por leerme!
Thank you so much for reading me!
Own photographs, taken with my Tecno Spark 10C.
Translated to English with DeepL. Versión Español
Fotografías propias, tomadas con mi Tecno Spark 10C.
Traducido al inglés con DeepL.

Banner creado por mí en Canva / Banner made by me in Canva


