Español
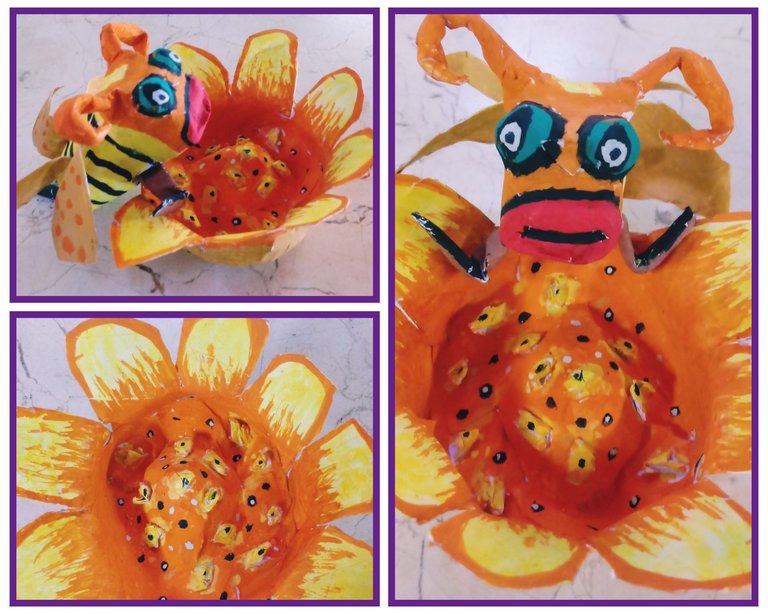
Saludos amigos🙋🐝🌸, es increíble el grado de paz que nos genera el presenciar diario la naturaleza en su cambio evolutivo. Por lo que hoy, después de haber tenido la oportunidad de deleitarme con el proceso de polinización de una flor, por una pequeña abejita, quise compartir con ustedes un tutorial sencillo con la técnica de papel maché, dónde les mostraré un método para confeccionar flores y abejas, que juegan un papel fundamental en el equilibrio del ecosistema.
Materiales
.Tiras de papel
.Cartulina
.Lápiz
.Pega líquida elaborada de harina
.Pegamento
.Tijera
.Temperas
.Pincel
.Barniz
Método de confección de la abeja
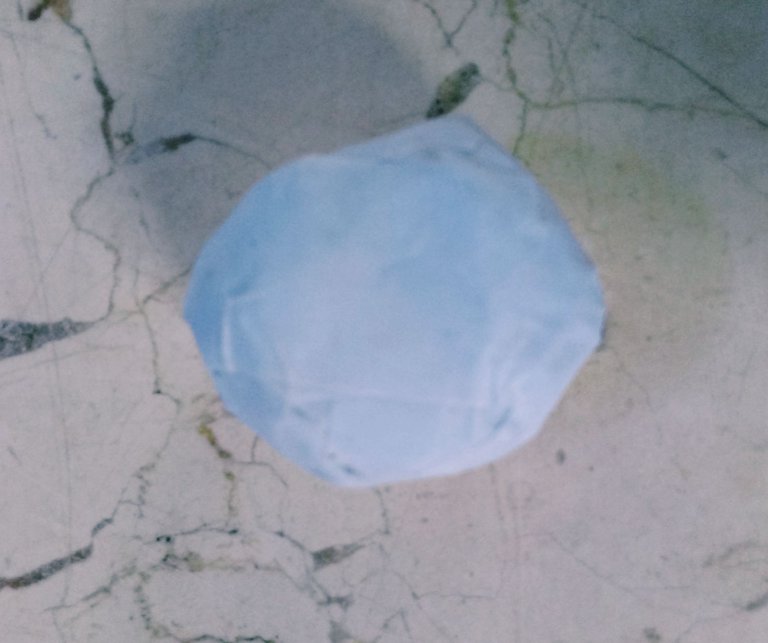
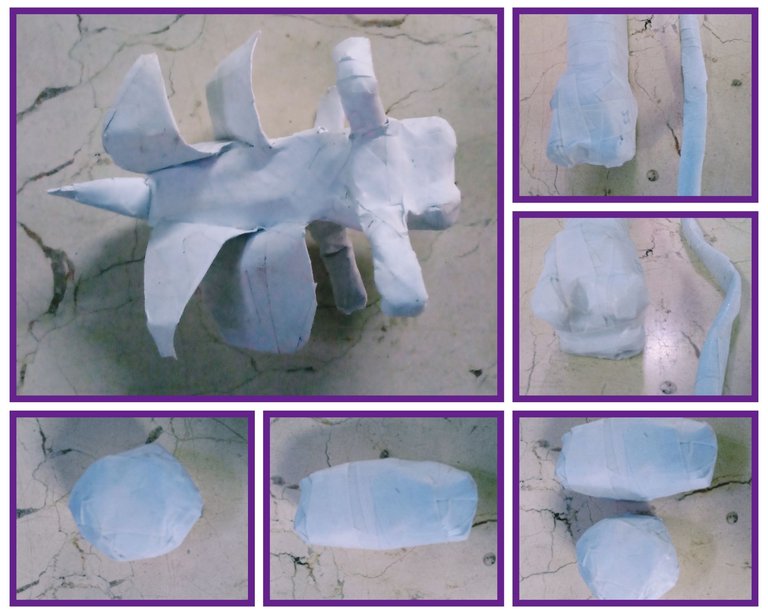
1-Primeramente realicé su cabecita redonda, estrujando un papel en forma de bolita, la que cubrí con la técnica de papel maché con tiras previamente cortadas y la pega elaborada de harina.
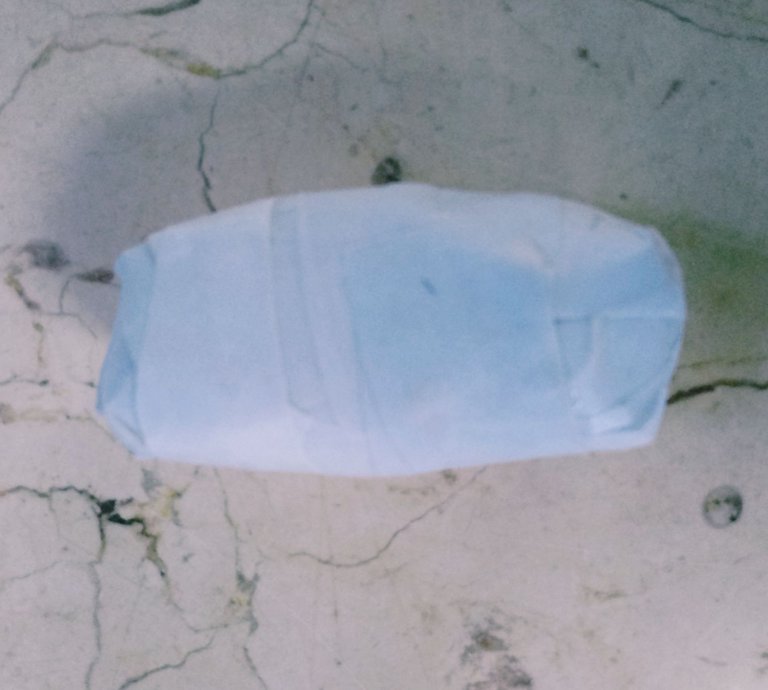
2-Seguidamente relicé su cuerpo, estrujando papel dándole forma ovalada y con las tiras cortadas y la pega elaborada de harina cubriéndolo, le proporcioné una superficie lisa y firme.
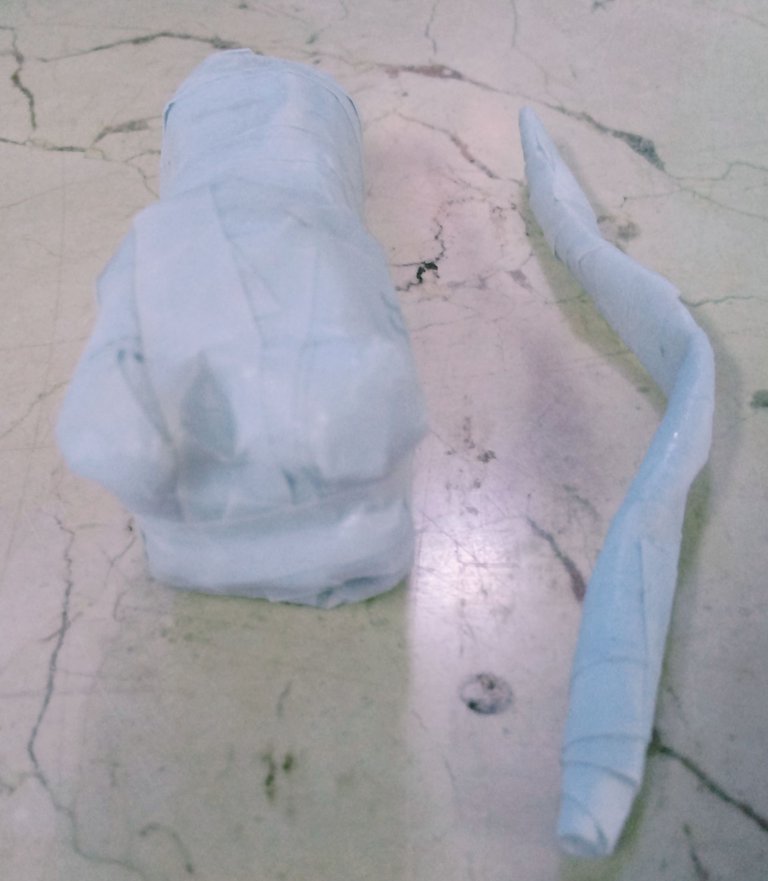
3-Después de 8 horas de secado, ya tenemos nuestra cabeza y cuerpo de la abeja, los que unimos utilizando el pegamento.
4-Para ser ojos, boquita, antenas, aguijón, se utiliza enrrollados de papel en forma de bolitas pequeña y de tabaquitos largos, según la forma que deseemos, y con el pegamento lo adherimos a su cuerpo y carita.
5-Para confeccionar sus alitas, tomamos la cartulina, y con ayuda del lápiz trazamos la forma deseada, luego recortamos con la tijera, y las adherimos con el pegamento al cuerpo.
Método de confección de la flor
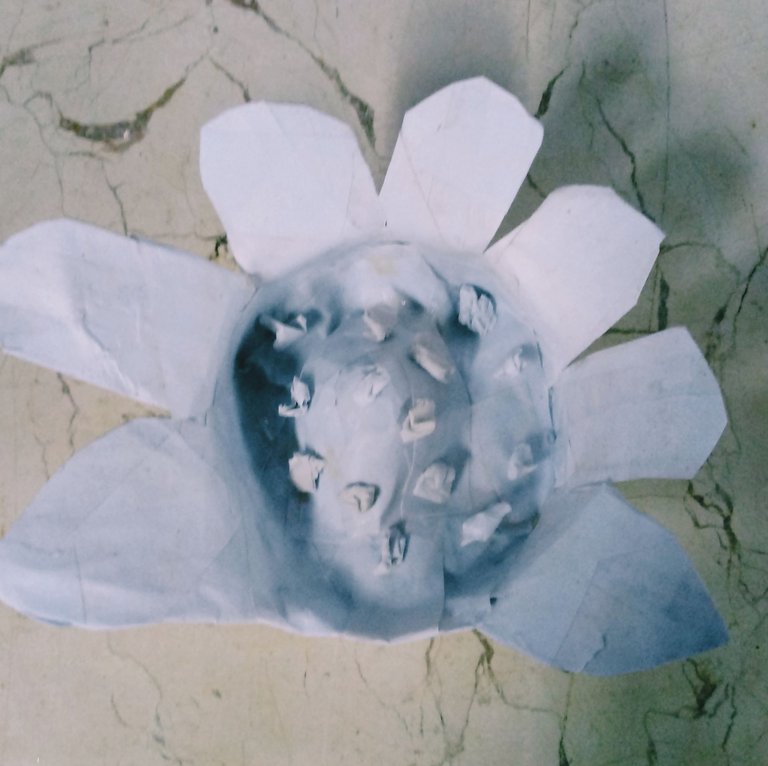
1-Tomé la cartulina y con el lápiz tracé el modelo de flor deseada, luego recorté cuidadosamente con ayuda de la tijera, obteniendo pétalos pequeños y grandes.
2-Doblando los pétalos hacia arriba y dejando su centro concavo, logré el cuerpo de la flor.
3-Para ser el centro protuberante, tomé un pedazo de papel, lo arrugué y con ayuda del pegamento lo adherí en su centro.
4-Ya teniendo mi flor con su centro protuberante, realicé la técnica de papel maché, utilizando tiras de papel blanco y pega elaborada de harina, proporcionando
firmeza y dureza despues de tres capas, y 8 horas de secado.
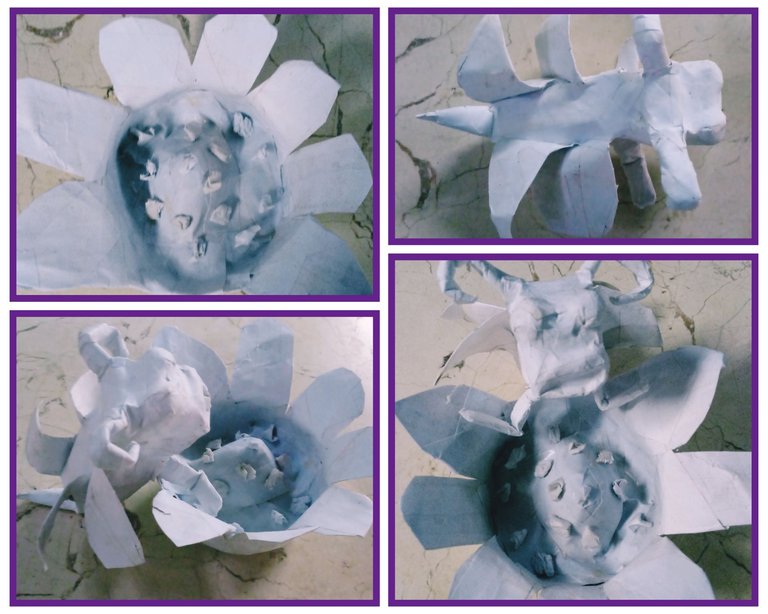
Amigos, ya teniendo la flor y abejita extructurada, pasamos a la parte decorativa con pinceles, temperas.
Los colores que escogí: naranja, amarillo , negro, rojo, son de mi preferencia, pero ustedes pueden combinarlos según sus gustos.Para darle su acabado brilloso utilicé barníz.
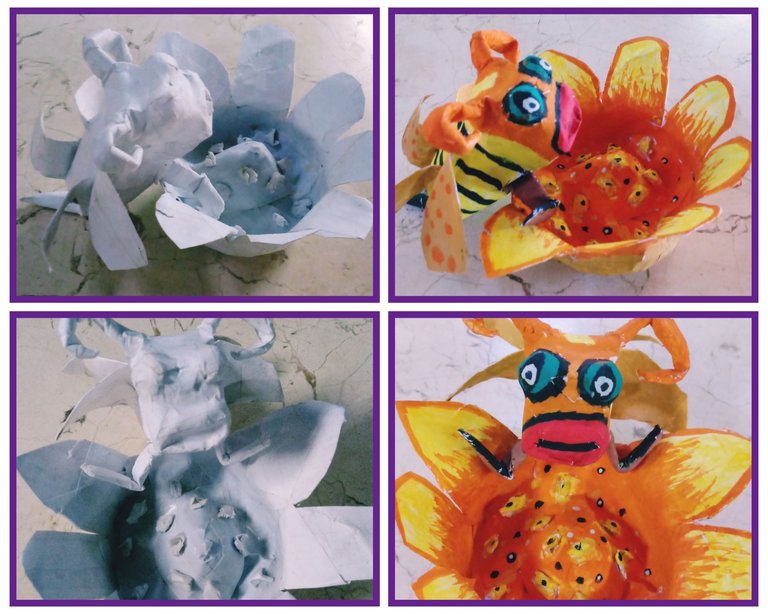
Espero que les haya gustado este método para confeccionar abejitas y flores. Los exhorto amigos a su confección, y les deseo excelentes y prósperos días🙋☀.
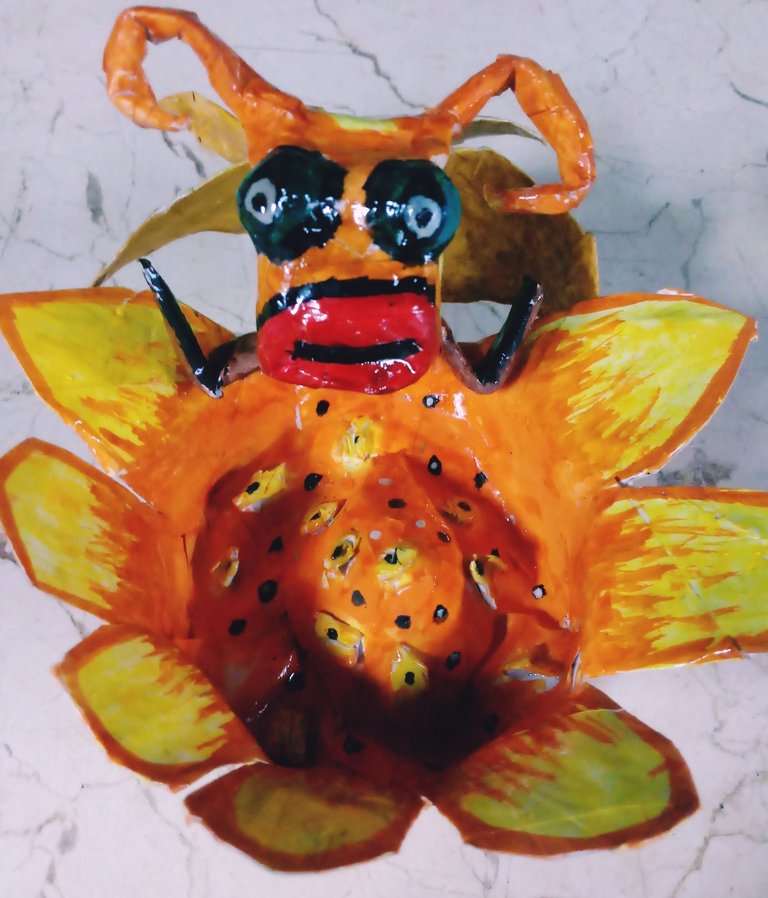
Confecciones y fotografías propias.
English
Greetings friends🙋🐝,🌸 it is amazing the degree of peace generated by witnessing nature in its evolutionary change daily. So today, after having had the opportunity to delight myself with the process of pollination of a flower, by a little bee, I wanted to share with you a simple tutorial with the papier mache technique, where I will show you a method to make flowers and bees, which play a fundamental role in the balance of the ecosystem.
Materials
.Paper strips
.Cardboard
.Pencil
.Liquid paste made from flour
.Glue
.Scissor
.Temperas
.Brush
.Varnish
Method of making the bee
1-First I made her little round head, squeezing a paper in the form of a ball, which I covered with the papier mache technique with previously cut strips and the glue made of flour.
2-Then I made his body, squeezing paper into an oval shape and with the cut strips and the glue made of flour covering it, I provided a smooth and firm surface.
3-After 8 hours of drying, we already have our head and body of the bee, which we joined using the glue.
4-To be eyes, mouth, antennae, stinger, paper rolls are used in the form of small balls and long tobacco, according to the shape we want, and with the glue we adhere it to his body and face.
5-To make their wings, we take the cardboard, and with the help of the pencil we trace the desired shape, then we cut with the scissors, and we adhere them with the glue to the body.
Method of making the flower
1-I took the cardstock and with the pencil I traced the desired flower model, then I carefully cut out with the help of scissors, obtaining small and large petals.
2-Bending the petals upwards and leaving their concave center, I achieved the body of the flower.
3-To be the protruding center, I took a piece of paper, wrinkled it and with the help of glue I adhered it in its center.
4-Already having my flower with its protruding center, I performed the papier mache technique, using strips of white paper and glue made of flour, providing
firmness and hardness after three coats, and 8 hours of drying.
Friends, already having the flower and structured bee, we move on to the decorative part with brushes, tempera.
The colors I chose: orange, yellow, black, red, are my preference, but you can combine them according to your tastes.To give it its shiny finish I used varnish.
I hope you liked this method for making little bees and flowers. I urge you friends to make it, and I wish you excellent and prosperous days🙋☀.
Own clothing and photographs.

