Español
Saludos amigos creadores🙋 ⛄ 🌈.
En estos días, con aires navideños, he disfrutado cada una de sus confecciones compartidas. Sus diversas técnicas de personalizar decorativos me resultan fascinante.¡Gracias a todos por sus tutoriales instructivos !.
Al igual a ustedes, soy amante de confeccionar los decorativos para mi arbolito, el que se encuentra cargado de las caritas navideñas, que anteriormente tuve el placer de compartir .
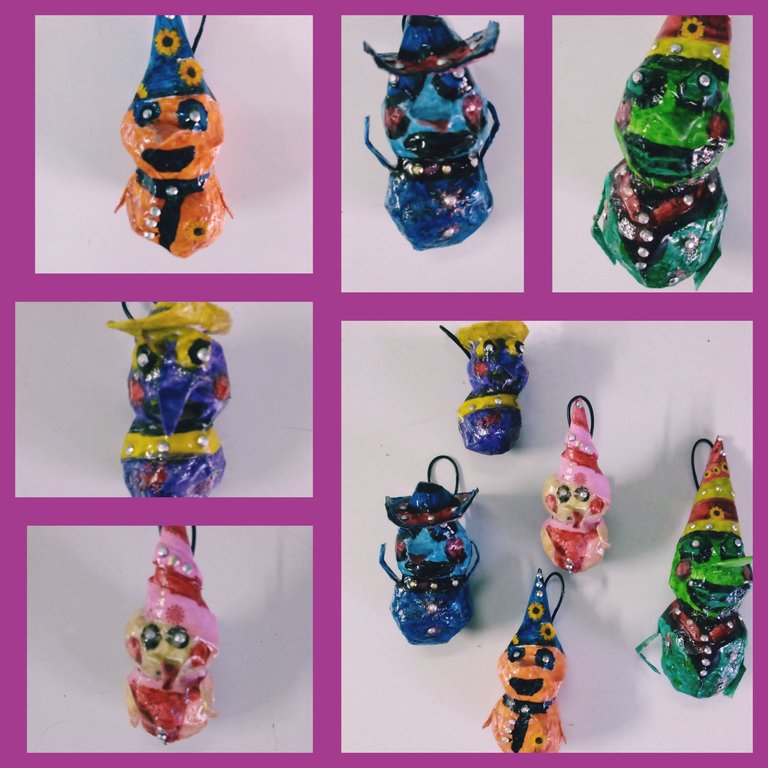
Hoy, les traigo el paso a paso de la segunda manualidad que decorará mi arbolito en esta navidad: Muñequitos de nieves coloridos, una confección sencilla pero muy hermosos a la vista.
Materiales
.Papel
.Tiras de papel blanco
.Cartulina
.Tijera
.Pega elaborarada de harina
.Pegamento
.Temperas
.Pincel
.Calcamonías
.Piedras pequeñas de colores.
.Cables finos
.Barníz
Modo de confección
Podemos realizar con este método tantos muñequitos como deseemos.Yo realicé cinco.
Para la cabeza y cuerpo:
1-Estrujar papel conformando cinco pares de bolitas, que irán por parejas aumentando en tamaño.
2-Darle una capa de empapelado a las bolitas conformadas, con tiras de papel blanco y la pega elaborada de harina. Dejarlo secar por ocho horas.
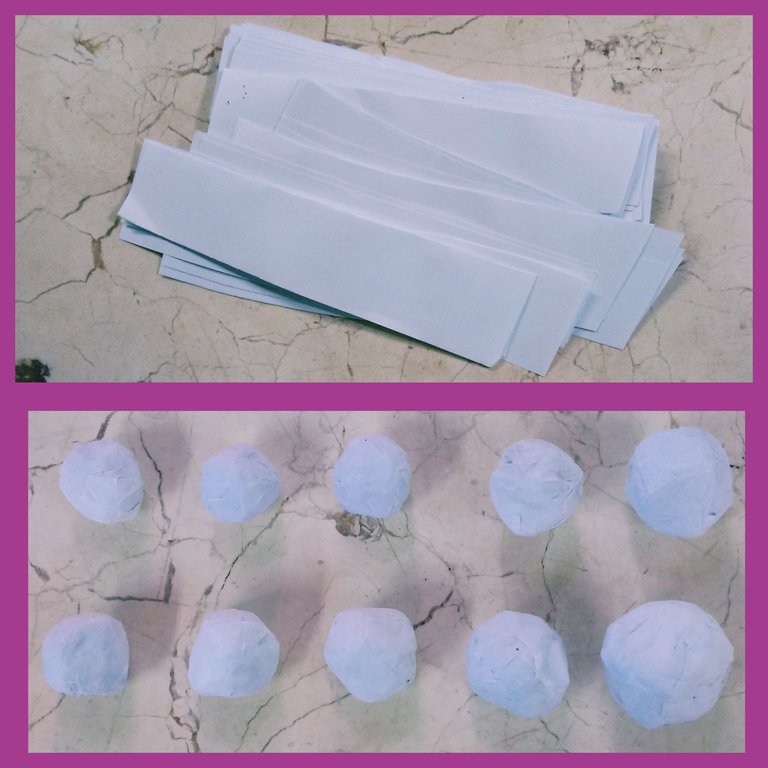
3-Utilizando el pegamento unimos las bolitas pequeñas a las de mayor diámetro, obteniendo la estructura de nuestros muñequitos.
4-Adherir con pegamento en las bolitas pequeñas destinadas a las cabezas, rollitos de papel de forma redonda, los que constituirán los ojos.
5- Darle una capa de empapelado a toda la estructura, con tiras de papel blanco y pega elaborada de harina, para generarle firmeza.
Accesorios
Los sombreros, siempre me han gustado como accesorios, y más en los muñecos de nieves, donde son comunes los semejantes a los de cumpleaños, al conformar conos puntiagudos. Yo realicé además de estos en forma de conos, sombreritos de vaqueros.
Para los sombreros de vaqueros:
1-Cortar un cuadrado pequeño de cartulina.
2-Estrujar un pequeño papel en forma de bolita.
3-Adherir con pegamento la bolita al cuadrado de cartulina.
4-Darle una capa de empapelado, mientras amoldamos obteniendo un sombrero vaquero.
Para los sombreros puntiagudos ó de cumpleaños
1-Cortar un pequeño cuadrado de cartulina.
2- Enrollar por uno de sus vértices conformando un pequeño cono.
3-Manter la estructura con pegamento.
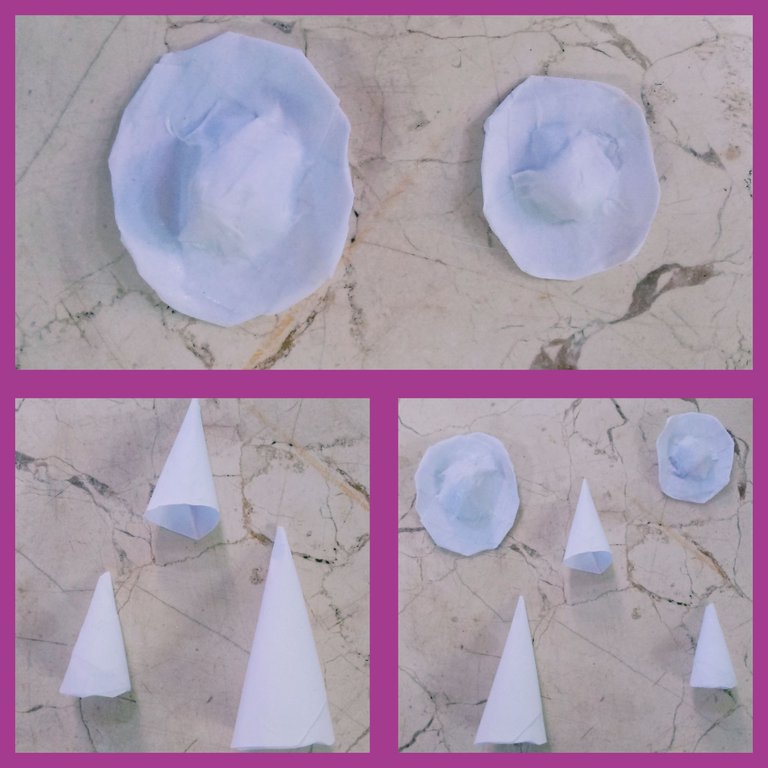
Ya teniendo nuestros sombreros listos pasamos a adherirlos con pegamento a nuestros muñequitos previamente confeccionados, dejándolos listos para ser pintados y decorados.
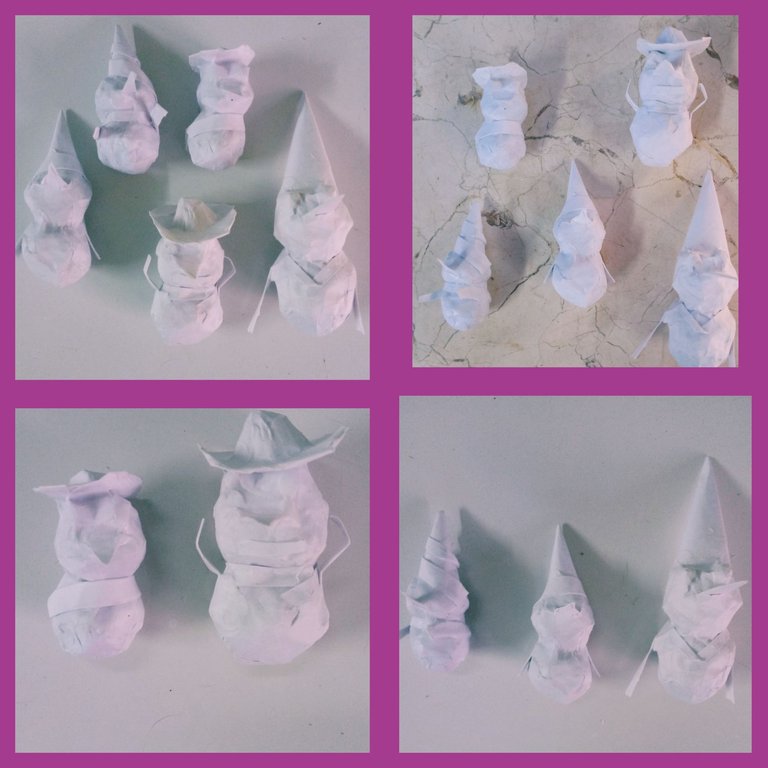
Los colores que escogí, quise que en su combinación representarán los elementos abordados en la temática del mes: agua , fuego , aire, tierra, por lo que el azul, verde , blanco ,amarillo , naranja, fueron los que le dieron vida a estos pequeños muñequitos de nieve⛄.Y cómo en la navidad el amor prevalece y el brillo de las personas resalta en sus semblantes, resalté detalles con color rojo y adherí utilizando pegamento pequeñitas piedras brillantes. Para su acabado utilicé barníz y calcamonías coloridas.
Hasta aquí, amigos, tenemos nuestros muñequitos navideños listos. Ahora pasamos a confeccionarles aritos, por donde los colgaremos en nuestro árbol.
Para confeccionar los aros:
1-Utilizando la tijera cortar pequeños cables.
2-Realizarle un doblez en cada uno conformando pequeños aros.
3-Mantener la estructura pegando sus puntas.
4-Adherir con pegamento los aros en la parte posterior de los muñequitos.
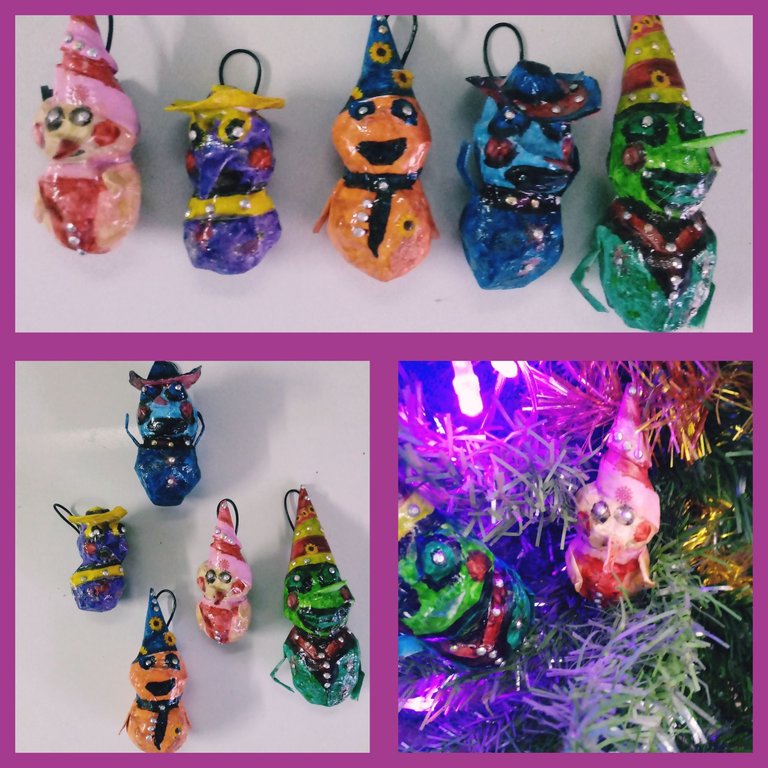
Nuestros muñequitos de nieve coloridos, amigos, se encuentran listos para decorar nuestro árbol en esta navidad tan esperada. Espero que les haya gustado y los exhorto a que disfruten reecreándolos. @lilsnake , @nery, anímense , será un gusto ver, sus confecciones navideñas
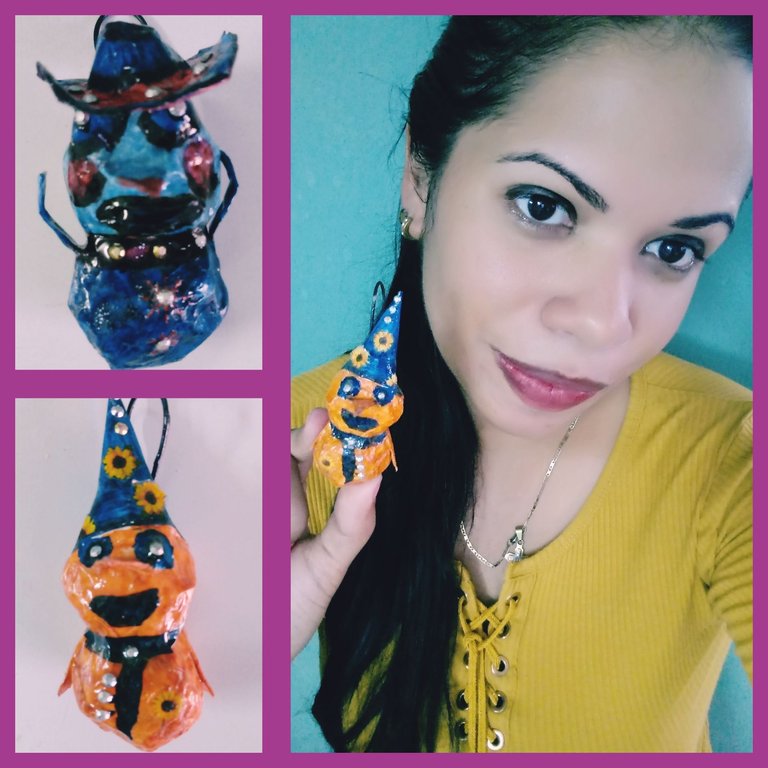
Bendecida y excelente semana a todos 🙋🌈 ⛄.
English
Greetings fellow creators🙋 ⛄ 🌈.
These days, with Christmas airs, I have enjoyed each of their shared confections. His various techniques of decorative personalizing are fascinating to me.Thank you all for your instructive tutorials!.
Like you, I am a lover of making the decorations for my little tree, the one that is loaded with Christmas faces, which I previously had the pleasure of sharing.
Today, I bring you the step by step of the second craft that will decorate my little tree this Christmas: Colorful snow dolls, a simple confection but very beautiful to the eye.

Materials
.Paper
.White paper strips
.Cardboard
.Scissor
.Pega elaborarada de harina
.Glue
.Temperas
.Brush
.Stickers
.Small colored stones.
.Thin wires
.Varnish
Mode of preparation
We can make as many dolls as we want with this method.I made five.
For the head and body:
1-Squeeze paper forming five pairs of balls, which will increase in size in pairs.
2-Give a layer of wallpaper to the shaped balls, with strips of white paper and the glue made of flour. Let it dry for eight hours.

3-Using the glue we join the small balls to the larger diameter ones, obtaining the structure of our dolls.
4-Stick with glue in the small balls intended for the heads, paper rolls of round shape, which will constitute the eyes.
5- Give a layer of wallpaper to the entire structure, with strips of white paper and glue made of flour, to generate firmness.
Accessories
Hats, I have always liked as accessories, and more in snowmen, where similar to birthday ones are common, by forming pointed cones. I made in addition to these in the form of cones, cowboy hats.
For the cowboy hats:
1-Cut a small square out of cardboard.
2-Squeeze a small paper into a ball shape.
3-Glue the ball to the cardboard square.
4-Give it a layer of wallpaper, while we mold getting a cowboy hat.
For pointed hats or birthday hats
1-Cut a small square out of cardboard.
2- Roll up one of its vertices forming a small cone.
3-Keep the structure with glue.

Once we have our hats ready, we stick them with glue to our previously made dolls, leaving them ready to be painted and decorated.

The colors I chose, I wanted that in their combination they will represent the elements addressed in the theme of the month: water, fire, air, earth, so the blue, green, white, yellow, orange, were the ones that gave life to these little snowmen⛄.And how at Christmas love prevails and the brightness of people stands out on their countenances, I highlighted details with red color and adhered using glue tiny shiny stones. For its finish I used varnish and colorful decals.
So far, friends, we have our Christmas dolls ready. Now we are going to make them earrings, where we will hang them on our tree.
To make the hoops:
1-Using the scissors cut small wires.
2-Make a fold in each one forming small rings.
3-Maintain the structure by gluing its tips.
4-Glue the rings on the back of the dolls.

Our colorful snowmen, friends, are ready to decorate our tree this long-awaited Christmas. I hope you liked it and I urge you to enjoy re-creating them. @lilsnake, @nery, cheer up, it will be a pleasure to see, your Christmas confections

Blessed and excellent week to all 🙋🌈 ⛄.