Hello friends of @diyhub I'm @marijoha, I'm here again, and getting a little ahead of Christmas, I want to show you the step by step of a beautiful painted wooden tree, alluding to this Christmas holidays.
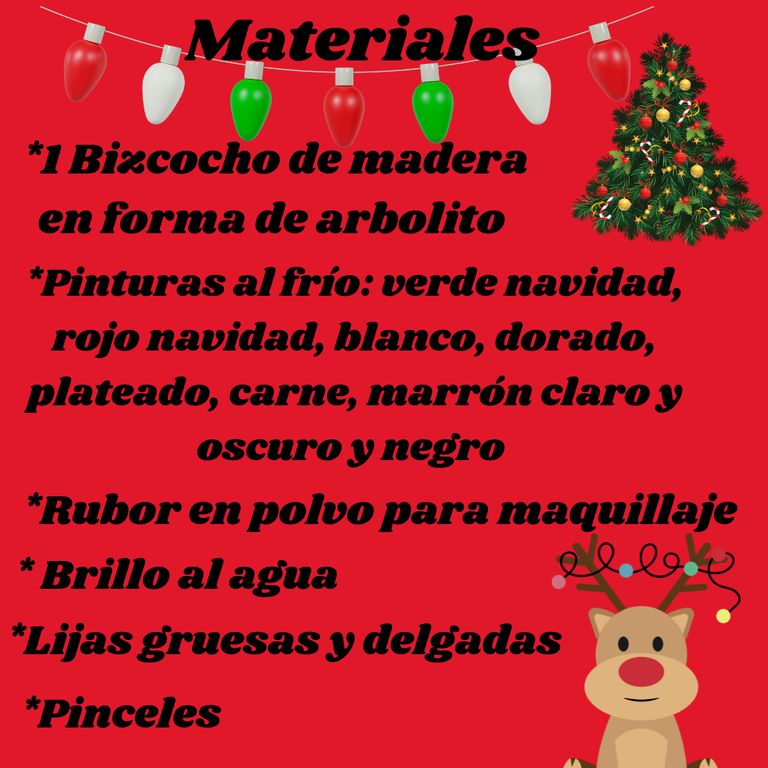
- Un bizcocho de madera en forma de arbolito de navidad.
- Pinturas al frío ( verde navidad, rojo navidad, blanco, carne, dorado, plateado, marrón claro y oscuro).
- Rubor para maquillaje.
- Brillo al agua.
- Lijas (gruesa y delgada).
- Pinceles.
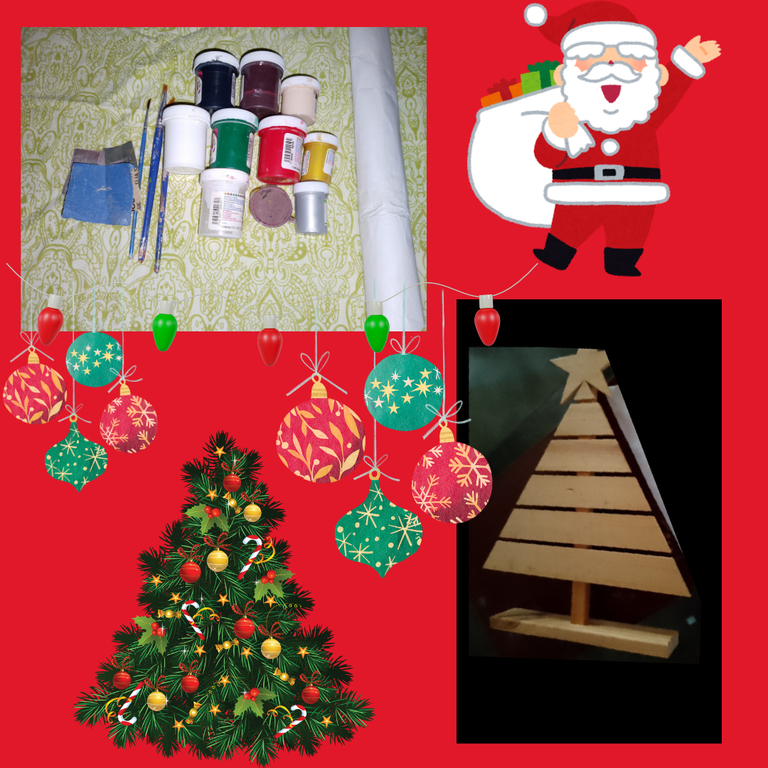
The materials I used to make this tree were the following:

* A wooden sponge cake in the shape of a Christmas tree.
* Cold paints (Christmas green, Christmas red, white, flesh, gold, silver, light and dark brown).
* Make-up blusher.
* Water based glitter.
* Sandpaper (coarse and fine).
* Brushes.
Paso a marcar el tamaño del arbolito en un papel reciclado, para luego dibujar los patrones (para eso también utilicé papel reciclado)y pasarlos luego al bizcocho.
Step 1:
I mark the size of the tree on recycled paper, then draw the patterns (I also used recycled paper) and transfer them to the sponge cake.

Ya marcado el tamaño del arbolito paso a hacer el dibujo elegido, cabe destacar que el dibujo fue obtenido de la red, en este caso yo elegí una carita de santa y para la estrella, hice la forma de un caramelo navideño.
Step 2:

Already marked the size of the tree step to make the drawing chosen, it should be noted that the drawing was obtained from the network, in this case I chose a face of Santa and for the star, I made the shape of a Christmas candy.
s_20240827_065453_0001.png](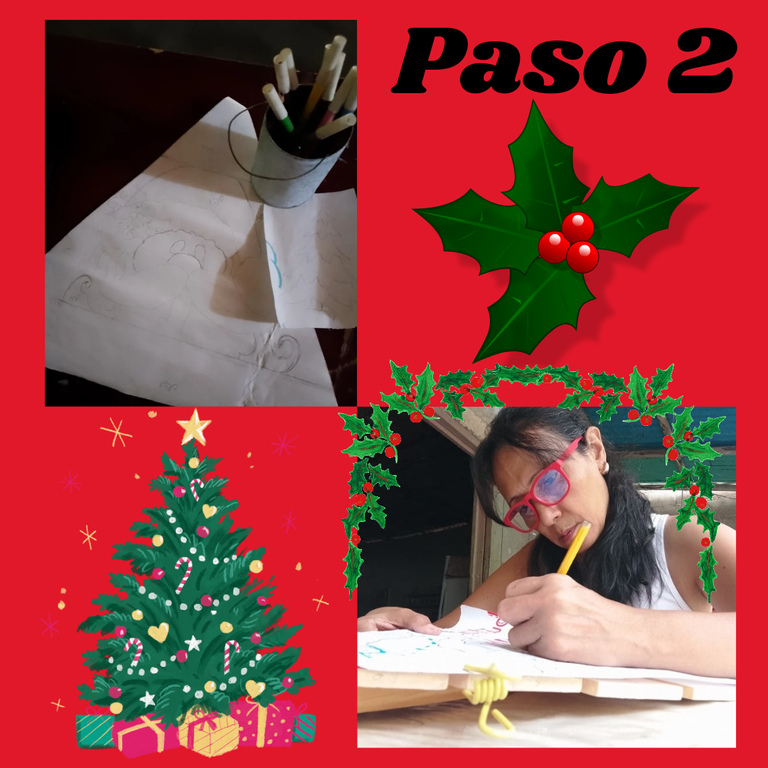 )
)
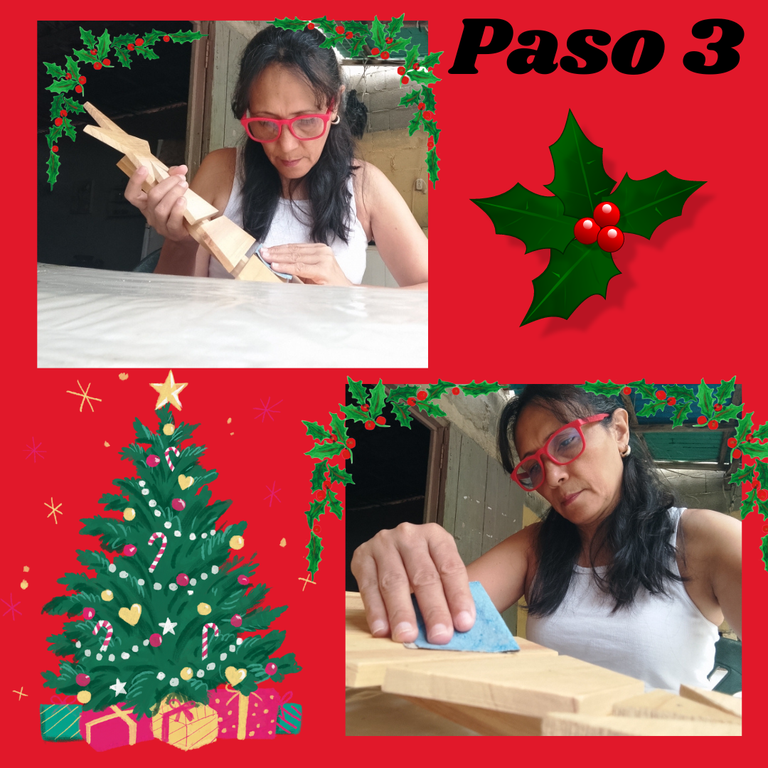
Paso 3:
Listos los patrones, los dejo de lado y empiezo a lijar el bizcocho, para darle un acabado más prolijo, esto servirá para que cuando se pinte el bizcocho la pintura quede sin grumos.
Step 3:
Ready the patterns, I set them aside and start sanding the cake, to give it a neater finish, this will serve so that when the cake is painted the paint will be without lumps.
Paso 4:
Luego de lijar muy bien la pieza, paso a dibujarla con los colores alusivos a la navidad (verde, rojo y blanco) igualmente también lo hago con la estrella, en este caso con la forma de caramelo navideño, con los mismos colores.
Step 4:
After sanding the piece very well, I draw it with the colors allusive to Christmas (green, red and white) I also do the same with the star, in this case with the shape of Christmas candy, with the same colors.
s_20240827_071244_0003.png]( )
)
Paso 5:
Ya con varias capas de pintura y asegurándome que cada parte del dibujo quede exactamente en cada paleta del arbolito (le llamo paletas a cada palito del bizcocho) comienzo a pintar la cara de santa, y voy dándole forma a la estrella.
Step 5:
With several layers of paint and making sure that each part of the drawing is exactly in each palette of the tree (I call palettes to each stick of the cake) I start painting the face of Santa, and I'm giving shape to the star.

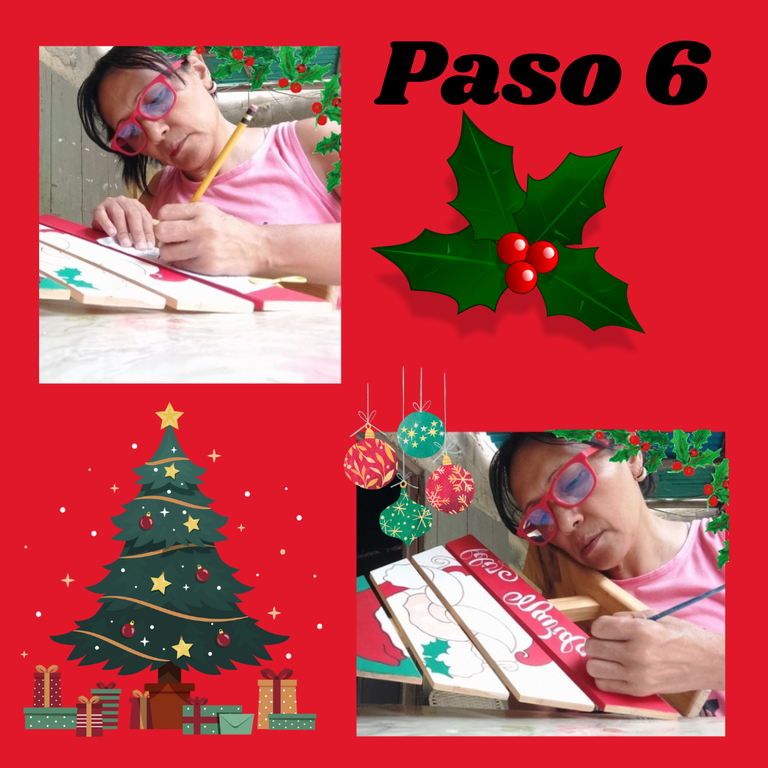
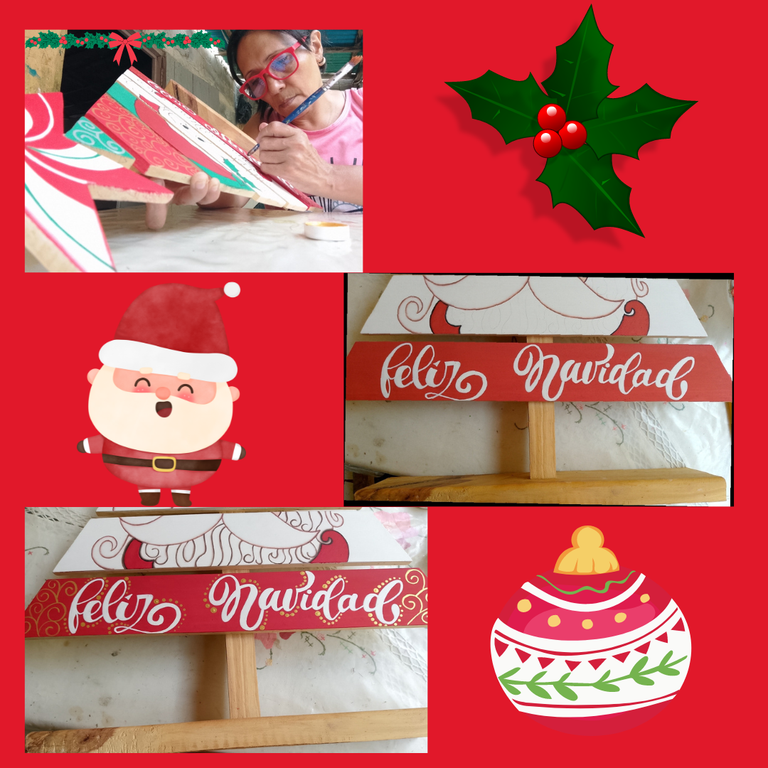
Paso 6:
Mientras dejo secar el santa voy dibujando las letras de la ultima paleta del arbolito, para ello elegí las palabras "Feliz Navidad" y las pinté en color blanco y le apliqué técnica de puntillismo por el borde en color dorado, también le agregué a los lados algunos arabescos del mismo color dorado.
Step 6:
While I let the santa dry I am drawing the letters of the last palette of the tree, for this I chose the words “Merry Christmas” and painted them in white and applied pointillism technique by the edge in gold color, I also added to the sides some arabesques of the same golden color.
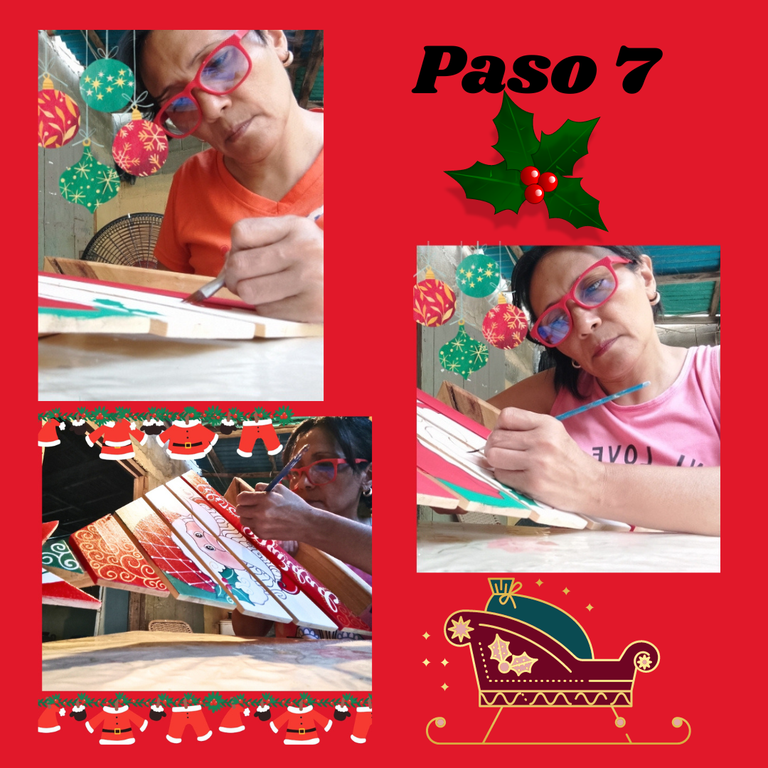
Paso 7:
Listas las letras y ya seca la cara de santa y la estrella, paso a sombrear toda la pieza, pintar los ojos, y colocarle algo de rubor a las mejillas y nariz de santa. Terminado todo el proceso de pintura, paso a colocarle brillo a todo el arbolito y listo; finalizada completamente toda la pieza.
Step 7:
Once the letters are ready and the Santa's face and the star are dry, I will shade the whole piece, paint the eyes, and put some blush on Santa's cheeks and nose. Once the painting process is finished, I will put some glitter on the whole tree and that's it; the whole piece is completely finished.
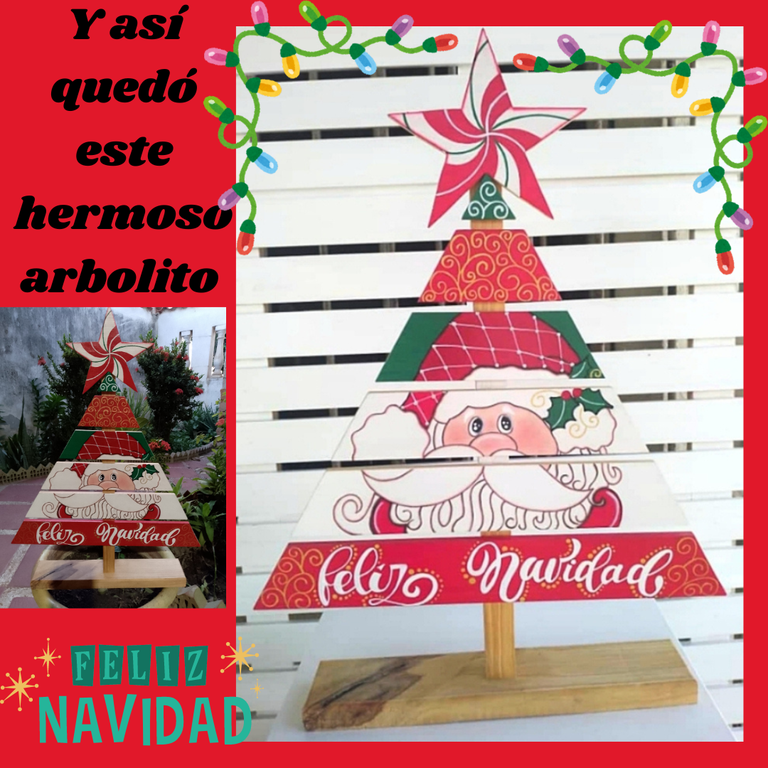
And that's how this cute little wooden tree turned out, which you can place in any corner of your house to fill your spaces with color and Christmas atmosphere. Thanks for reading.
Tutorial o paso a paso, completamente de mi autoria.
Fotos tomadas con mi equipo celular Tecno Go Spark 2024
Editor de imagenes Canva
Traductor utilizado DeepL.com
Tutorial or step by step, completely by myself.

Photos taken with my Tecno Go Spark 2024 cell phone equipment.

Canva image editor

Translator used DeepL.com