I never knew how to paint but it became possible in this digitalized world. And I don't mean painting using app that makes life so easy for artists. I mean diamond painting. Say what? Yes, diamond painting. I had the same question when I first came across the term diamond painting. Painting using diamonds? How? When I searched further, I found out that it is actually using rhinestone, not diamonds. That was when I recalled what my niece told me about it from years ago.
I searched the online shops and was caught between round and square shape of rhinestones. There were also full or half drill options so I had to search the difference. Full drill means the whole canvass will be filled with rhinestones while half drill will just for partial painting. This means that the half drill has the rest of the pattern already painted with acrylic and no dot guide for rhinestones. I ordered a full drill pattern of the Holy Family as my first diamond painting project.
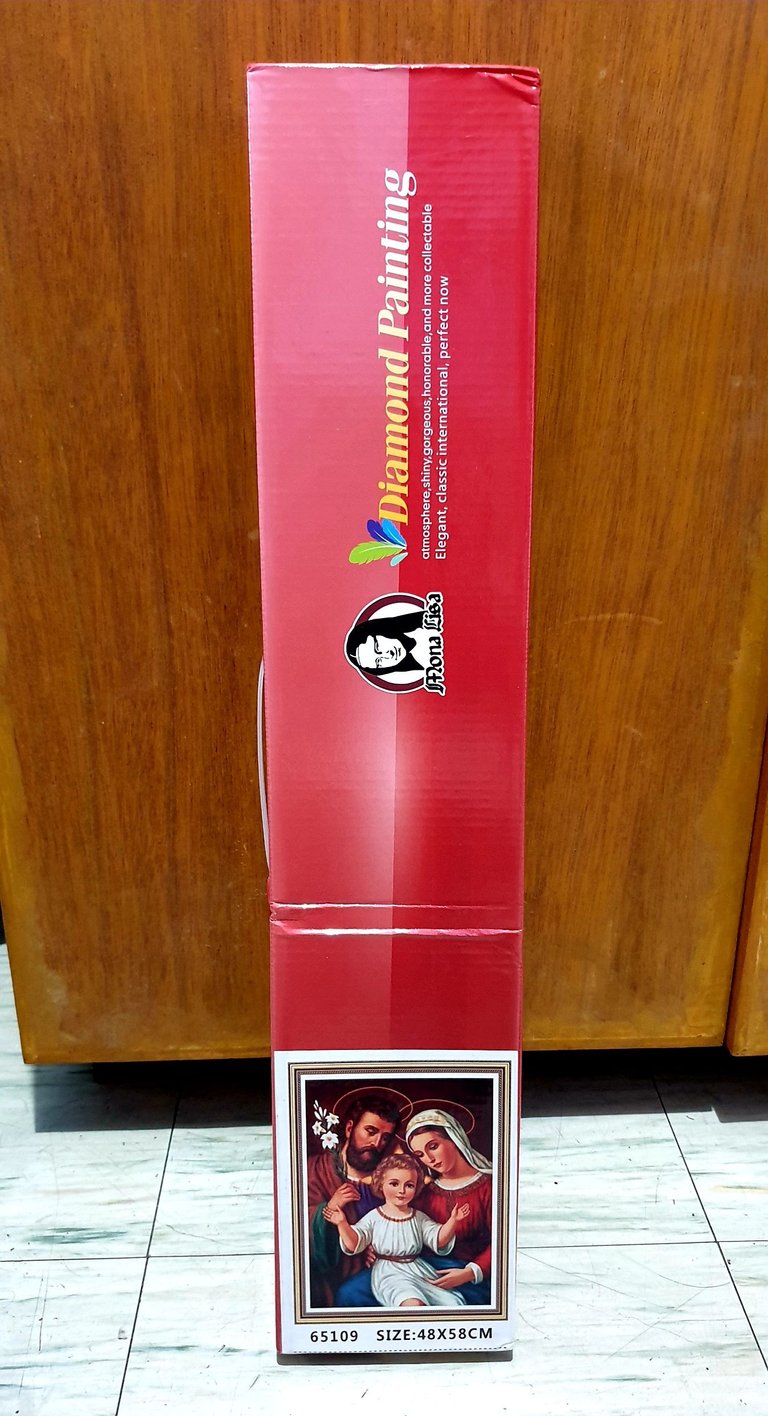
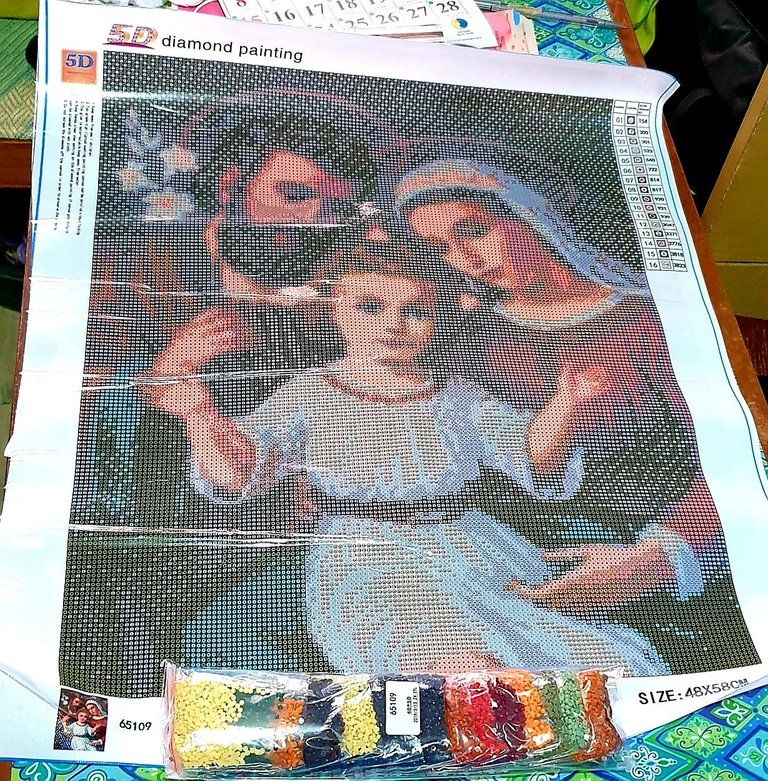
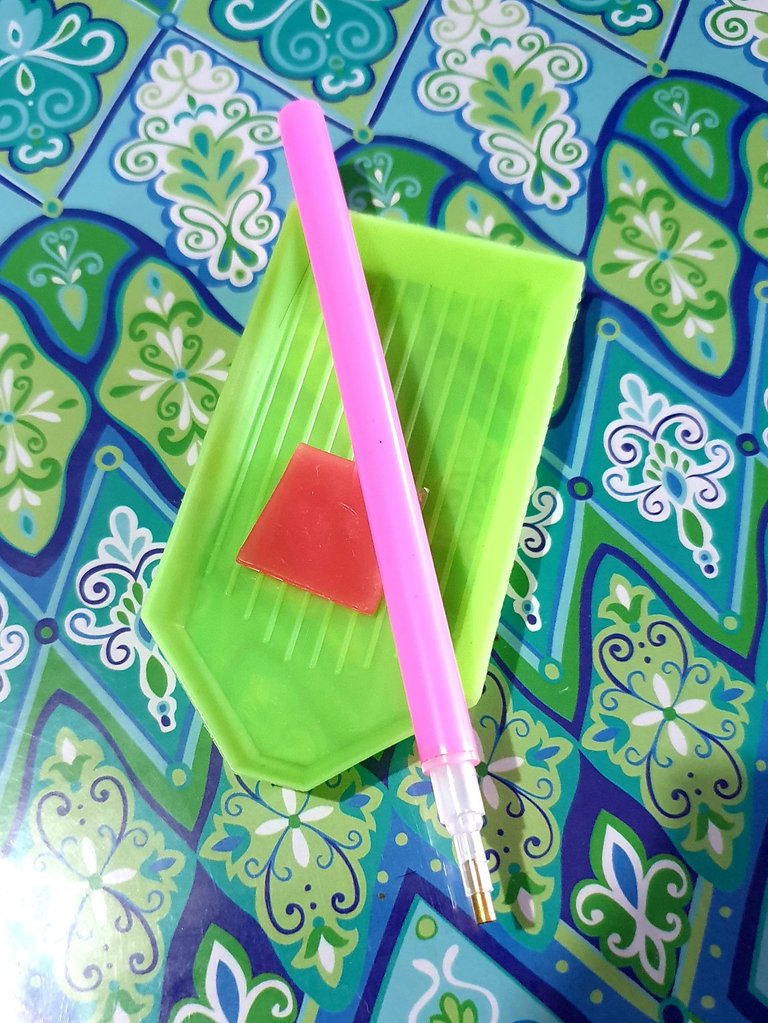
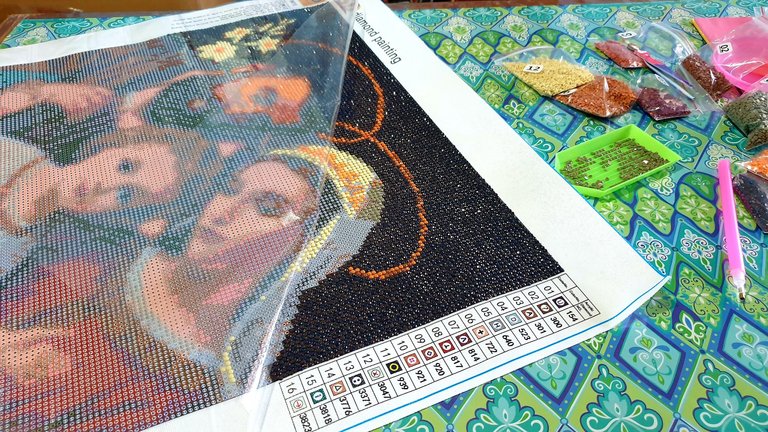
The package came with the canvass, the rhinestones, pen, wax and a tray where to put the beads.
That pink square stuff is the wax. It what you pinch using the pen to serve as a paste in picking up the diamonds then paste on the canvass.
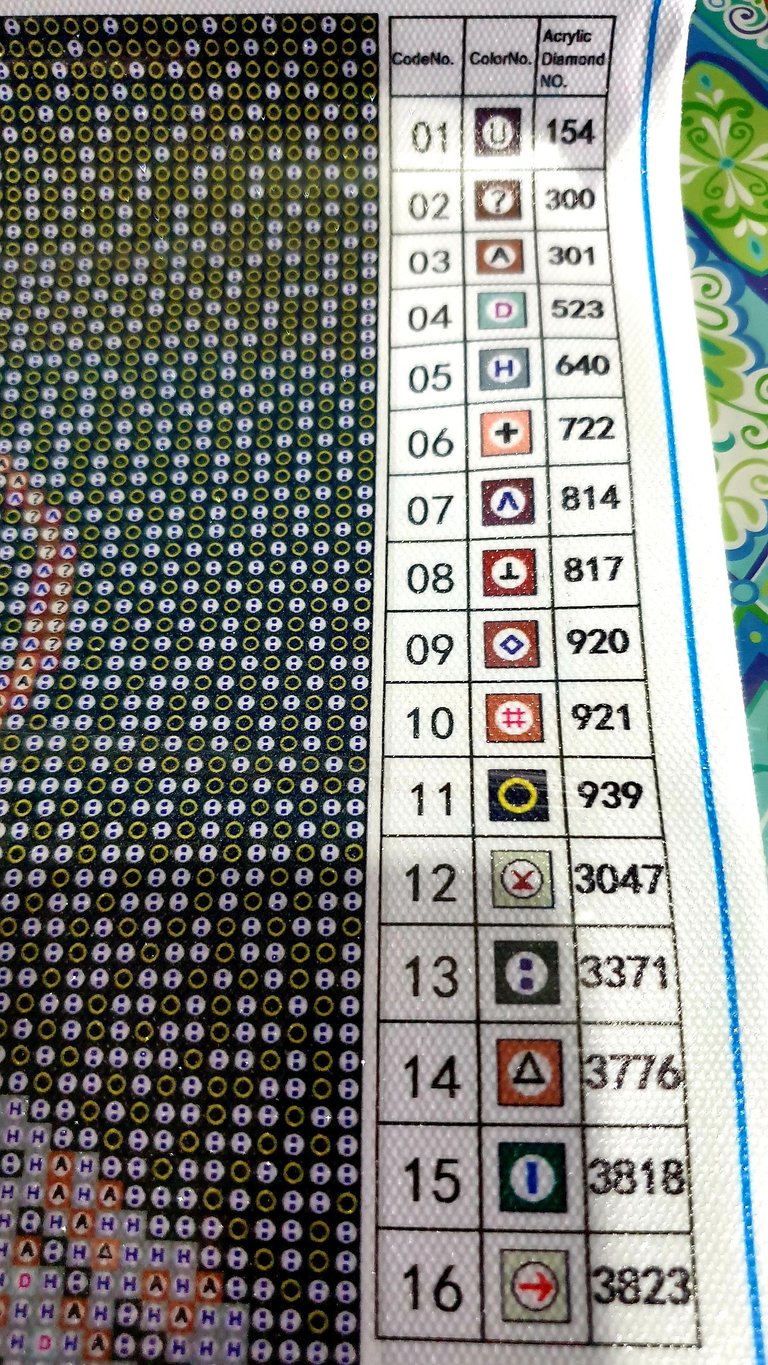
The image pattern was covered with clear plastic to protect the glue on the pattern itself. The rhinestones are flat on one side. That is what is pasted on the image pattern. The side of the pattern has a legend. It has numbering with image that corresponds to the color code. The codes on the pattern as well as the rhinestones were too small. They seem like just about 2 mm in diameter. With that size, the art requires great patience.
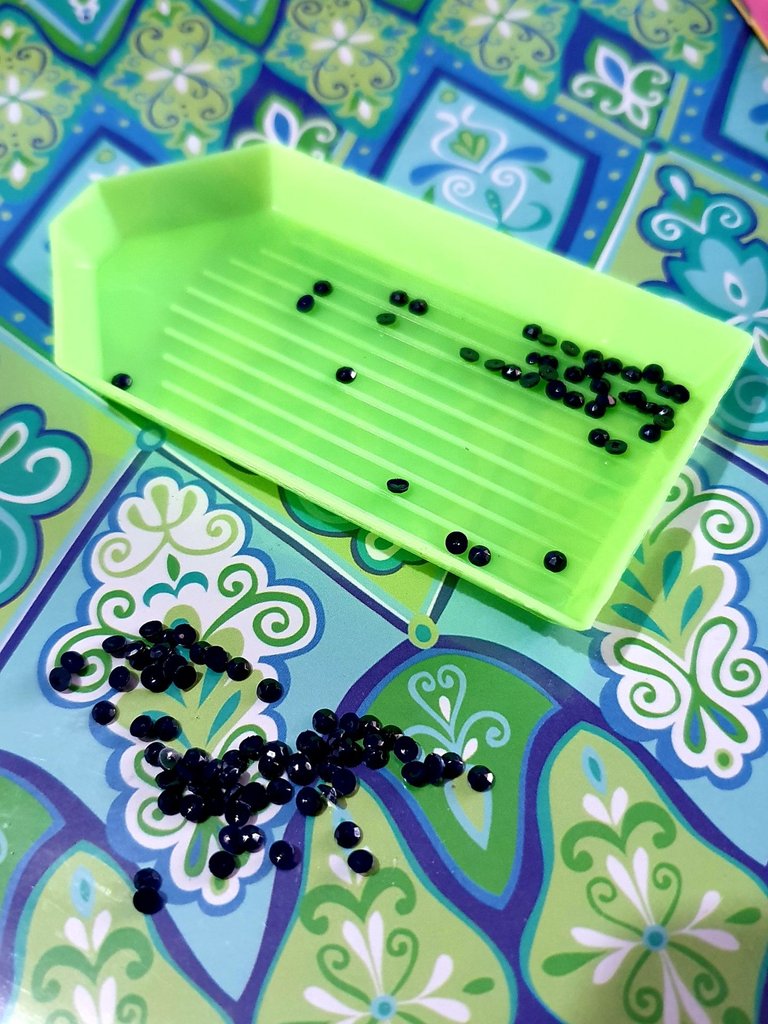
The tray is small. It is just about 5 x 10 cm. I did not realise the lightness at first until I accidentally hit it and had the rhinestones flying over the floor. I was afraid of running out of the beads if I just swipe them away so I picked them up painstakingly. It was so hard picking up something which seem to be five times smaller than a rice grain.
The plastic cover of the pattern needs to be kept while a portion is still not being pasted with rhinestones. That is to not expose the glue and lose its stickiness. I peeled off from just a portion that I worked on and then continue peeling from there. I started from the top portion of the pattern.
The following are shots of the head part.
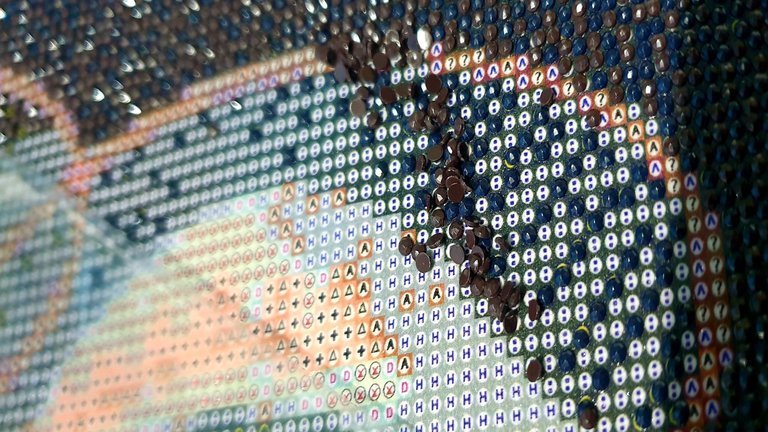
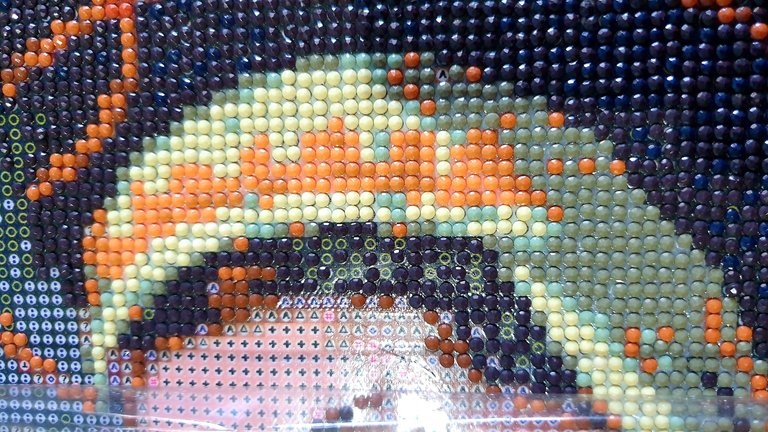
Going down to the chest level... you know how it goes.
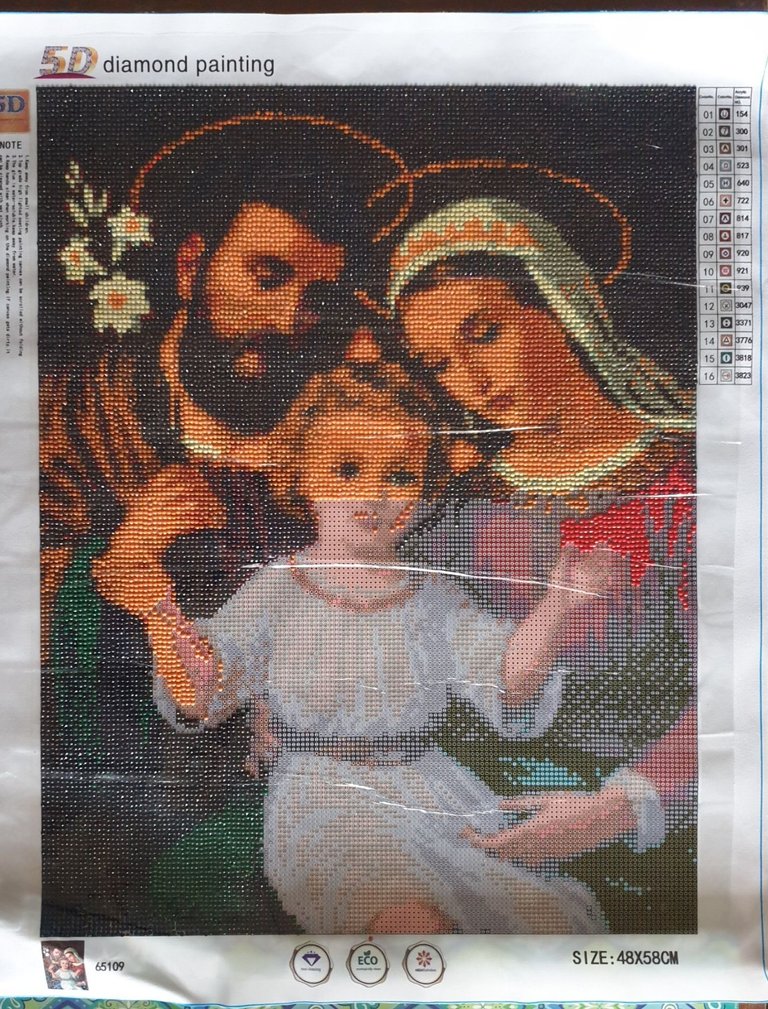
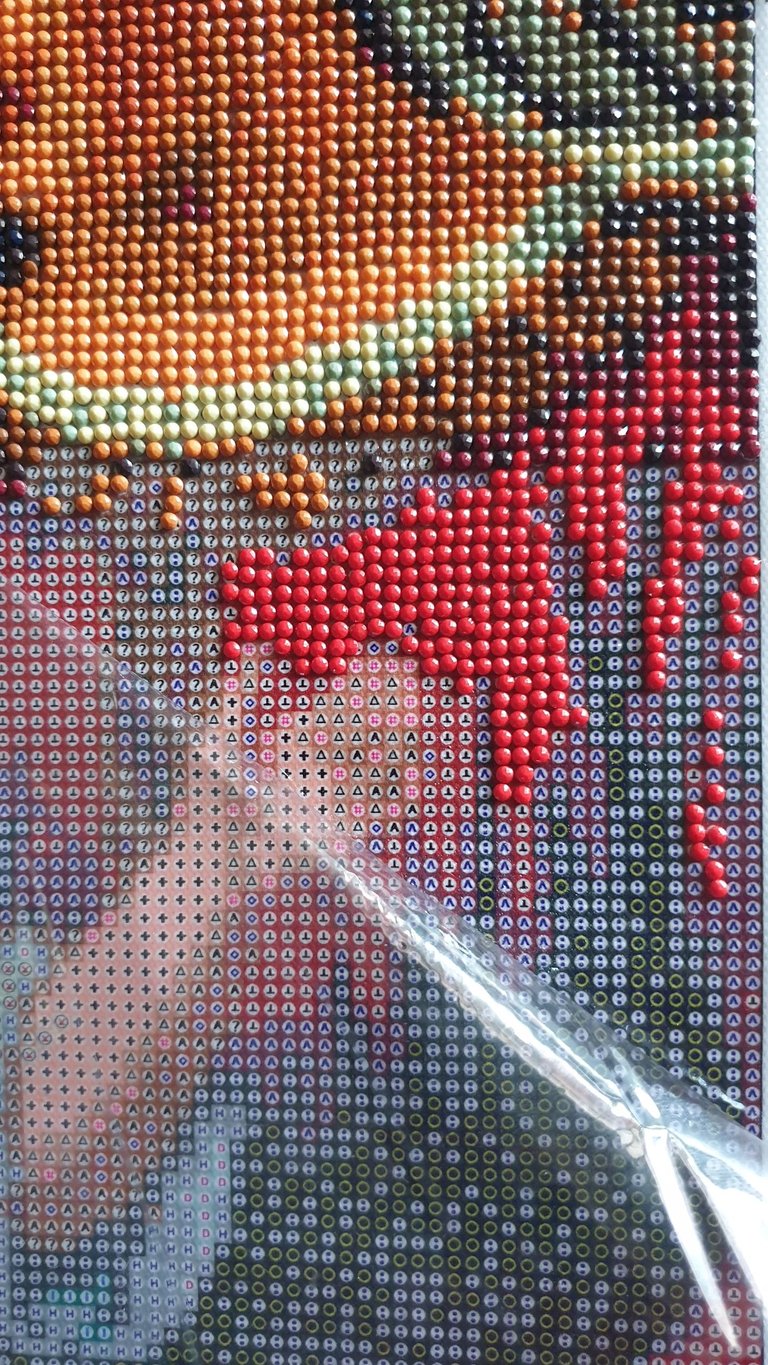
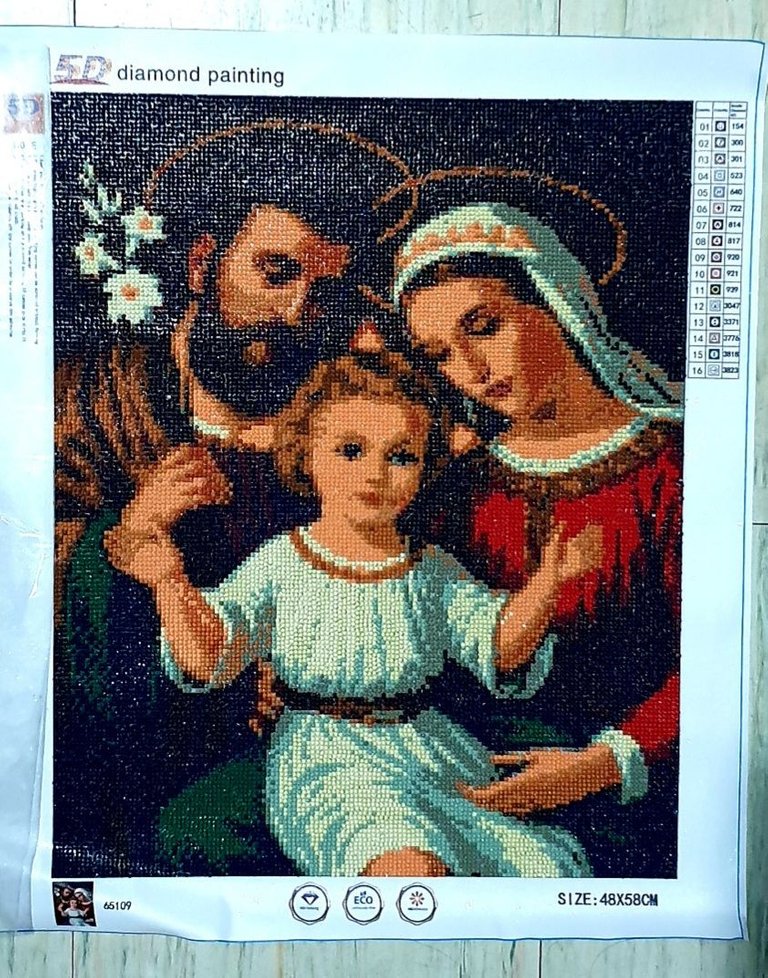
Here is the fully drilled canvass.
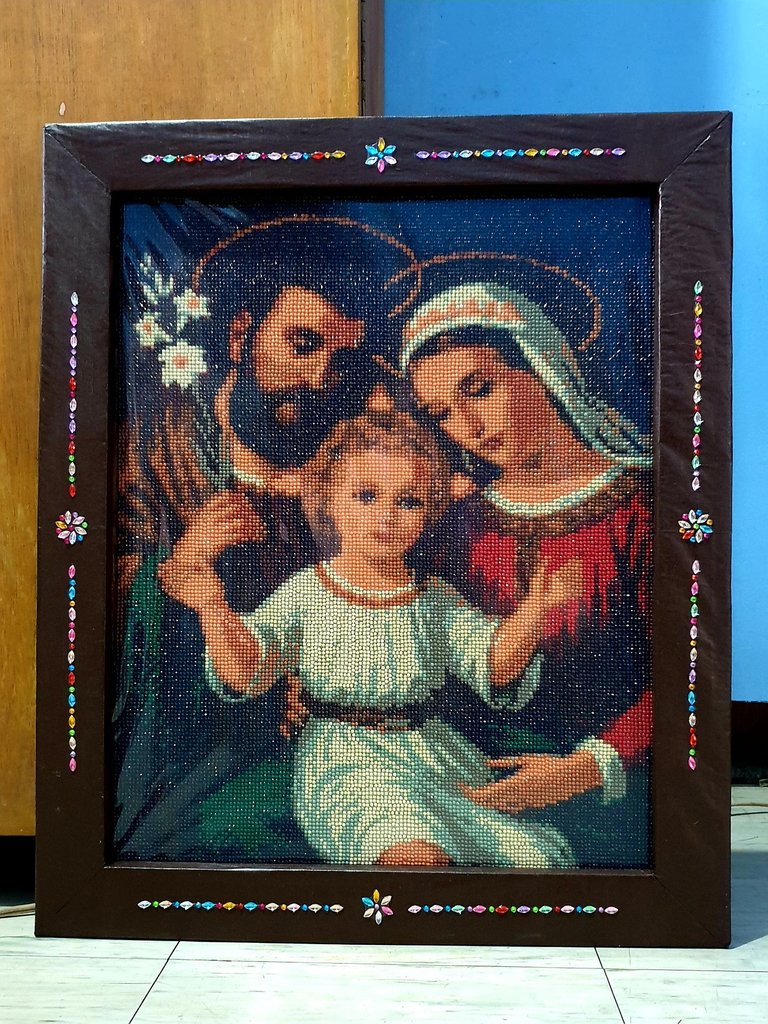
I applied my DIY framing style and here is the finshed product.
And finally on the wall!
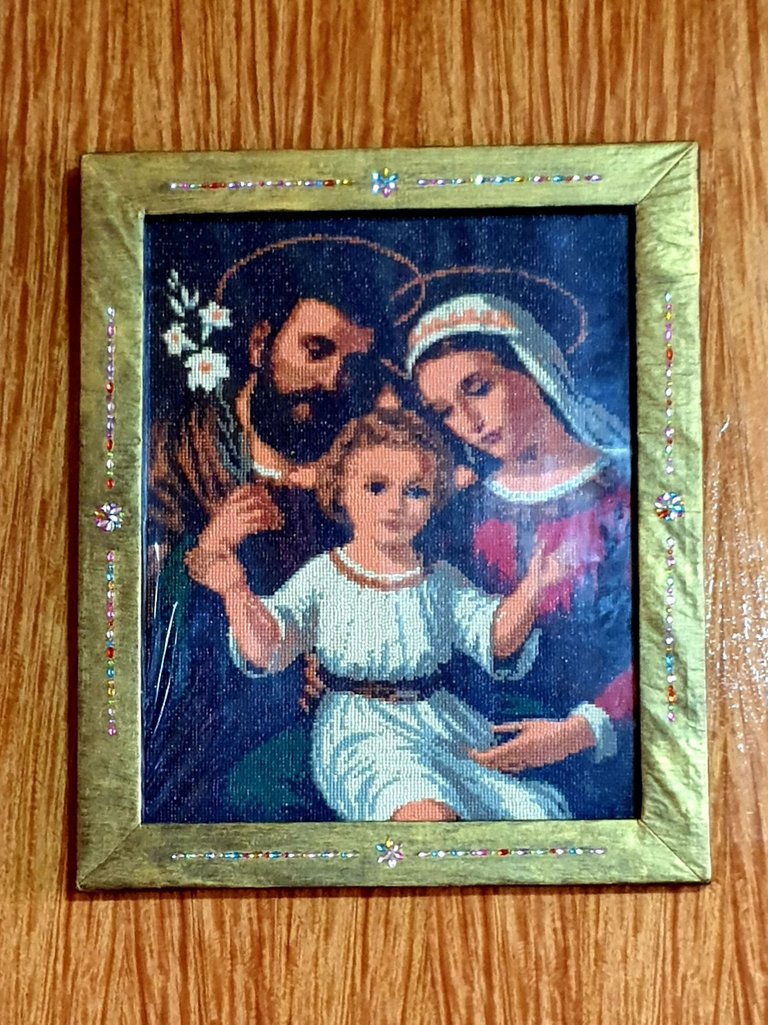
Wonder why the frame turned gold? I hung the previous version and noticed that the dark brown frame did not go well with the wall. The aura seem dark so I coated the frame with gold. The caveat with that was that the paper cover of the frame got drenched from the second coating thus the visible wrinkles. This made me realize that it is important to know the best color beforehand to avoid the consequences, aside from wasting resources.
I felt like getting cross-eyed by the very small beads but it was addicting. Every time I see my progress, I wanted to keep going to finally finish the whole canvass. There were times when I stayed so late until past midnight working on this. I was doing this in between other tasks so I am not sure how long in total it took me to finish but it was done in a week. I was patting myself with pride when the painting was done. 😊
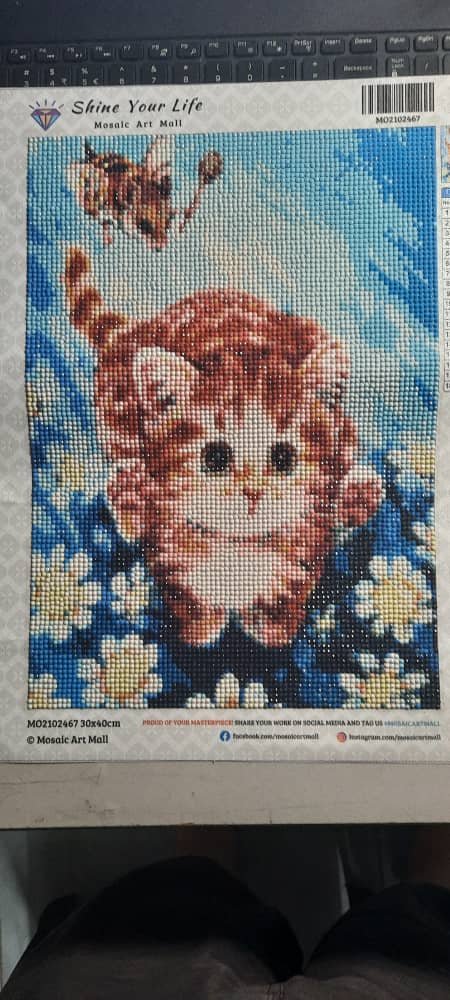
I had three more diamond painting projects after this which I may also write about them later.
 )
)

