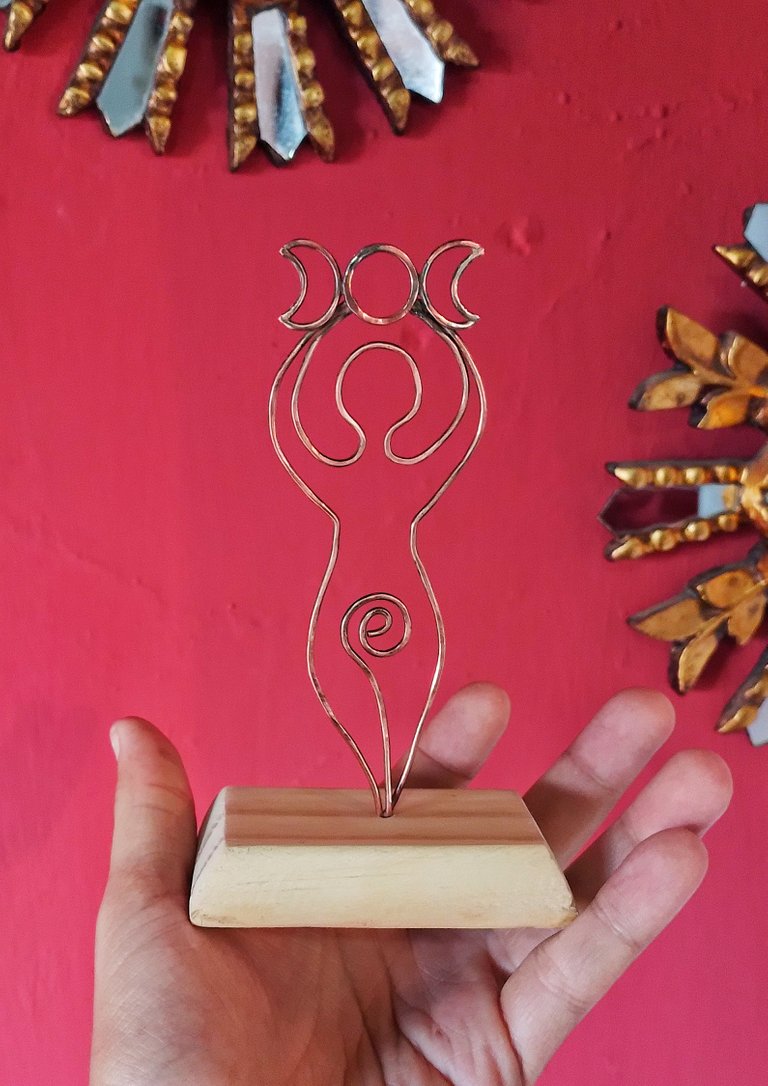
Saludos, esta es la primera vez que publico en esta comunidad de DIYhub, así que les voy a mostrar el proceso de como hice esta figura representativa de la Diosa Madre en alambre de cobre, esa imagen está asociada a la visión de las creencias Wicca y contiene las tres lunas que representan las fases femeninas de doncella, madre y anciana.
Este fue un pedido de una clienta muy especial, ella quería que esta representación de la diosa midiera cerca de 15 cm de alto y que tuviera una base para poder poner en su altar, por lo que decidí hacerla con alambre. A continuación te presento las herramientas y materiales que use:
✨ Alambre de 1,6 mm de cobre
✨ Soldadura Harris
✨ Soplete
✨ Pinzas de joyería
✨ Madera
✨ Lija 3M. Número 220, 360 y 400
✨ Dremel
✨ Limas de madera
✨ Mopas de pulir pequeñas para usar en el Dremel
✨ Sierra
✨ Fresa o broca de 1.2 mm
✨ fresa redonda.
PROCESO
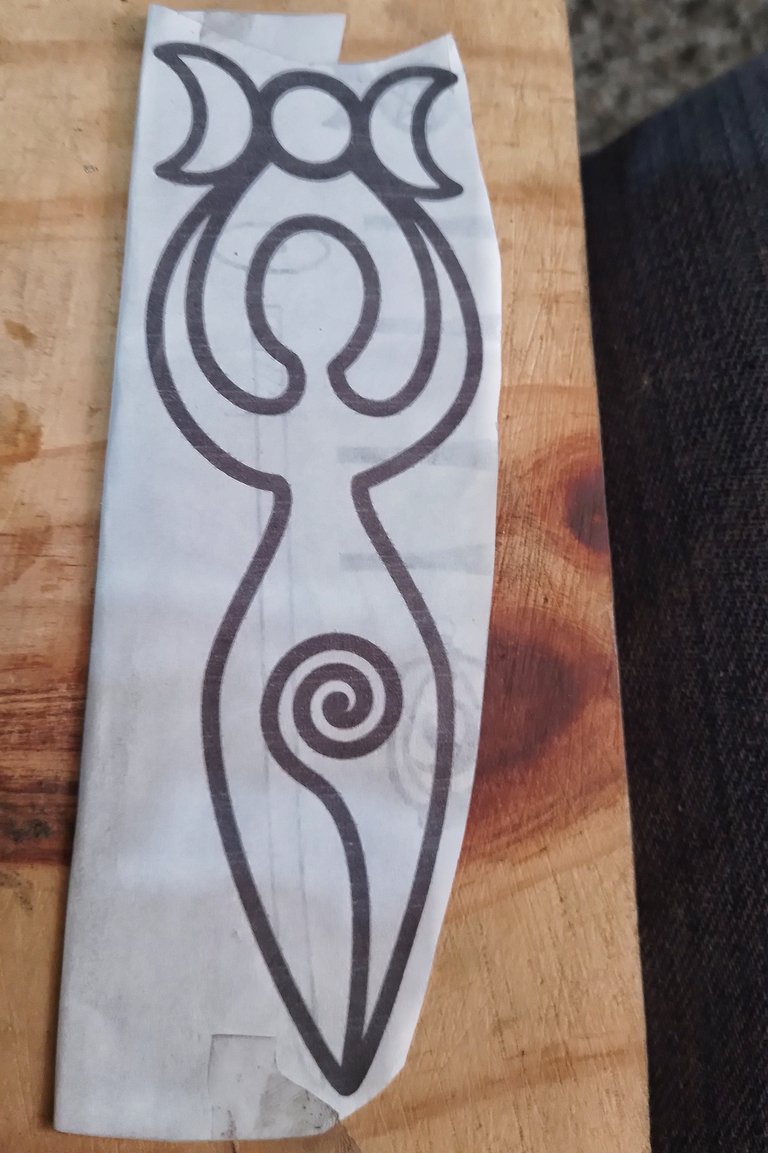
Puse la figura impresa en un pedazo de madera, esto me sirvió para guiarme y crear a la Diosa con el alambre.
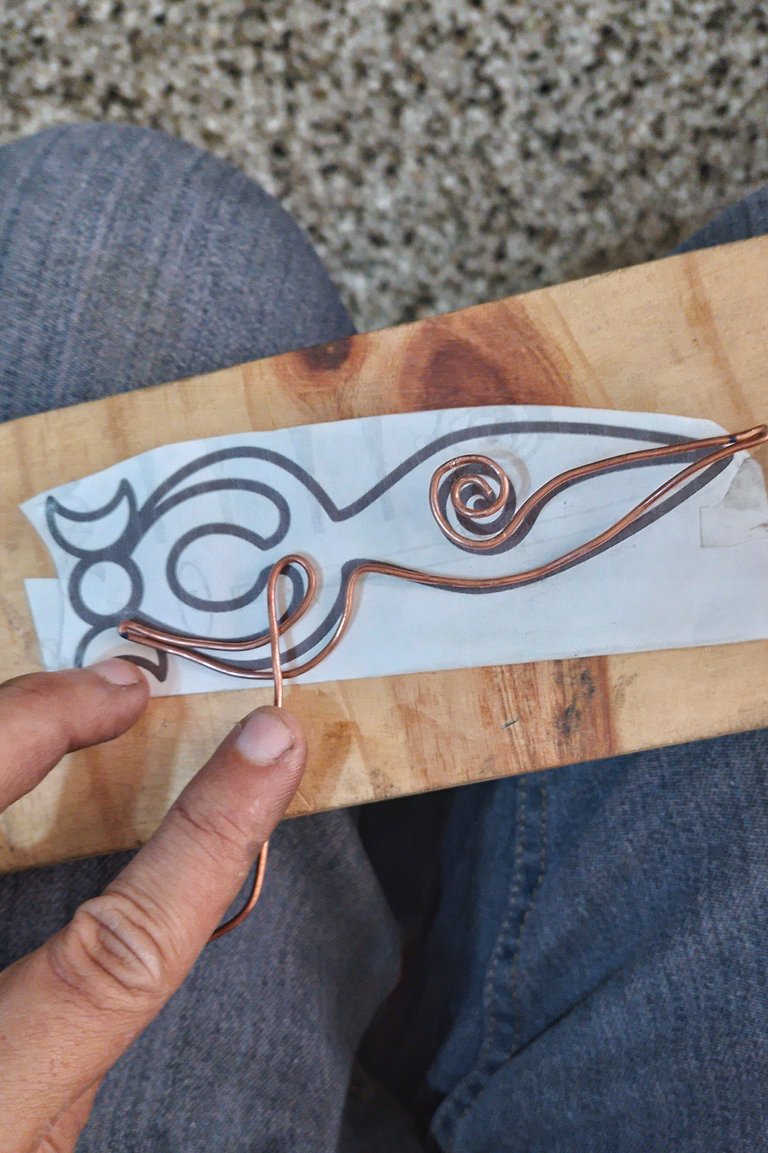
Poco a poco, utilizando los dedos y las pinzas de joyería, le voy dando forma a la silueta de la Diosa, guiándome con la impresión, como ven en la parte inferior de la figura deje una extensión, con la intención de meterla esta parte en su base de madera y que quede parada.
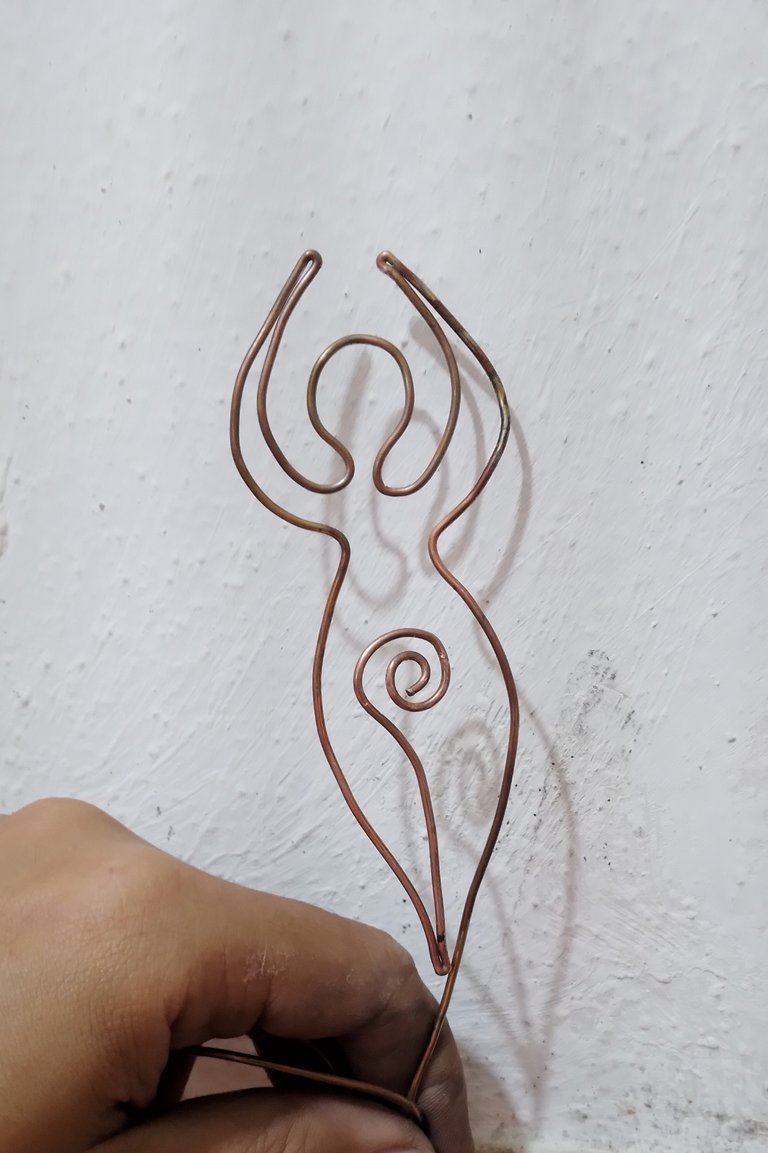
Así queda la figura de la Diosa después de darle forma, el paso lógico siguiente es cortar el excedente.
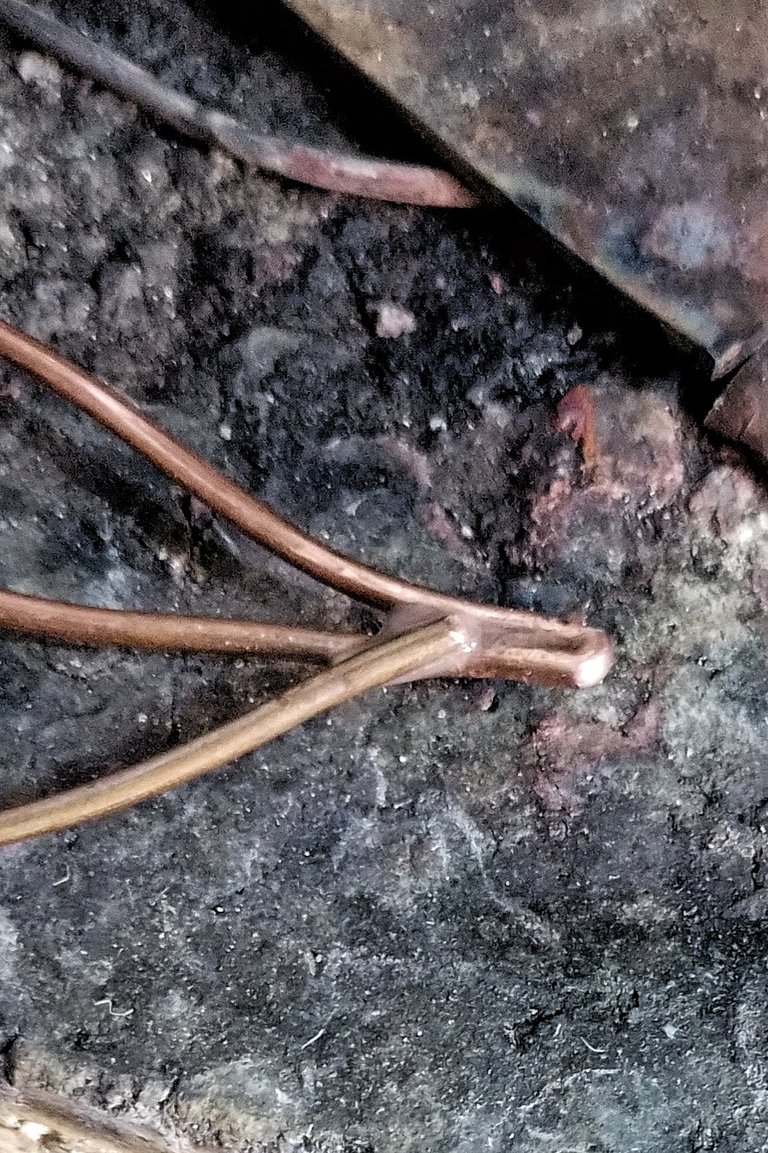
Ahora toca soldar, como es cobre soldaré directo con la soldadura Harris, con ayuda del soplete. El punto de unión es la parte inferior de la silueta, en este caso la soldadura es necesaria para que la pieza gane en resistencia y no se deforme.
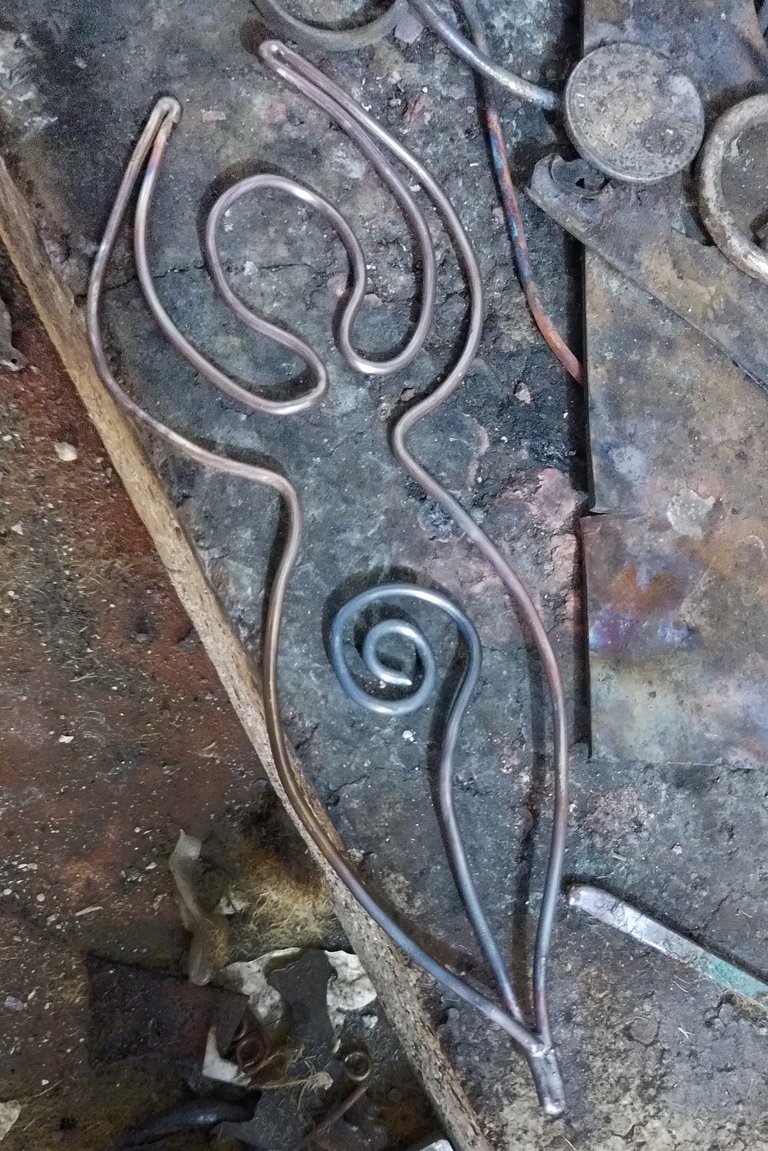
Así queda después de soldado.
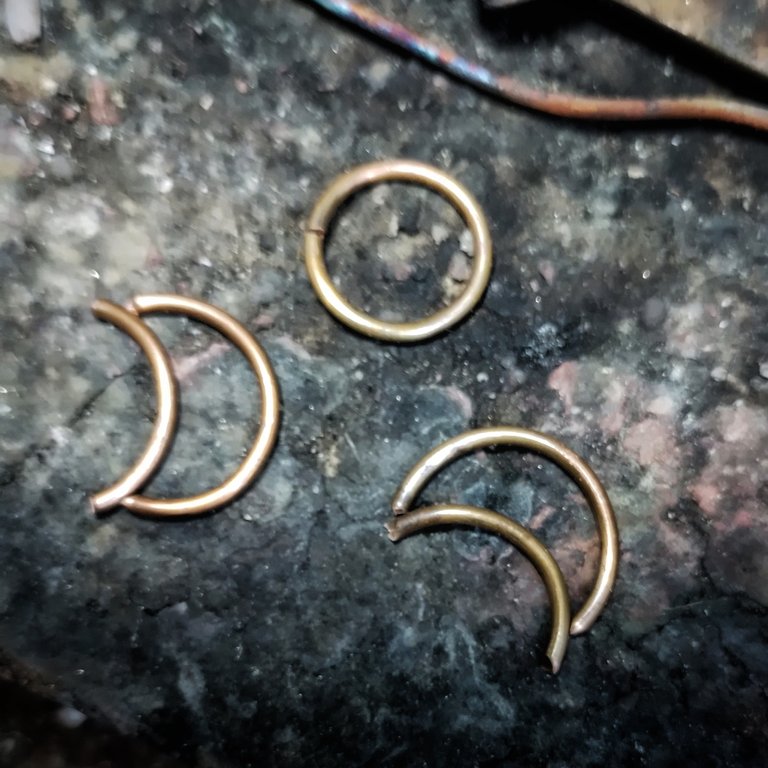
Ahora toca hacer la parte de las 3 fases lunares que representa a la diosa como doncella, madre y anciana, para eso realice una pieza redonda que sería la luna llena y una serie de semicírculos, que luego soldé para crear las lunas creciente y menguante.
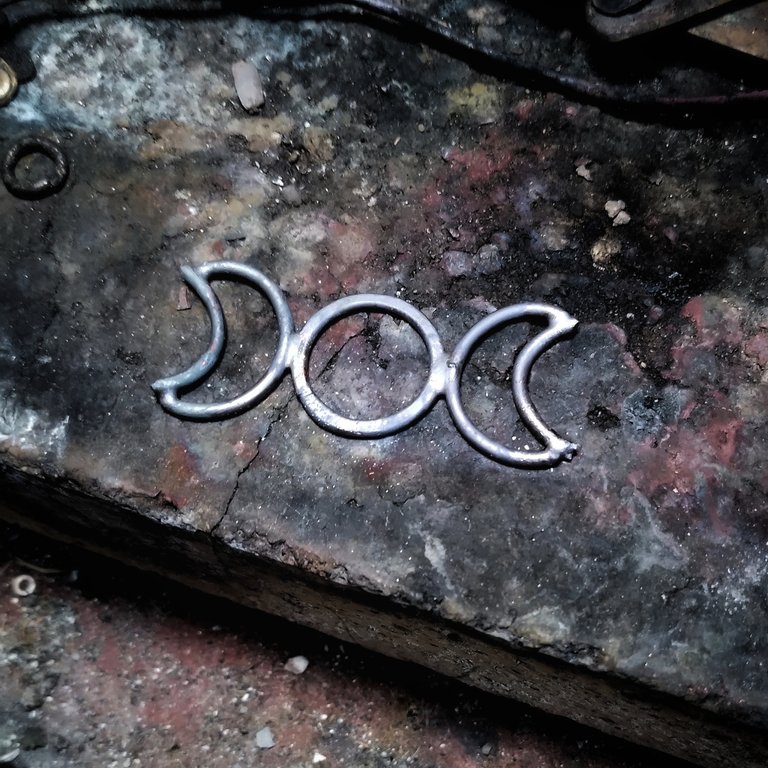
Así queda después de soldado, pero luego toca quitar el exceso con la lima, luego hay que organizar, de superponer el cuerpo de la Diosa y las tres fases lunares, para soldar.
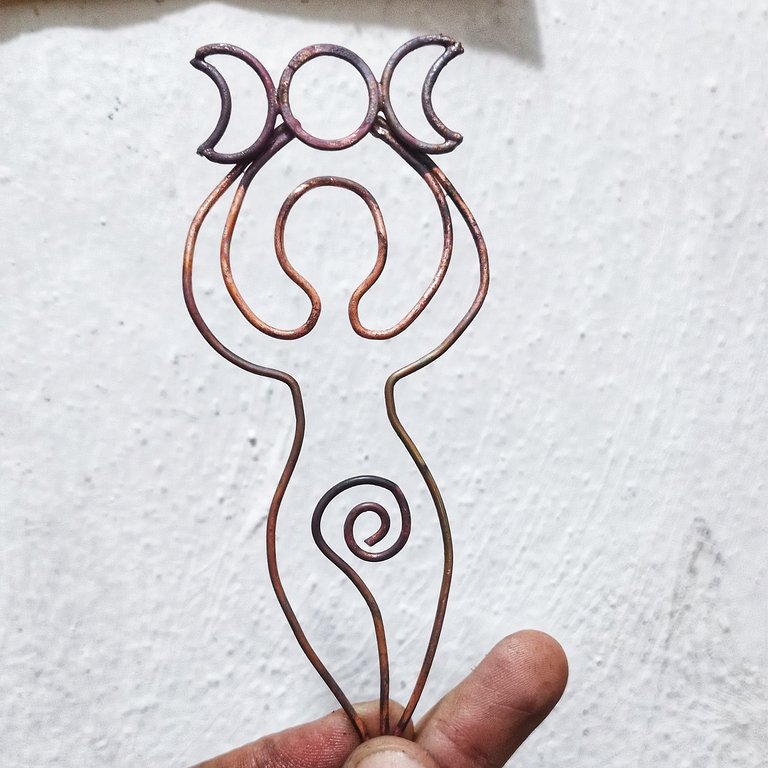
Así quedan las lunas en la mano de la diosa, para lograr esto igualmente usé la soldadura aplicando calor con el soplete, aquí debí prestar mucho cuidado, ya que un exceso de calor o un mal movimiento puede estropear el trabajo.
Ahora si hay que pasar la lima donde haga falta, mientras que con el Dremel los se pasan los distintos números de lija 220, 360 y 400, si es posible por último la mopa con cera de pulir para dar brillo.
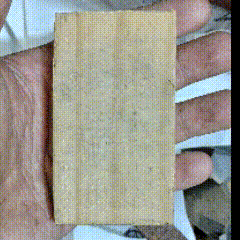
Necesitaba una base se madera para terminar este trabajo, así que conseguí un pedazo de madera de pino y lo corte con una sierra que tenía a mano, luego con las limas para madera le di forma, busque el centro y abrí un hueco con el Dremel y una fresa de 1.2 mm, que claro era insuficiente para que entrara la figura, pero allí fui maniobrando con otras fresa que es cabeza redonda y fui comiendo la madera, hasta que el hueco fue lo suficientemente ancho para meter la figura.
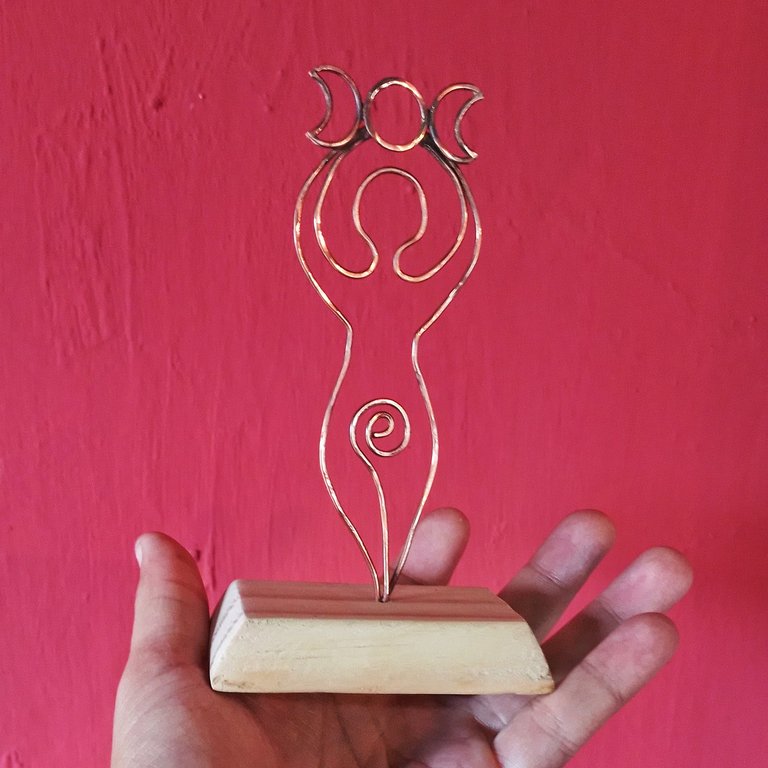
Así quedo el resultado final de esta pequeña escultura de alambre, que para ser mi primera vez me quedo muy bien y la señora quedo muy feliz con el trabajo, aun así me gustaría saber tu opinión.
Por último, si tienes curiosidad de mi trabajo de joyería te invito a mi perfil de Instagram donde me puedes seguir.
https://www.instagram.com/m16ueljoyas/
ENGLISH / GOOGLE TRANSLATOR

Greetings, this is the first time that I publish in this community of DIYhub, so I am going to show you the process of how I made this representative figure of the Mother Goddess In copper wire, this image is associated with the vision of Wicca beliefs and contains the three moons that represent the feminine phases of maiden, mother and old woman.
This was a request from a very special client, she wanted this representation of the goddess to measure about 15 cm high and to contain a base to be able to put it on her altar, so she decided to make it with wire. Here are the tools and materials I used:
✨ 1.6 mm copper wire
✨Harris Weld
✨ Blowtorch
✨ Jewelry tweezers
✨ Wood
✨ Sandpaper 3 M. Number 220, 360 and 400
✨Dremel
✨ Wooden files
✨ Small polishing pads to use on the Dremel
✨ Saw
✨ 1.2 mm drill or drill
✨ round strawberry.
PROCESS

I put the printed figure on a piece of wood, this helped me to guide me and create the Goddess with the wire.

Little by little, using my fingers and jewelry tweezers, I am giving shape to the silhouette of the Goddess, guiding me with the impression, as you can see in the lower part of the figure, I left an extension, with the intention of putting this part in its wooden base and make it stop.

This is how the figure of the Goddess remains after shaping it, the next logical step is to cut the excess.

Now it's time to solder, since it's copper I'll solder directly with Harris soldering, with the help of the torch. The union point is the lower part of the silhouette, in this case welding is necessary so that the piece gains resistance and does not deform.

This is how it looks after soldier.

Now it's time to make the part of the 3 lunar phases that represents the goddess as a maiden, mother and old woman, for that I made a round piece that would be the full moon and a series of semicircles, which I later welded to create the waxing and waning moons.

This is how it looks after soldering, but then it's time to remove the excess with the file, then you have to organize, to superimpose the body of the Goddess and the three lunar phases, to solder.

This is how the moons remain in the hand of the goddess, to achieve this I also used welding by applying heat with the torch, here I had to be very careful, since excessive heat or a bad movement can spoil the work.
Now if you have to pass the file where necessary, while with the Dremel you pass the different numbers of sandpaper 220, 360 and 400, if possible finally the mop with polishing wax to give shine.

I needed a wooden base to finish this job, so I got a piece of pine wood and cut it with a hand saw, then with the wood files I shaped it, I found the center and I opened a hole with the Dremel and a 1.2 mm cutter, which of course was insufficient for the figure to enter, but there I was maneuvering with another cutter that has a round head and I was eating the wood, until the hole was wide enough to fit the figure.

This is how the final result of this small wire sculpture was, which for my first time turned out very well and the lady was very happy with the work, even so I would like to know your opinion.
Finally, if you are curious about my jewelry work, I invite you to my Instagram profile where you can follow me.
https://www.instagram.com/m16ueljoyas/


