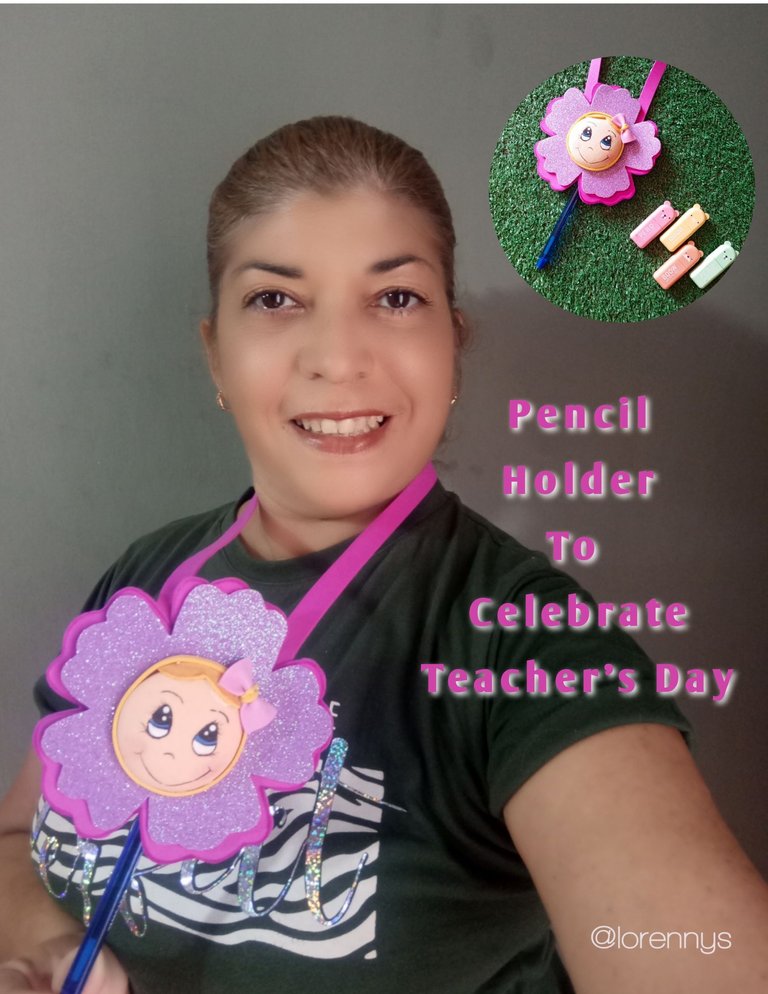
Good evening Hive friends and community @diyhub, hope everyone is healthy and happy. Today was a great day for me as I celebrated with great joy the Teacher's Day, a profession that I exercise with much love, as it makes me happy to share with my children their joys and sorrows. Besides being a bridge that helps them to acquire knowledge is fantastic.
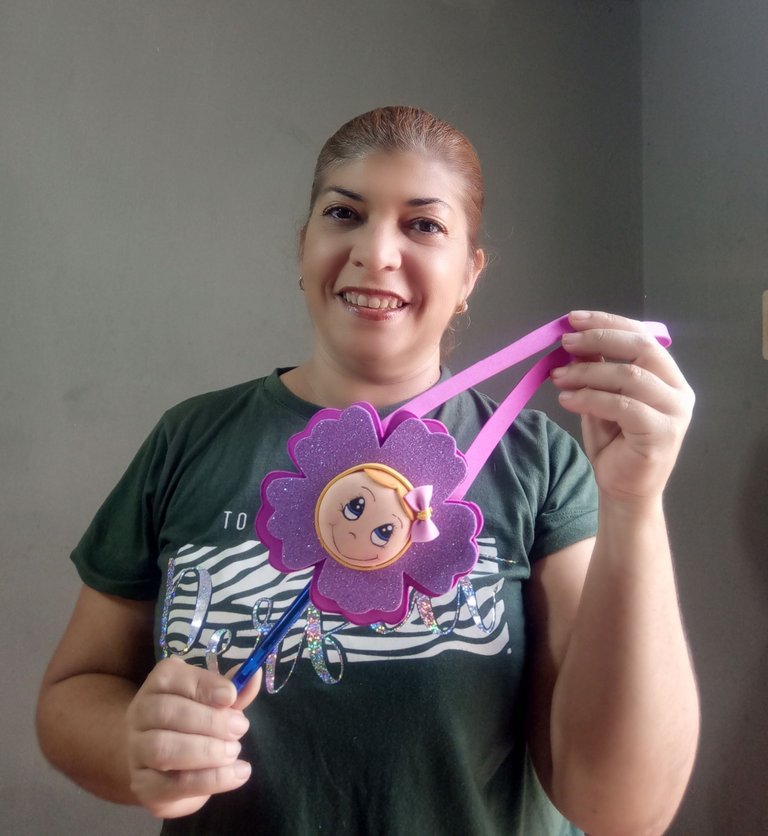
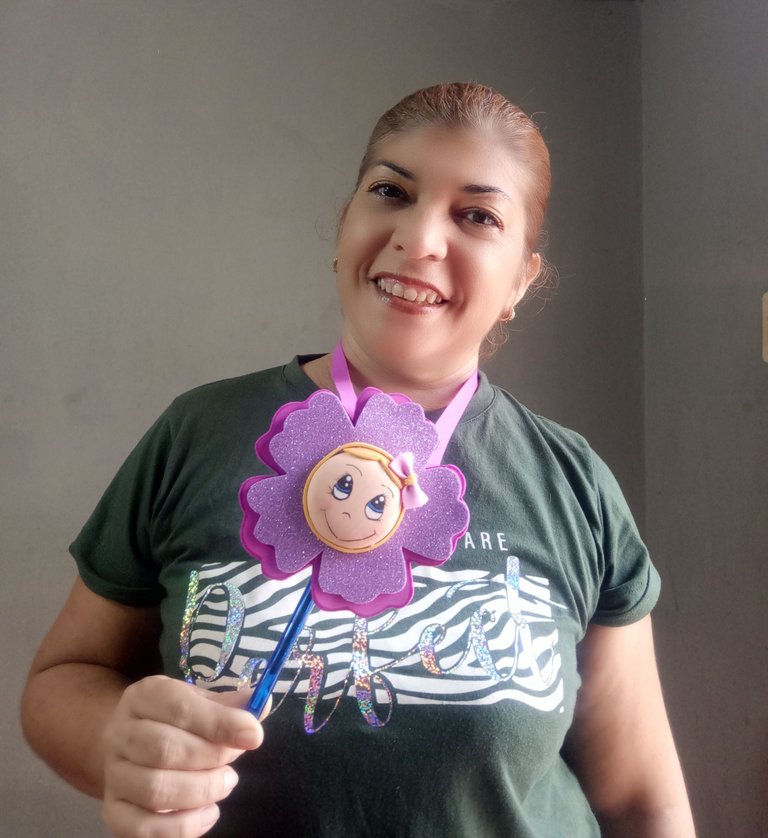
As a good early education teacher with some manual skills I decided to elaborate as a creative task some pencil cases or pencils to share with my colleagues, always during the activities these are usually lost so this idea made me very excited to be able to make the gift to them and what better day than today.
Buenas noches amigos de Hive y comunidad @diyhub, espero que todos estén sanos y felices. Hoy fue un gran día para mí ya que celebré con mucha alegría el Día del Maestro, profesión que ejerzo con mucho amor, ya que me hace feliz compartir con mis niños sus alegrías y tristezas. Además de ser un puente que les ayude a adquirir conocimientos es fantástico.
Cómo buenas maestra de educación inicial con algunas habilidades manuales decidí elaborar como tarea creativa unas fundas de lápiz o lapiceros para compartir con mis colegas, siempre durante las actividades estos suelen perderse asi que está idea me emociono mucho poder realizar la para obsequiarles y que mejor día que hoy.

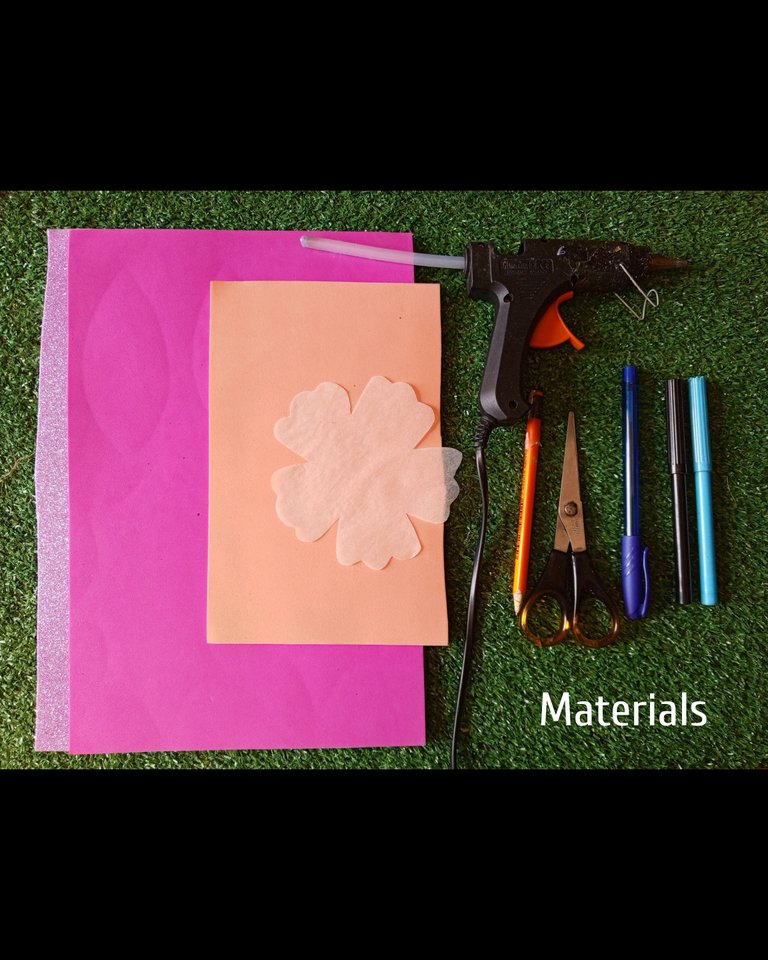
Materials I Used For This Beautiful Project.
✓Foami
✓Silicon
✓Lapiz
✓Scissors
✓Markers
Materiales Que Utilicé Para Este Hermoso Proyecto
✓Foami
✓Silicon
✓Lapíz
✓Tijeras
✓Marcadores

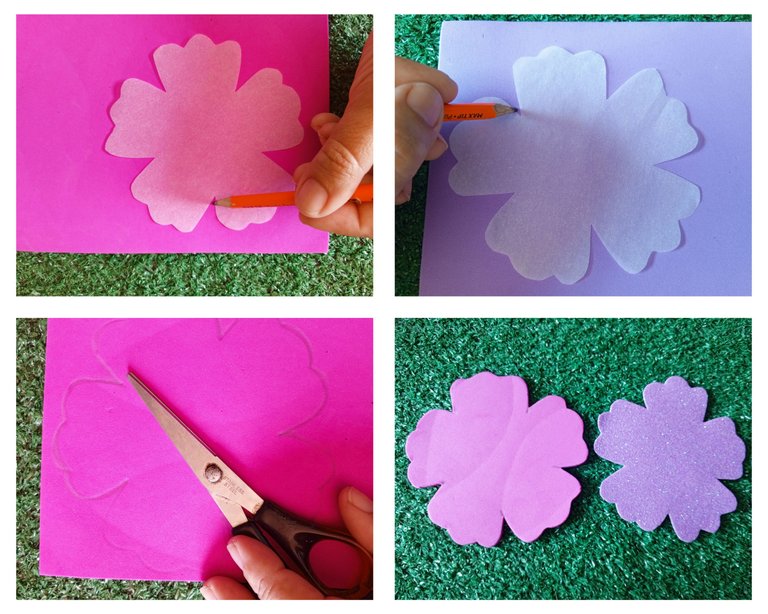
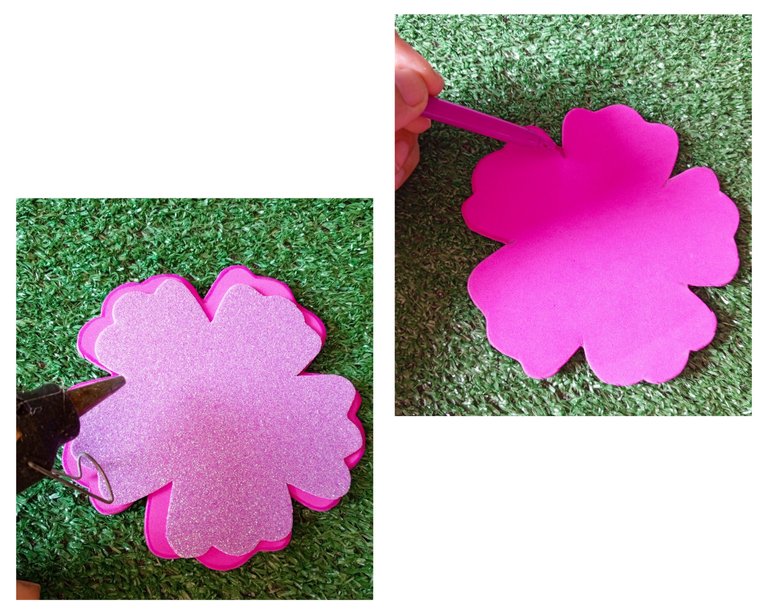
Step One:
Transferi, I marked and cut the flower shape to the foami one dark pink and one bright purple.
Paso Uno:
Transferi, marqué y corté la forma de la flor al foami una rosada oscura y otra violeta brillante.

Step Two:
With a marker a little stronger color than the foami I made the border of my flower and then proceed to glue one on top of the other leaving the shiny one as the main one.
Paso Dos:
Con un marcador un poco de color más fuerte que el del foami hice el borde de mi flor y luego procedo a pegar una encima de la otra quedando la brillante como principal.

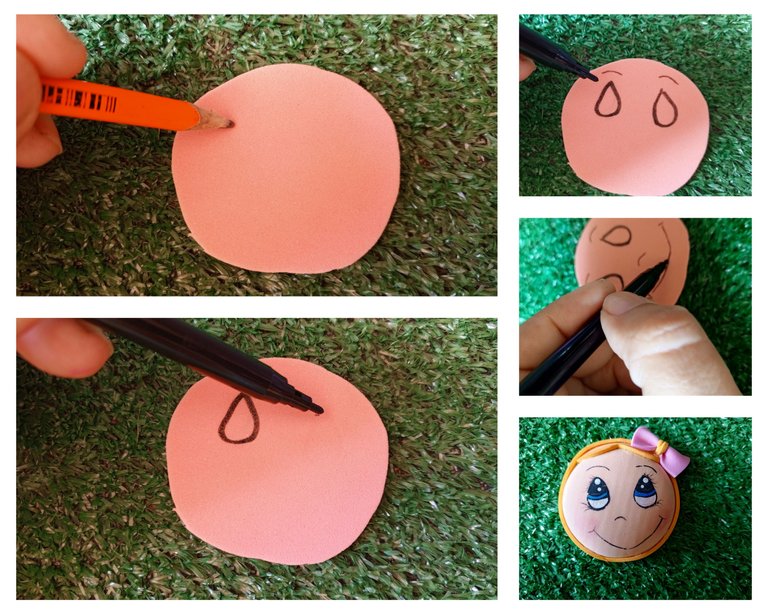
Step Three:
In this step I made the face of my flower mark and paint eyes, nose and mouth. I also placed some yellow foami to simulate the hair and a pretty bow to give it a flirty touch.
Paso Tres:
En este paso elaboré el rostro de mi flor marque y pinte ojos, nariz y boca. También coloque un poco de foami amarillo para simular el cabello y un lindo lazo para darle un toque coqueto.

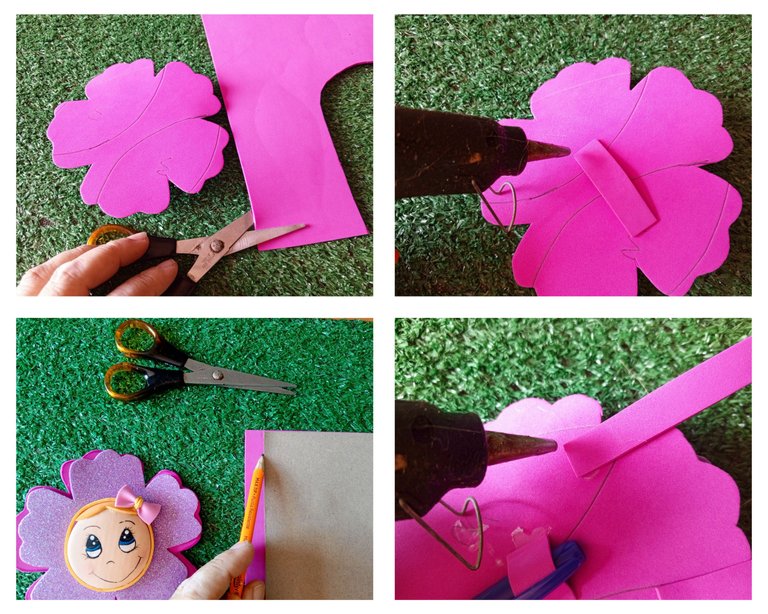
Step Four:
With this last step I finished the elaboration of my creative task, I made a 1/2cm wide by 1cm long ribbon to put behind the flower to hold the pen. And a 20 cm ribbon that I also made behind the flower that I will use around my neck to hang my pencil holder.
Paso Cuatro:
Con este último paso finalicé la elaboración de mi tarea creativa, hice un listón de 1/2cm de ancho por 1 cm de largo para poner detrás de la flor y sujetar el lapicero. Y un listón de 20 cm que también peque detrás de la flor que me servirá para usarlo alrededor de cuello y tener colgado mi soporte De Lápiz.

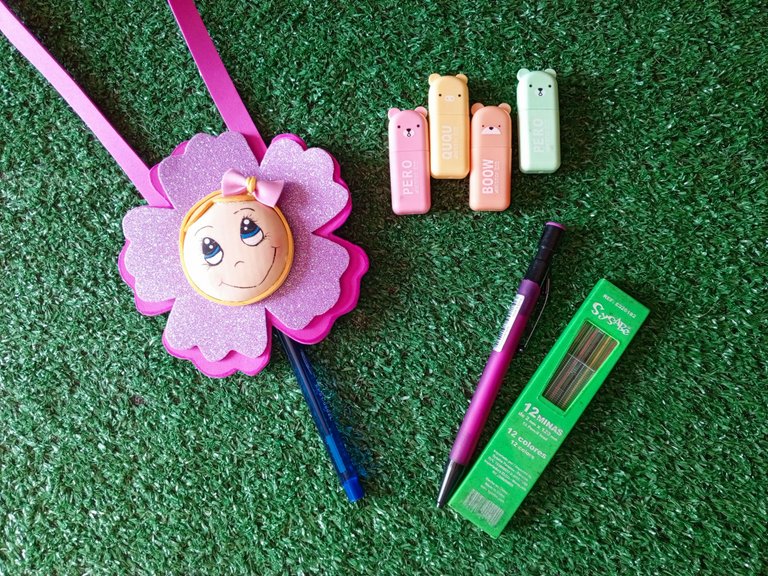
I hope you like this project and that it serves as inspiration for others who can make it with any theme and for any occasion.
Espero que esté proyecto sea de su agrado y sirva de inspiración para otros que puedan realizarlo con cualquier temática y para cualquier ocasión.
All images are my property, captured with my Tecno Spark 10 pro.📸. Editors used GridArt
Main and final banner edited with logopitplus free version.
🔁Deeptranslator was used for this release.📶
Success and blessings to all 🙏🏻 stay healthy and happy, Until next time.
Have a happy Evening....
Thanks for stopping by
to read!
Todas las imágenes son de mi propiedad, capturadas con mi Tecno Spark 10 pro.📸. Editores utilizados GridArt
Banner principal y final editado con logopitplus versión libre.
🔁Deeptraductor fue utilizado para esta publicación.📶
Éxitos y bendiciones para todos 🙏🏻 que sigan sanos y felices, Hasta la próxima.
¡Tengan una feliz Noche...
¡Gracias por detenerte
a leer!
