Spanish
Saludos gente de colmena espero que estén todos sanos y felices disfrutando de unos días geniales. En un abrir y cerrar de ojos hemos llegado de nuevo a mitad de semana.
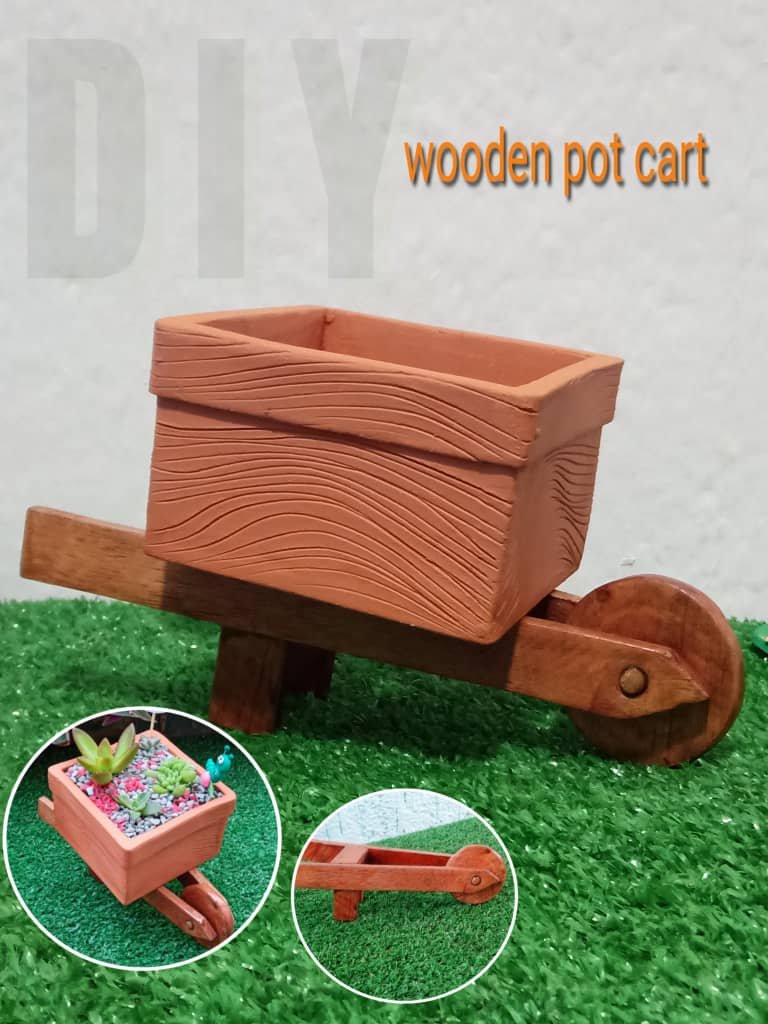
Hoy una vez más paso por esta excelente comunidad para mostrales la elaboración de una carreta de madera para maceta.
Utilizar la madera a la hora de decorar los jardines siempre es una opción excelente, y es que la naturaleza misma de este material es perfecto con los espacios propios del jardín o zonas de exterior.
Esta es una excelente opción, además de ser una tendencia cada día más utilizada, ya que dan un toque genial a los espacios donde son colocados.
A continuación les dejo los materiales y paso para la elaboración de este Diy.
ENGLISH
Greetings hive people I hope you are all healthy and happy enjoying a great few days. In the blink of an eye we have reached the middle of the week again.
Today once again I stop by this excellent community to show you how to make a wooden planter wagon.
Using wood when decorating gardens is always an excellent option, and is that the very nature of this material is perfect with the spaces of the garden or outdoor areas.
This is an excellent option, besides being an increasingly used trend, as they give a great touch to the spaces where they are placed.
Here are the materials and steps for the elaboration of this Diy.
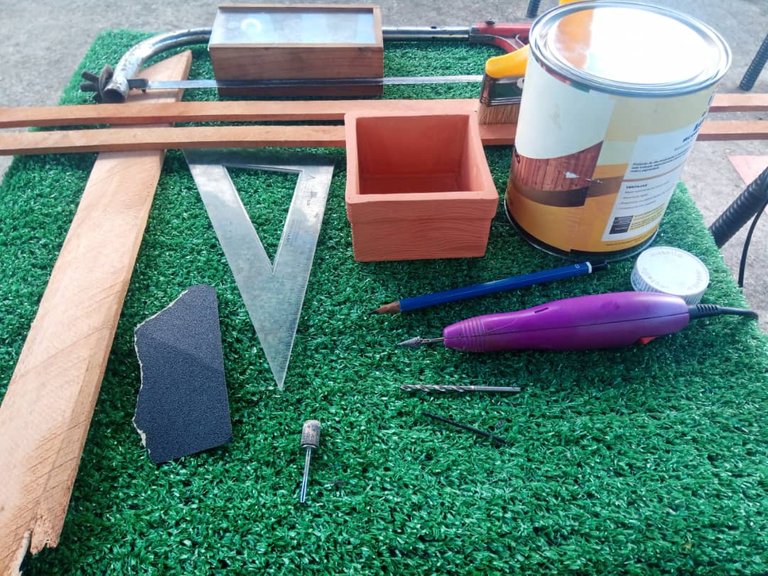
Los Materiales Que Utilicé:
✓Pincel
✓Martillo
✓Clavos
✓Lapiz
✓Madera
✓Lija
✓Barniz
✓Regla
✓Pegamento
✓Clavos
✓Segueta
✓Maceta cuadrada de barro.
✓Malla
✓Tijeras
✓Sustrato
✓Plantas Suculentas
✓Piedras decorativas de colores
✓Accesorios decorativos.
✓Figura Circular
The Materials I Used:
✓Brush
✓Hammer
✓Nails
✓Polish
✓Wood
✓Sandpaper
✓Barnish
✓Ruler
✓Glue
✓Nails
✓Segueta
✓Square clay pot.
✓Mesh
✓Scissors
✓Substrate
✓Succulent plants.
✓Decorative colored stones.
✓Decorative accessories.
✓Circular figure
Paso a Paso
Paso #1:
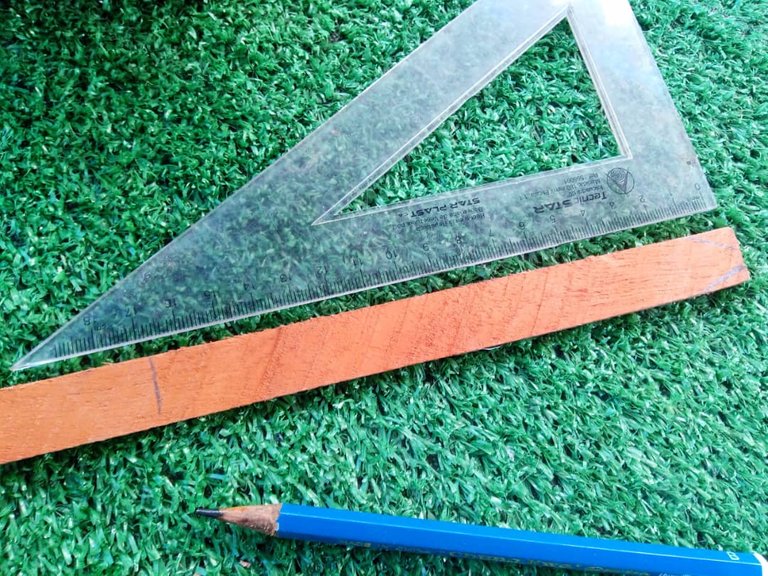
Tomé los listones de madera y con la regla y el lápiz medí y corté los laterales para sujetar la rueda y sujetar nuestra maceta. Cada listón mide 17 centímetros de largo por 1 de ancho.
Step by Step
Step #1:
I took the wooden slats and using the ruler and pencil measured and cut the sides to hold the wheel and hold our planter. Each strip measures 17 centimeters long by 1 centimeter wide.
Paso #2:
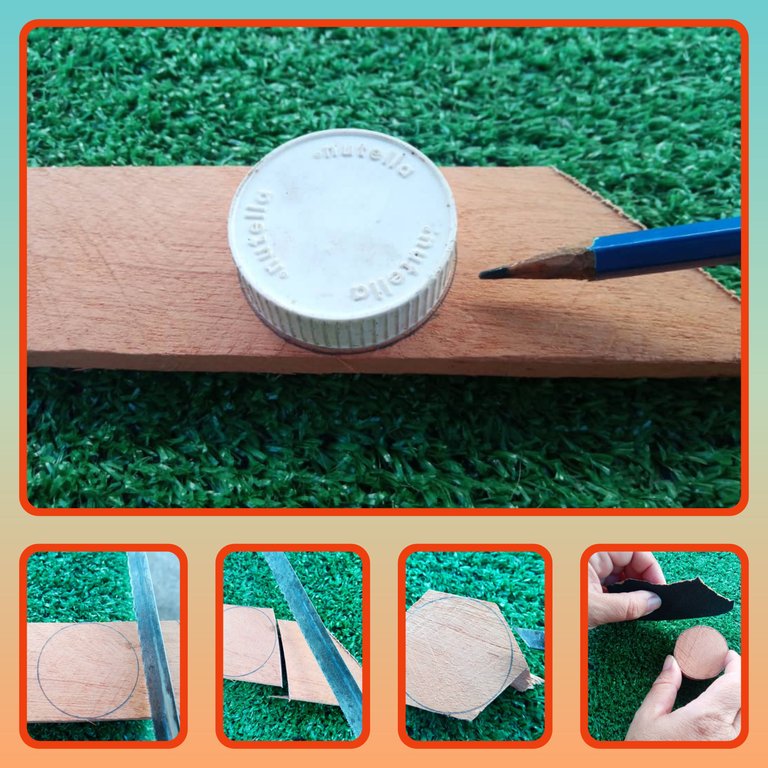
Seguido hice una rueda en un listón de madera, la marqué con una tapa plástica y un lápiz, con la segueta fui cortando y luego con la lija fui dando forma y embelleciendo.
Step #2:
Next I made a wheel in a wooden strip, I marked it with a plastic cap and a pencil, with the saw I was cutting and then with sandpaper I was shaping and embellishing.
Paso #3:
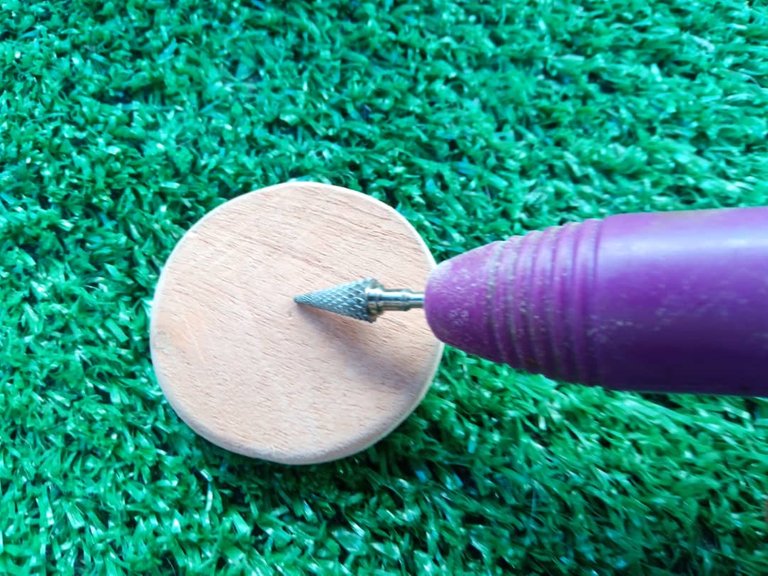
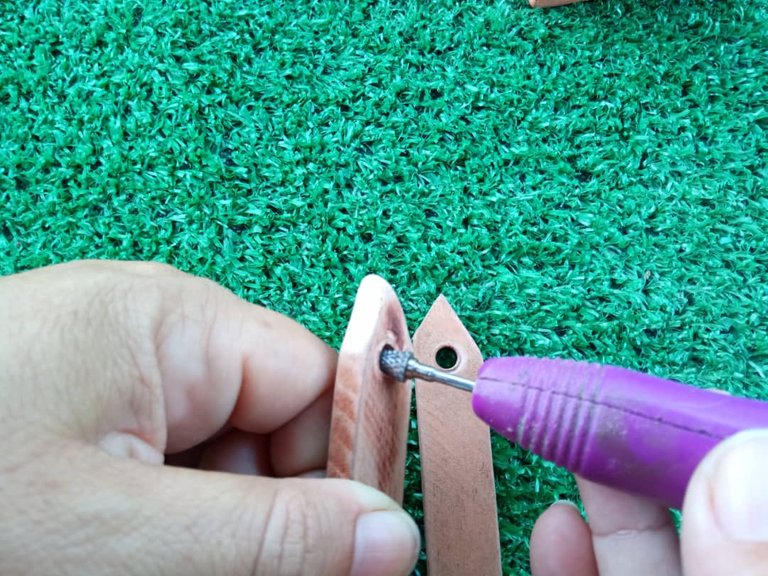
En este paso utilicé el dremmer para abrir el orificio en la rueda y en los laterales hechos anteriormente.
Step #3:
In this step I used the dremmer to open the hole in the wheel and sidewalls made earlier.
Paso #4:
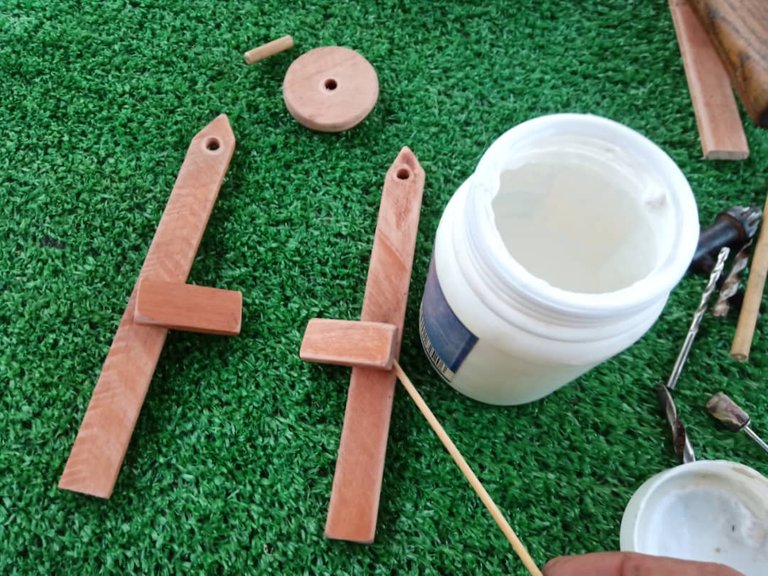
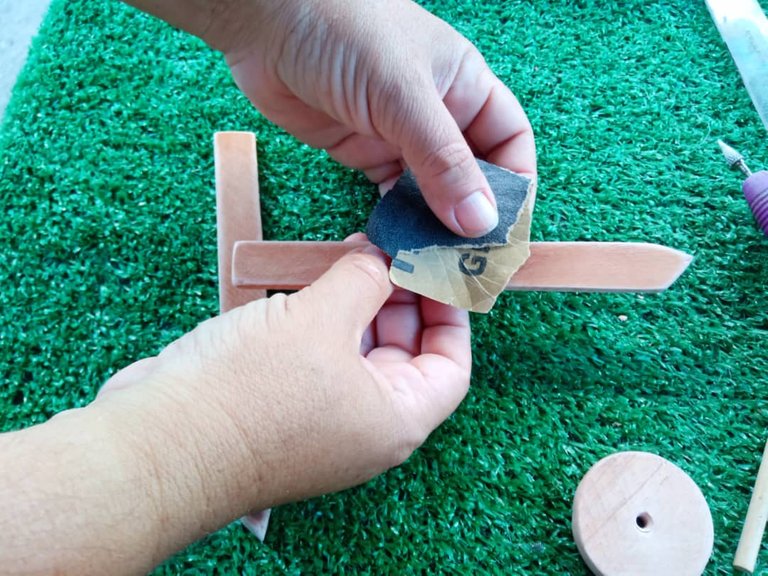
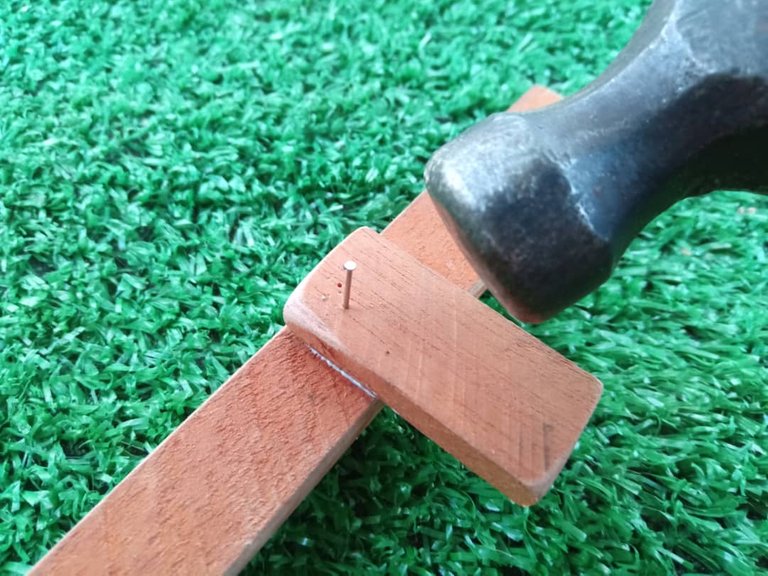
Luego del paso anterior con la lija comencé a darle forma a los laterales de la carreta, también con los clavos y el martillo junte a los laterales unos pequeños pedazos de madera aproximadamente 2 centímetros son los soportes de la carreta.
Antes de esto pegue cada pieza con la pega y luego utilicé los clavos.
Step #4:
After the previous step with the sandpaper I started to shape the sides of the cart, also with the nails and the hammer I attached to the sides some small pieces of wood approximately 2 centimeters are the supports of the cart.
Before that I glued each piece with the glue and then I used the nails.
Paso #5:
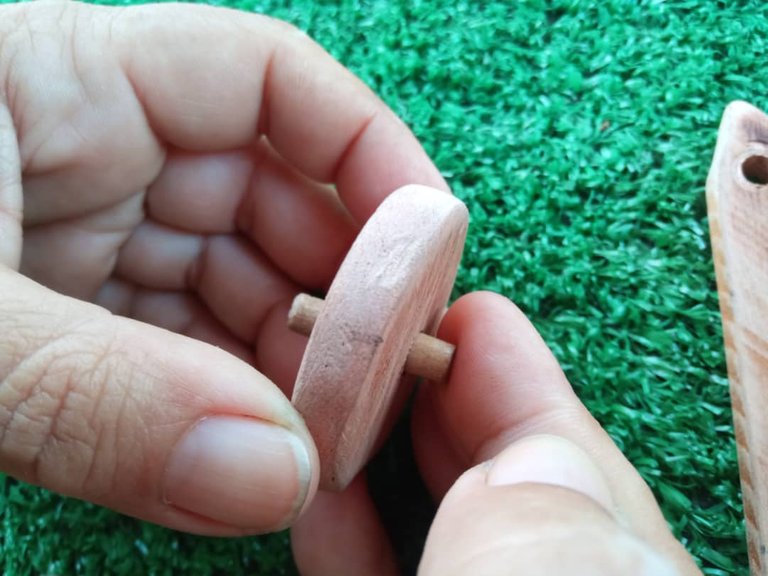
Elaboré un clavo de madera que atravese por la rueda y los listones para unirlos y darle soporte a la base de carreta, tal como muestra la imagen.
Step #5:
I made a wooden nail to go through the wheel and slats to join them together and give support to the wagon base, as shown in the picture.
Paso #6:
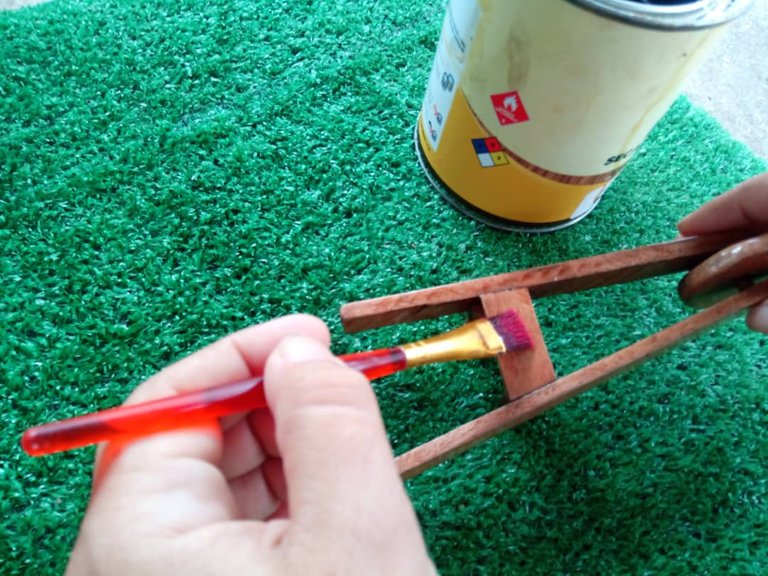
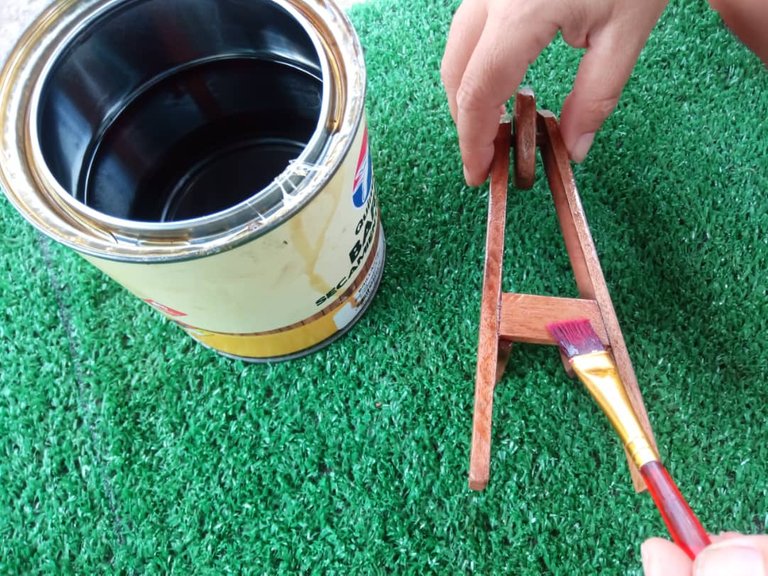
Ya casi para finalizar con el pincel y el barniz pinte la carreta, el barniz que utilice es de secado rápido y le dio un hermoso acabado.
Step #6:
Almost to finish with the brush and varnish I painted the wagon, the varnish I used is fast drying and gave it a beautiful finish.
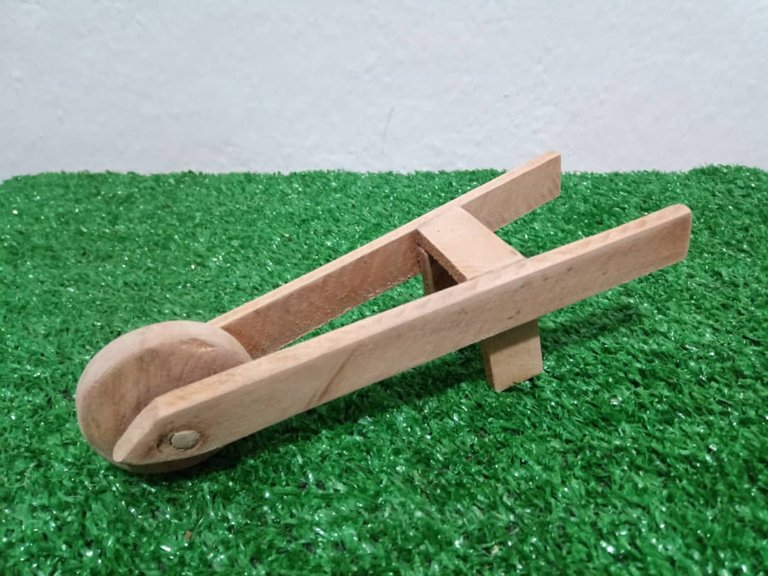
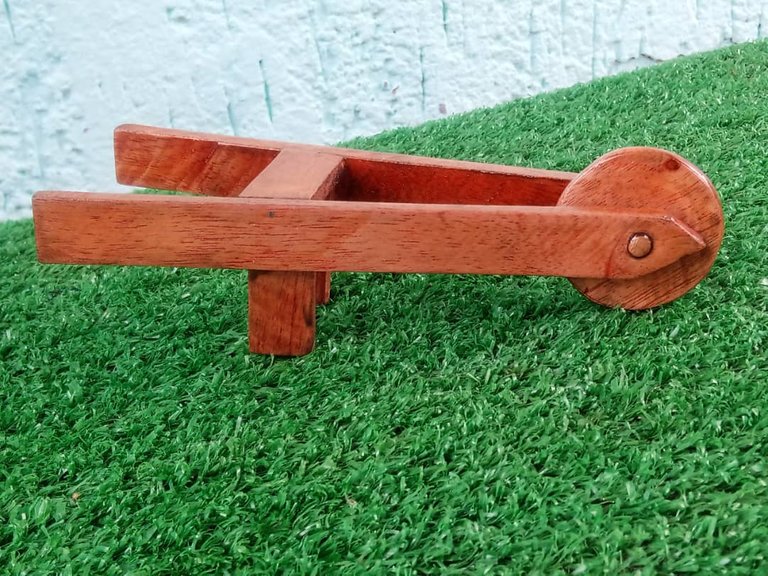
De esta manera con cada uno de los pasos anteriores logré esta hermosa base de carrera para maceta.
In this way with each of the above steps I achieved this beautiful race base for planter.
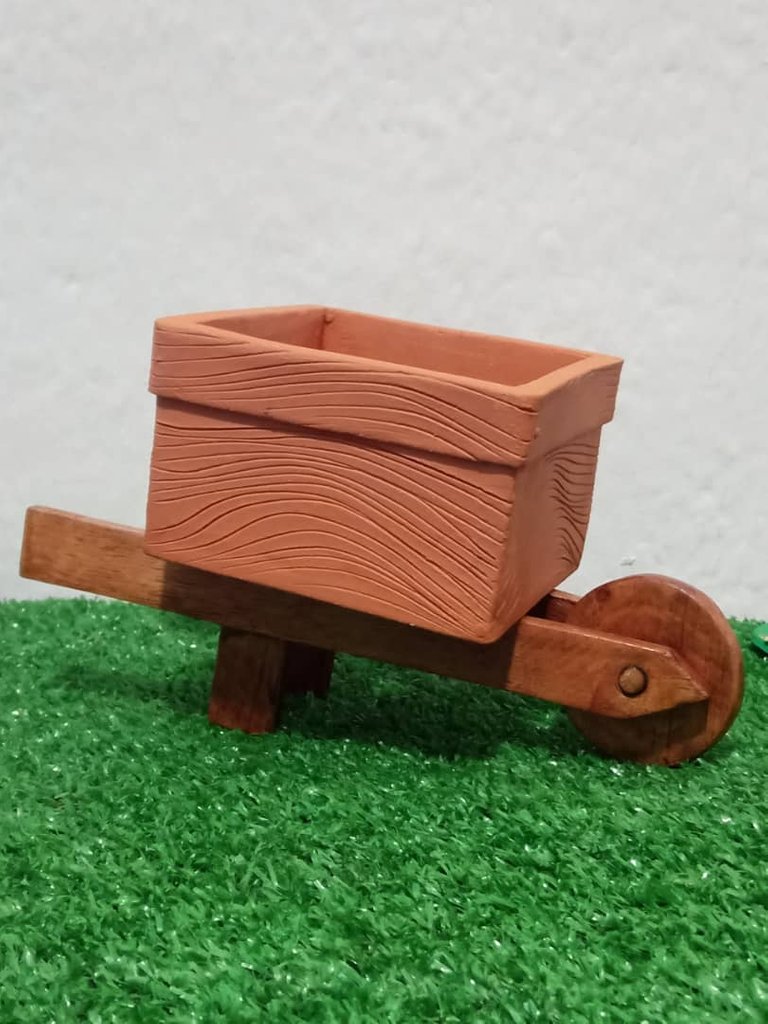
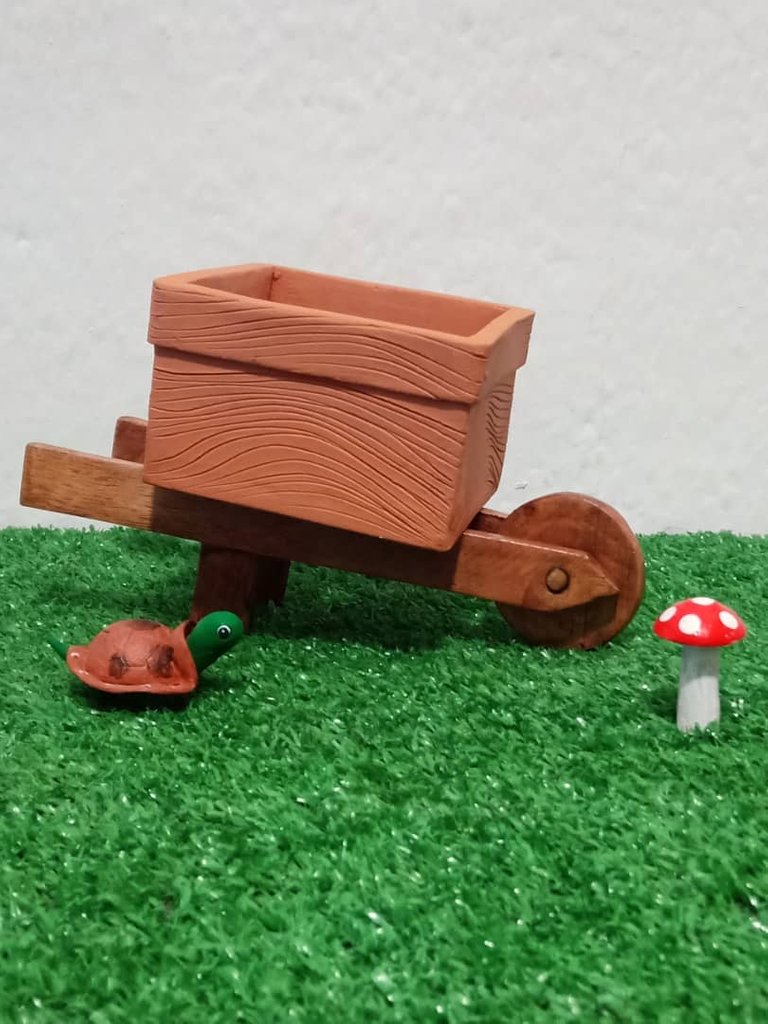
Después de todo lo anterior, realicé con unas suculentas un pequeño mini jardín, en la maceta que colocaré sobre la base para formar una carrera aquí les dejo las fotos.
After all the above, I made with some succulents a small mini garden, in the pot that I will place on the base to form a race here I leave the photos.
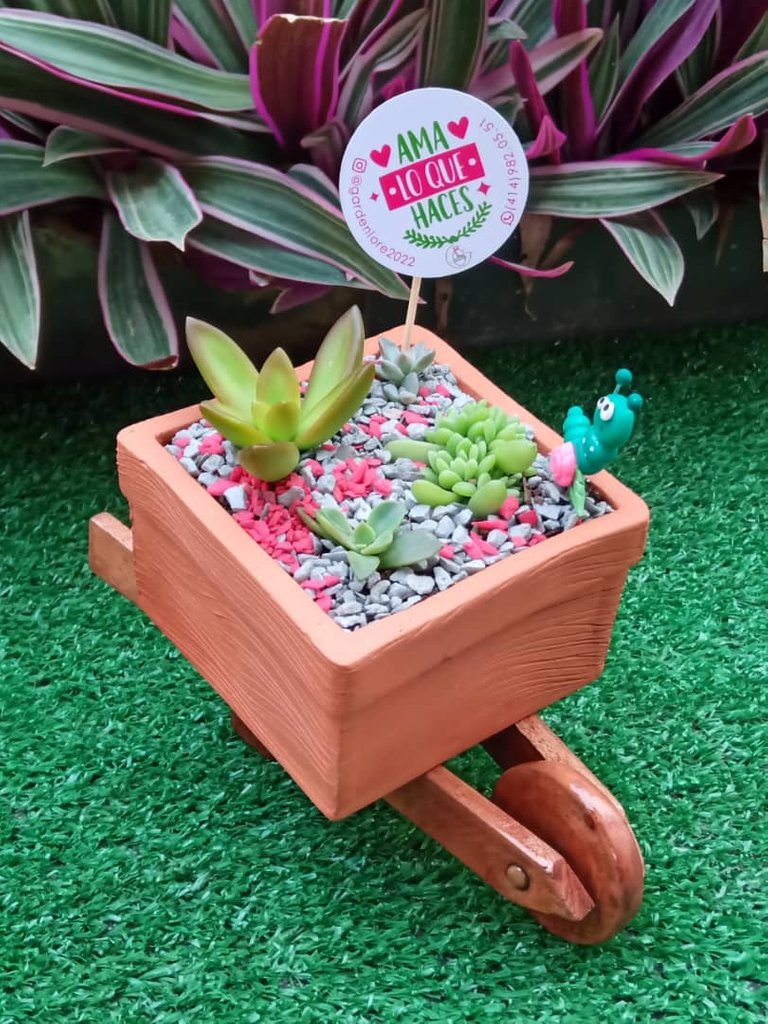
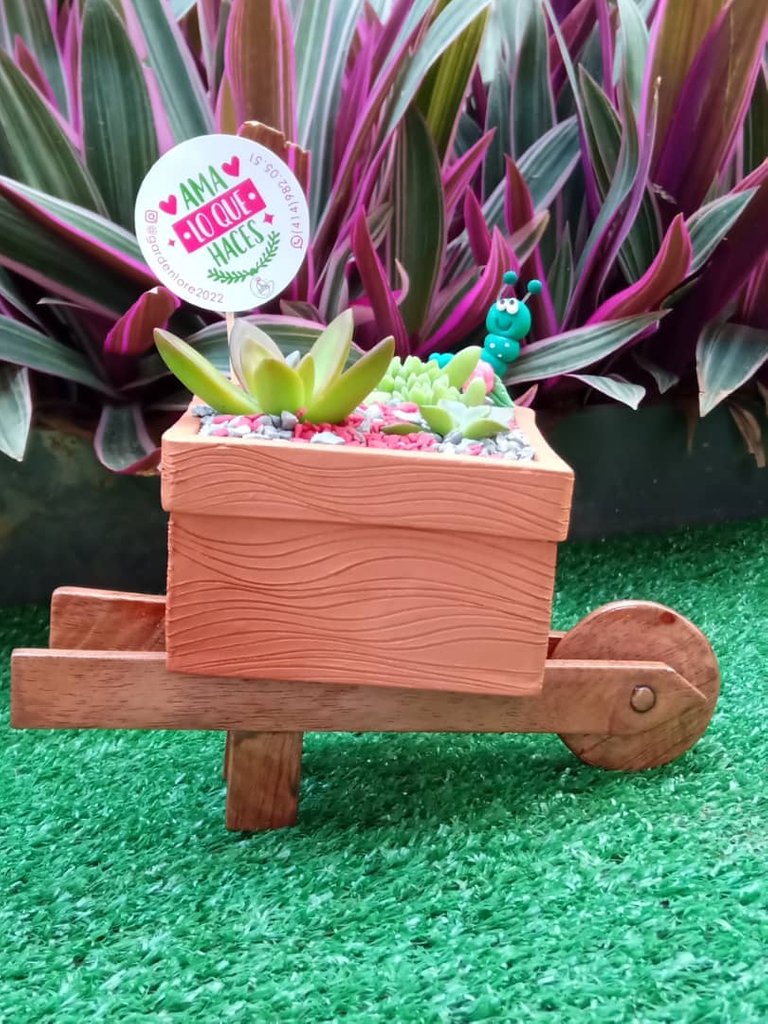
Cómo les mostré en las fotos anteriores, así finalicé mi carreta para macetas, esto puede varia de acuerdo nuestro gusto puede ser en maceta de barro, maceta de plástico o el material de nuestra preferencia.
Espero que les haya gustado, se animen elaborar una y decoren sus casas, jardines , oficina o cualquier ambiente.
Gracias por acompañarme hasta aquí éxitos y bendiciones para todos 🙏🏻
As I showed you in the previous photos, this is how I finished my potting cart, this can vary according to our taste can be in clay pots, plastic pots or the material of our preference.
I hope you liked it, I encourage you to make one and decorate your home, garden, office or any environment.
Thank you for joining me here success and blessings to all 🙏🏻

Todas las imágenes son de mi propiedad tomadas con la cámara de mi celular Redmi 9A y el traductor utilizado para esta publicación fue deelptraductor.
All images are my own taken with the camera of my Redmi 9A cell phone and the translator used for this publication was deelptraductor.
