Bienvenidos a mi blog
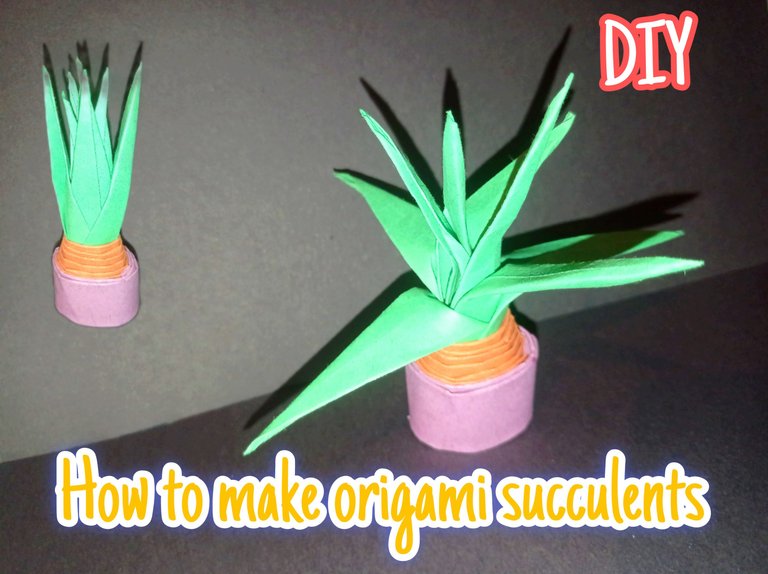
Greetings creative friends, today I want to share with you how to make a succulent with the origami technique, a technique that is characterized by the use of paper. According to feng shui, having succulents is good for prosperity in the home. I show you this practical tutorial of this succulent.
Saludos amigos creativos, hoy quiero compartir con ustedes cómo realizar una suculenta con la técnica de origami, una técnica que se caracteriza por el uso de papel. Según el feng shui tener suculentas es bueno para prosperidad en el hogar. Te muestro este práctico tutorial de esta suculenta
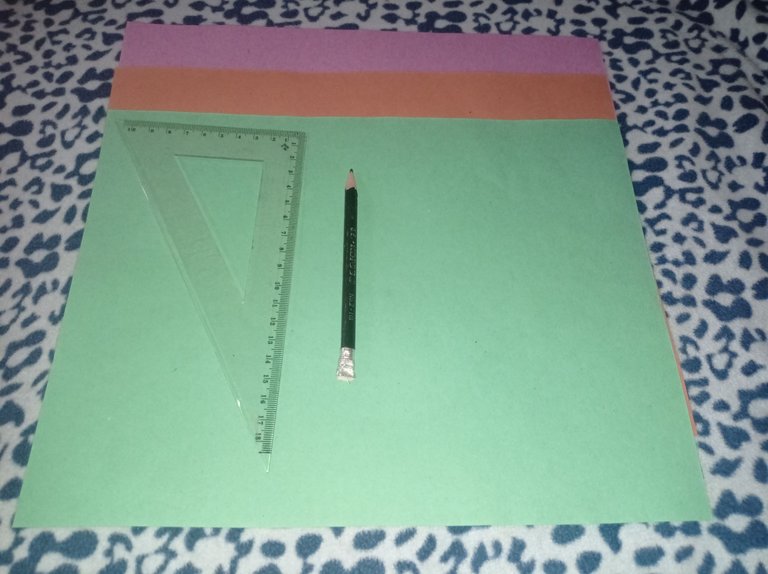
Materials
Green, brown and purple A4 construction cardboard
Ruler
Pencil
Materiales
Cartulina de construcción verde, marrón y morada tipo A4
Regla
Lápiz
Step by step
#Step 1
Paso 1
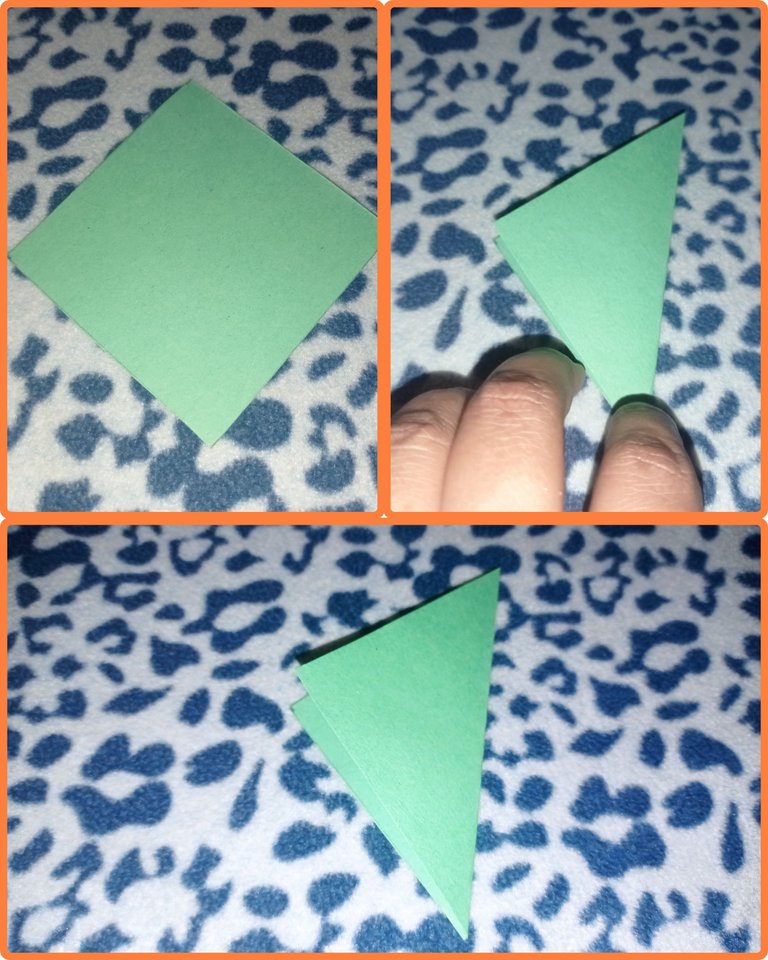
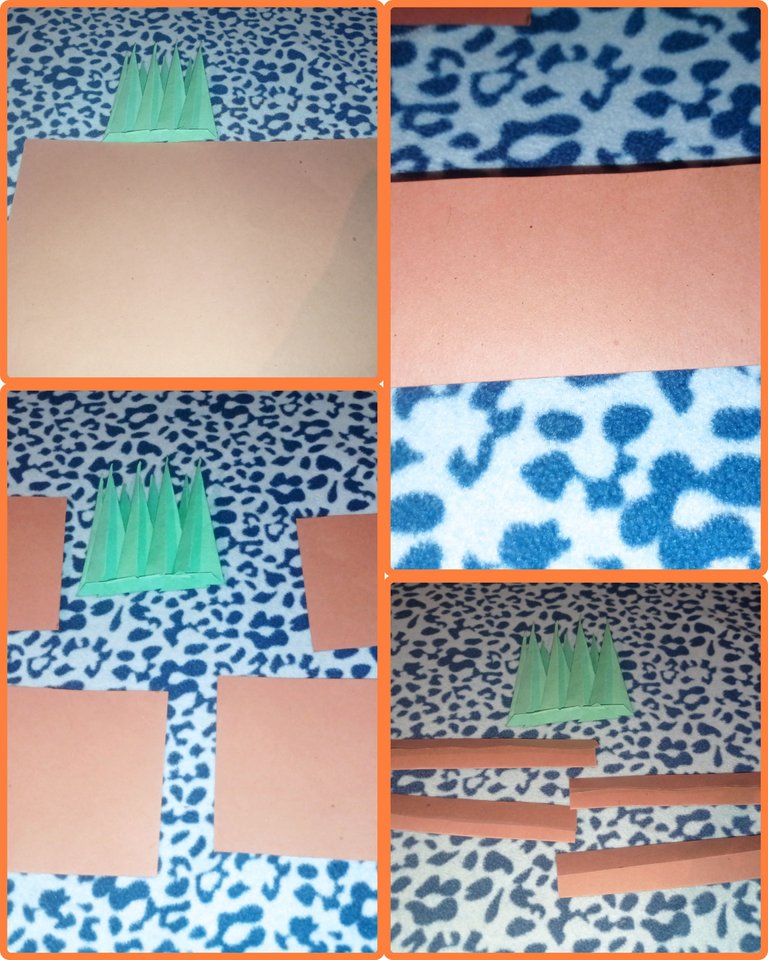
The first thing we need to do is to make 8 squares of 7.5cm each, this was done with the help of the ruler and pencil.
Lo primero que necesitaremos es realizar 8 cuadrados de 7,5cm cada uno, esto lo realice con la ayuda de la regla y el lápiz

Step 2
Paso 2
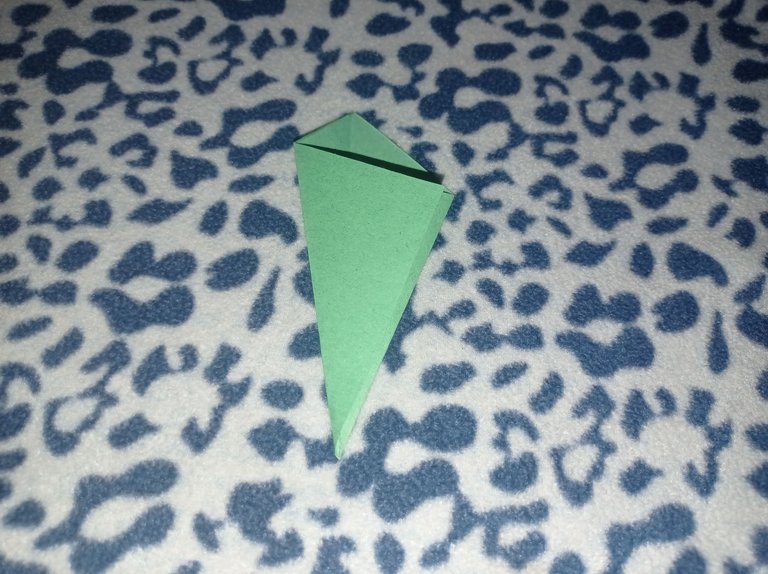
We take one of the squares and place it in the shape of a rhombus, take the right side and fold it in half.
Tomamos uno de los cuadrados y lo colocamos en forma de rombo, tomamos el lado derecho y doblamos por la mitad
Step 3
Paso 3
Then we open and proceed to make a double on the same right side, taking as reference the line of the first double.
Luego abrimos y procedemos a realizar un doble del mismo lado derecho, tomando como referencia la línea del primer doble
Step 4
Paso 4
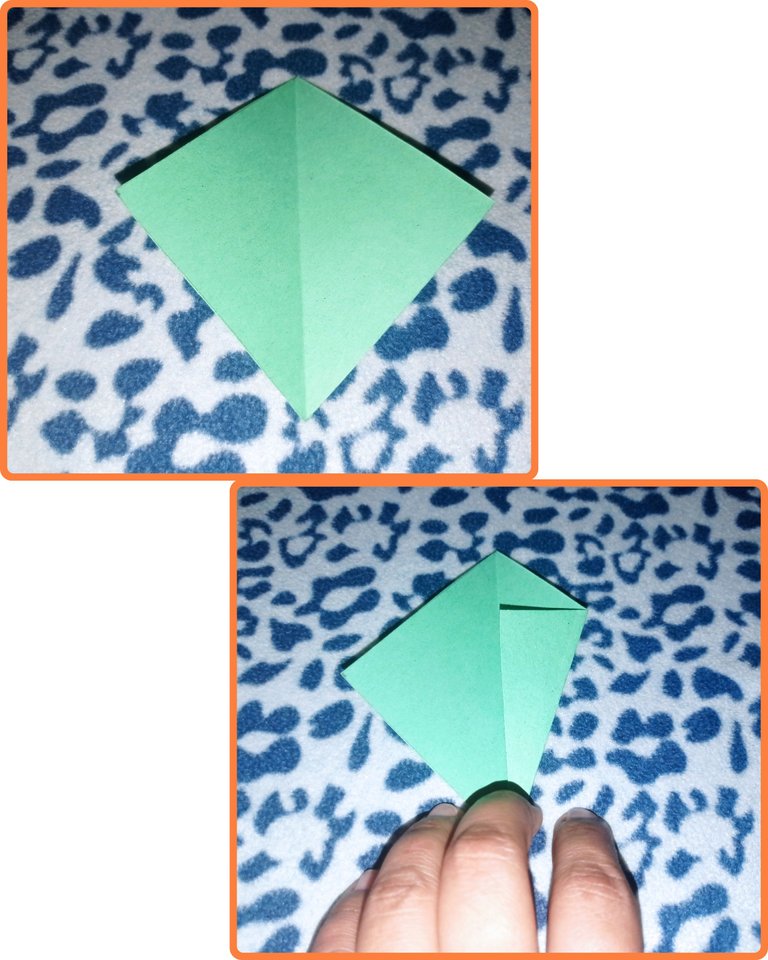
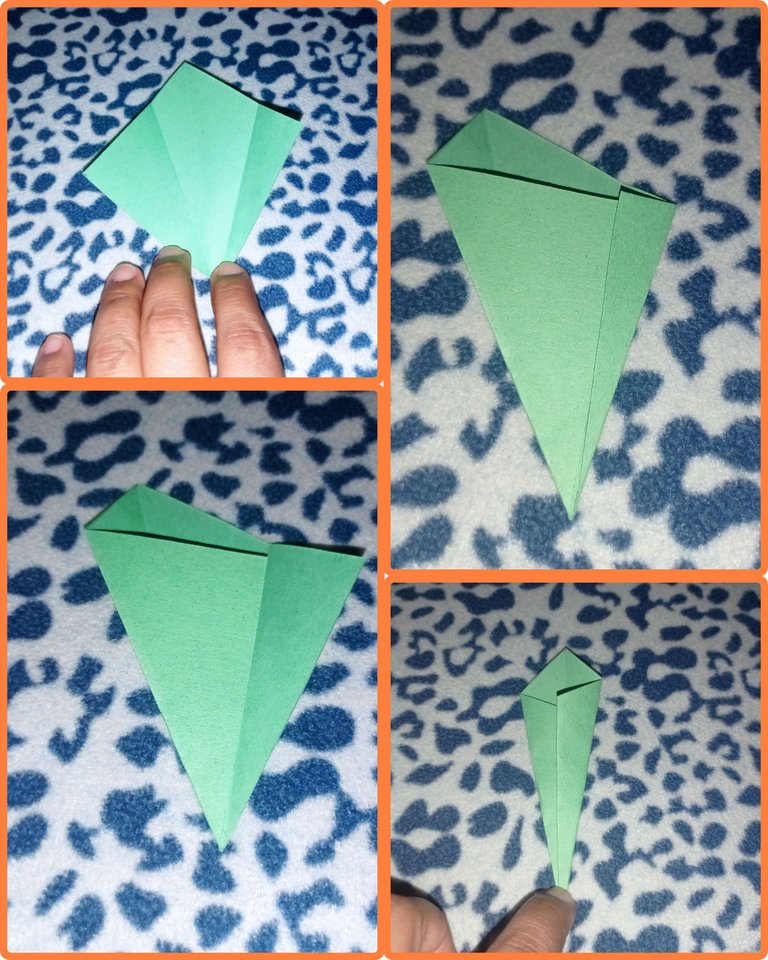
Now we take the left side and continue making a double, taking it to the right end, as shown in the picture.
Ahora tomamos del lado izquierdo y seguimos realizando doble , llevándolo hasta el extremo derecho, quedando como lo ven en la fotografía
Step 5
Paso 5
We open and the left side remains in the double crease, the right side will be folded twice.
Abrimos y la parte izquierda queda en la ralla del doble, el lado derecho lo doblaremos dos veces .
Step 6
Paso 6
The top tip is bent downwards, and then we open and bend the small tip. These steps are done to make the 8 parts of the succulent.
La punta de arriba la doblamos hacia abajo, y luego abrimos y doblamos la punta pequeña. Estos pasos lo realizamos para realizar las 8 partes de la suculenta

Step 7
Paso 7
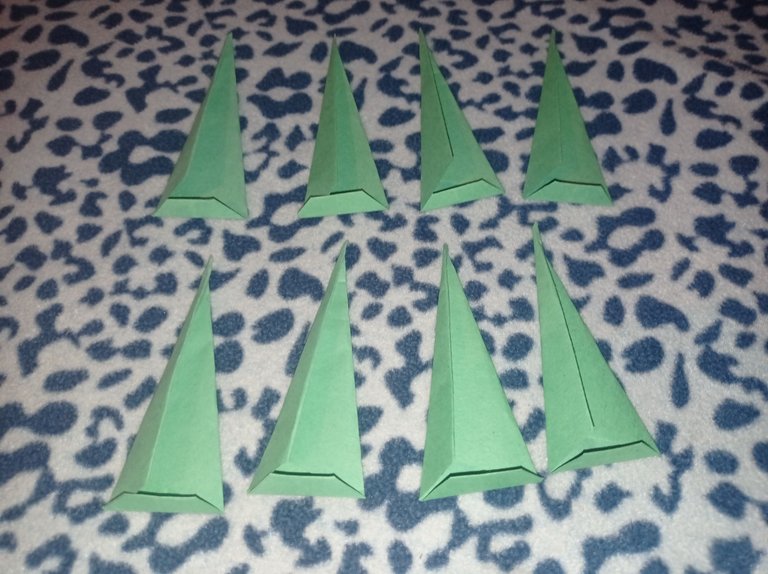
Here are the eight pieces ready
Ya aquí listo las ocho piezas
Step 8
Paso 8
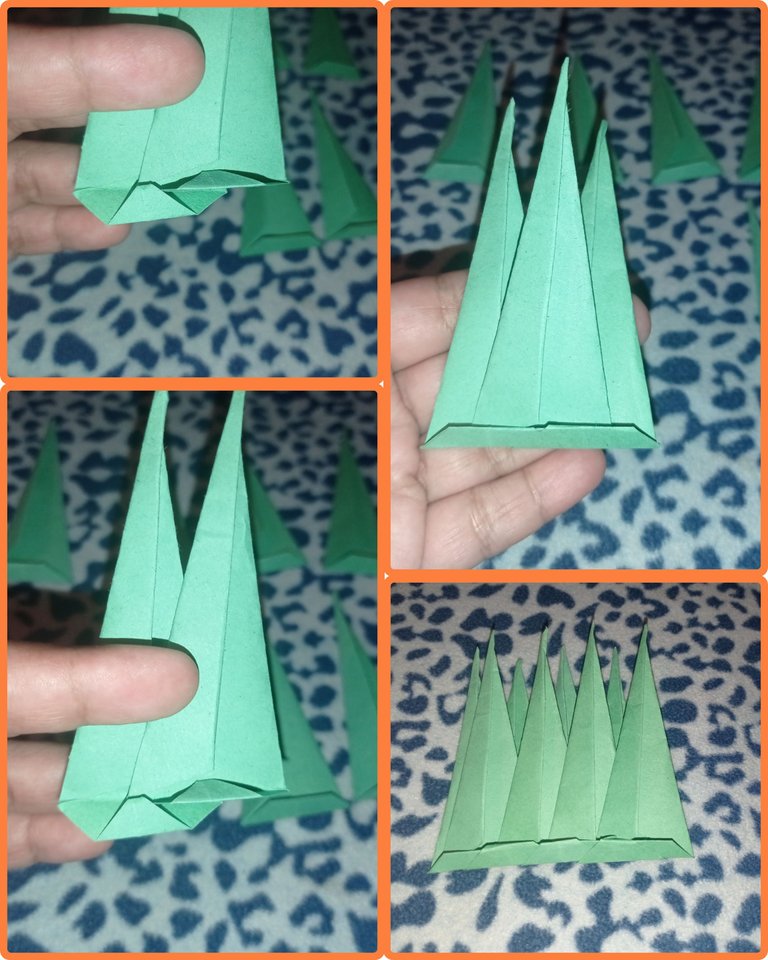
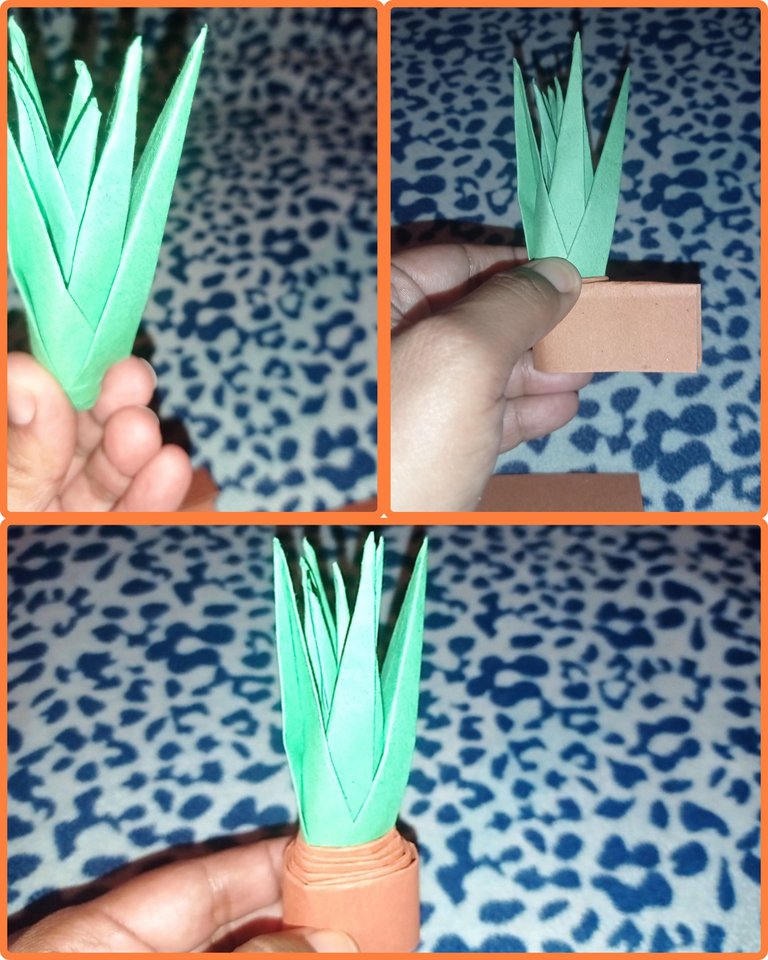
To form the succulent we must intercalate each piece from the bottom, then we roll it up, as you can see in the picture.
Para formar la suculenta debemos intercalar cada pieza desde la parte de abajo, luego vamos enrollando, quedando como lo ven en la fotografía
Step 9
Paso 9
To make the ground, I used the brown cardboard and made 4 strips of 15 cm long by 10 cm wide. I folded them in half and folded them again.
Para realizar la tierra, útilice la cartulina marrón y realice 4 tiras de 15 cm de largo por 10 de ancho. Estás las doble por la mitad y volví a doblar
Step 10
Paso 10
Here I began to place what will be the soil, rolling the cardboard and joined one with the other with the opening that had each strip.
Aquí empecé a colocar lo que será la tierra , enrollando la cartulina y unía una con otra con la abertura que tenía cada tira.
Step 11
Paso 11
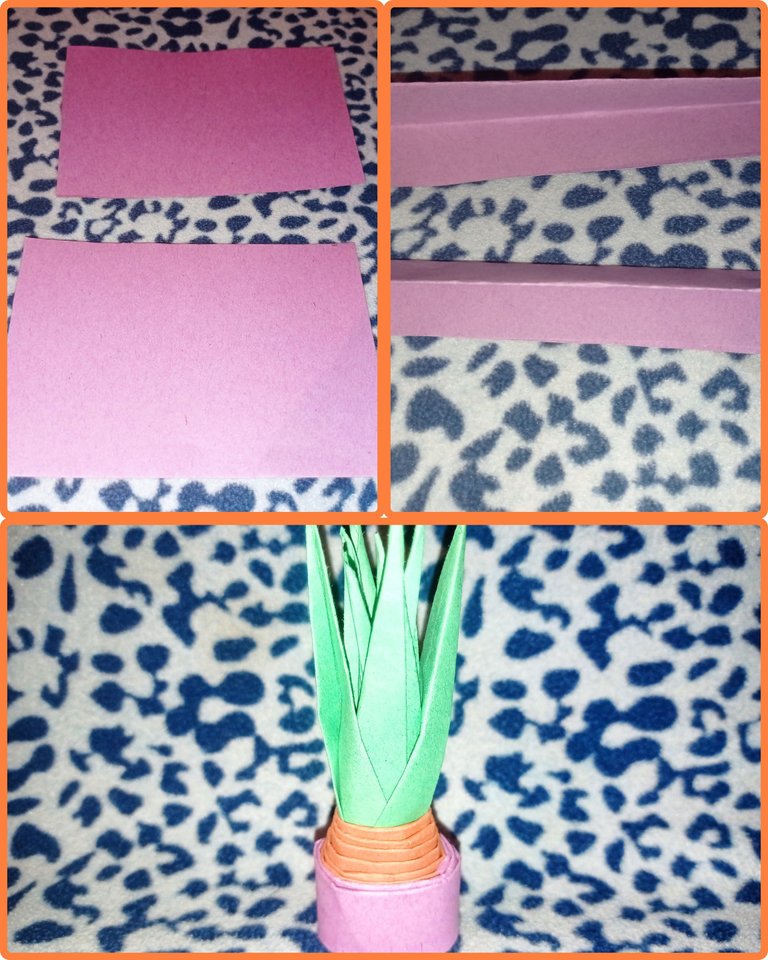
In the same way, take the pink cardboard and make the succulent's porron and make two strips measuring 15 cm long by 10 cm wide. Wrap around the succulent
De la misma forma tome la cartulina rosada y realice el porron de la suculenta y realice dos tiras con medidas de 15 de largo por 10 cm de ancho. Enrolle alrededor de la suculenta
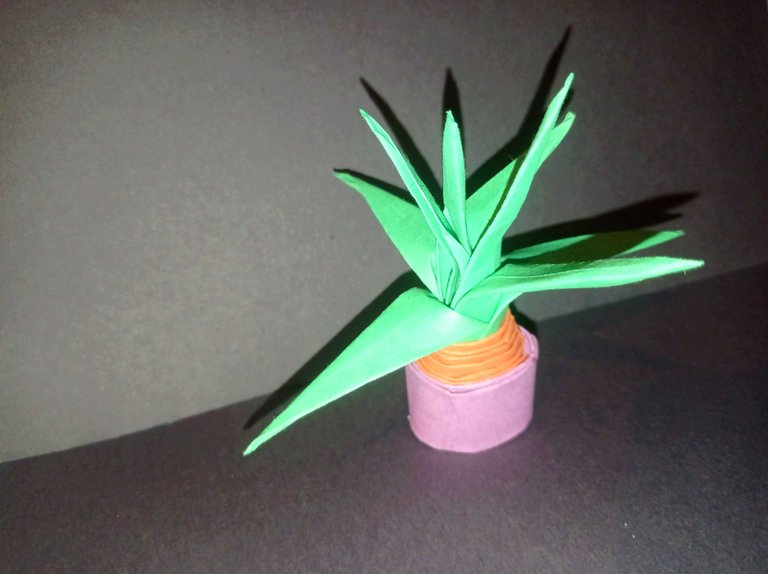
Final result
Resultado Final
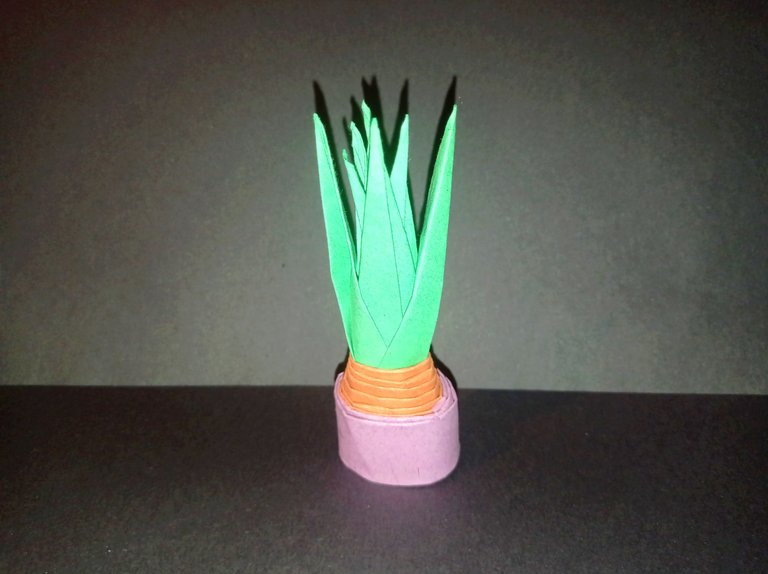
A beautiful succulent with origami technique for decoration
Una linda suculenta con técnica de origami para adornar
I bid you farewell and see you at a later date.
Photographs are my property
Translator used
Collage made with GridArt
Me despido y nos vemos en una próxima oportunidad
Fotografías son de mi propiedad
Traductor utilizado
Collage realizado con GridArt