Hola y bienvenidos. //Hello and welcome.
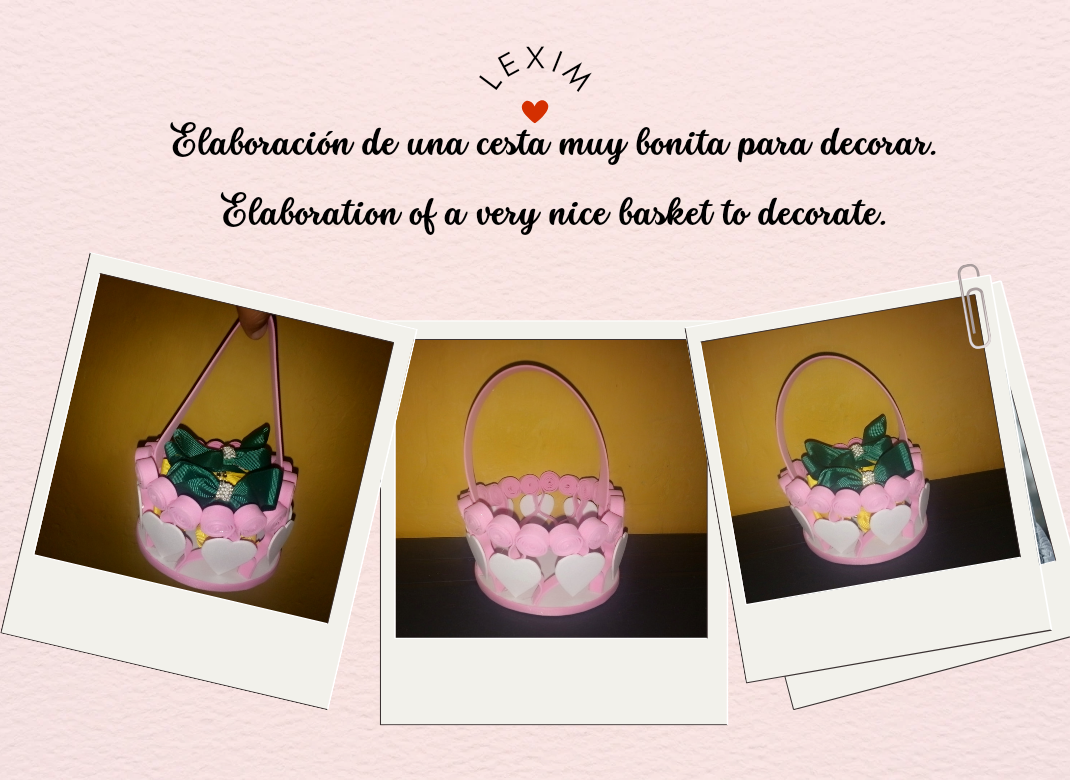
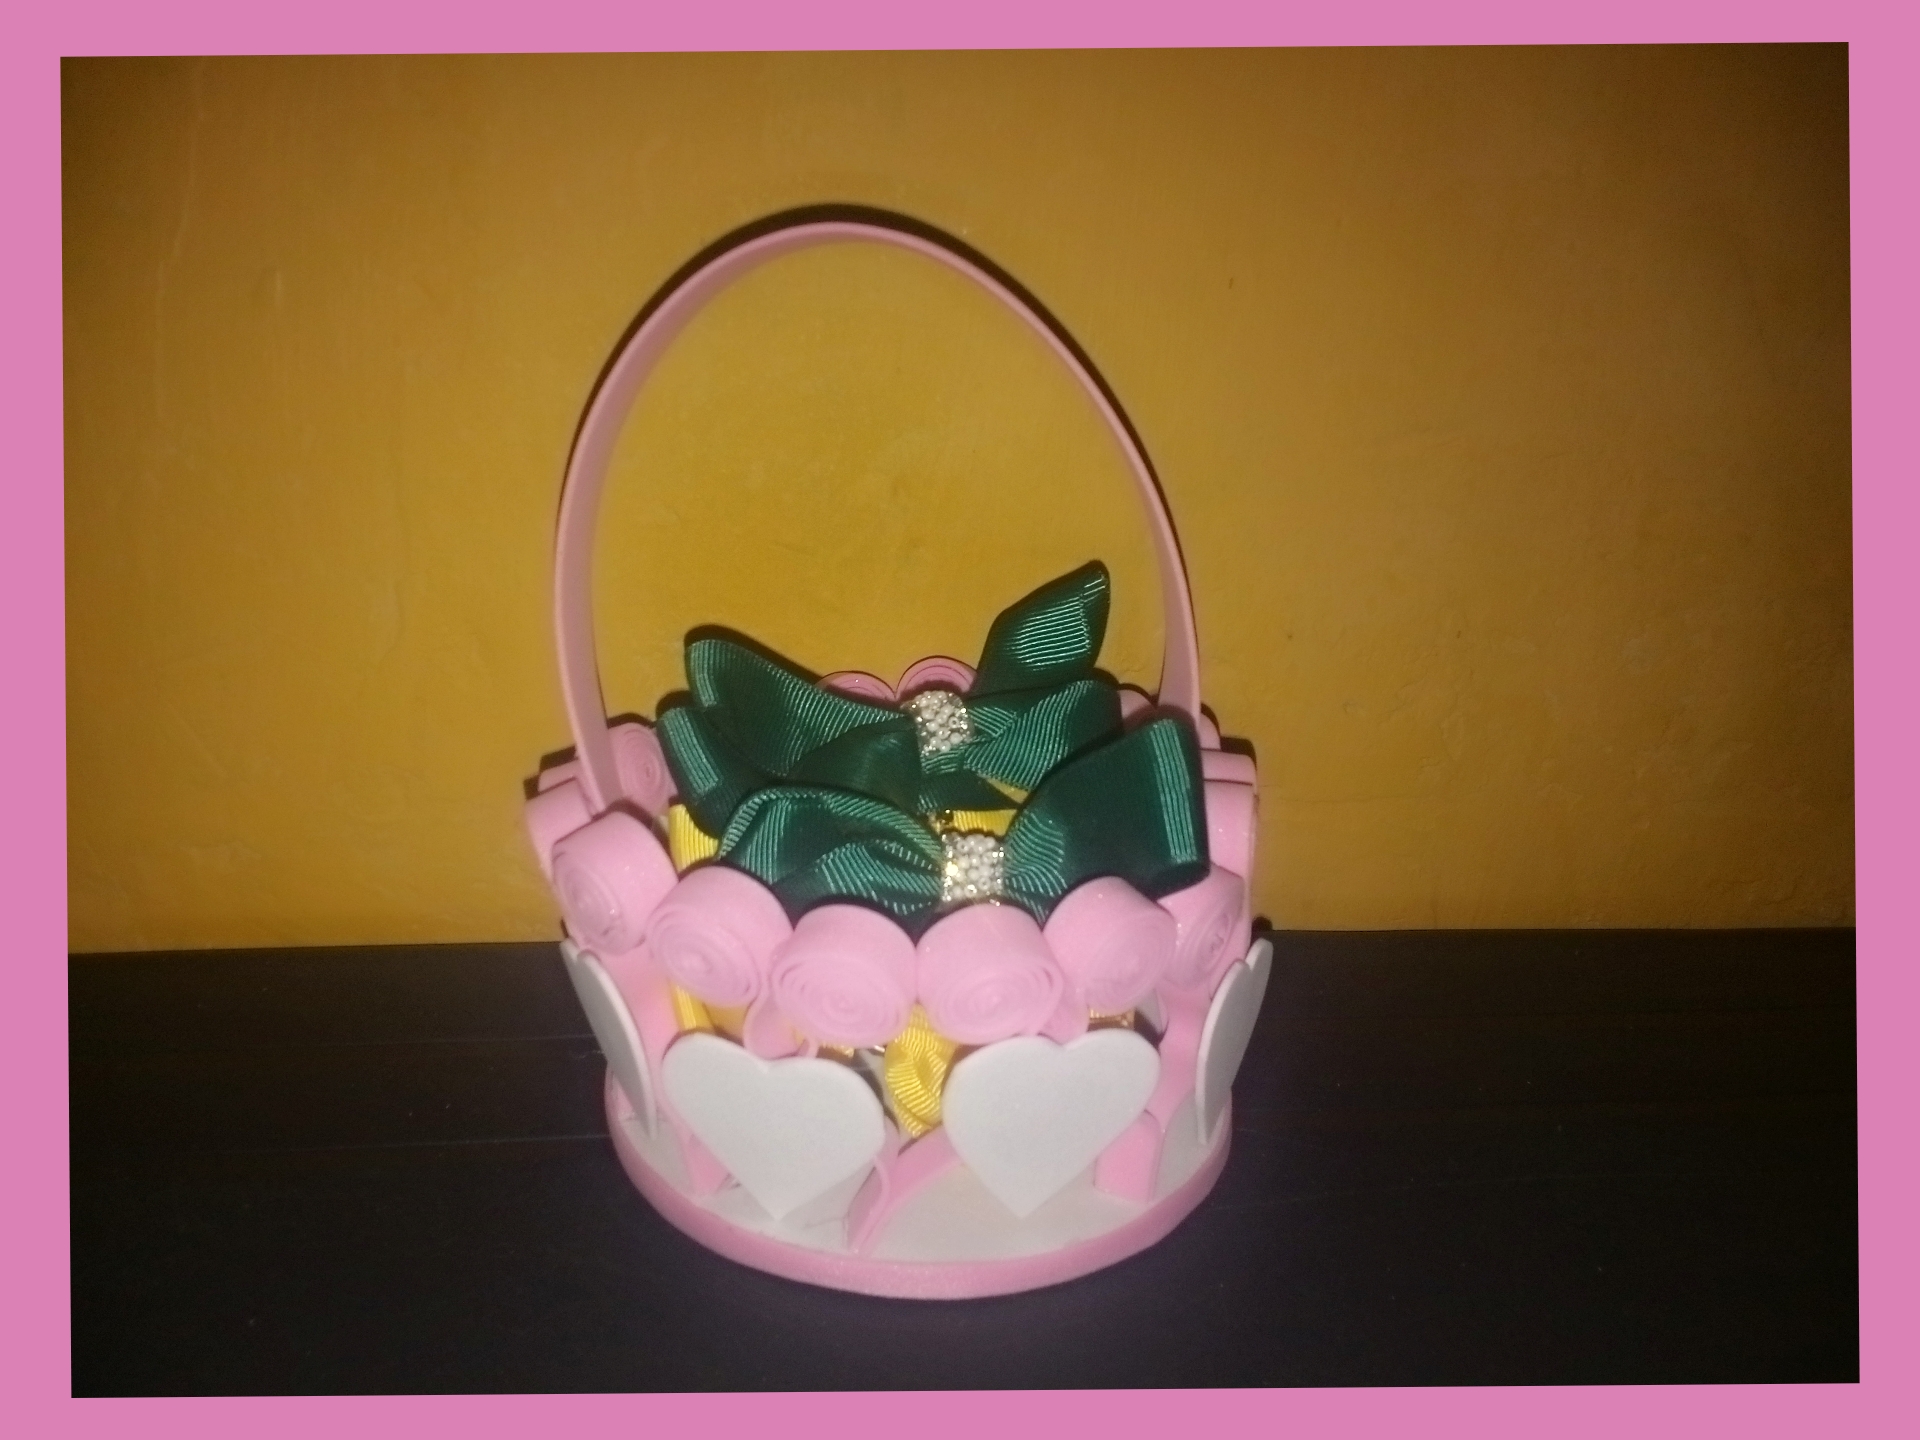
Hello to all dear colleagues who are part of this social network. Happy beginning of the month that this is filled with many successes and blessings for all of you today I bring you one of my creative activities that I like to do with much affection for you a step by step of a nice basket to decorate the table, the room and many more things is multipurpose because we can place what we want I always have the combing machine a little disorganized and this helps me to place and organize my things so I hope it will be useful to you too here I leave you its elaboration.
Hola a todos queridos compañeros que hacen parte de esta red social. Feliz comienzo del mes que este sea llenó de muchos éxitos y bendiciones para todos ustedes el día de hoy les traigo una de mis actividades creativas que me gusta hacer con mucho cariño para ustedes un paso a paso de una linda cesta para decorar la mesa, el cuarto y muchas cosas más es multiusos porque podemos colocar lo que deseamos siempre tengo la peinadora un poco desorganizada y está me ayuda a colocar y organizar mis cosas así que espero que le sea útil a ustedes también acá les dejo su elaboración.

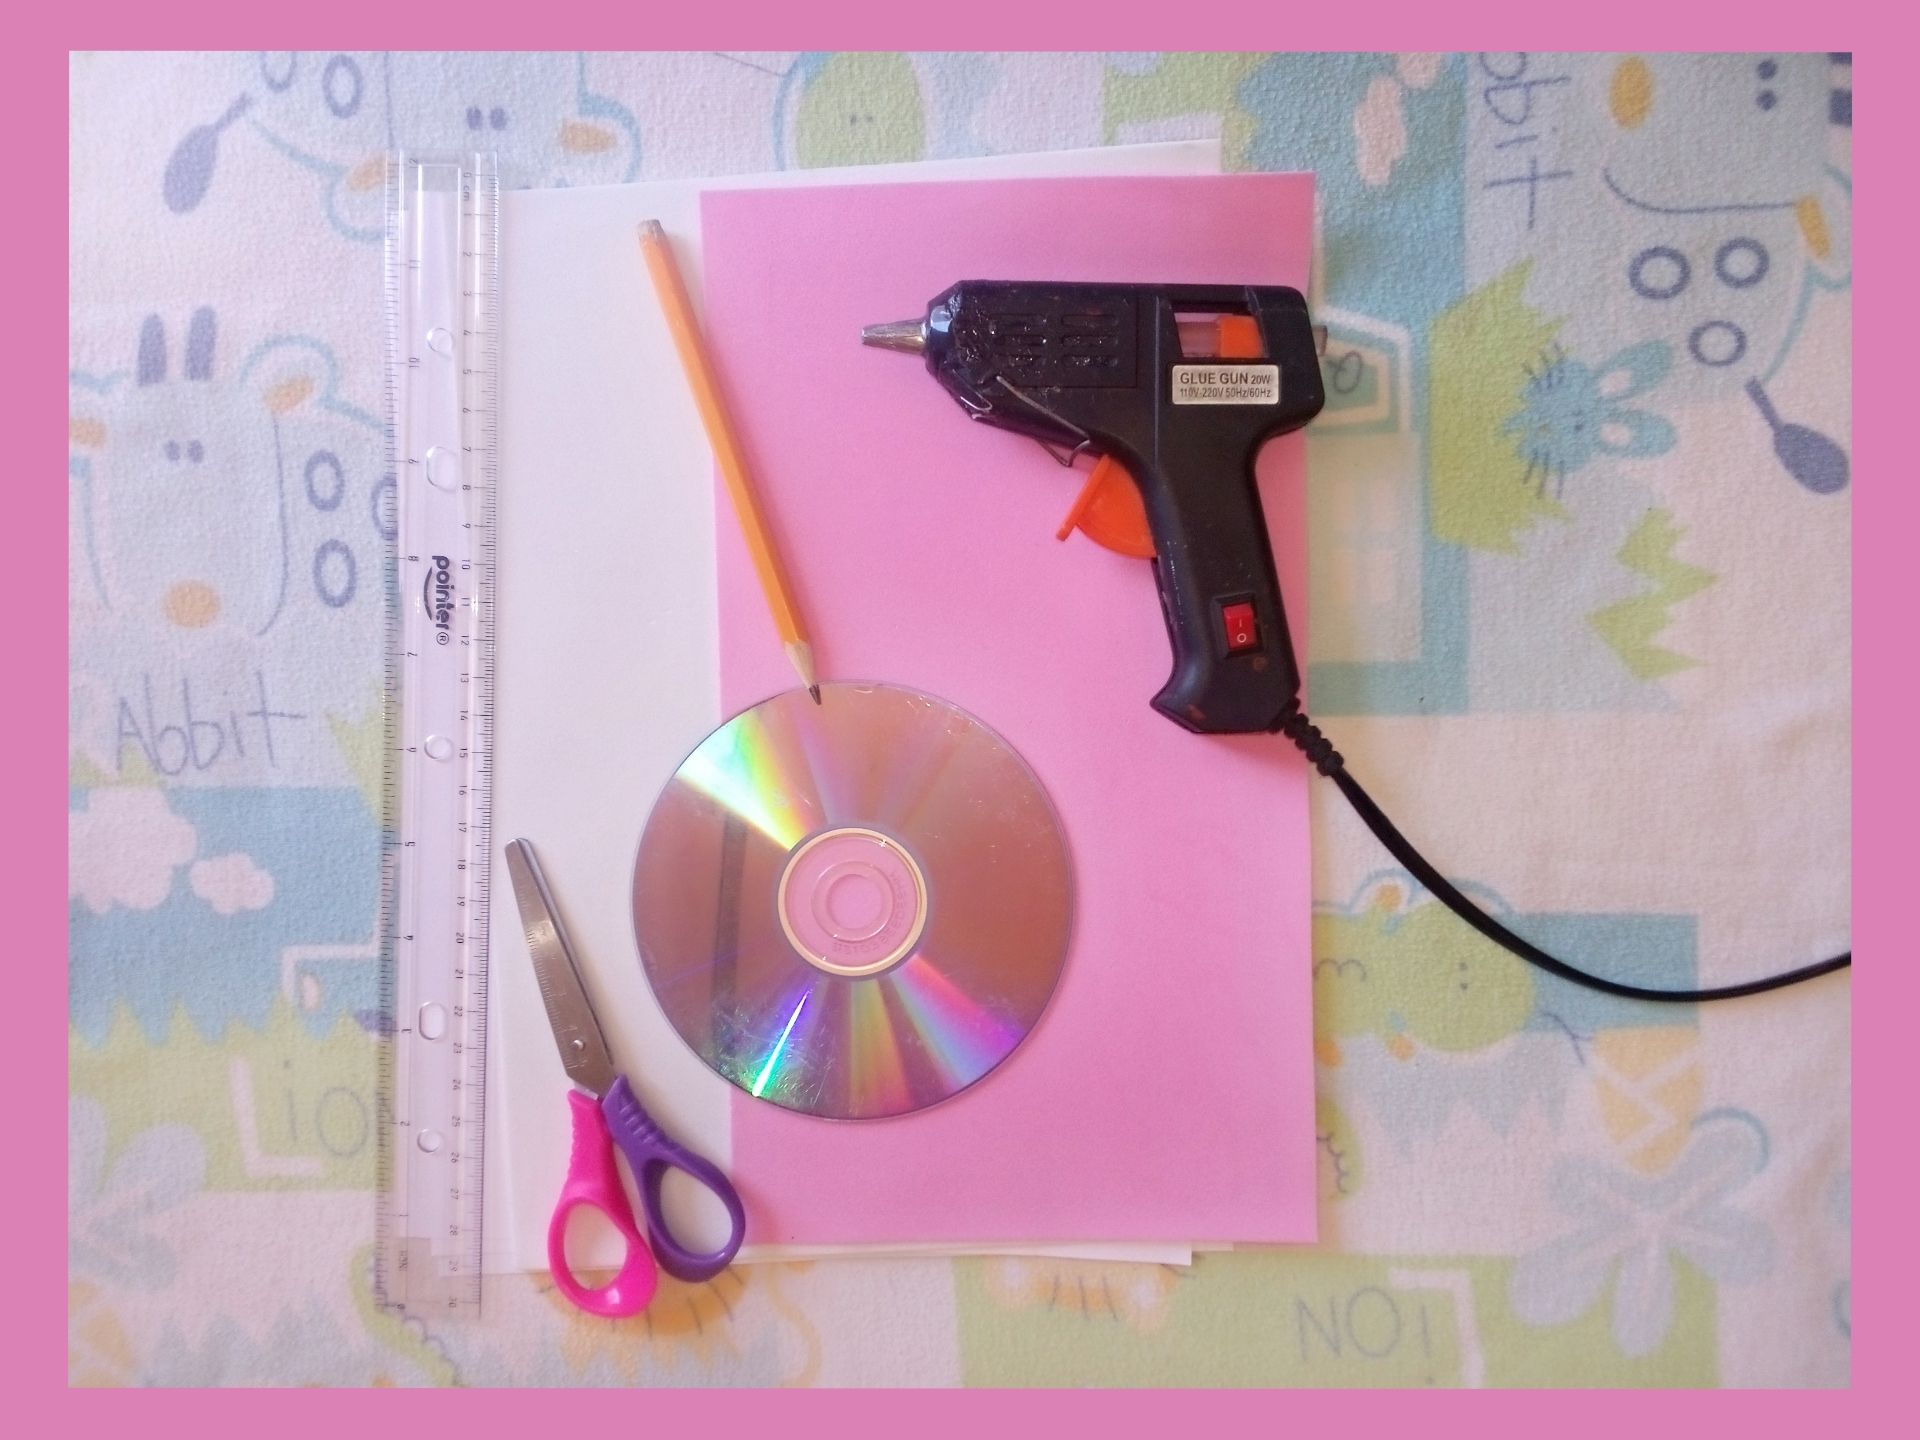
Materials.
Materiales.

- One Cd
- White and pink eva rubber
- Scissors
- Pencil
- Silicone gun
- Ruler.
- Un Cd
- Goma Eva blanco y rosa
- Tijera
- Lápiz
- Pistola de silicón
- Regla.

Step by step.
Paso a paso.

Paso 1. // Step 1.
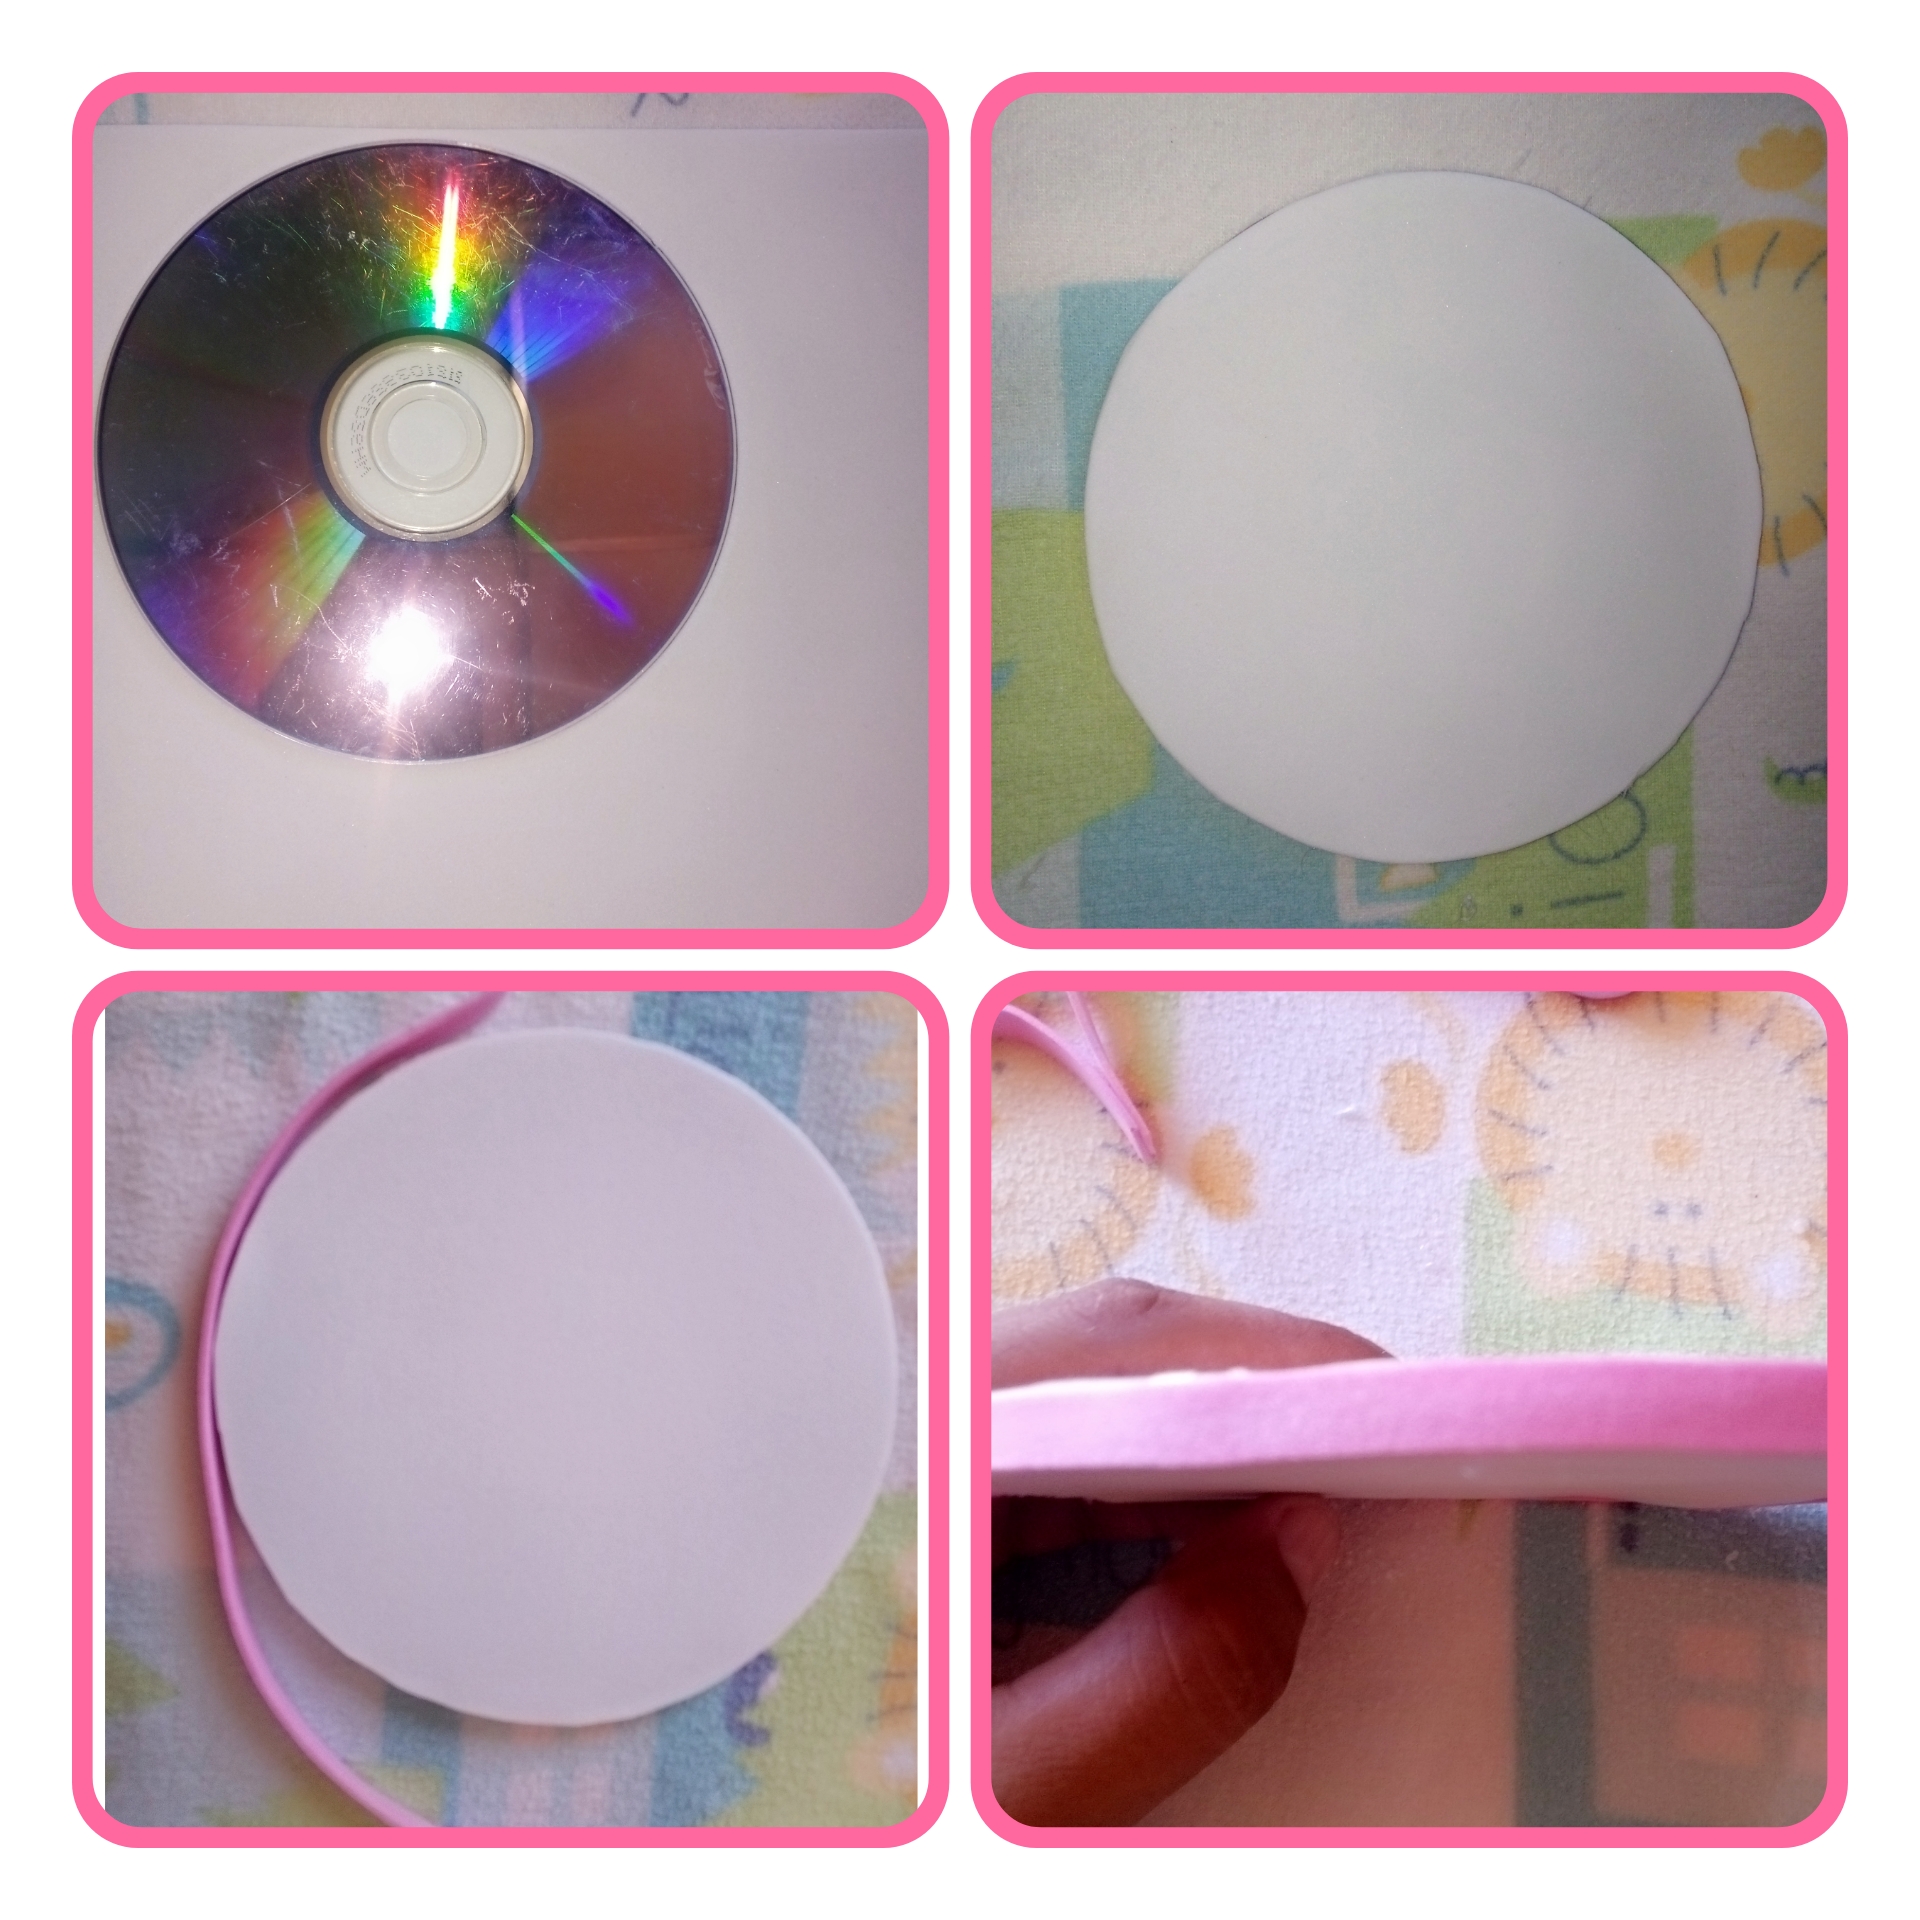
To start the basket we line a cd with white eva rubber on both sides and cover it with a thin strip of pink eva rubber and glue with hot silicone.
Para comenzar la cesta forramos un cd con goma Eva blanco por ambos lados y cubre alrededor con tira fina de goma Eva rosa y pega con silicón caliente.
Paso 2. // Step 2
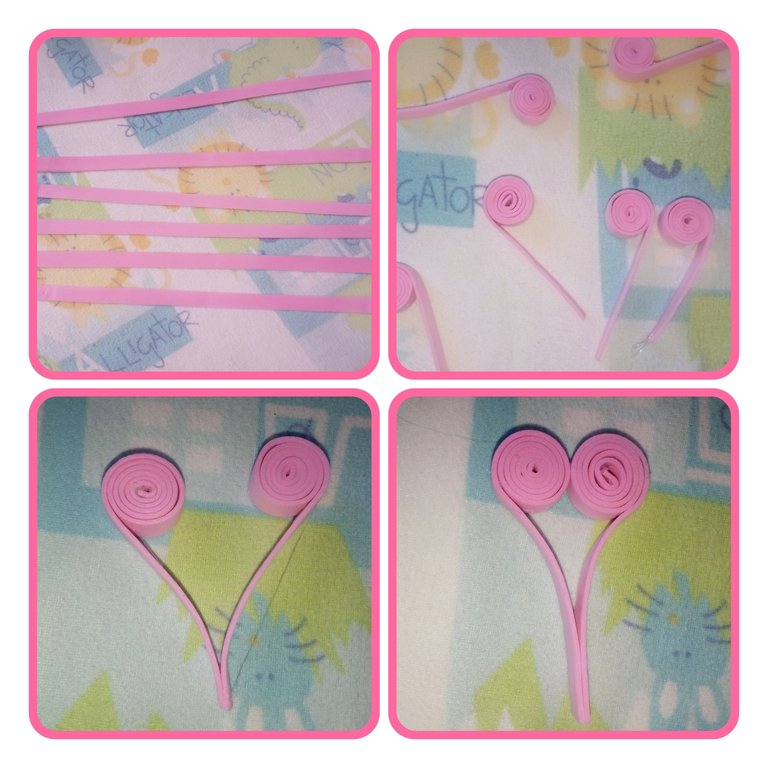
Then to make around the basket with a strip of pink Eva rubber of 1x 25 centimeters cut 18 strips and roll each one sticking silicone on the tip leaving 5 centimeters for the height of the basket. Glue two of these strips where the rolled up part is and glue the two ends with hot silicone and make nine of this shape.
Luego para hacer alrededor de la cesta con tira de goma Eva rosa de 1x 25 centímetros corta 18 tiras y enrolla cada una pegando en la punta silicón dejando 5 centímetros para la altura de la cesta. Pega dos de esta en dónde está lo enrollado y pega lo dos extremos con silicón caliente haz nueve de esta forma.
Paso 3. // Step 3.
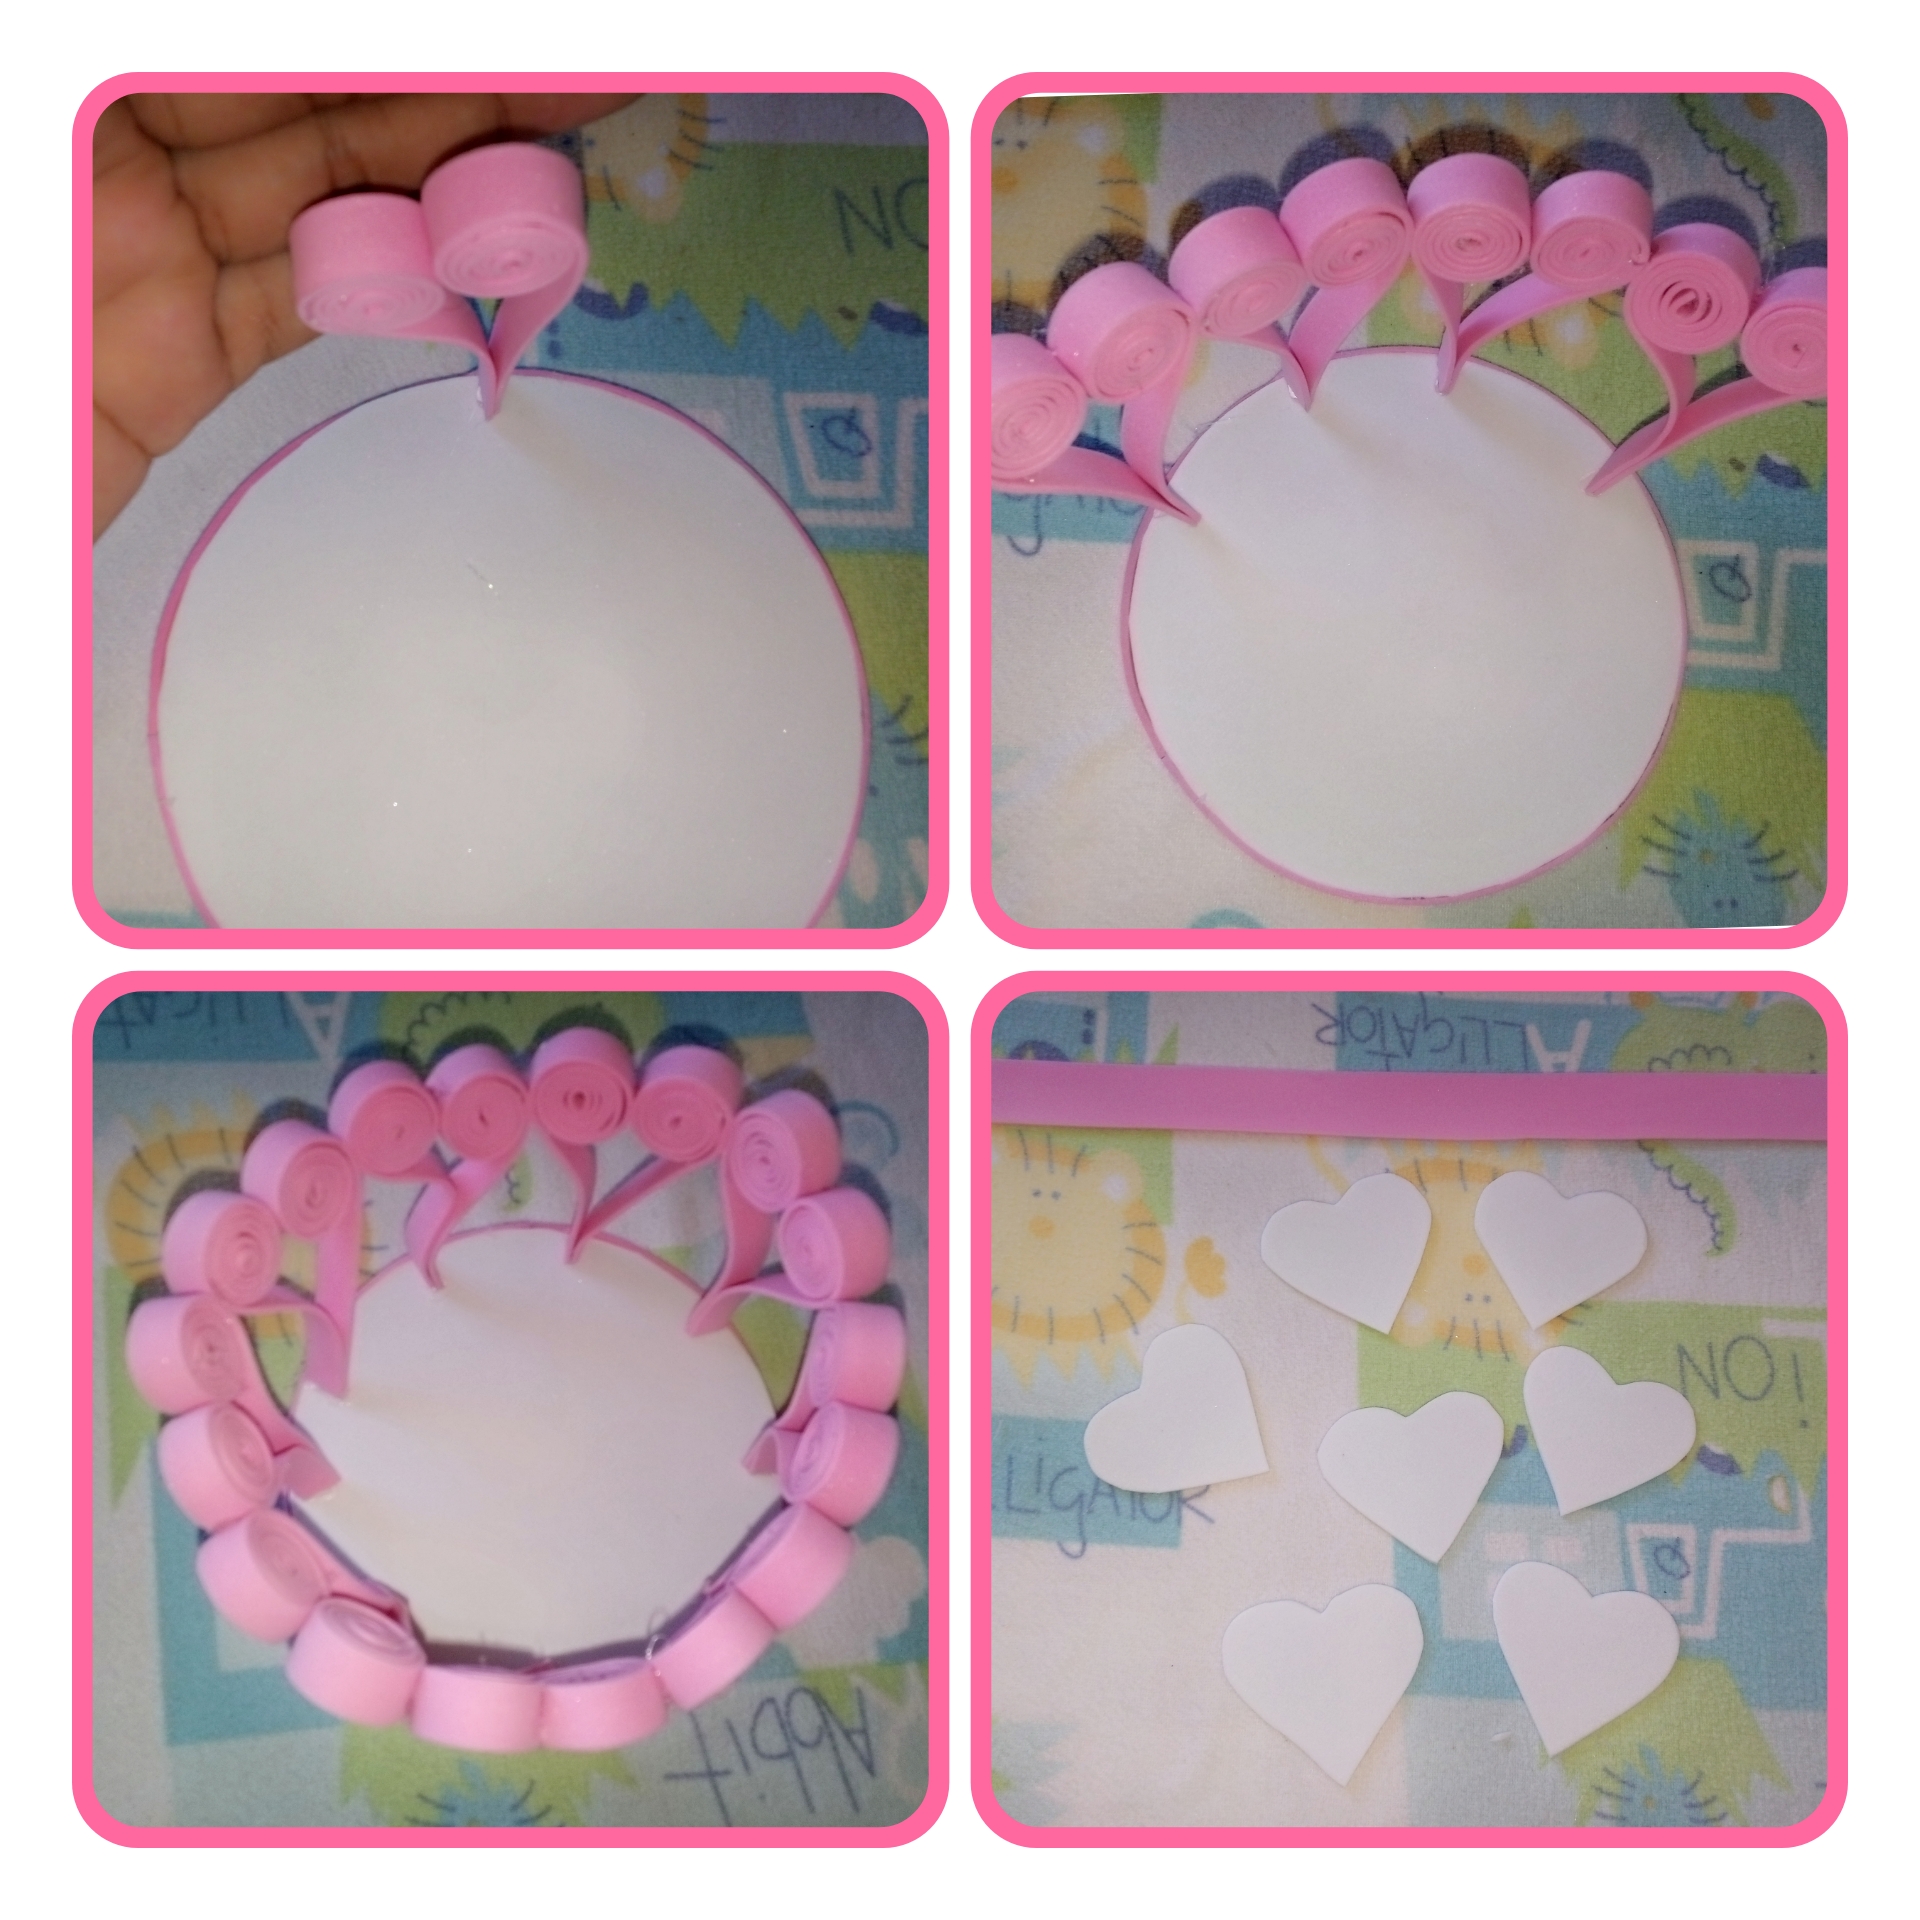
Once this shape is made, glue each one around the base of the basket. To decorate, make nine hearts and a strip for the handle of the basket.
Ya hecha esta forma pega a la base de la cesta cada una alrededor para decorar haz unos nueves corazones y una tira para el asa de la cesta.
Paso 4. // Step 4.
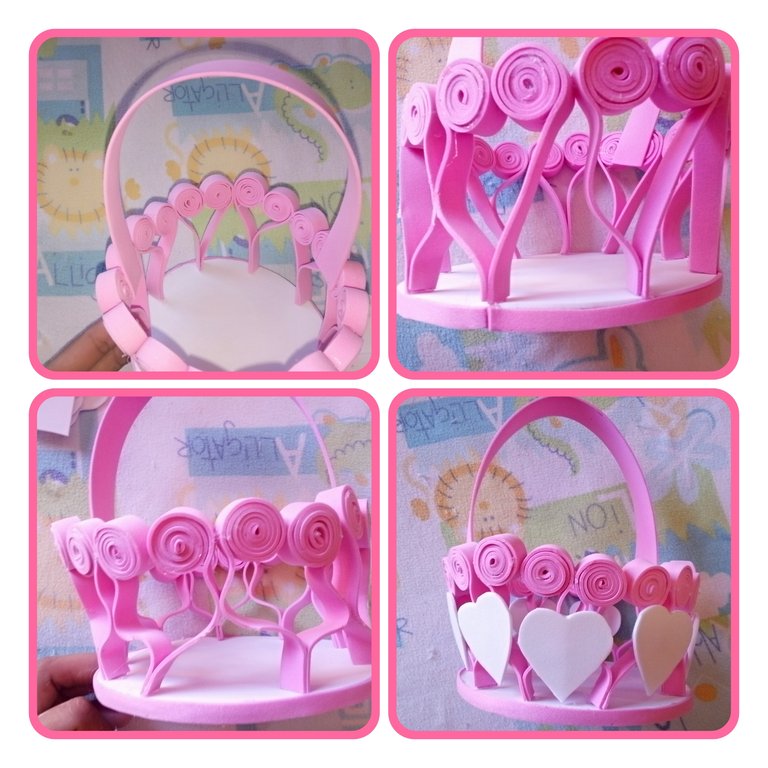
Glue the handle to the
2 x 25 centimeters to close more the basket glue the strips one to another until there is no more to glue in the image two and three of this step we see the difference of how the basket was closed more and to finish the basket glue the hearts and we can add what we want.
Pega el asa a la
cesta de unos 2 x 25 centimetros para cerrar más la cesta pega las tiras una con otra hasta que ya no haya mas que pegar en la imagen dos y tres de este paso vemos la diferencia de como se cerró más la cesta y para terminar la cesta pega los corazones y ya podemos añadir lo que deseamos.

Final result. // Resultado final.

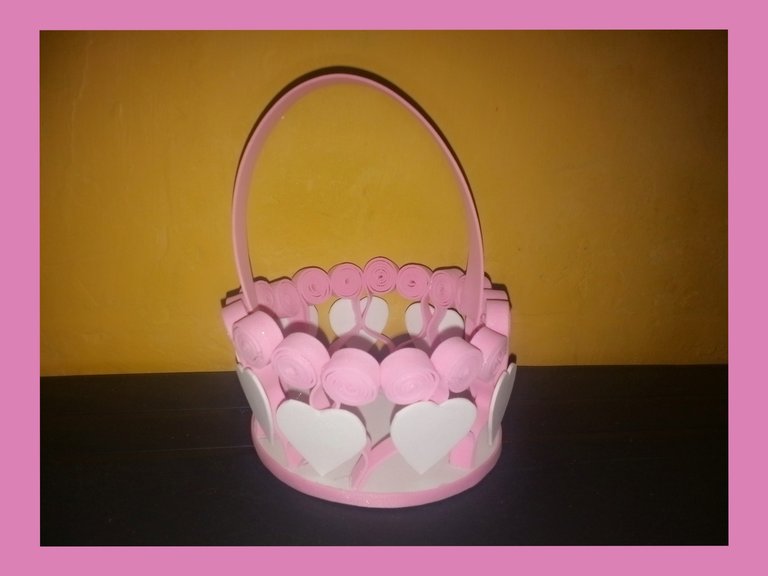
Gracias por visitar.
Todas las fotos y el contenido son originales que hago diariamente para mi blog. Para La traducción uso deepl los marcos y separadores es usado de canva .📷🖼️🤗
Thank you for visiting.
All photos and content are originals that I make daily for my blog. For translation I use deepl the frames and separators are used from canva .📷🖼️🤗


