Hola queridos amigos de Hive. Mi nombre es Leonellys Cova, soy nueva en Hive. Me gusta crear manualidades, dulces y tortas. Llegué a Hive y a esta comunidad gracias a Licerlys más conocida en Hive como @divergente1.
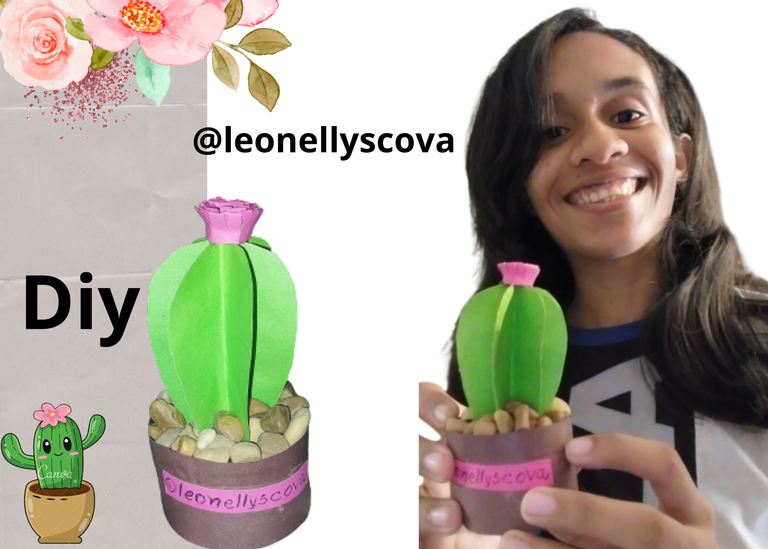
Ella me mostró esta brillante plataforma y como mi onboarder ha sido quien me ha explicado el proceso y en lo que consiste Hive, aunque sé que aún me queda mucho que aprender estoy muy feliz de estar en este espacio compartiendo con ustedes mis habilidades.
Para iniciarme en Hive quiero mostrarles la elaboración de una de mis plantas preferidas con lo son los pequeños cactus. 🌵 estas plantitas son siempre muy curiosas y no requieren tanta agua así que son una opción para embellecer nuestros hogares.
Materiales
- Hoja de cartulina verde
- Hoja de Cartulina Marrón
- Hoja de cartulina rosado
- Tijera
- Lapiz
- Silicon
Paso a Paso
1
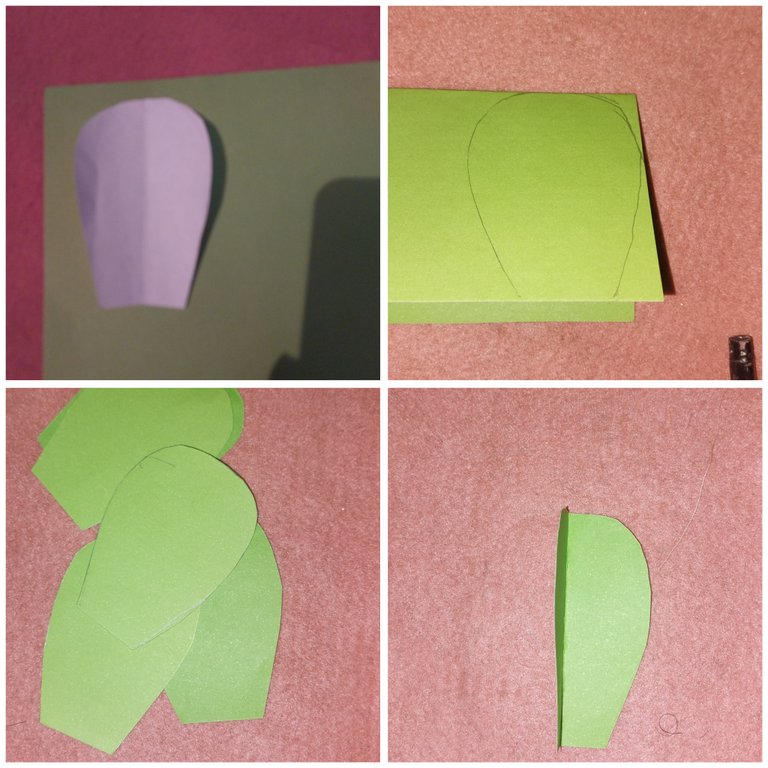
Lo primero que debemos realizar es la forma de la silueta de un cactus, y luego tomar la cartulina verde y trazar 10 piezas con este molde. Luego debemos recortar con la tijera los 10 piezas para el cactus.
Después la doblamos justo a la mitad.
2
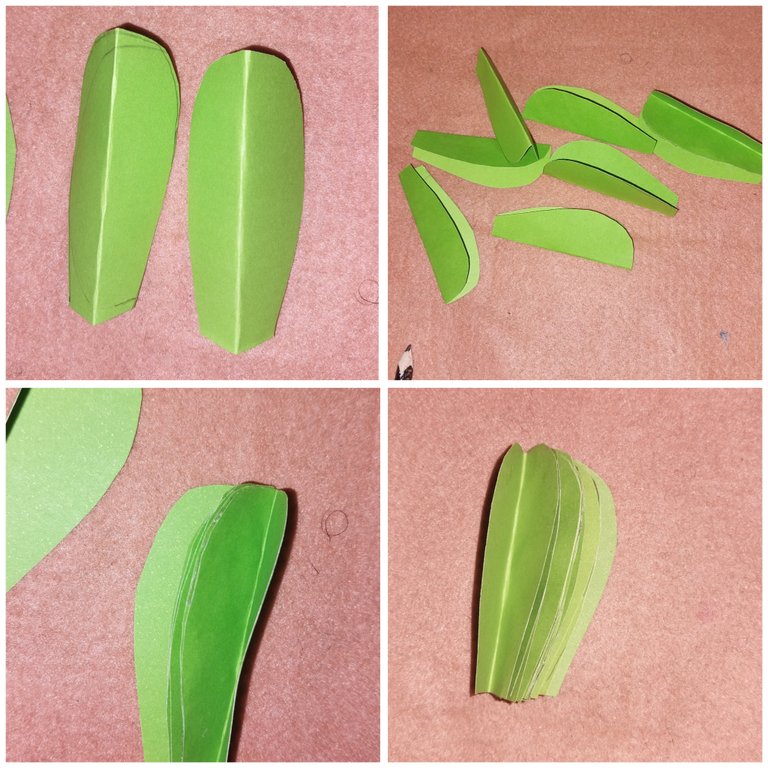
Seguidamente debemos doblar a la mitad todas las piezas y luego pegar cara con cara cada una de ellas hasta completar las 10.
3
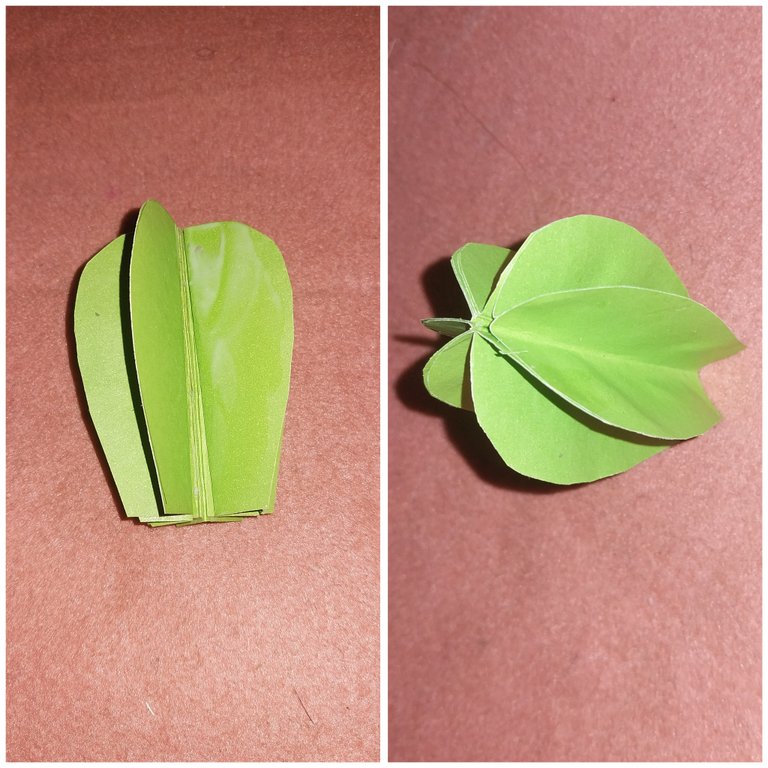
Una vez que se peguen cara con cara las caras del cactus debemos unir los extremos finales. Y de esta manera nos quedaría nuestra plantita.
4
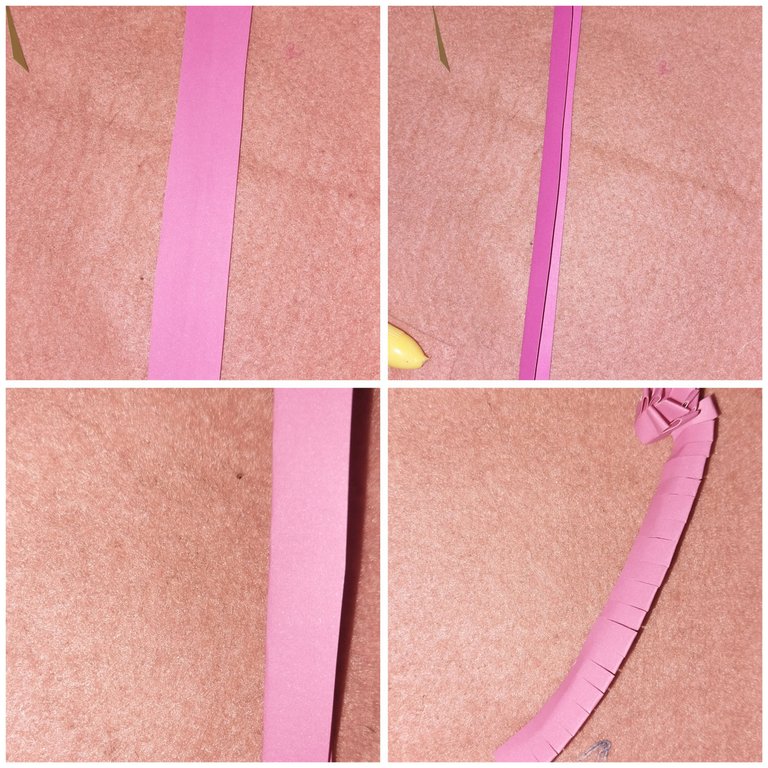
Luego tomamos una cinta de cartulina y la doblamos a la mitad, luego con la tijera vamos hacer pequeños cortes pero sin cortar el final.
5
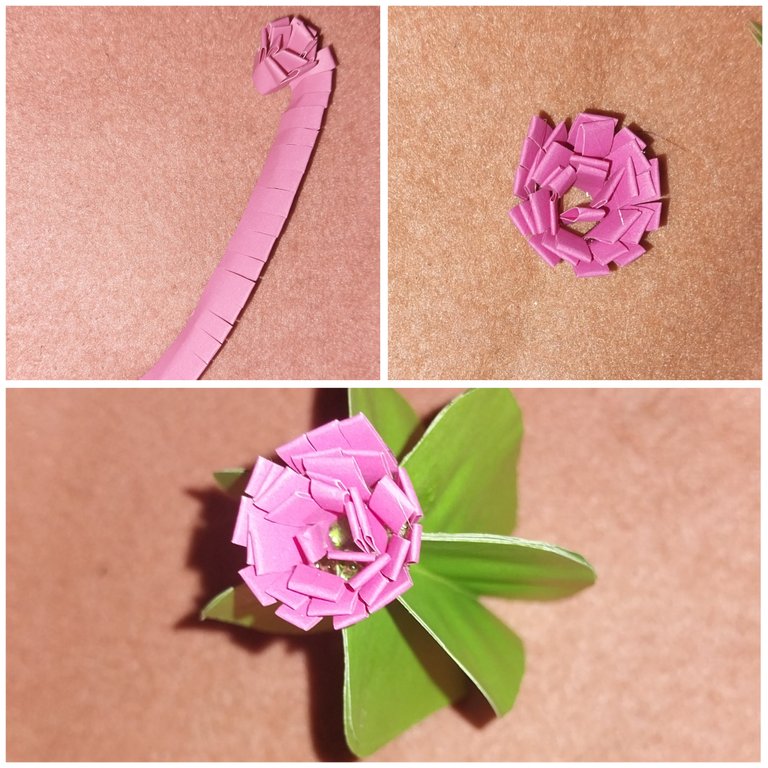
Después debemos enrollar la inta para formar la flor de nuestro cactus. Luego pegamos esta en la parte superior del cactus.
6
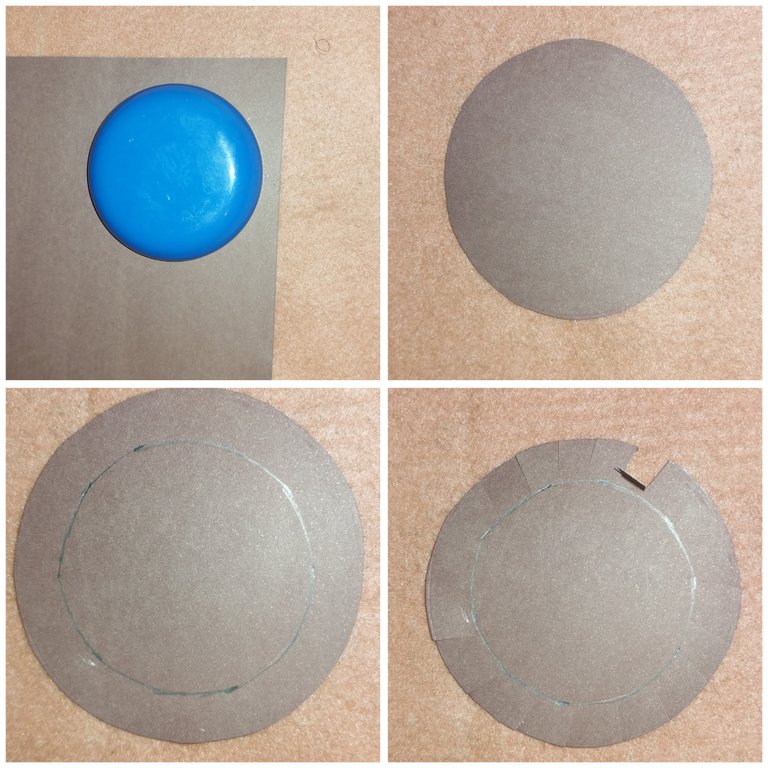
En la cartulina marrón hacemos un circulo, y recortamos. Luego debemos hacer otro circulo dejando un margen de 1,5 cm de ancho con respecto al otro circulo.
Seguidamente recortamos con la tijera hasta llegar al margen del circulo pequeño.
Luego levantamos cada una de las cintas que se han recortado del círculo.
7
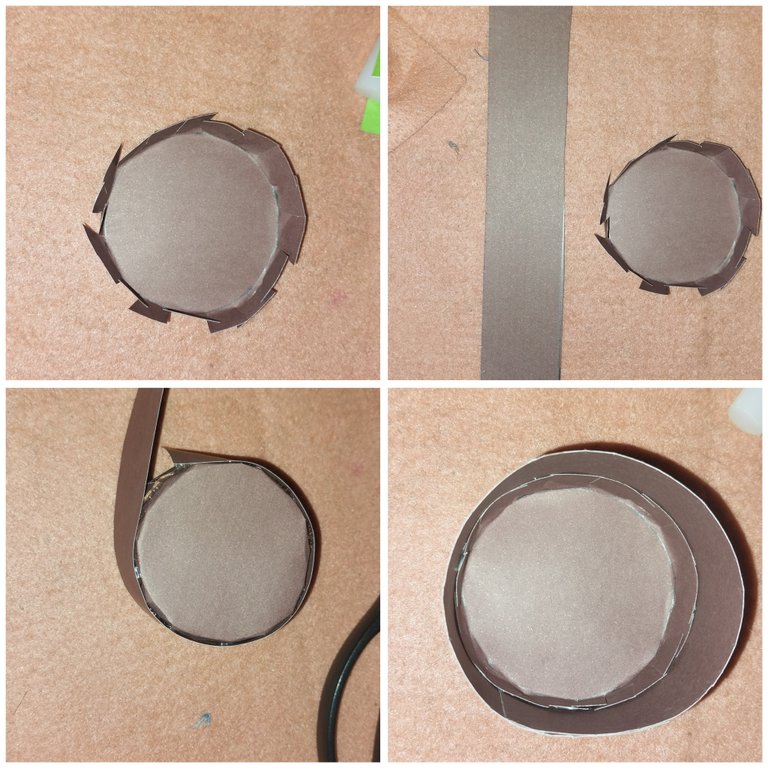
Depues tomamos una cinta de cartulina de 12 cm y la pegamos en el borde con la ayuda de la cartulina.
8
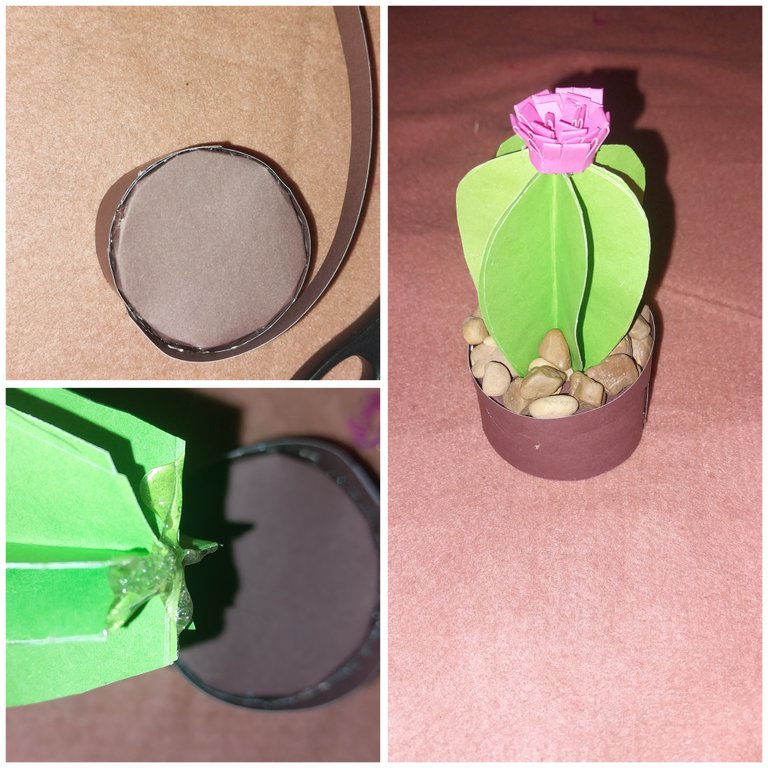
Por último pegamos el cactus a la base de la maceta circular que hemos creado.
Y este es el resultado final. Espero que les guste!
Muchas gracias amigos de Hive. Estoy muy emocionada y feliz de compartir este proceso con ustedes. Pronto espero seguir compartiendo con cada uno de ustedes muchas más cosas.
También espero sus comentarios y sugerencias apoyo!
🫶
- Las imágenes me pertenecen
- Traductor: Deelp traslator
- Edicion: Canva

Hello dear friends of Hive. My name is Leonellys Cova, I am new to Hive. I like to create crafts, sweets and cakes. I came to Hive and to this community thanks to Licerlys better known on Hive as @divergente1.
 .
.
She showed me this brilliant platform and as my onboarder she has been the one who has explained me the process and what Hive is all about, although I know I still have a lot to learn I am very happy to be in this space sharing with you my skills.
To get me started in Hive I want to show you the elaboration of one of my favorite plants with are the small cactus. 🌵 these little plants are always very curious and do not require so much water so they are an option to beautify our homes.
Materials
- Sheet of green cardstock
- Brown cardboard sheet
- Pink cardboard sheet
- Scissors
- Pencil
- Silicon
Step by Step
1

The first thing to do is to make the shape of the silhouette of a cactus, and then take the green cardboard and trace 10 pieces with this mold. Then we must cut out with the scissors the 10 pieces for the cactus.
Then we fold it right in half.
2

Next we must fold in half all the pieces and then glue face to face each of them to complete the 10 pieces.
3

Once the cactus faces are glued face to face we must join the final ends. And this way we would have our little plant.
4

Then we take a cardboard ribbon and fold it in half, then with the scissors we will make small cuts but without cutting the end.
5

Then we must roll the inta to form the flower of our cactus. Then we glue this to the top of the cactus.
6

On the brown cardboard we make a circle, and cut it out. Then we must make another circle leaving a margin of 1.5 cm wide with respect to the other circle.
Then we cut with the scissors until we reach the margin of the small circle.
Then we lift each of the ribbons that have been cut out of the circle.
7

Then we take a 12 cm cardboard ribbon and glue it to the edge with the help of the cardboard.
8

Finally we glue the cactus to the base of the circular pot we have created.
And this is the final result. I hope you like it!
Thank you very much friends of Hive. I am very excited and happy to share this process with you. Soon I hope to continue sharing with each of you many more things.
I also look forward to your comments and suggestions support!
🫶
- Las imágenes me pertenecen
- Traductor: Deelp traslator
- Edicion: Canva


