English
Muda Bags
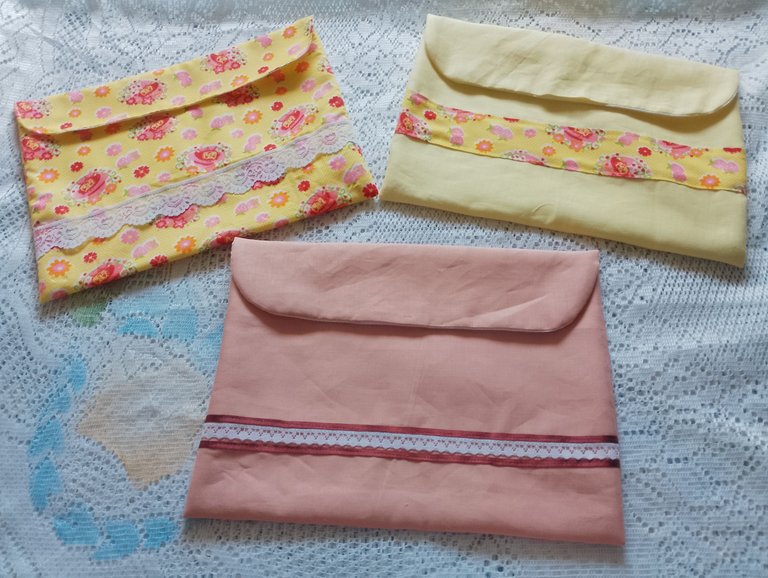
In the coming months, we are expecting two babies in the family: a female and a male. Both mothers are new mothers and we are looking forward to everything going well. For this, we are getting a little bit ahead of ourselves in the preparations, especially in the clothes. I wanted to give her the little bags where she puts the baby's first change of clothes when she is in hospital. Mothers almost always ask for them when they give birth. When the baby is born, after monitoring the baby. The nurses ask the relatives for clothes to dress him, I had some scraps of fabric left over from other sewing and I'm going to use them.
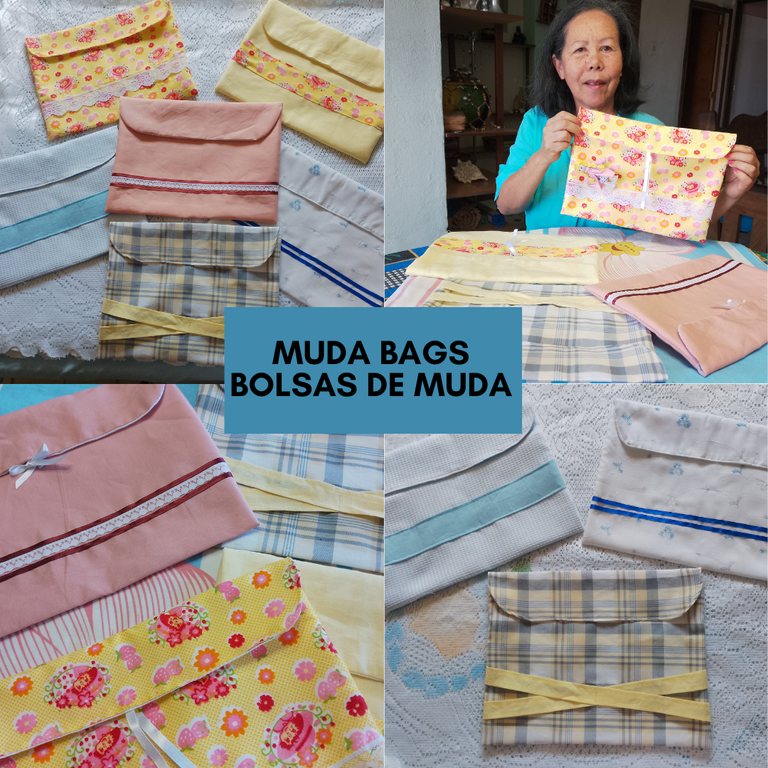
Made with Canva
One way to prevent the change from getting lost is to put it in a finely made bag or envelope that identifies the child so that it doesn't get confused with another child born that day. I love this type of work, as it makes me very excited and happy to be able to make something for my nephews and nieces. The stay in the hospital is three days; therefore, one is needed for each day, hoping that everything with God's favour will be of many blessings, there would be six bags in total. It took me several days to make them, although I made them well in advance.
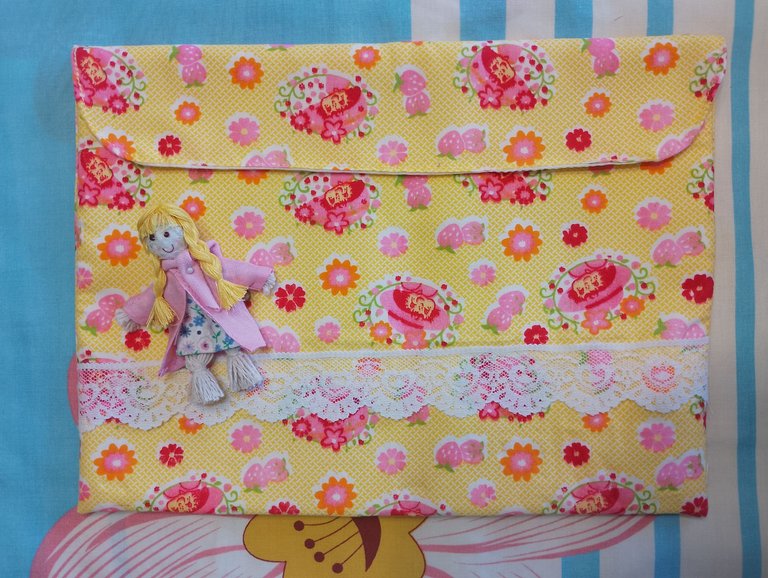
And it is with much love that I begin my task. For this we will need the following:
Materials:
Fabrics of different colours, recycled.
Threads of different colours.
Scissors, paper can also be recycled, pencil.
Ruler.
Pins, needle.
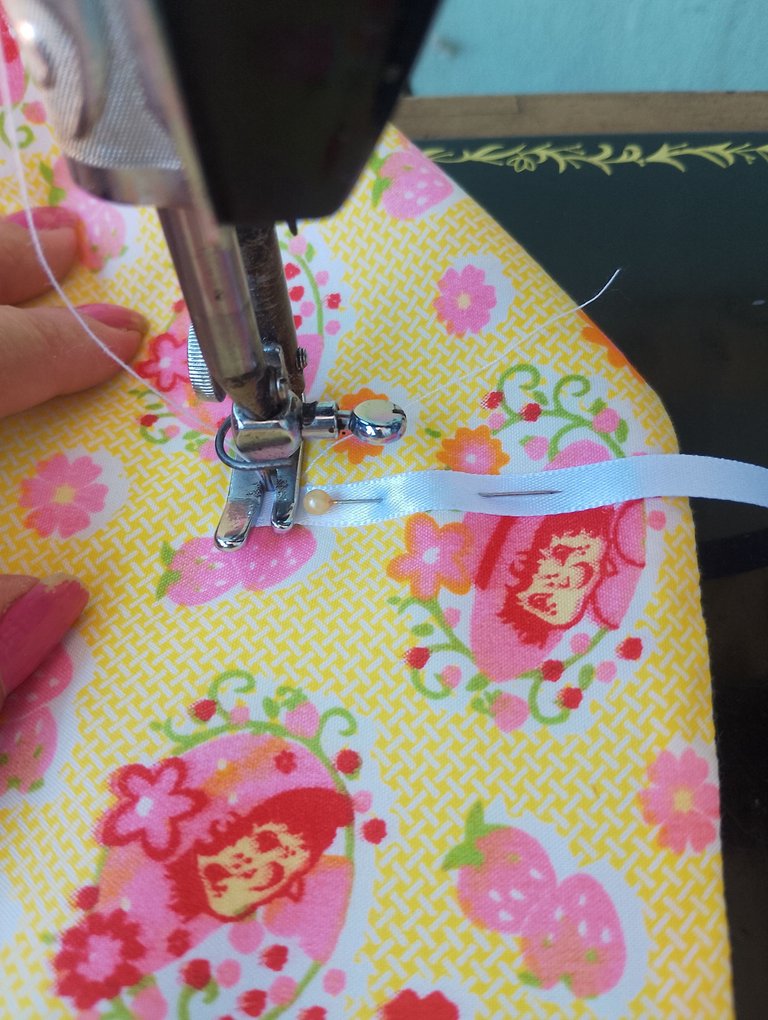
Laces, strips (to decorate), and ribbons to close the bag, left over from another project.
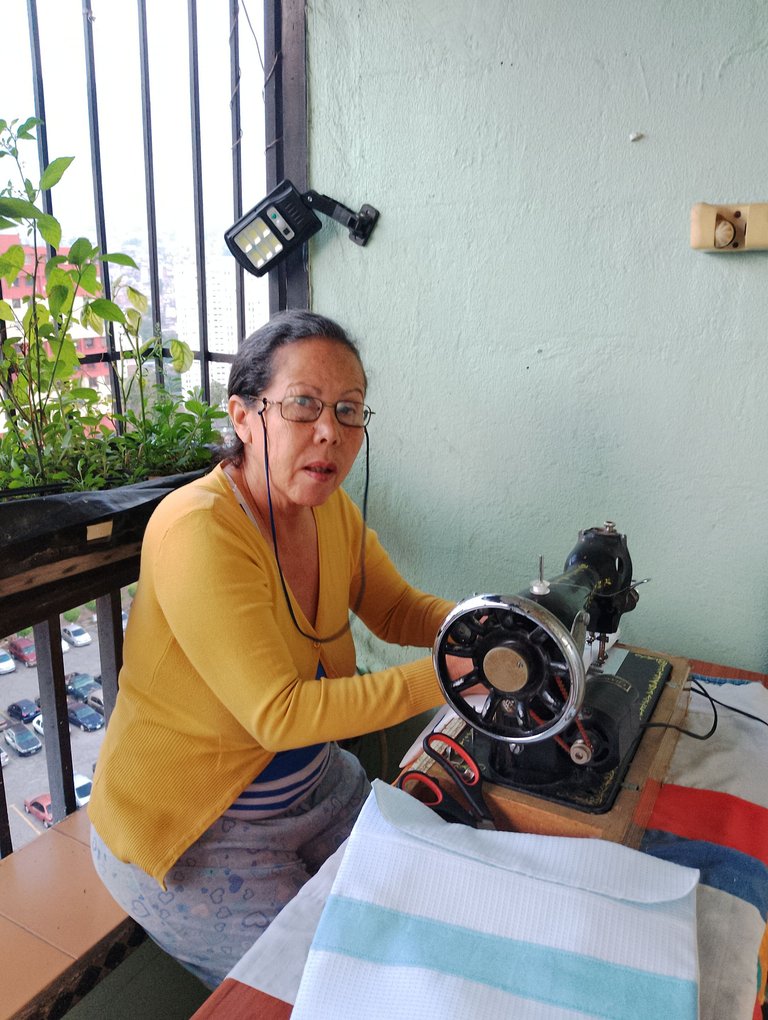
As a main tool, a sewing machine.
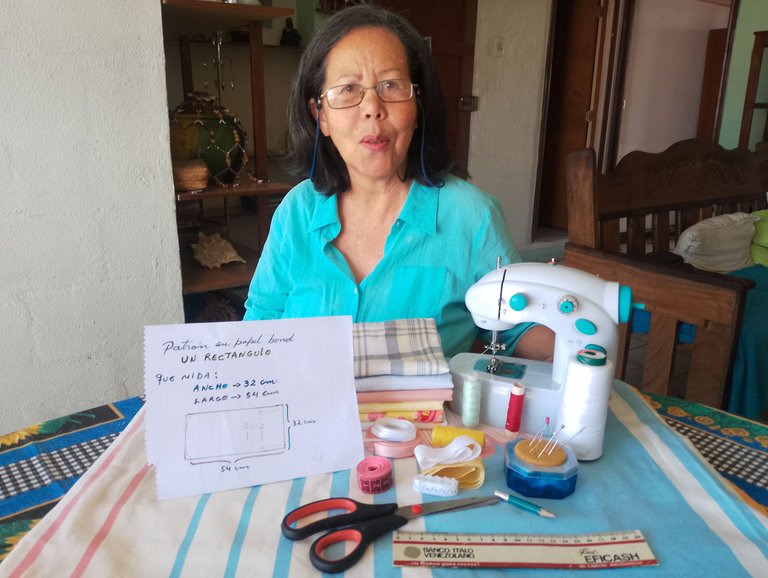
Procedure:
First step.
We make a pattern on Bond paper, drawing a rectangle measuring:
Width 32 cm.
Length: 54 cm.
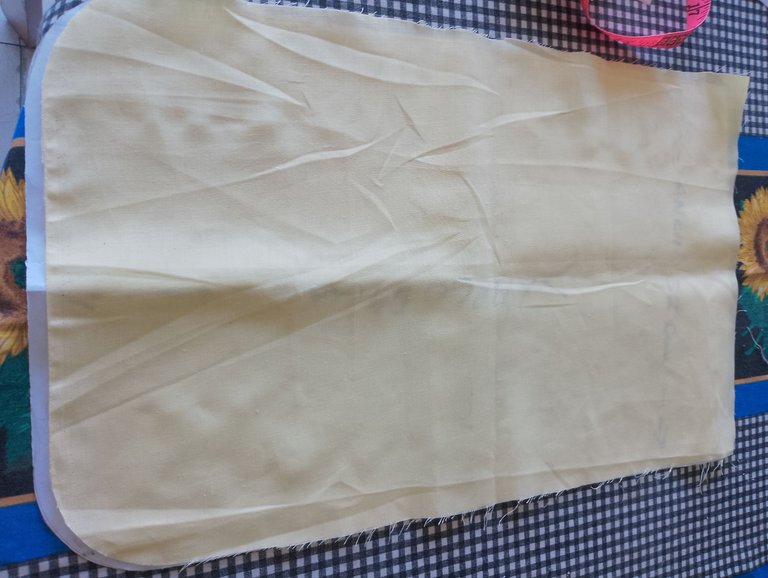
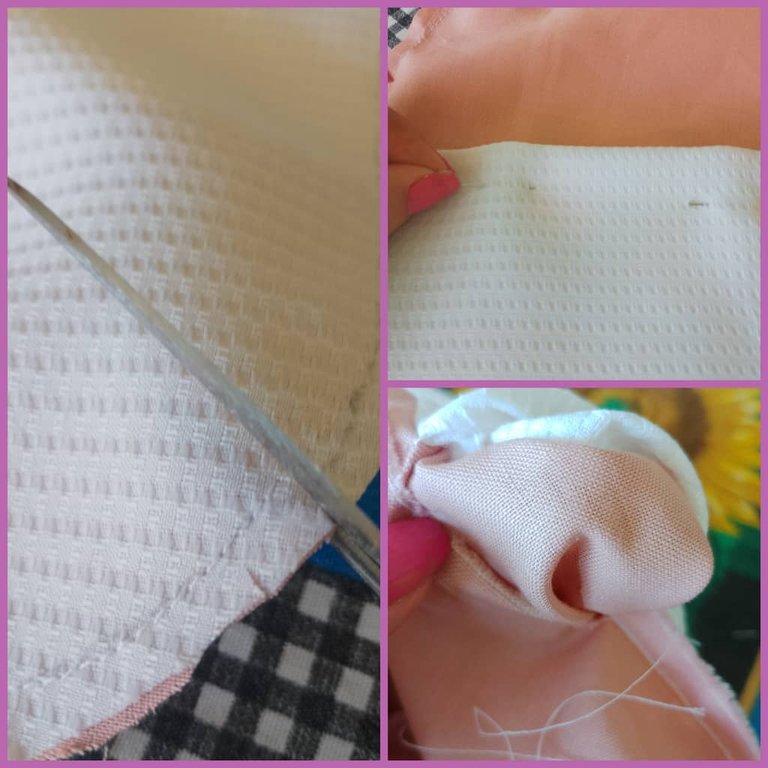
Once the pattern is drawn, we round off two of the ends of the rectangle and place it on the fabrics we are going to use and proceed to cut one by one. As I have to make six bags, I cut 12 fabrics: lining and right side.
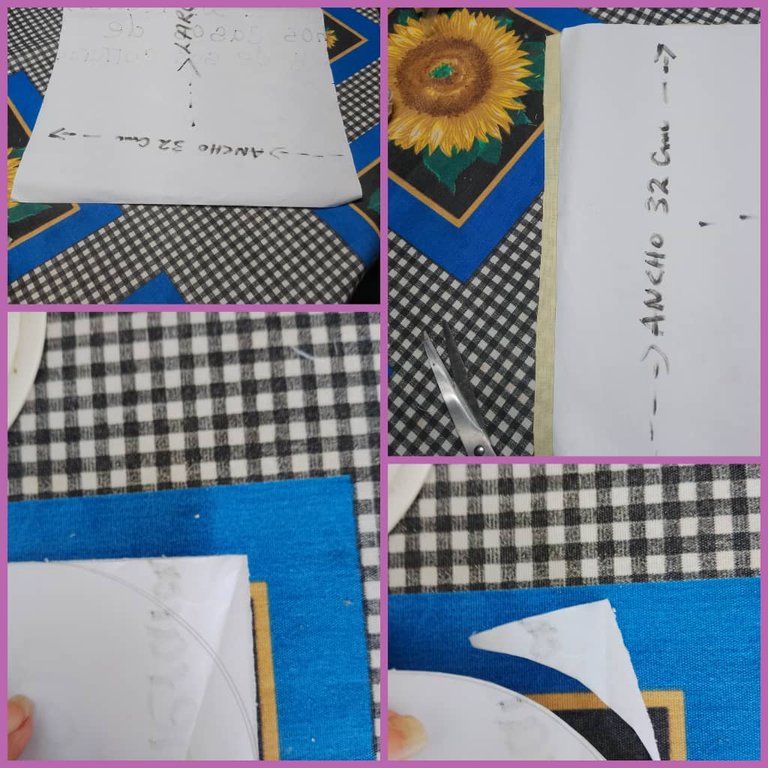
Second step.
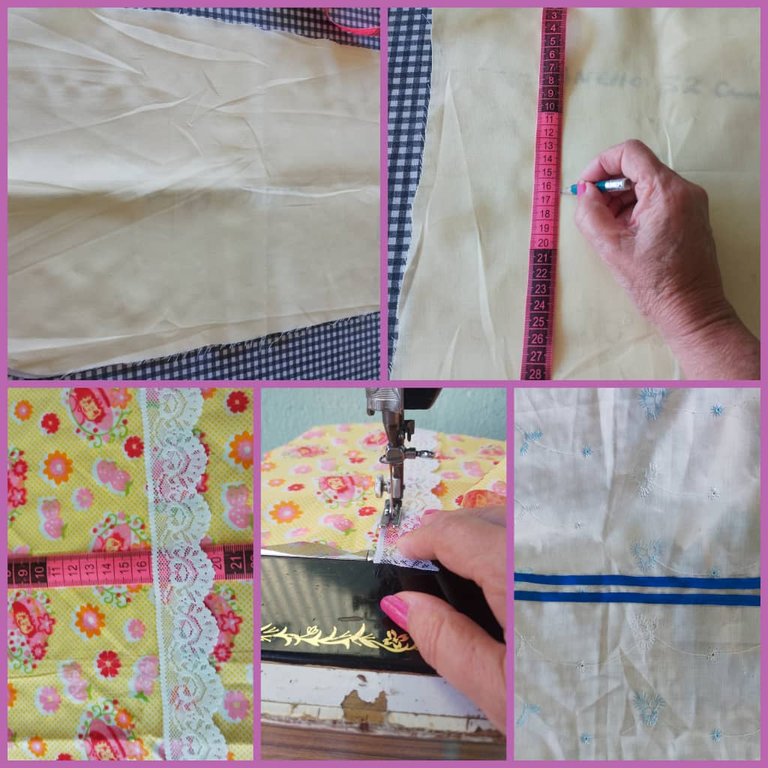
Once the fabric is cut, I measure 16 cm from the top (where the corners are not rounded) downwards and mark it, and then I draw a faint line, which will show me where to place the lace and sew the seam.
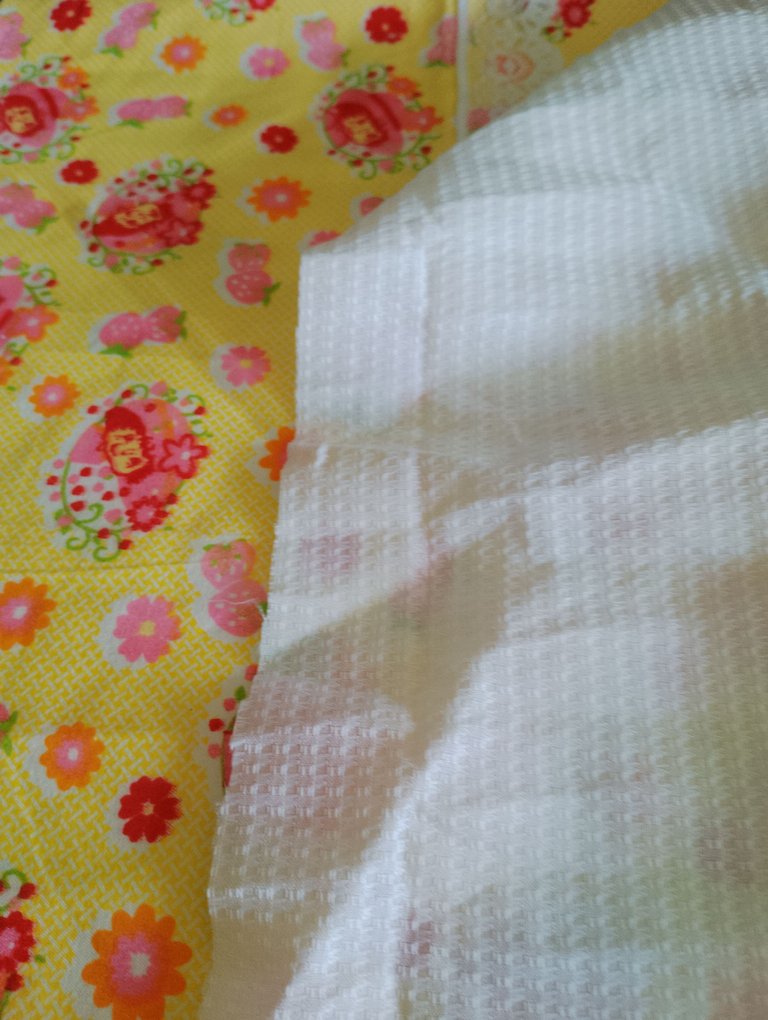
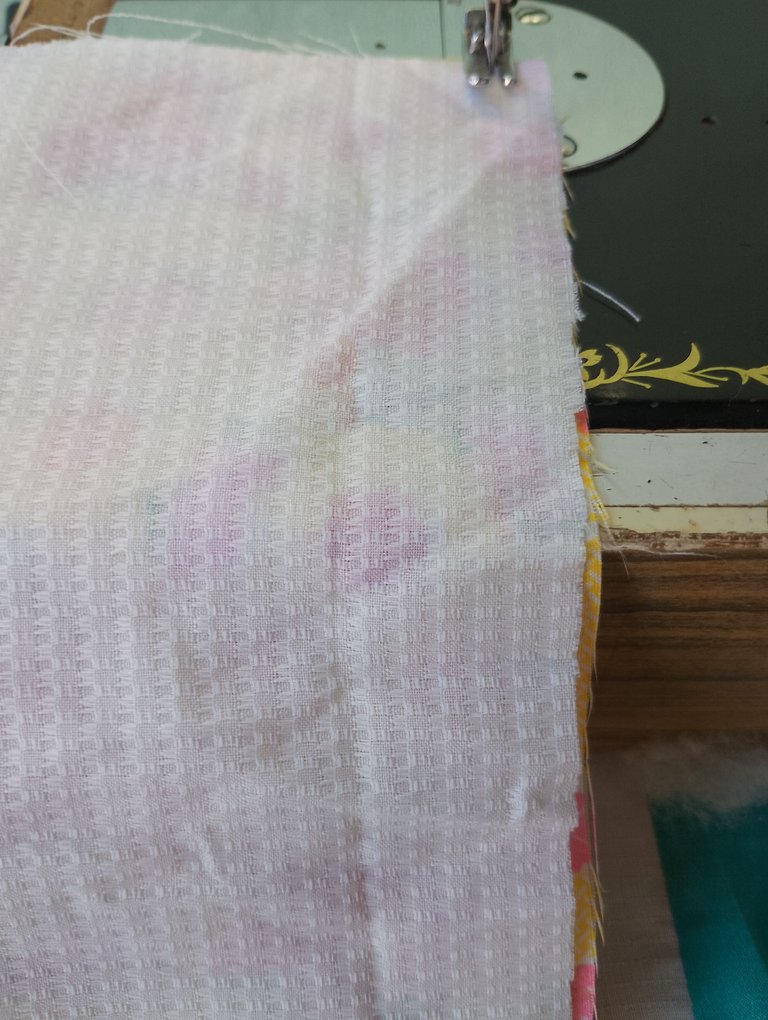
Now I place the two right sides together and on the top I sew a seam across the width of the fabric.
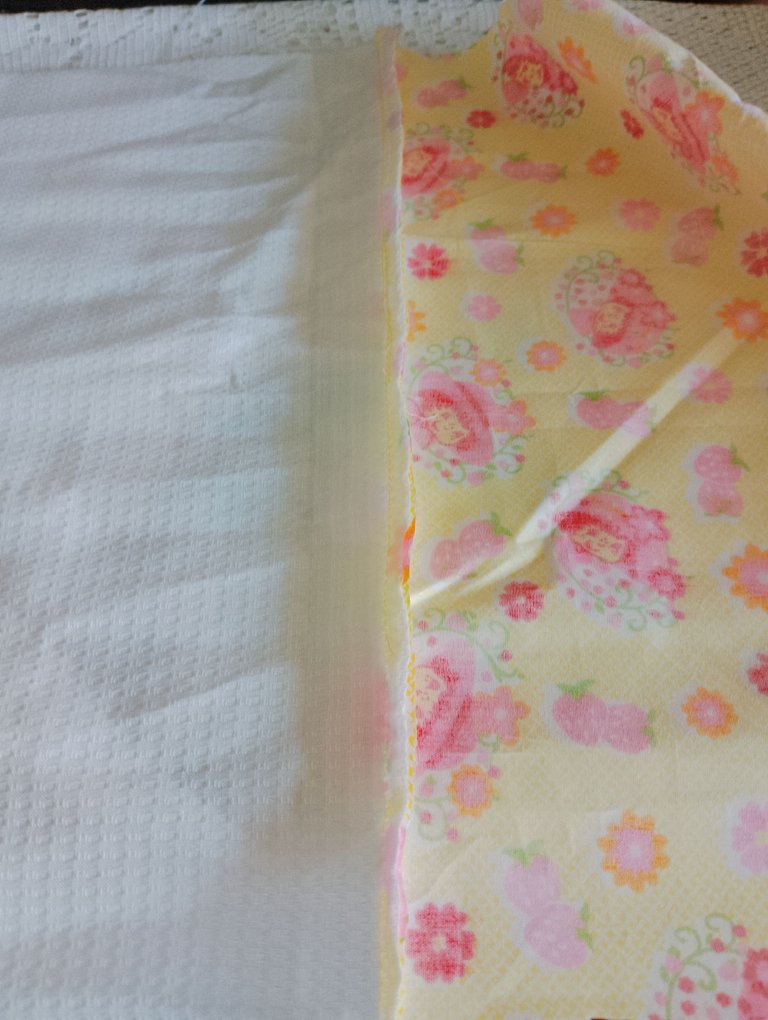
Third step.
We turn and iron to fix the fabrics well, we spread well on the table, and we measure again from the top to 22 cm. (This second measurement is a little lower than the lace), once we mark, we make a faint line and fold the first fabric upwards.
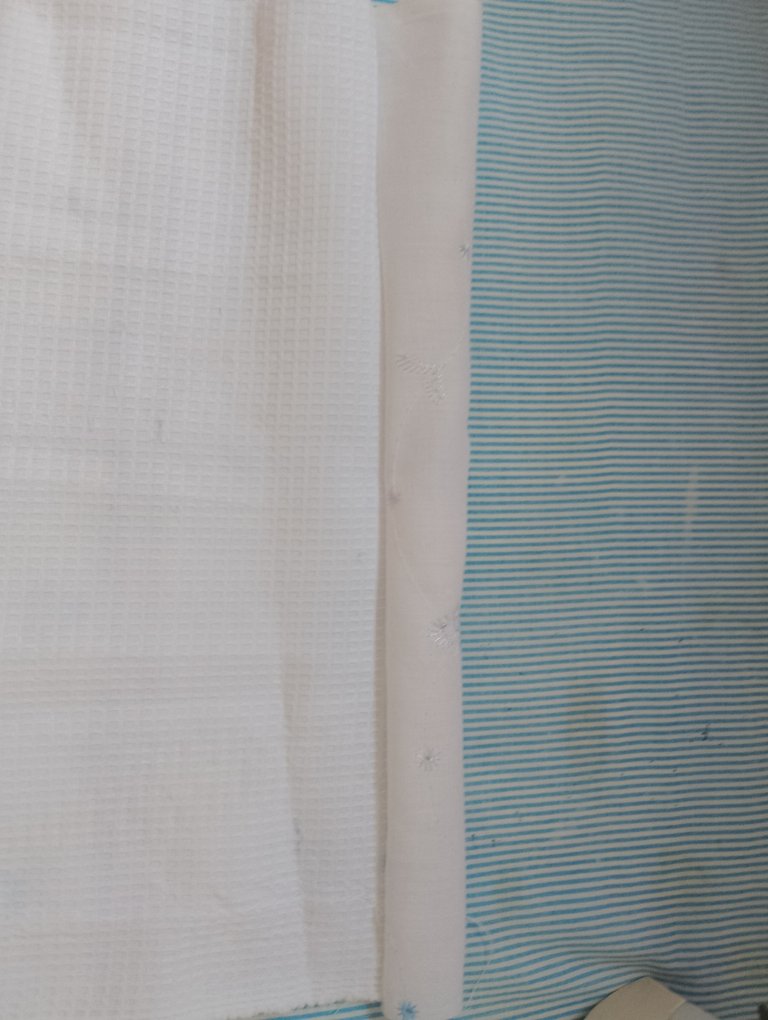
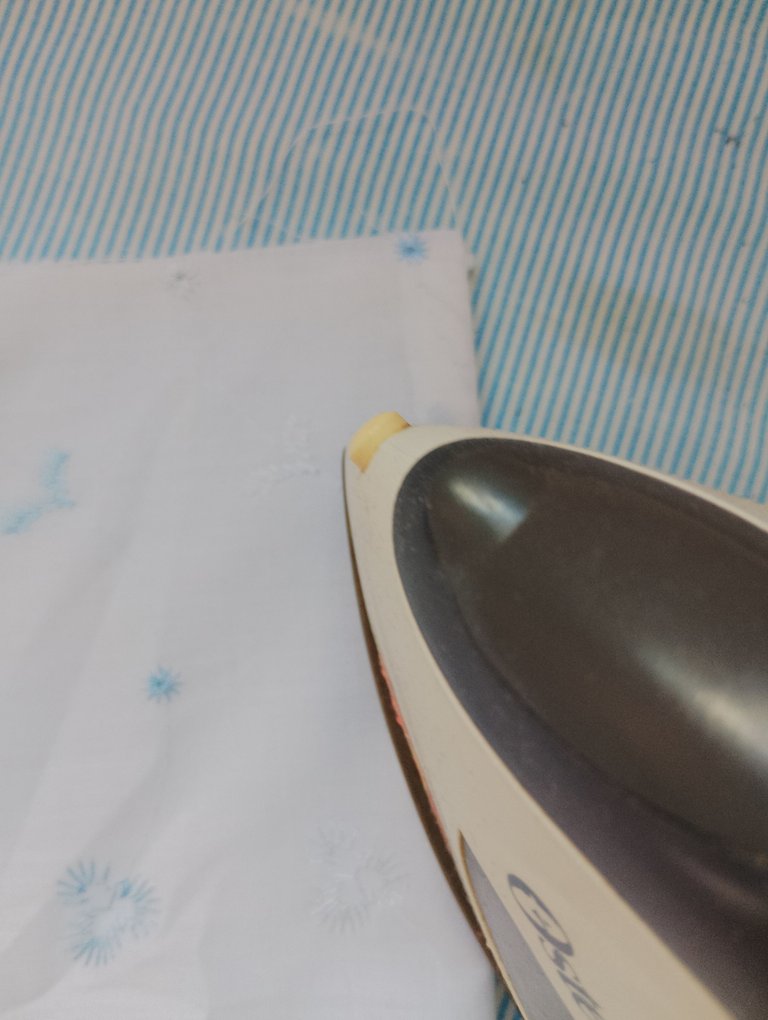
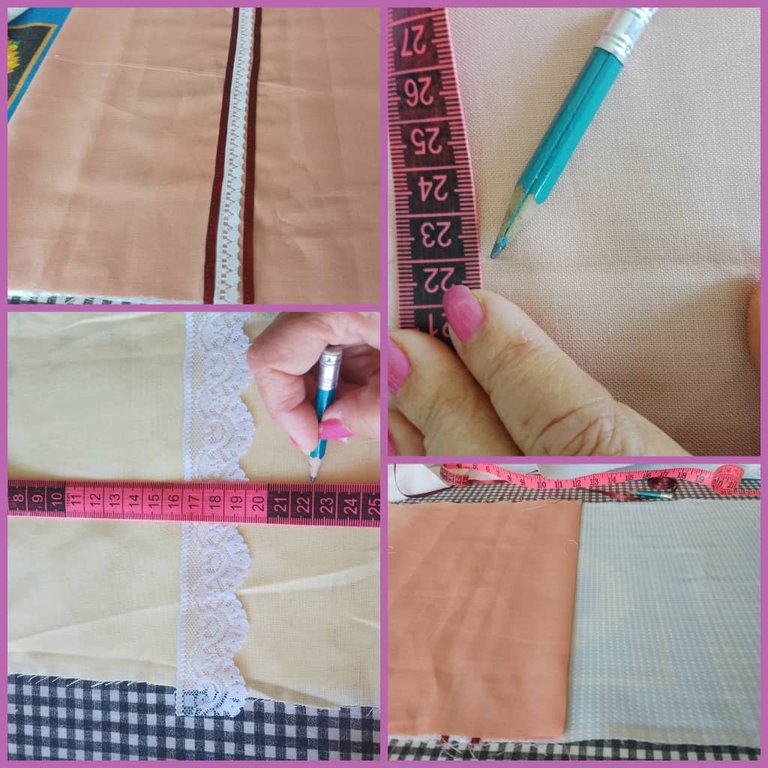
In the same way, we turn the fabric over and match the second fabric with the previous one.
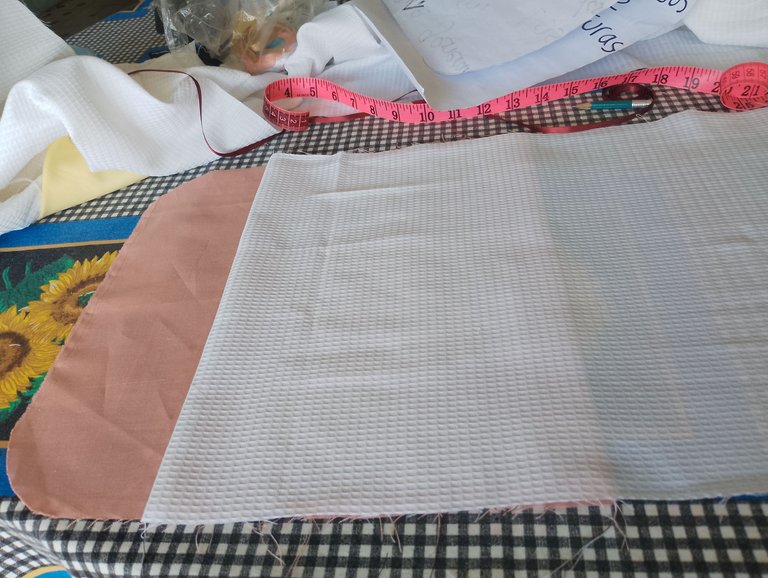
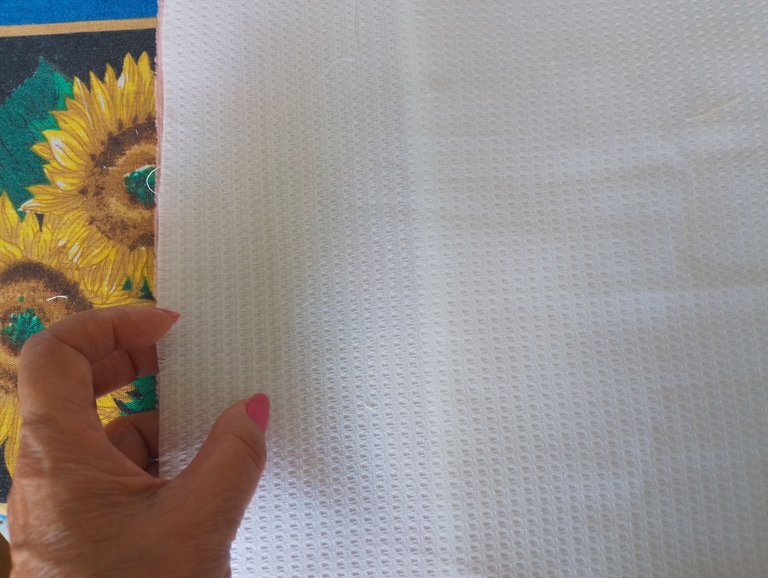
Fourth step.
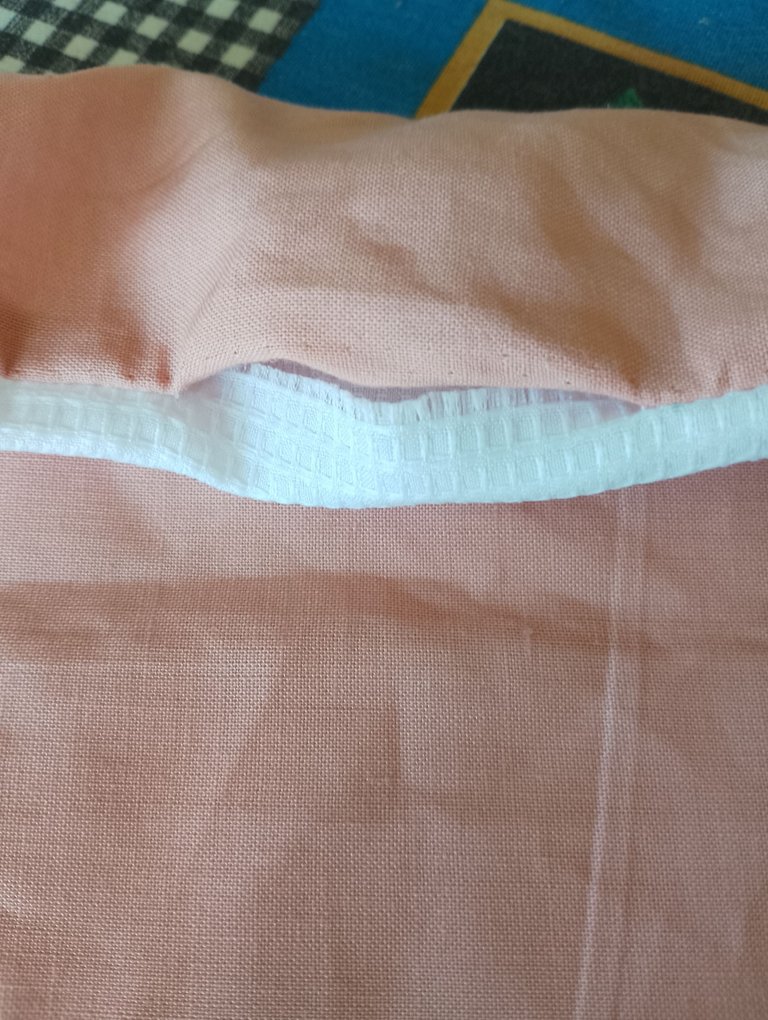
Once the two fabrics have been folded, pin them together. Now we sew both sides along the edge from the top to the rounded part, leaving an opening of 10 cm. Finish the stitching and repeat the same on the other side.
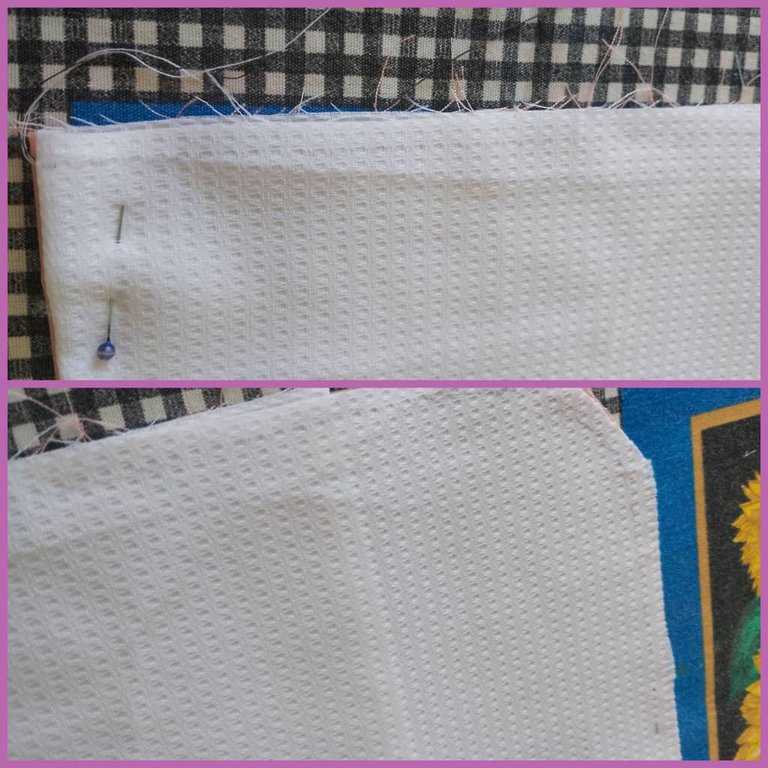
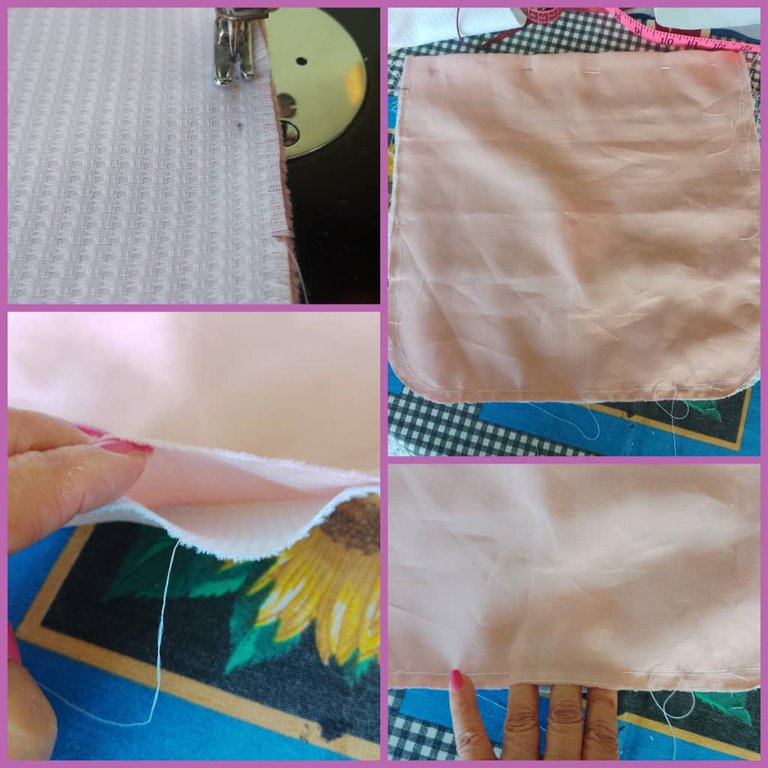
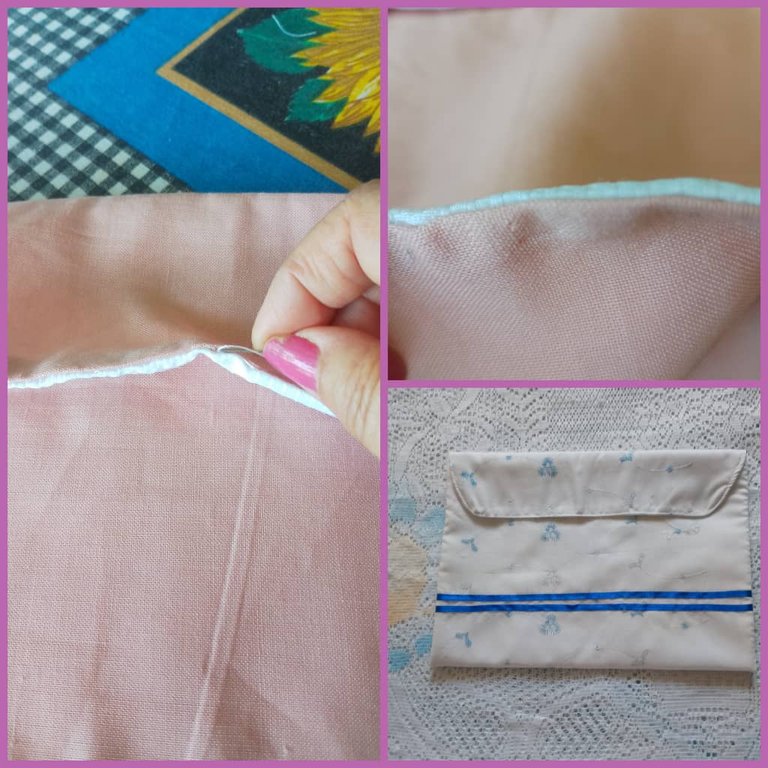
Once the seams are finished, we proceed to make some pins in the rounded part to achieve the curved shape. Remove the pins and turn the bag over through the opening we left, stretching it well. At this point we've practically made the bag, now let's go on with the details. We sew a stitch on the edge of the lid to finish it off. It can be sewn by machine or by hand.
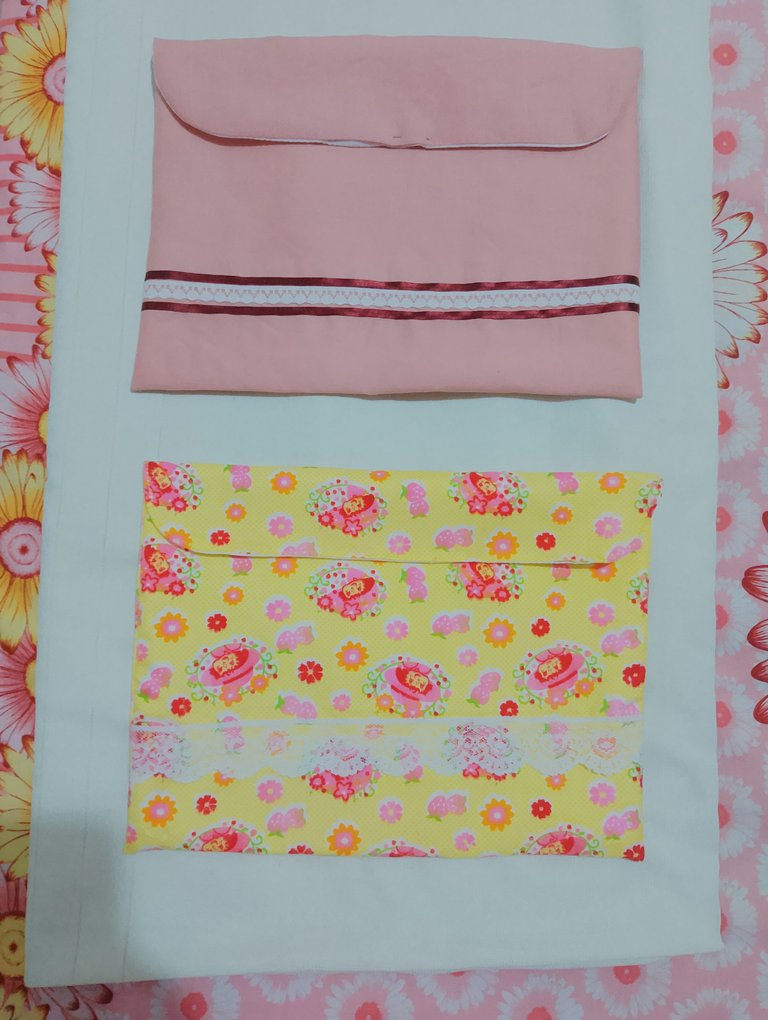
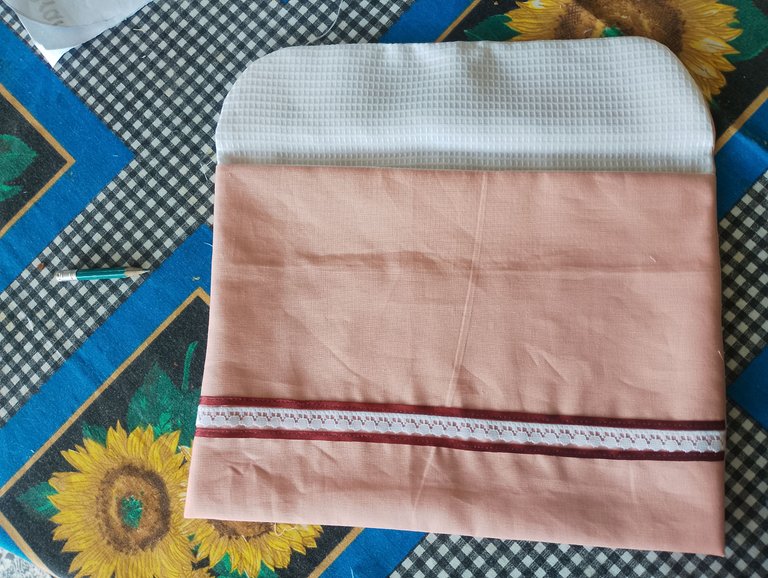
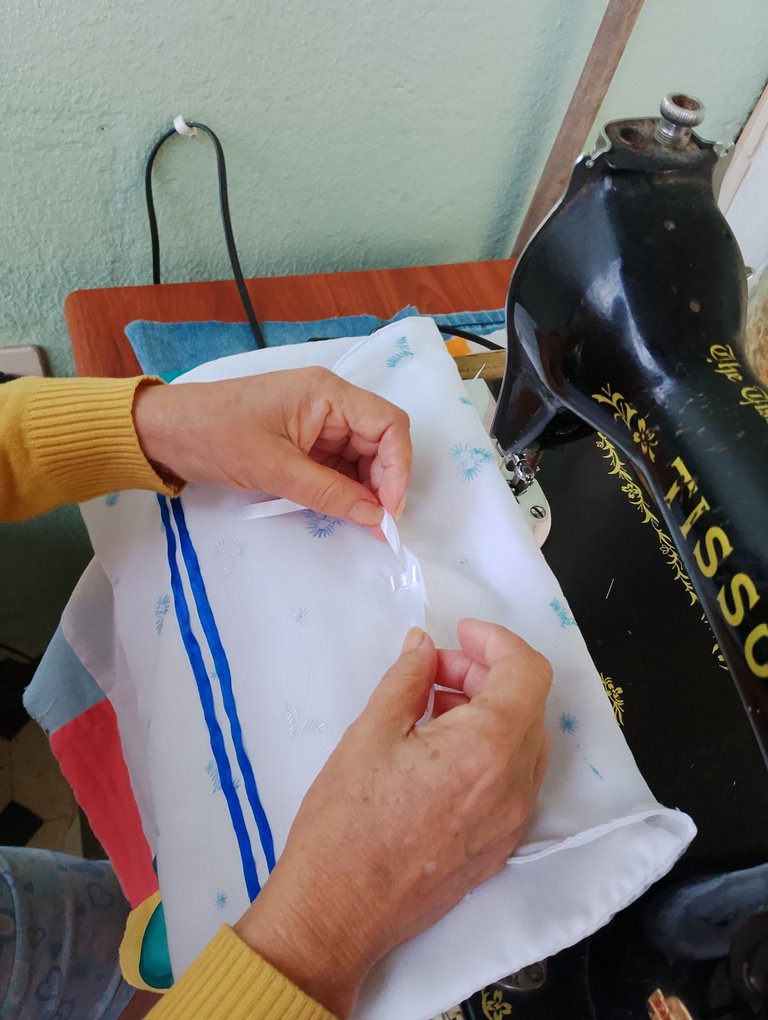
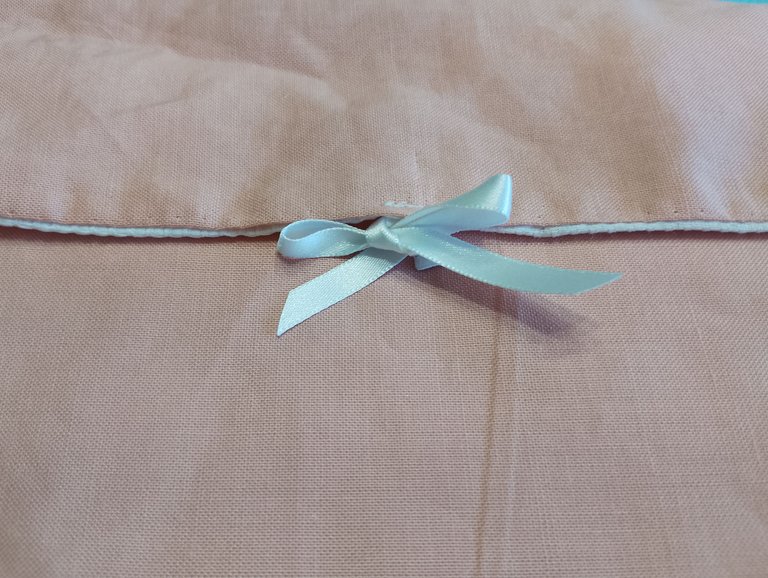
Finally, close the bag with a ribbon. Nice to be back. I hope you like the project. If you have any questions, don't hesitate to ask.

Español
Bolsa de Muda
En los próximos meses, estamos en la espera de dos bebes en la familia: una hembra y un varón. Ambas madres son primerizas y esperamos con ansias que todo salga bien. Para ello, nos adelantamos a los preparativos, sobre todo en la ropita. Yo he querido regalarle las bolsitas donde se mete la primera muda del bebe cuando está en el hospital. Casi siempre la piden a las madres cuando dan a luz. En el momento en que nace, él bebe después de monitorearlo. Las enfermeras piden a los familiares ropita para vestirlo, tenía unos retazos de tela que me quedaron de otras costuras y los voy a aprovechar.

Elaborado con Canva
Una forma de evitar que se extravíe la muda es meterla en una bolsa o sobre finamente realizada, que identifique al niño para que no se confunda con la de otro nene que han nacido ese día. Este tipo de trabajo me encanta, ya que me emociona mucho y me hace muy feliz poder confeccionar algo para mis sobrinos, la estadía en el centro hospitalario es de tres días; por lo tanto, se necesitan una por cada día, esperando que todo con el favor de Dios sea de muchas bendiciones, serían seis bolsitas en total. Me llevó varios días la confección, aunque la hice con mucho tiempo de antelación.

Y con mucho amor comienzo mi tarea. Para ello necesitaremos, los siguientes:
Materiales:
Telas de diferentes colores, recicladas.
Hilos de diferentes colores.
Tijera, papel puede ser también reciclado, lápiz.
Regla.
Alfileres, aguja.
Encajes, tiras (para adornar), y cintas para cerrar la bolsa, que te hayan quedado de otro proyecto.
Como herramienta principal, una máquina de coser.

Procedimiento:
Primer paso.
Hacemos un patrón en papel Bond, dibujando un rectángulo que mida:
Ancho 32 cm.
Largo: 54 cm.
Una vez sacado el patrón, redondeamos dos de las puntas del rectángulo y lo colocamos en las telas que vayamos a utilizar y procedemos a cortar una por una. Como tengo que realizar seis bolsas, entonces corto 12 telas: forro y lado derecho.


Segundo paso.
Una vez cortada la tela, mido 16 cm desde la parte superior (donde no están las esquinas redondeadas), hacia abajo y voy marcando, para luego pasar una línea tenue, que es la que me va a indicar por dónde poner el encaje y paso costura.

Ahora coloco las dos caras derechas con derecho y en la parte superior paso una costura a lo ancho de la tela.


Tercer paso.
Volteamos y planchamos para fijar bien las telas, extendemos bien en la mesa, y medimos de nuevo desde la parte superior hasta 22 cm. (Esta segunda medida queda un poco más abajo del encaje), una vez que marcamos, hacemos una línea tenue y doblamos la primera tela hacia arriba.


En esa misma forma, le damos vuelta a la tela y hacemos coincidir la segunda tela con la anterior.


Cuarto paso.
Una vez dobladas las dos telas, fijamos con alfileres. Ahora cocemos ambas caras por la orilla desde la parte superior hasta la parte redondeada, dejando una abertura de 10 cm. Rematamos bien la costura, repetimos lo mismo en el otro extremo.


Terminadas las costuras, procedemos a hacerles unos piquetes en la parte redondeada para lograr la forma curva. Quitamos los alfileres y volteamos la bolsa por la abertura que dejamos, estirando bien. En este punto prácticamente hicimos la bolsa, ahora vamos con los detalles. Cosemos un pespunte a la orilla de la tapa para rematar. Puede ser a la máquina o coser a mano.


Por último, cerrar la bolsa con una cinta. Un placer estar de vuelta. Espero que les guste el proyecto. Cualquier duda no vacilen en preguntar.


