Personalized flannels are special for each one, and even more so if they are specially designed for a specific person taking into account tastes. This time I will show you how I have customized a small t-shirt for Miss Ce with textile paint. She loves ponies, because they have many colors, especially pink and yellow. In addition to the drawing, I have added a few pearls that enhance the colors that I have used in the painting of the character.
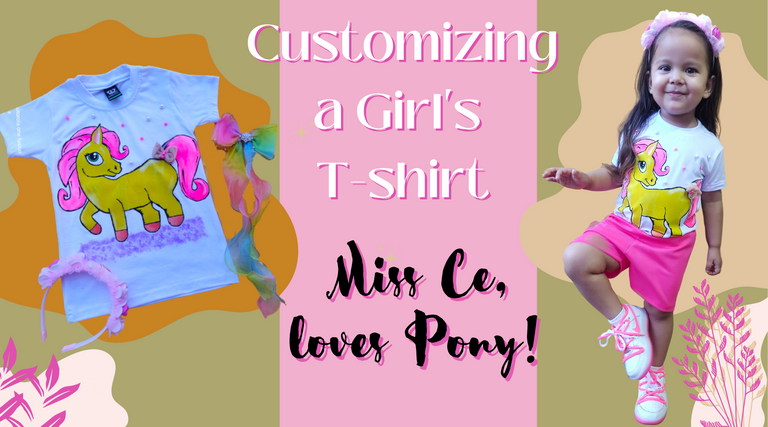
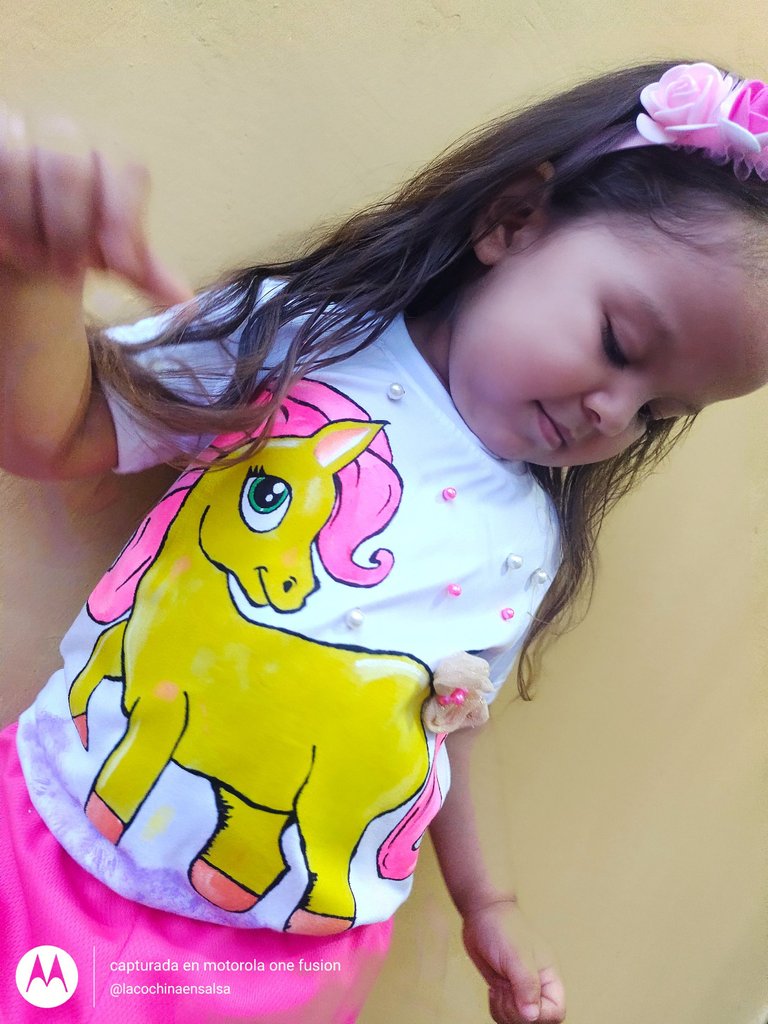
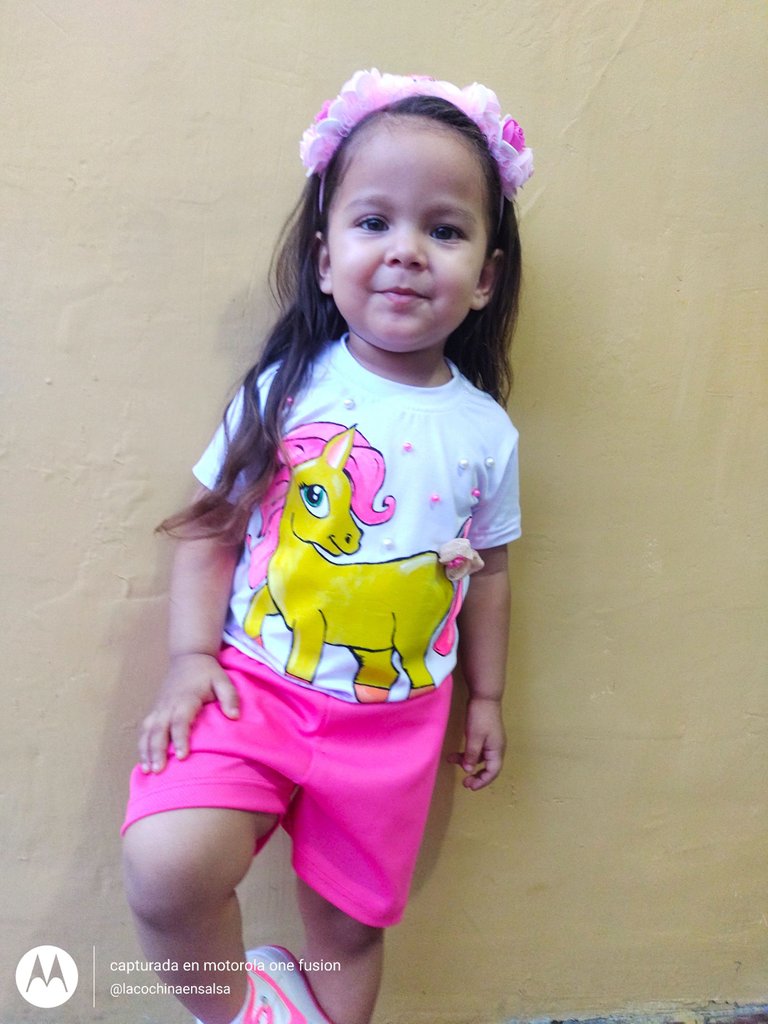
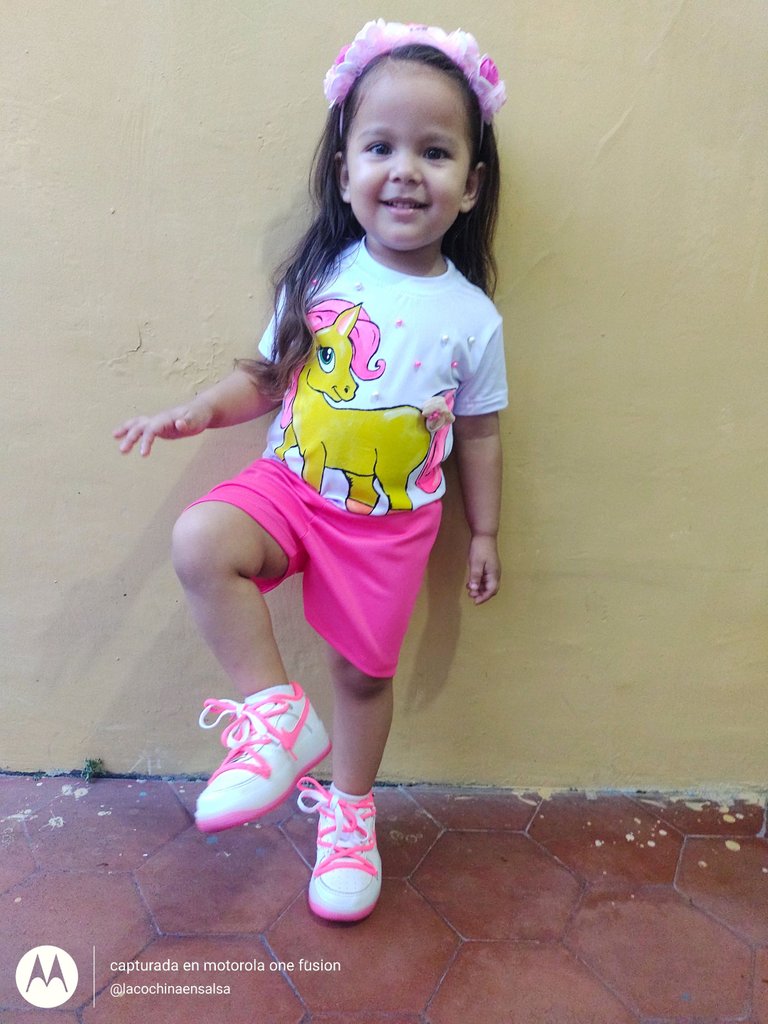
For customization I bought a common shirt or flannel in a town store without any type of drawing, so I could personalize it to my liking. The fabric is Micro-peach type, so it is very soft and elastic. Besides, I have used Oro Color brand textile paint, however you can use whatever you like or that you have on hand. Also as a detail I have made a small fabric bow, and I have placed it at the tip of the Pony's tail. The * Miss Ce * has been very cute when finishing the personalization of the shirt, she has not resisted the desire and has put it on in combination with her favorite light-up shoes.
Tips to keep in mind when Customizing a T-shirt with Textile Paint:
The piece of cloth must be clean. Depending on the fabric, if the fabric is very prone to wrinkling, you might want to iron it before you start working on it.
Make sure to spread the fabric of the piece on which you will capture the painting or character well. You can help yourself by placing some hooks in the outer corners and thus you will avoid movement of the fabric.
Place under the piece to work, a kind of wood or thick cardboard. Make it rigid and smooth enough, so that you can lean on it calmly and, in turn, the paint will not go beyond a textile layer.
The ideal is to first draw with graphite the main lines of the character that you will capture and then apply the base paint. Finally, they would be the addition of details such as: Shadows and lights.

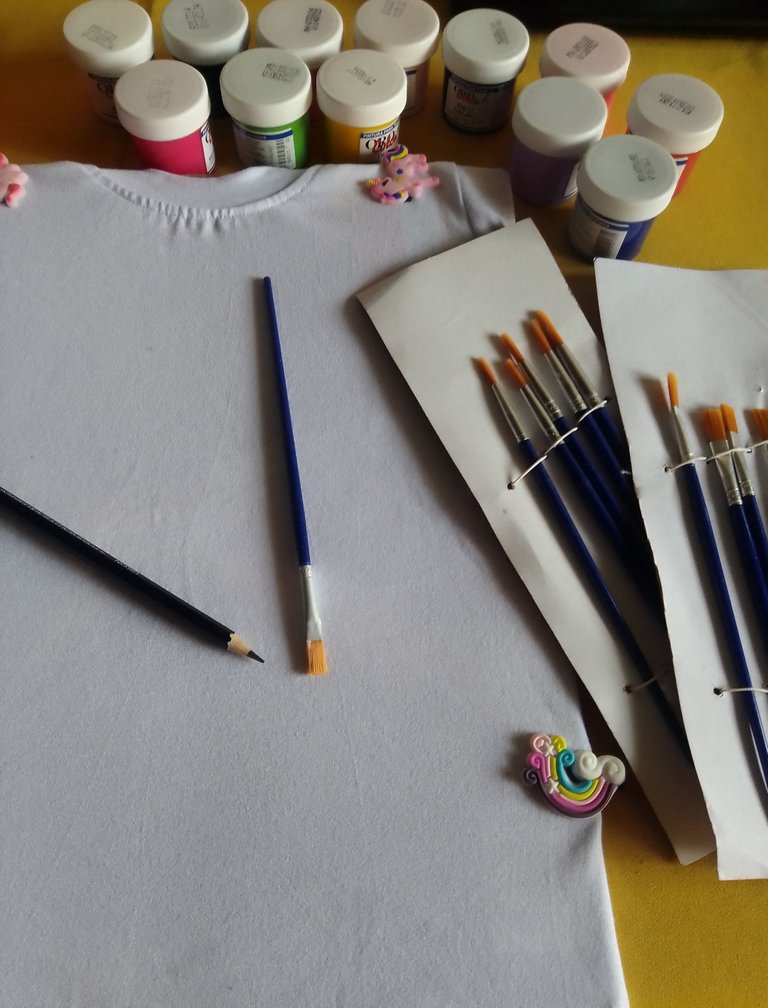
Materials:
- T-shirt or unicolor flannel.
- Textile paint, Gold Color. Shades: Lemon Yellow, Fluorescent Pink, White, Apple Green, Black, Lilac, Orange.
- Medium, fine brushes.
- White and Pink Pearls.
- Fabric bow with pearls.
- Silicon.
- Height stick (optional), tray or base to mix paint.
- Graphite pencil.
- Base or square of wood or cardboard.
- Hooks to hold the piece, or alligator clips.
How to do it?
- We will select our pony in question, in my case I have chosen the following:
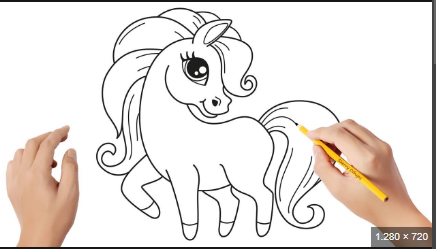
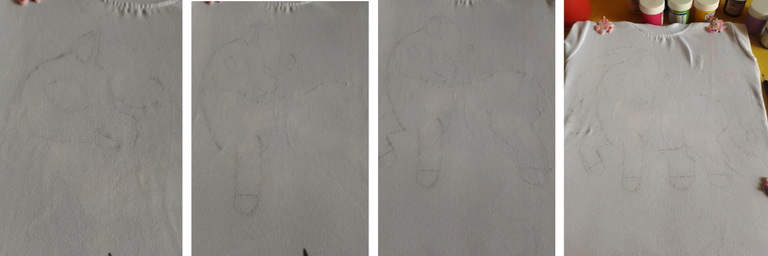
- With the graphite, I will draw the pony on the front part of the shirt. I will draw the main lines without details. Preferably the drawing should be done with smooth lines, so that when painting, no more paint than necessary to cover the graphite lines should be used.
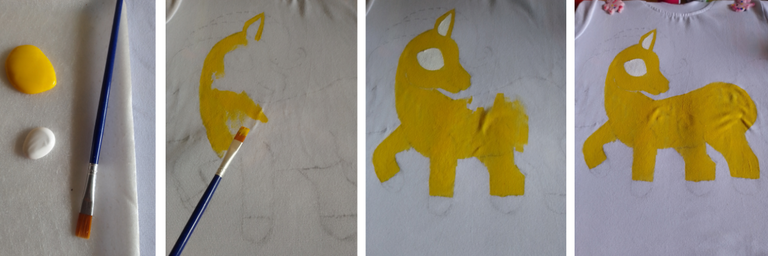
- Now we will work with the textile colors, we begin by placing a couple of large drops of yellow and white on the tray. With a medium brush, we will give a layer of yellow to the body of the Pony. We will also take advantage of giving a layer of white to the eye and the inside of the ear with a small brush.
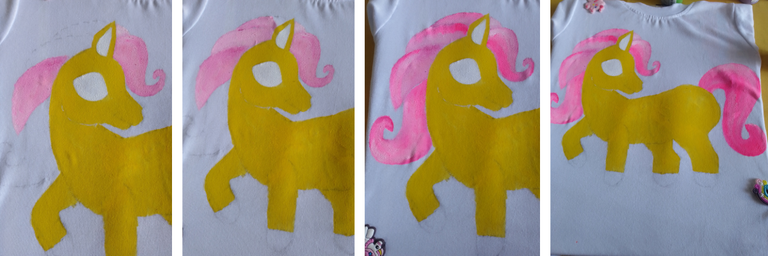
- Now we will paint the hair and the tail, for which I have used an alternating combination of fluorescent pink with white. Varying the lights and the darkness between both colors will help us to transmit more enhancement.
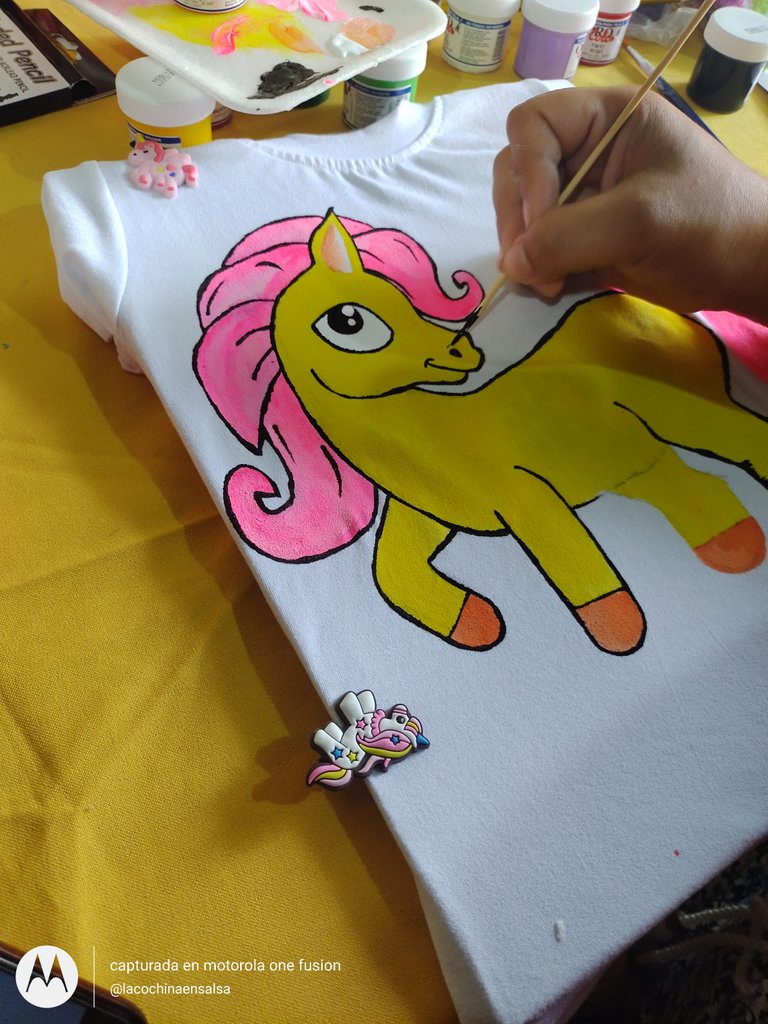
- Now let's work on the details, where we start with the inner part of the ear where we add a little orange and mixed between yellow and white, we blend to form a shadow. Then we outline the figure of the Pony, as well as the eye.
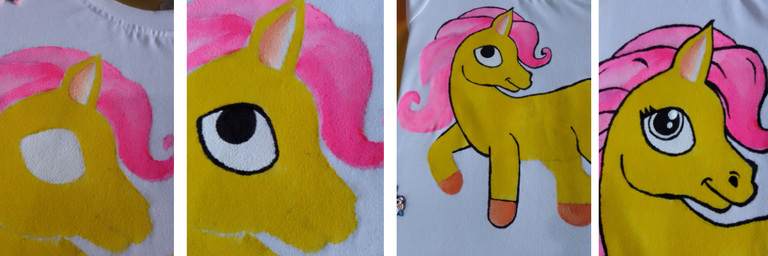
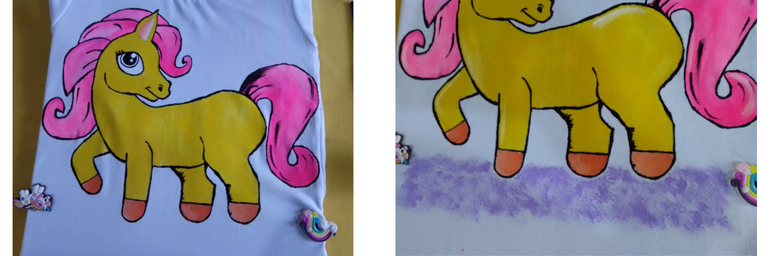
- In the inner part of the eye, we add lights. We also paint the inner line green. We will take advantage of adding lights, shadows and details. On the other hand, we will use a brush loaded in lilac, where we first unload cardboard and then rest it under the pony's legs to simulate the colored floor. It's just that our Pony is magical.
- For outlining details, I like to use a height toothpick. I have not yet gotten a brush that can give me security.
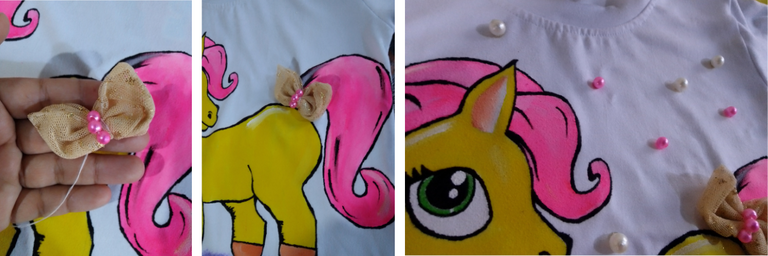
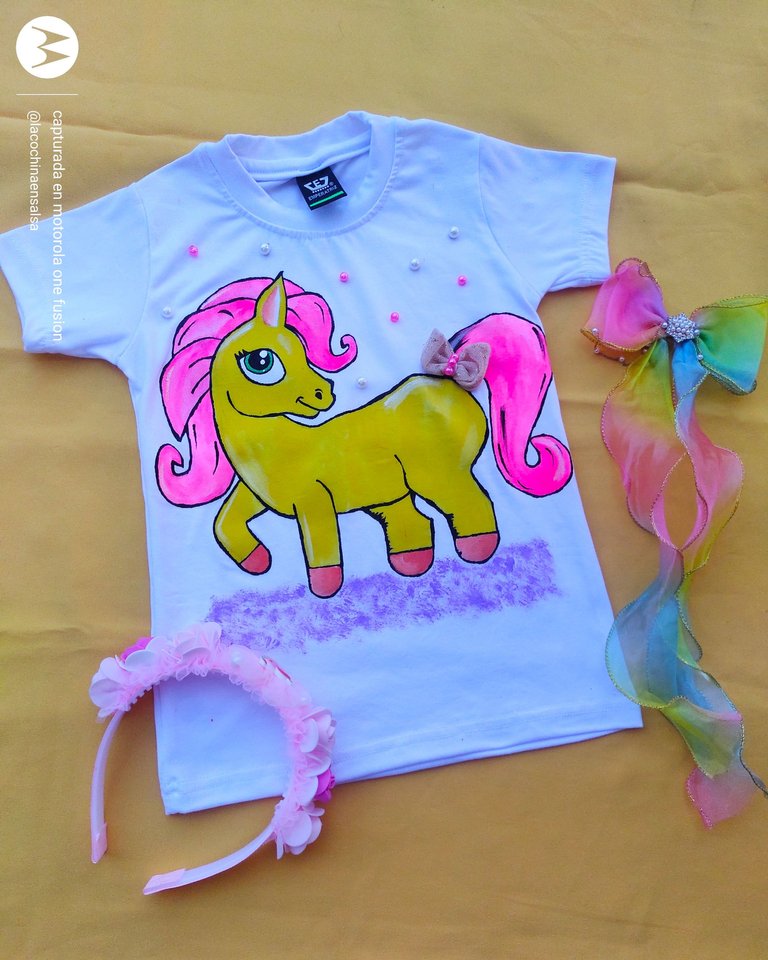
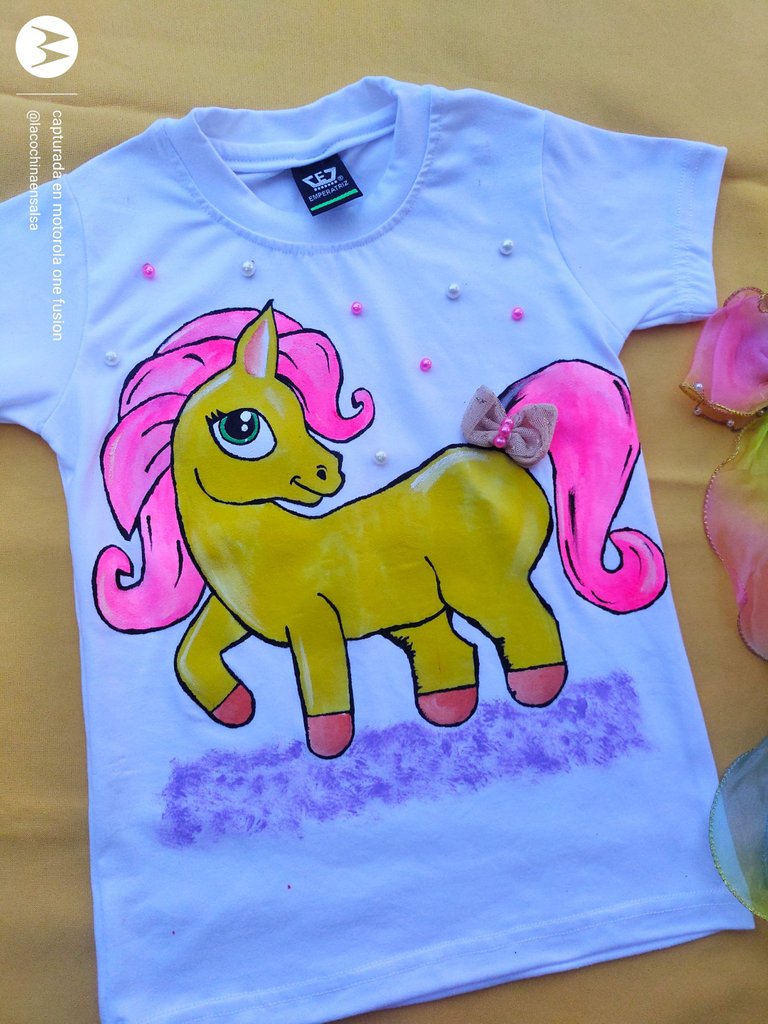
- We form a loop with a piece of cloth and in the middle we place pearls. We sew it or fix it with silicone at the base of the tail. We will also fix the pearls randomly on the pony as a decoration.
When ready, it will look like this:
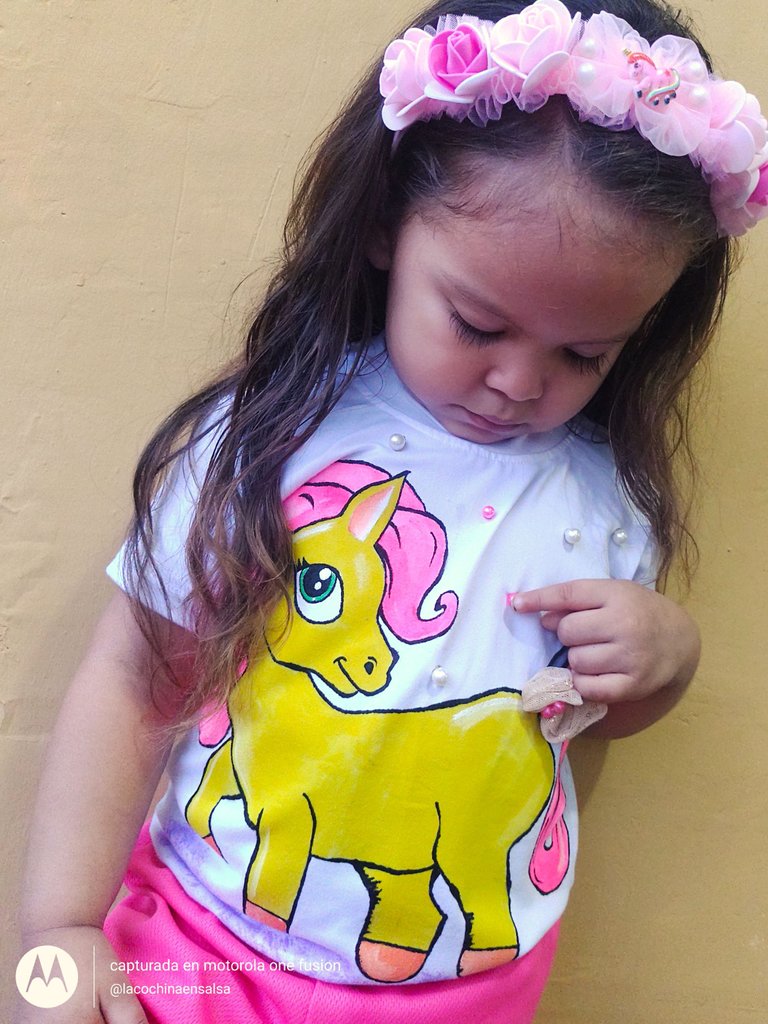
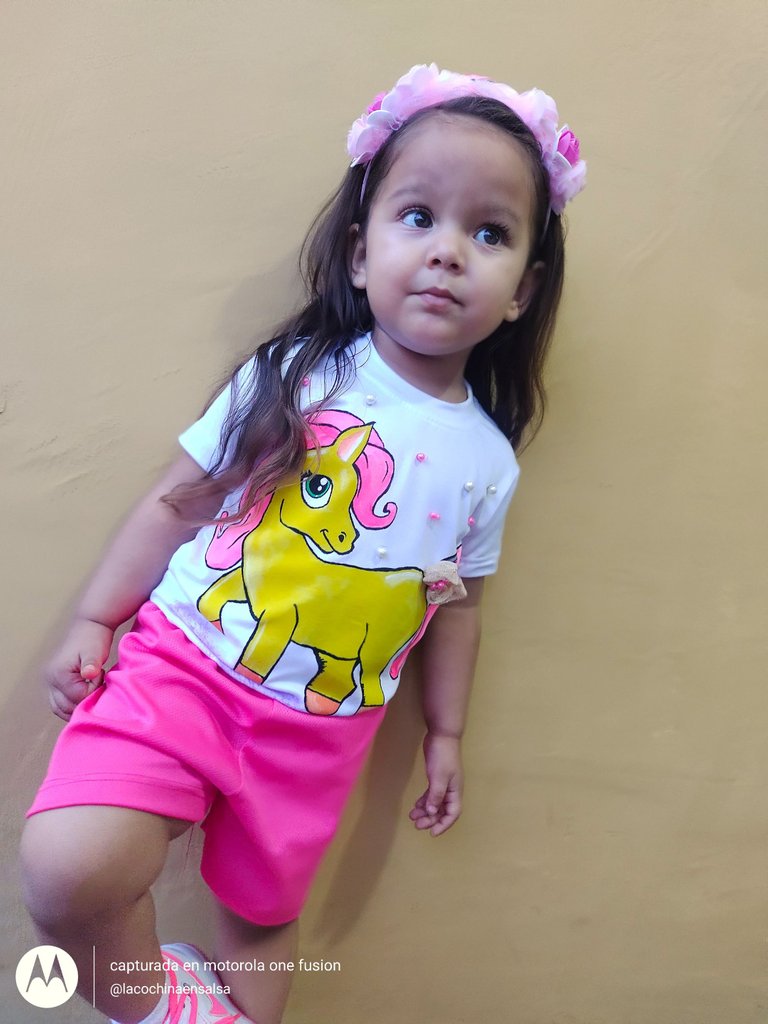
Custom T-Shirt Being Styled by Miss Ce:
I tell you that it is the first time that I do this type of textile painting activities. It's quite entertaining and I really liked the result, however I hope I can improve in practice. I had the paints for more than a month and likewise the flannel, but the lack of free time to exercise patience had been lacking. I remember that I bought the paintings one day when I was out downtown and I fell in love with the idea of customizing our own t-shirts.
This post is my formal entry into the Initiative run by DIYHub and OCD. If you want to participate in the initiative, visit the following link: OCD Community Boost Contest S2 #6: Highlighting DIYHub by OCD
Instruction Images edited in Canva Pro.
Translation: Google Translator.

Las franelas personalizadas son especiales para cada uno, y más aún si son diseñadas especialmente para una persona en especifico tomando en cuenta los gustos. En esta ocasión les mostraré como he personalizado con pintura textil una pequeña playera para la Señorita Ce. Ella ama los ponys, porque tienen muchos colores, sobretodo en rosa y amarillo. Además del dibujo, he agregado unas cuantas perlas que realzan los colores que he usado en la pintura del personaje.
Para la personalización he comprado en una tienda del pueblo una playera o franela común y sin ningún tipo de dibujo, así podría personalizarla a gusto. La tela es tipo Micro-durazno, por lo cual es muy suave y elástica. Aparte, he usado pintura textil marca Oro Color, sin embargo puedes usar la que gustes o que tengas a la mano. También a modo de detalle he elaborado un pequeño lazo en tela, y lo he ubicado en la punta de la cola del Pony. La Señorita Ce ha quedado monisima al terminarle la personalización de la playera, no ha aguantado las ganas y se la ha puesto en combinación con sus zapatos de luces favoritos.
Tips a tener en cuenta al momento de Personalizar una playera con Pintura Textil:
La pieza de tela debe estar limpia. Dependiendo de la tela, si ésta es muy propensa a arrugarse, quizás deberías plancharle antes de empezar a trabajar en ella.
Asegúrate de extender bien la tela de la pieza sobre la cual plasmarás la pintura o personaje. Puedes ayudarte colocando unos ganchos en los ángulos exteriores y así evitarás movimientos de la tela.
Coloca debajo de la pieza a trabajar, una especie de madera o cartón grueso. Que sea lo suficientemente rígido y liso, para que puedas tranquilamente apoyarte y a su vez, la pintura no pasará de capa textil.
Lo ideal es primero dibujar a grafito las líneas principales del personaje que plasmarás y posteriormente aplicas las pintura de base. Por último, serían el agregado de detalles como: Sombras y luces.
Materiales:
- Playera o Franela unicolor.
- Pintura textil, Oro Color. Tonos: Amarillo Limón, Rosa Fluorescente, Blanco, Verde Manzana, Negro, Naranja.
- Pinceles medio, fino.
- Perlas Blancas y Rosas.
- Lazo de tela con perlas.
- Silicon.
- Palillo de altura (opcional), bandeja o base para mezclar pintura.
- Lápiz de grafito.
- Base o cuadrado de madera o cartón.
- Ganchos para sostener la pieza, o pinzas caimán.
¿Como hacerlo?
- Seleccionaremos nuestro pony en cuestión, en mi caso he elegido el siguiente:
- Con el grafito, dibujaré sobre la parte frontal de la playera el pony. Dibujaré las líneas principales sin detalles. De preferencia el dibujo debe ser hecho con líneas suaves, en manera de que cuando se pinte, no se deba usar más pintura de la necesaria para cubrir las líneas del grafito.
- Ahora trabajaremos con los colores textiles, iniciamos colocando un par de gotas grandes de amarillo y blanco sobre la bandeja. Con un pincel mediano, daremos una capa de amarillo al cuerpo del Pony. También aprovecharemos también de dar con un pincel pequeño una capa de blanco al ojo y a la parte interior de la oreja.
- Ahora pintaremos el cabello y la cola, para los cuales he usado una combinación alternada de rosa fluorescente con blanco. Variar las luces y la oscuridad entre ambos colores nos ayudará a transmitir más realce.
- Trabajemos ahora en los detalles, donde iniciamos por la parte interna de la oreja donde agregamos un poco de naranja y mezcladas entre amarillo y blanco, difuminamos para formar una sombra. Después delineamos la figura del Pony, así como también el ojo.
- En la parte interna del ojo, agregamos luces. También pintamos la línea interior de color verde. Aprovecharemos de agregar luces, sombras y detalles. Por otro lado, usaremos un pincel cargado en lila, donde descargamos primero en cartón y después reposaremos el mismo bajo las patas del pony para simular el suelo de color. Es que nuestro Pony es mágico.
- Para los detalles de delineado, me gusta usar un palillo de altura. Aún no he conseguido un pincel que pueda darme la seguridad.
- Formamos un lazo con un trozo de tela y en el medio colocamos perlas. Lo cosemos o fijamos con silicon en la base de la cola. Igualmente fijaremos las perlas en manera aleatoria sobre el pony a modo de decoración.
Al estar lista, lucirá de la siguiente manera:
La Playera Personalizada siendo Modelada por la Señorita Ce:
Les cuento que es primera vez que hago este tipo de actividades de pintura textil. Es algo bastante entretenido y el resultado me ha gustado bastante, sin embargo espero poder ir mejorando en la práctica. Las pinturas las tenía hace más de un mes e igualmente la franela, pero la falta de tiempo libre para ejercer la paciencia había faltado. Recuerdo que compré las pinturas un día que había salido al centro y me enamoré de la idea de personalizar nuestras propias playeras.
La presente publicación es mi entrada formal a la Iniciativa llevada por DIYHub y OCD. Si deseas participar en la iniciativa, visita el siguiente enlace: OCD Community Boost Contest S2 #6: Highlighting DIYHub by OCD
Imágenes de las instrucciones editadas en Canva Pro.
Traducción: Google Traductor.


