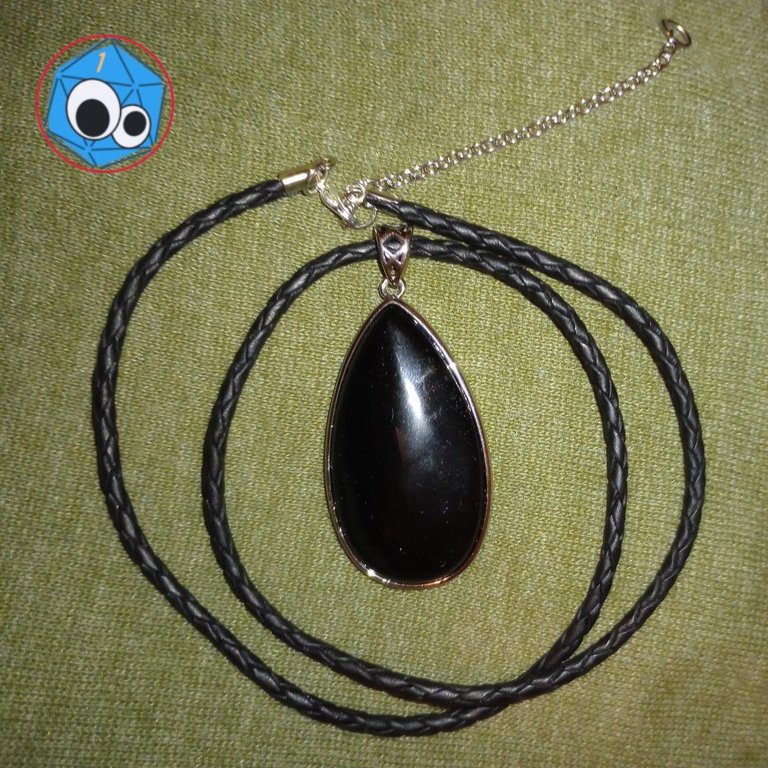
The holiday gift-giving season is approaching, so if you want to try making some DIY jewelry, here's an easy way to get started! All you need are a few tools and supplies available online or at a local craft store like Michael's, Joann Fabrics, or Hobby Lobby. If you're outside the US, comment with your favorite craft and hobby stores! Online retailers also have endless options, too.
Tools

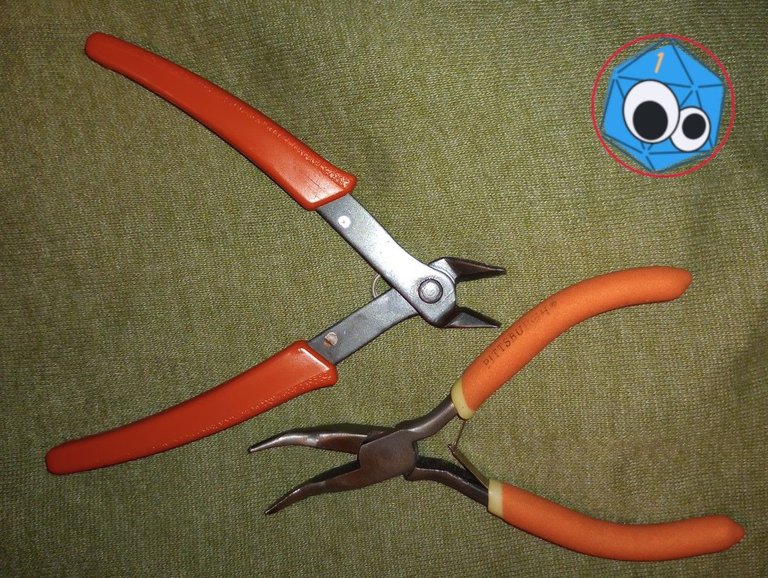
- Clippers or flush cutters
- Smooth jaw pliers
Clippers can also be found at hardware stores. I bought my smooth jaw curved needle nose pliers at Harbor Freight, and the clippers are probably from a modeling hobby shop. However, I would suggest buying a basic jewelry tool kit if you want to make anything more complicated than this because round nose pliers and crimp bead pliers are useful for wire work and beading.
Supplies
- Braided leather cord (approx. 3mm diameter)
- Pendant
- Bail (if one is not included with pendant)
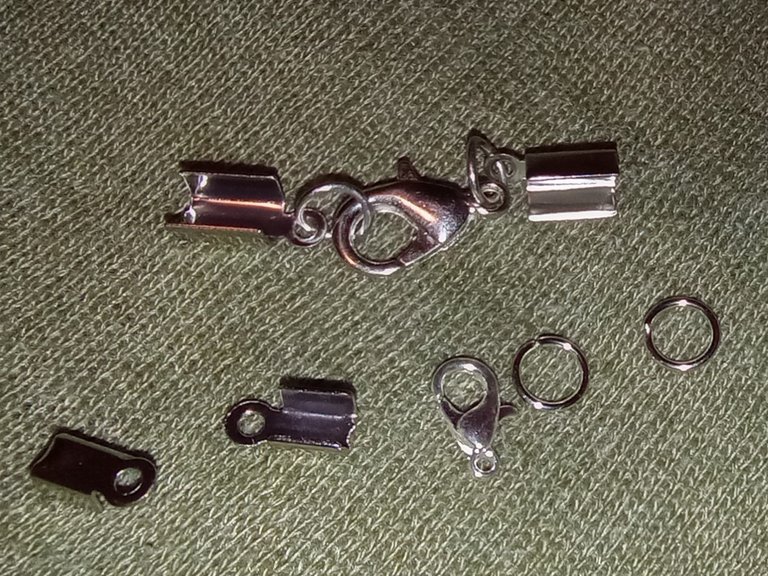
- Cord ends
- Jump rings
- Clasp
- Chain (optional)

There are several kinds of cord ends. I am using a fold-over design, but there are also caps that are crimped or glued over the ends of a cord. In any case, the size needs to fit your cordage. Too big, and it's a mess. Too small, and it's not secure. The set at the top includes everything ready to go in a kit, but was too large for this cord.
These findings all have a silvery finish, but technically are not silver. I suggest matching components as closely as possible to look more professional. Stainless steel, nickel, and silver plating all have different appearances, and the same material from different manufacturers may not always match. It doesn't have to be perfect, but a little effort goes a long way.
Directions
I cut a length of the braided leather about 18" (45 cm) long. The best length depends on your fashion sense or that of the intended recipient, but this is a good average.
You may not be able to fit the cord ends through the pendant bail, so thread that onto your cord first. Don't ask how I learned this.
Use your pliers to gently form the cord ends until they grip the cord. The cord ends I used have a small tooth in the sheet metal, but you may also want a drop of glue for even more security. Just take your time and gently squeeze the U-shaped metal until it wraps and secures the cord, adhesive or not.
Gently open the jump rings and attach one to each cord end. Don't forget to also slip the clasp onto one of these. Don't ask why I mention this, either.
Add a length of chain and more jump rings for sizing choices opposite the clasp, if you want, as seen in the image at the start.
My apologies for a lack of photos from the assembly process. I had my hands full and got into the groove of getting the job done. Comment if you have any questions, please.

