Hola, amigos de #DIYHub. Hace unos días les comenté que había reparado unas bombillas de led y que me había quedado una. Trabajo siempre acompañada de mi hermana @hayleysv, y muchas veces hacemos nuestros proyectos de noche, ya que en el día estamos muy atareadas con los quehaceres del hogar y siendo mamás, aunque yo no tengo hijos, pero tengo sobrinas que son lo más parecido a las hijas que no tendré.
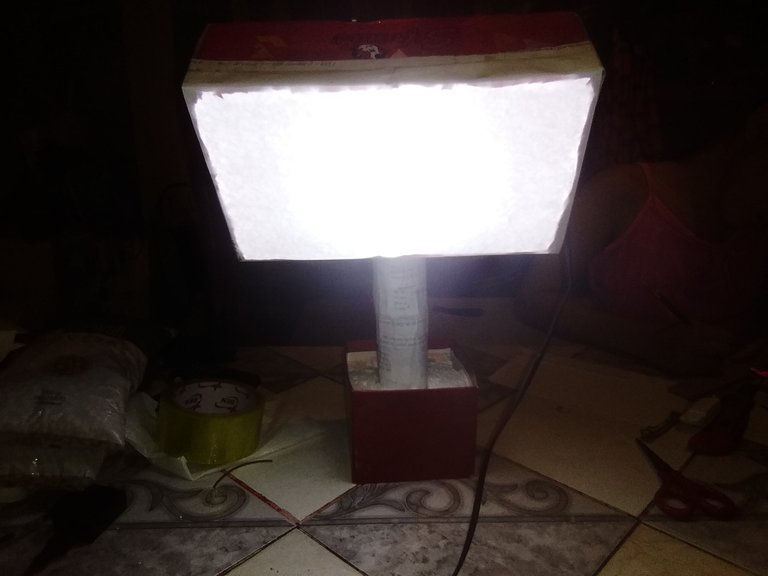
Debido a que trabajamos de noche, siempre nos toca tomar las fotos con flash, lo que hace que algunas veces las fotos quede un poco oscuras porque no tenemos la mejor iluminación, y también carecemos de instrumentos útiles como un aro de luz. Es por esa razón que decidí hacer mi propio foco de iluminación, aunque aún me falta uno más.
Hello, #DIYHub friends. A few days ago I told you that I had repaired some led bulbs and I had one left. I always work with my sister @hayleysv, and many times we do our projects at night, because during the day we are very busy with household chores and being moms, although I don't have children, but I have nieces who are the closest thing to the daughters I won't have.
Because we work at night, we always have to take pictures with flash, which sometimes makes the pictures a little dark because we don't have the best lighting, and we also lack useful tools such as a light ring. That's why I decided to make my own light ring, although I still need one more.
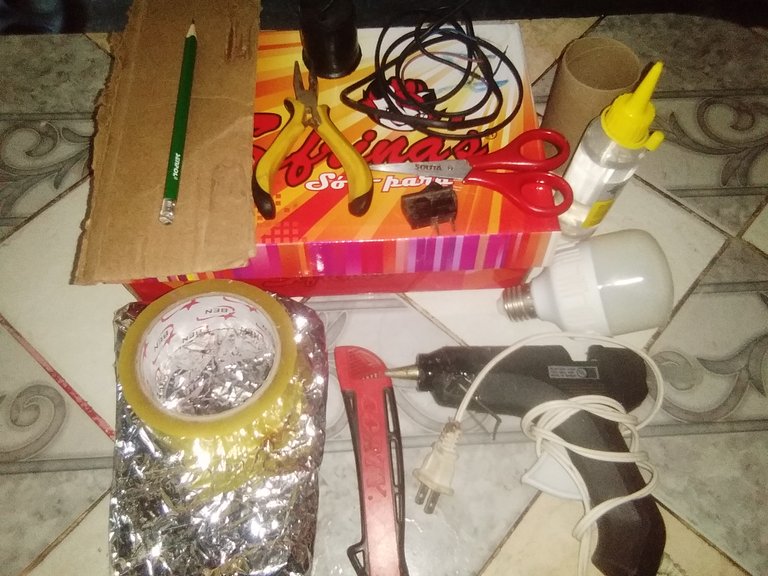
Para este proyecto utilicé los siguientes materiales:
•Caja de zapatos.
•Sócate.
•Cable con enchufe.
•Interruptor.
•Pinza.
•Pistola de silicón.
•Silicón frío.
•Cinta adhesiva.
•Papel de reciclaje.
•Dos tubos de cartón.
•Lápiz.
•Cartón.
•Papel aluminio o parecido.
•Exacto.
•Tijeras.
•Bombilla de led.
For this project I used the following materials:
•Shoe box.
•Socket.
•Cable with plug.
•Switch.
•Clamp.
•Silicone gun.
•Cold silicone.
•Adhesive tape.
•Recycling paper.
•Two cardboard tubes.
•Pencil.
•Cardboard.
•Aluminum foil or similar.
•Cutter.
•Scissors.
•Led bulb.
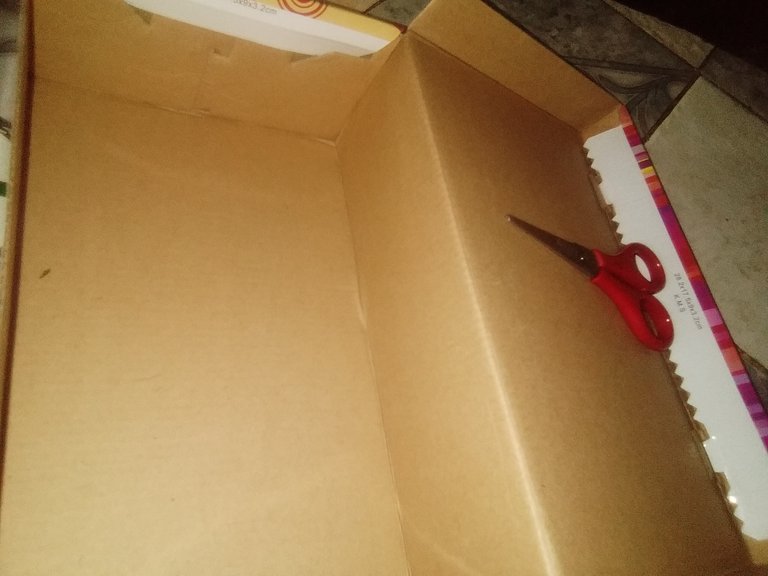
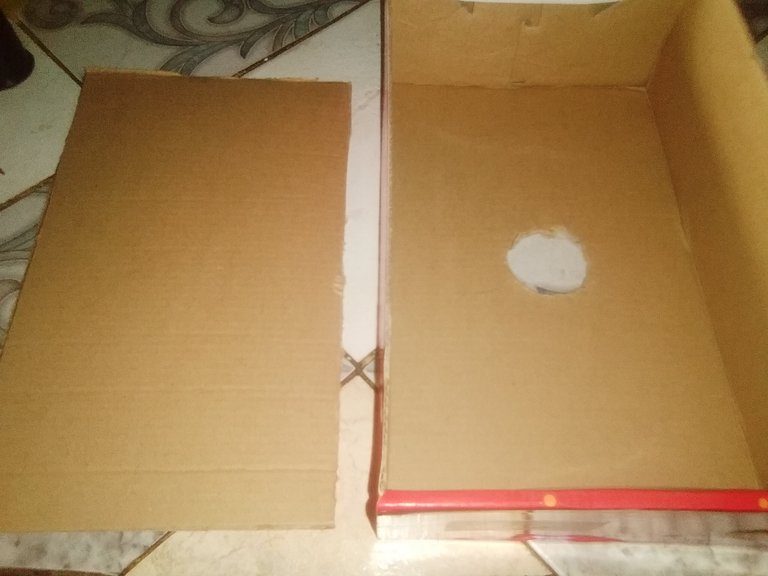
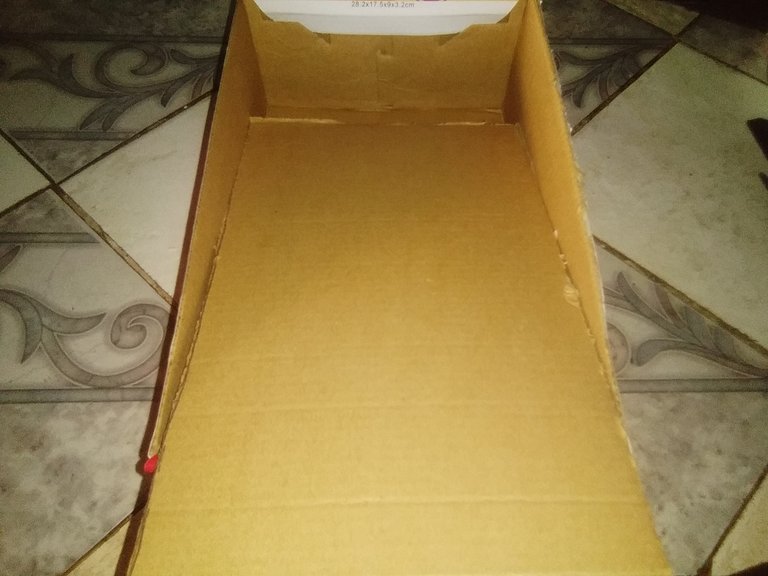
Paso 1:
Corté la tapa de la caja de zapatos que venía unida a ella.
Step 1:
I cut the lid off the shoebox that came attached to it.
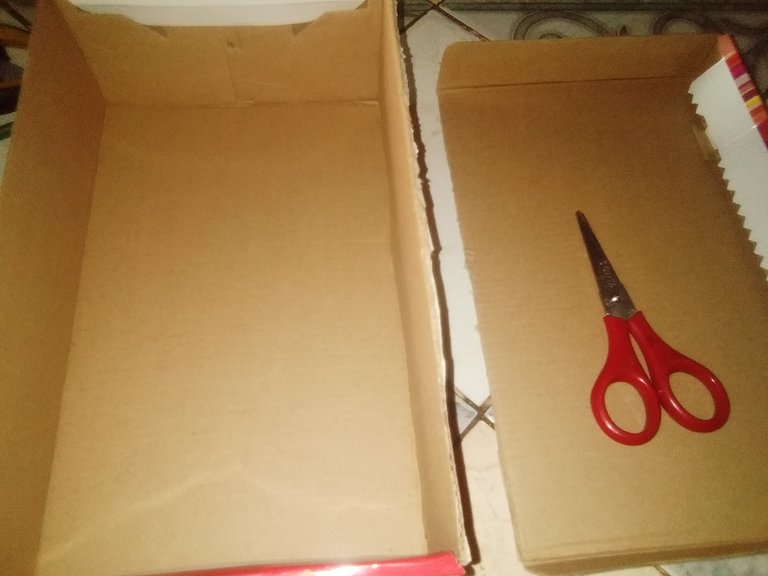
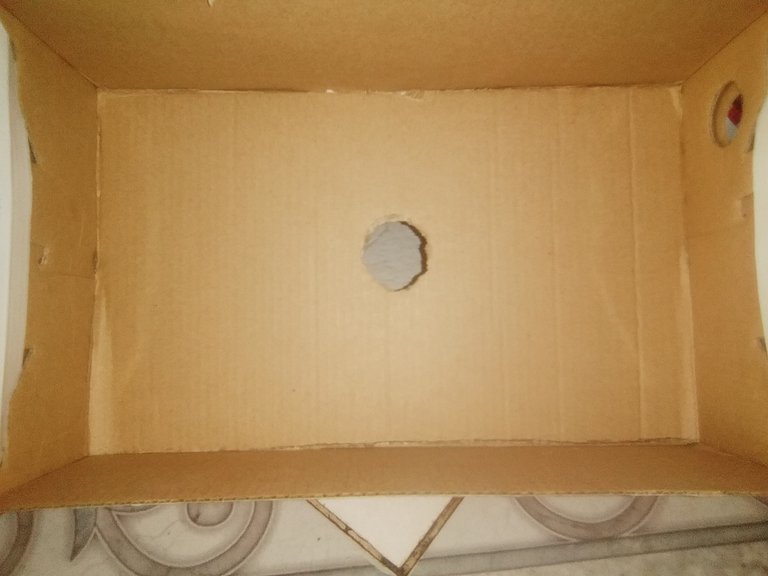
Paso 2:
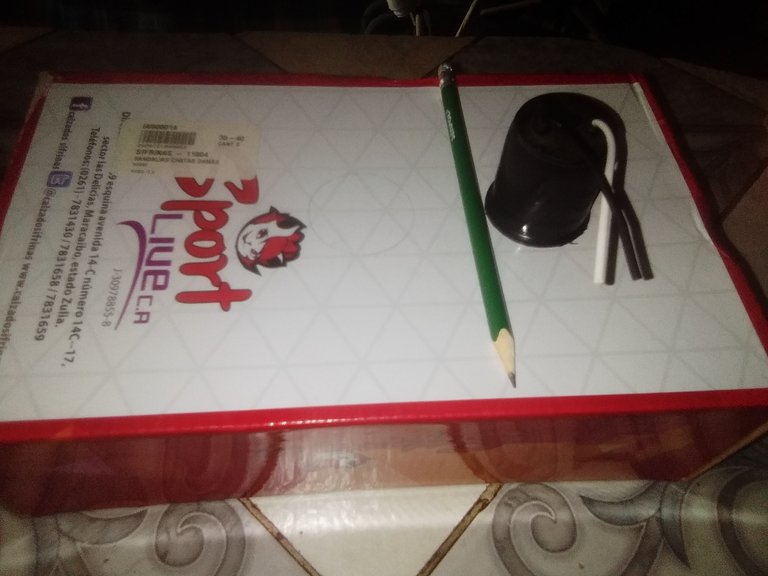
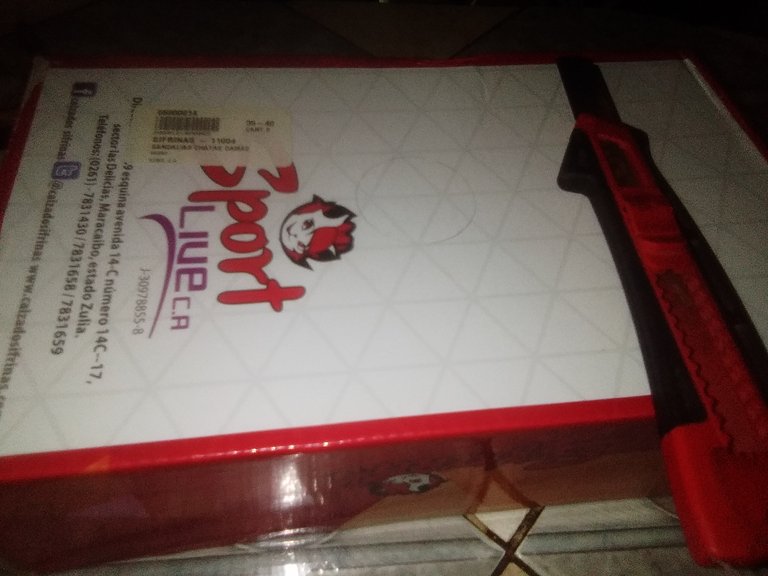
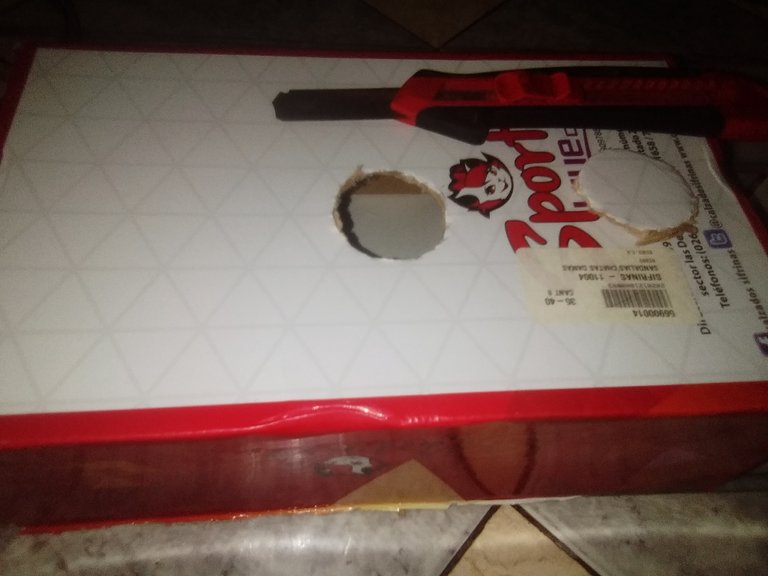
En la parte trasera de la caja dibujé un círculo guiándome del tamaño del sócate y lo corté con el exacto.
Step 2:
On the back of the box I drew a circle guiding me on the size of the socket and cut it with the cutter.
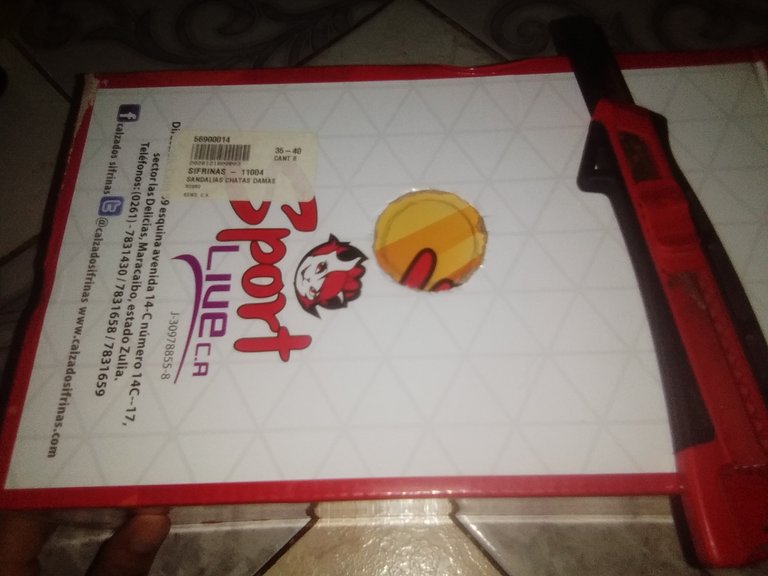
Paso 3:
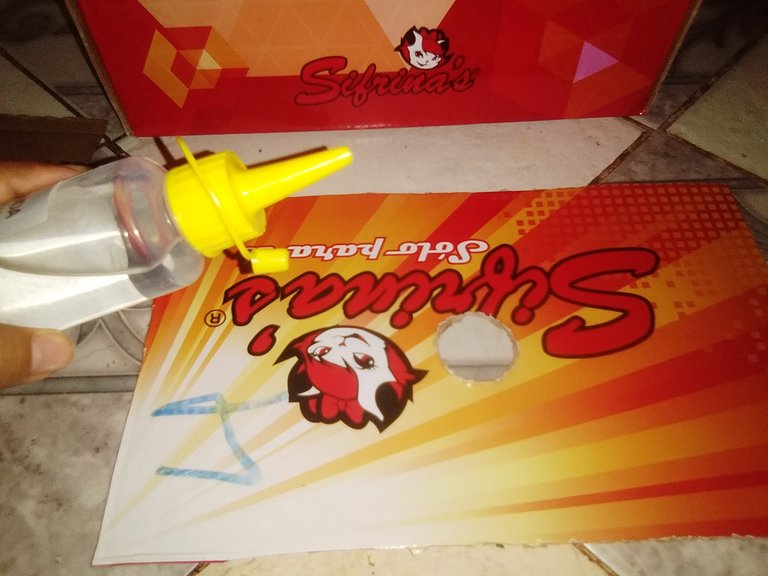
A la tapa de la caja le corté los bordes, dejando solo un rectángulo. Este iría dentro de la caja como una capa extra para darle mejor soporte. Luego con el exacto, guiándome del primer círculo, hice otro.
Step 3:
On the lid of the box I cut off the edges, leaving only a rectangle. This would go inside the box as an extra layer to give it better support. Then with the cutter, guiding me from the first circle, I made another one.
Paso 4:
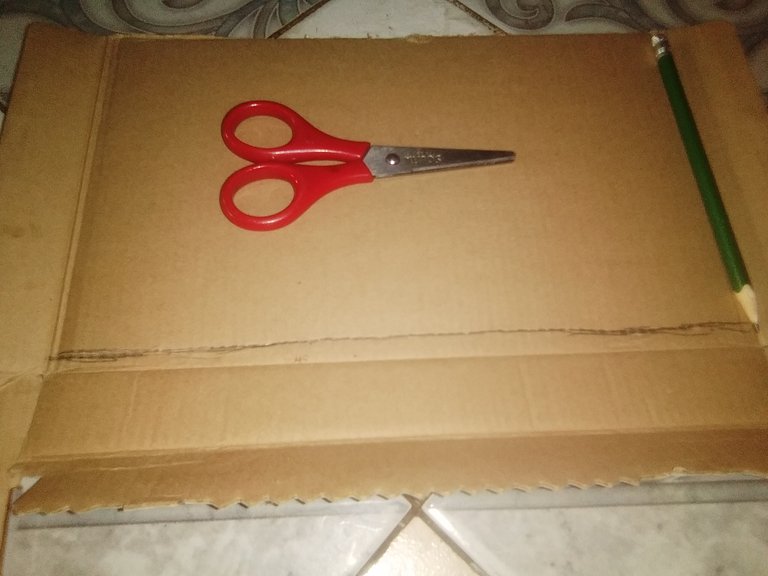
Con el cartón hice una capa para la parte baja de la caja que servirá como base.
Step 4:
With the cardboard I made a layer for the bottom of the box that will serve as a base.
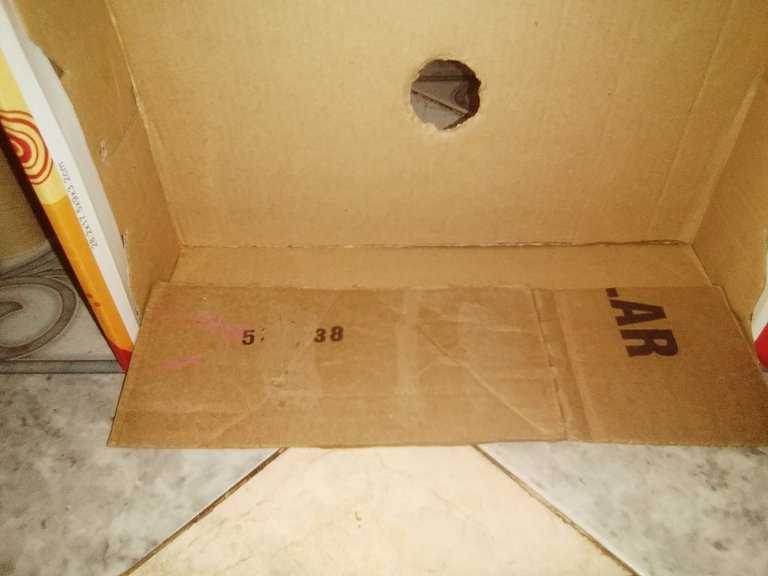
Paso 5:
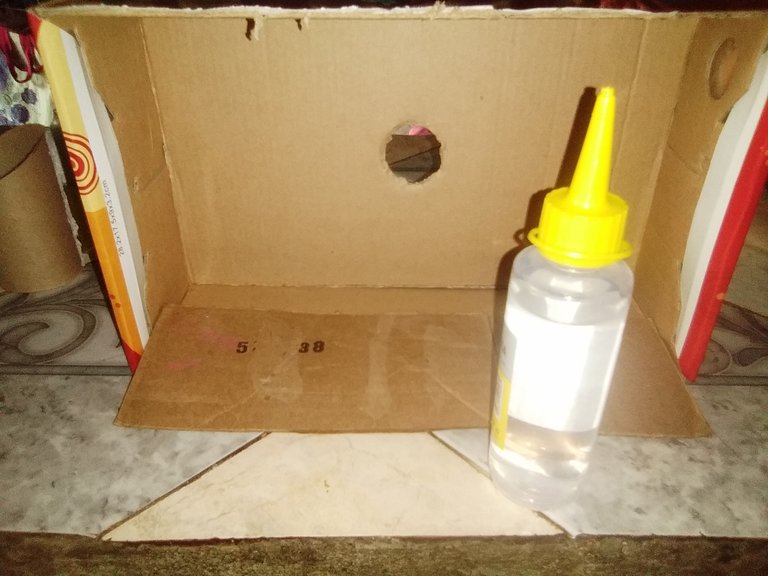
Con el silicón frío pegué la base rectangular dentro de la caja y también las otras bases más pequeñas de cartón.
Step 5:
With the cold silicone I glued the rectangular base inside the box and also the other smaller cardboard bases.
Paso 6:
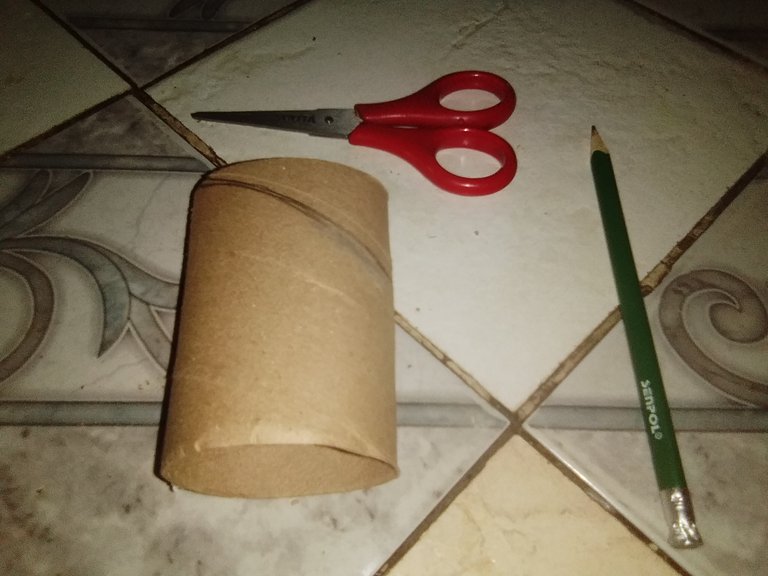
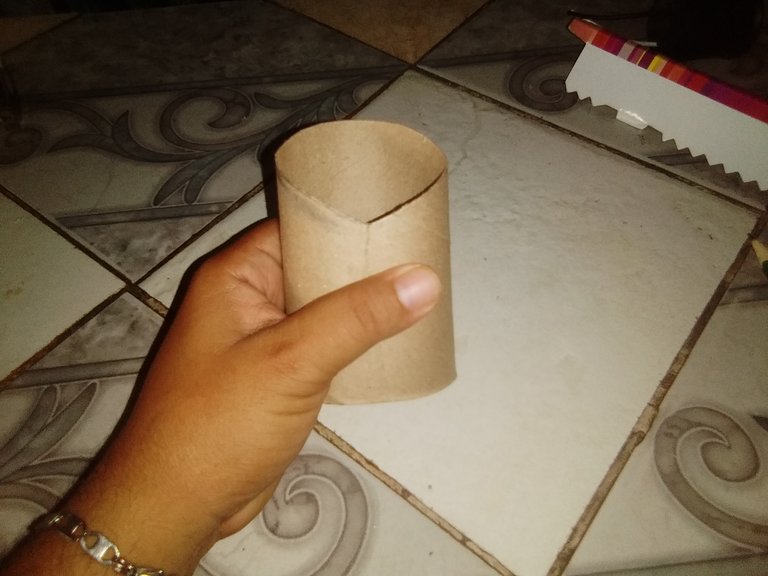
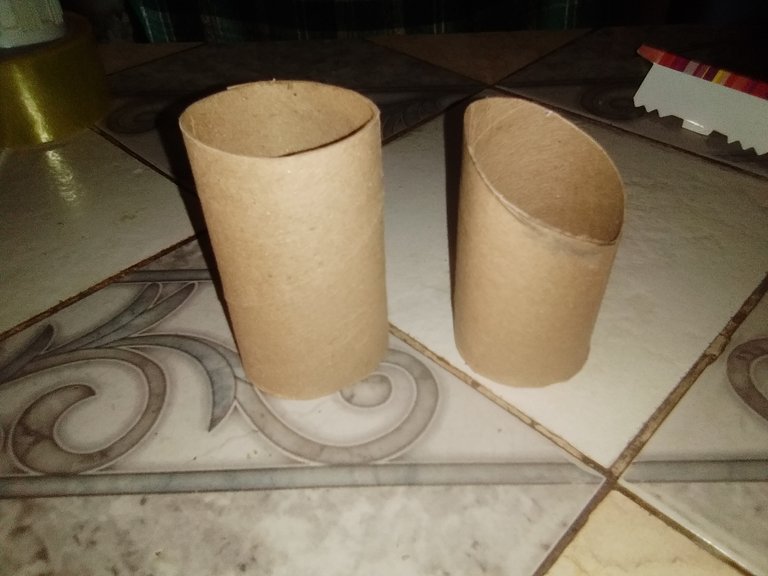
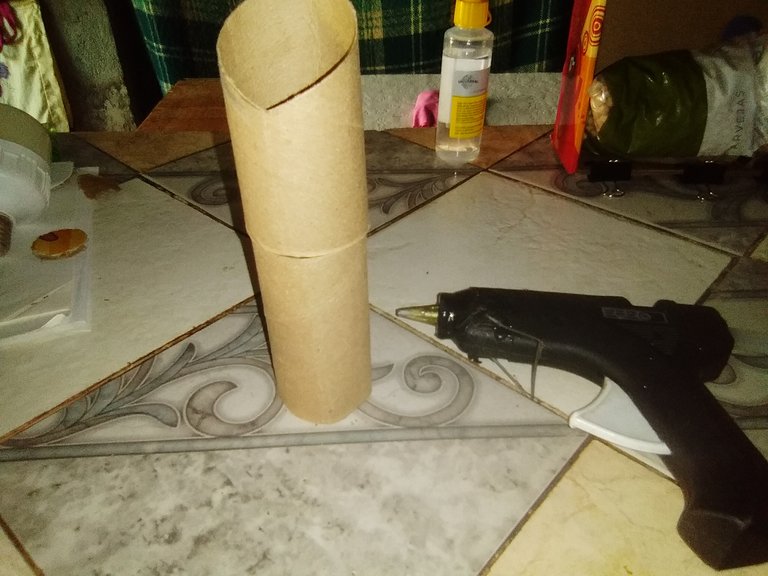
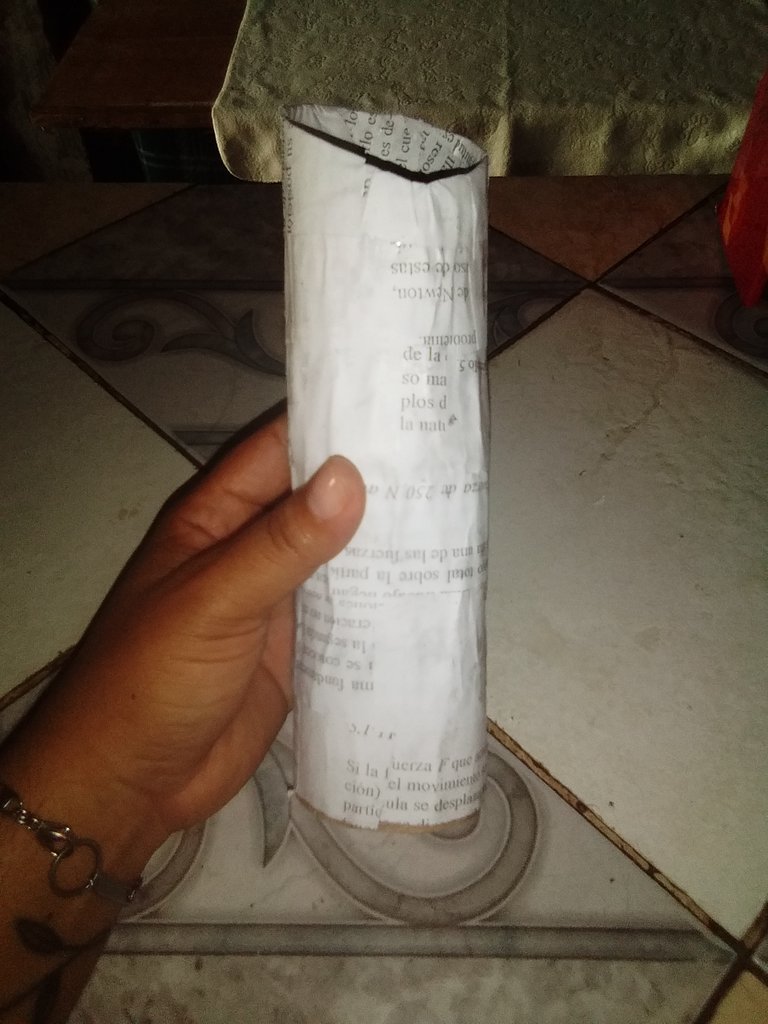
Mientras el silicón se secaba, tomé uno de los tubos de cartón y dibujé una línea diagonal y la corté. Luego con la pistola de silicón pegué tubo con el corte diagonal sobre el segundo tubo que quedó de forma normal. Este nos servirá como base de nuestro foco de luz.
Step 6:
While the silicone was drying, I took one of the cardboard tubes and drew a diagonal line and cut it. Then with the silicone gun I glued the tube with the diagonal cut over the second tube that was left in a normal shape. This will serve us as the base of our light bulb.
Paso 7:
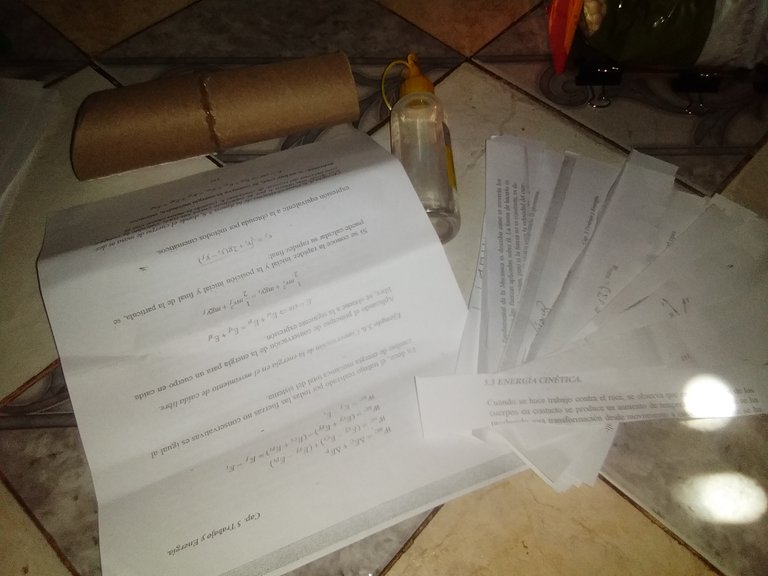
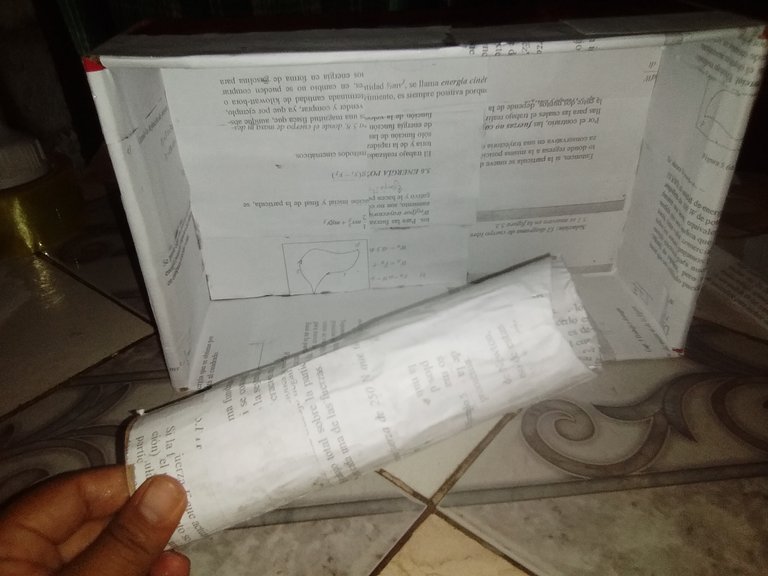
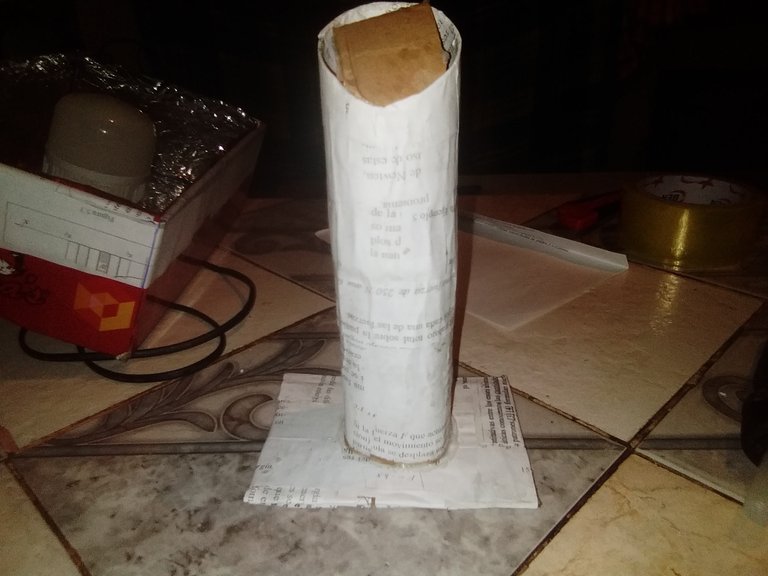
Con el papel de reciclaje corté trozos largos y otros pequeños y cubrí el tubo base con el usando silicón frío. De esta forma el tubo tendrá más fuerza. También forré la caja por dentro con papel.
Step 7:
With the recycling paper I cut long and small pieces and covered the base tube with it using cold silicone. This way the tube will have more strength. I also lined the box inside with paper.
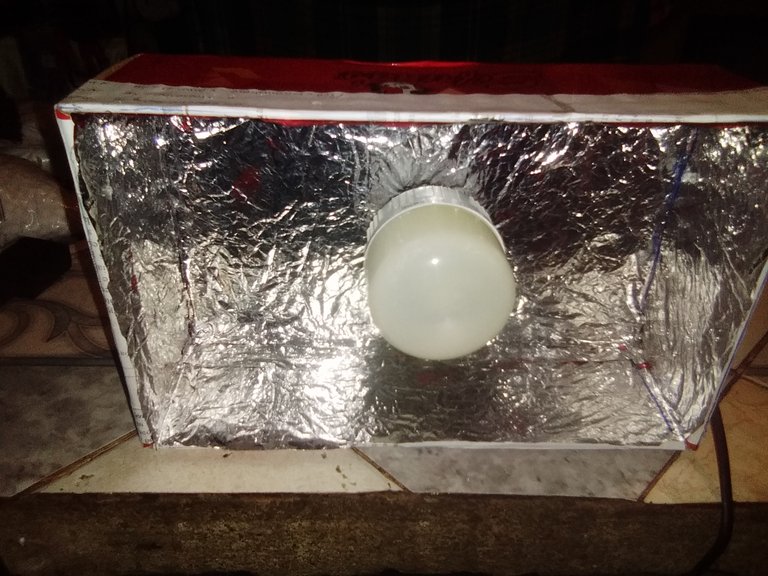
Paso 8:
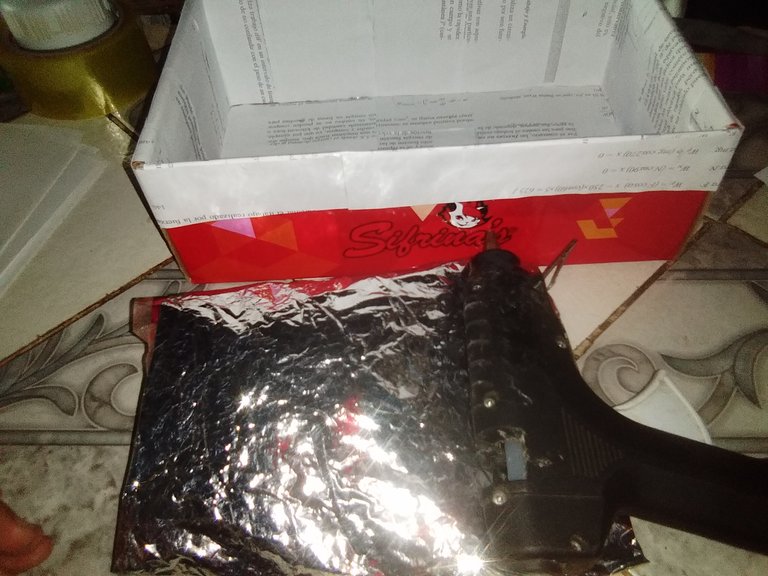
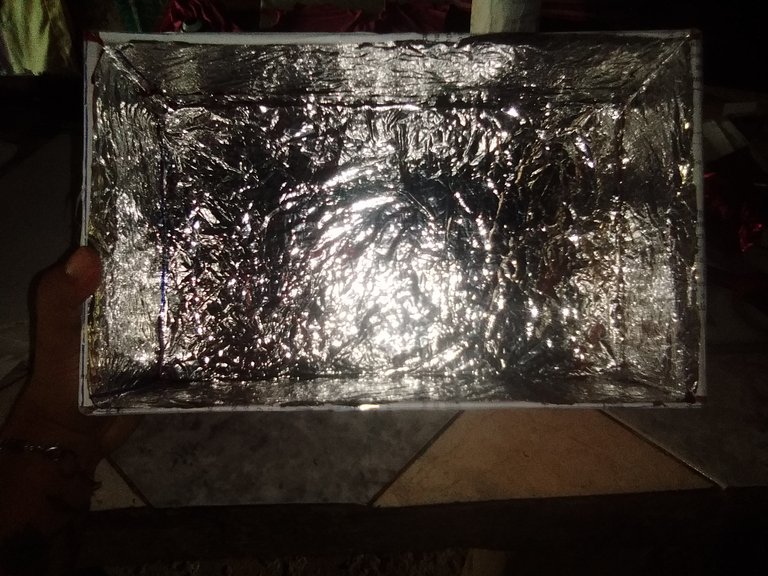
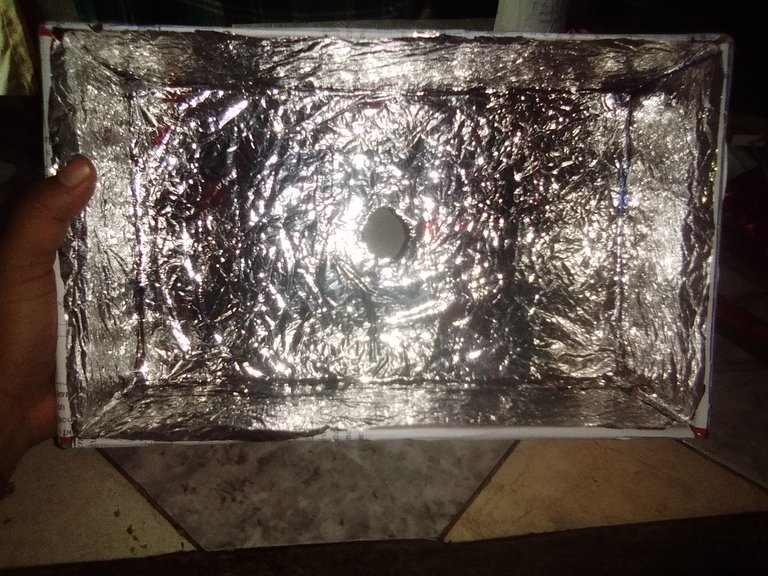
Con silicón caliente tomé el papel aluminio y lo pegué dentro de la caja cubriendo todos los laterales y el fondo. Después recorte los círculos del medio donde iría el sócate.
Step 8:
With hot silicone I took the aluminum foil and glued it inside the box covering all the sides and the bottom. Then I cut out the middle circles where the socket would go.
Paso 9:
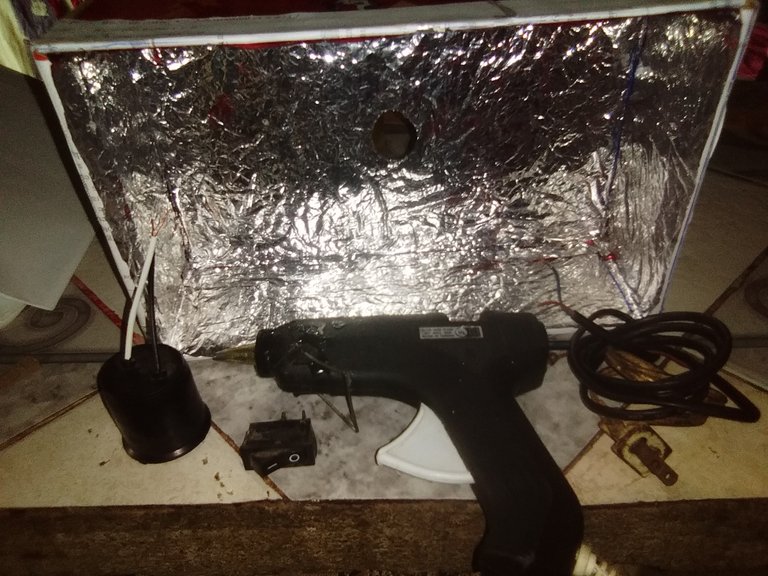
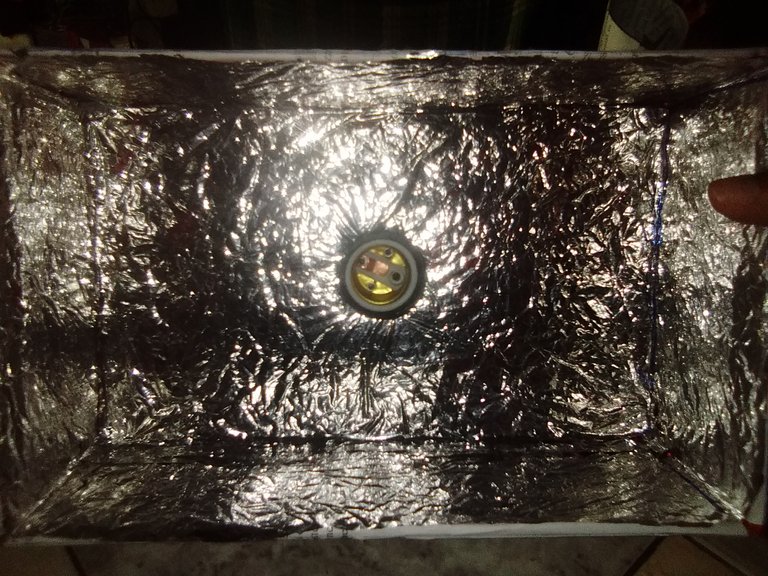
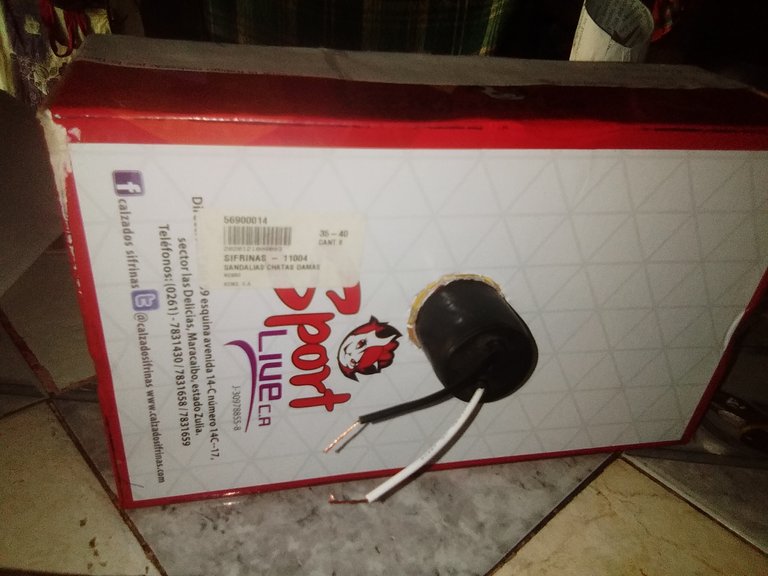
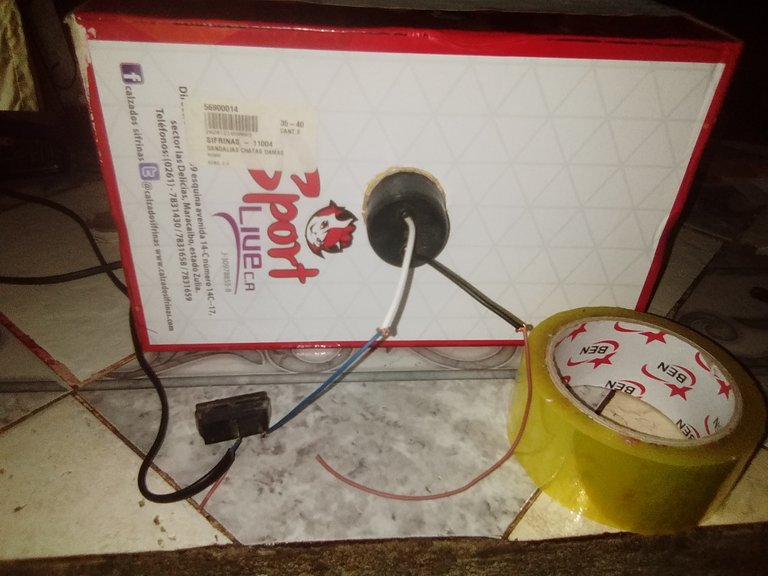
En este paso puse la conexión eléctrica. Puse el sócate en el círculo y en la parte trasera sellé con silicón caliente. Luego hice la conexión del interruptor. Tomé el positivo y lo puse en un pin del interruptor, y luego el cable largo en el otro pin, dejando solamente el cable negativo para empatarlo al sócate.
Step 9:
In this step I put the electrical connection. I put the socket in the circle and on the back I sealed it with hot silicone. Then I made the switch connection. I took the positive and put it on one pin of the switch, and then the long wire on the other pin, leaving only the negative wire to tie to the socket.
Paso 10:
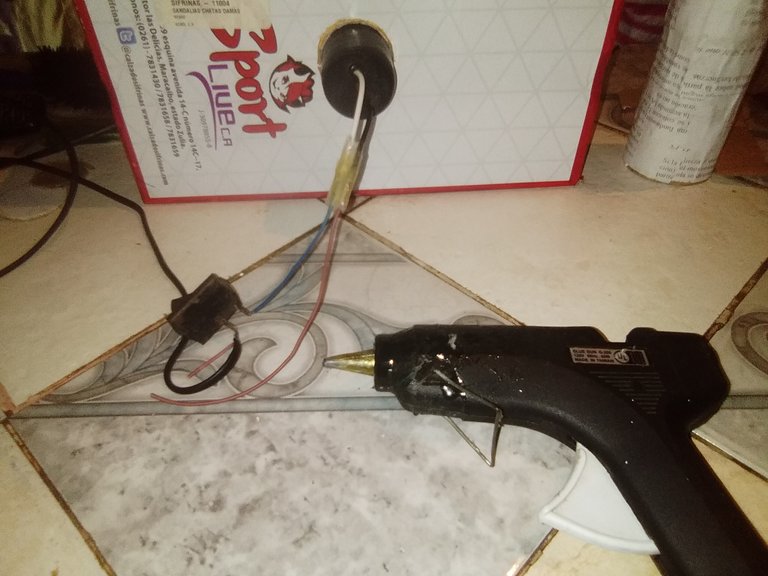
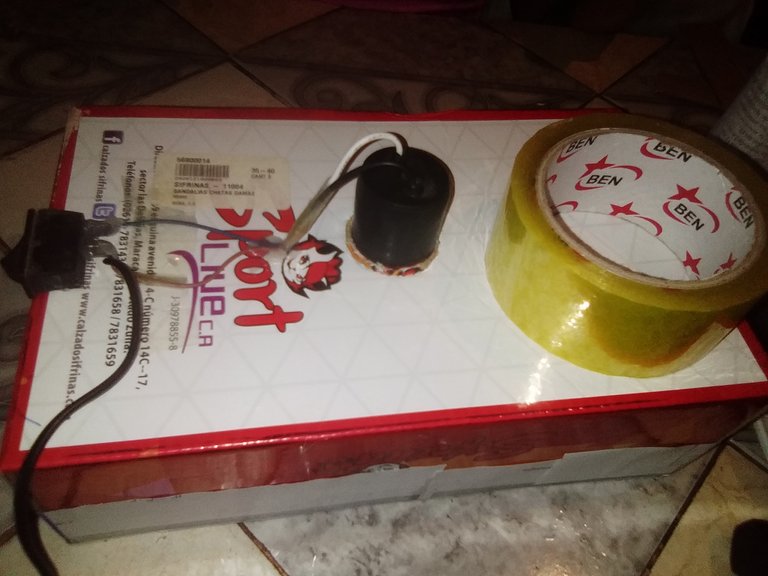
Con el silicón caliente aislé los pines del interruptor para evitar electrocuciones o cortos. Luego lo pegué en la parte trasera del foco, el borde para ser precisos.
Step 10:
With hot silicone I insulated the switch pins to prevent electrocution or shorts. Then I glued it to the back of the bulb, the edge to be precise.
Paso 11:
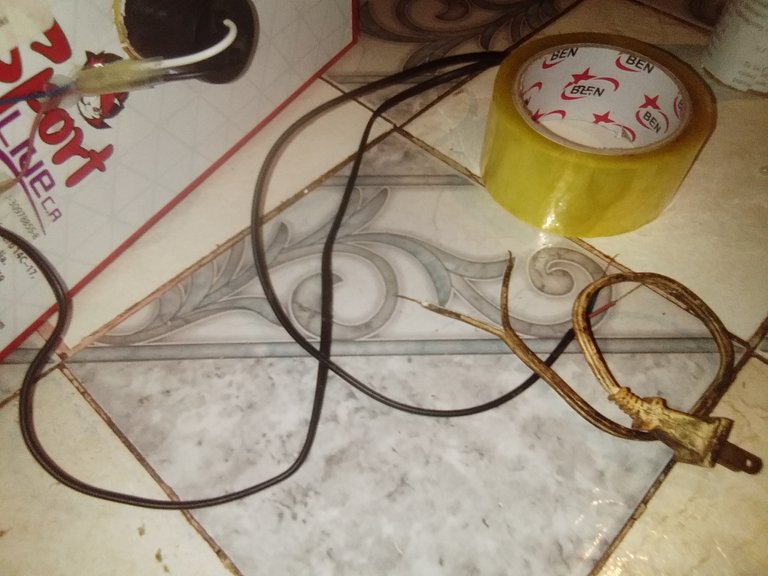
Luego tomé el cable con enchufe y lo empaté con el restante que salía del foco de luz. Siguiendo siempre el conocimiento de negativo con negativo y positivo con positivo. Para aislarlos utilicé cinta adhesiva.
Step 11:
I then took the wire with the plug and paired it with the remaining wire coming out of the light bulb. Always following the knowledge of negative to negative and positive to positive. To insulate them I used adhesive tape.
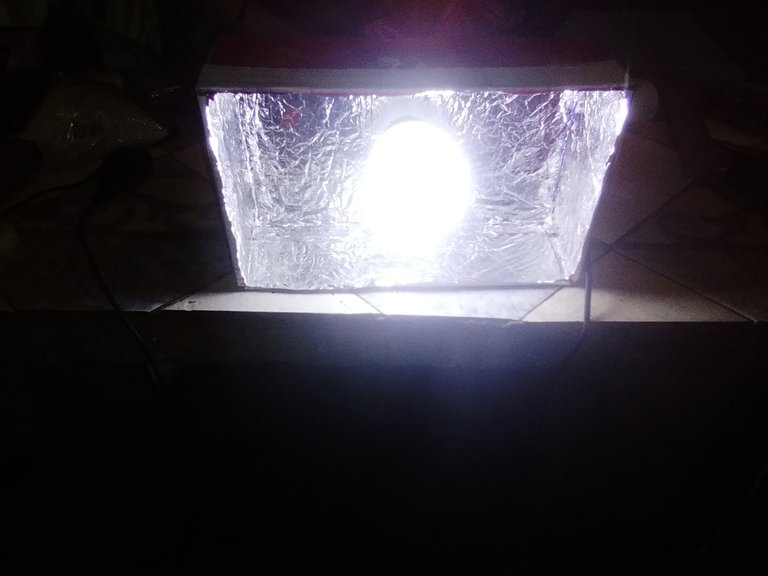
Paso 12:
Enchufamos a un tomacorriente y hacemos la primera prueba y vemos que funciona.
Step 12:
We plug into an outlet and do the first test and see that it works.
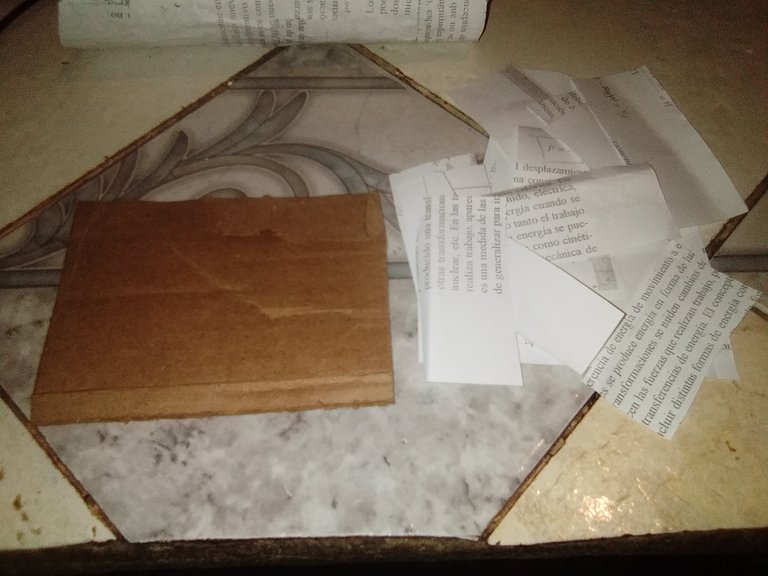
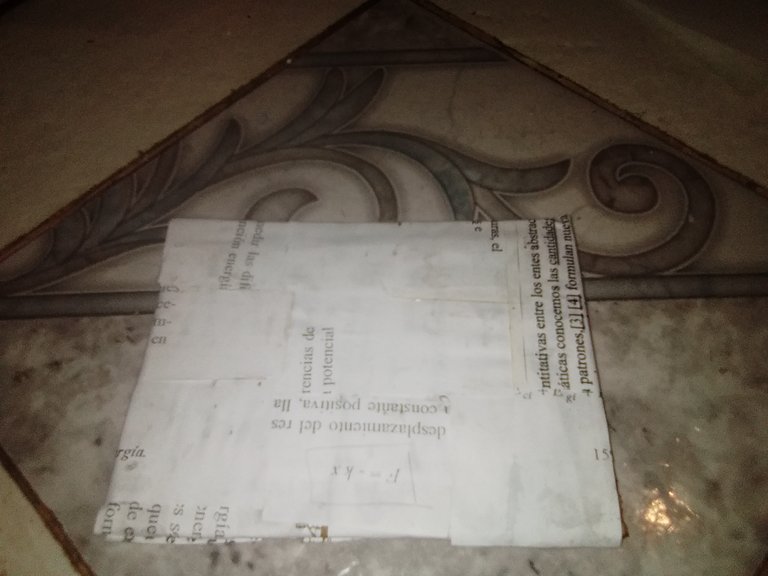
Paso 13:
En un pedazo de cartón restante pegaremos el tubo de cartón. Antes forraremos el pedazo de cartón como hicimos con el tubo. Esperamos a que seque y luego pegamos ambas partes con la pistola de silicón.
Step 13:
On a remaining piece of cardboard we will glue the cardboard tube. First we will line the piece of cardboard as we did with the tube. We wait for it to dry and then we glue both parts with the silicone gun.
Paso 14:
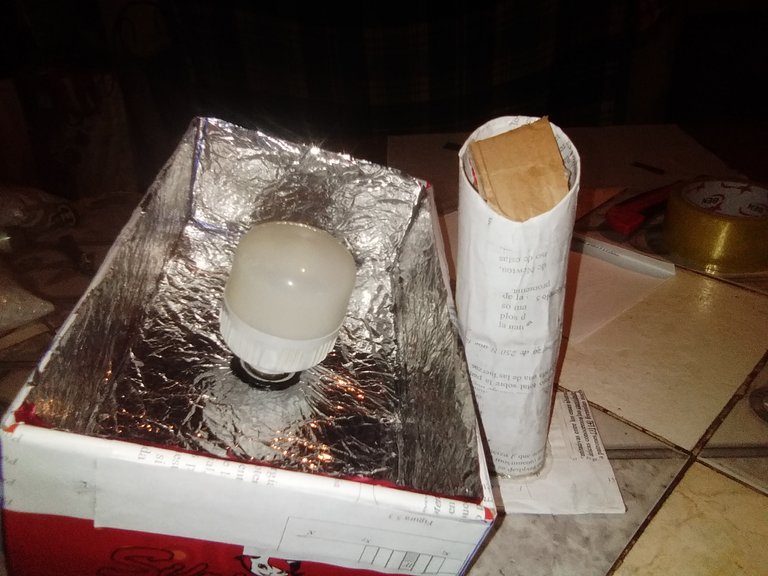
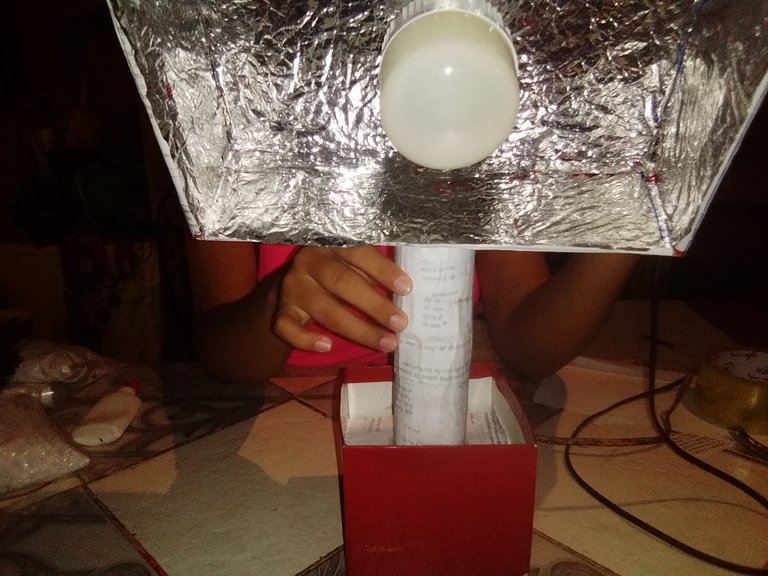
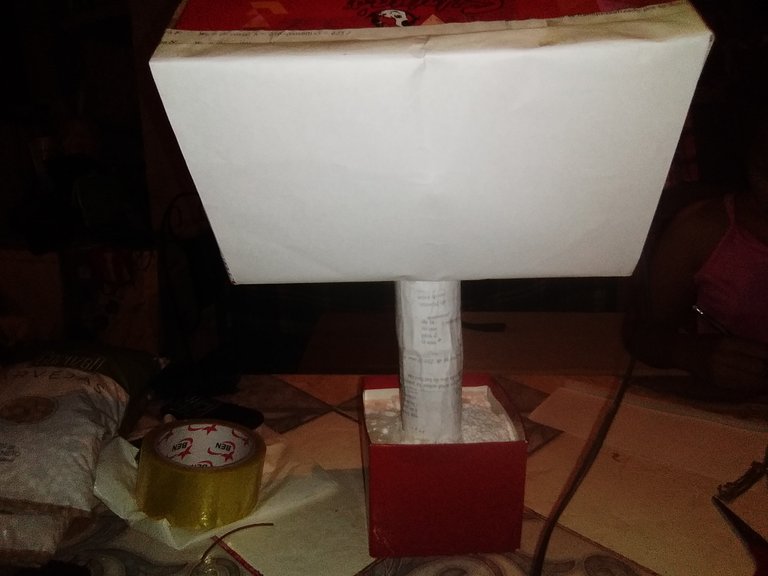
En el centro del tubo ponemos un pedacito de cartón para ayudarnos a pegarlo en el foco. Centramos bien y con la pistola de silicón pegamos la base. Por mi parte, encontré una cajita que me ayudó mucho para el soporte. Ahí puse el tubo el cual quedo presionado con pedacitos de anime.
Step 14:
In the center of the tube we put a little piece of cardboard to help us glue it to the bulb. We center it well and with the silicone gun we glue the base. For my part, I found a little box that helped me a lot for the support. There I put the tube which was pressed with bits of anime.
Paso 15:
Con una hoja blanca y cinta adhesiva sellaremos la parte visible del bombillo haciendo con ella un panel. Esto hará que la luz se distribuya de mejor manera.
Step 15:
With a white sheet and tape we will seal the visible part of the bulb making with it a panel. This will make the light to be distributed in a better way.

Paso 16:
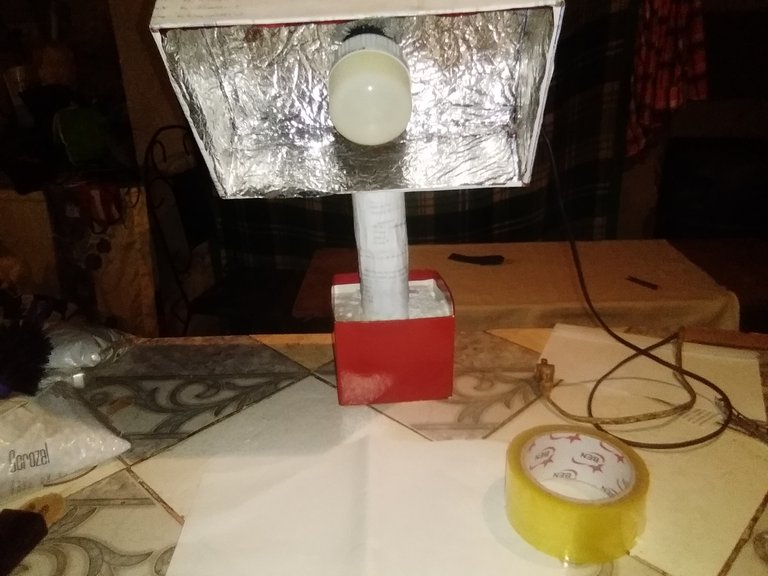
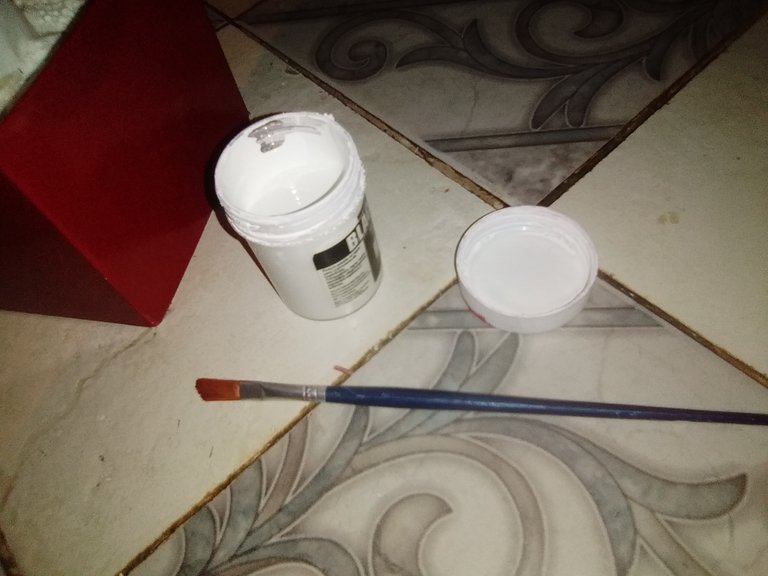
Este paso es opcional. Yo utilicé pintura blanca para pintar el tubo y los laterales del foco para un mejor acabado.
Step 16:
This step is optional. I used white paint to paint the tube and the sides of the bulb for a better finish.
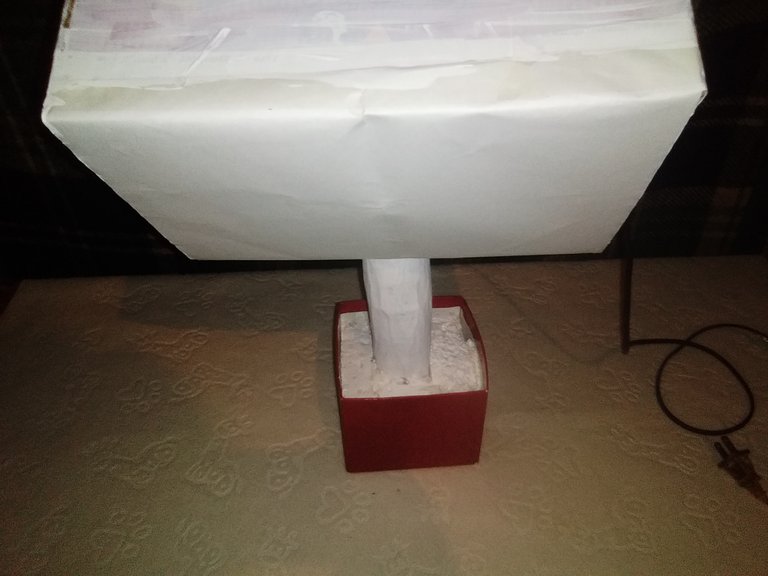
Y hasta aquí llega mi tutorial, amigos. Espero que les sea de mucha utilidad. La mayoría de las cosas que usé fueron de reciclaje, cosas que tenía guardadas en casa. Estoy en la espera de conseguir más para hacer mi otro foco y así tener mi set de luces para tomar mejores fotos y también ayudar con las fotos de mi hermana.
And this is the end of my tutorial, friends. I hope you find it very useful. Most of the things I used were from recycling, things I had stored at home. I'm waiting to get more to make my other spotlight so I can have my set of lights to take better pictures and also help with my sister's pictures.
Un saludo a todos en la comunidad.
Greetings to everyone in the community.