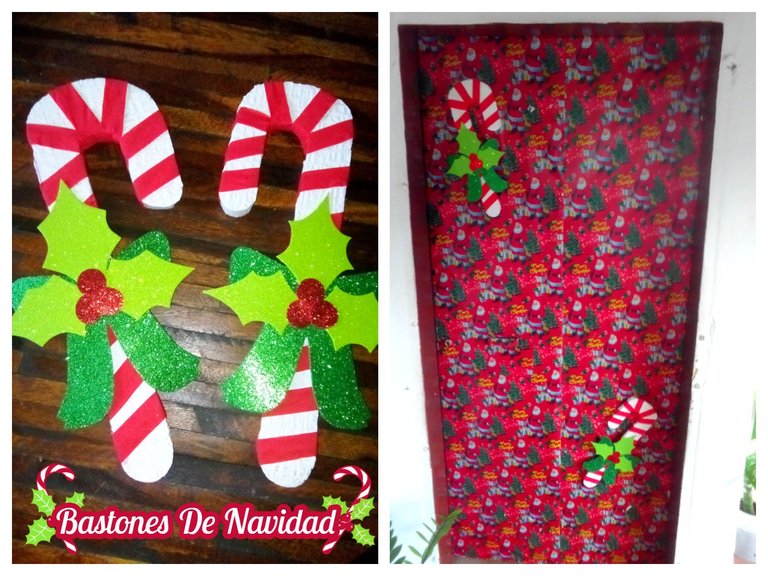
It's a pleasure to greet you again hive friends, I am here to make you part of another new project, which I made some Christmas canes, to decorate the door of my home, seeing that it was only lined, I decided to give it more life to the door. I give this title mainly because the steps I used were very simple, and of course, having the appropriate materials, it is not easy for anyone. In this way I leave you with my new presentation.
Un gusto en saludarlos nuevamente amigos de hive, por aquí me encuentro para hacerles partícipe de otro nuevo proyecto, la cual realice unos bastones de navidad, para así decorar la puerta de mi hogar, en vista de que solo estaba forrada, decidí darle más vida a la puerta. Le coloco este título principalmente, porque los pasos que utilice fueron muy sencillos, y claro, teniendo los materiales adecuados, a quien no se le hace fácil. De esta manera los dejo con mi nueva presentación.
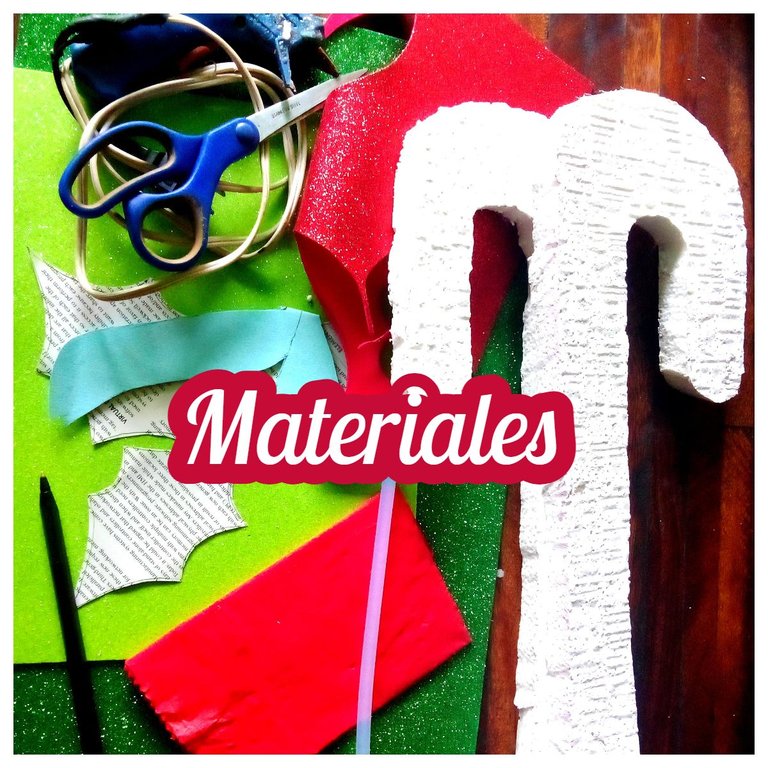
Used materials:
√ Leaf and bow pattern.
√ 2 anime batons.
√ Frosted EVA foam (apple green, leaf green, red).
√ Red crepe paper.
√ Pen.
√ Silicone gun plus bar.
Materiales utilizados:
√ Patrón de hoja y lazo.
√ 2 bastones de anime.
√ Goma eva escarchado (verde manzana, verde hoja, rojo).
√ Papel crepé rojo.
√ Lapicero.
√ Pistola de silicona más barra.
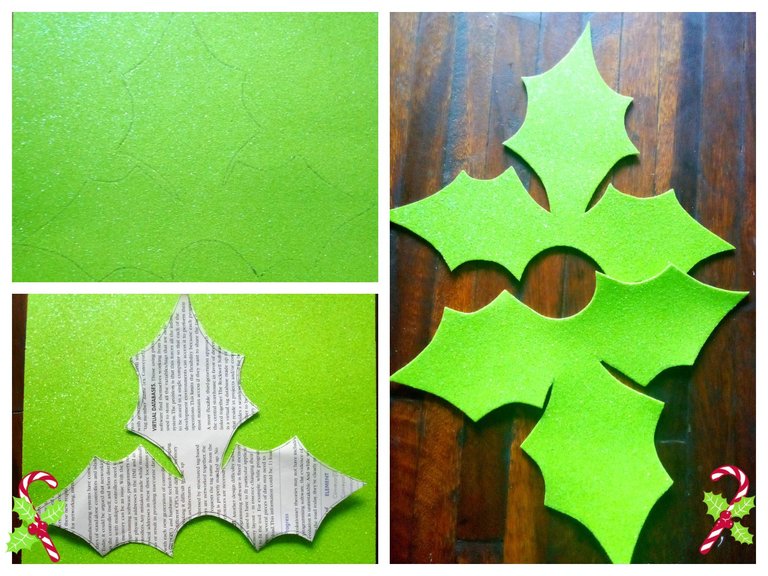
Step 1:
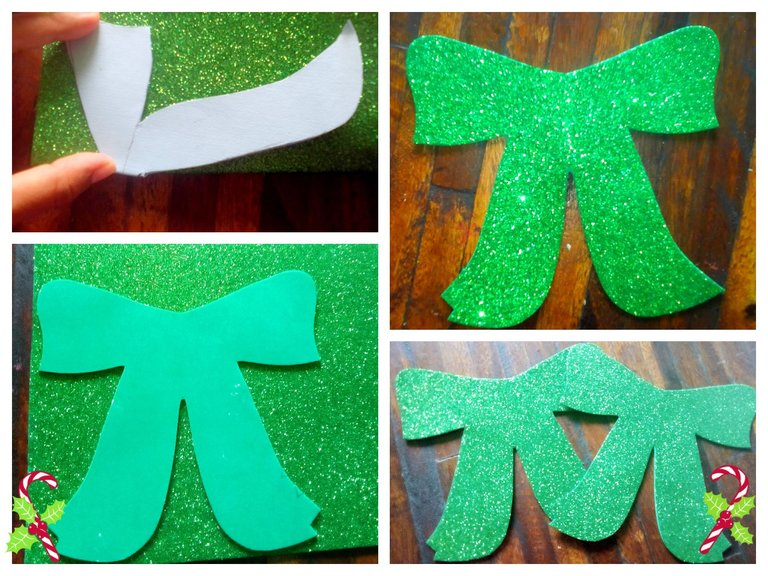
Starting this step 1. I proceeded to mark the leaves, using this green color and cut out the pair.
Paso 1:
Comenzando este paso 1. Procedí a marcar lo que es las hojas, utilizando este color verde y recorte el par.
I folded the bow pattern in half, and marked it on the leaf green. After cutting, I marked the bow again to complete the pair.
Doble el patrón del lazo a la mitad, y lo lleve a marcarlo sobre el verde hoja, luego de recortar, el lazo lo volví a marcar para así completar el par.
Step 2:
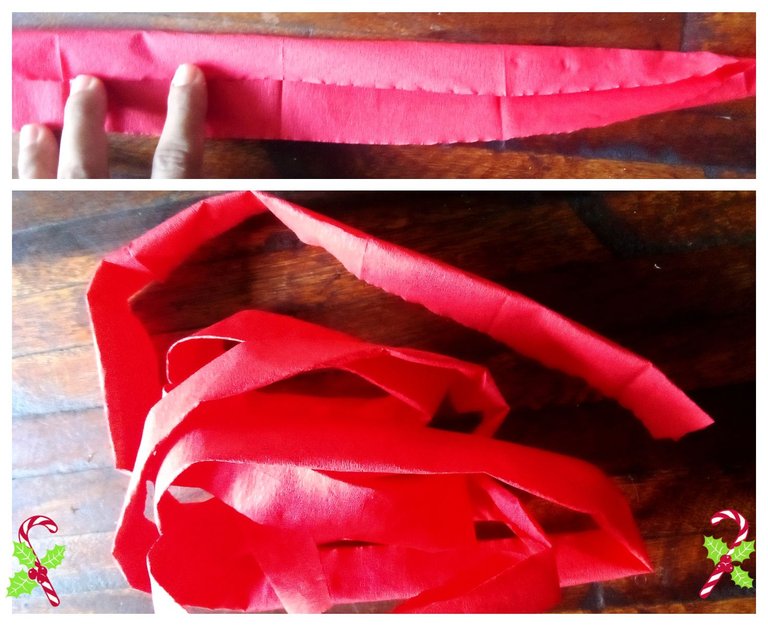
I stretched the crepe paper lengthwise and made some folds to form a thick strip
Paso 2:
El papel crêpe lo estiré hacia lo largo e hice unos dobles para formar una tira gruesa.
Step 3:
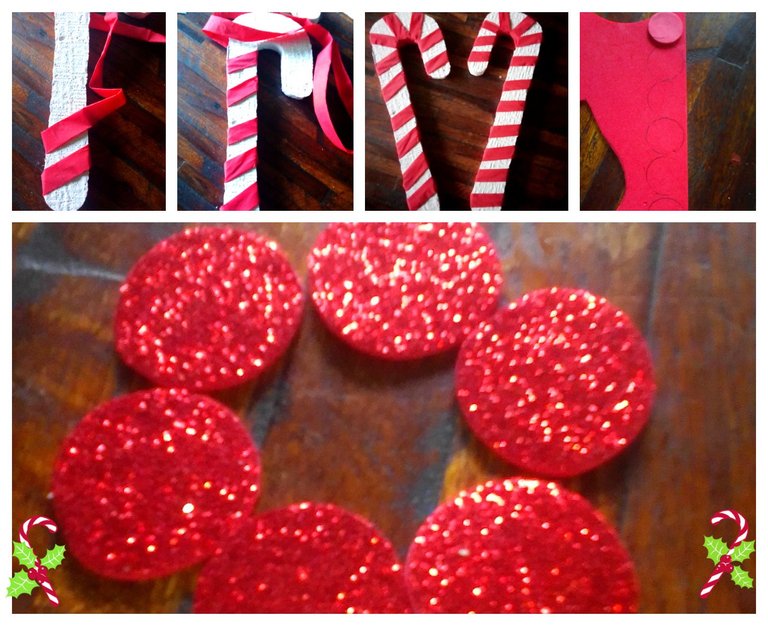
I started to glue the red strip to the cane from the bottom up, leaving both of them looking like this. Then I made 5 circles, plus one that was the mold, a total of 6.
Paso 3:
La tira roja, empecé a pegarla al bastón de abajo hacia arriba, quedando ambos de esta manera. Luego hice 5 círculos, más uno que era el molde, un total de 6.
Step 4:
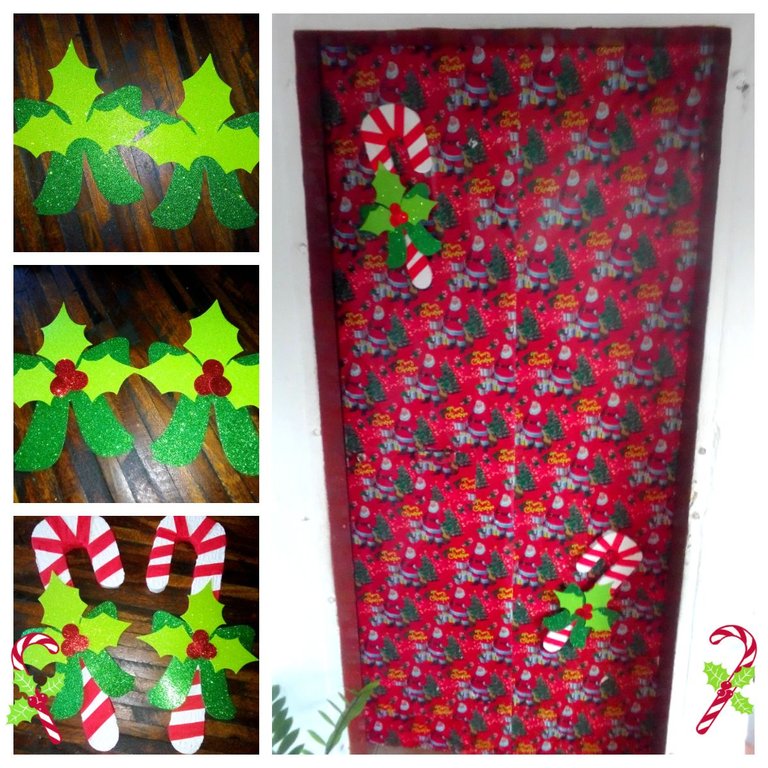
When we are already in this step, which is the last one, it is where we add more creativity and enthusiasm. Here I glued the leaves to the bow, then the red balls, from there I attached each of the bows to the canes, with the purpose of using them to decorate the door of my home, and so it was my friends, this result was excellent, which didn't take me long, and well I already had everything calculated in my mind, ha, ha, ha. Truly, I loved this new project, I am very satisfied.
Paso 4:
Cuando ya estamos en este paso, que es el último, es donde le colocamos más creatividad y entusiasmo. Aquí pegue las hojas al lazo, seguidamente las bolas rojas, de allí cada uno de los lazos se los coloque a los bastones, con la finalidad de utilizarlos para decorar la puerta de mi hogar, y así fue mis amigos, este resultado fue excelente, la cual no me llevo mucho tiempo, y bueno ya tenía todo calculado en mi mente, ja, ja, ja. verdaderamente, me encanto este nuevo proyecto, estoy muy satisfecha.
Collage making program: Fotojet Link
Translated from google translator Link
Photo editing program: PhotoFiltre 7
Las fotos fueron tomadas desde un Xiaomi Mi A2.
Programa para hacer el collage: Fotojet Enlace
Traducido del traductor de Google Enlace
Programa para editar fotos: PhotoFiltre 7
I say goodbye until another opportunity.
Thanks for your support.
Me despido hasta otra oportunidad.
Gracias por su apoyo.
Copyright @imargasa. All rights reserved.


