Friends of DIYHub, I congratulate you for these creative and wonderful initiatives, I saw this one about the bees some time ago, and I wanted to participate, but nothing had occurred to me until now.
Amigos de DIYHub, los felicito por estas creativas y maravillosas iniciativas, hace un tiempo que vi está de las abejas, y he querido participar, pero no se me había ocurrido nada, hasta ahora.
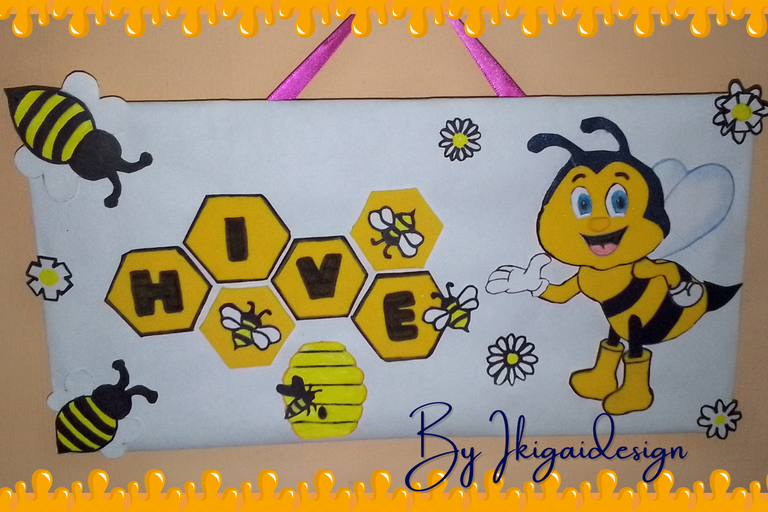
I started to investigate a little, looking for images, models, designs, and also among my materials, then it occurred to me to make a bee with foami, to shape it in a decorative picture, and paste it on the wall of my room.
It took me a while to do it, since I'm on medical rest, and I can't sit for a long time, and it hurts my back, so I had to do it a little at a time, and little by little I was making progress, without a doubt, it was worth the effort, I really liked how my little bee turned out, now I will show you how I did it, and what I put as decoration, to complete the picture.
SPANISH VERSION
Me puse a indagar un poco, buscando imágenes, modelos, diseños, y también entre mis materiales, entonces se me ocurrió hacer una abeja con foami, para plasmarlo en cuadro decorativo, y pegarlo en la pared de mi habitación.
Me tomo un tiempo, hacerlo, puesto que ando de reposo médico, y no puedo estar mucho tiempo sentada, y me pega en la espalda, asi que me ponía de a ratitos, y poco a poco iba avanzando, sin duda, valió la pena el esfuerzo, me gusto mucho como quedo mi abejita, ahora les mostraré como lo hice, y lo que le coloque de decoración, para completar el cuadro.
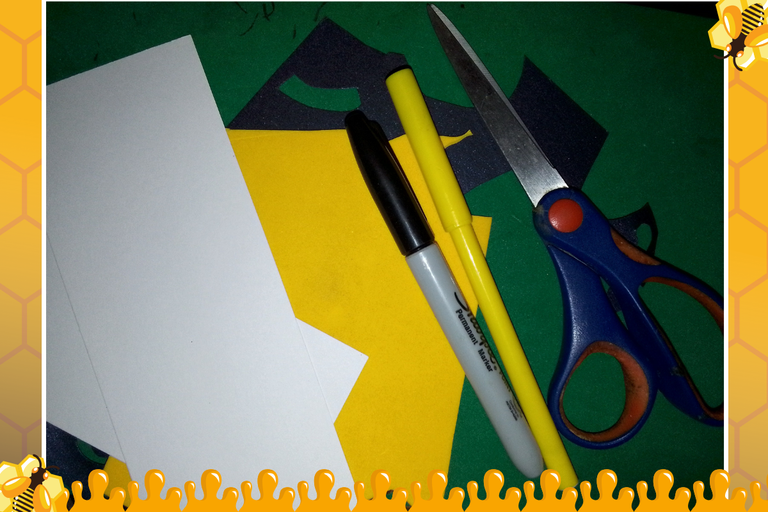
The materials I used were as follows /
Los materiales que utilice fueron los siguientes:
| - Foami amarillo | - Yellow Foami |
|---|---|
| - Cartulina negra | - Black cardboard |
| - Cartulina Blanca | - White cardboard |
| - Cartón | - Cardboard |
| - Papel Bond blanco | - White bond paper |
| - Tijeras | - Scissors |
| - Pega | - Paste |
| - Marcadores | - Markers |
Procedure:
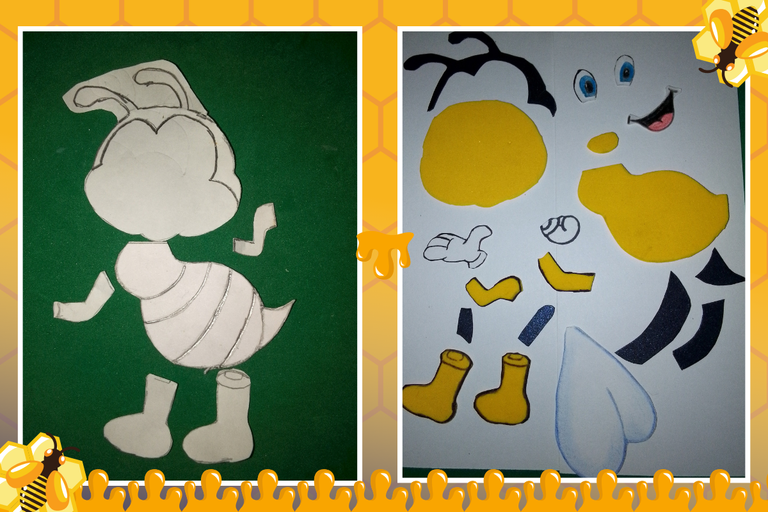
Well, to begin, I looked for an image of a striking, funny bee, I started to search, and from there I began to form each piece, between the face, body, hands and feet, it was quite a process, but I did it, in this part I used the yellow foami for the body, with the black cardboard, I used white cardboard to draw the eyes, and shape the hands, as well as the feet.
SPANISH VERSION
Procedimiento:
Pues bien, para comenzar, busque una imagen, de una abeja llamativa, graciosa, me puse a buscar, y de allí comencé a formar cada pieza, entre el rostro, el cuerpo, las manos y pies, fue todo un proceso, pero lo logre, en esta parte utilice el foami amarillo para el cuerpo, con la cartulina negra, utilice cartulina blanca para dibujar los ojos, y darle forma a las manos, asi como los pies.
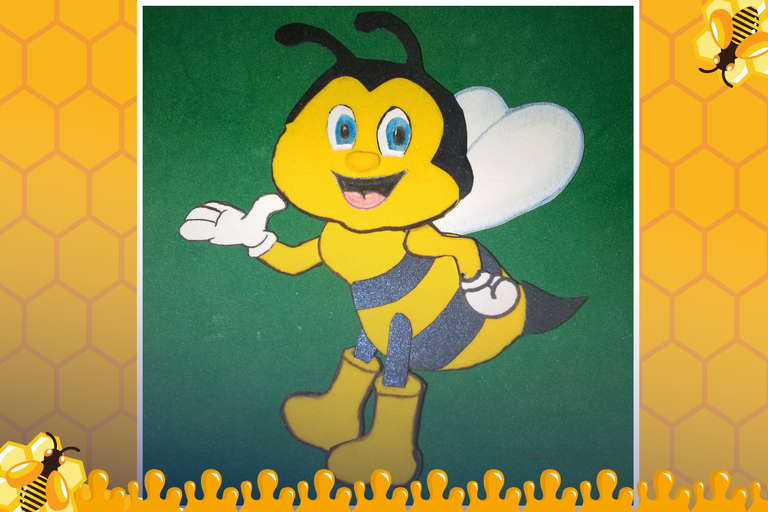
Then, I glued each piece to give shape to my little bee, I also drew the mouth, and for the wings, with white cardboard, I made some reflections.
Seguidamente, fui pegando cada pieza, para ir dándole forma a mi abejita, también dibujé la boca, y para las alas, con cartulina blanca, le hice unos reflejos.
With my bigger bee ready, I started to make other smaller ones, to put them as decoration in the frame, of course, in the middle I wanted to place the name of our ecosystem Hive, with the shape that symbolizes it.
For this I used the black marker, to highlight the letters, on the yellow foami; and for the little bees, I drew them, also using the black marker and a yellow one, being these the main colors of our bee.
SPANISH VERSION
Ya con mi abejita mayor lista, empecé a hacer otras más pequeñas, para la parte del cuadro, ponerlas como decoración, por supuesto, en el medio quise colocarle el nombre de nuestro ecosistema Hive, con la forma que lo simboliza.
Para esto utilice el marcador negro, para resaltar las letras, en el foami amarillo; y para las abejitas pequeñas, las dibuje, también usando el marcador negro y uno amarillo, siendo estos los colores principales de nuestra abeja.
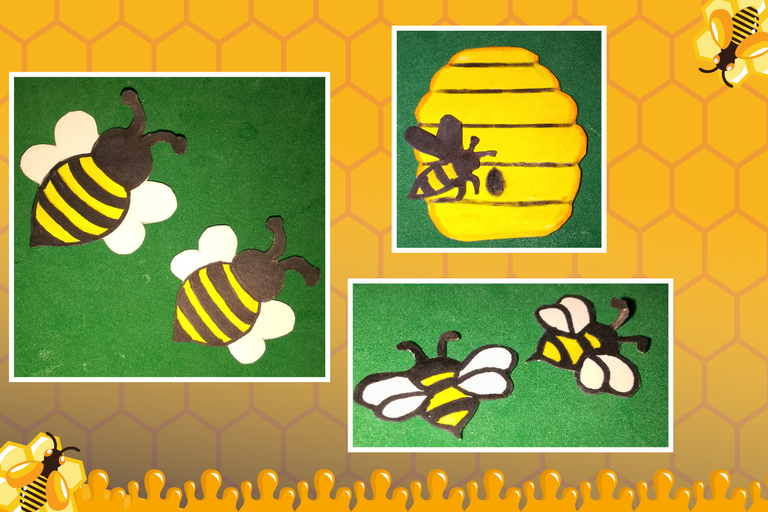
I did all this by parts, and then I started to paste the base of my decoration, with my little bee, on the picture, which I had already assembled, as I was doing each detail, I thought what else I need, what I can put, to cover the spaces, so I also made some little flowers, and this honeycomb, simple but decorative.
SPANISH VERSION
Todo esto lo fui haciendo por parte, para luego empezar a pegar en el cuadro, que ya tenía previamente armado, la base de mi decoración, con mi pequeña abeja, a medida que iba haciendo cada detalle, pensaba que más me falta, que le puedo colocar, para cubrir los espacios, asi que también, le hice unas pequeñas florecitas, y este panal de miel, sencillo pero decorativo.
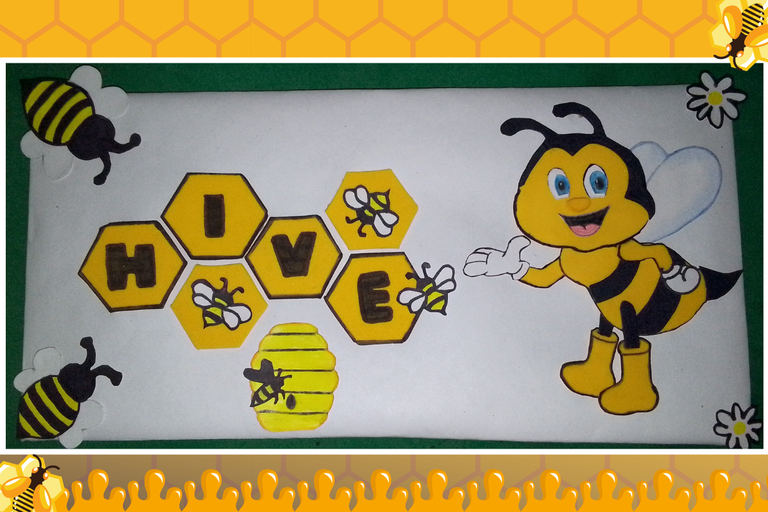
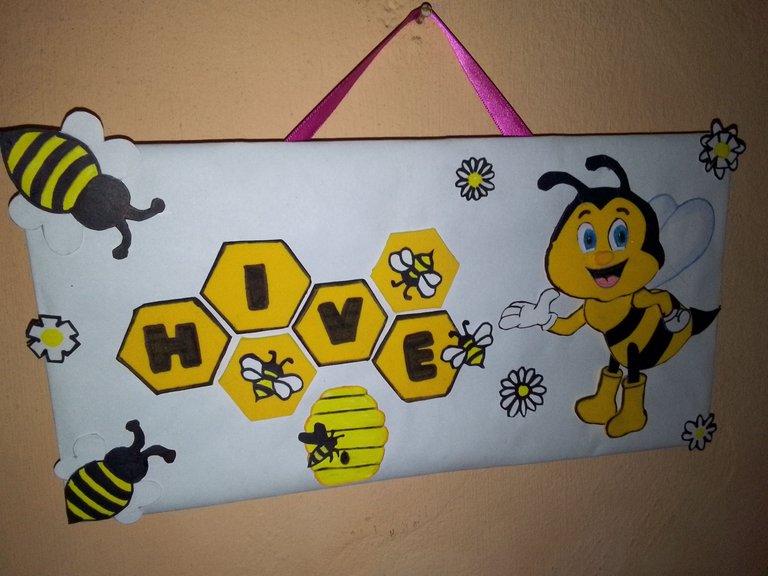
I really liked how it turned out, a very decorative and eye-catching picture, to paste it on the wall of my room, representing my beloved beehive.
I hope you like it as much as I do, especially my bee, it's the first time I do it, and I love it, what do you think?
La verdad me gusto mucho como quedo, un cuadro bastante decorativo y llamativo, para gindarlo en la pared de mi cuarto, representando a mi querida colmena.
Espero que a ustedes les guste tanto como a mí, sobre todo mi abeja, es la primera vez que lo hago, y me encanto, ¿ustedes que opinan? 😍
| RECURSO / RESOURCE: | FUENTE / SOURCE |
|---|---|
| Imágenes / Pictures:👉 | Photos Phone Tecno Pop 7/ Edition CANVA |
| Translation/Traducción:👉 | DeepL Traductor |
| Edition/Edición : | Cover and banner with Canva /Portada y banner con Canva |
| Edition/Edición : | Canva GIF Separator/Separador GIF Canva |


