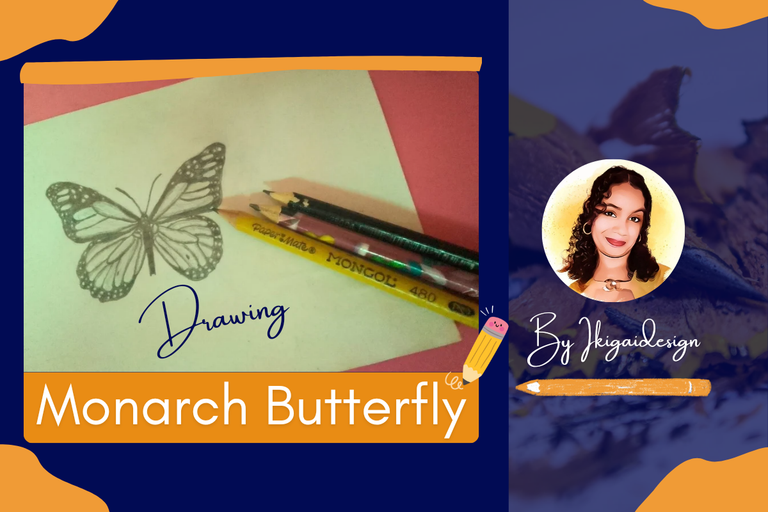
I recently discovered a YouTube channel where he explains in a didactic, simple and easy way how to make drawings with just a graphite pencil.
I really liked how this guy @pablo_Animator shows step by step how he makes these drawings, that's why I wanted to try it with one of the ones he teaches, in this case the Monarch Butterfly.
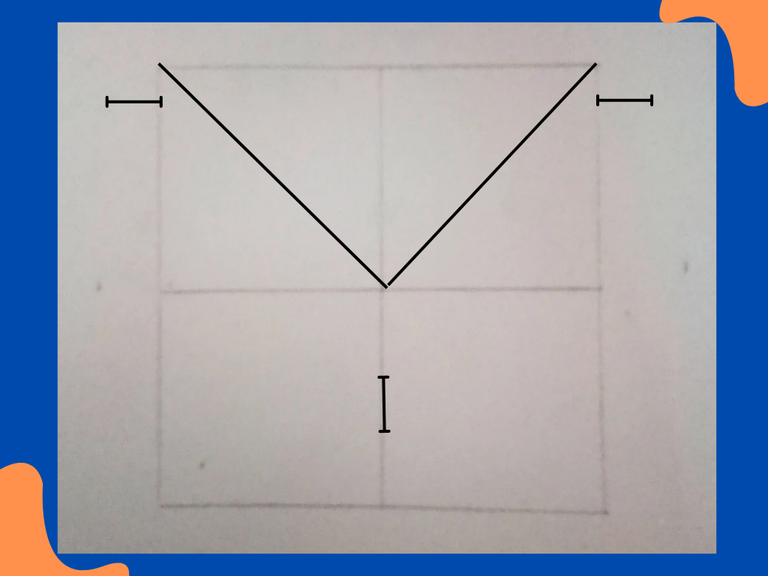
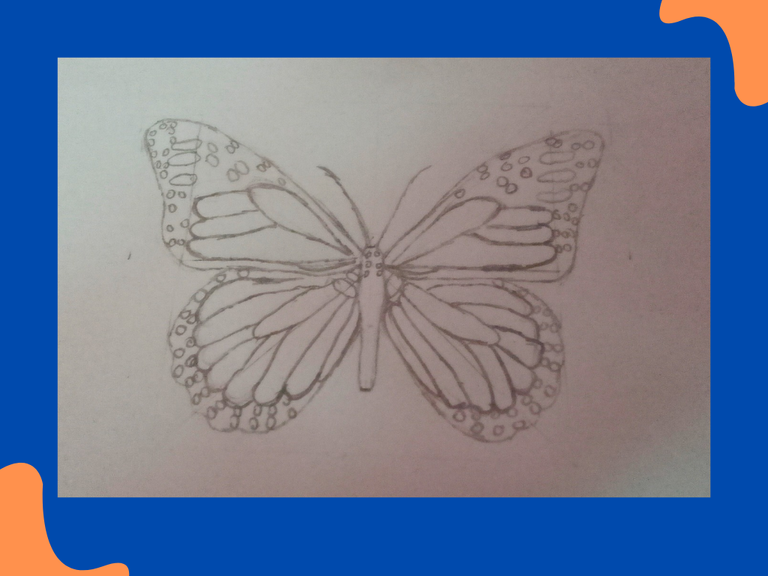
At first it looks very easy as I said, he takes a square as a base, from there he generates some lines to limit the spaces, for the part of the wings; well, that's how I started it, as I said, following his steps.
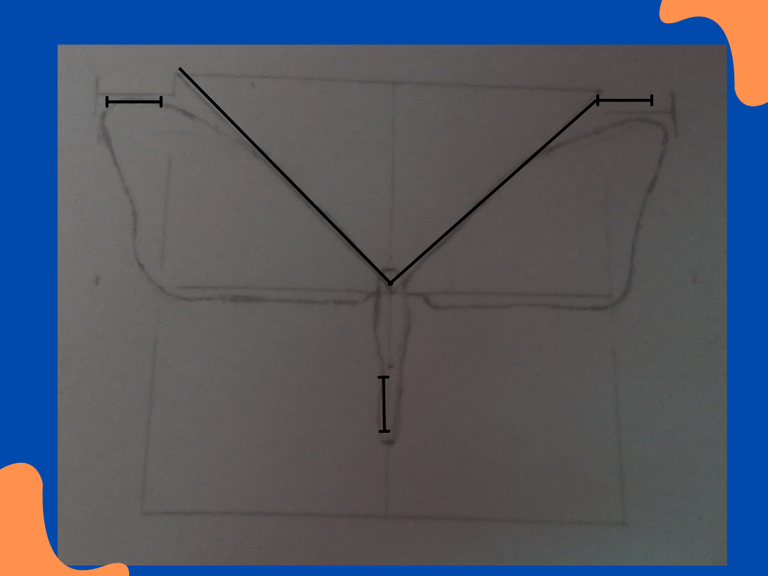
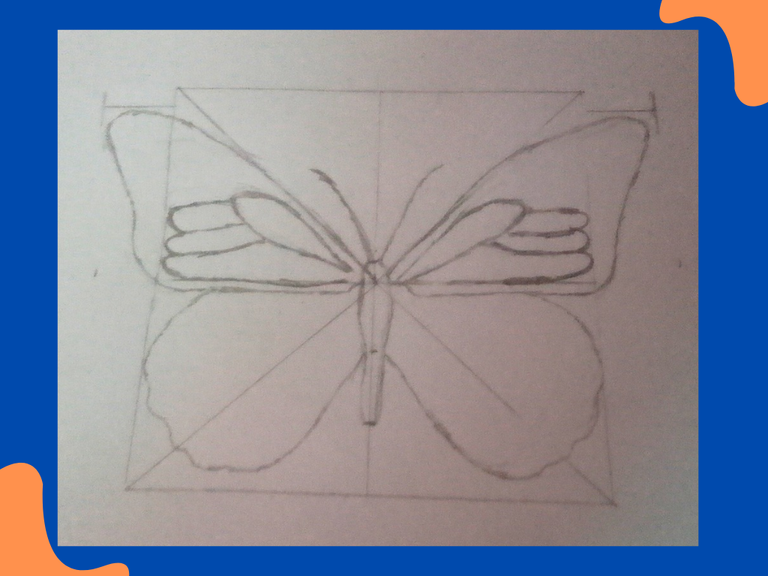
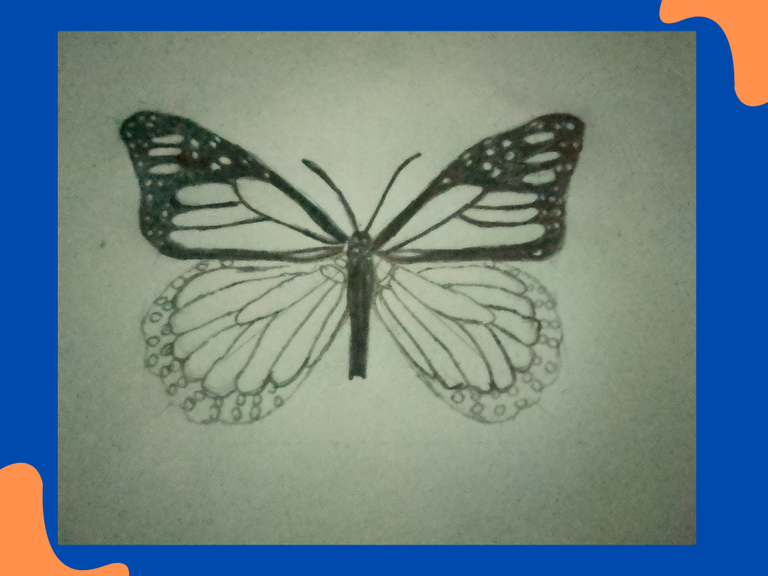
Once the lines are drawn, I proceed to draw my butterfly, starting with the body, then from there we start to form the wings; now with this it's time to fill in the internal part, it was a bit difficult for me, trying to give it the shape, the lines, inside each wing, since both shapes must be the same.
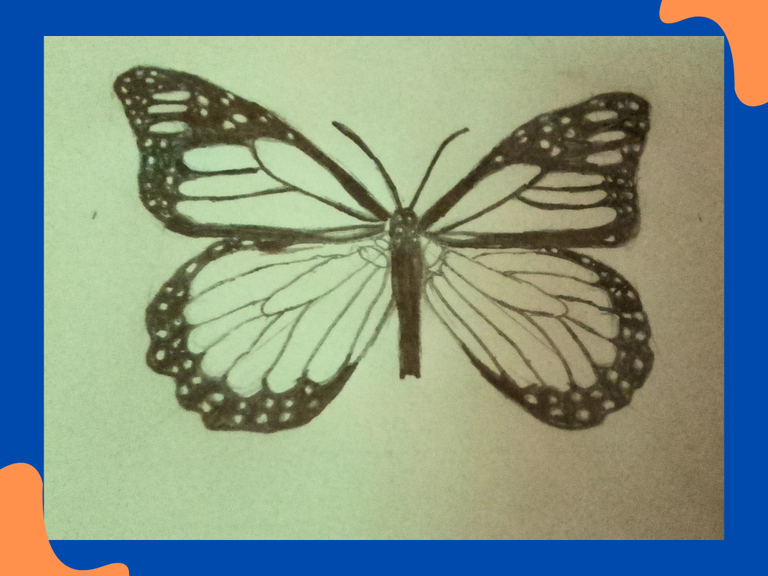
The most delicate part is this one, the shape inside each wing, there we make small circles, very small, as you can see in the image, and then take our dark pencil and give it depth.
The boy recommends that for this part we use a N°8 pencil, since this is the darkest, I don't have one, but I tried to do it with N°2, which is the one I use, drawing as deep as possible.
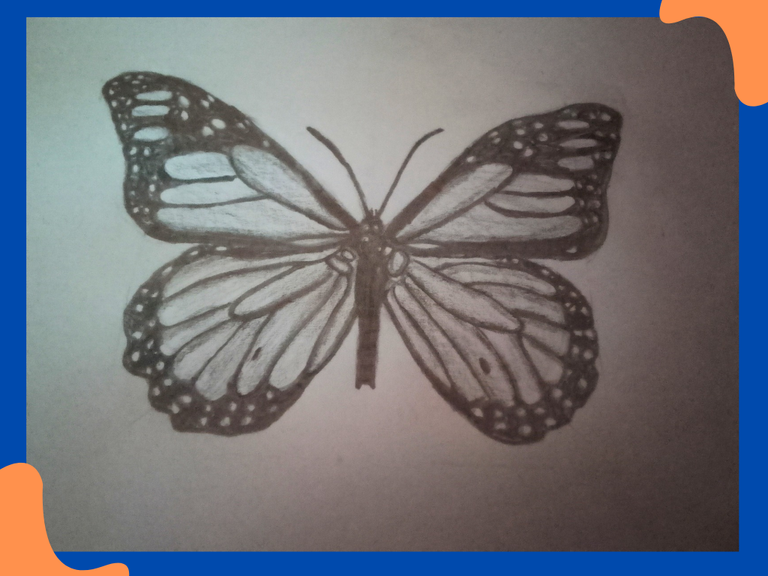
As you can see, this depth will be in the part of the small circles, like on the outside of the wings, while in the center we will treat the lines a little deeper, and the filling will be like a shading, neither too dark nor too light.
It didn't turn out exactly the same, I know it lacked, especially with the shading effect, but I still liked doing it trying, the idea is to keep practicing, to improve every day, I hope so.
SPANISH VERSION
Hace poco descubrí un canal de Youtube dónde explica de una forma didáctica, sencilla y facil la realización de dibujos con sólo lápiz grafito.
La verdad me gustó mucho cómo este chico @pablo_Animator muestra paso a paso como realiza estos dibujos, por eso quise intentarlo con alguno de los que enseña, en este caso el de la Mariposa Monarca.
Al principio se ve muy fácil cómo dije, el toma como base un cuadrado, de allí genera unas líneas para limitar los espacios, para la parte de las alas; pues bien así mismo lo inicié, cómo dije siguiendo sus pasos.
Una vez trazada las líneas, procedo a dibujar mi mariposa, empezando por el cuerpo, luego de allí partimos a formar las alas; ya con esto toca rellenar la parte interna, me costó un poco, tratar de darle la forma, las líneas, dentro de cada ala, ya que ambas formas deben ser iguales.
La parte un poco más delicada es está, la forma dentro de cada ala, allí realizamos círculos pequeños, muy pequeños, cómo ven en la imagen, para luego tomar nuestro lápiz oscuro y darle profundidad.
El chico recomienda que para esta parte usemos un lápiz N°8, ya que este es el más oscuro, yo no tengo, pero de igual forma trate de hacerlo con el N°2, que es el que uso, trazando lo más profundo posible.
Cómo ven está profundidad será en la parte de los círculos pequeños, cómo en lo externo de las alas, mientras que en el centro trataremos las líneas un poco más profunda, y el relleno será cómo un sombreado, ni tan oscuro ni tan claro.
No me quedo tal cuál, se que le faltó, sobre todo con el efecto del sombreado, pero igual me gustó hacerlo intentando, la idea es seguir practicando, para mejorar cada día, eso espero.
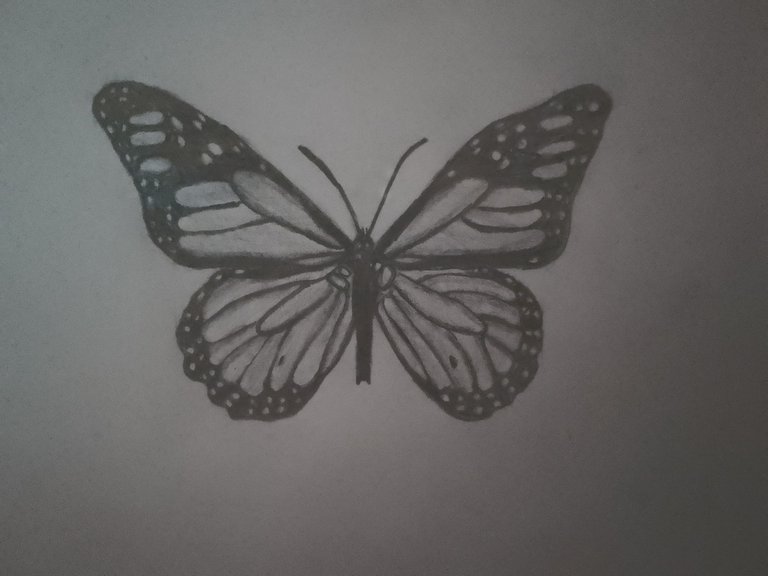

What do you think? Does it look like a Monarch Butterfly?😁
Well, friends, this is my drawing. I hope you like it and tell me what you think.❤️
Ustedes que opinan, ¿si parece una Mariposa Monarca?😁
Bueno amigos, hasta aquí mi dibujo, espero les guste y me digan que tal les pareció.❤️


RECURSO / RESOURCE:
Pictures: Photos Phone Tecno Pop 7
Translation/Traducción:👉 DeepL Traductor
Edition/Edición:Cover and banner with Canva /Portada y banner con Canva
Edition/Edición :Canva Separator/Separador Canva


