🙌He'llo my amazing friends in DIY Community, I hope today we are all healthy and fit💪
So today I was at site to mould Concrete Facia, am here to shear with everyone the process of Moulding a Pre-cast Concrete Facia.
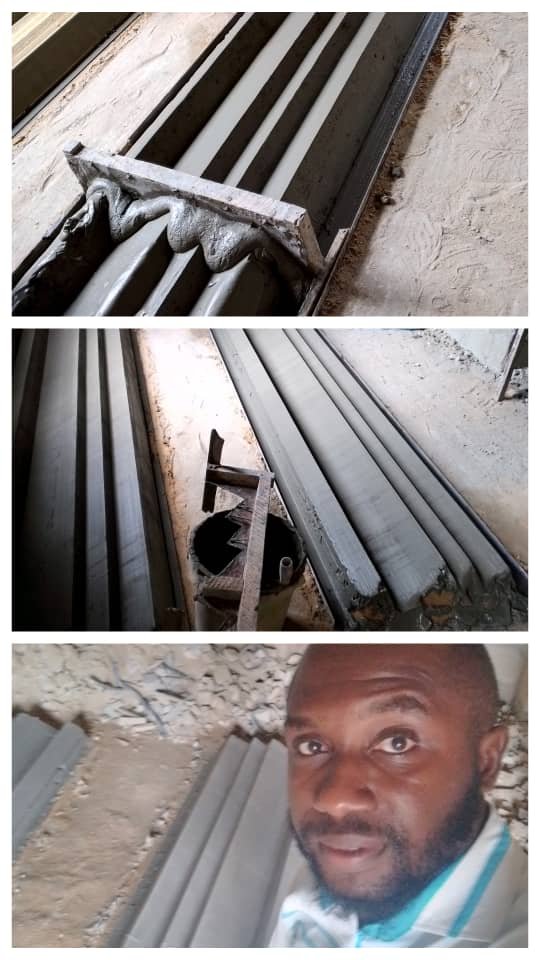
A Concrete Facia or Facia Board is a building component that is usually mounted at a point where the roof meets the external walls, it protect the building from external elements like water wind etc. Personally I'll recommend the Concrete Facia for any building project reason being that it's durable, no maintenance, compared to wooden facia board which will deteriorate with time. The Wooden facia board can be damaged by termites if the Wood is not properly treated or it can be damaged by wether factors like rain🌧️ or the shape of the wood can be distorted after been beaten by the Sun 🌄 over a long time.
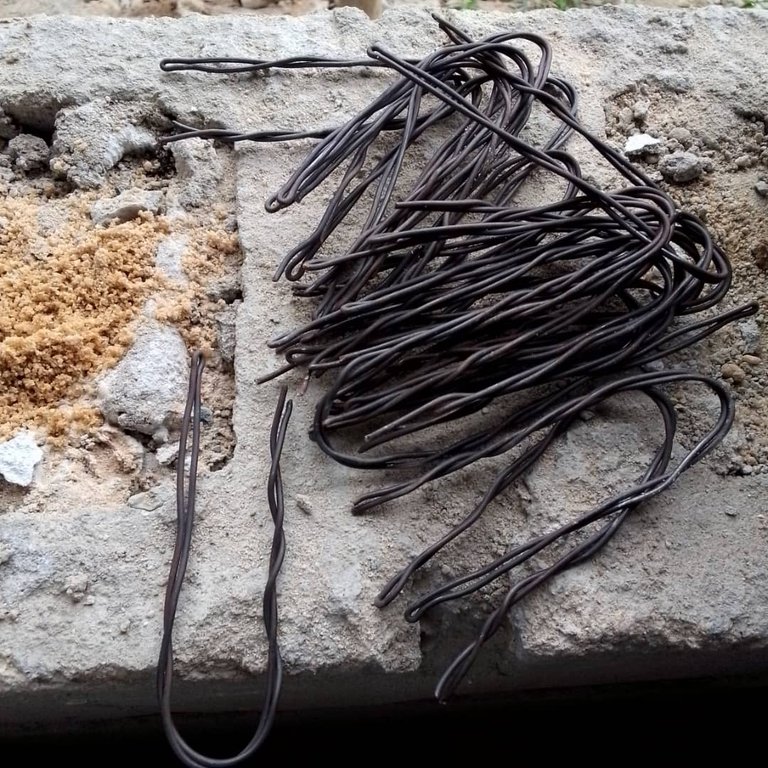
Materials:-
1). Mould (of any Desired design)
2). Sharp sand
3). Cement
4). Water
5). Angle iron
6). Binding wire
7). Piller
8). Shovel
9). Net
10). Hammer
11). Concrete nails

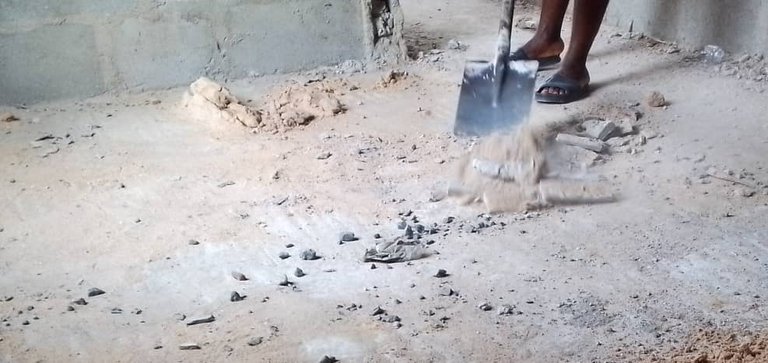
Step 1:-
I cleared the Floor space I intended to work carefully with the use of shovel to get rid of broken blocks, pices of wood nylons etc.
Step 2:-
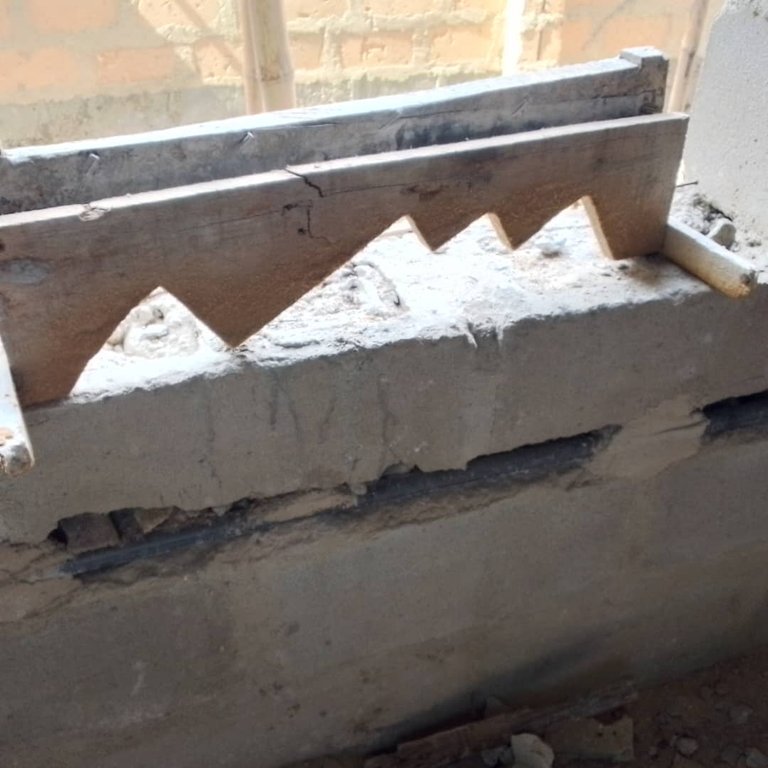
I attached the carved wooden mould to the fabricated steel mould with nails.
Step 3:-
I nailed concrete nails on the floor slab behind the angle Iron to hold the angle Iron in place to avoid it shifting when I start rolling the mould.
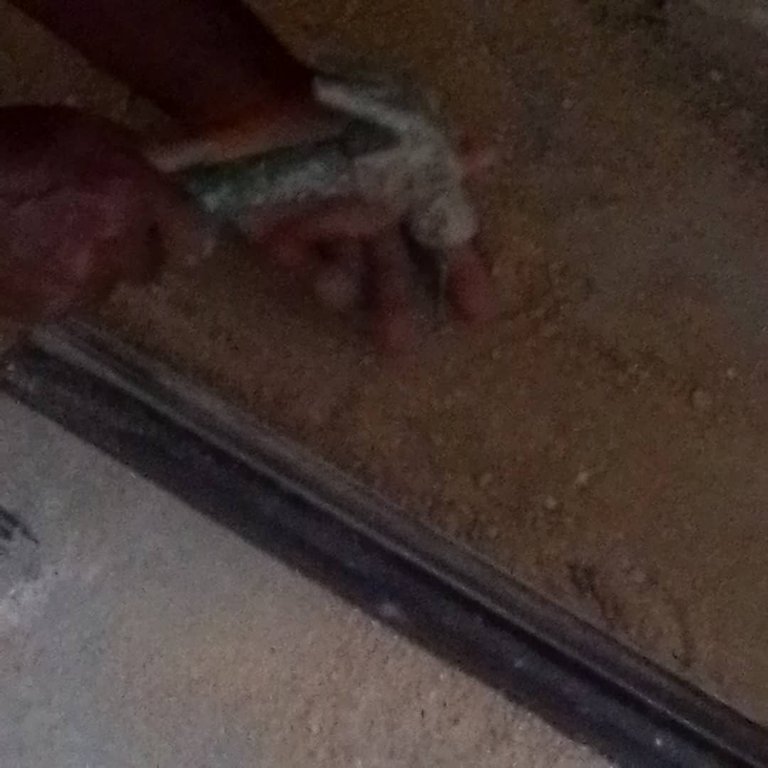
Step 4:-
I used the mould to set the angle irons in place which will enable me roll the mould.
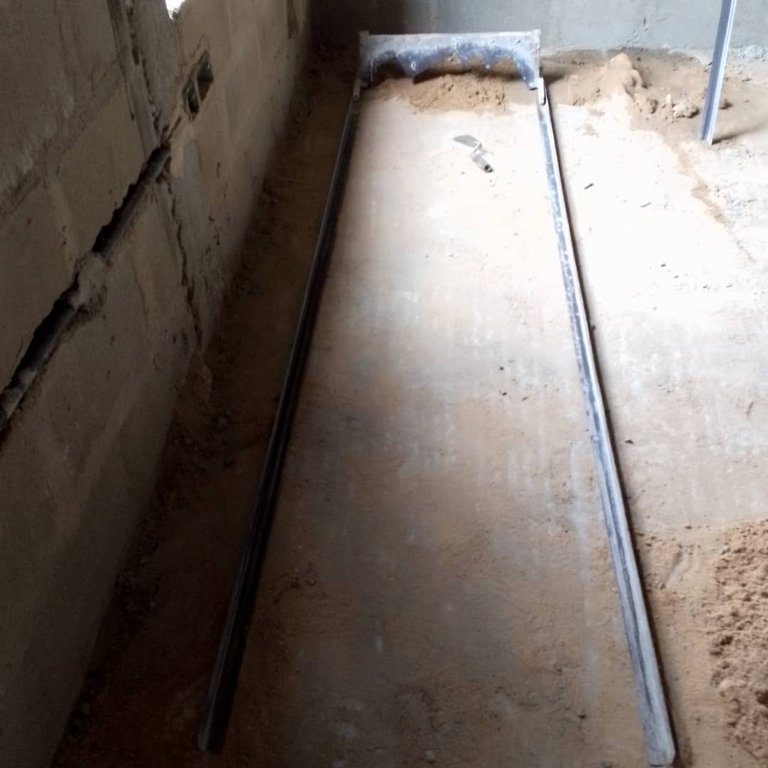
Step 5:-
I adjusted the angle Irons to lap on the concrete nails.
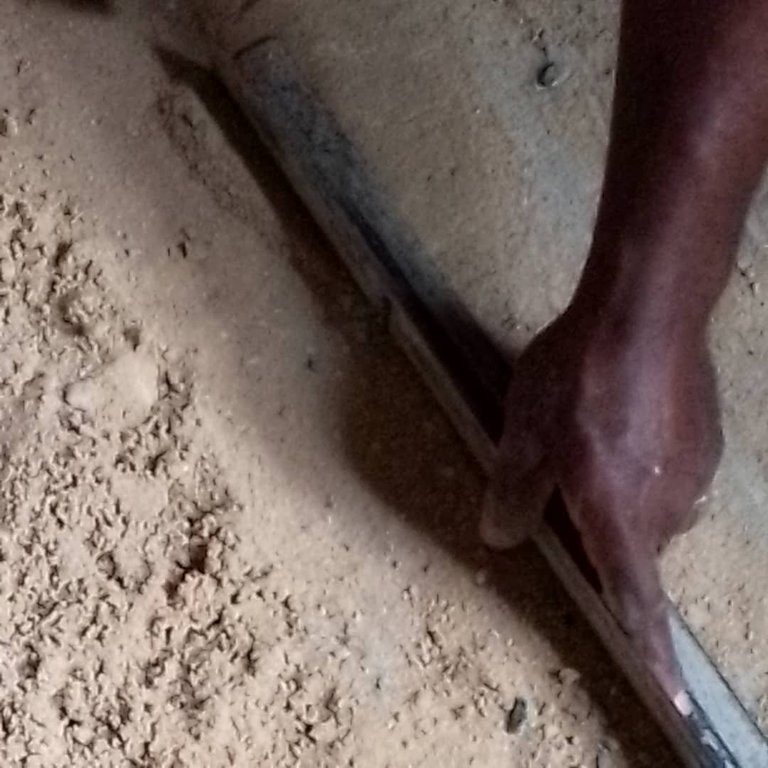
Step 7:-
I measured 3 buckets of wet Sharp sand.
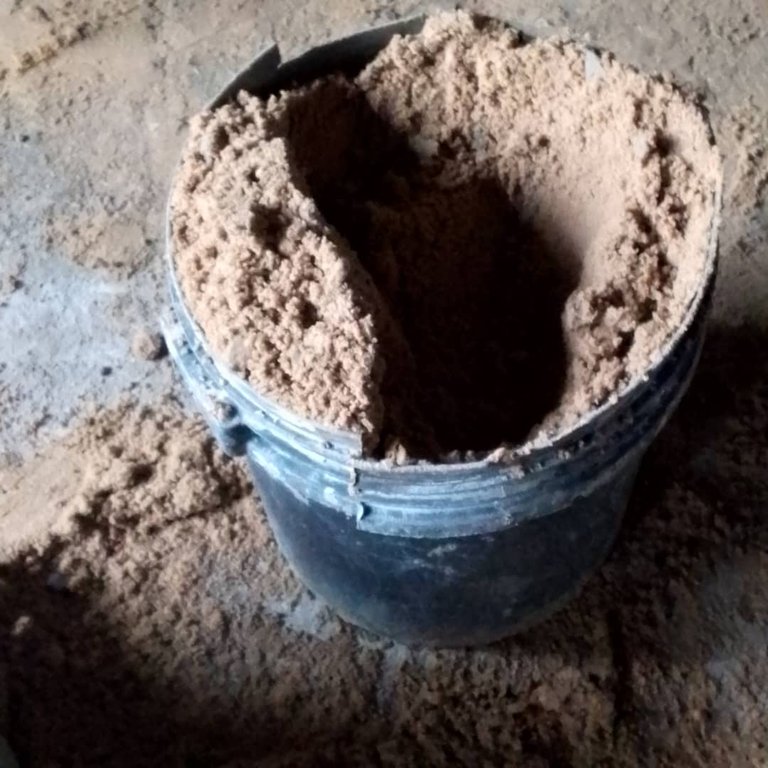
Step 8:-
I dumped the 3 buckets of wet Sharp sand at the adge of the angle Irons with the mould Infront.
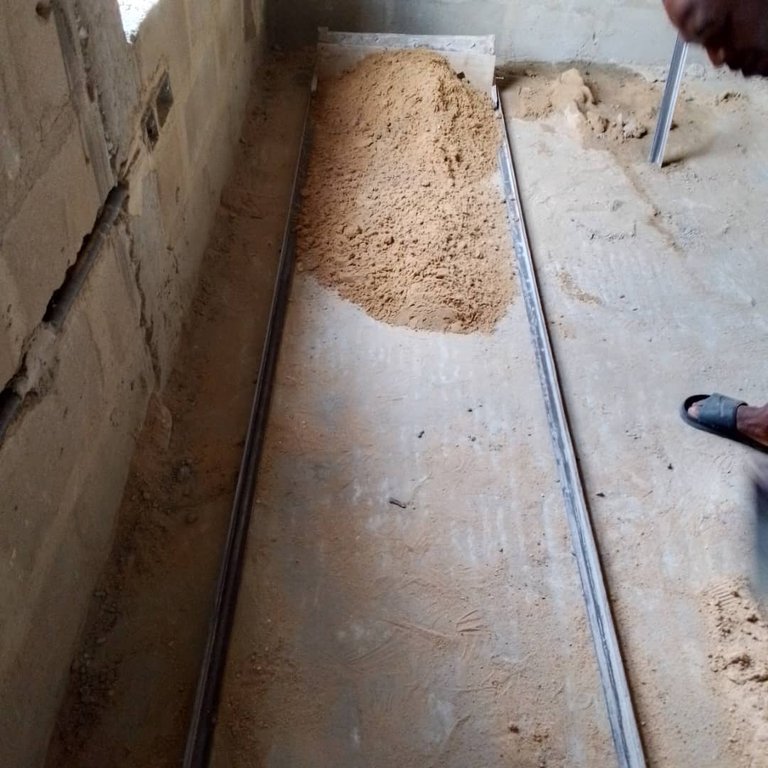
Step 9:-
I rolled the mould gradually on the wet Sharp sand towards the middle, and the end of the angle iron.
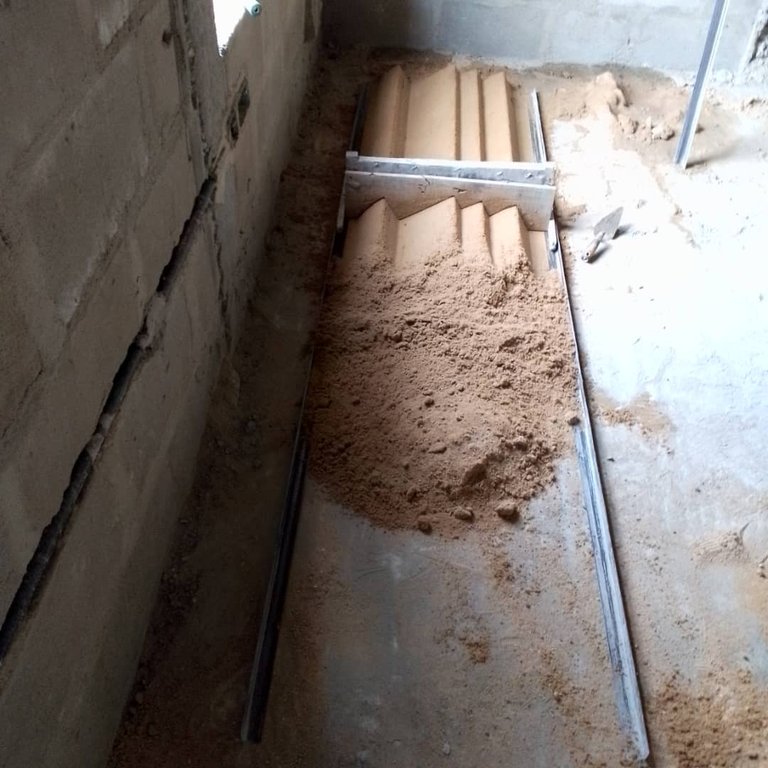
Step 10:-
At this point am done rolling the mould on the wet Sharp sand which beings out the design of the Concrete Facia.
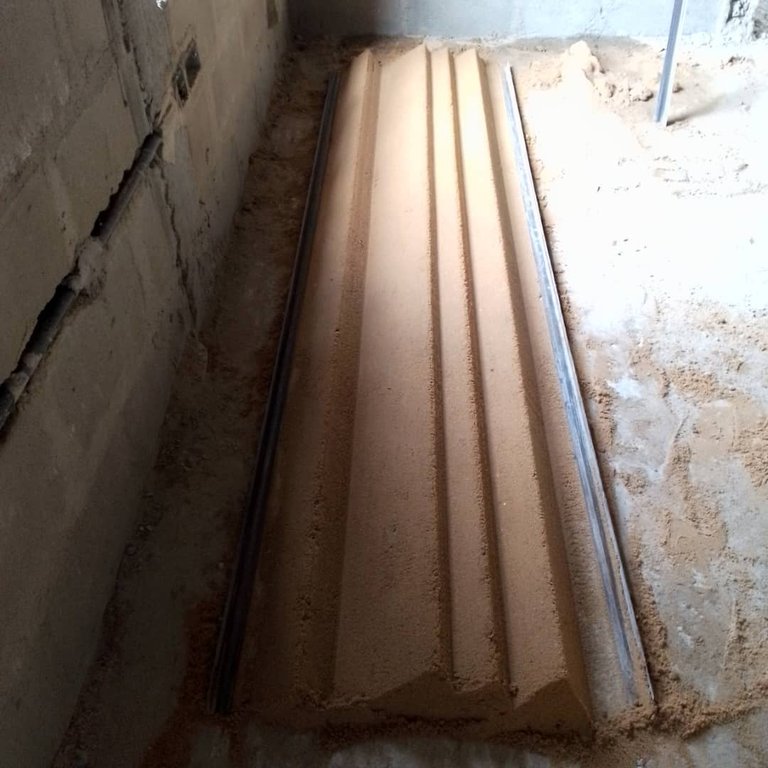
Step 11:
I measured 7 buckets of sharp sand to mix it with cement to form cement mortar.
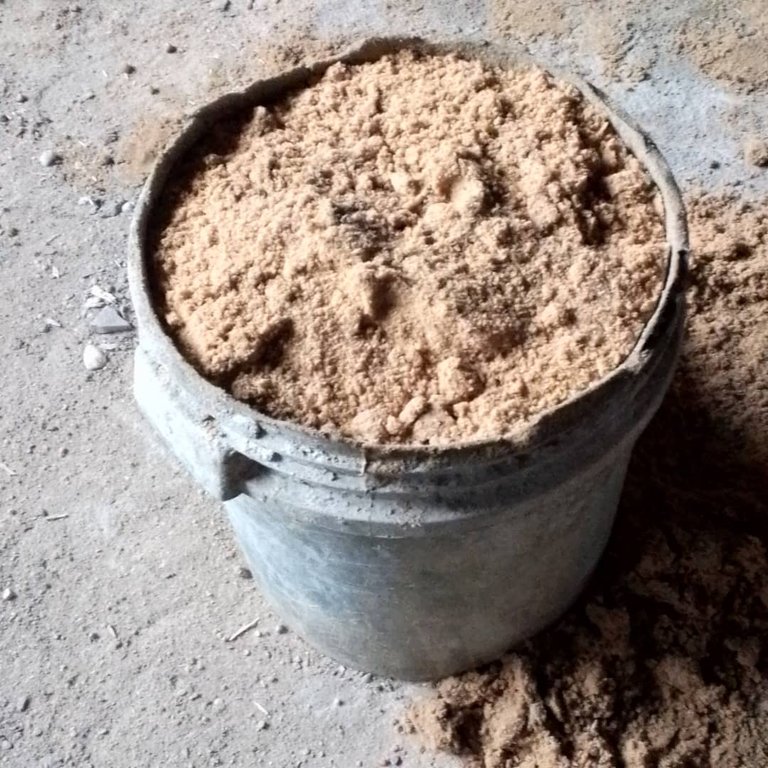
Step 12:-
I dumped the 7 buckets of sharp sand, and ready to mix it with 50kg 1 bag of Cement to form cement mortar.
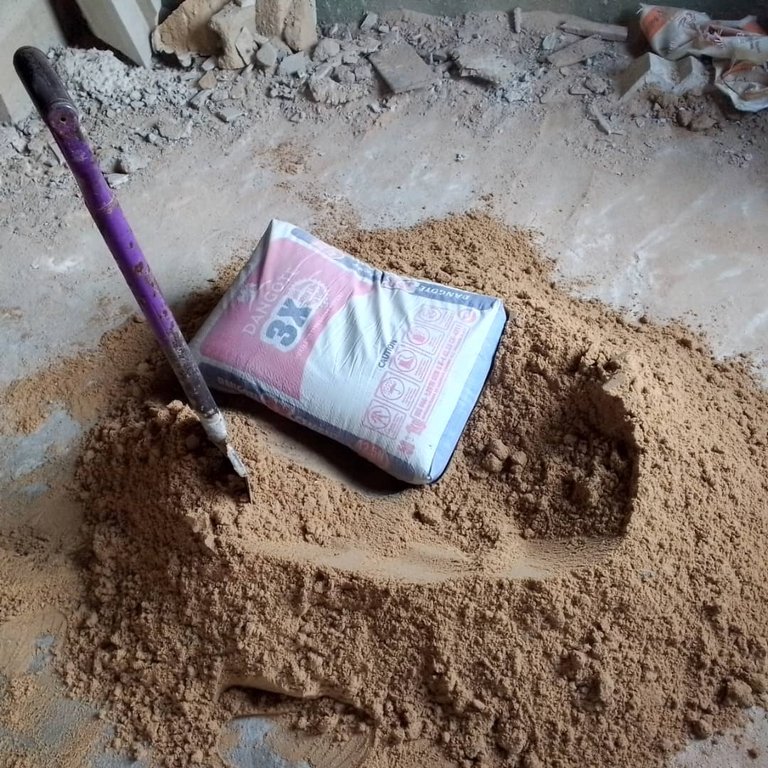
Step 13:-
I mixed the cement with the Sharp sand thoroughly.
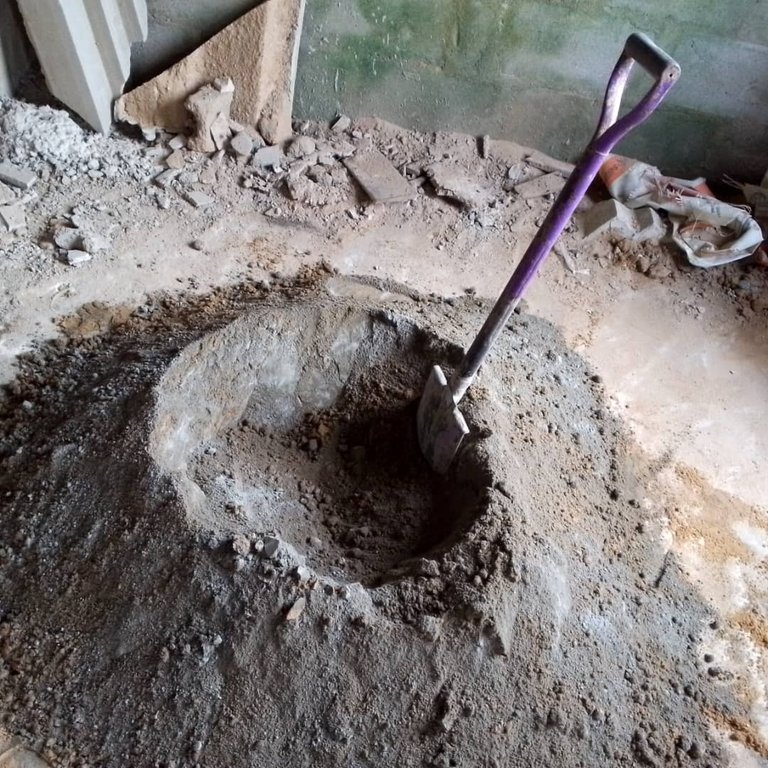
Step 14:-
I added 1 and half bucket of water 💦 to the Cement and sand mixture.
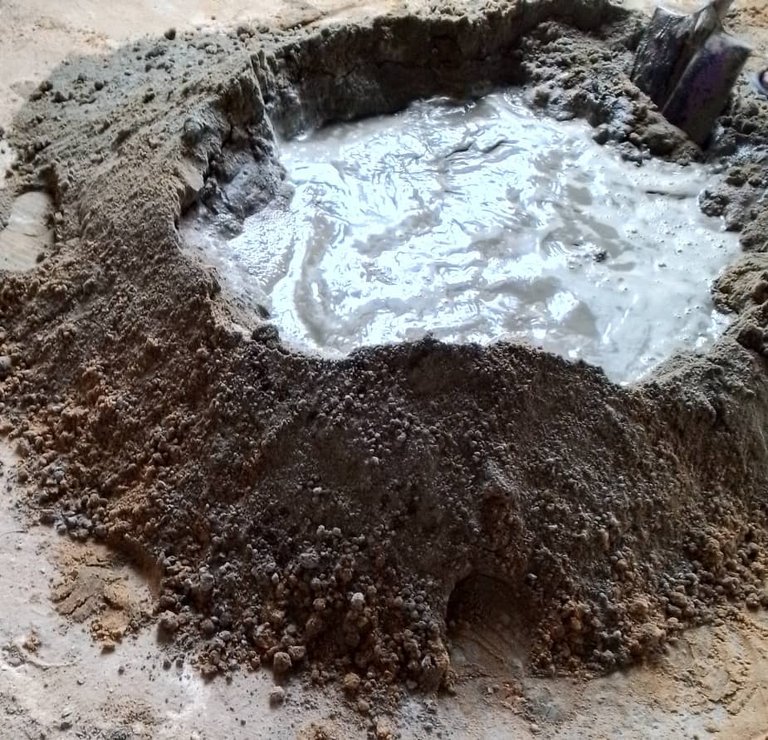
Step 15:-
I removed the carved wooden mould, allow the fabricated steel mould to remain before dumping the cement mortar.
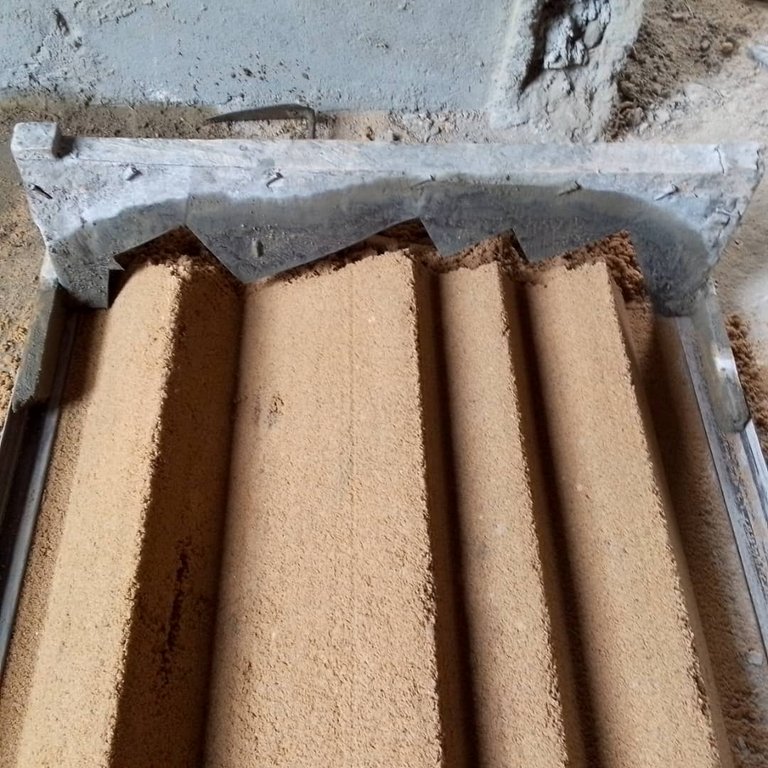
Step 16:-
I dumped the Cement mortar on the finished wet sand design.
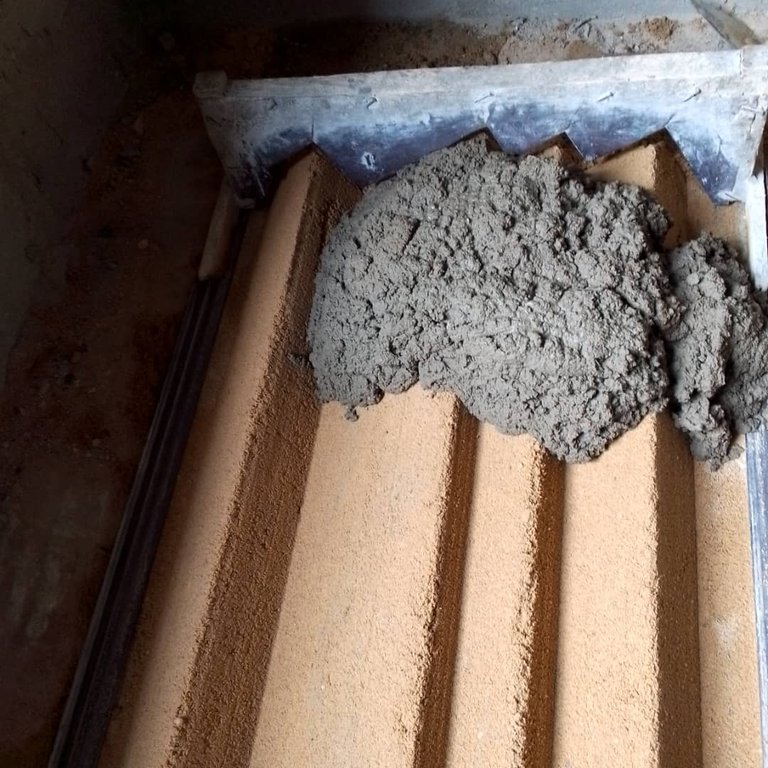
Step 17:-
I gradually rolled the Fabricated steel mould on the cement mortar to still maintain the initial design. The cement mortar after it dries will be harder.
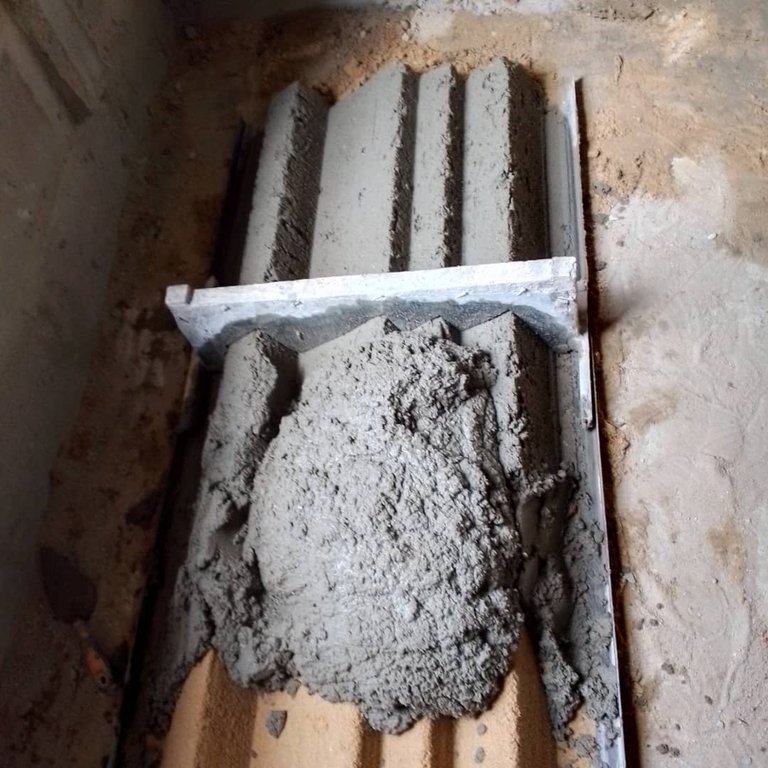
Step 18:-
At this point am done rolling the cement mortar through the angle iron.
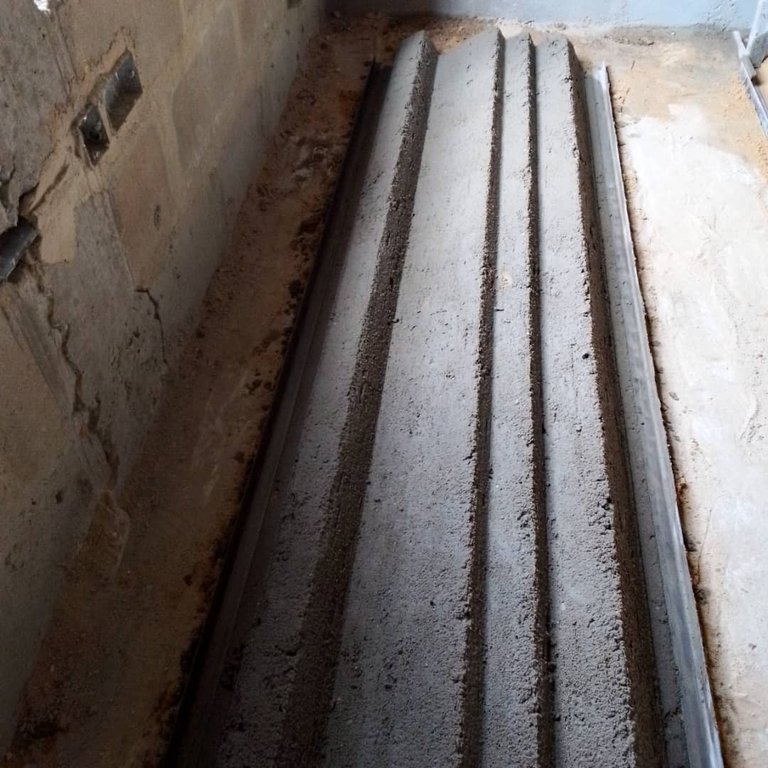
Step 19:-
I cut the binding wire to the desired size.
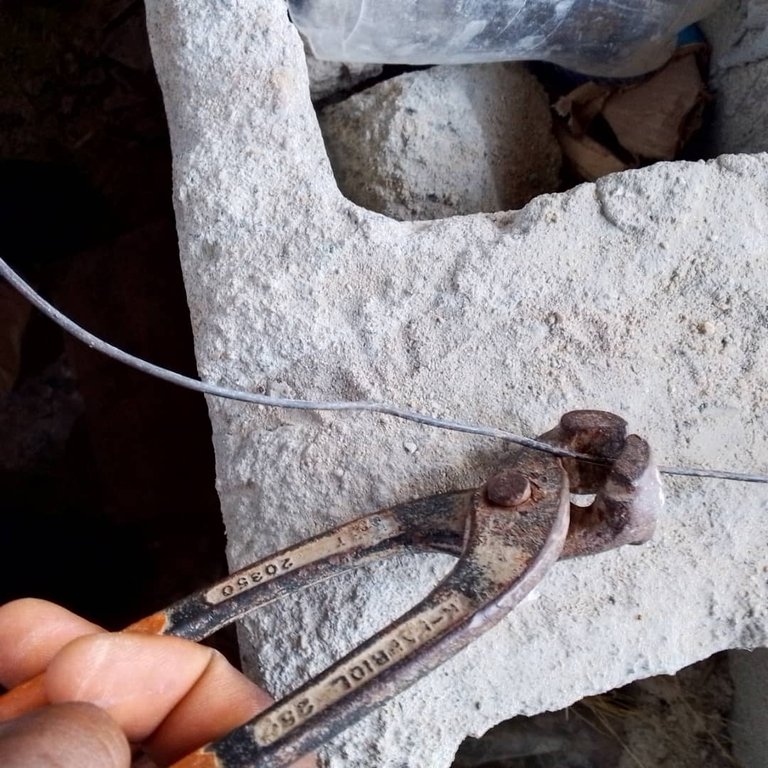
Step 20:-
I twisted 2 binding wires together, to form a cord.
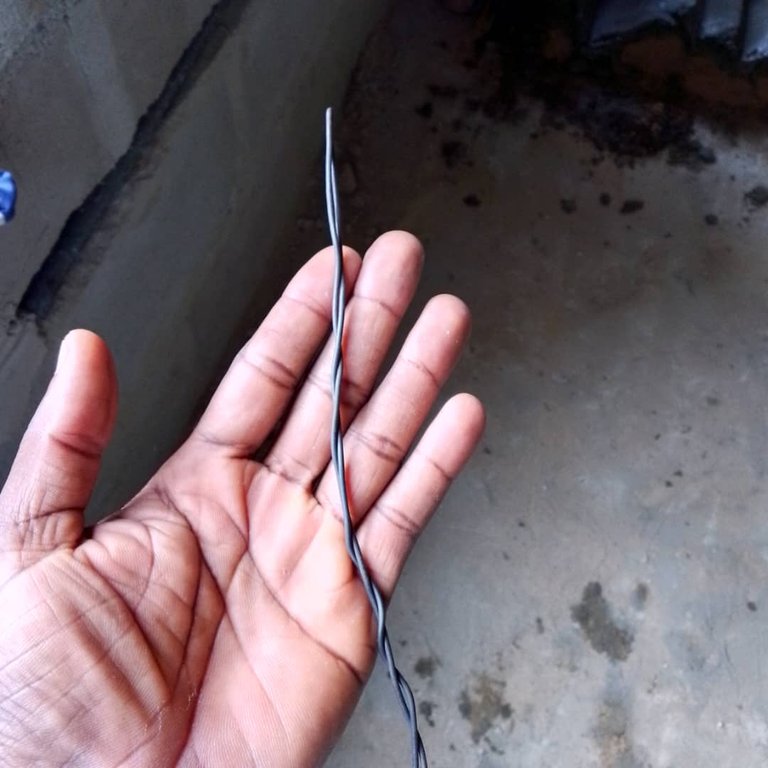
Step 21:-
I bended the twisted binding wire to a u shape.
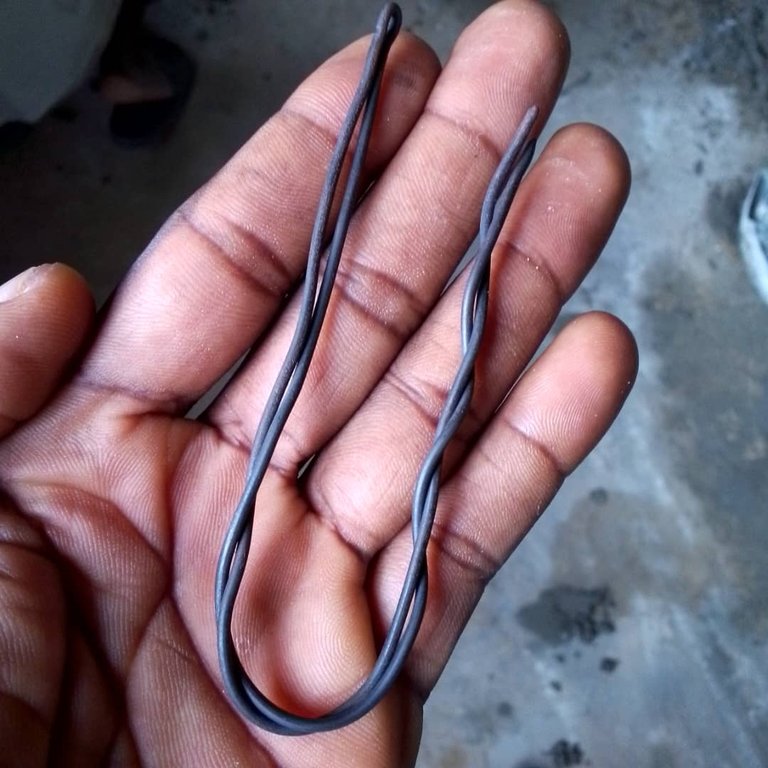
Step 22:-
The twisted binding wires are ready for use.
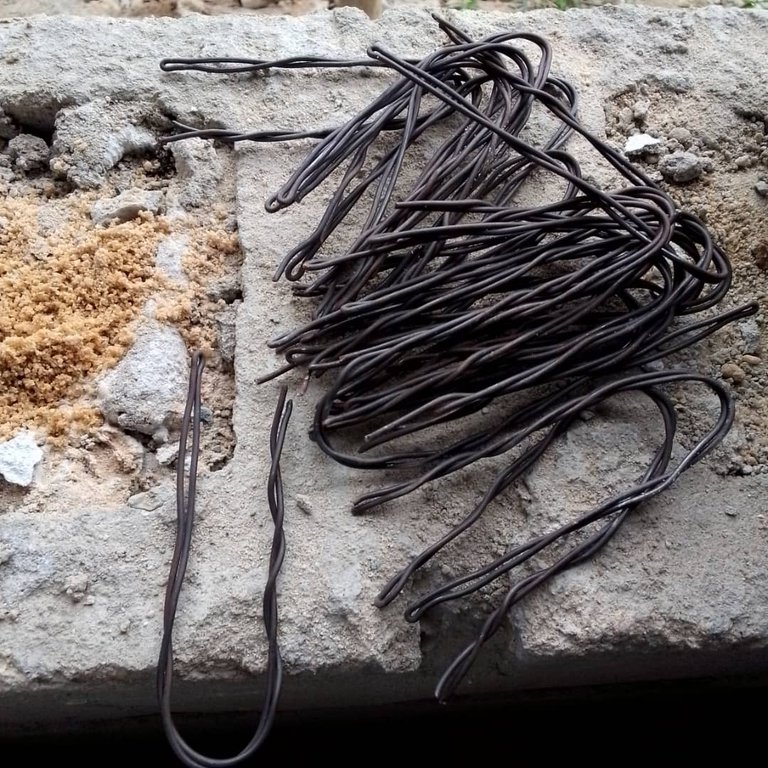
Step 23:-
I inserted the binding wires deep at certain intervals into the cement mortar. When the cement mortar dries with the binding wires in it, it will serve a purpose when installing the concrete Facia.
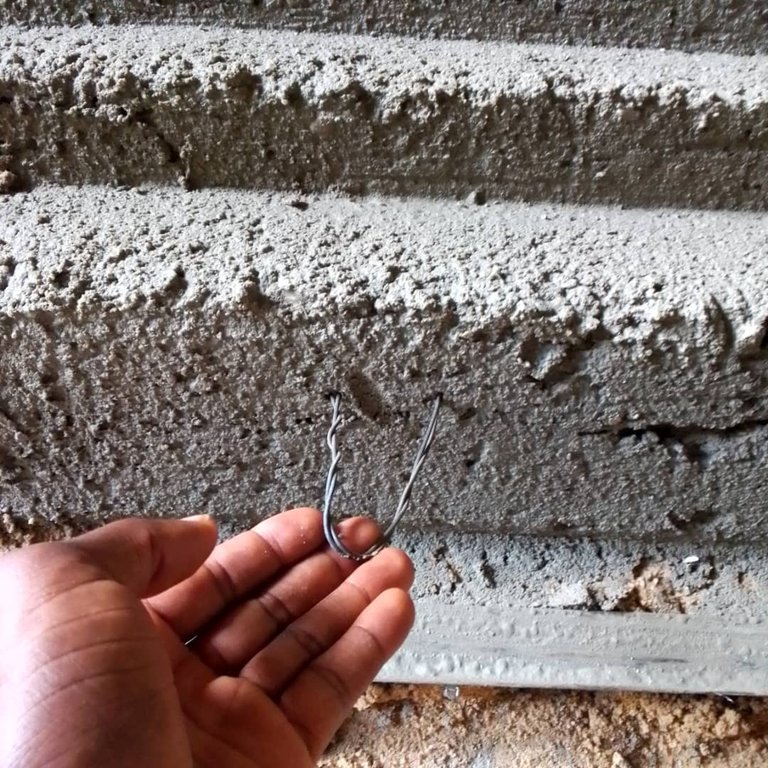
Step 24:-
With the use of net, I sieved half bag of Cement, to make a cement grout, this is done to give the concrete Facia a smooth finishing.
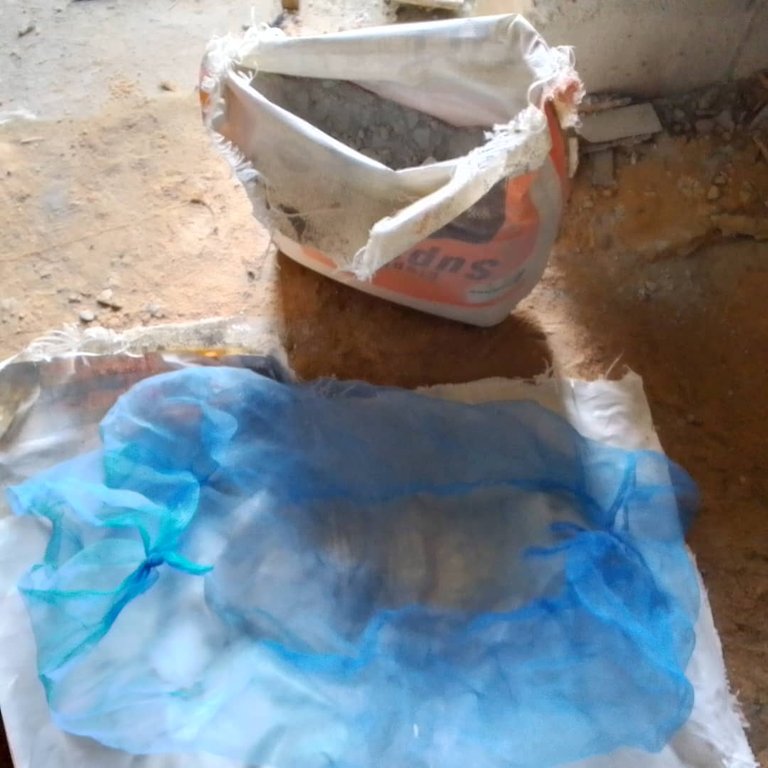
Step 25:-
At this point am done seiving the cement.
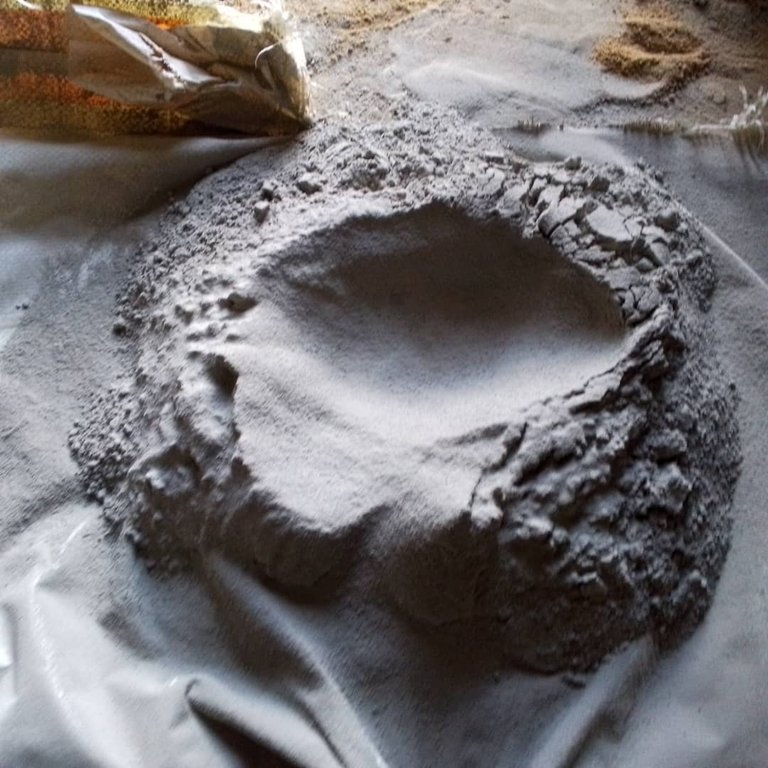
Step 26:-
I added 3 liters of water 💦 and mixed it with the sieved cement, and I stired it with a stick.
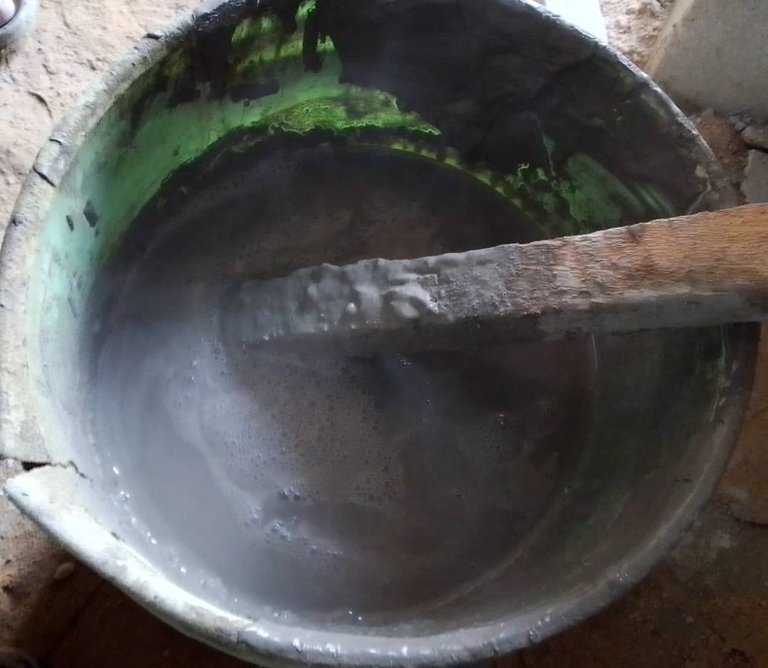
Step 27:-
At this point the mixture of water and the sieved cement with 3 liters of water💦 gave me the desired outcome of the cement grout.
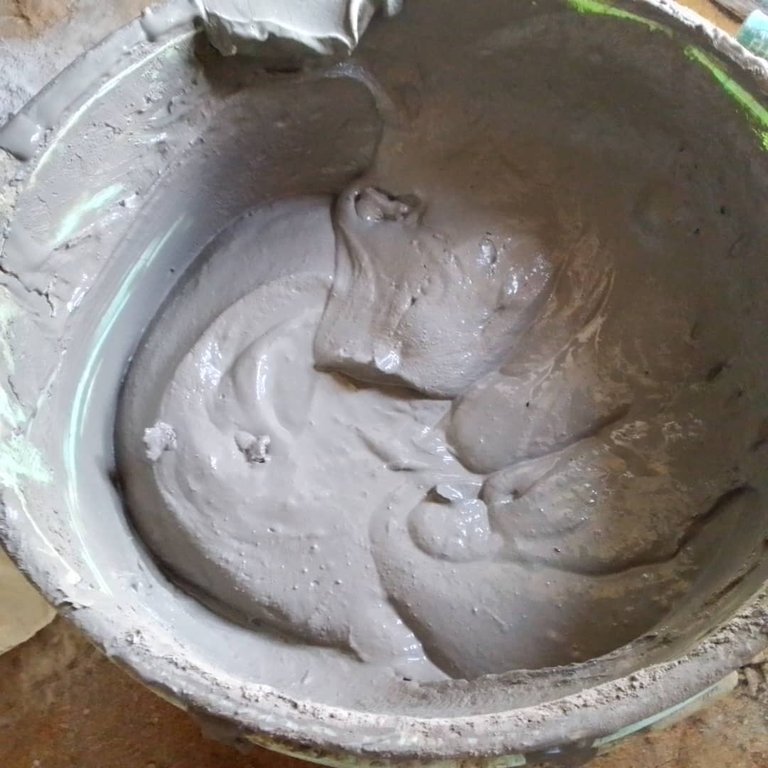
Step 28:-
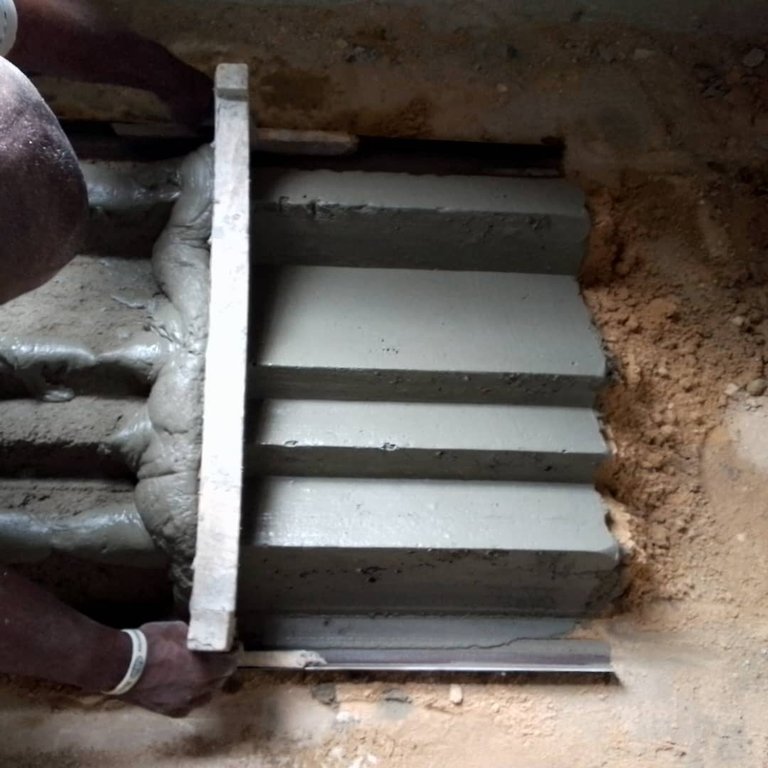
I dumped the cement grout, then I rolled the mould through for a better finishing.
Step 29:-
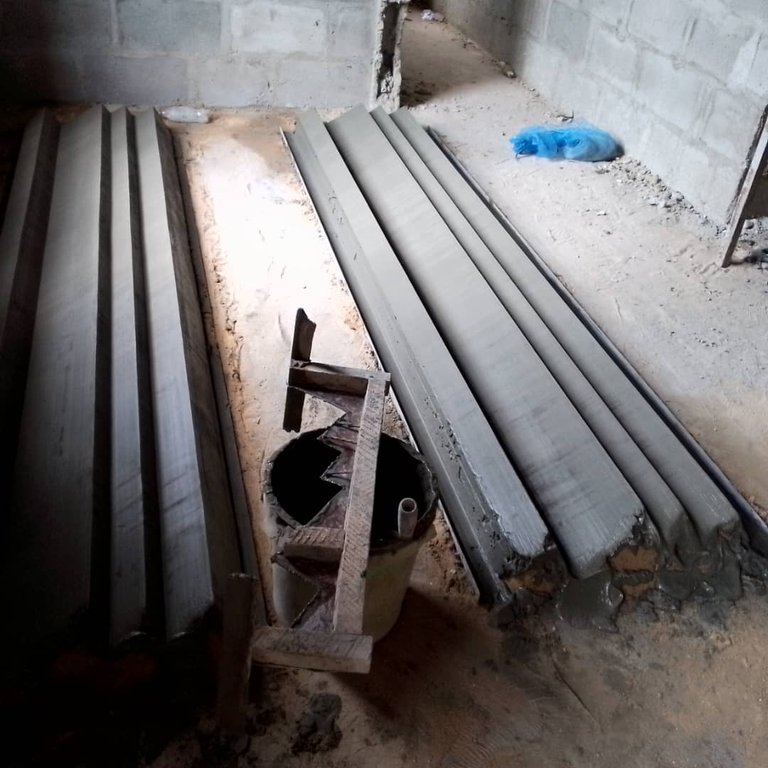
Finally the pre-cast Concrete Facia is ready and allowed to set and dry before hanging.

🙏Thank you all for making out your time to view my post. I hope you found the content interesting and enjoyed viewing the pictures.
