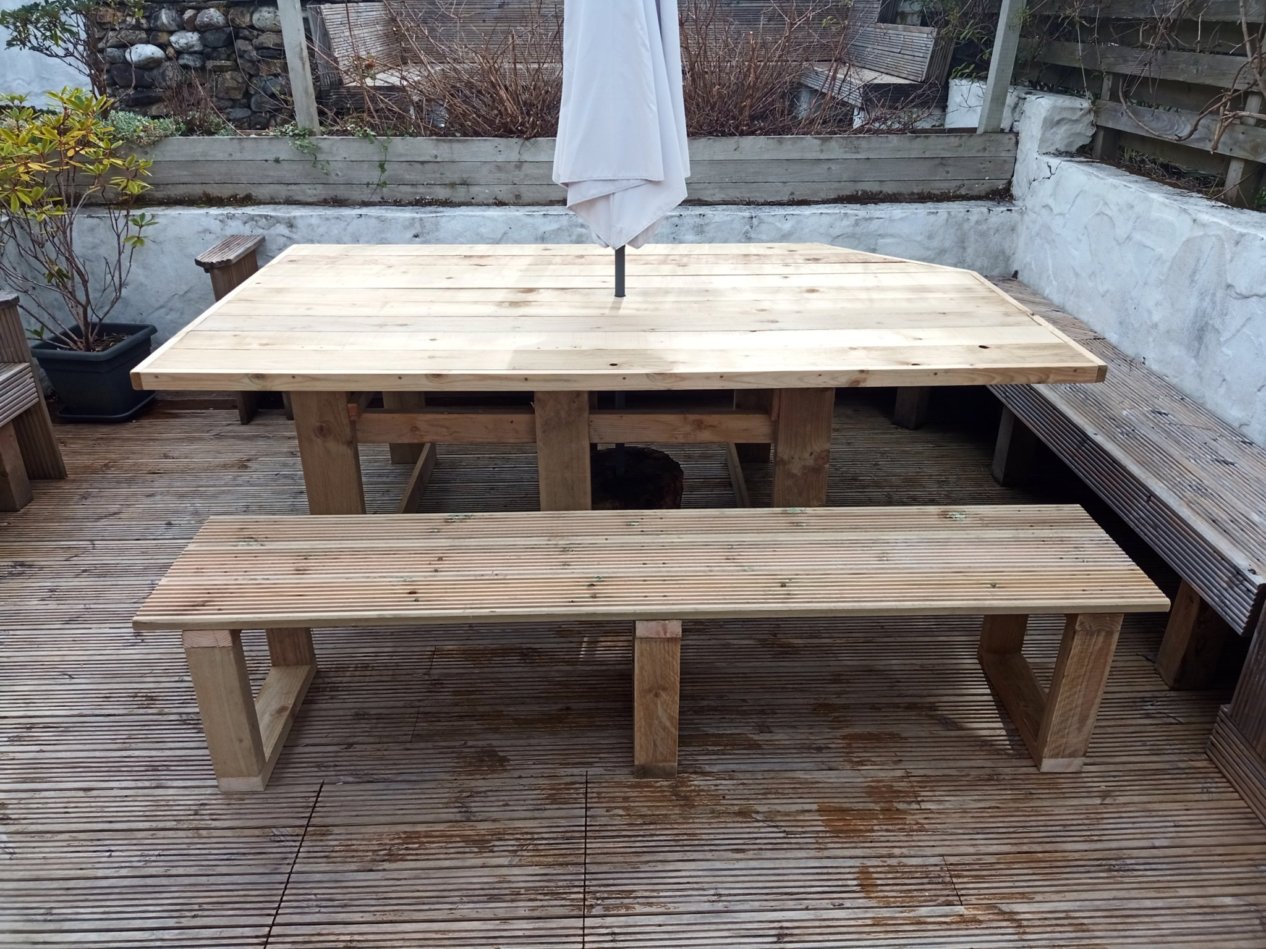
About 3 weeks ago I made a post about an outdoor dining table I had built (here). Yesterday I completed the project by building a bench to go with it (the one on the right of the picture below).
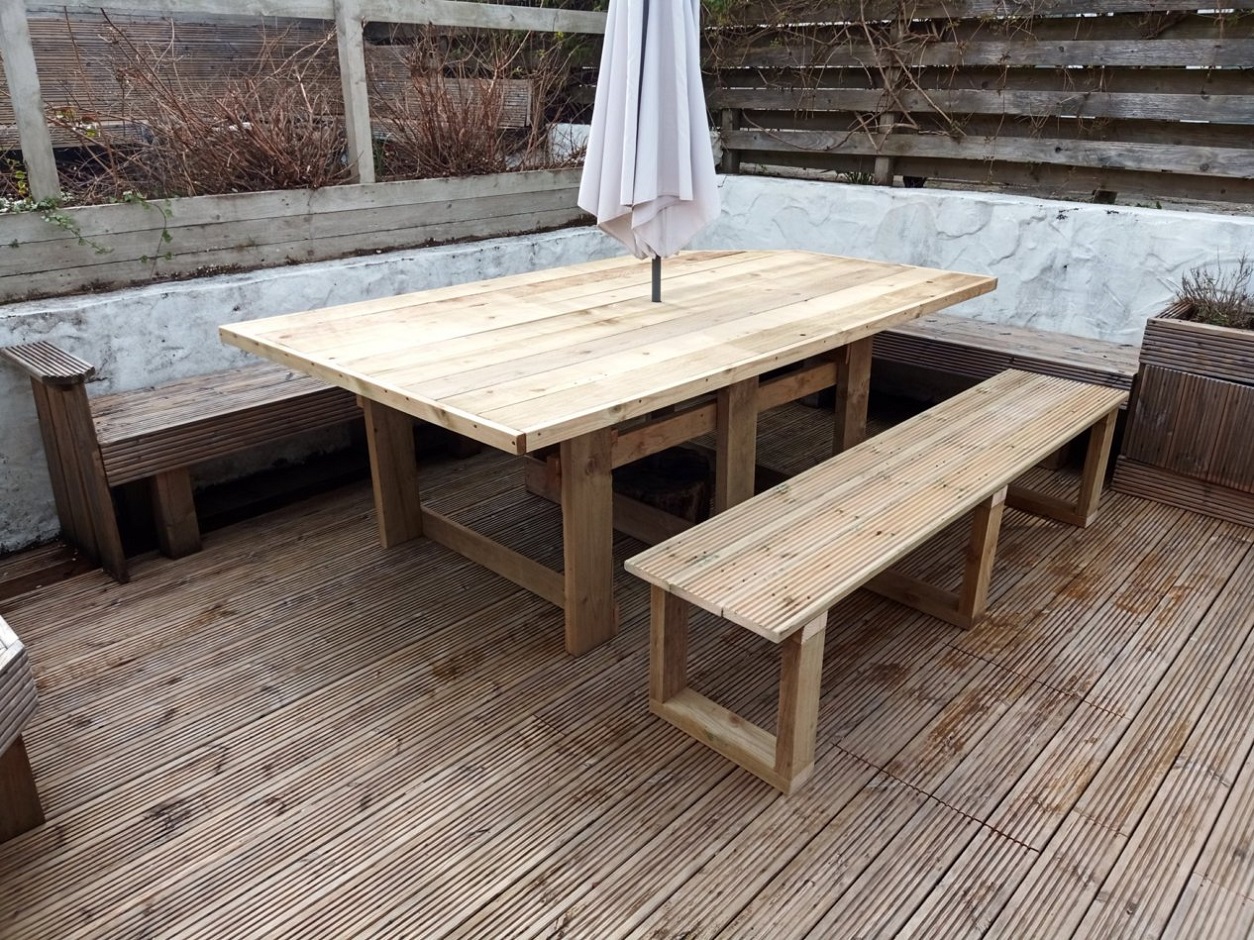
It was a straight forward build. I wanted to use materials I already had. I used some decking wood for the bench top, and then some off-cuts for the legs, which I was pretty happy about.
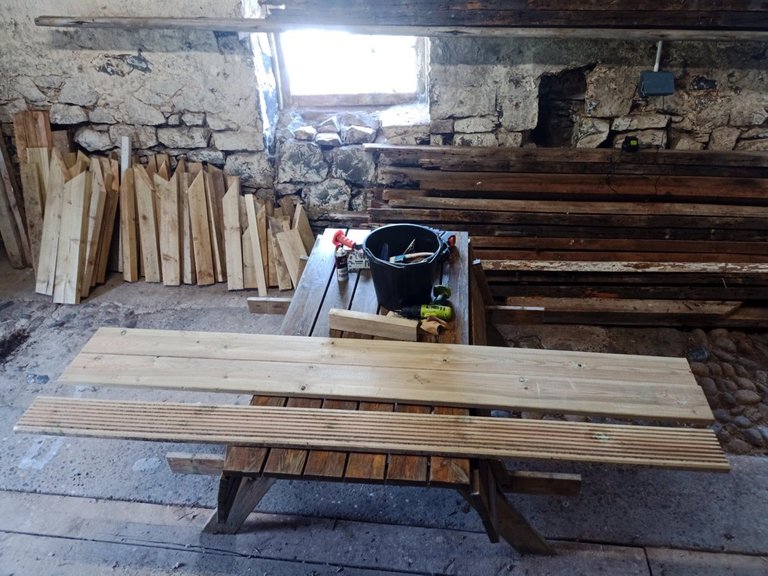
The bench top was really simple. I used decking wood as it is pre-treated for outdoor use, and because it is quite stiff/solid and would be able to easily bear the weight of anyone sitting on it without the need for lots of cross bracing and support. I just cut three equal lengths. I went for 3 to give the bench extra width, as I was worried at only two wide it might have been a little top heavy and more susceptible to tipping over. In the left corner of the picture above you can see a heap of off-cuts I had left from previous projects, and wanted to try and use those for the legs and support.
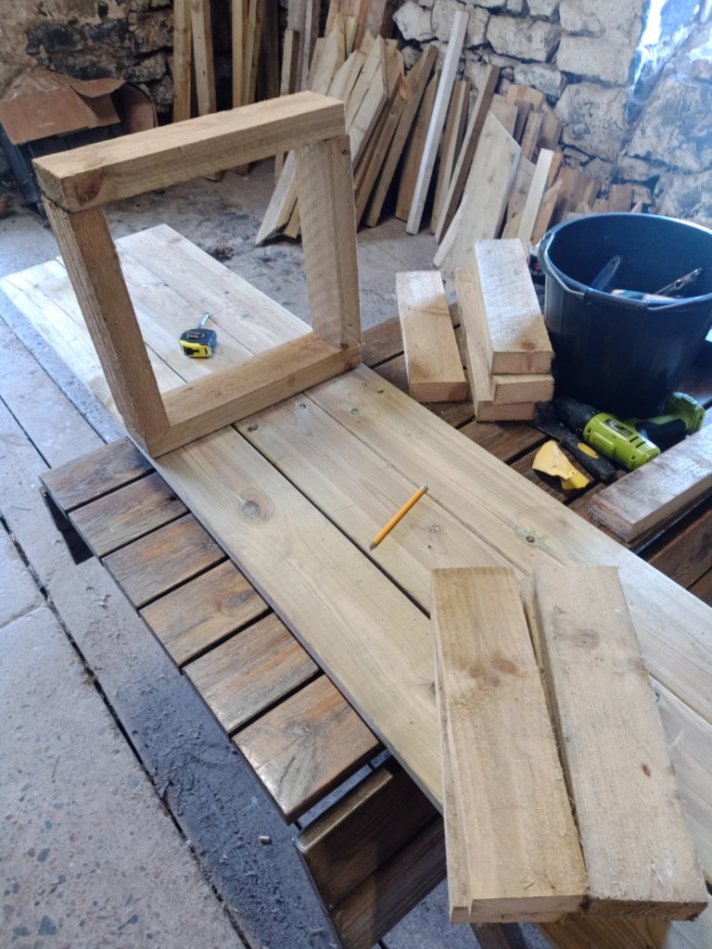
I had a look on pintrest and spotted a few benches with square legs/support which I liked so I just went ahead with that idea. What I liked about it is that its a simple shape, so easy to make, the top side of the square provides the support needed across the width of the bench to make the seating solid, while the bottom side provides solid contact with the floor over a large surface area to make it more solid on the ground.
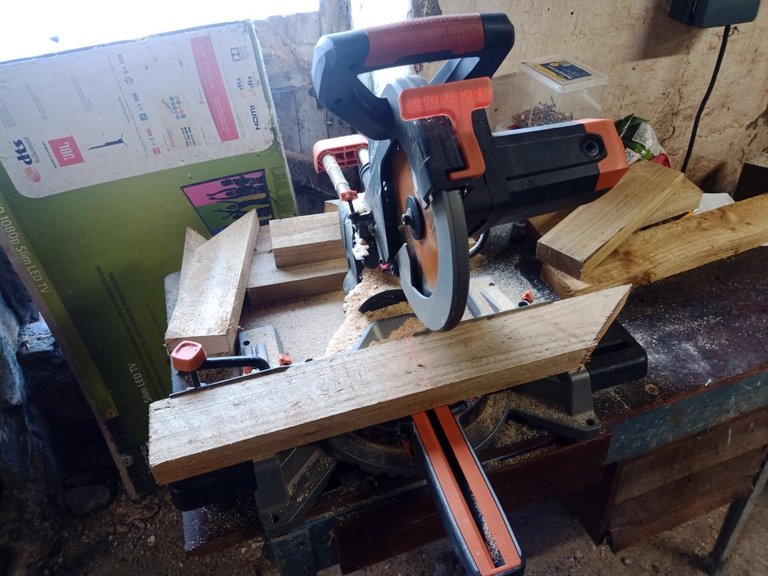
I use a miter saw for my cuts - because I cant cut straight with a hand saw !! I simply measured up enough wood for 3 support squares, and then cut them all.
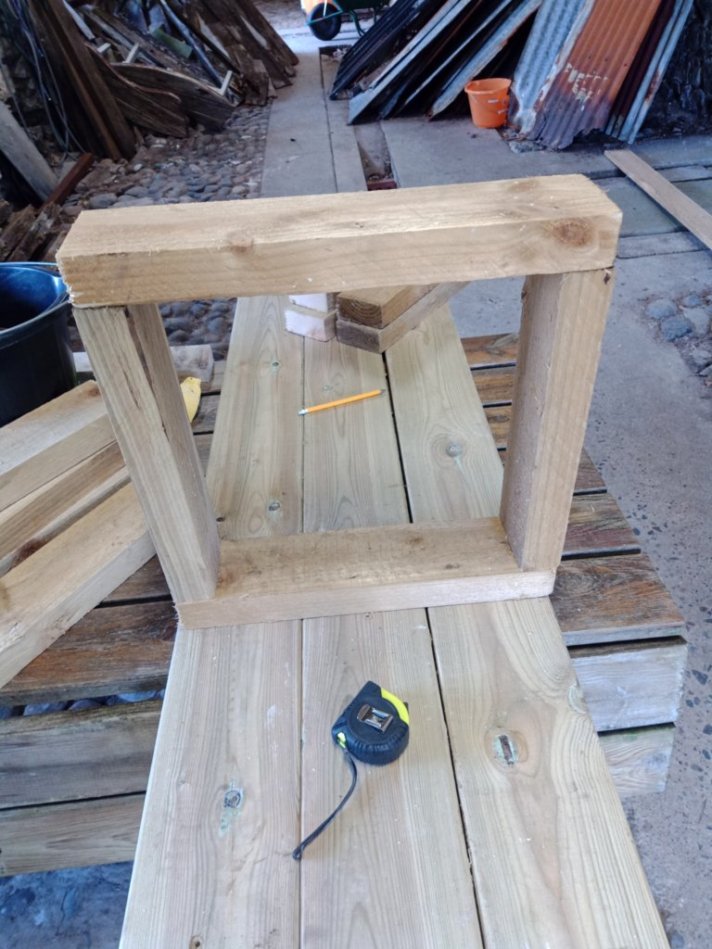
I used long nails to put the squares together - only 8 nails per square - 2 down each support on both sides. I made a point of making the longer square side lengths the ones that would be in contact with the seating surface and the floor surface - all for better contact, strength and stability.
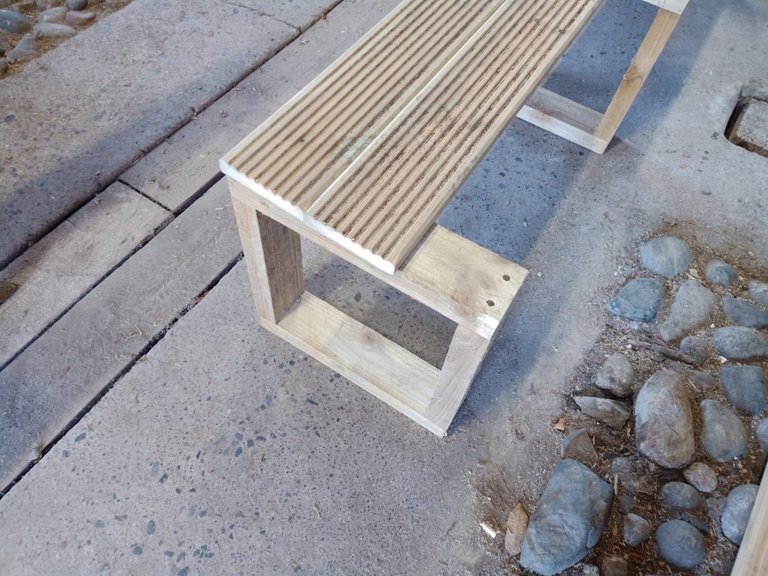
In the pic above you can see two of the nails going down into one of the support legs - simple.
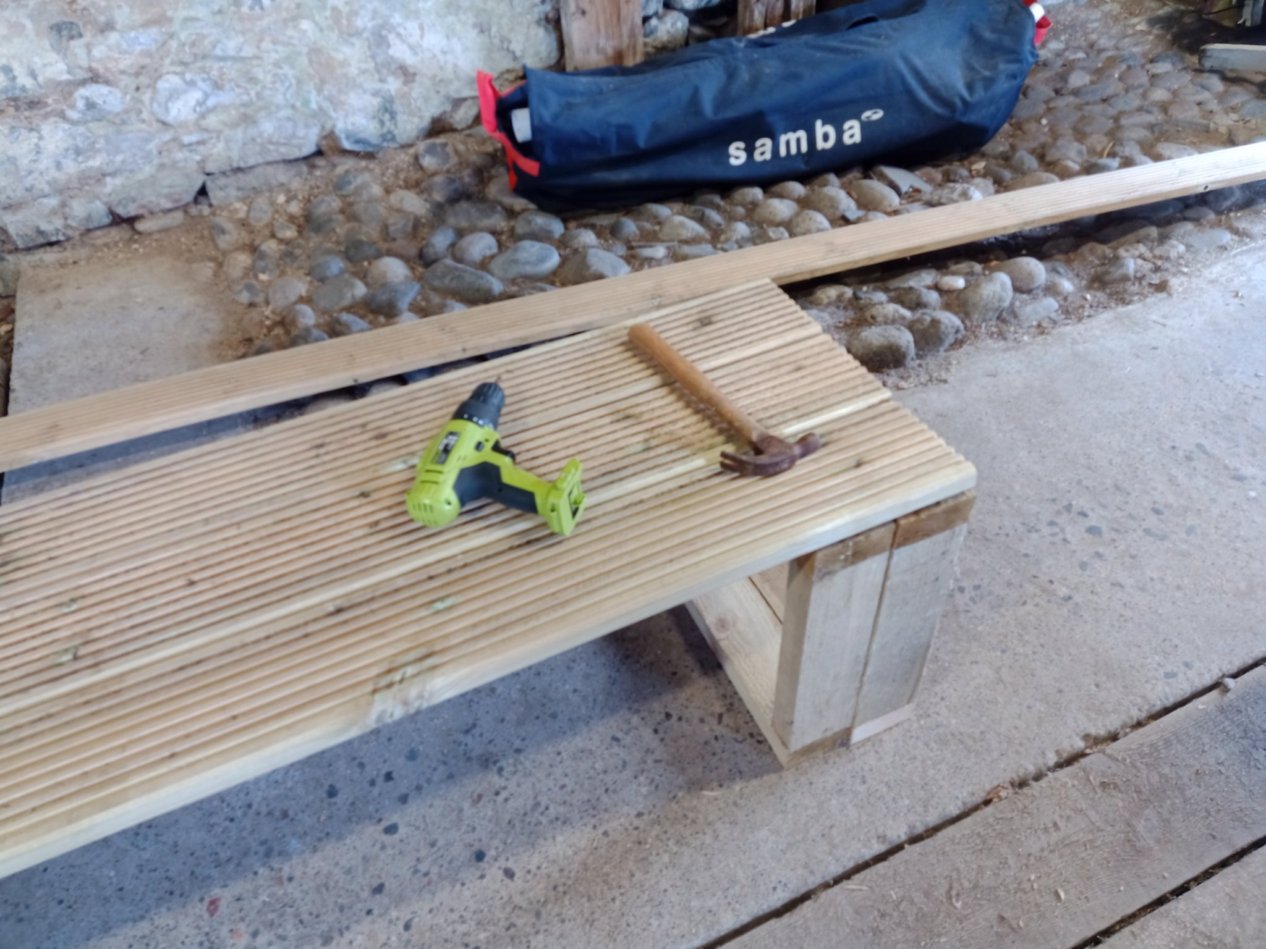
From there it was an easy job of screwing the decking wood seating surface down into the supports. I spaced the supports away from the end, by one supports width worth. So simply put two flush with the end, and screwed down into the inner one only - the second one was just there to give the spacing needed.
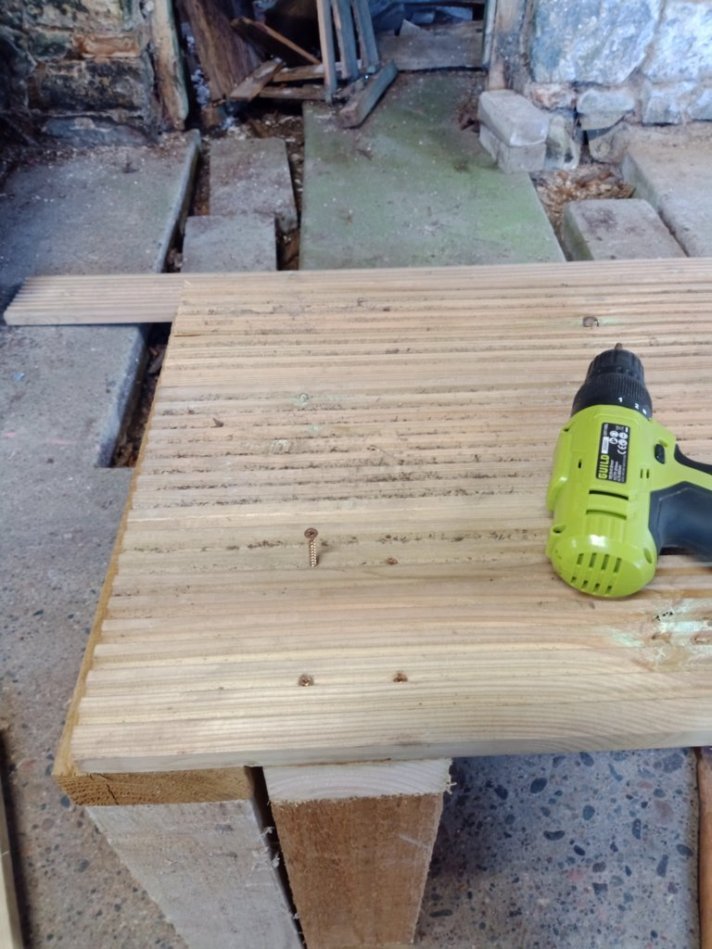
I drilled 4 screws down into the support, for each plank of decking wood - all nicely spaced, not too near an edges (to stop splitting, etc). So thats a total of 12 screws across the top of each support.
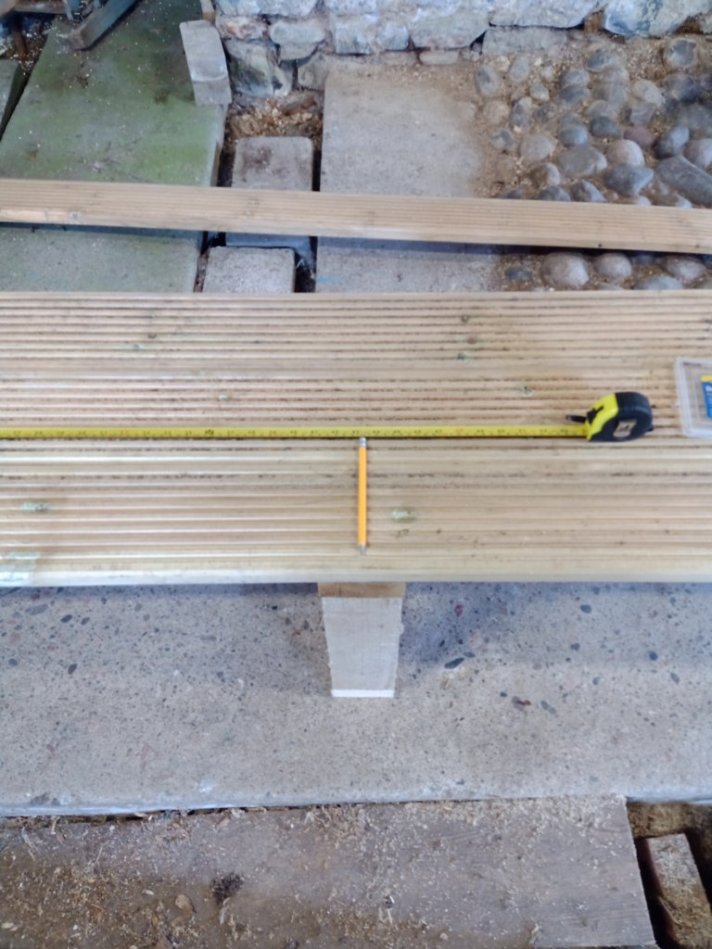
I did the end supports first, then found the mid-point for the remaining support to go in the middle, and did the same, screwing it down with 12 screws in total - 4 per seating plank.
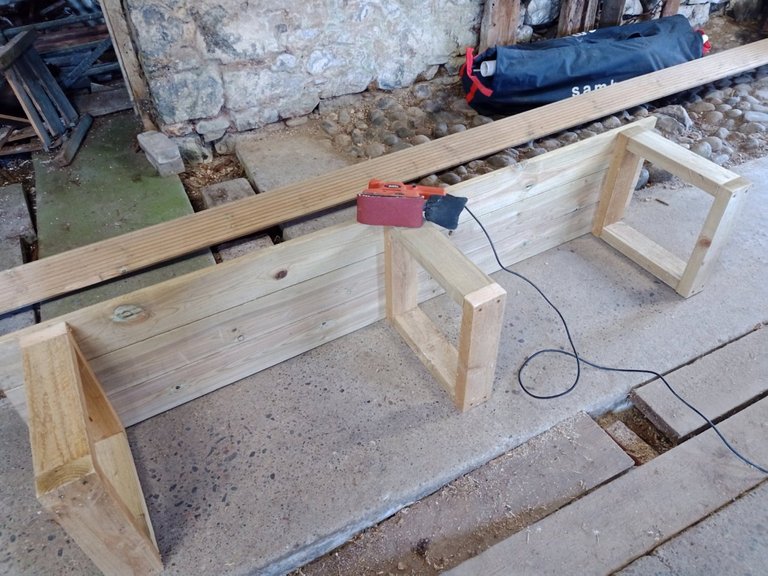
The decking wood comes quite well dressed and finished, but the wood I used for the support squares is a bit rougher, so I popped it on its side and sanded everything down with an electric sander to get rid of any sharp edges from the cuts, and to help reduce the chance of anyone using it getting a splinter.
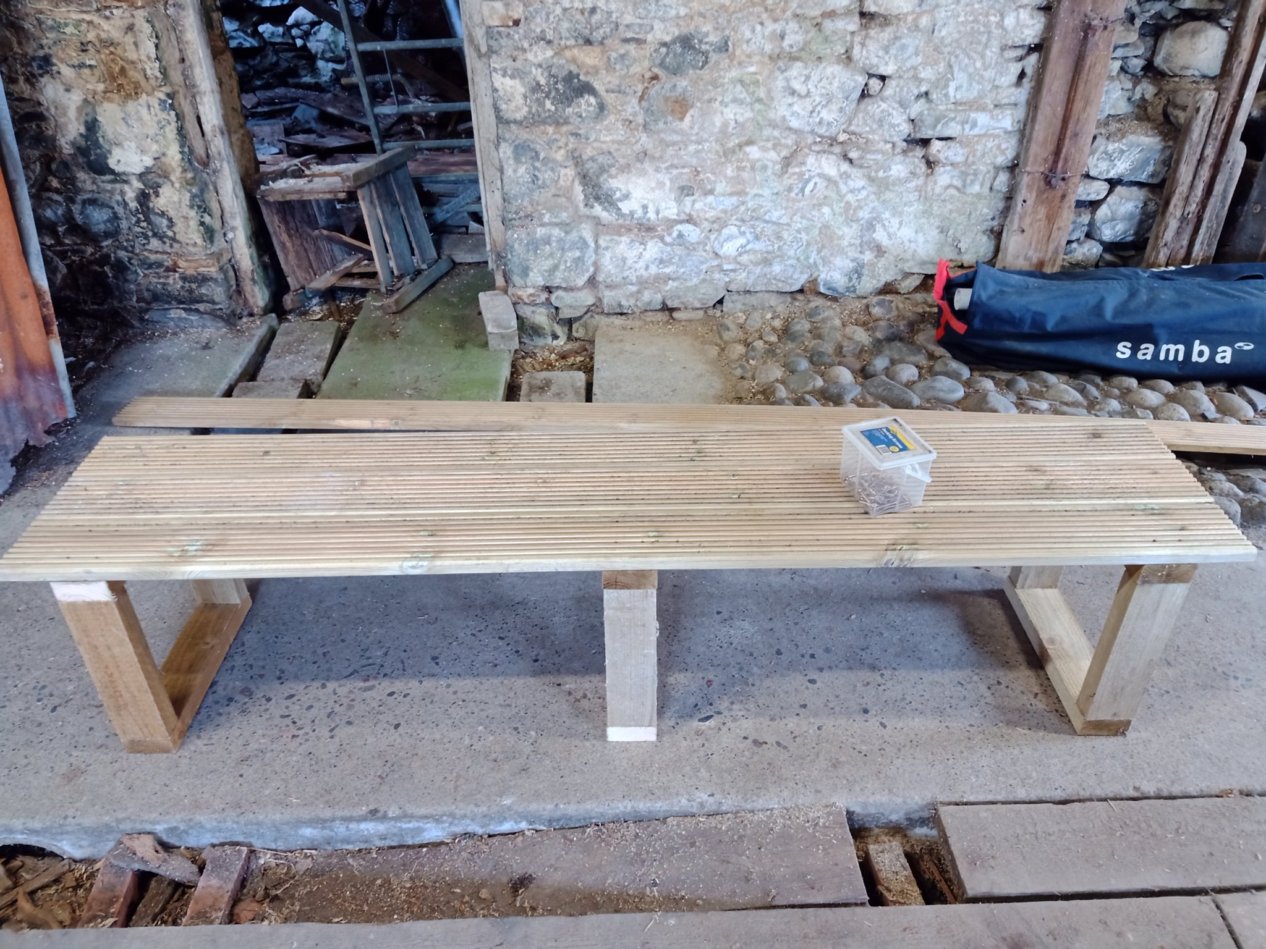
And that was it - job done - solid and stable, but quite simple. It was all made from treated outdoor wood, so there was no need for any further treatment. I could have oiled it or varnished it, but will leave it for now to weather naturally, and then maybe do that in another year or two.
So that completed our outdoor table set - all with material we already had - so didnt need to buy anything else = bonus !
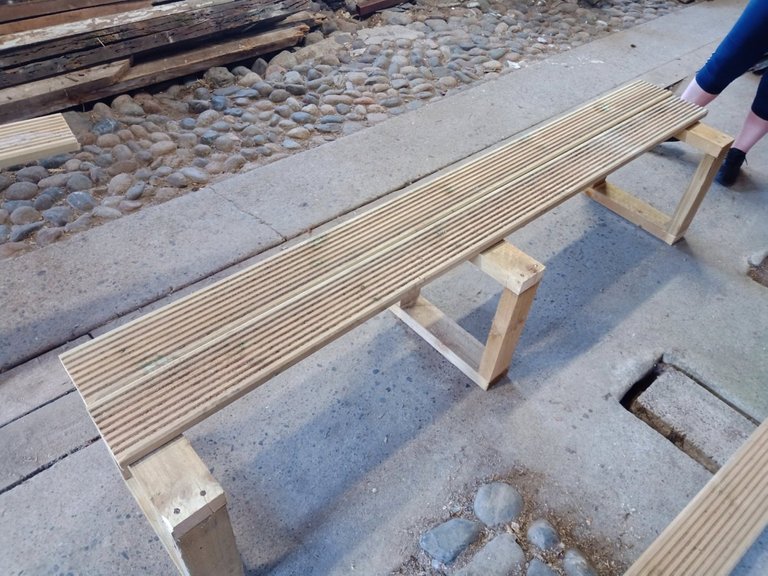
I enjoyed the build. I had some help from my wife and daughter for handling the longer lengths during cutting and also to keep things steady while nailing and screwing items together. It probably took around 1.5 to 2 hours to complete - and mostly because my battery operated drill, that I used for putting the screws in, kept running out of charge. So the lesson was to make sure it was charged properly before starting !
Anyway - thats another DIY build completed !


 -
- 
 -
- 


