Wearing the same clothes is definitely boring with the same appearance, an attractive and different appearance will definitely make us more confident in showing what is perfect. That way, being in a crowd will not feel inferior and always be confident with a new style.
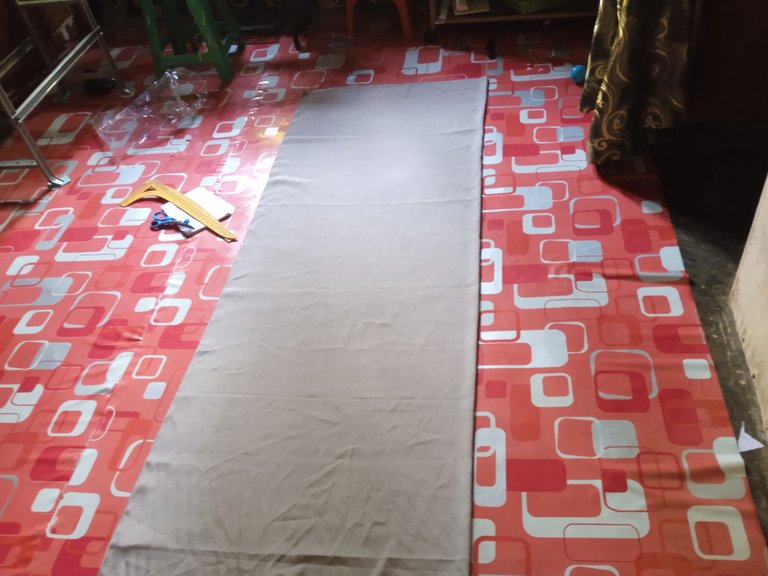
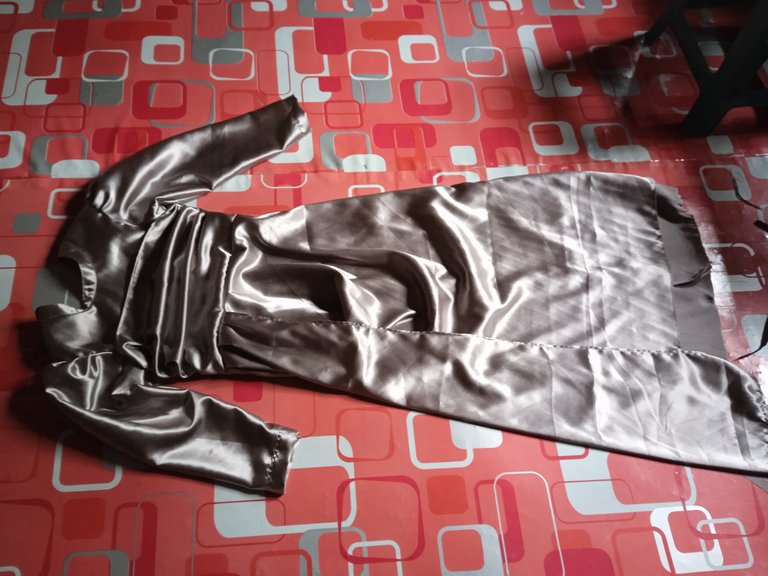
This time my customer wants to request a different dress than usual by bringing 3 meters of cloth, but the metered cloth that my customer brings will definitely be more because the requested dress model will probably spend approximately 2.70 cm and the remaining 30 cm is more or less, because spent up to 2.70 cm of cloth so my customer immediately bought 3 meters of cloth to avoid not having enough meter cloth.
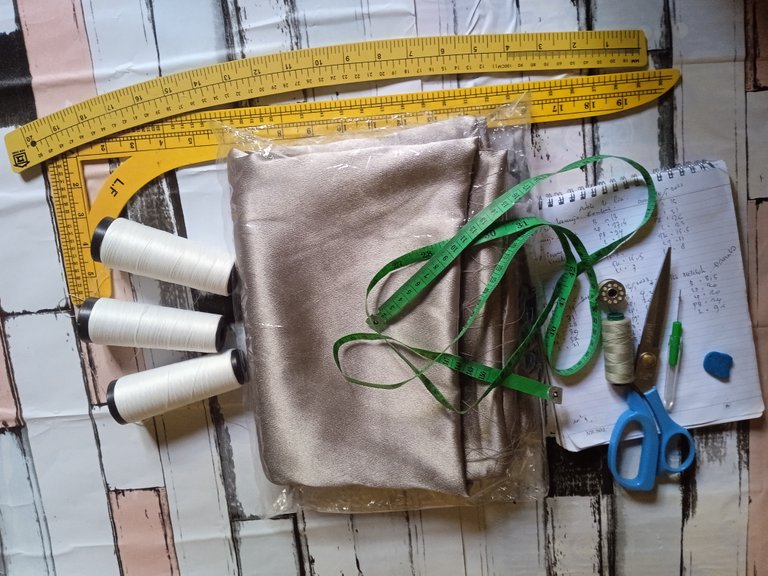
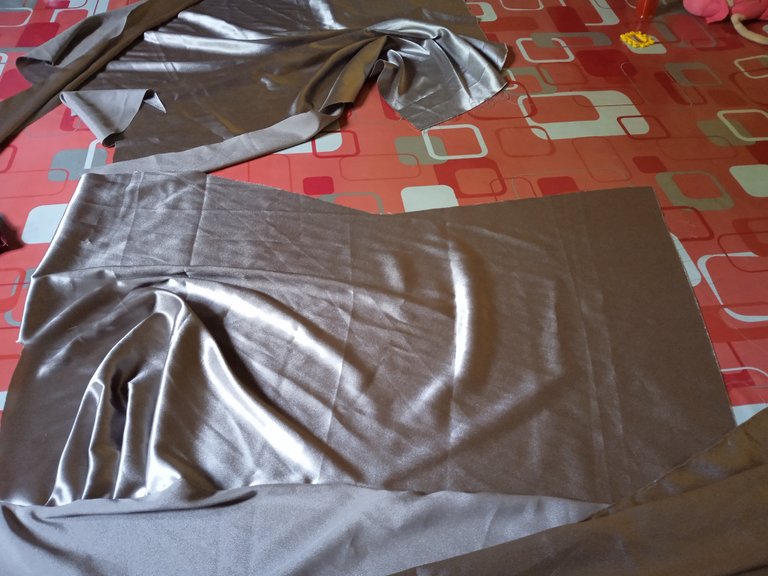
Here I have 3 meters of tape measure with an average width of 150 cm. I sewed a dress at my customer's request, which is a beautiful party dress and will be worn tomorrow. For the type of metered fabric that I'm showing, it has a fairly wide area like the average plain cloth and other motifs. In contrast to this type of batik cloth which has a width of only 130 cm or so, if batik cloth is used to sew men's shirts it will take up to 1 meter 70 cm while ordinary cloth is approximately 1 meter 50 cm is enough for a shirt.
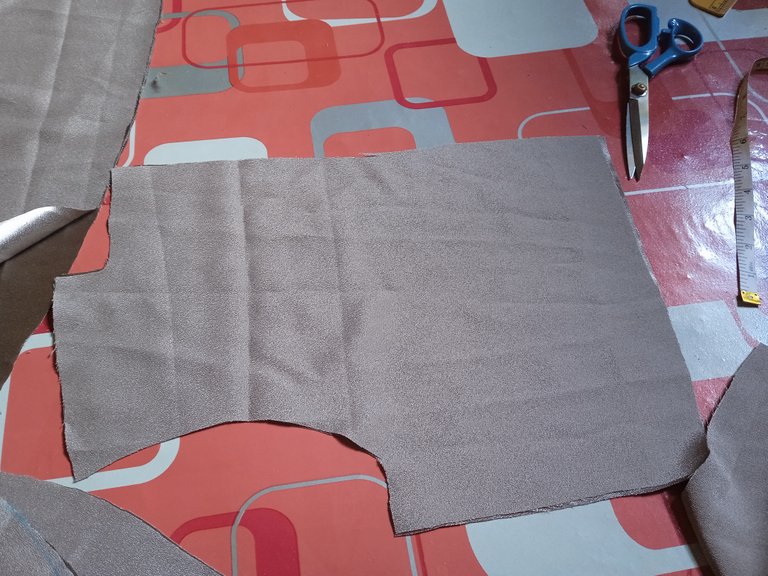
So, how to fold the fabric as I show it with the outer fabric fibers. I fold the inner le in a rectangular shape and make a pattern for the shirt on the inside of the fabric fibers. The method that I use is to save the existing fabric and make a pattern on the inner fabric so that it is not visible on the outside if the pattern I draw is on the outside.
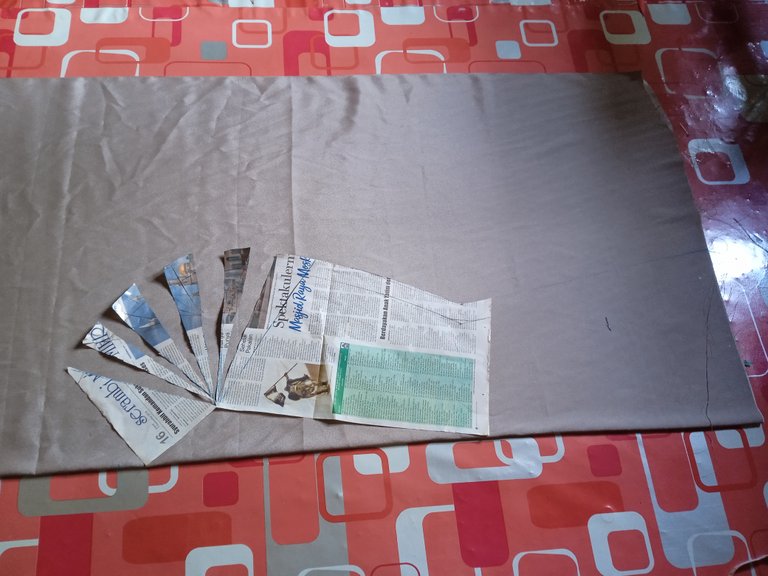
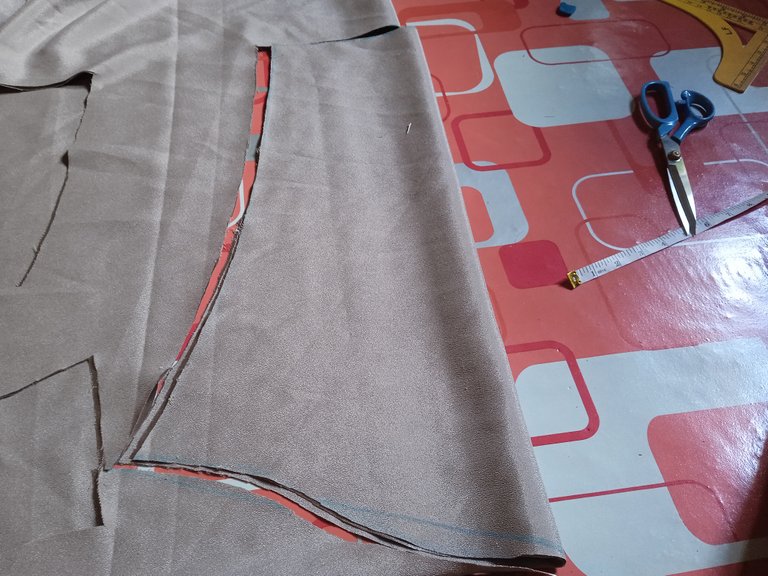
First I will make a pattern for my front skirt starting from the bottom fold of the fabric. I draw the pattern first because I'm still a beginner, I can't cut the cloth after measuring without making a pattern. For a dress model like this, I first made a pattern on the newspaper to avoid defects in the available fabric, then I placed the pattern on the newspaper on top of the cloth.
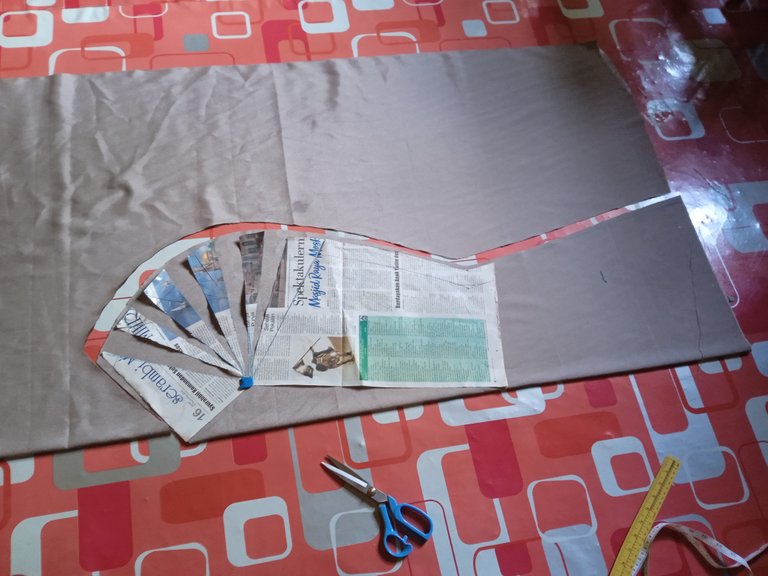
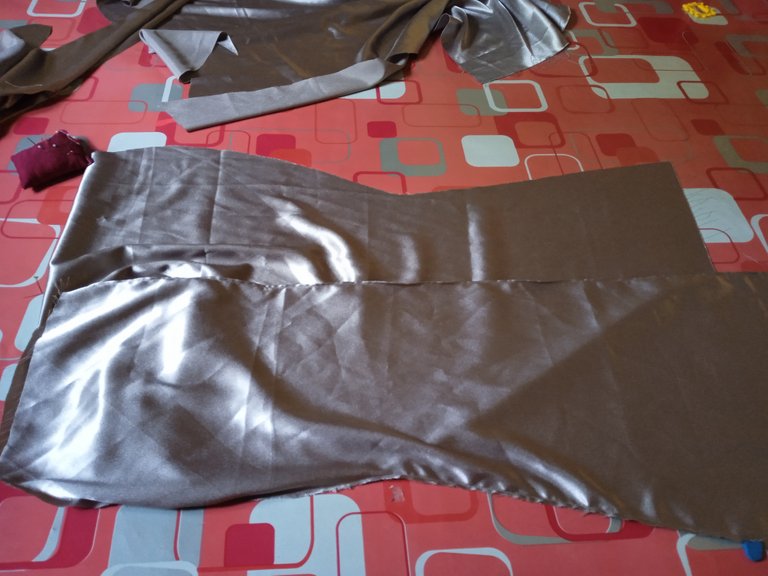
This is the pattern for the front of the shirt. I measured it directly above the skirt pattern that I cut without changing the folds of the fabric again.
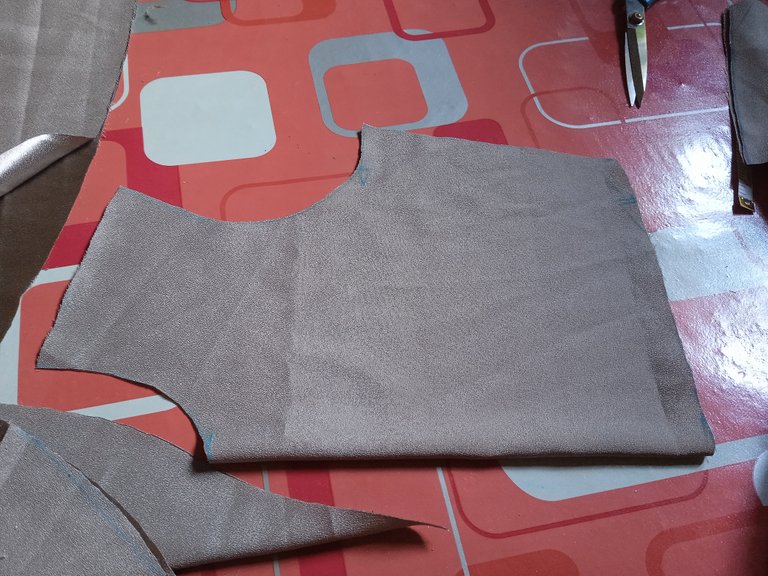
I have to measure the pattern on the back of the skirt again, not by plagiarizing the front pattern because it's not the same size.
The pattern on the back of my top is just slapping, so you don't have to measure it again.
Then this is an arm pattern with wrinkles on the shoulders by exaggerating a few inches for the width of the armpits in order to form wrinkles on the shoulders.
After that, I overlocked it and linked the pattern on the back, first the body with the waist, then I attached the zipper.
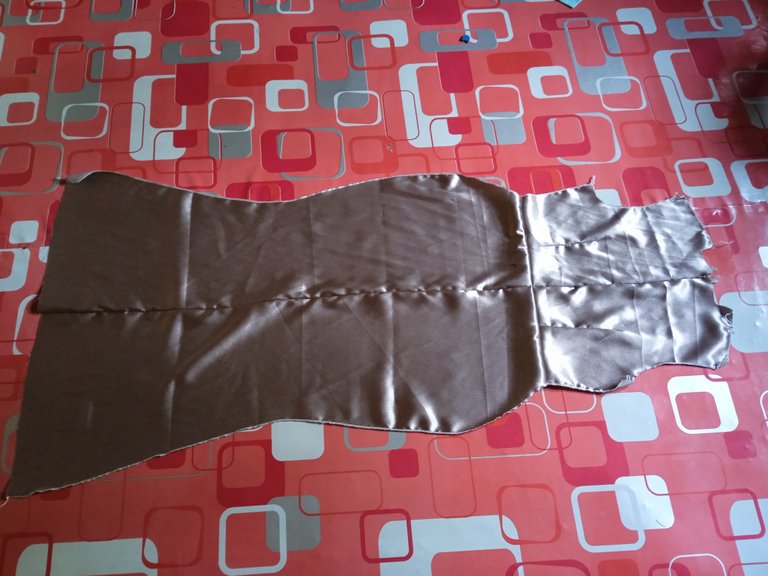
Then I formed the pleats on the hips accompanied by the front layer.
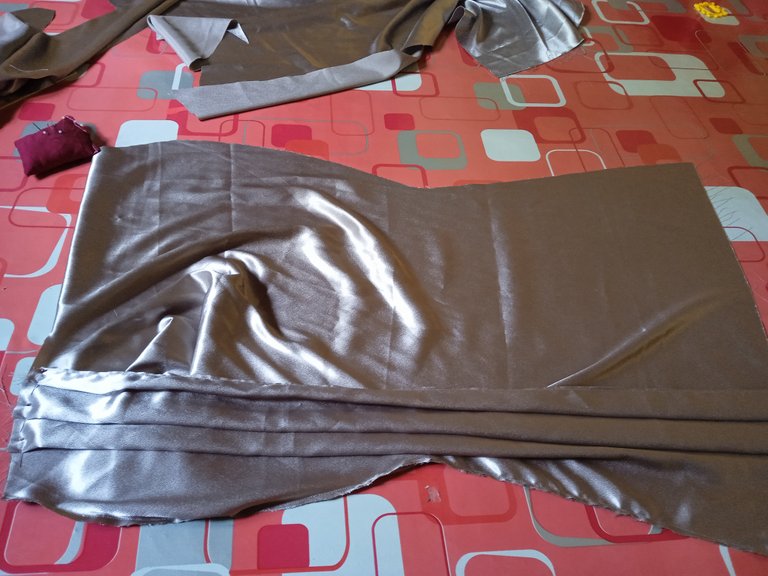
And this is making the front pattern using pleats on the chest.
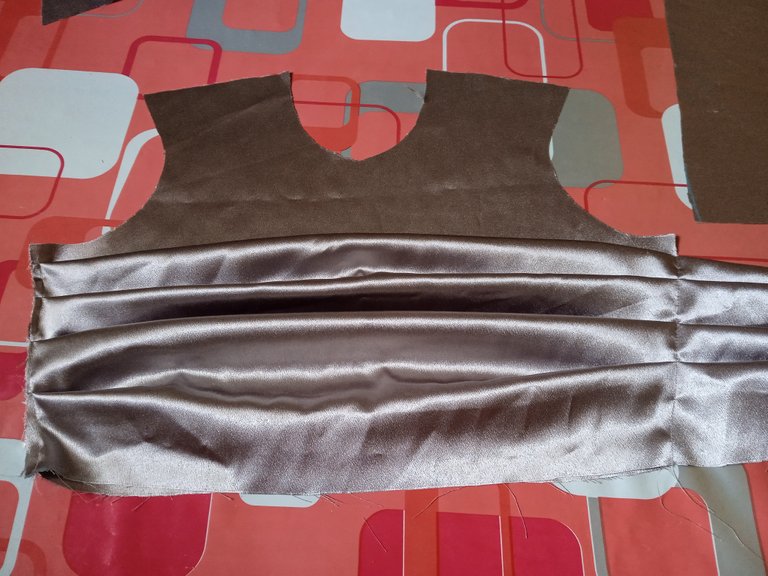
After making the pleats, then connect the body and waist patterns. then the front and back patterns are linked together by connecting the arms by making wrinkles on the shoulders.
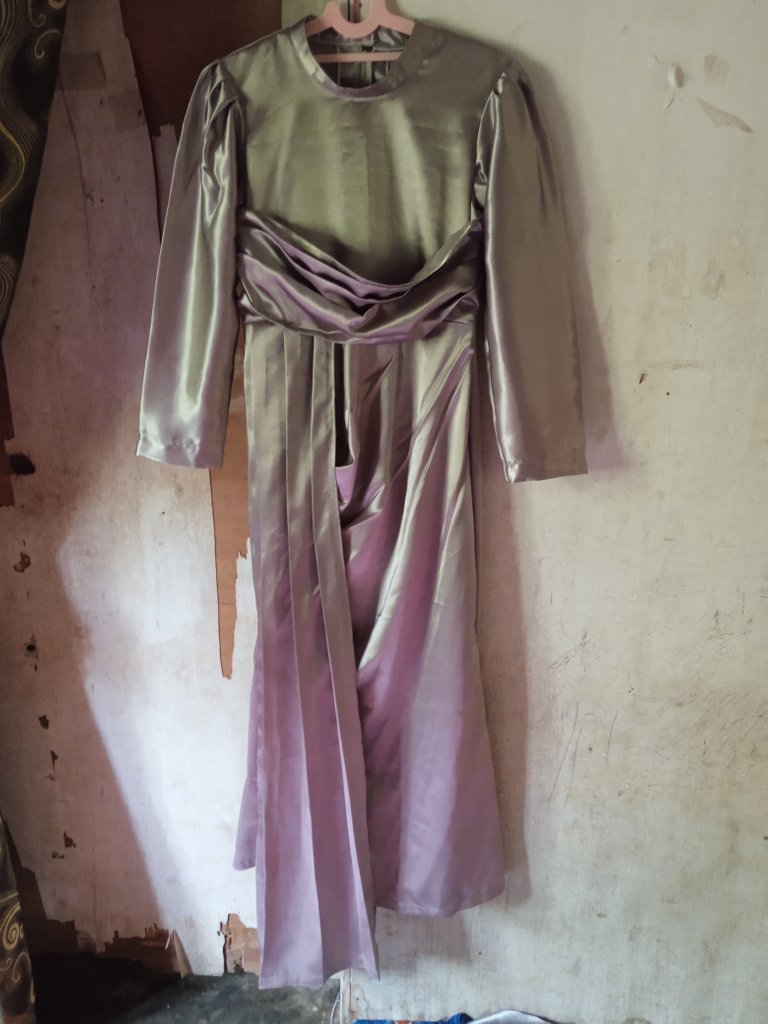
Finally finished, my customer's request for a party dress with a layer on the front is really beautiful when worn by the manneuquin and worn by the person himself. But I don't have manneuquins here and also a customer who wants to try on a party dress and just hangs it up. This is the result of my sewing today, I hope my customer likes the result.
Thank you for reading and listening to my sewing process, see you in my next post.


