Hola creativos de Hive! Hoy hice un separador de libros para mi mamá y les quiero mostrar el proceso completo de como lo logré. Como siempre, les dejo el paso a paso de todo. Espero les guste.✨️
Hello Hive Creatives! Today I made a bookmark for my mom and I want to show you the whole process of how I did it. As always, I leave you the step by step of everything. I hope you like it.✨️

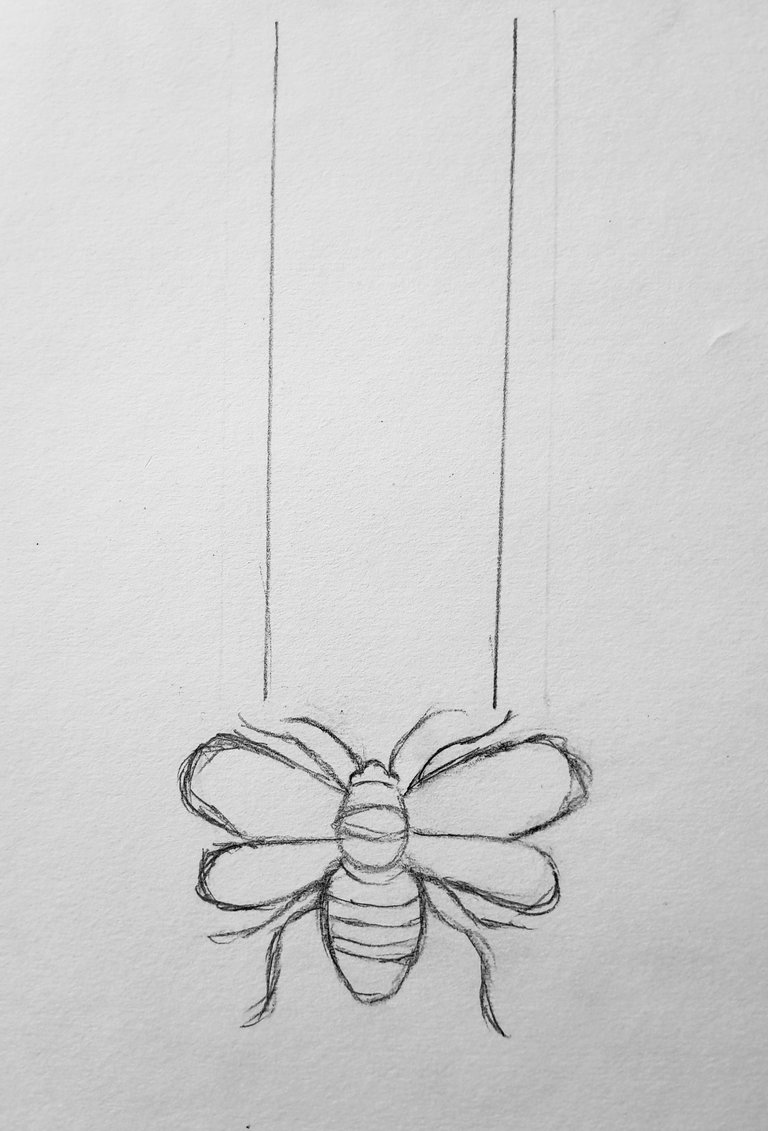
Empecé haciendo dos líneas paralelas con aproximadamente 4cm de grosor y 15cm de largo, para luego seguir con el dibujo, el cual es una abejita.
I started by making two parallel lines approximately 4cm thick and 15cm long, and then continued with the drawing, which is a little bee.

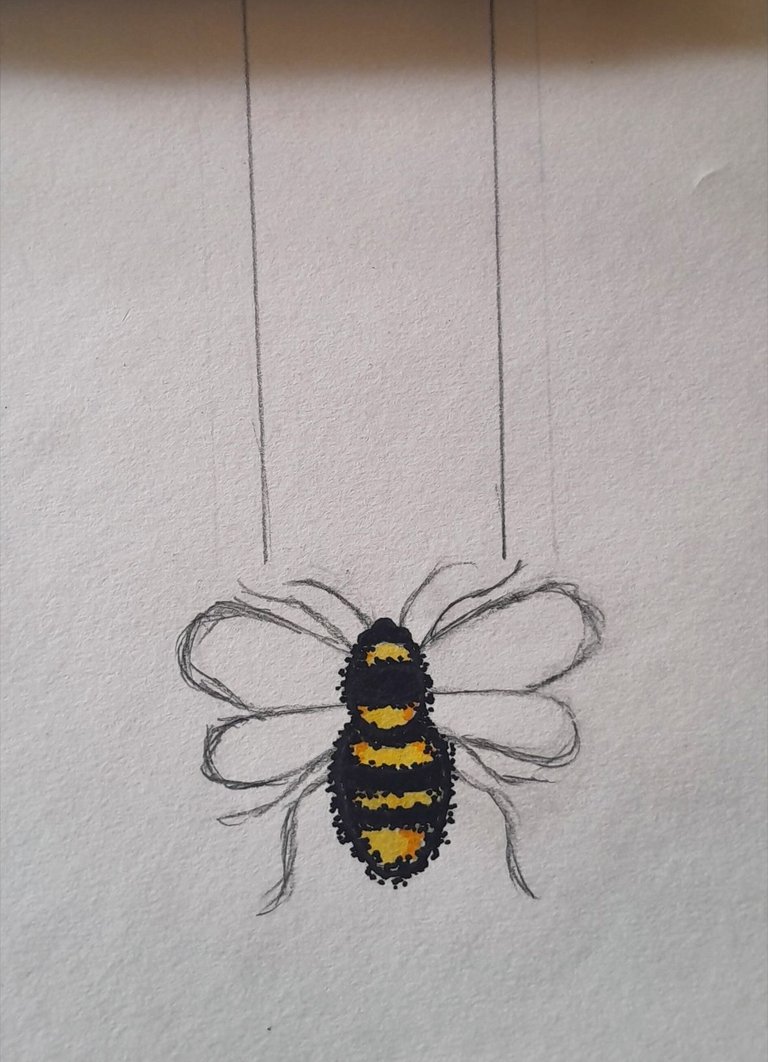
Pinté el cuerpo de la abejita con marcadores en tonos naranja/amarillo y para el borde, negro. Para simular los pelitos, hice puntos muy unidos cerca al borde, lo cual da esa textura peluda.
I painted the body of the bee with orange/yellow markers and black for the border. To simulate the little hairs, I made dots very close to the edge, which gives that furry texture.

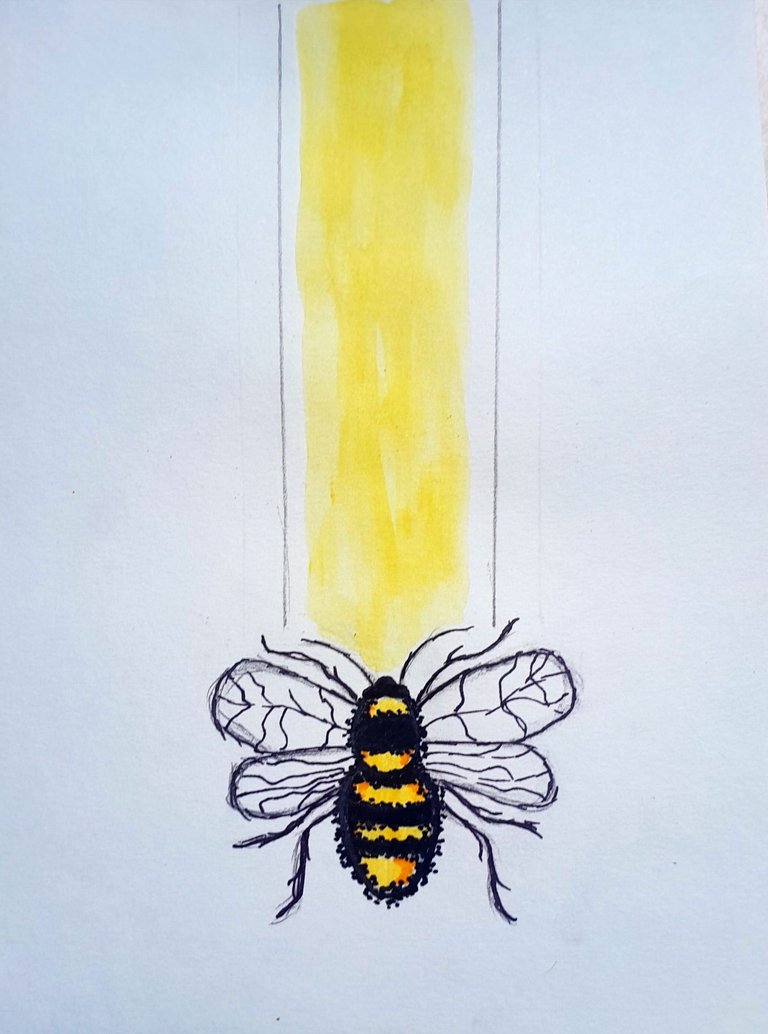
Luego de eso, procedí a delinear las alas con un marcador más fino. Los detalles de las alas son muy parecidos a los de las hojas, entonces si no saben hacerlas, pueden empezar a guiarse por ahí.
También pinté de amarillo lo que vendría ser el soporte, simplemente porque pensé que se vería algo soso dejarlo todo de blanco.
After that, I proceeded to outline the wings with a finer marker. The details of the wings are very similar to those of the leaves, so if you don't know how to do them, you can start with that.
I also painted what would become the support yellow, simply because I thought it would look a bit dull to leave it all white.

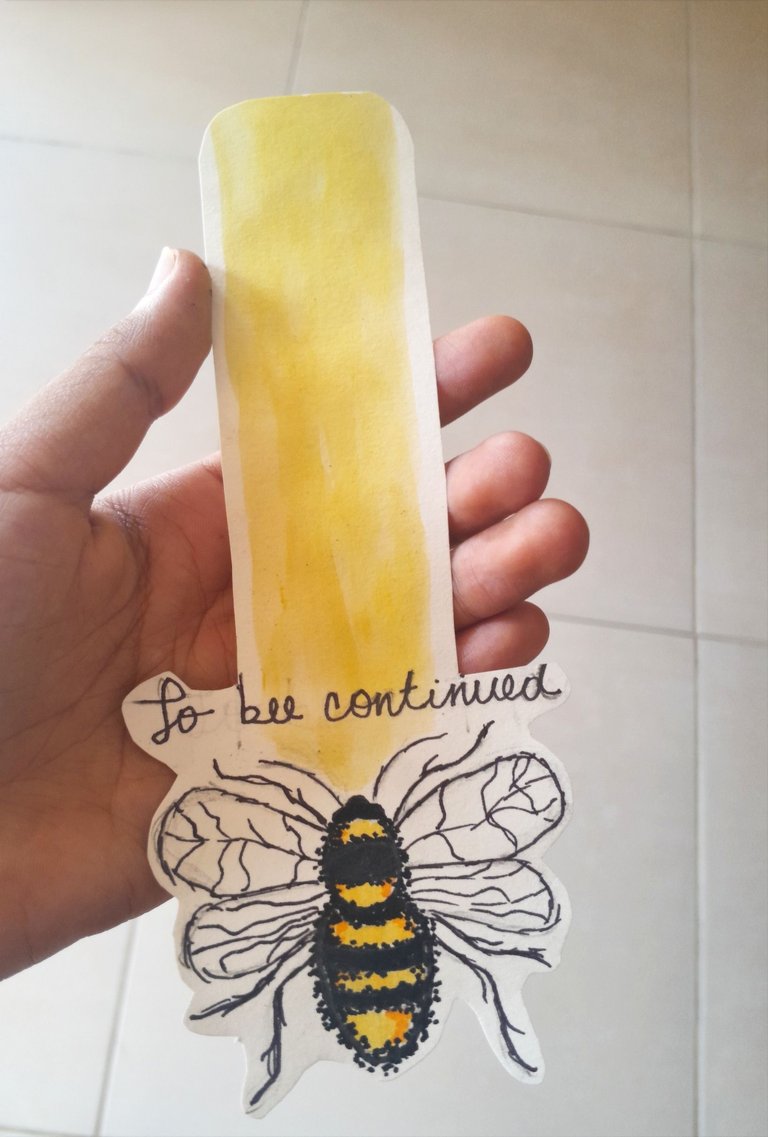
Luego lo recorté...
Then I cut it out...

... Y listo, así se ve puesto en un libro. 😍
... And that's it, that's how it looks put in a book.

Cómo pudieron ver le agregué una frase al final, ustedes pueden agregarle lo que quieran c:
As you could see I added a sentence at the end, you can add whatever you want c:
Thanks for reading and watching.
