Hi lovelies, it's the end of the year, let me be the first to wish you all a happy new year in advance.
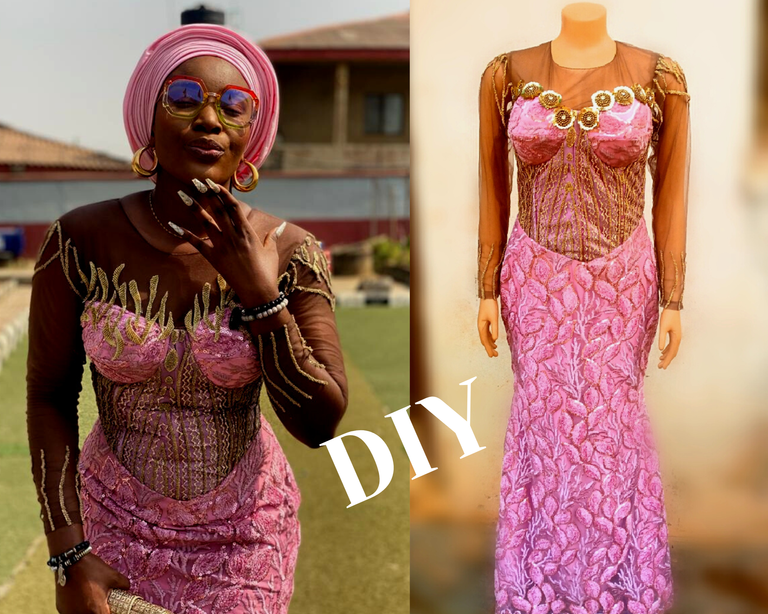
Still in the mood for Christmas, some weeks back, I got a call from my friend, she had a beautiful fabric and desired my help in making her a beautiful dress to grace the wedding ceremony of a friend of hers, how I love the sound of a wedding, especially when it's happening during the festive period, you wouldn't want to miss it for anything in the world because there would be do much fun and lots of people in attendance, you could also catch up with old time friends you haven't seen in a whole since its the holiday season, so with much excitement, I accepted to make my friend a dress, I love making beautiful dresses and surely can't resist this one, even though my hands were filled at the time. she had a style inspiration in mind, and even sent me a picture to work with, and I did, but you know sometimes when you are deep into creating something, you would be tempted to add your unique touch rather than follow book for book, so today, I will be sharing with us the making process of my friend's corset dress and the creative touch we added at the final stage, stay tuned, it's an interesting one, trust me.
Materials used
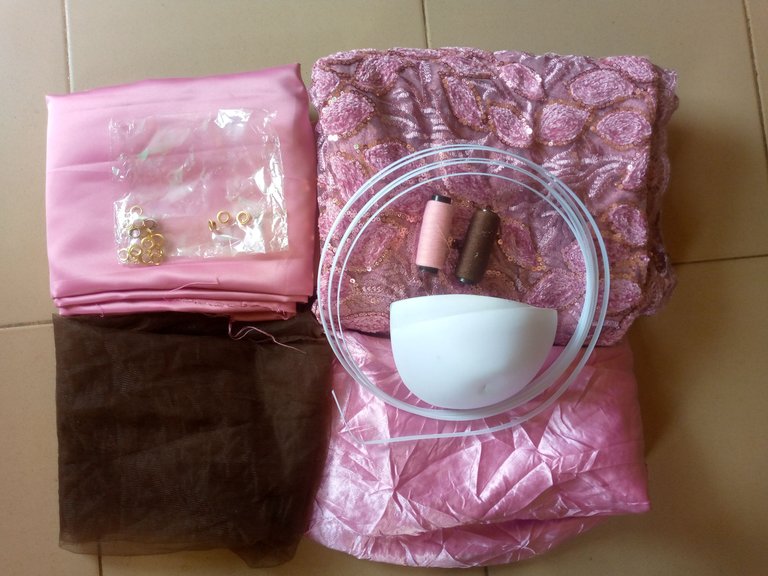
Lace fabric
Appliqued lace
Dutchess fabric
Boning
Skin tulle
Bust Cups
Interfacing
Eyelets
Matching threads
Cutting and Sewing Process
Step 1
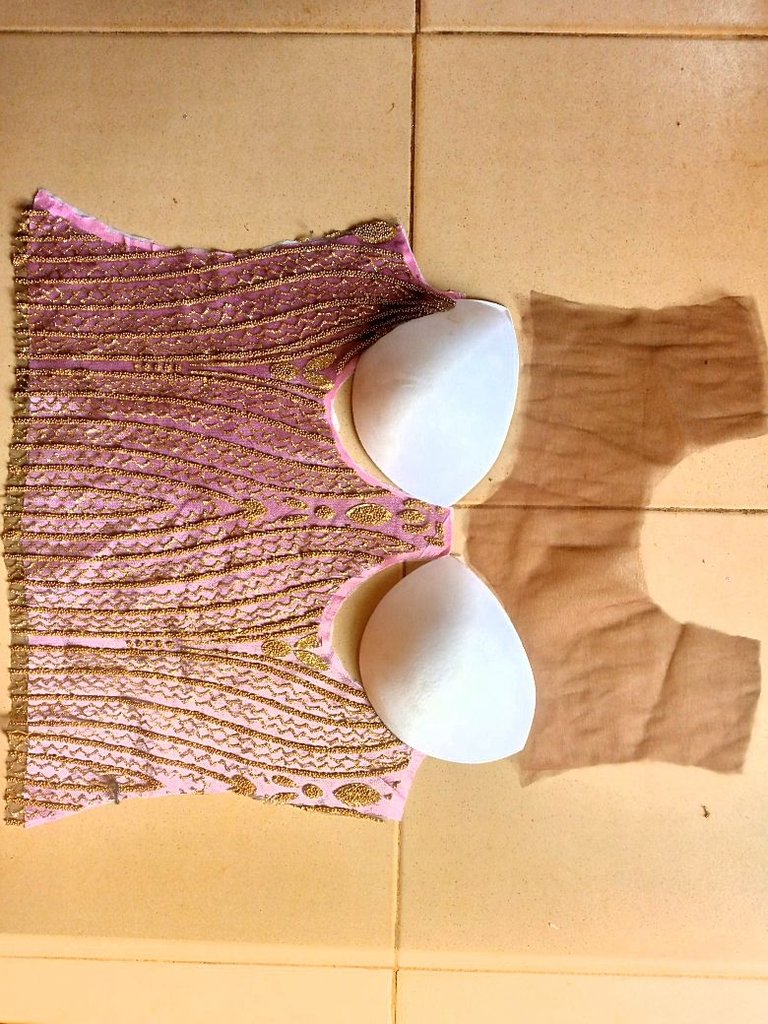
I started by drafting the corset pattern on a pattern paper before transferring to the fabric, here is how the upper front pattern piece of the dress looks, the stomach area is made by using the Duchess fabric as the base while the applique lace above it, the chest and neck region is made using her skin tone tulle, and yes, the cups for the bust area.
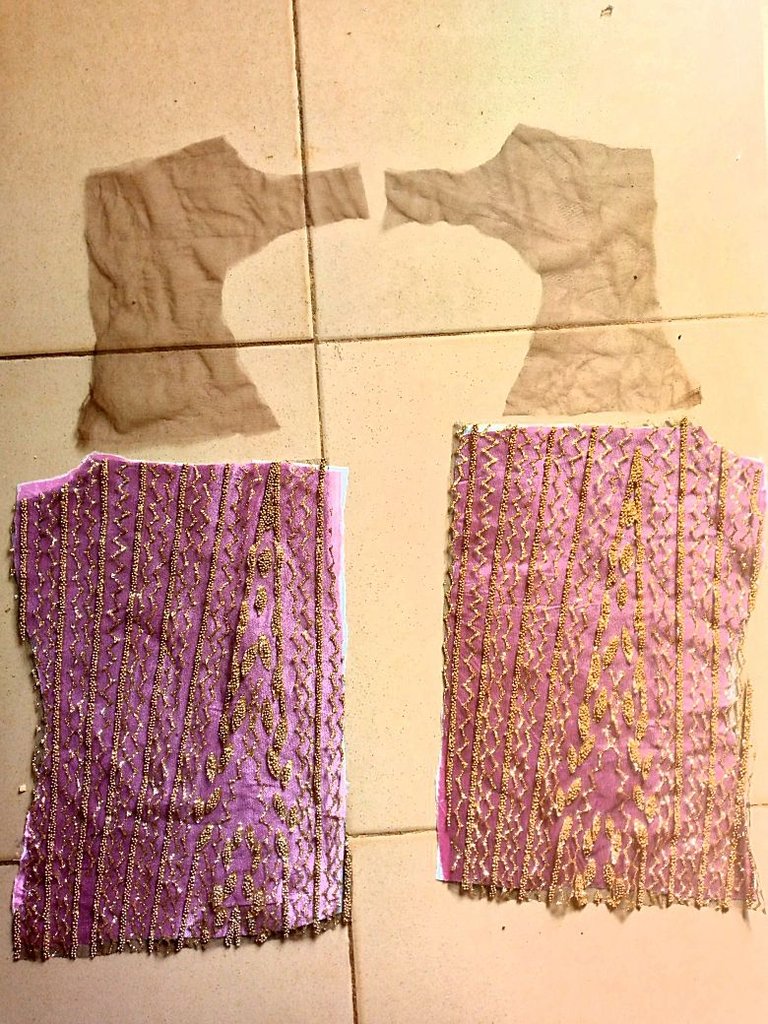
And here is the back pattern piece, the yoke area is also made of tulle, while the main back same as the front, lace, and Duchess
Step 2
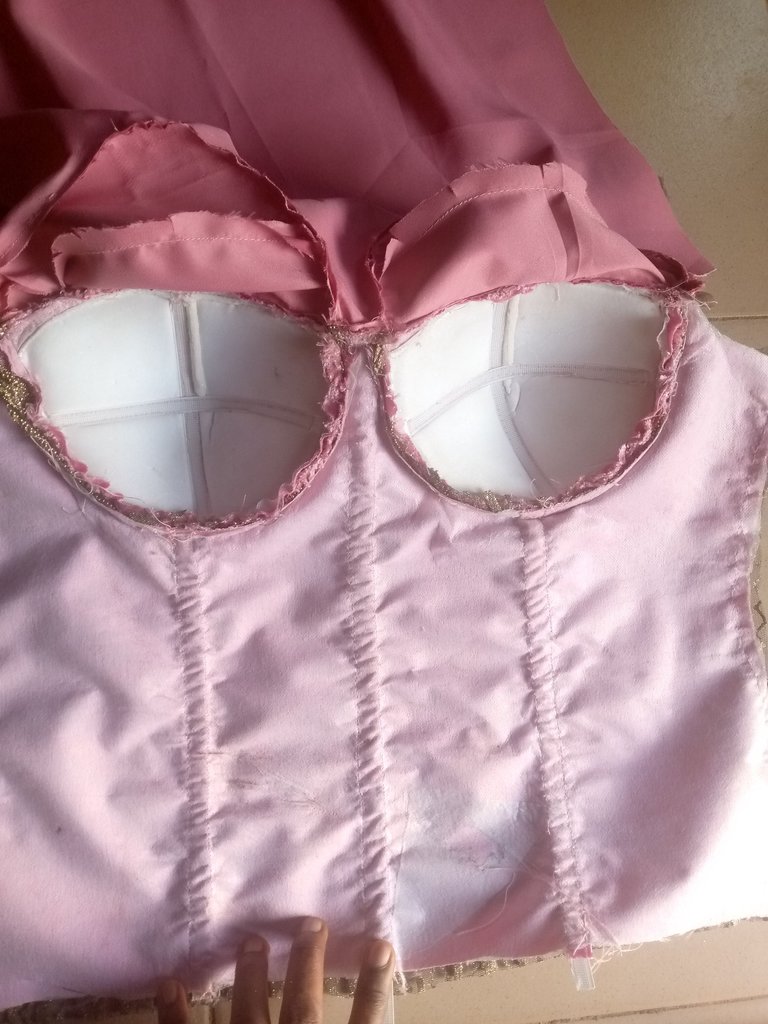
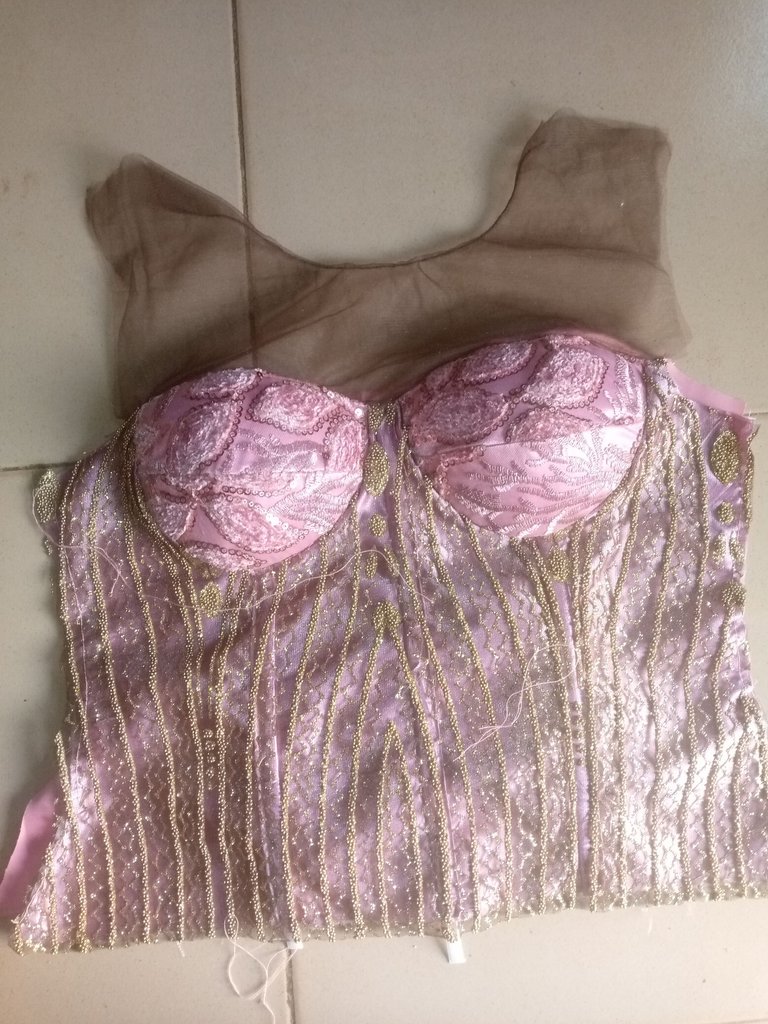
I joined all pattern pieces of the upper front, covering the cups with the pink-colored lace, and passed the boning in between to firm the waist area for snatching
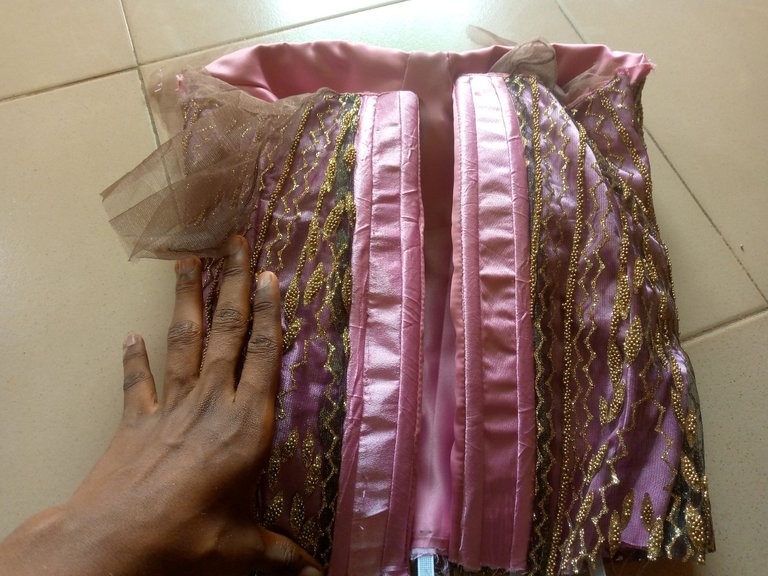
I also joined all the back pieces together, creating an eyelet in the middle, it won't need a zipper since it is a corset dress
Step 3
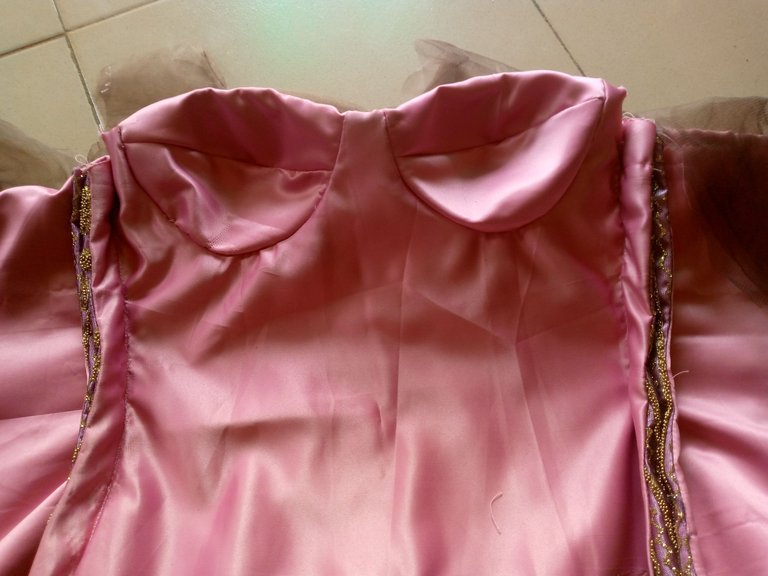
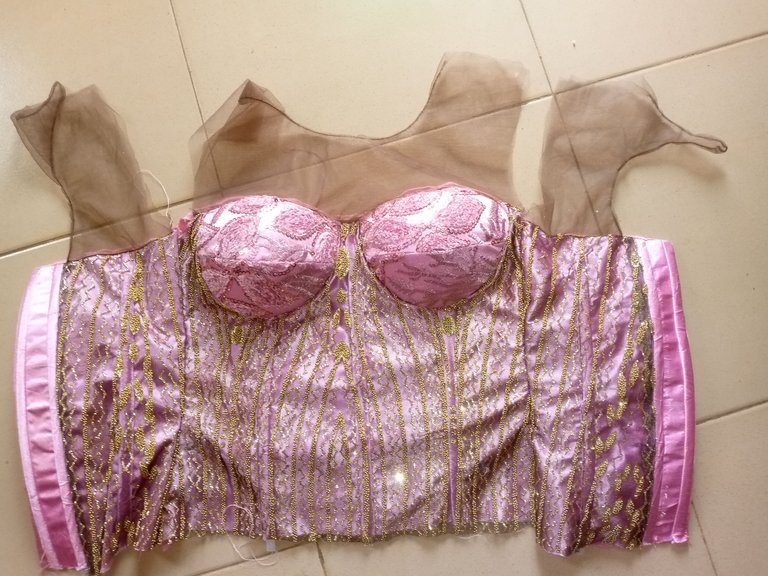
I joined the front and back together by the sides, according to her measurement.
Step 4
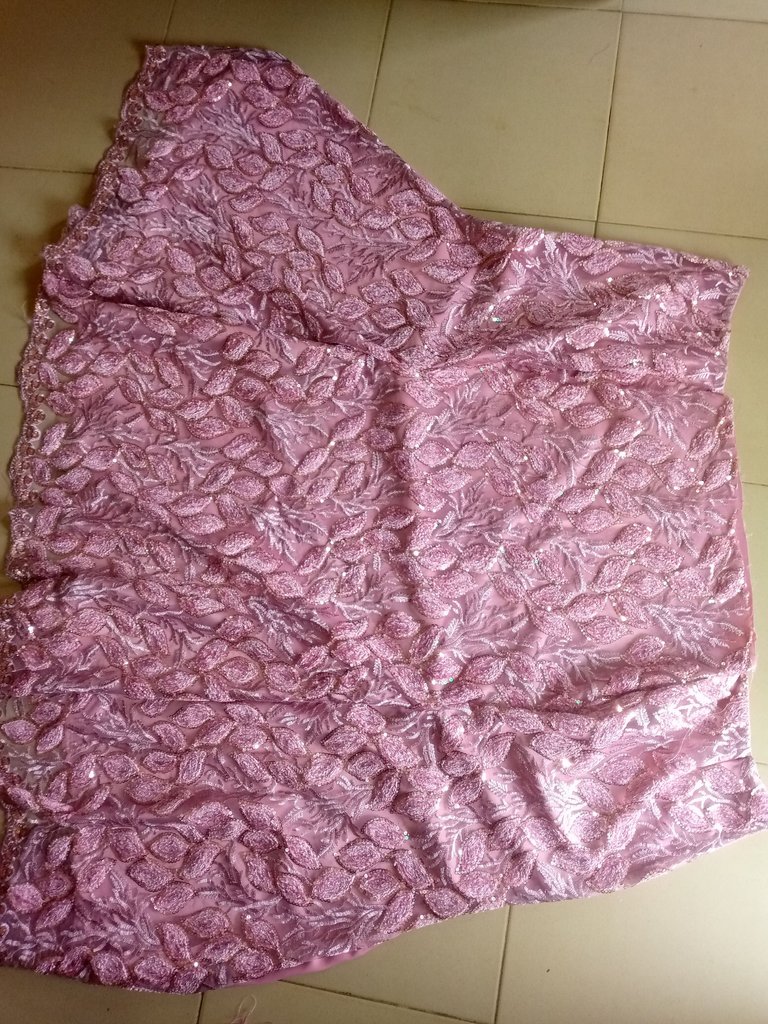
Moving to the lower part of the dress, I cut out an A-shape skirt pattern, turned, and joined them by the sides too.
Step 5
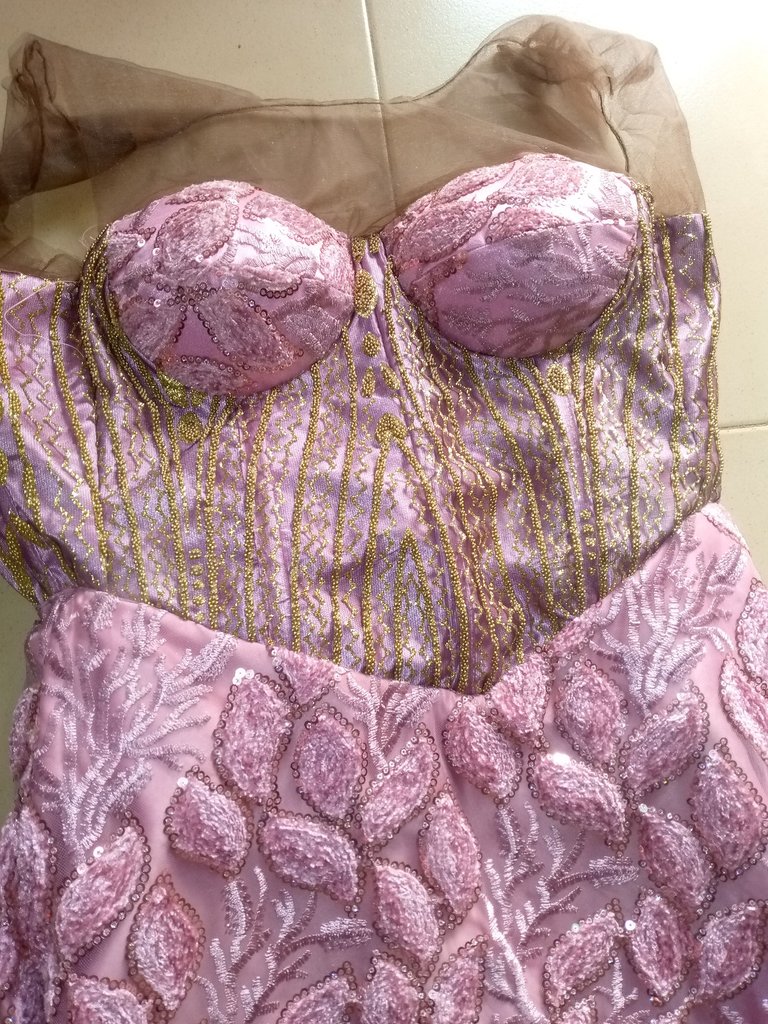
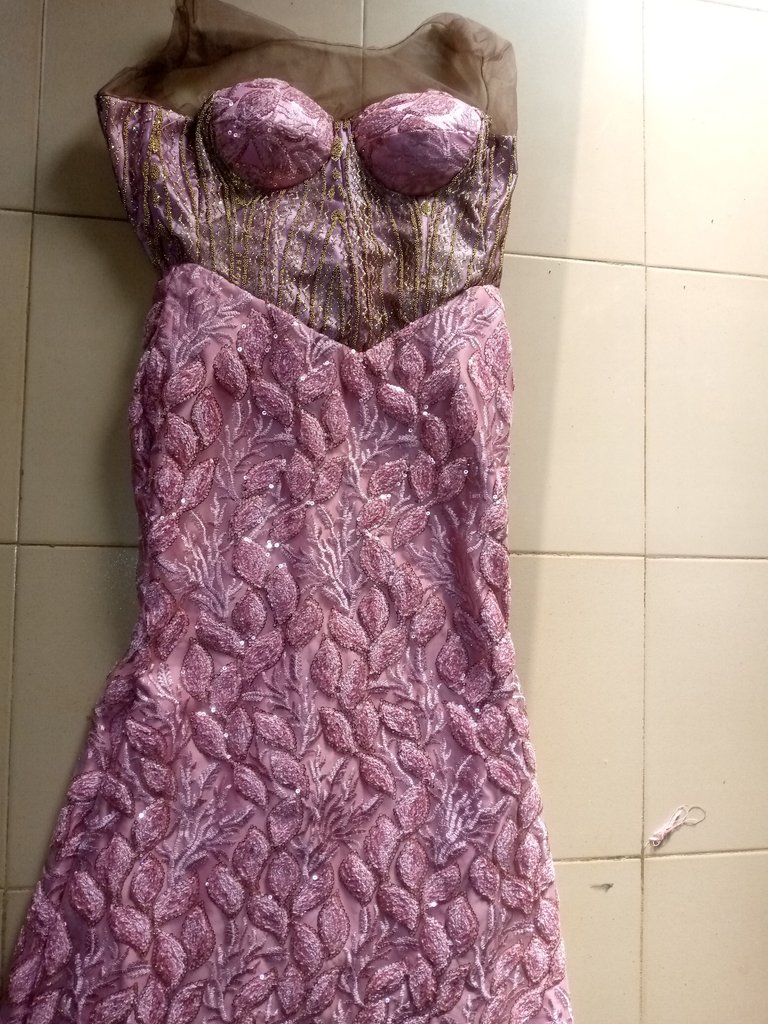
I joined the already prepared upper and lower power of the dress, creating a Basque at the front waist region.
Step 6
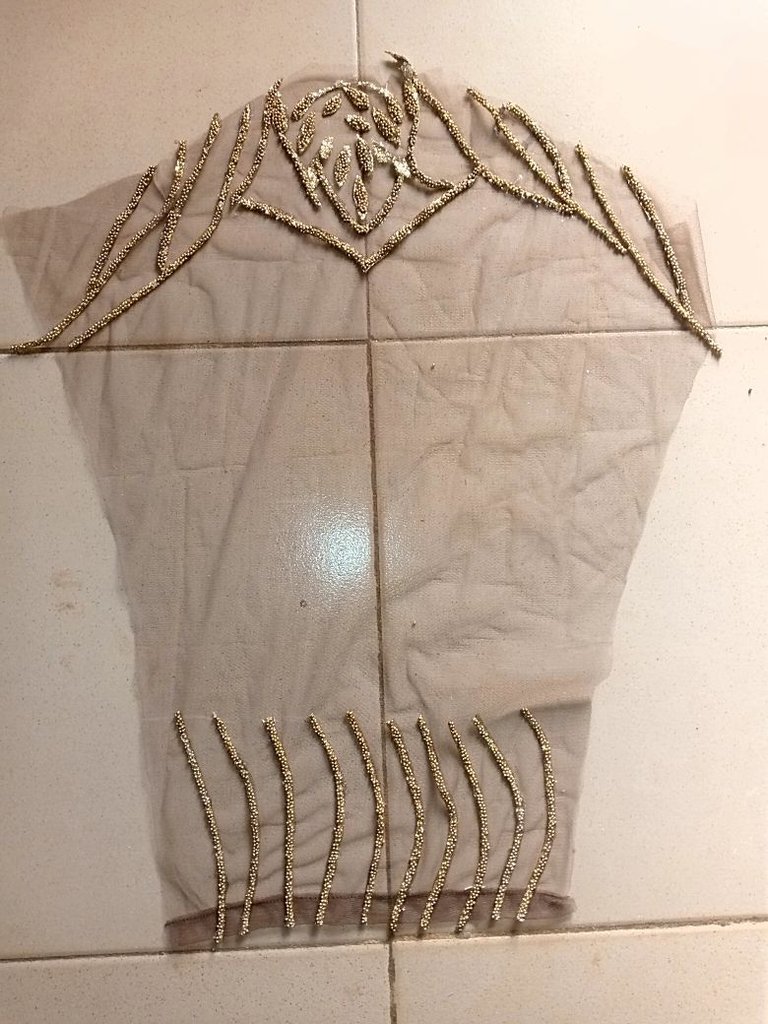
I cut out a basic long-sleeve pattern using the skin-tone tulle and trimmed out the applique lace, which I used in designing the bare tulle fabric
Step 7
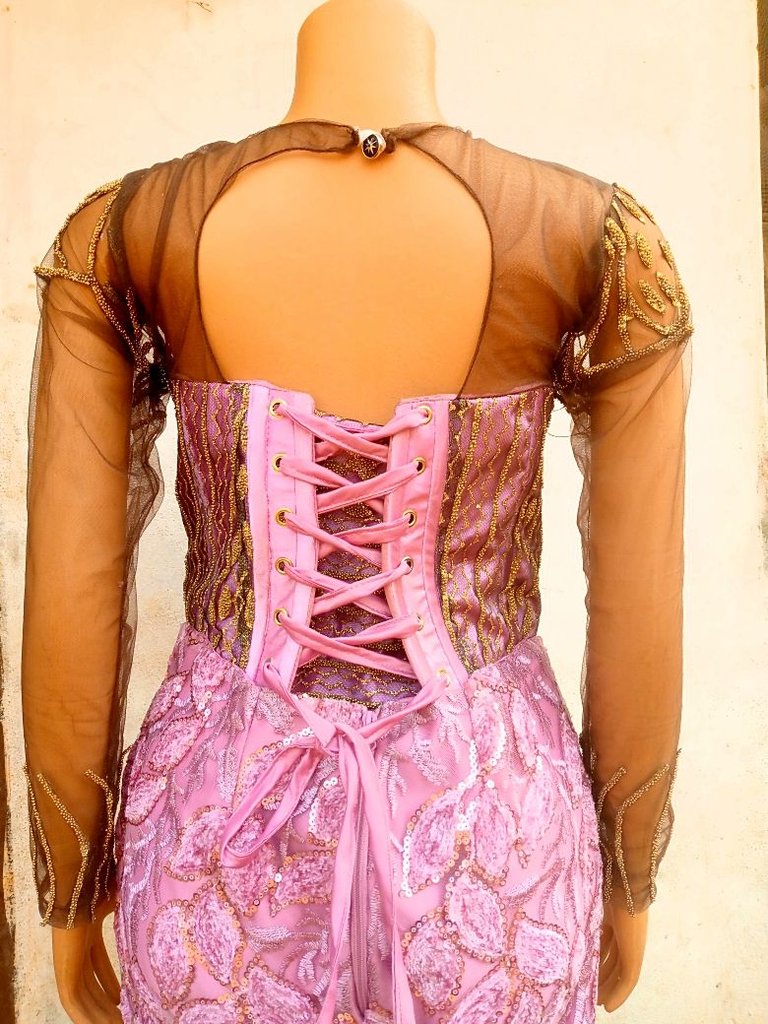
I attached the sleeve to the dress, and also the eyelets to its channel, and made a rope that would be used to tighten the back area.
Step 8
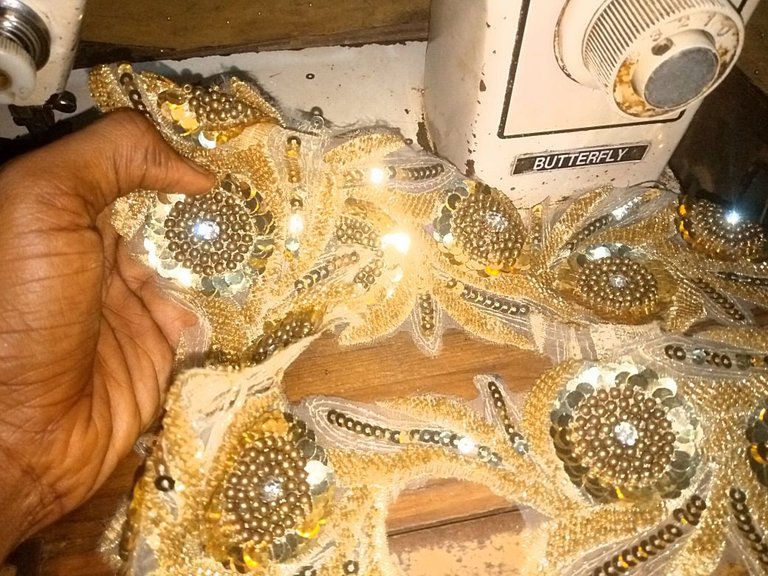
Using this applique I got, I trimmed out the flowers and attached them to the bust area at first, following the style inspiration sent,
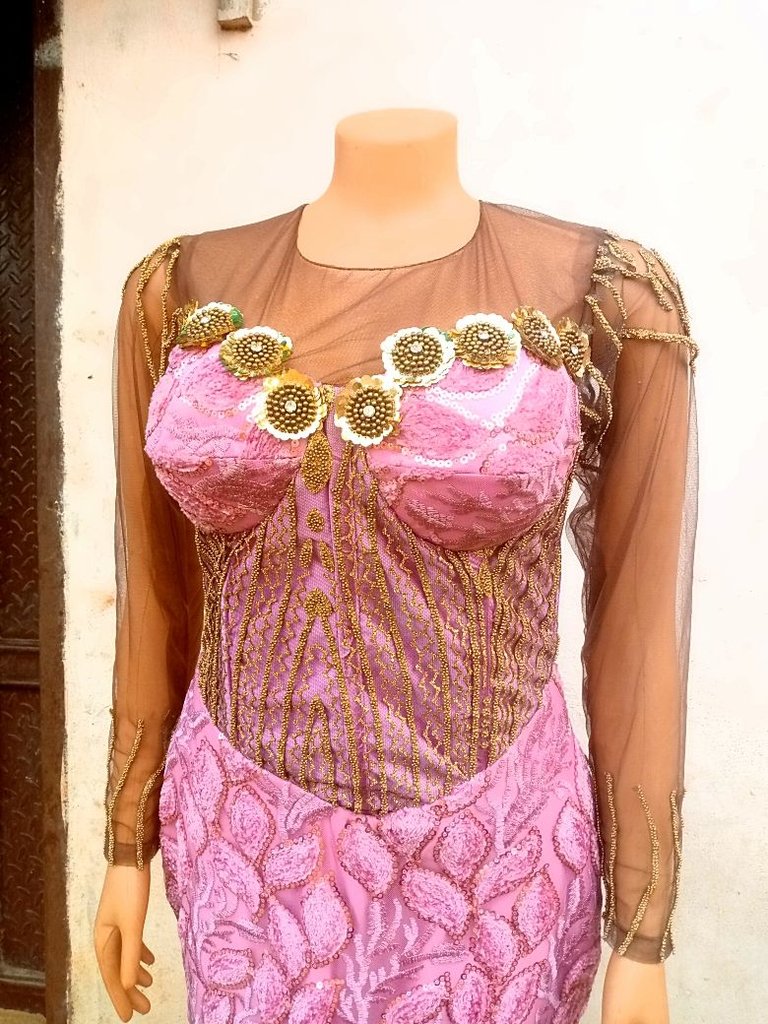
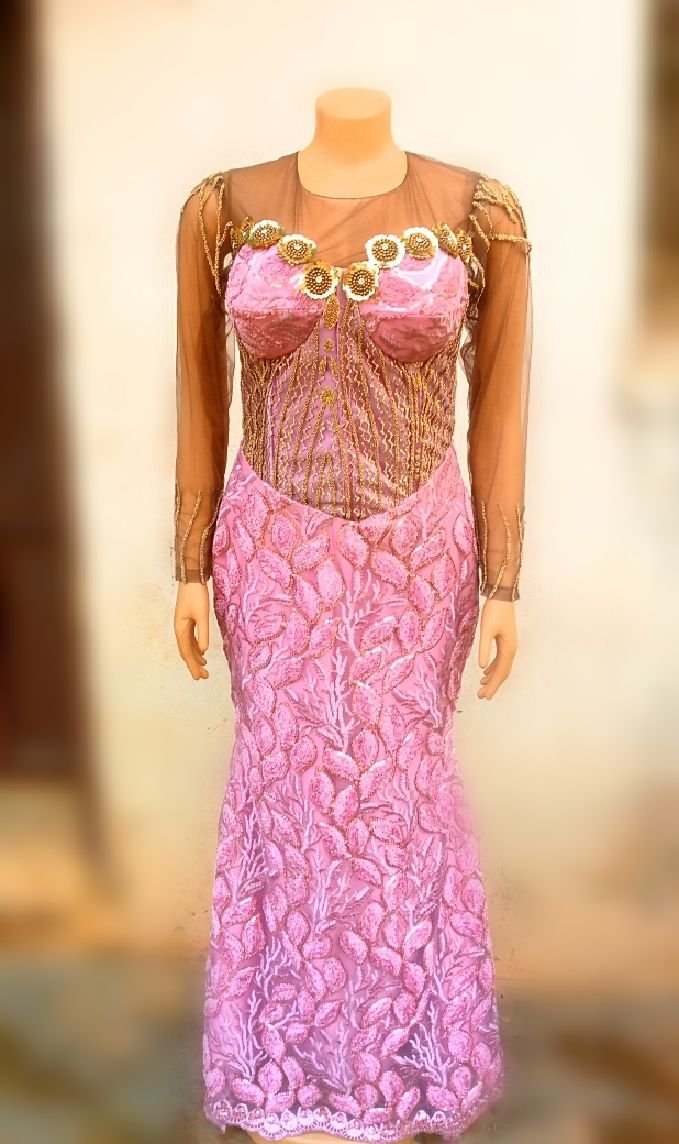
but we later decided to take them out and use the beaded side of the applique to create this 3d effect
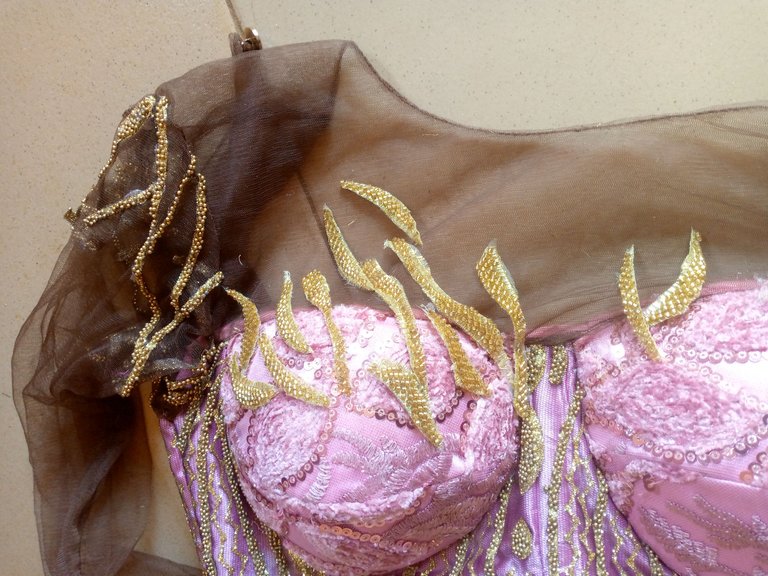 Trying to be creative
you can see her already beautifully adorned in her corset dress for the occasion, looking gorgeous.
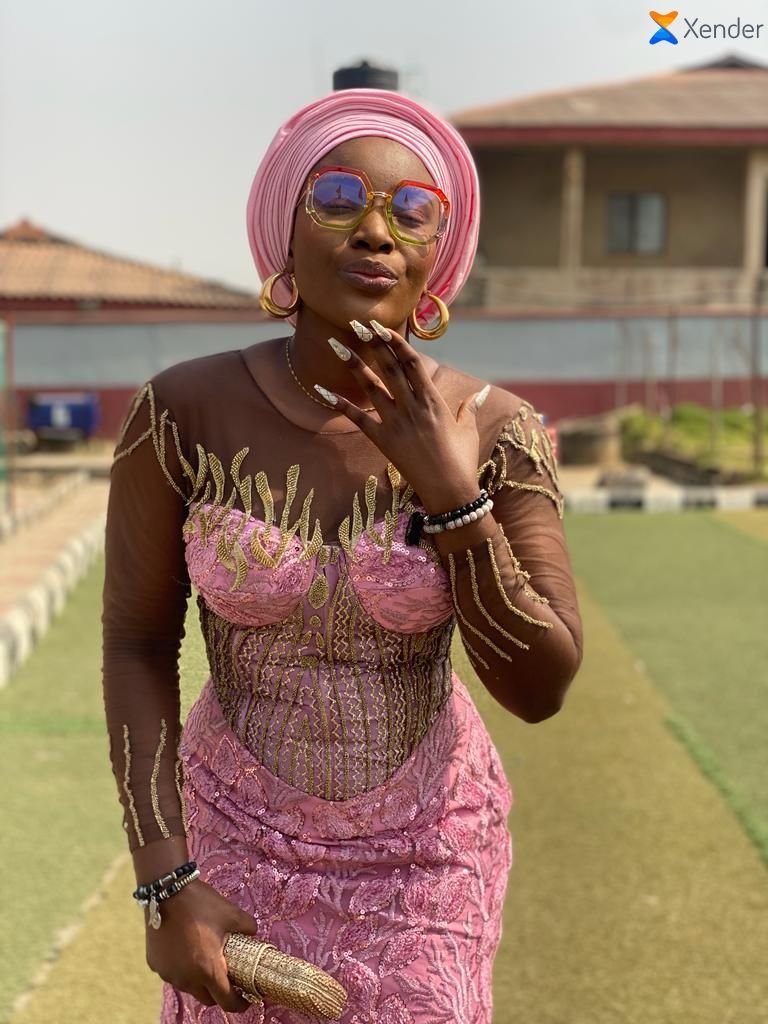 I bet she felt like the bride of the day in her dress😅
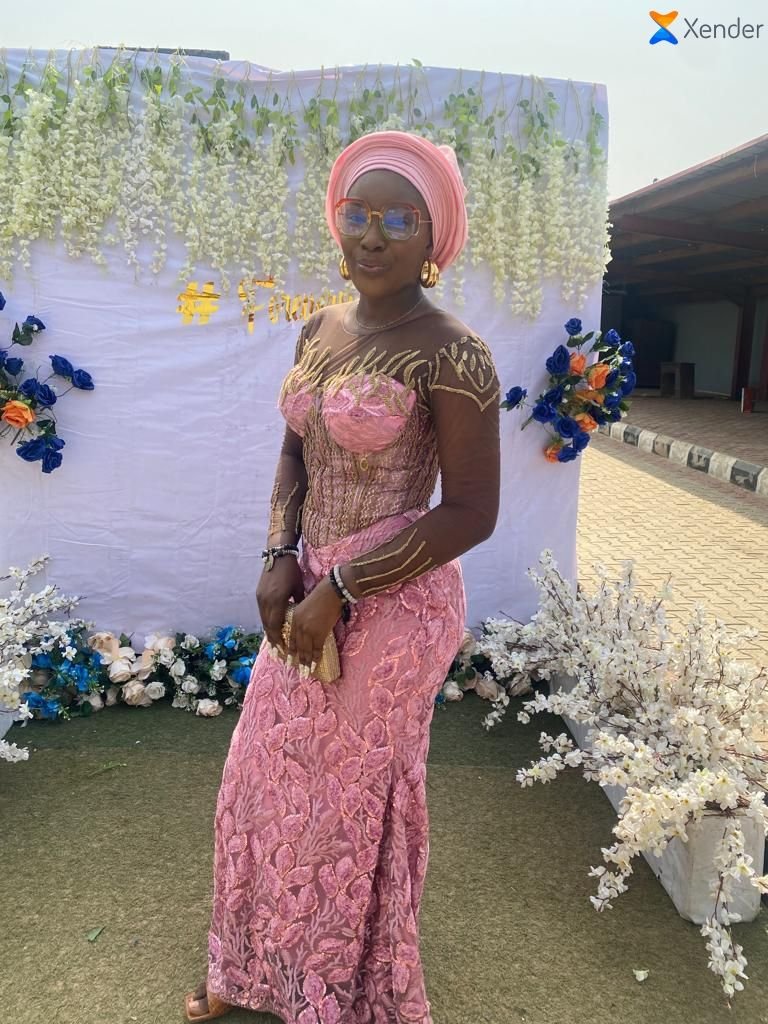
So tell me, which styling do you prefer, the previous flower applique on the bust or the beaded one with the 3D effect? I would love to read your feedback, so please don't hesitate to drop a comment about what you think of this beautiful corset dress.
All images used in this post are mine.

